Maple River Golf Club is an 18-hole golf course in West Fargo, ND with a par of 72. It offers 3 tee sets: black (6,868 yards, slope 128, rating 73.7), blue (6,487 yards, slope 126, rating 72.1), white (5,928 yards, slope 121, rating 69.5). The hardest hole is #4, a par 4 playing 433 yards from the first tee.
Maple River Golf Club
West Fargo, ND
Get PDF Yardage Book
We'll email you the PDF link. No spam, ever.
Create Your Game Plan
Pick your tees, enter your bag, and get a personalized shot-by-shot strategy for every hole.
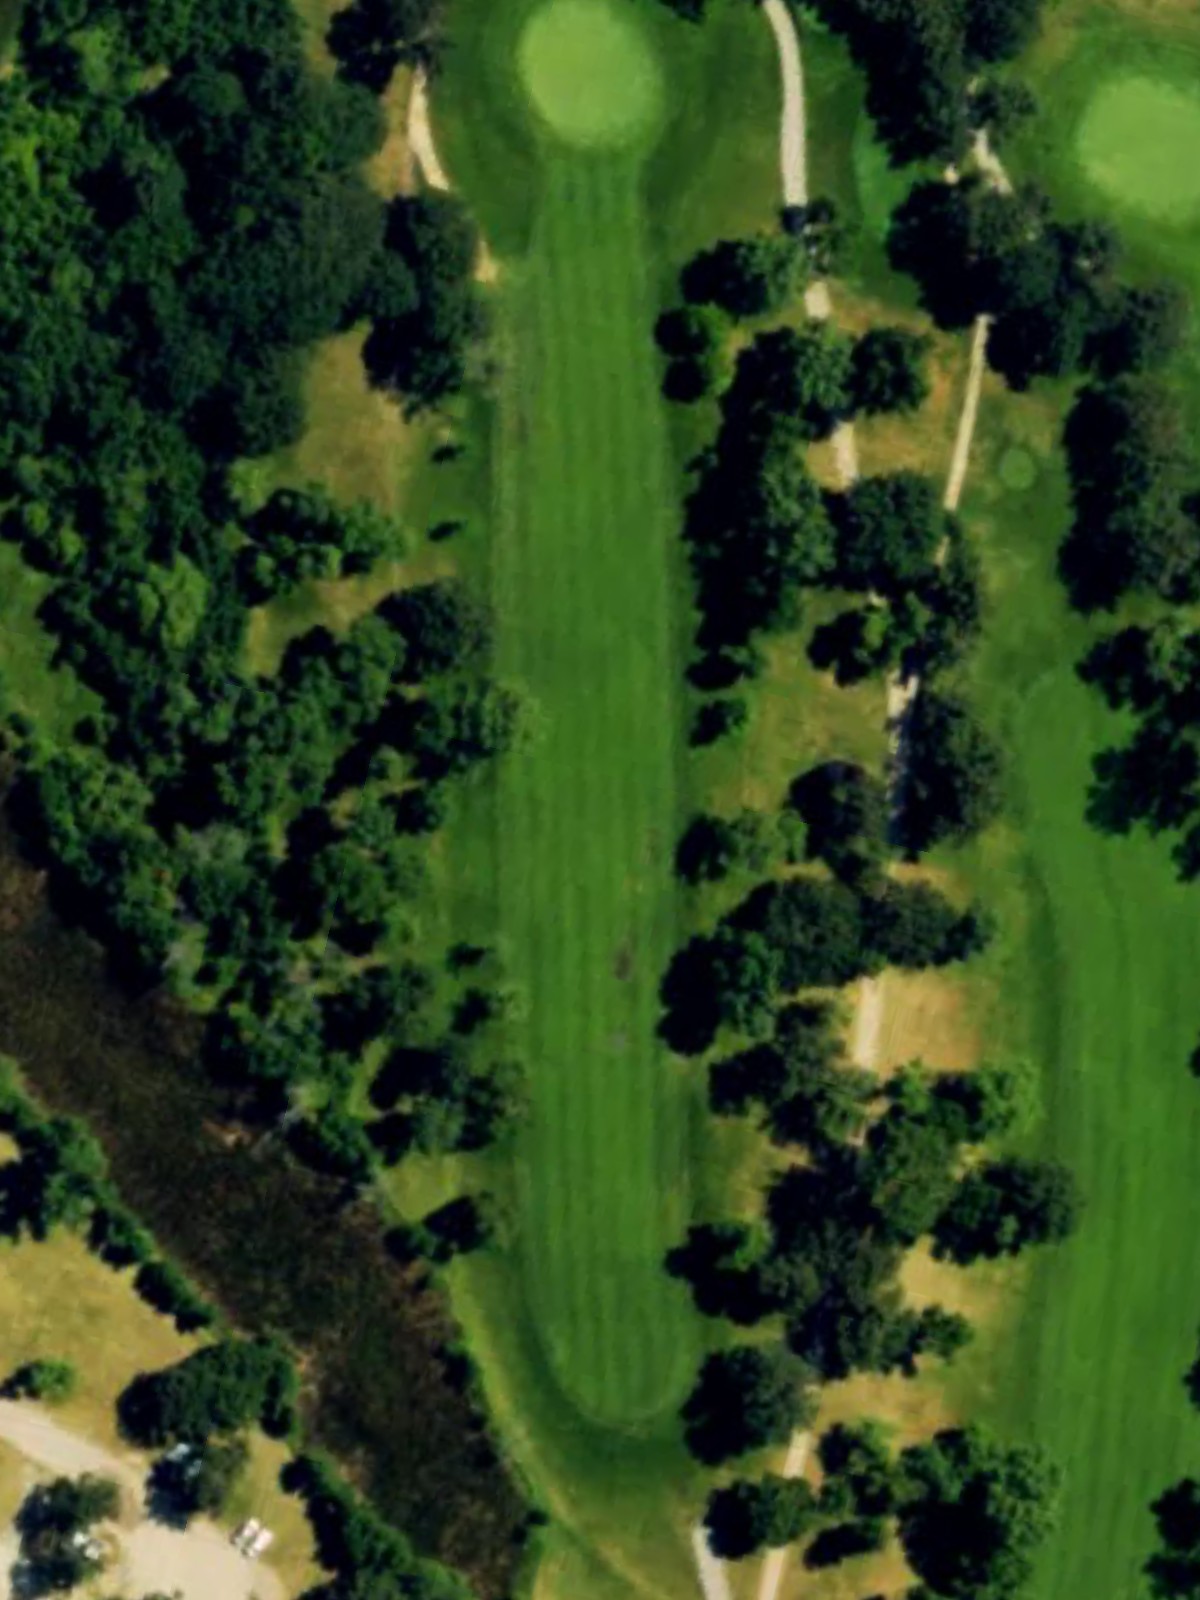
A straightforward par 4 with a welcoming fairway that provides room off the tee. The approach demands precision as the green is fronted by a narrow entrance and bunkers pinch the landing area, making the second shot the key test.
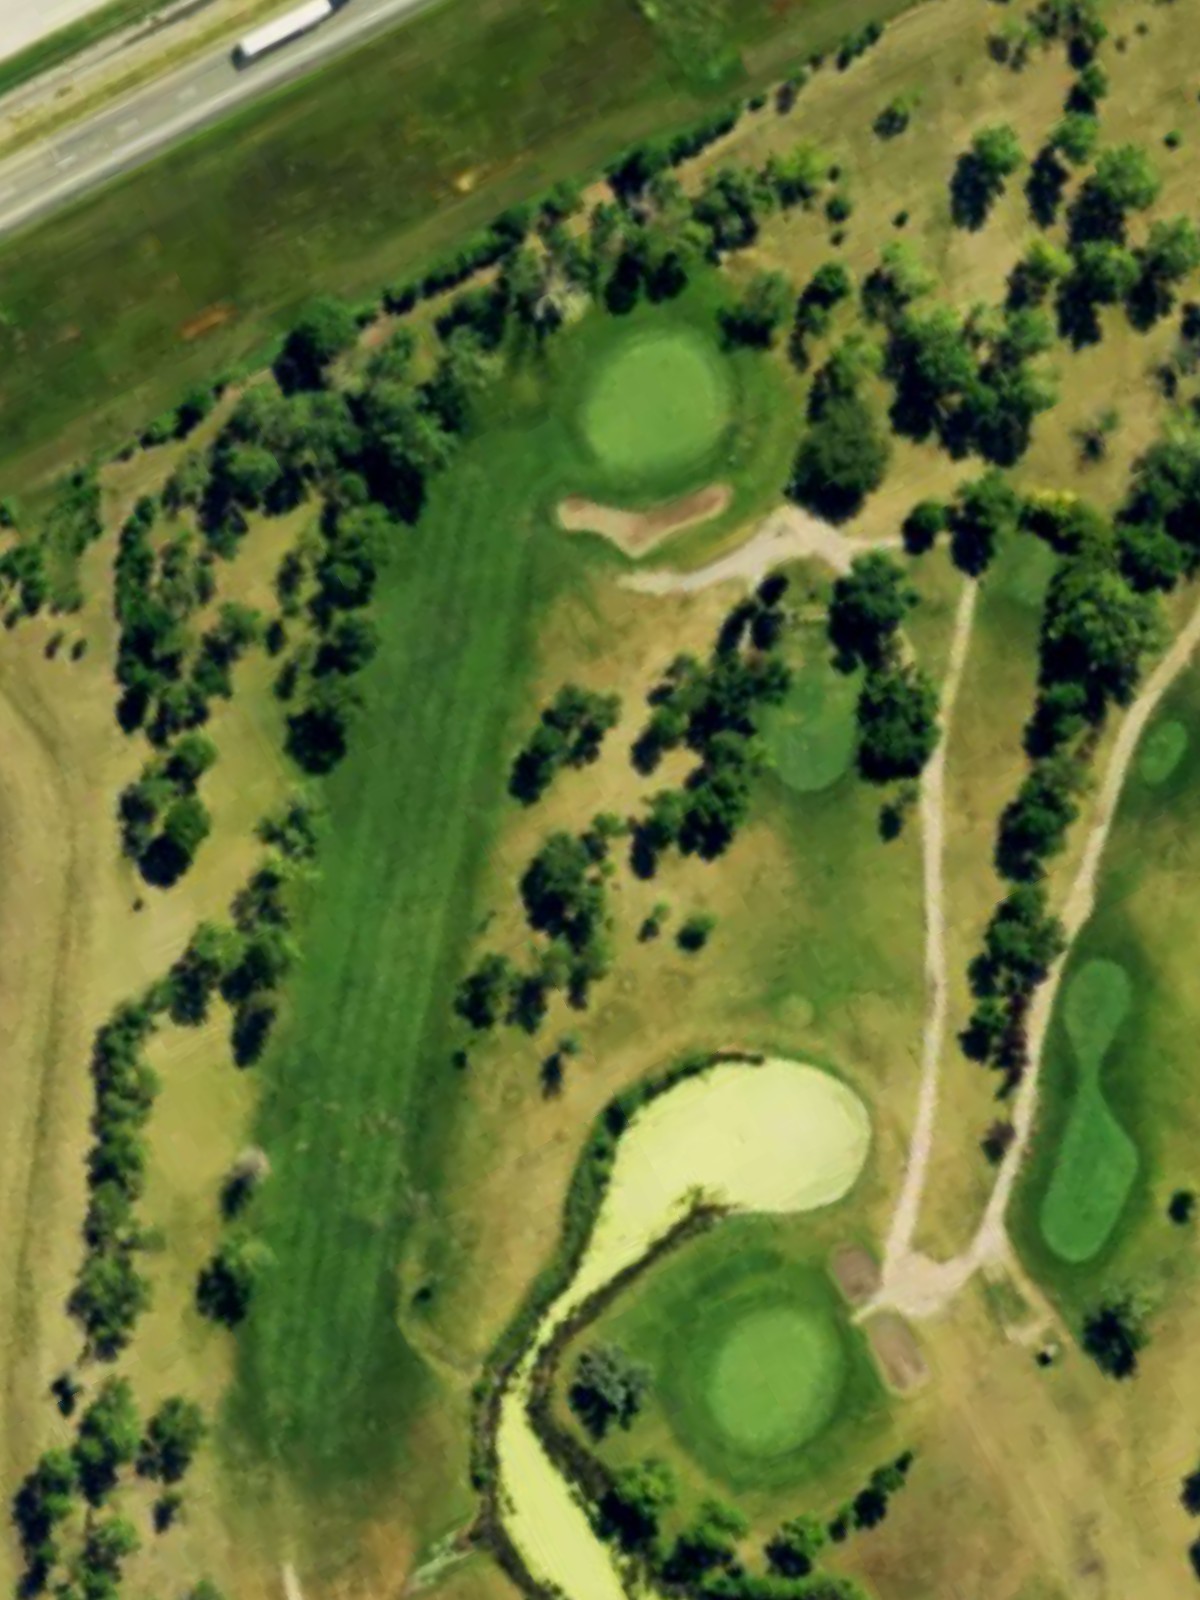
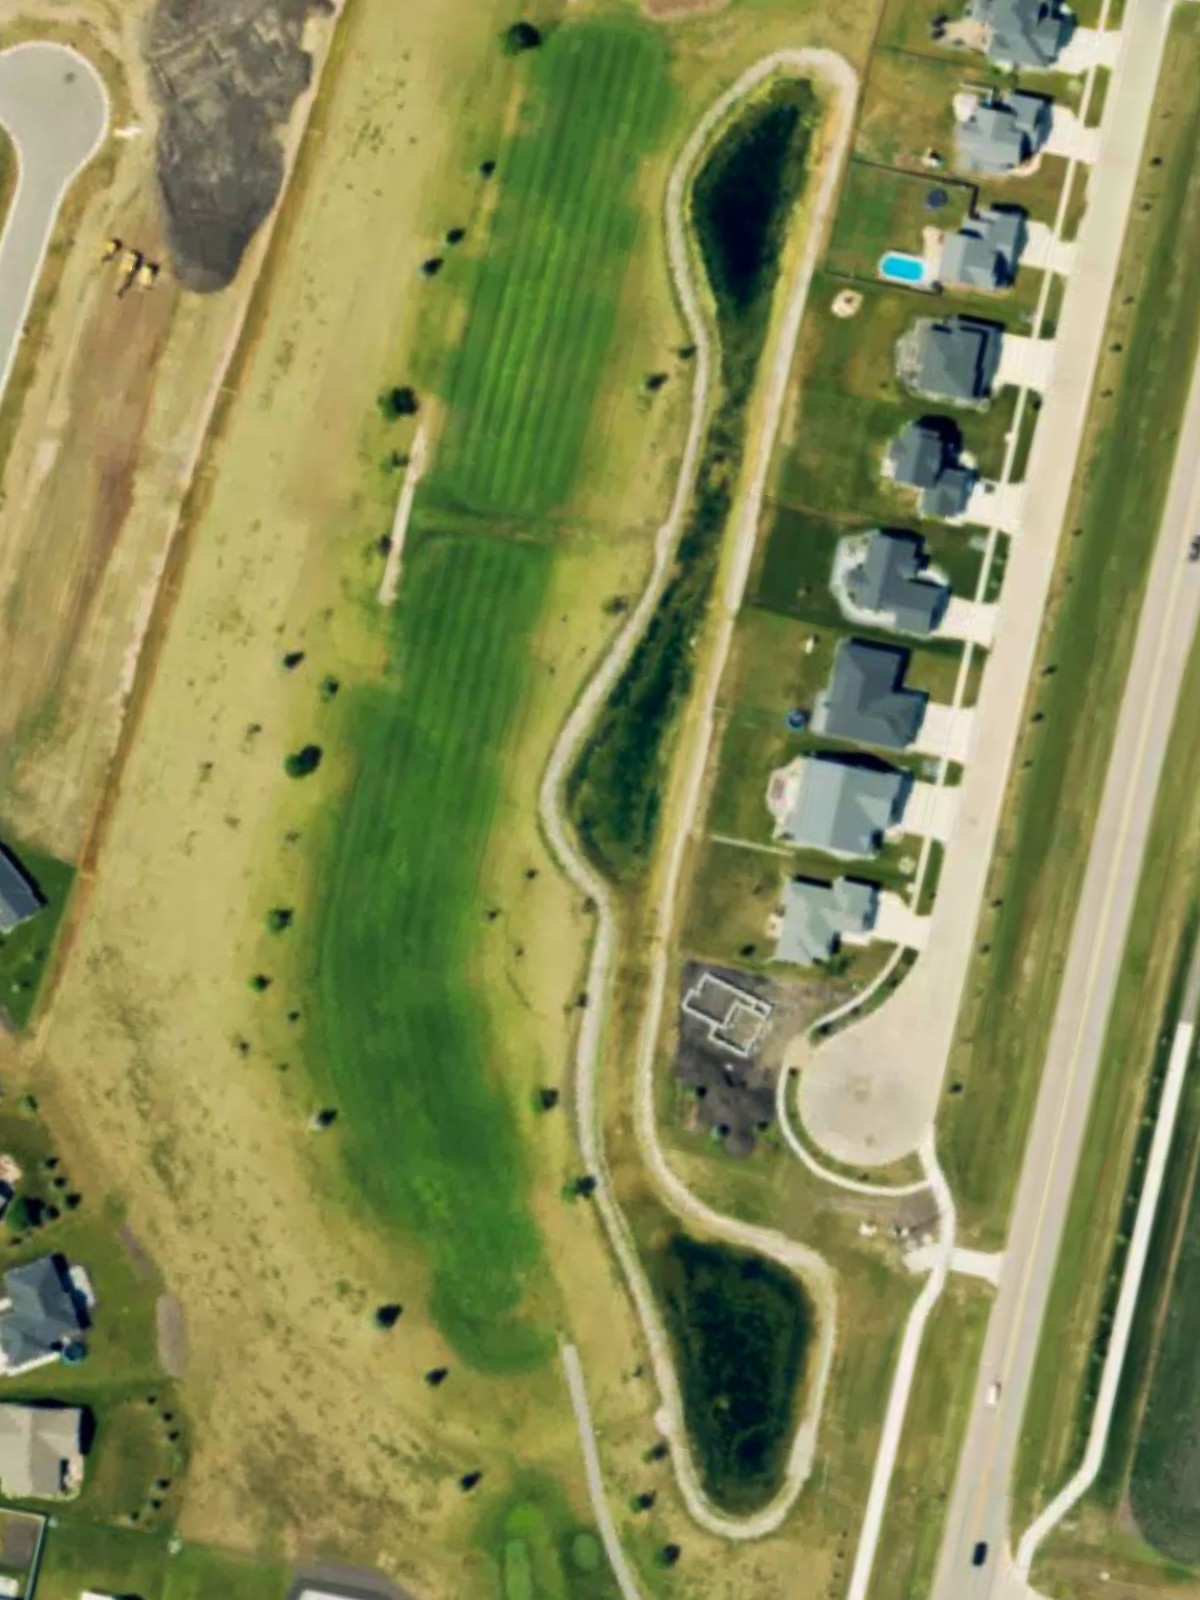
The first of the course's most demanding holes, this par 4 plays long and requires two solid strokes to reach the green. Water guards the left side throughout, while out-of-bounds lurks right, leaving little margin for error on either side.
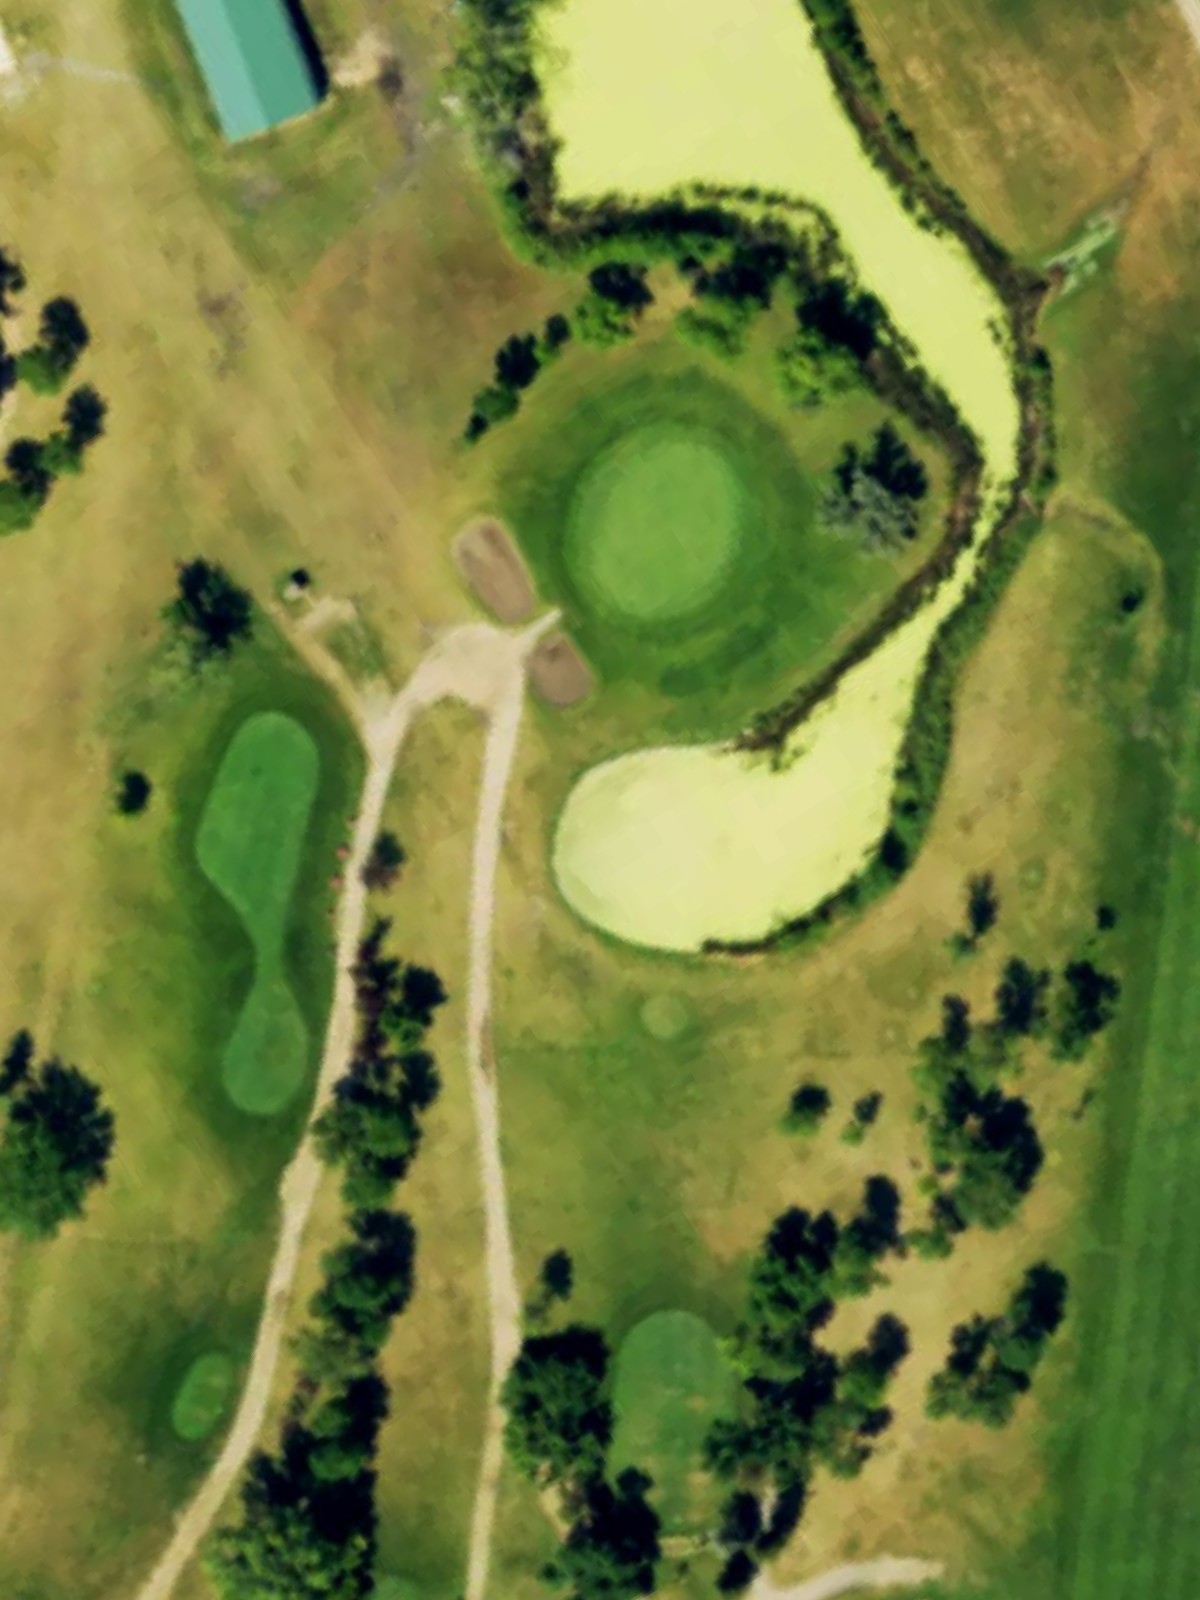
A short par 3 with a forgiving green complex and minimal hazard interference. The primary challenge lies in judging distance and selecting the correct club for the modest yardage.
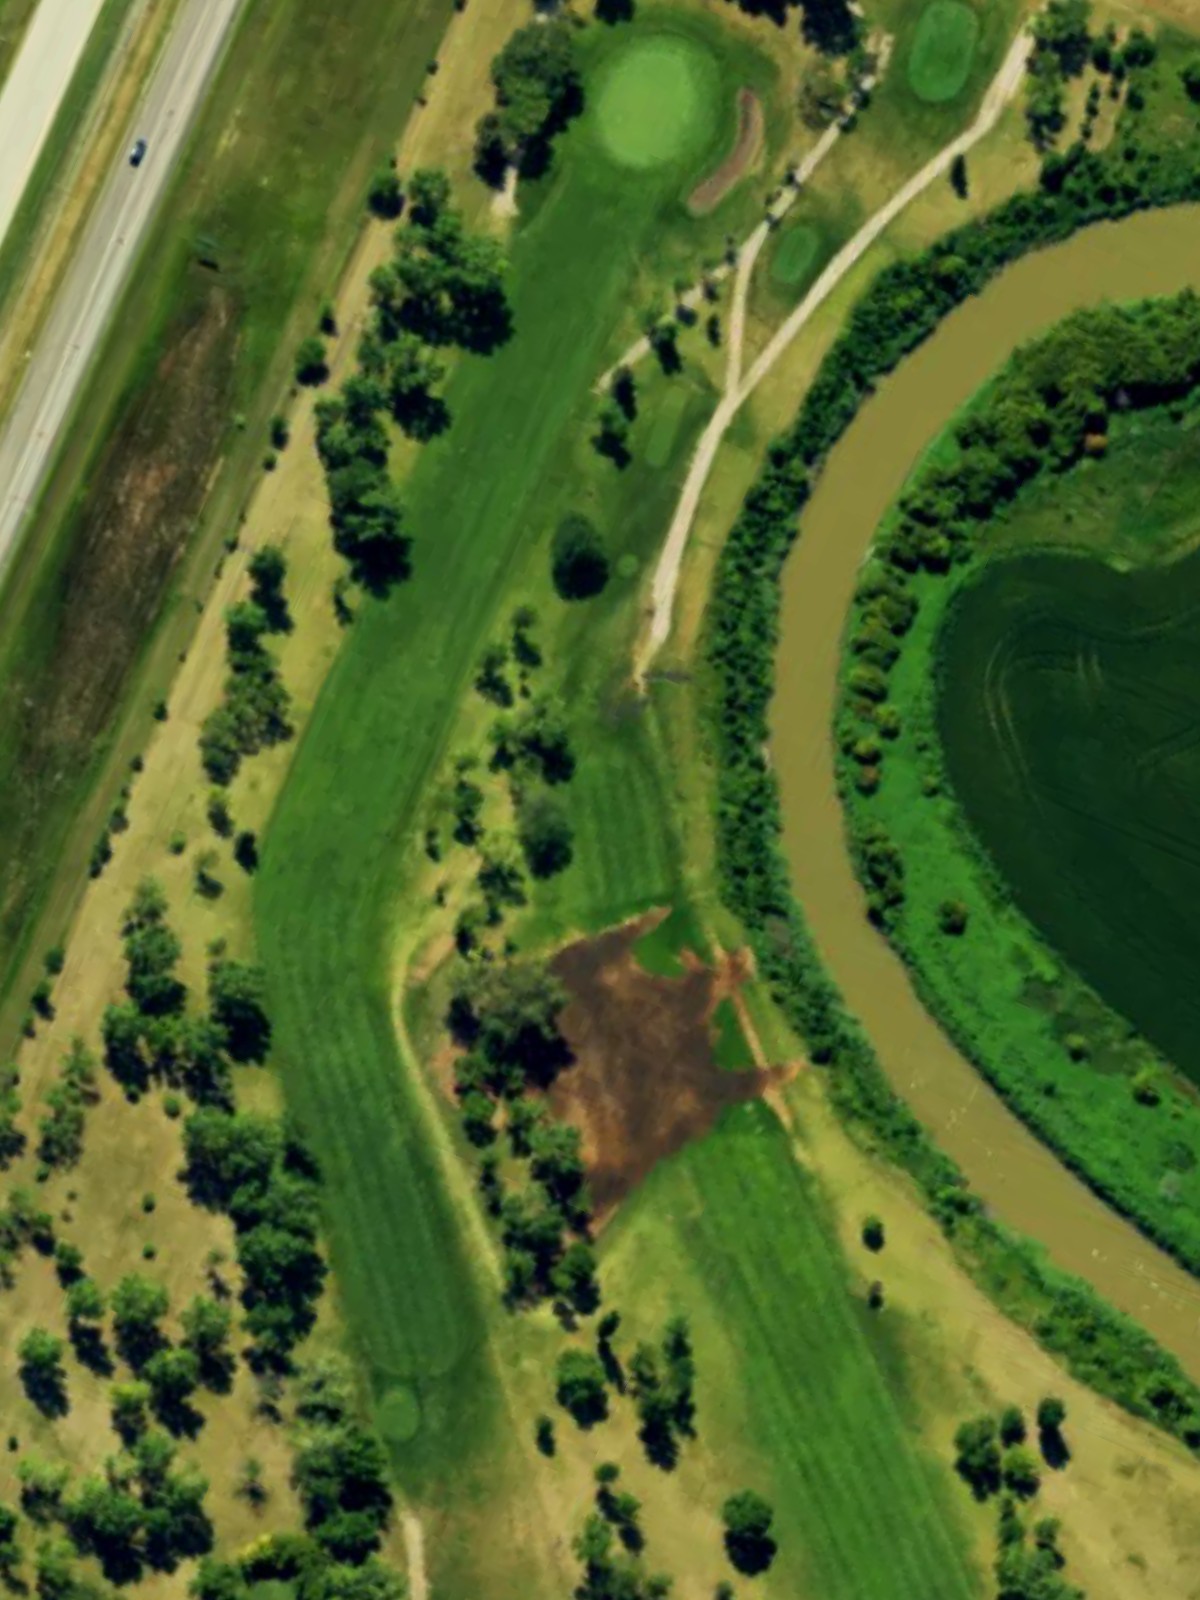
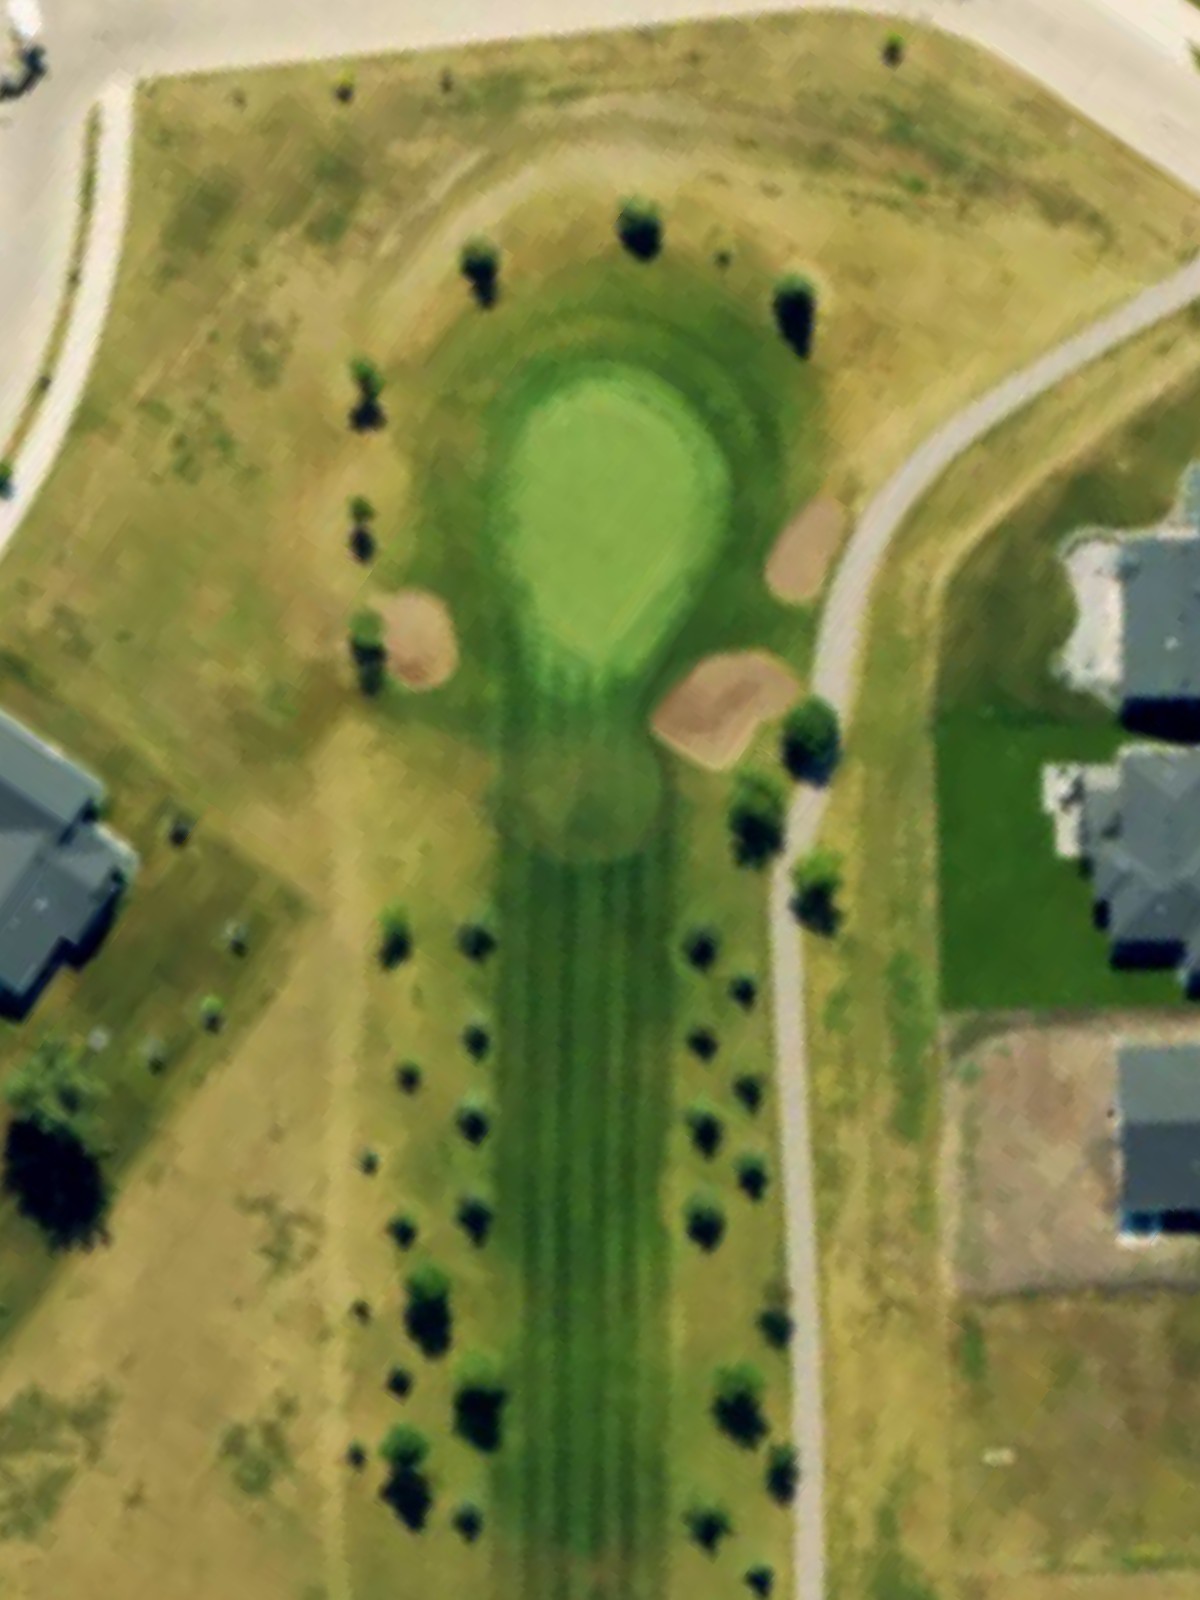
The course's signature test, this lengthy par 4 demands power and precision from the tee shot. Bunkers guard both sides of the fairway, and the green sits elevated and well-defended, making par an excellent score.
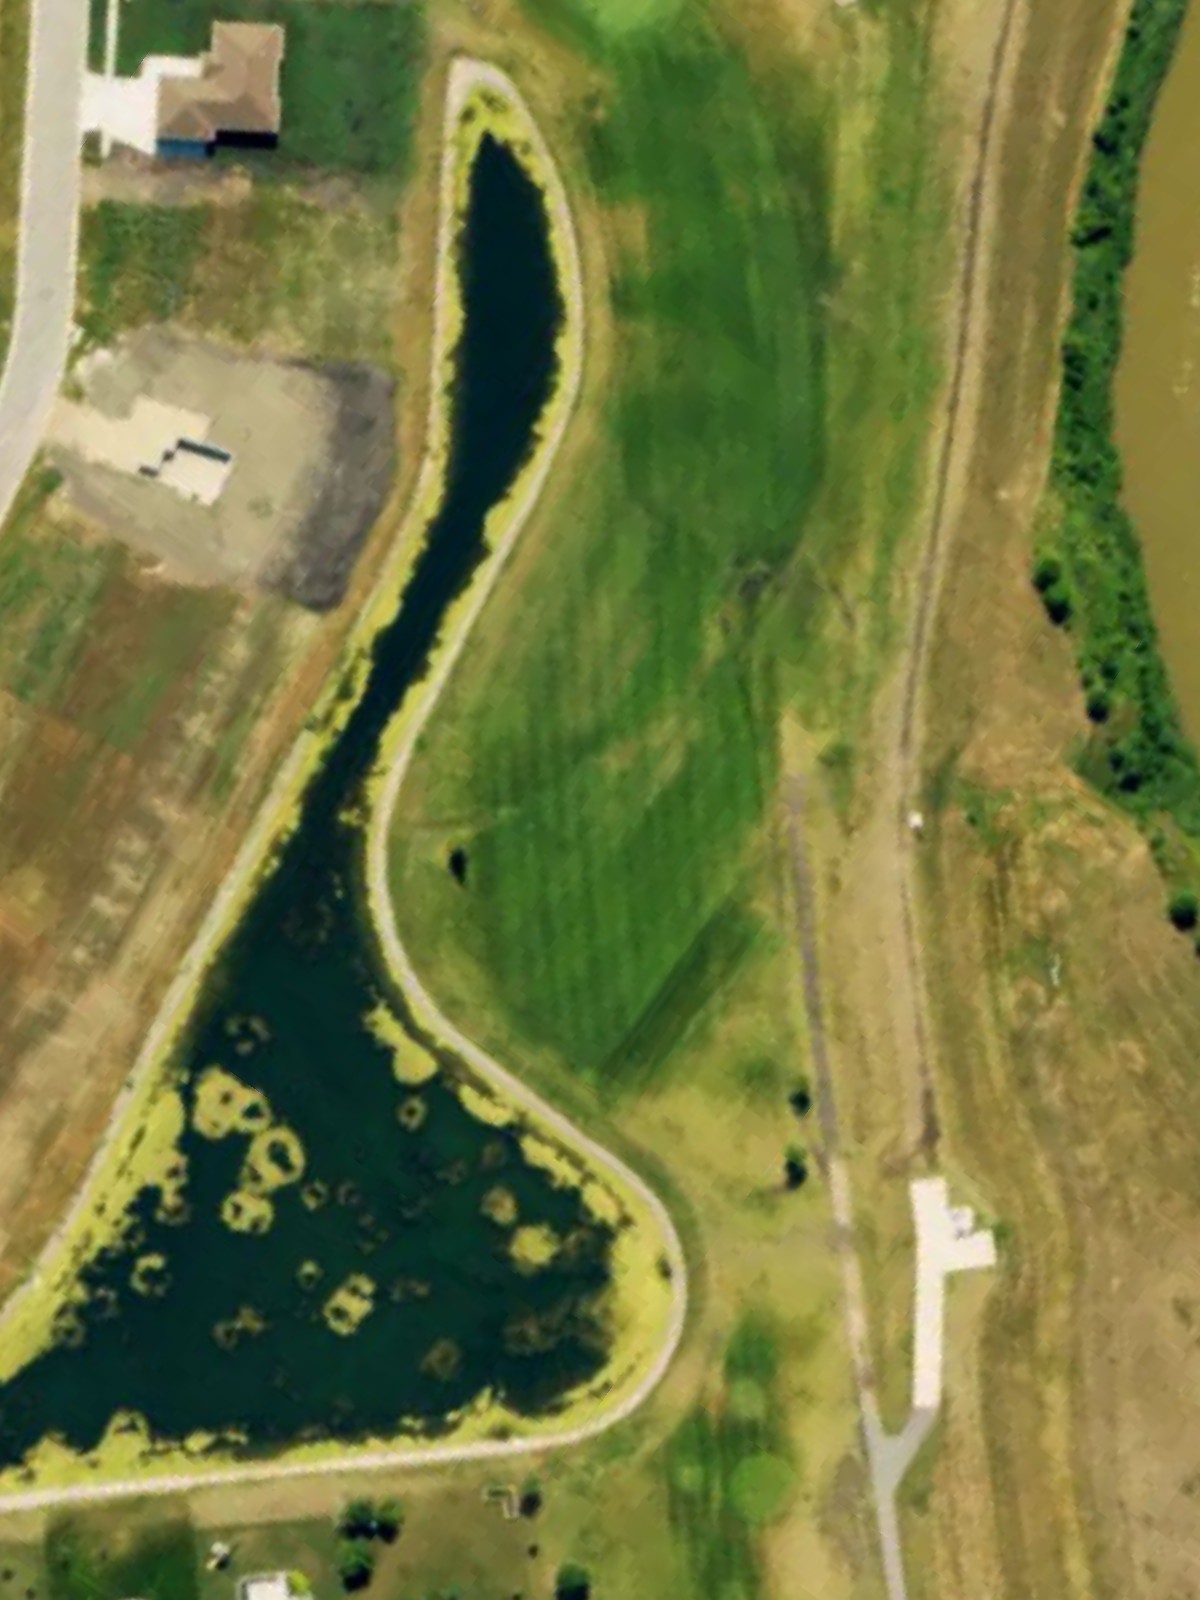
A reachable par 5 that bends gently and offers strategic options for players of different skill levels. Water threatens the left side, while bunkers frame the fairway in the landing zones, rewarding well-placed drives.
A challenging par 4 with a fairway that demands accuracy off the tee to avoid trouble on both sides. The approach shot is complicated by a well-bunkered green that requires a precise strike to find the putting surface.
A mid-length par 5 that plays more comfortably than its yardage suggests, offering reasonable scoring opportunities. The hole features a relatively open fairway but narrows as it approaches a green guarded by strategically placed bunkers.
The shortest par 4 on the course, this hole plays deceptively simple with a short, direct routing. Limited fairway width requires an accurate tee shot, and the compact green demands touch on the approach.

A mid-length par 3 that requires a full iron or hybrid to reach the green across the primary hazard. The green's elevated position and surrounding bunkers add complexity to what appears as a straightforward one-shot hole.
The back nine's most difficult hole, this demanding par 4 features a tight fairway and presents challenges from tee to green. Out-of-bounds right and water left narrow the corridor, while the green is well-bunkered and difficult to access.
A short par 3 with an inviting target but minimal forgiveness around the green. Bunkers surround the putting surface, and the slight elevation change adds uncertainty to distance control.
A generous par 5 that rewards aggressive play without excessive risk, featuring a relatively open fairway with strategic bunkering. The green complex is the strongest defensive feature, protecting an otherwise accessible hole.
A strong par 4 that combines length with precision requirements, particularly off the tee. Bunkers and water converge around the landing areas and green, making this one of the course's most strategically complex holes.
A lengthy par 5 with a favorable routing that offers genuine birdie potential despite its yardage. The fairway opens generously, but hazards tighten around the green to penalize overambitious approaches.
The easiest par 3 on the course, this short hole features a wide, accessible green with minimal hazard interference. Its simplicity makes it an ideal scoring opportunity within the round.
A mid-length par 4 with a relatively straightforward design that offers reasonable scoring potential. Moderate bunkering and a clear approach define the hole, making it less punishing than many of the course's other tests.

A solid par 4 with a dogleg routing that rewards position off the tee over raw distance. Bunkers frame both the fairway and green, and a slightly elevated green requires precision with the approach shot.

The finishing par 4 presents a balanced test to conclude the round with fairway bunkering and a well-protected green. The hole's strategic design provides a fitting climax without excessive difficulty, allowing the course to finish fairly.
Scorecard
| Hole | 1 | 2 | 3 | 4 | 5 | 6 | 7 | 8 | 9 | Out | 10 | 11 | 12 | 13 | 14 | 15 | 16 | 17 | 18 | In | Tot |
|---|---|---|---|---|---|---|---|---|---|---|---|---|---|---|---|---|---|---|---|---|---|
| Par | 4 | 4 | 3 | 4 | 5 | 4 | 5 | 4 | 3 | 36 | 4 | 3 | 5 | 4 | 5 | 3 | 4 | 4 | 4 | 36 | 72 |
| HCP | 11 | 3 | 17 | 1 | 9 | 5 | 13 | 15 | 7 | 2 | 14 | 12 | 4 | 16 | 18 | 10 | 6 | 8 | |||
| black | 353 | 405 | 163 | 469 | 579 | 425 | 510 | 355 | 223 | 3482 | 405 | 180 | 527 | 438 | 503 | 159 | 385 | 396 | 393 | 3386 | 6868 |
| blue | 351 | 381 | 137 | 433 | 527 | 410 | 495 | 320 | 204 | 3258 | 390 | 165 | 509 | 416 | 493 | 153 | 360 | 378 | 365 | 3229 | 6487 |
| white | 346 | 369 | 127 | 377 | 481 | 388 | 431 | 287 | 158 | 2964 | 370 | 130 | 470 | 366 | 453 | 145 | 335 | 340 | 355 | 2964 | 5928 |