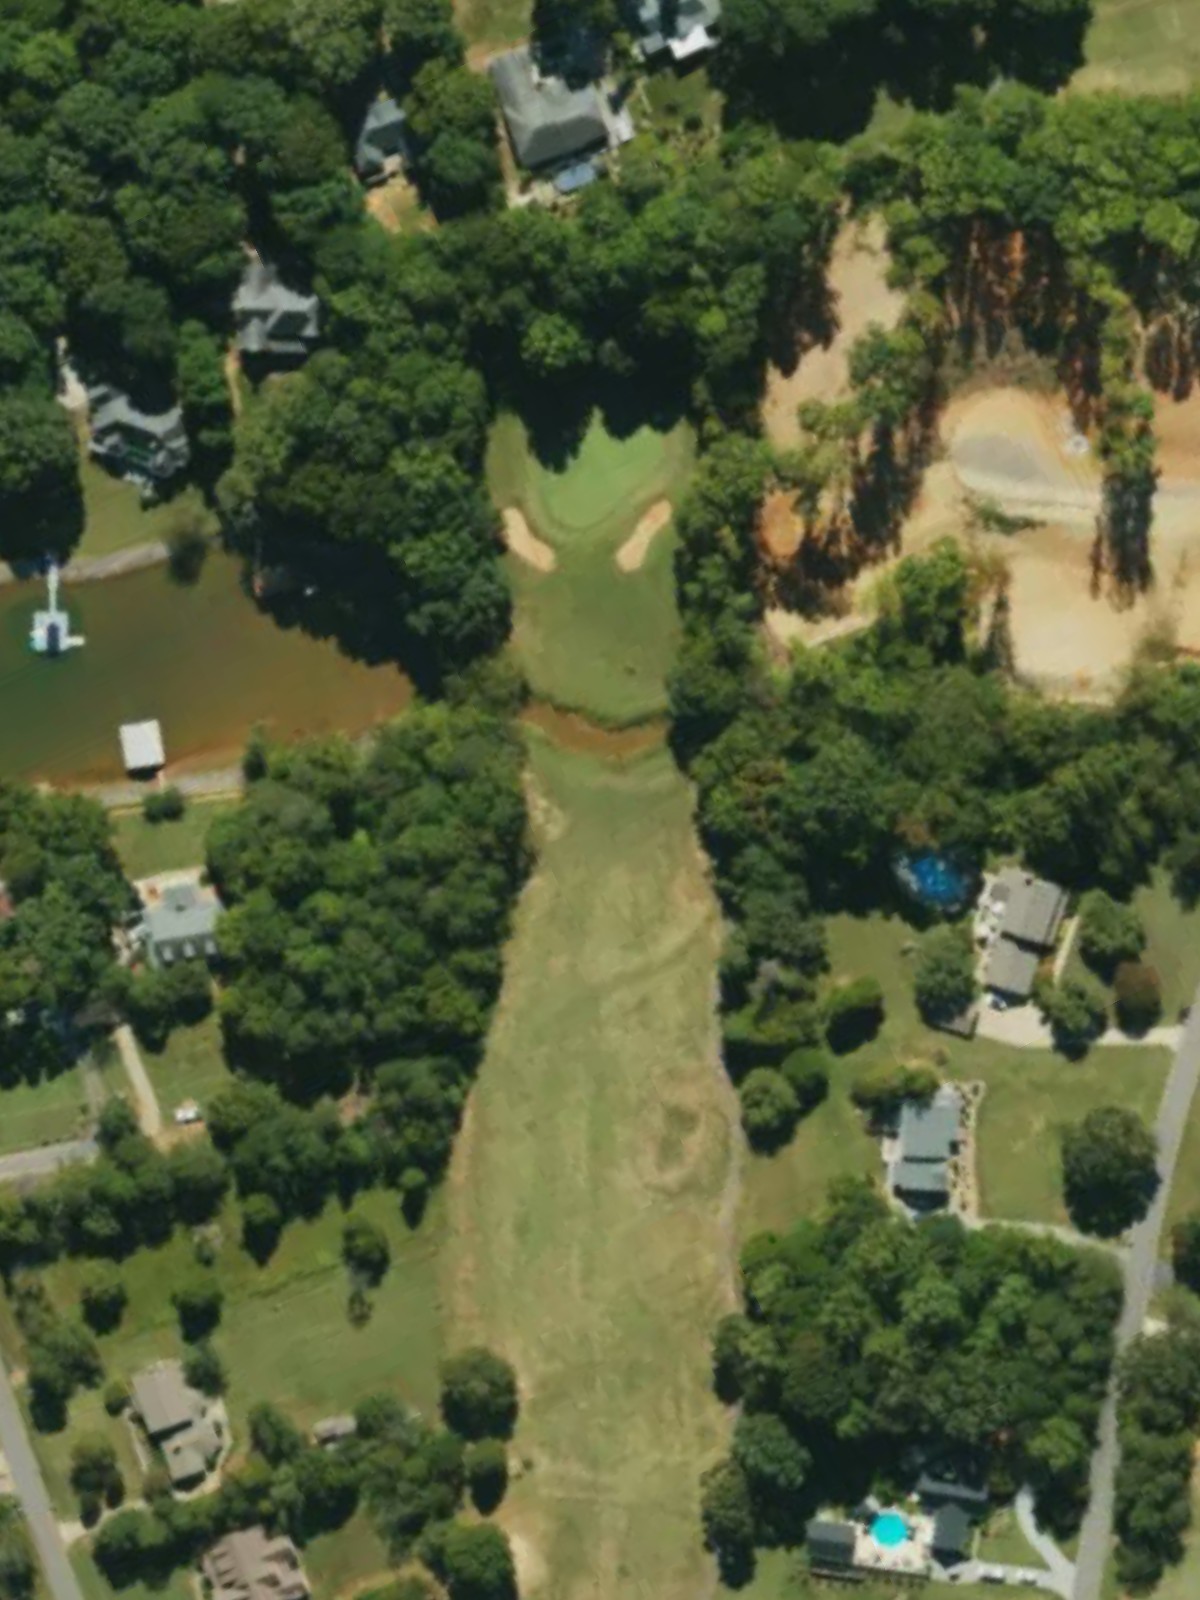
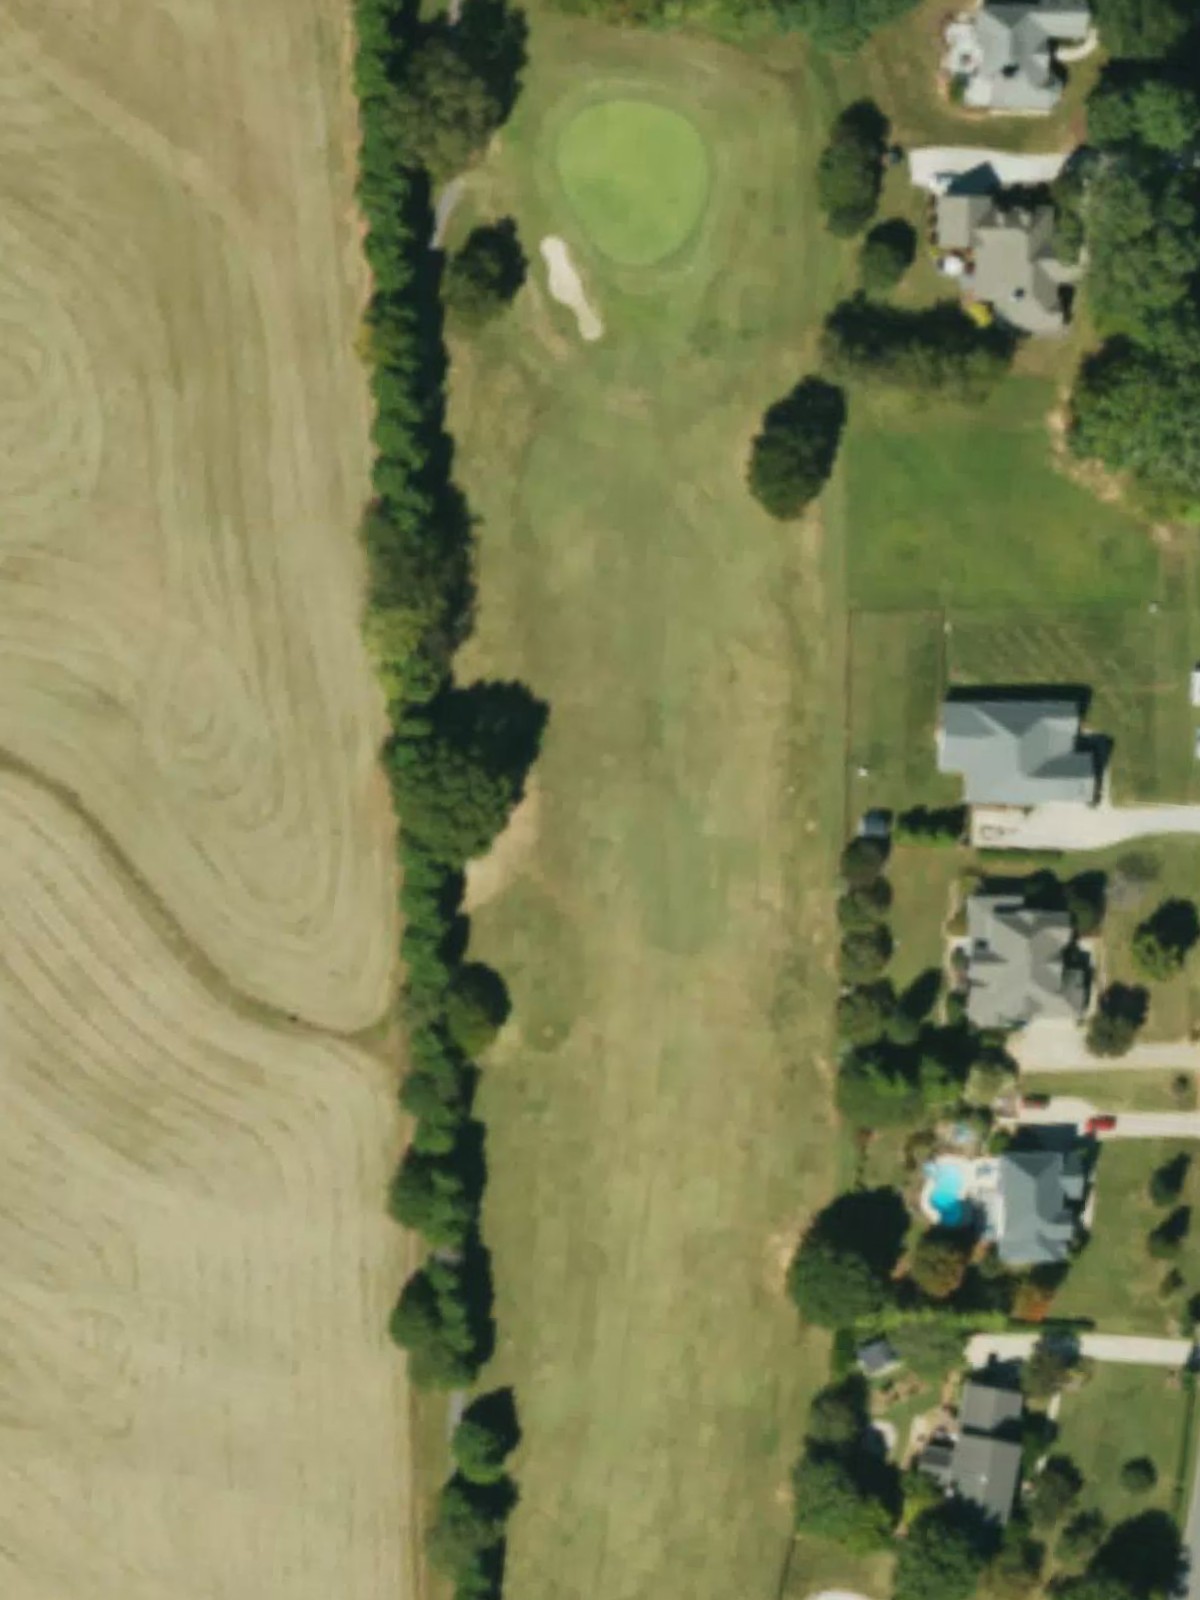
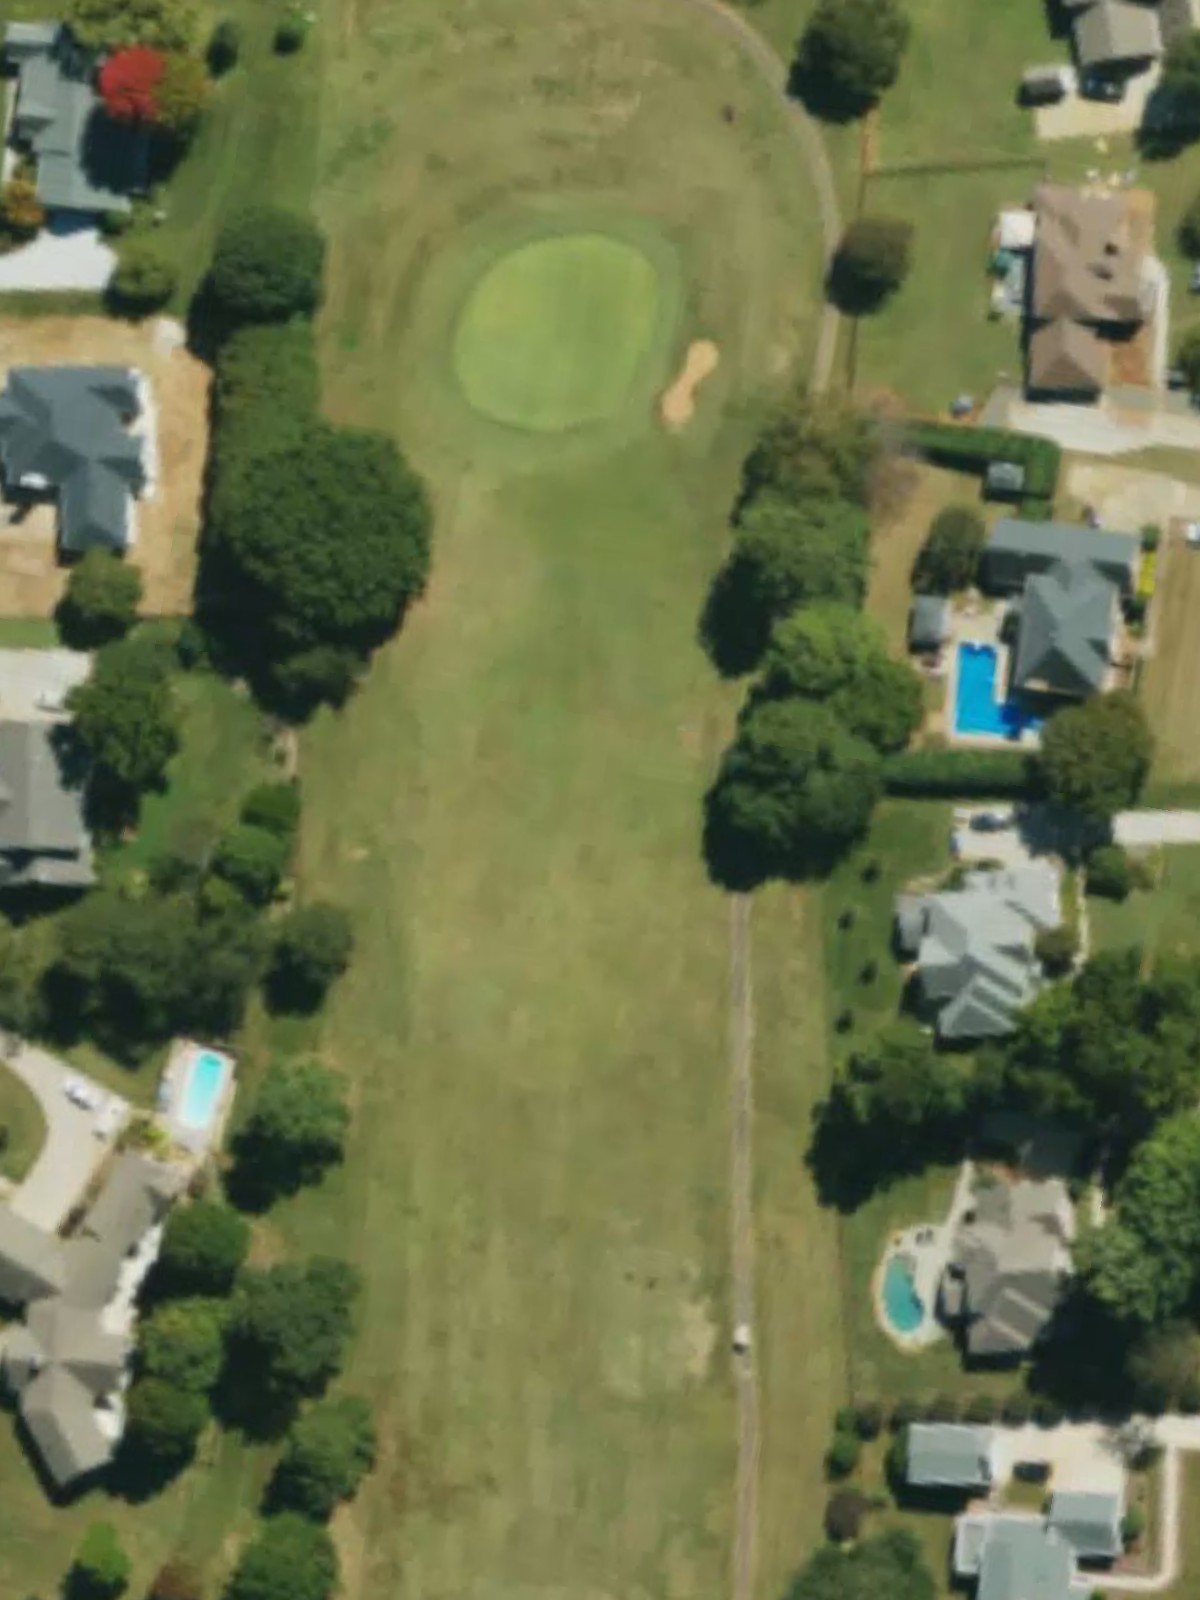
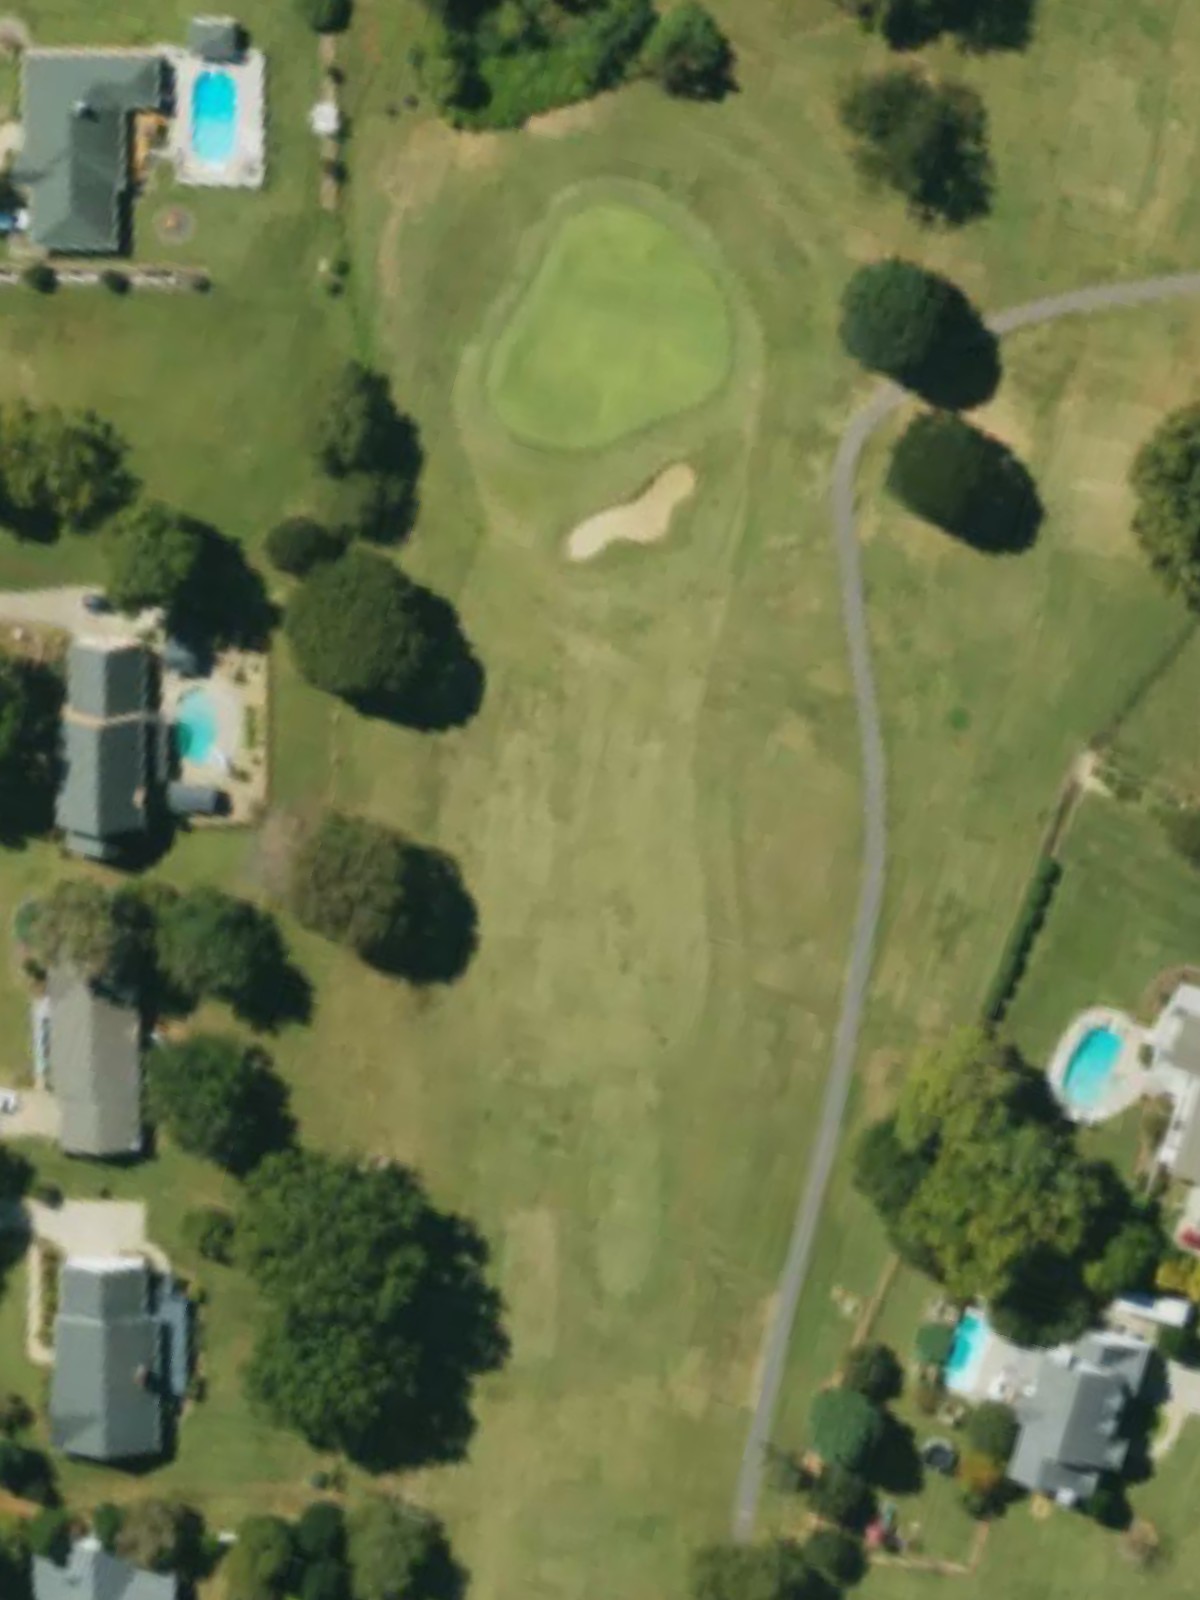
Mallard Head Cc is an 18-hole golf course in Mooresville, NC with a par of 72. It offers 3 tee sets: blue tees (6,764 yards, slope 126, rating 73.1), white tees (6,343 yards, slope 123, rating 71.1), gold tees (5,975 yards, slope 121, rating 69.1). The hardest hole is #1, a par 4 playing 394 yards from the first tee.
Mallard Head Cc
Mooresville, NC
Get PDF Yardage Book
We'll email you the PDF link. No spam, ever.
Create Your Game Plan
Pick your tees, enter your bag, and get a personalized shot-by-shot strategy for every hole.

The opening hole plays as a straightforward par 4 with a broad fairway that gradually narrows as it approaches the green. Bunkers frame both sides of the putting surface, demanding accuracy on the approach shot to the most difficult handicap hole on the course.
A reachable par 5 with a relatively open corridor for the first two shots. Water hazards and bunker complexes guard the green, rewarding aggressive play while punishing errant approaches.
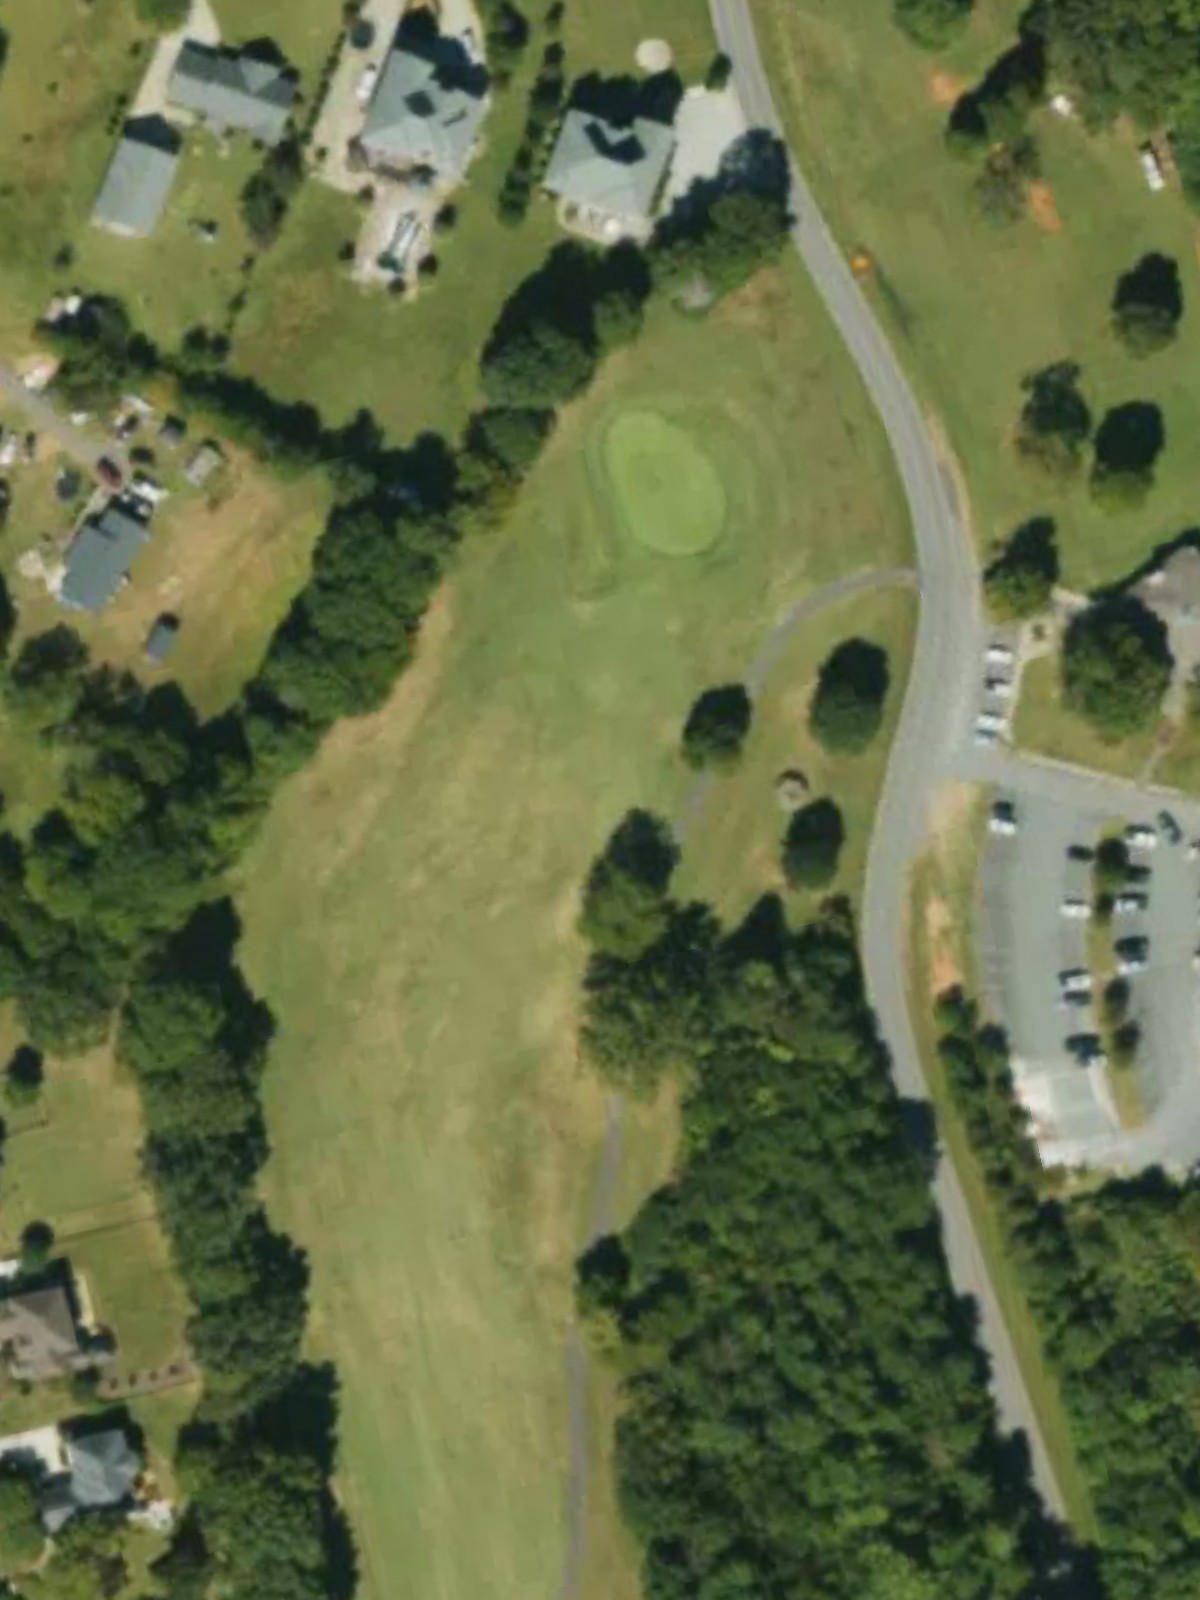
A mid-length par 3 that requires a confident strike over a substantial carry. A cluster of bunkers protects the front and sides of the green, making precise distance control essential on this scenic hole.
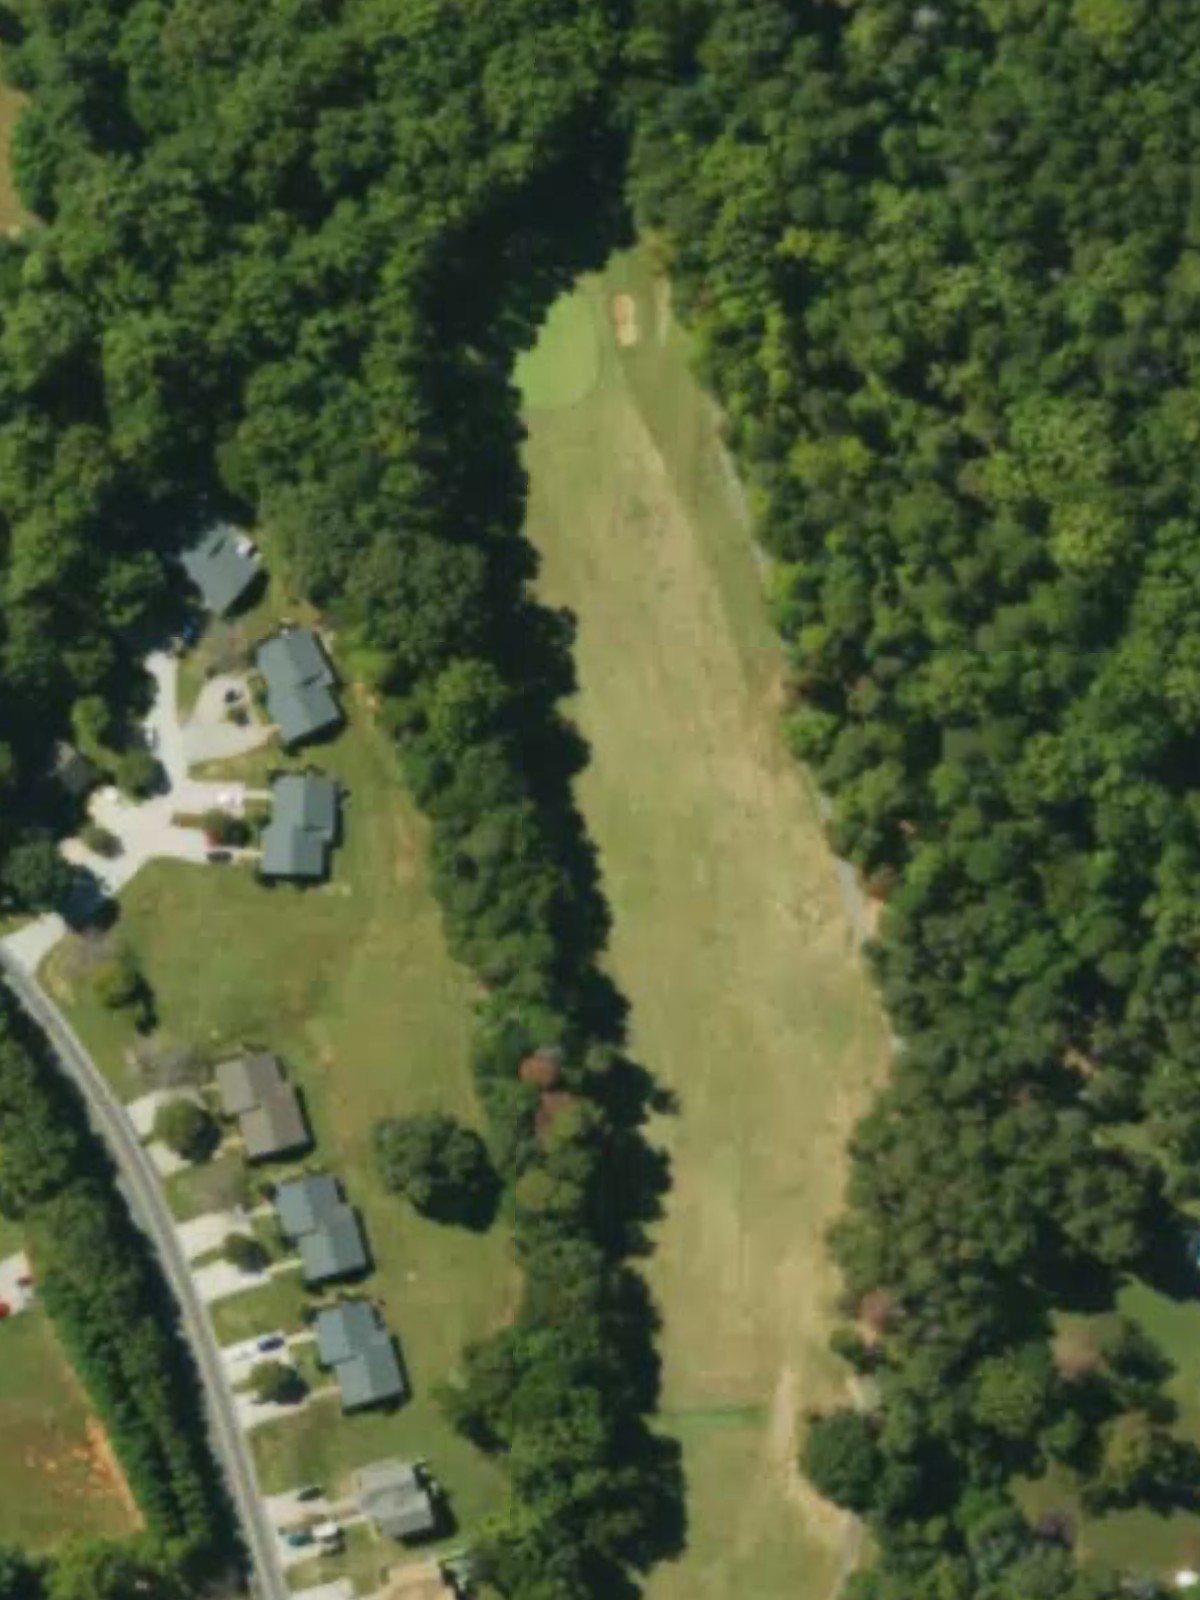
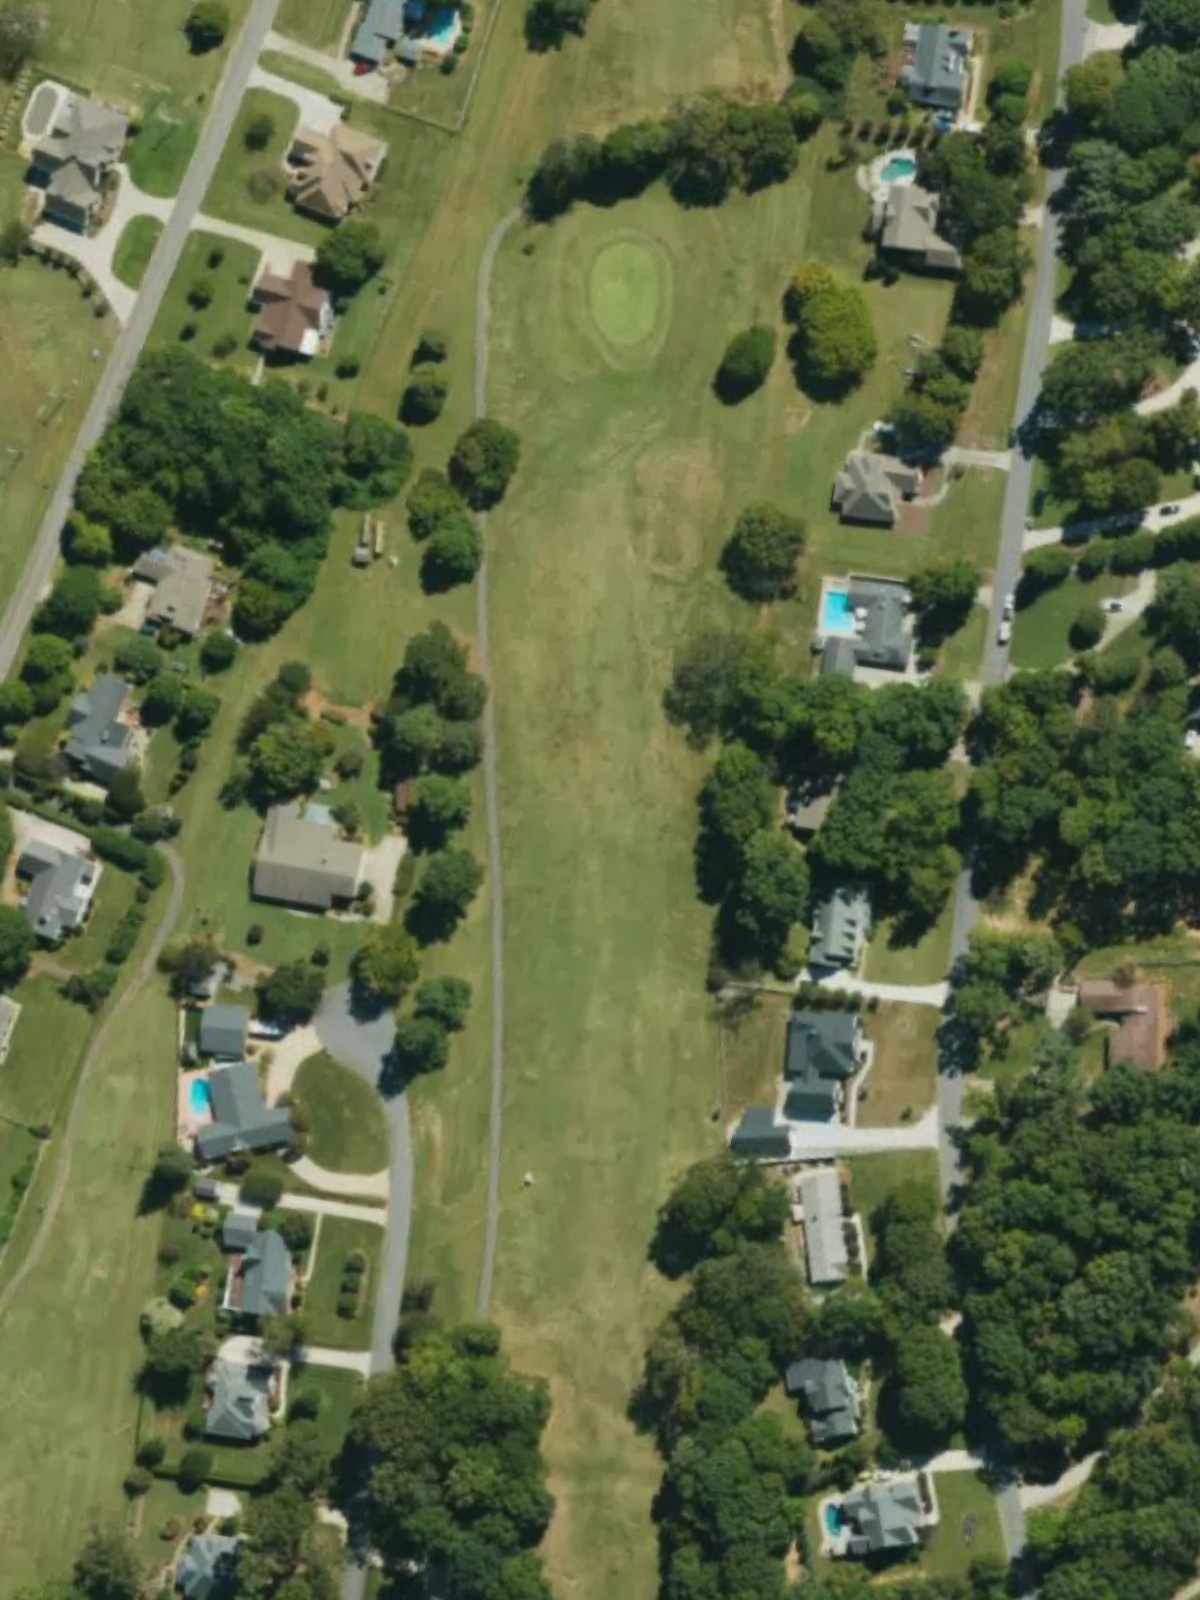
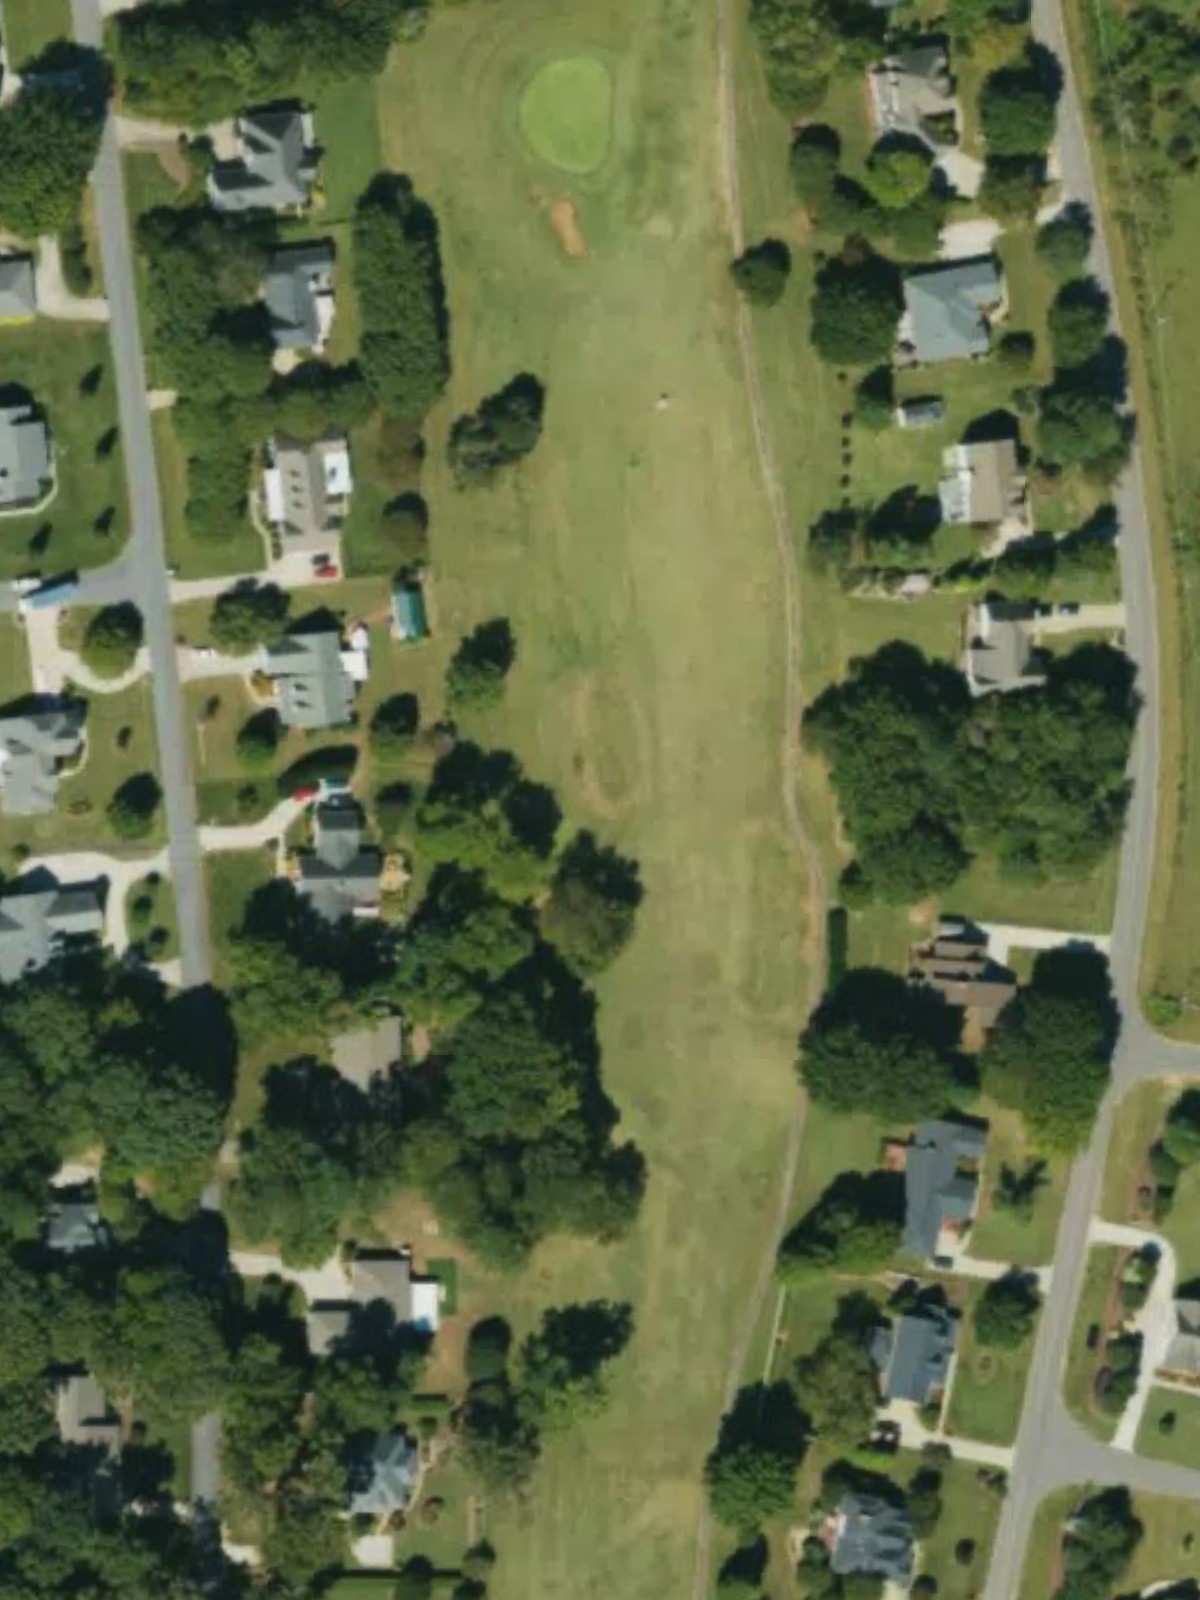
A generous par 4 with a wide-open fairway and minimal hazards, offering one of the course's most approachable scoring opportunities. The relatively flat terrain and unguarded green make this an ideal birdie hole.
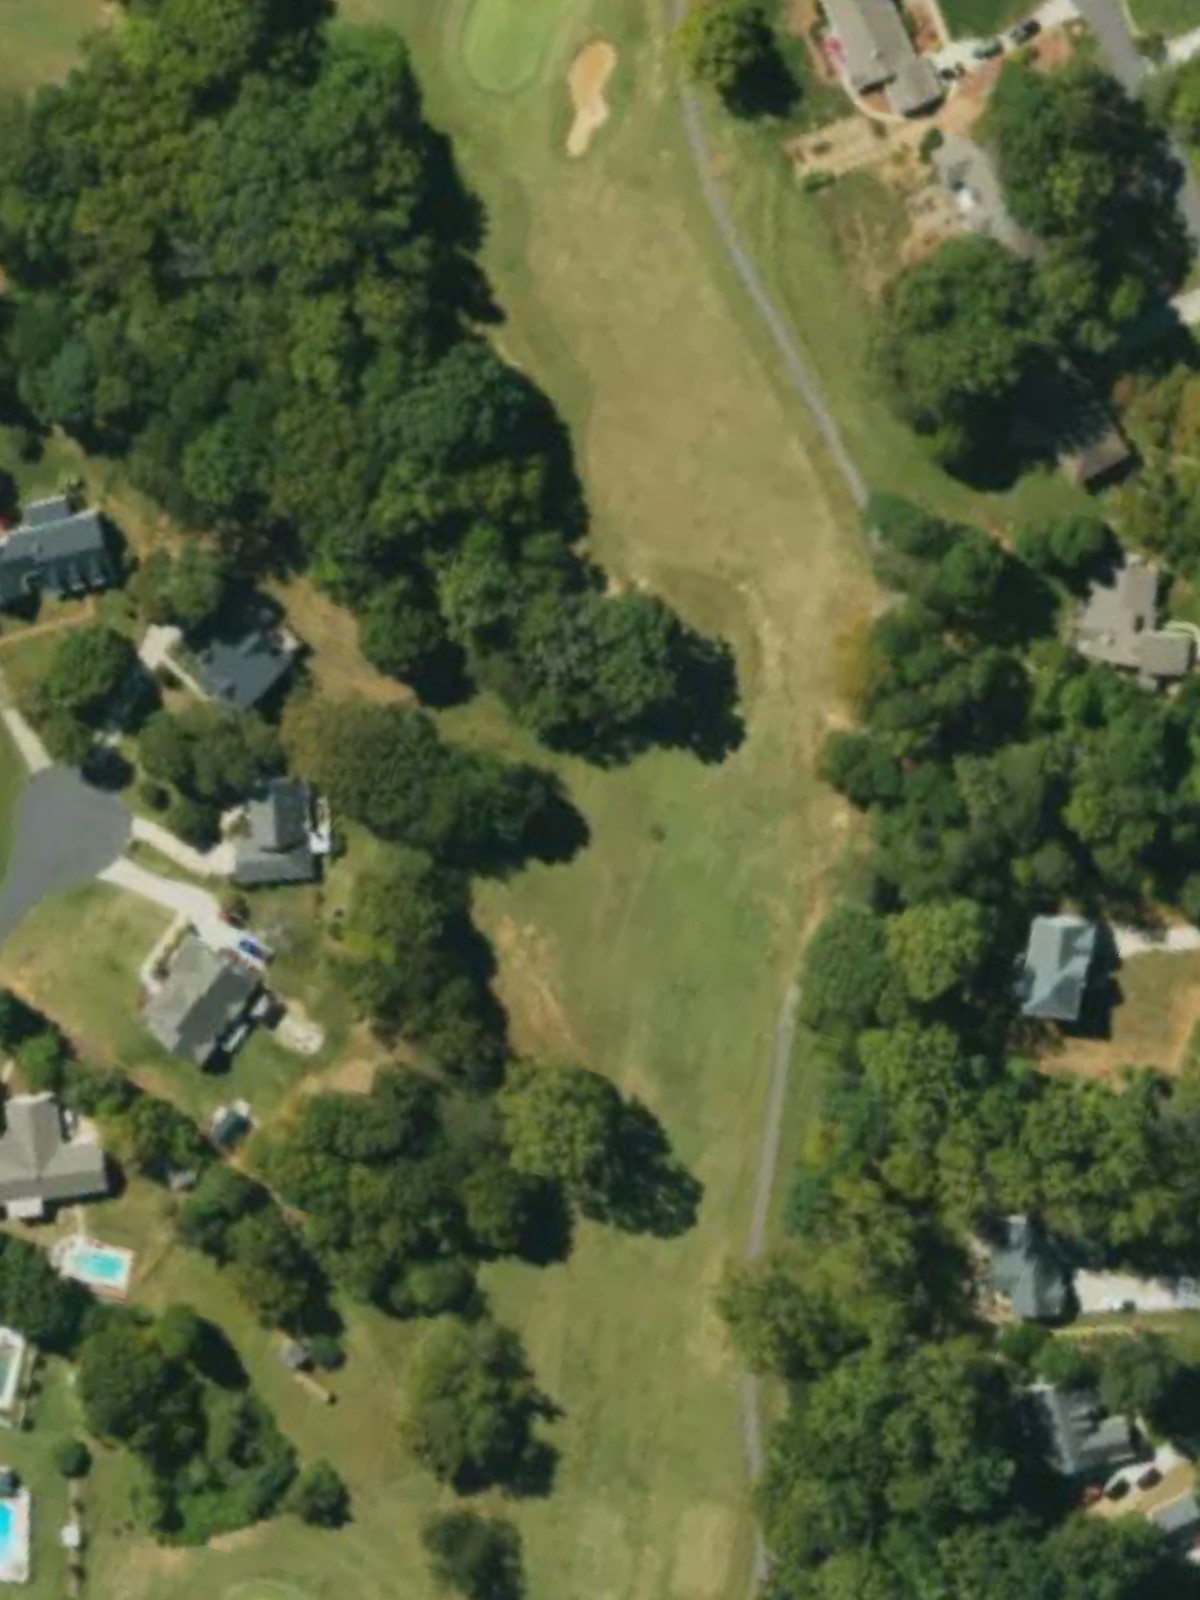
A compact par 4 with little margin for error despite its modest length, ranking as the third-most difficult hole on the card. Tight fairway boundaries and strategic bunkering around the green create a deceptive challenge.

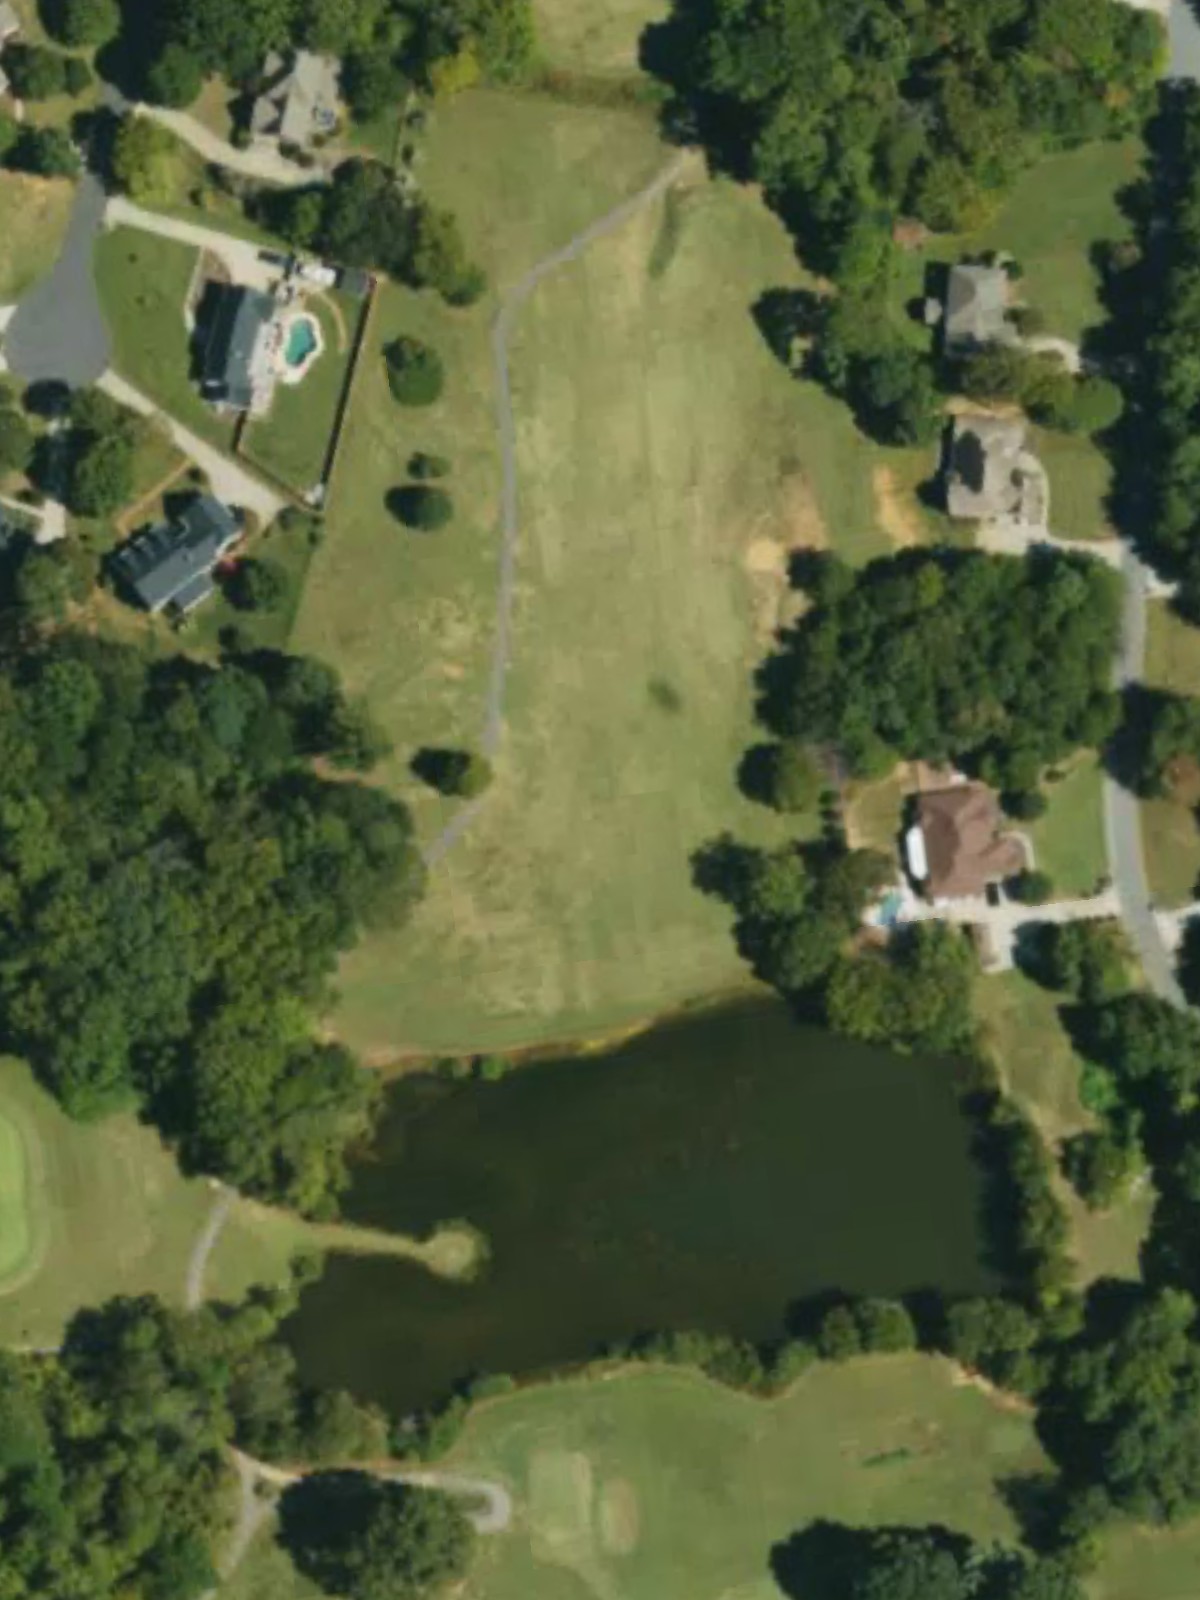
A lengthy par 5 that demands two solid strikes to reach the green in regulation, with water and sand hazards framing the right side throughout. The fairway opens slightly for the third shot, but the green's defenses remain formidable.

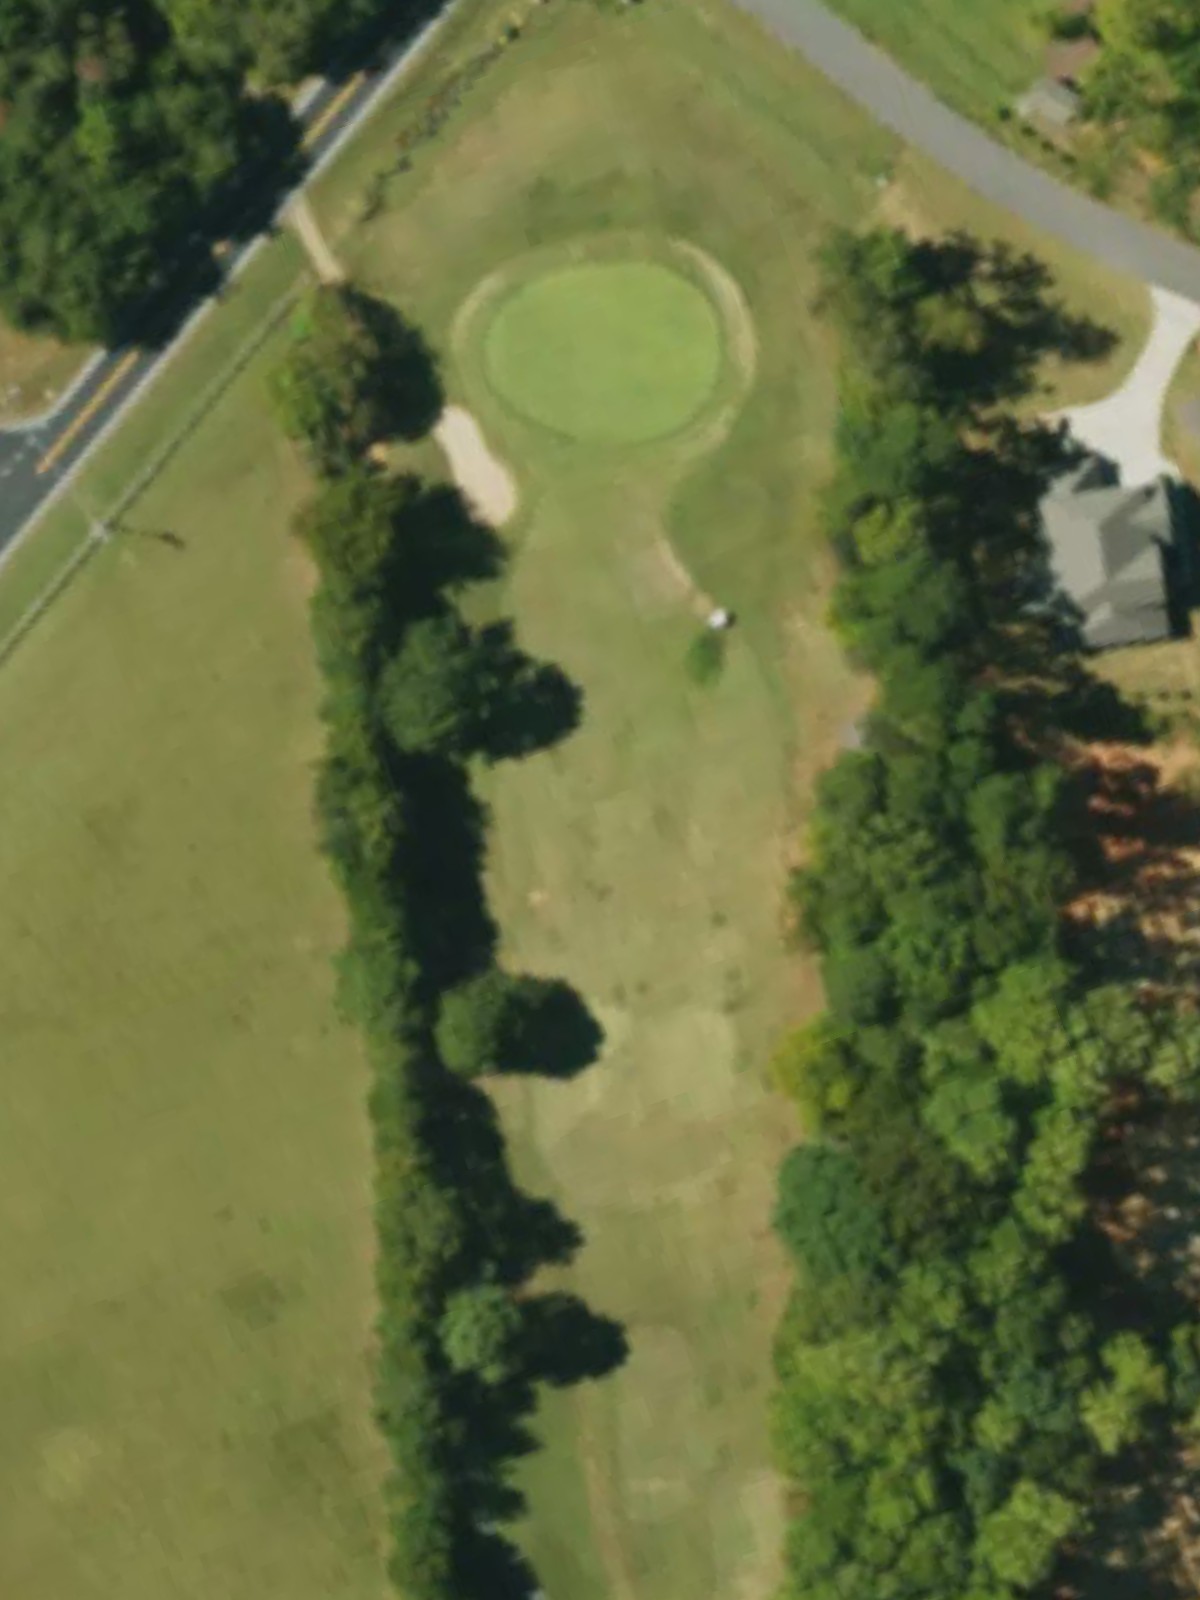
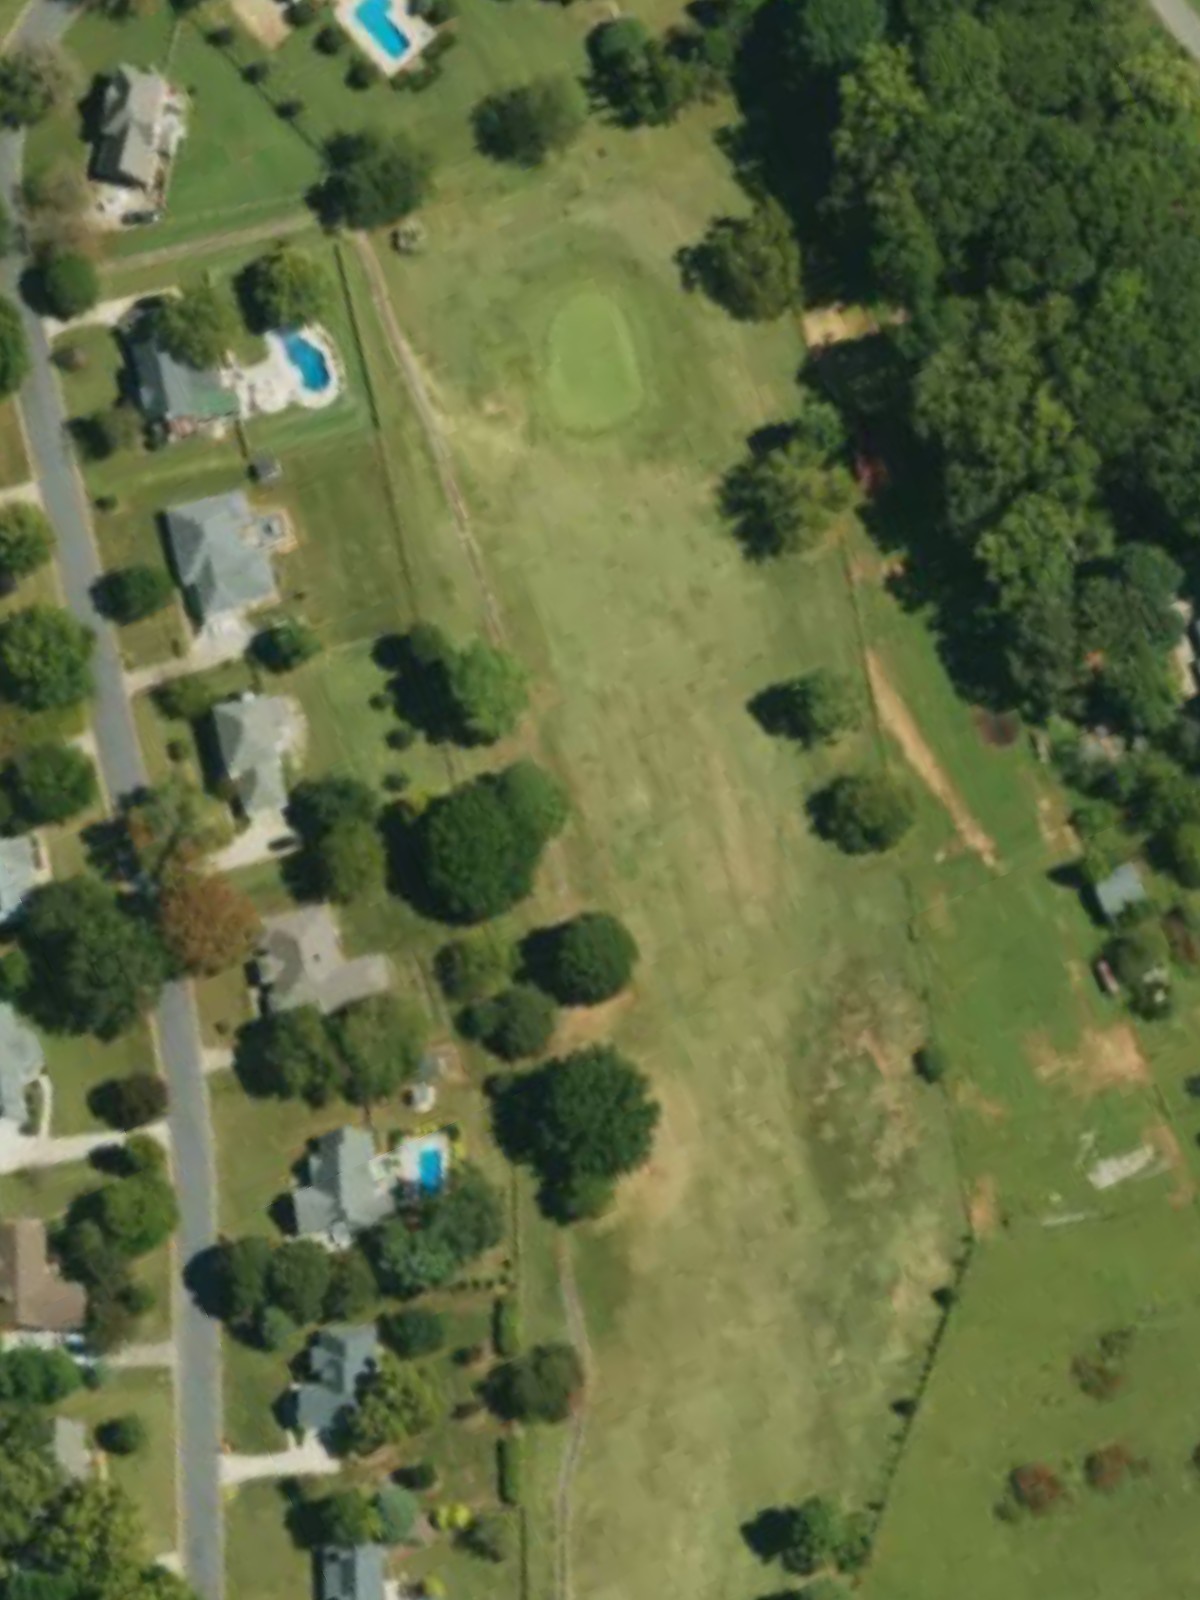
A short but tricky par 3 over a significant hazard to a well-bunkered green. The modest yardage belies the precision required to avoid a penalty or bogey on this penalty-stroke hole.
The easiest hole on the course, this short par 4 features a wide fairway and minimal hazards to reward accurate striking. An open approach to the green offers one of the best birdie opportunities at Mallard Head.
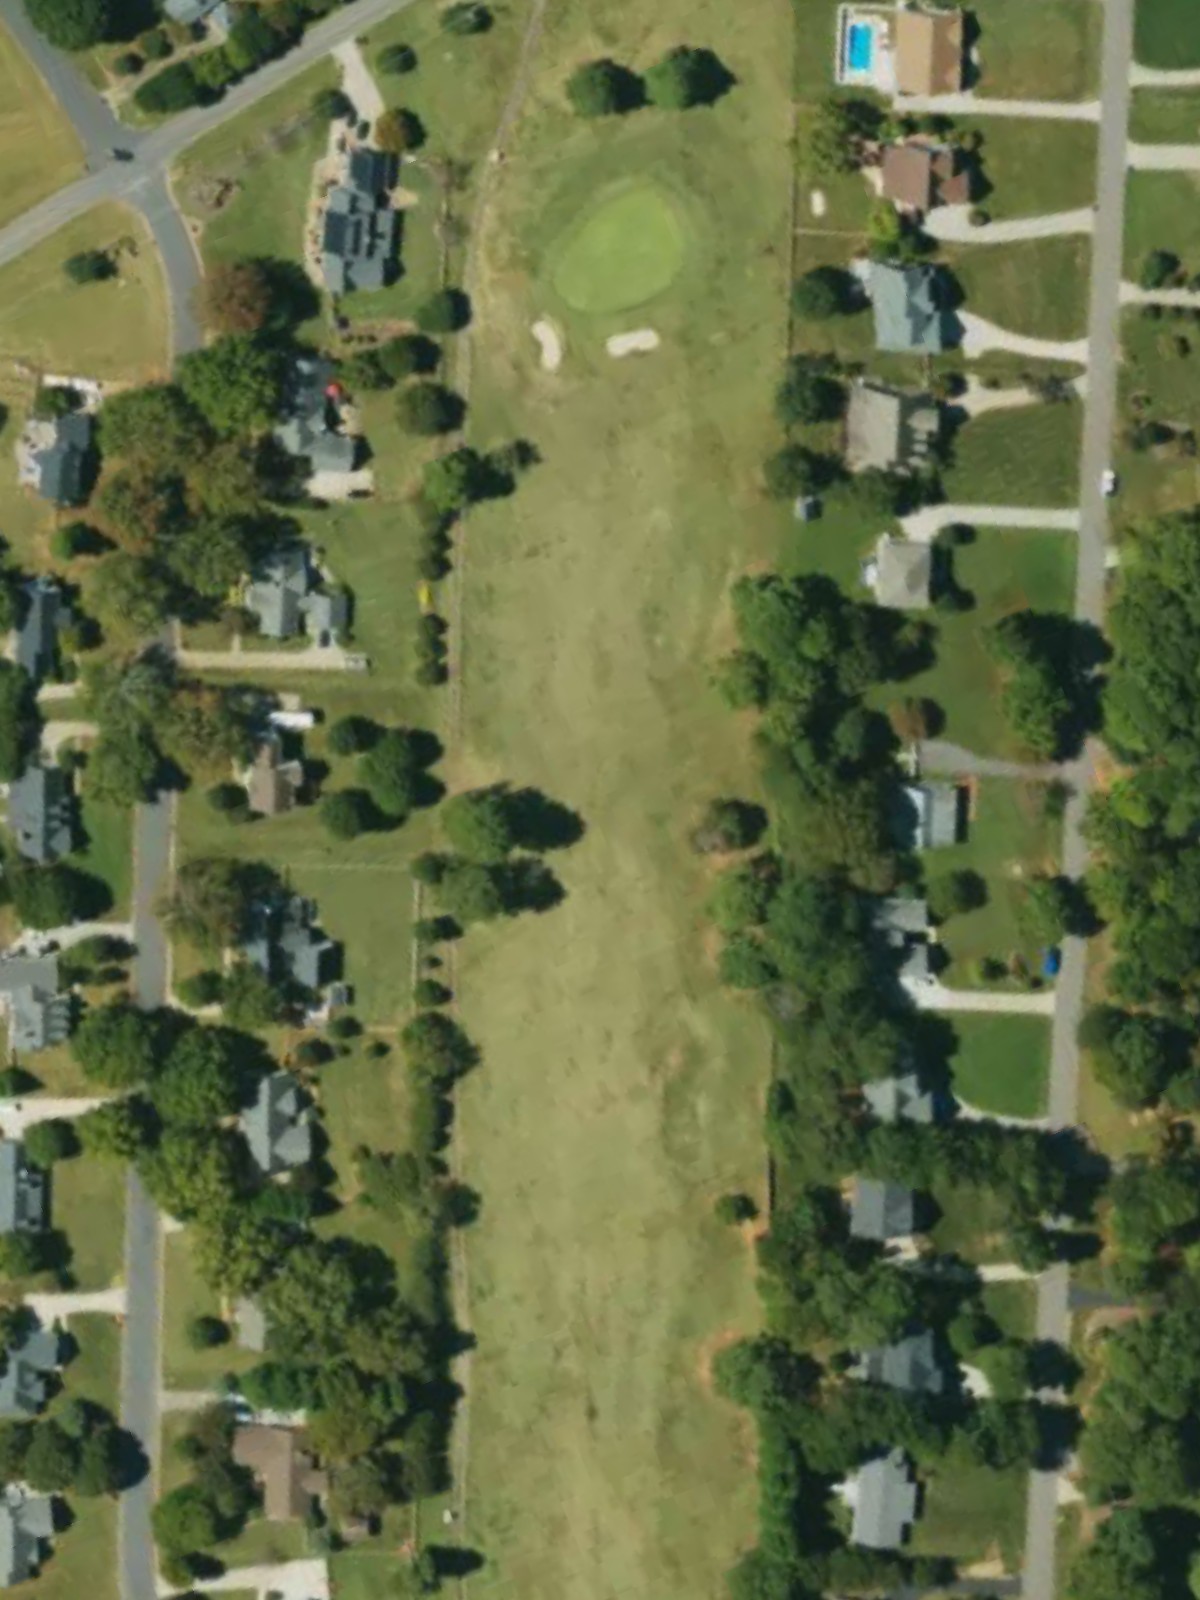
A challenging par 4 with tight fairway boundaries and strategic bunkering throughout the hole's length. The approach shot demands precision, as bunkers and trouble areas tighten around the green.
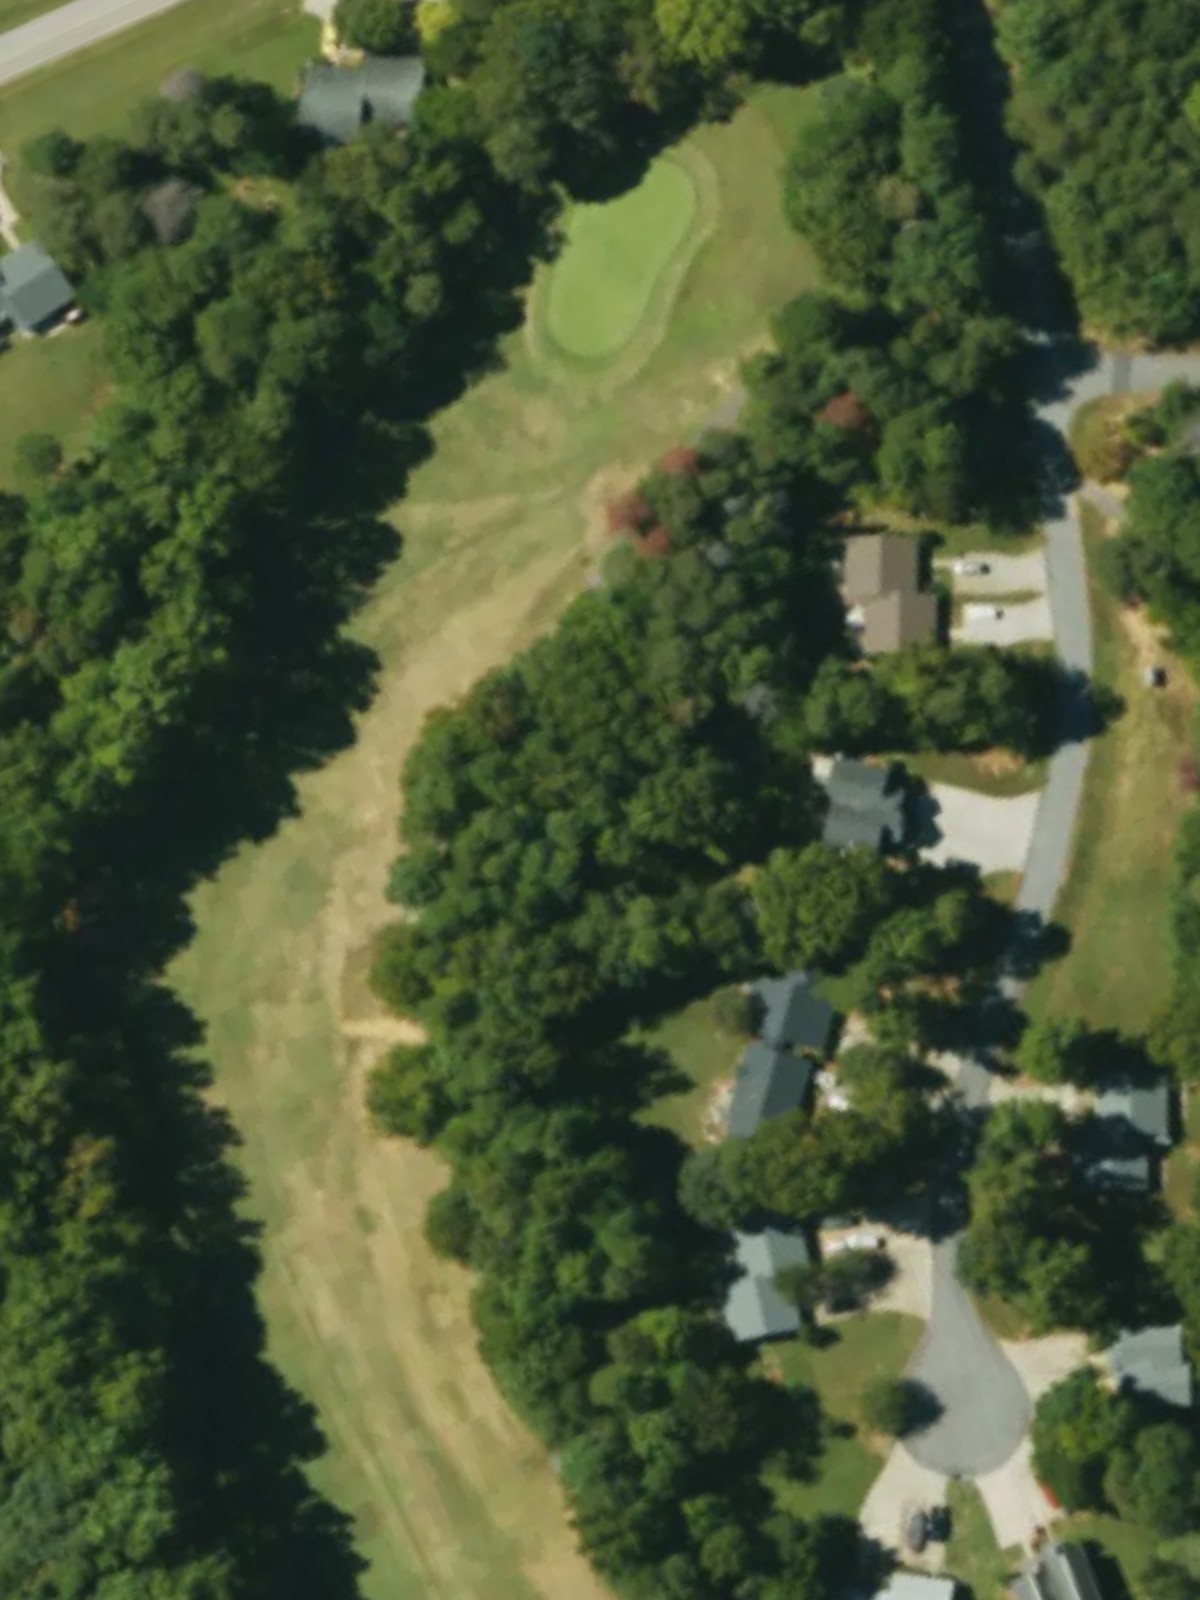
A straightforward par 4 with a fairway that widens at the landing area before narrowing slightly near the green. Moderate hazard placement tests both accuracy and course management on this mid-difficulty hole.
A strong par 5 that stretches across a scenic landscape with water and sand hazards framing the left side. The fairway opens somewhat at mid-range, but the well-defended green demands a precise layup or calculated aggressive play.
The shortest par 3 on the course and the easiest overall hole, playing downwind with minimal hazard threat. The forgiving green complex and friendly yardage make this an ideal spot to gain a stroke.

A stout par 4 with a dogleg character and bunker placements that force a strategic line off the tee. The approach into the green is complicated by sand and subtle elevation changes that demand control.
The second-most difficult hole on the course, this muscular par 4 punishes poor tee shots with a narrow fairway and heavy bunkering throughout. The green sits tight with little room for error, making this a genuine test of shotmaking.
A mid-length par 4 with a fairway that plays narrower than it appears, with hazards lurking on both sides. The elevated green adds complexity to the approach shot on this mid-difficulty hole.
A shorter par 5 that tempts aggressive play on the second shot, though water and bunkers guard the direct route to the green. The risk-reward nature of this hole makes it interesting despite its accessibility from the tee.
A scenic par 3 of moderate length playing over a natural hazard to a bunker-guarded green. The compact green demands precision in both distance and direction on this penalty-stroke hole.
The strong finishing par 4 closes the round with a demanding layout featuring tight fairway margins and greenside bunkers. A solid finishing test, this hole ranks among the course's most difficult and leaves a lasting impression on the round.
Scorecard
| Hole | 1 | 2 | 3 | 4 | 5 | 6 | 7 | 8 | 9 | Out | 10 | 11 | 12 | 13 | 14 | 15 | 16 | 17 | 18 | In | Tot |
|---|---|---|---|---|---|---|---|---|---|---|---|---|---|---|---|---|---|---|---|---|---|
| Par | 4 | 5 | 3 | 4 | 4 | 5 | 3 | 4 | 4 | 36 | 4 | 5 | 3 | 4 | 4 | 4 | 5 | 3 | 4 | 36 | 72 |
| HCP | 1 | 11 | 9 | 15 | 3 | 7 | 13 | 17 | 5 | 10 | 8 | 18 | 6 | 2 | 12 | 16 | 14 | 4 | |||
| blue tees | 394 | 477 | 231 | 382 | 355 | 544 | 210 | 365 | 392 | 3350 | 384 | 532 | 206 | 402 | 435 | 414 | 456 | 202 | 383 | 3414 | 6764 |
| white tees | 375 | 470 | 202 | 352 | 335 | 528 | 192 | 328 | 375 | 3157 | 358 | 507 | 189 | 375 | 390 | 392 | 416 | 193 | 366 | 3186 | 6343 |
| gold tees | 350 | 440 | 174 | 340 | 316 | 443 | 185 | 289 | 366 | 2903 | 347 | 495 | 177 | 370 | 374 | 386 | 382 | 183 | 358 | 3072 | 5975 |