Maggie Valley Club is an 18-hole golf course in Maggie Valley, NC with a par of 72. It offers 4 tee sets: blue tees (6,230 yards, slope 132, rating 70.4), white tees (5,907 yards, slope 129, rating 69.1), gold tees (5,179 yards, slope 118, rating 65.9), green tees (4,532 yards, slope 109, rating 63.1). The hardest hole is #10, a par 4 playing 382 yards from the first tee.
Maggie Valley Club
Maggie Valley, NC
Get PDF Yardage Book
We'll email you the PDF link. No spam, ever.
Create Your Game Plan
Pick your tees, enter your bag, and get a personalized shot-by-shot strategy for every hole.
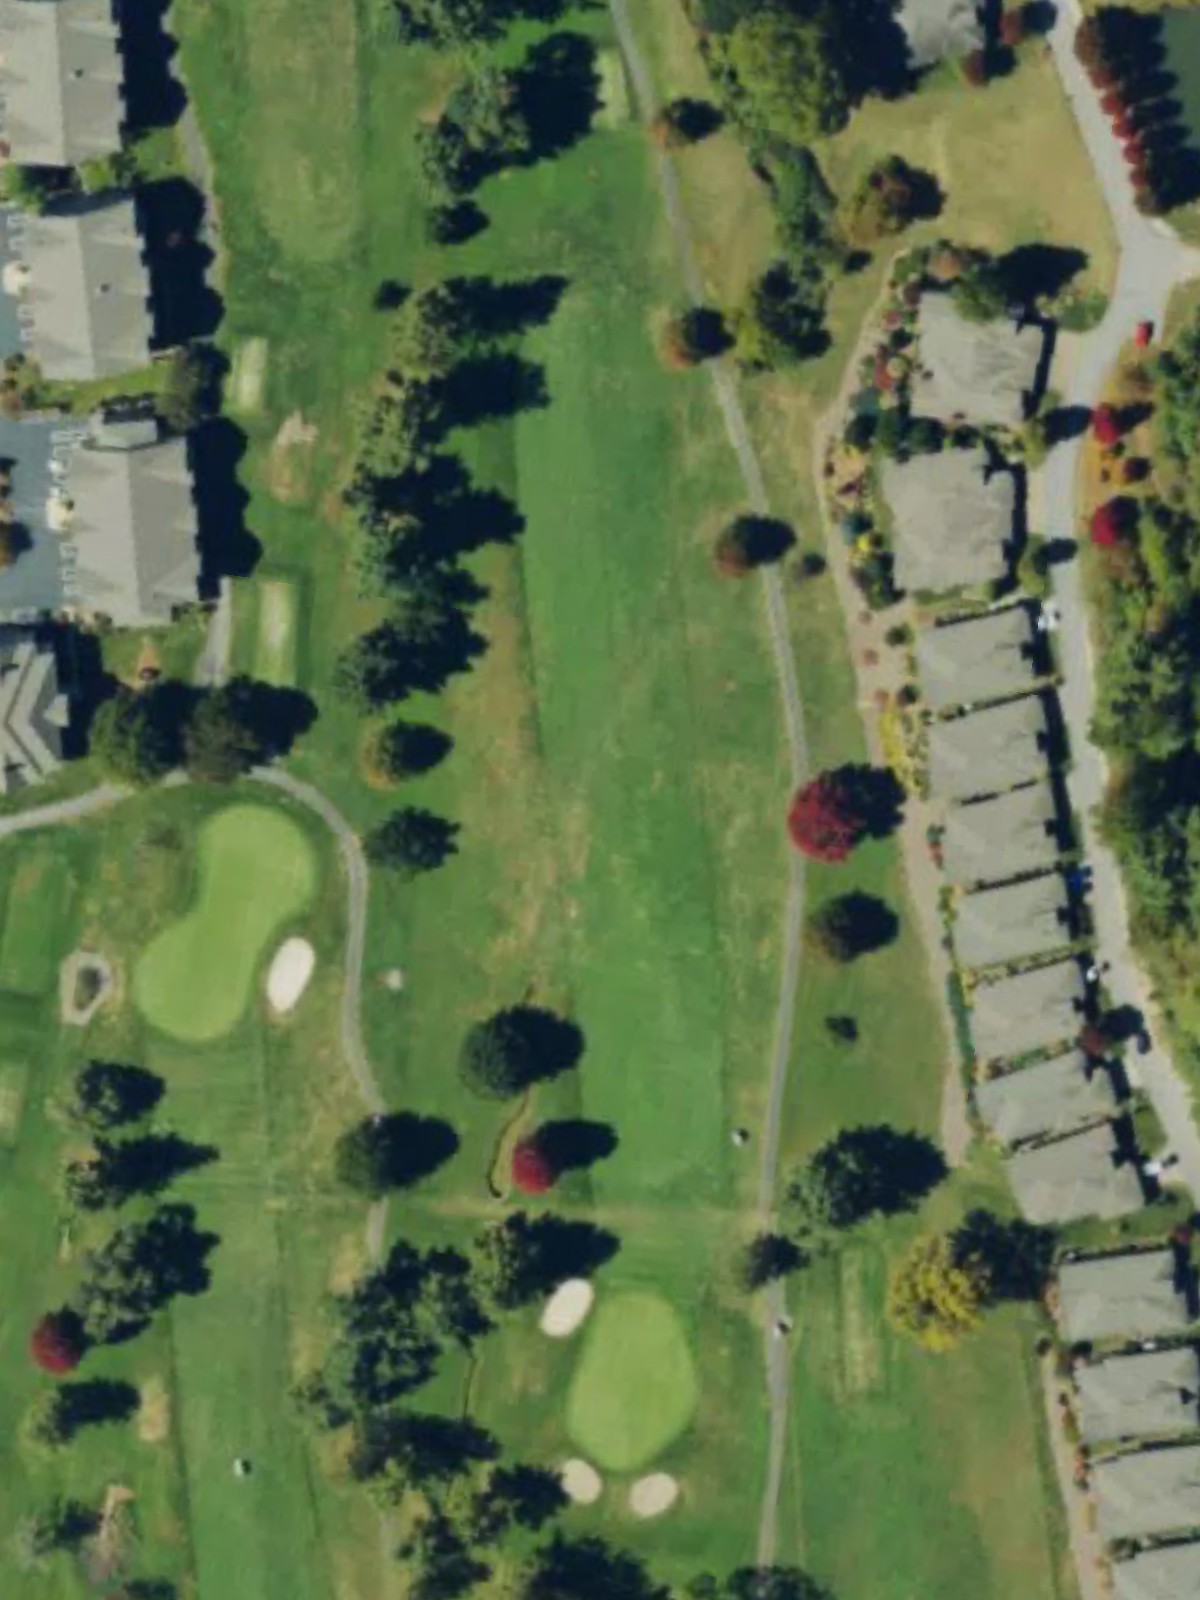
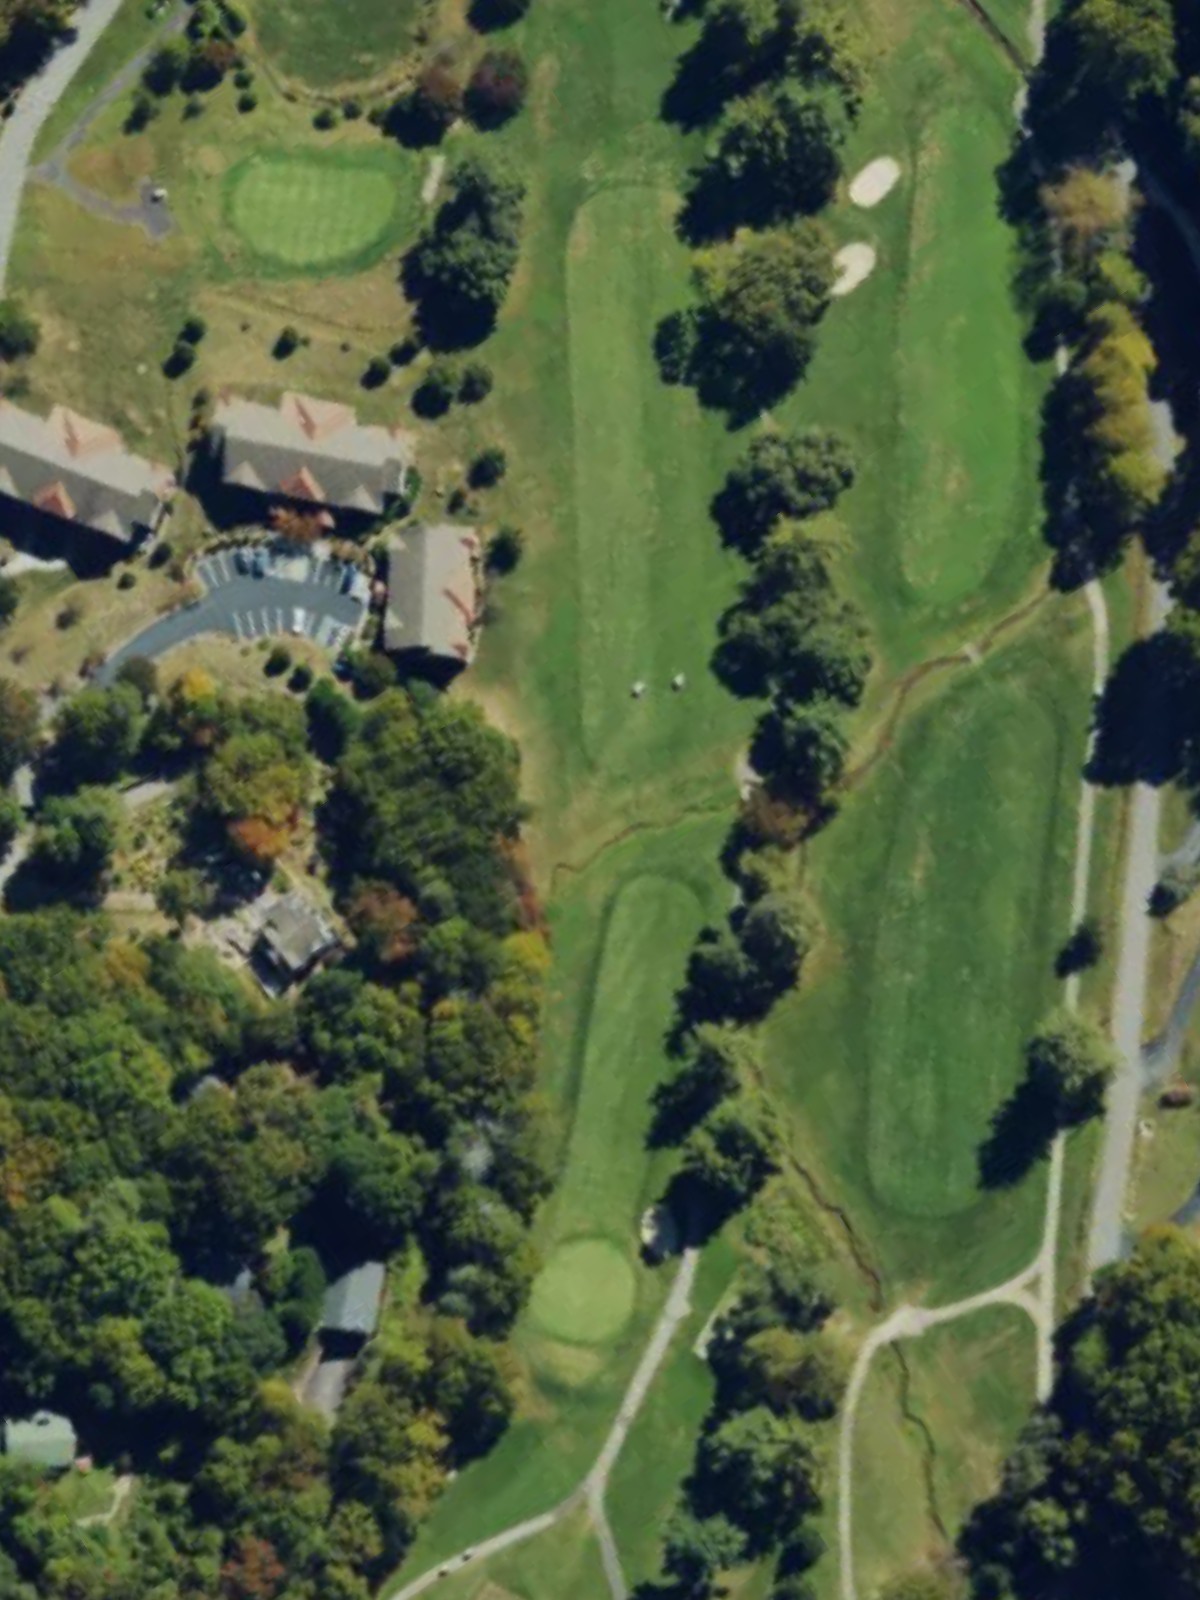
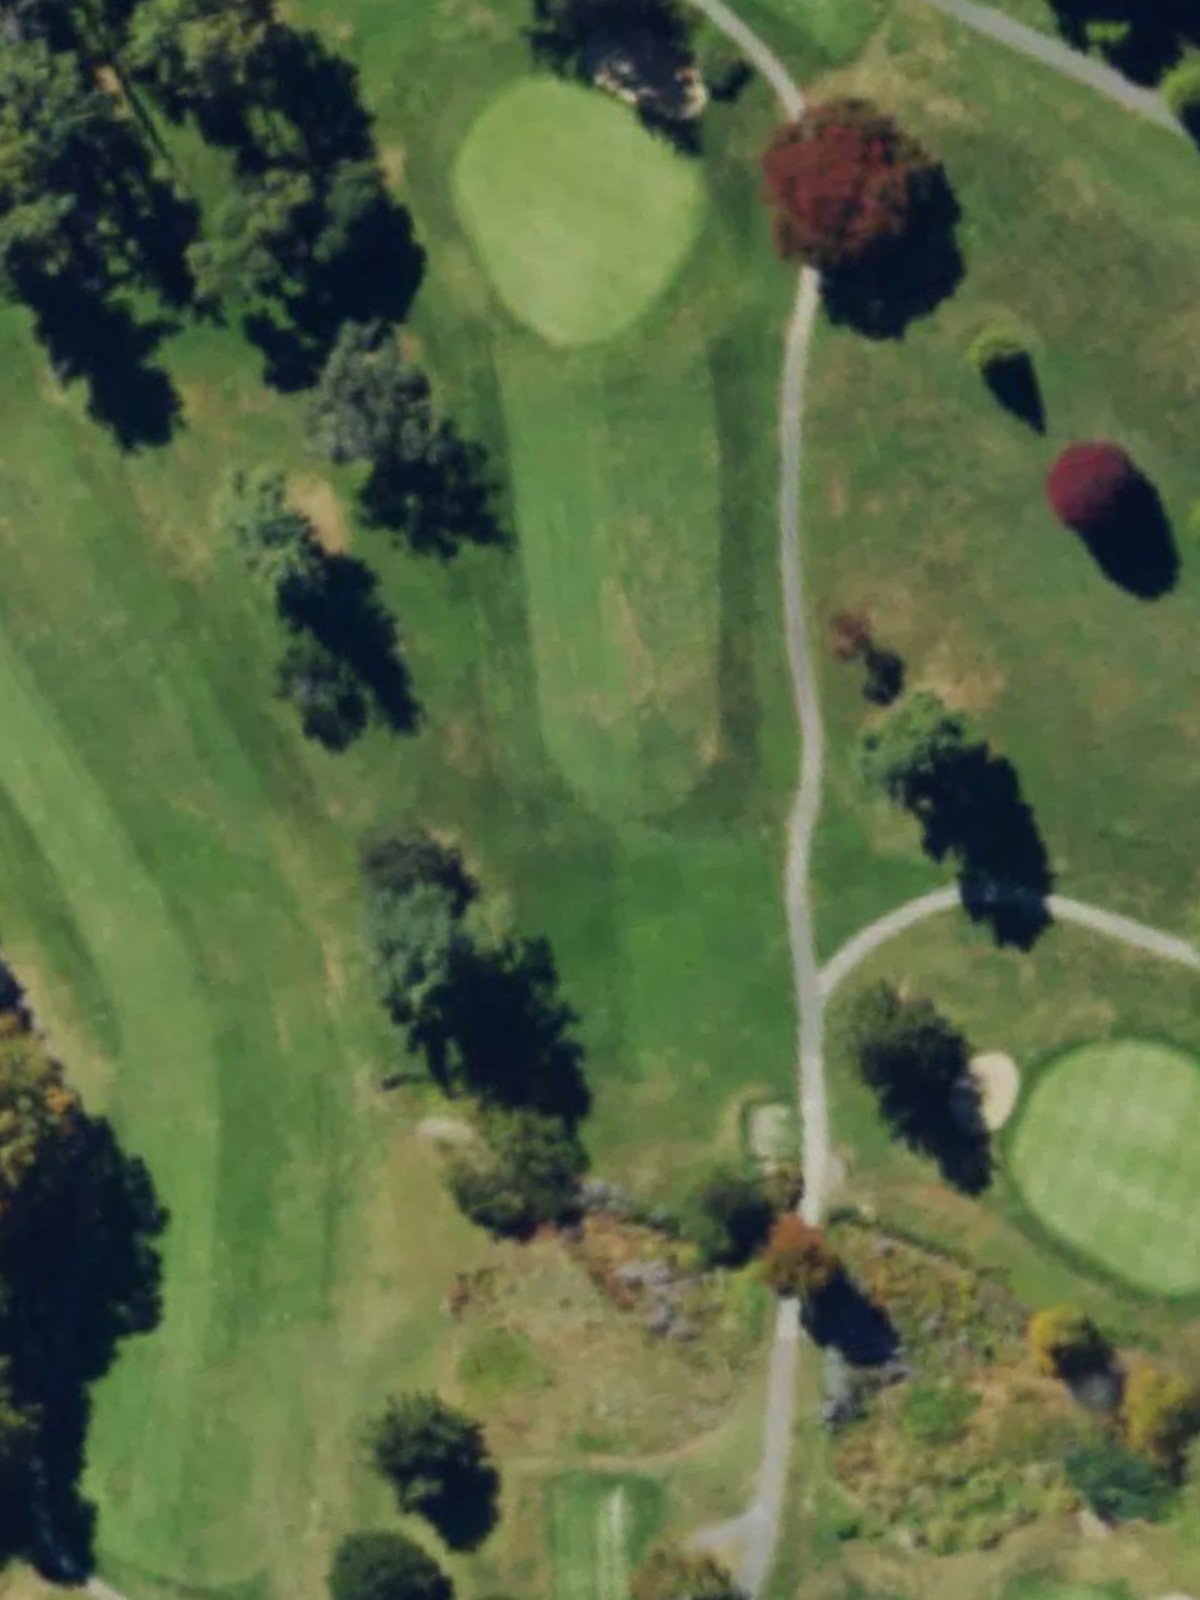
A straightforward opening par 4 with a fairly wide fairway that gradually narrows as it approaches the green. The green is guarded by bunkers on the right side, requiring accuracy on the approach shot.
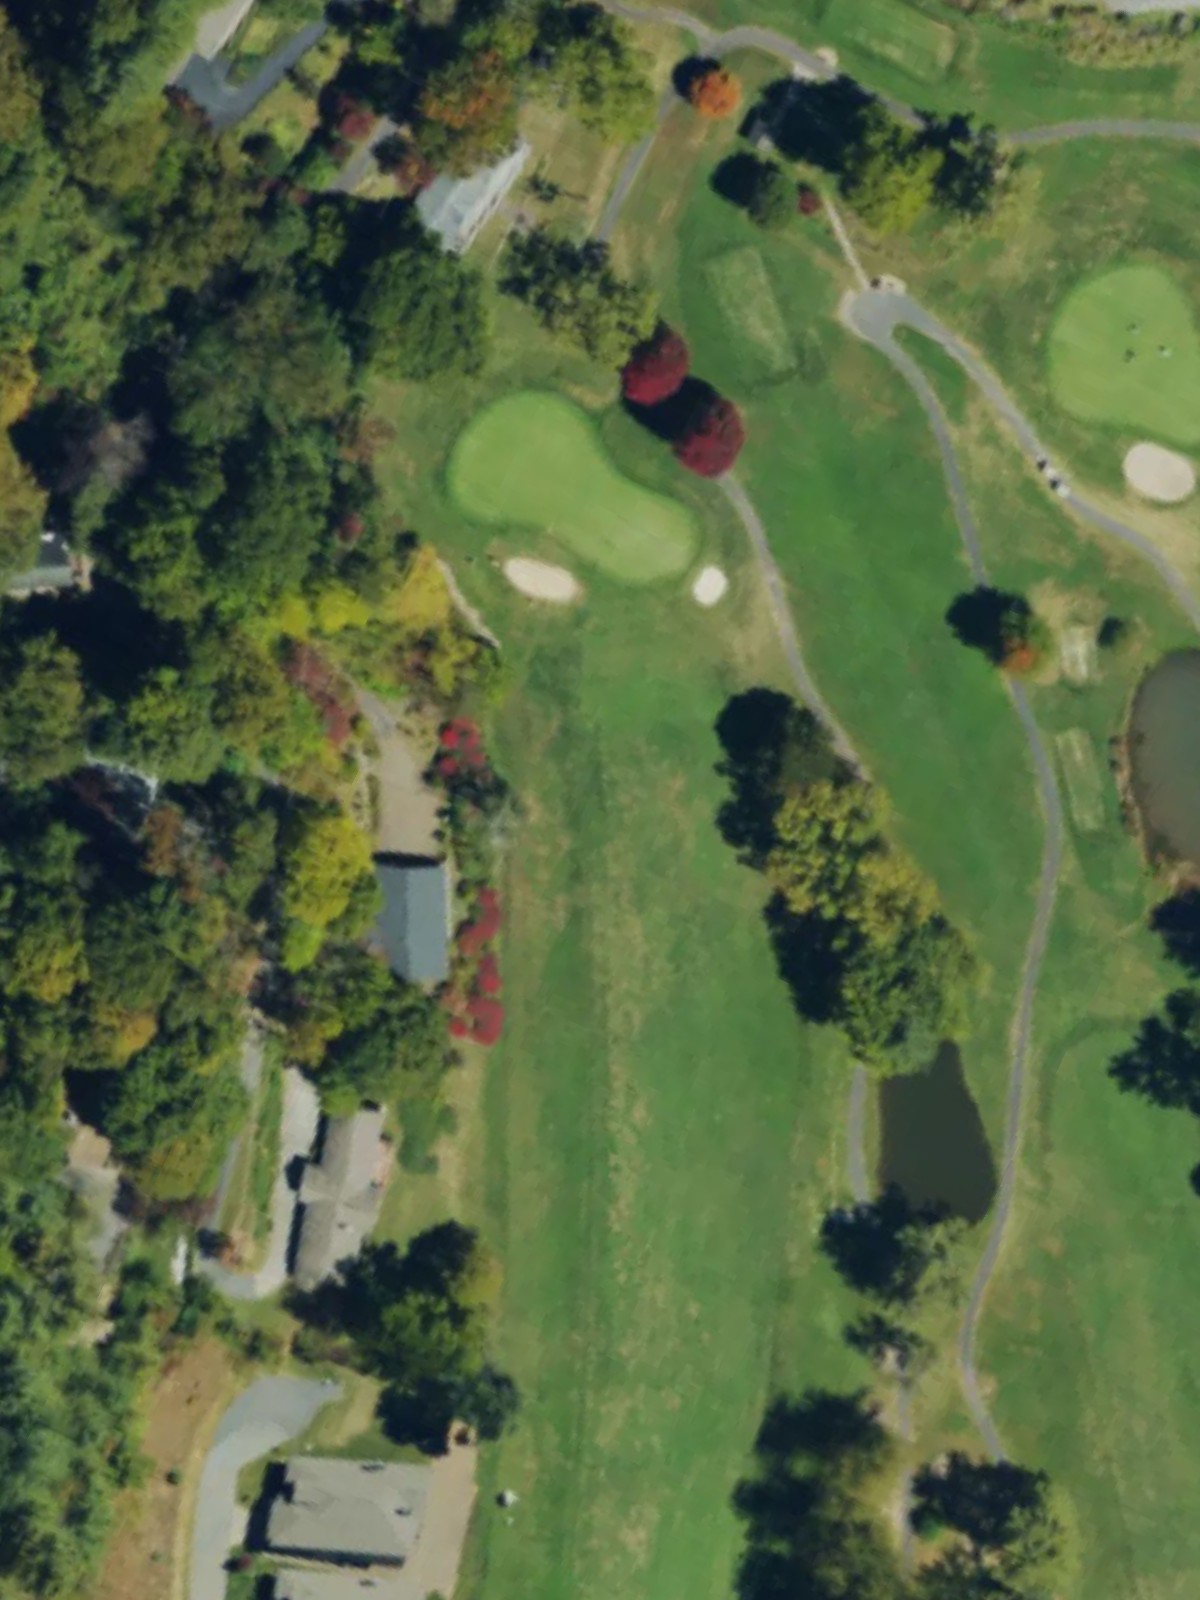
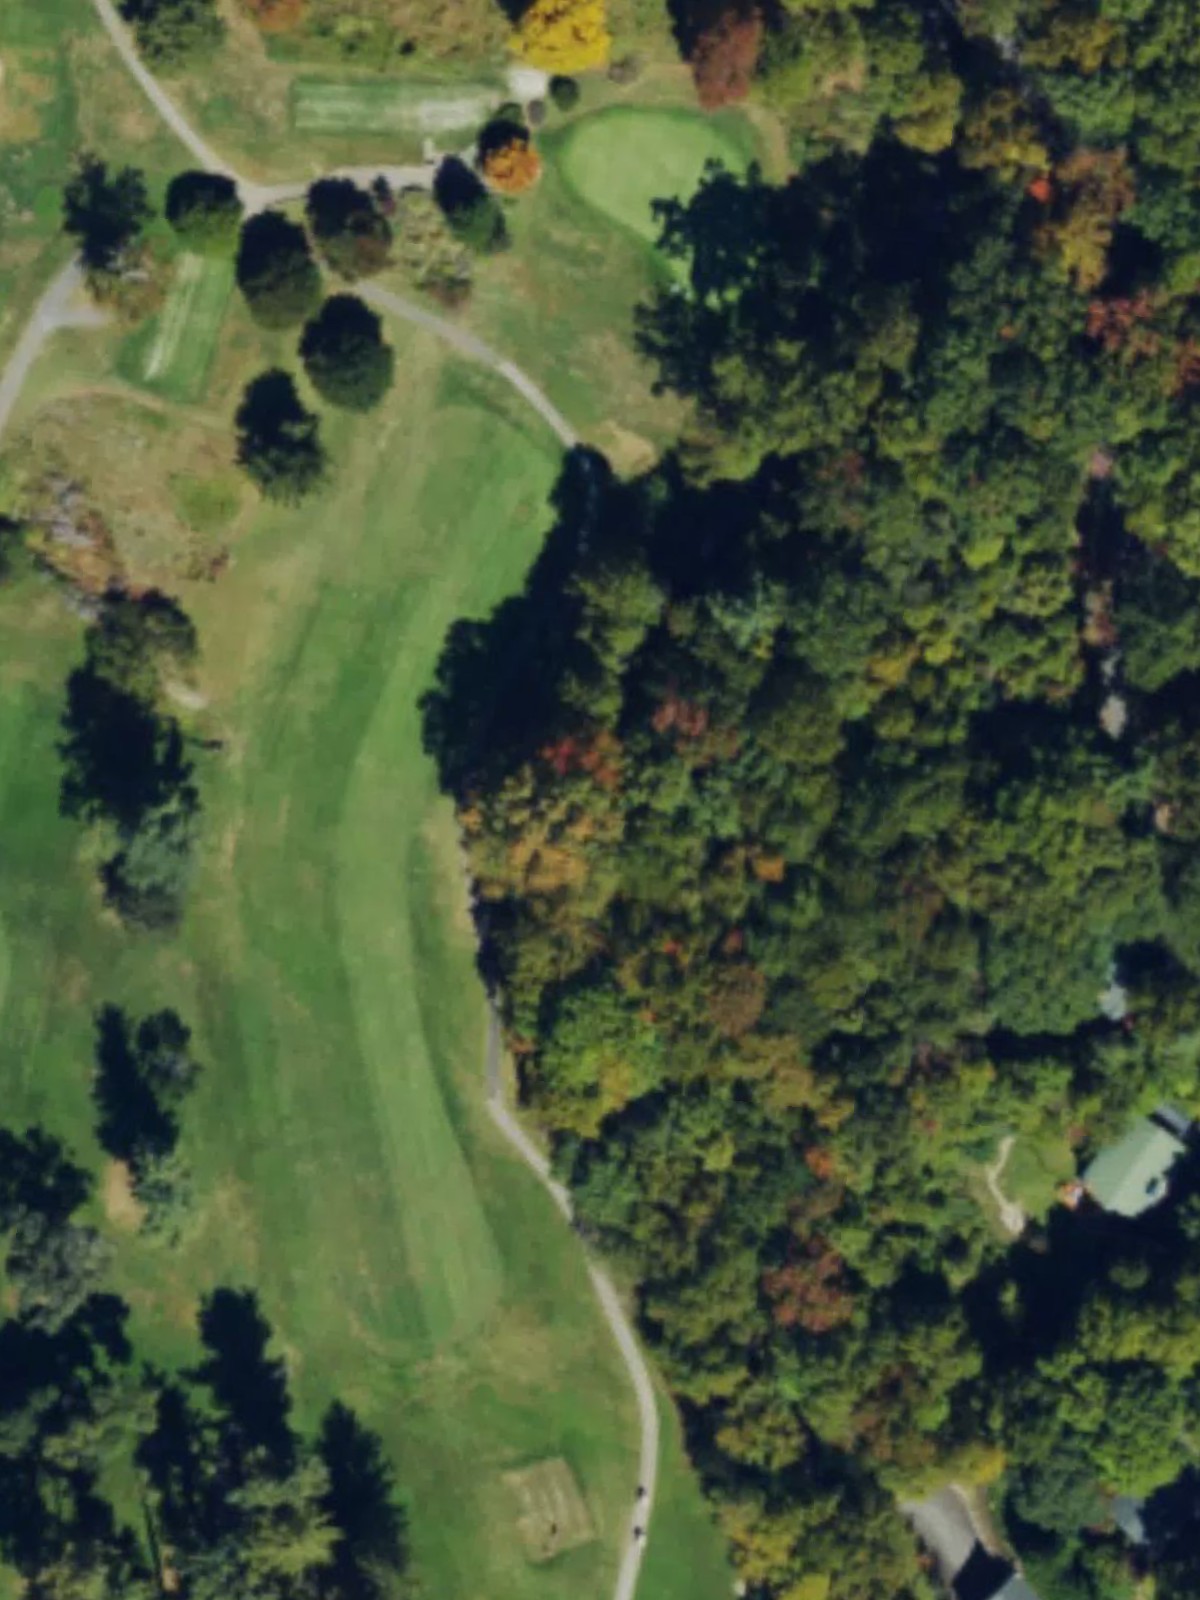
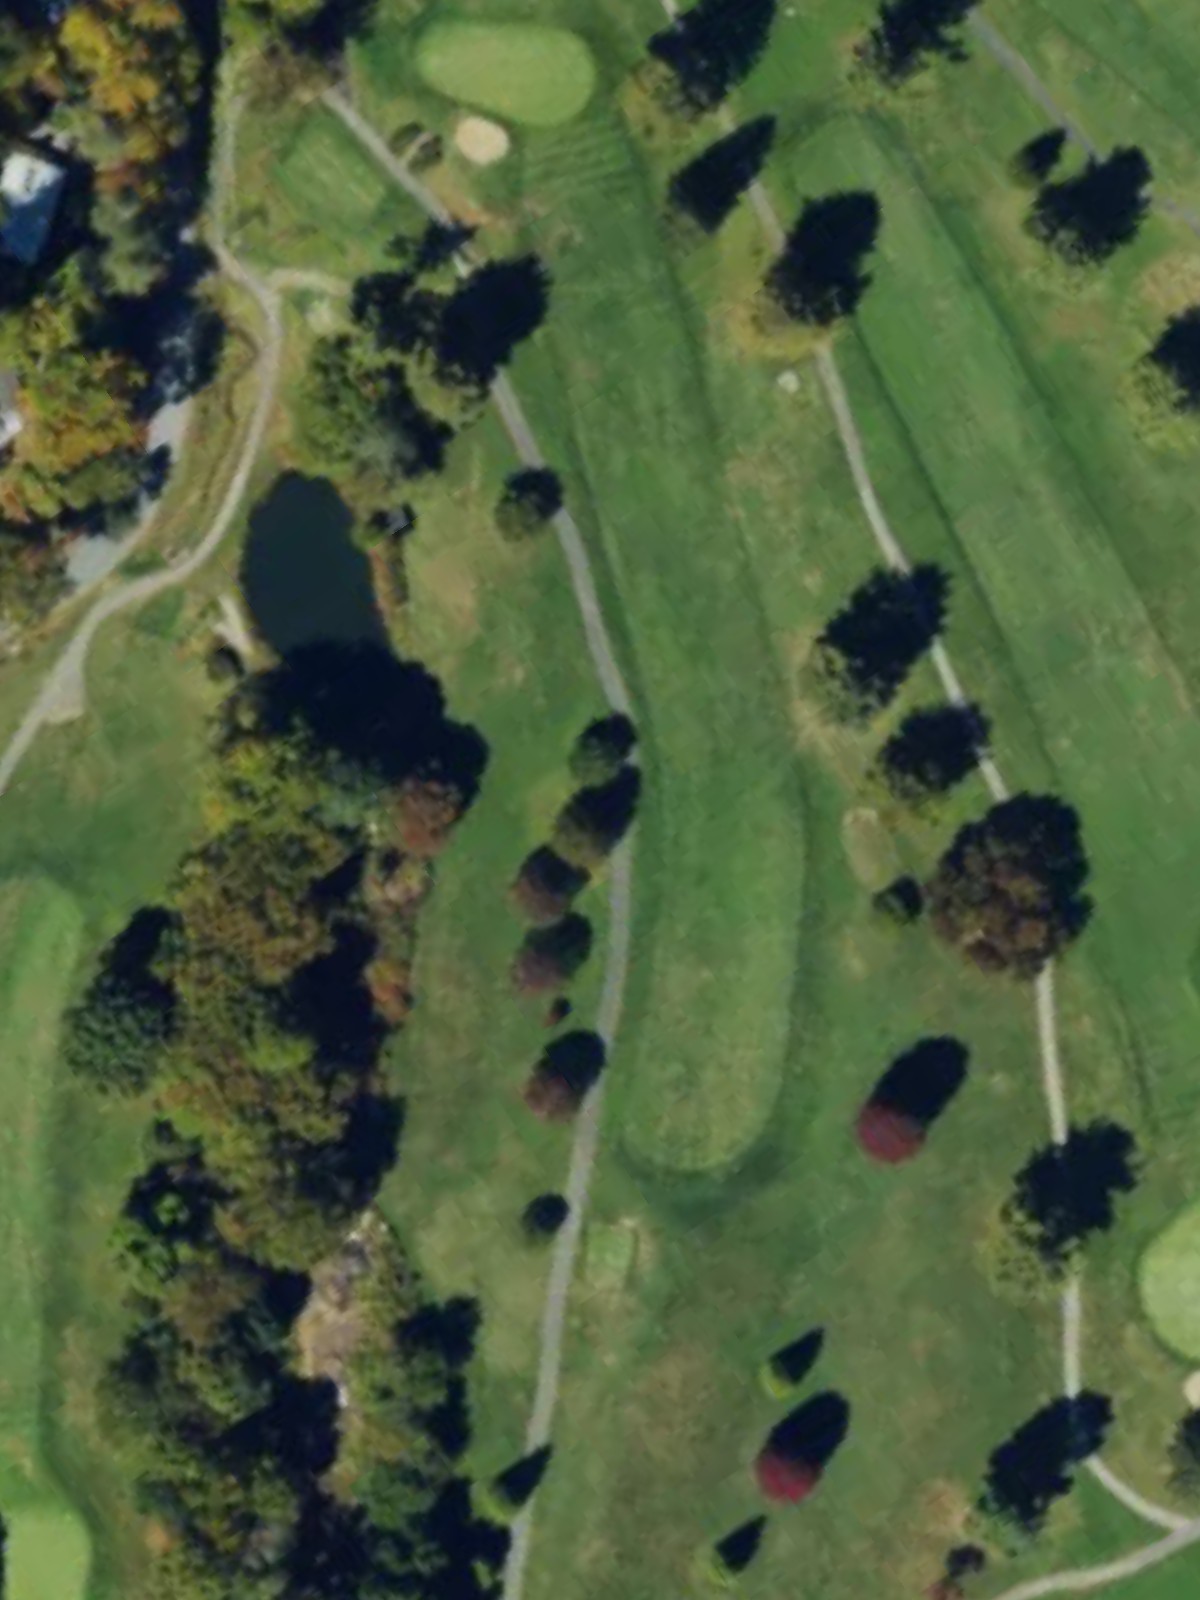
A short par 4 with a relatively open fairway that plays shorter than its yardage suggests. Out of bounds runs along the right side, making placement off the tee important for a clear approach to the green.
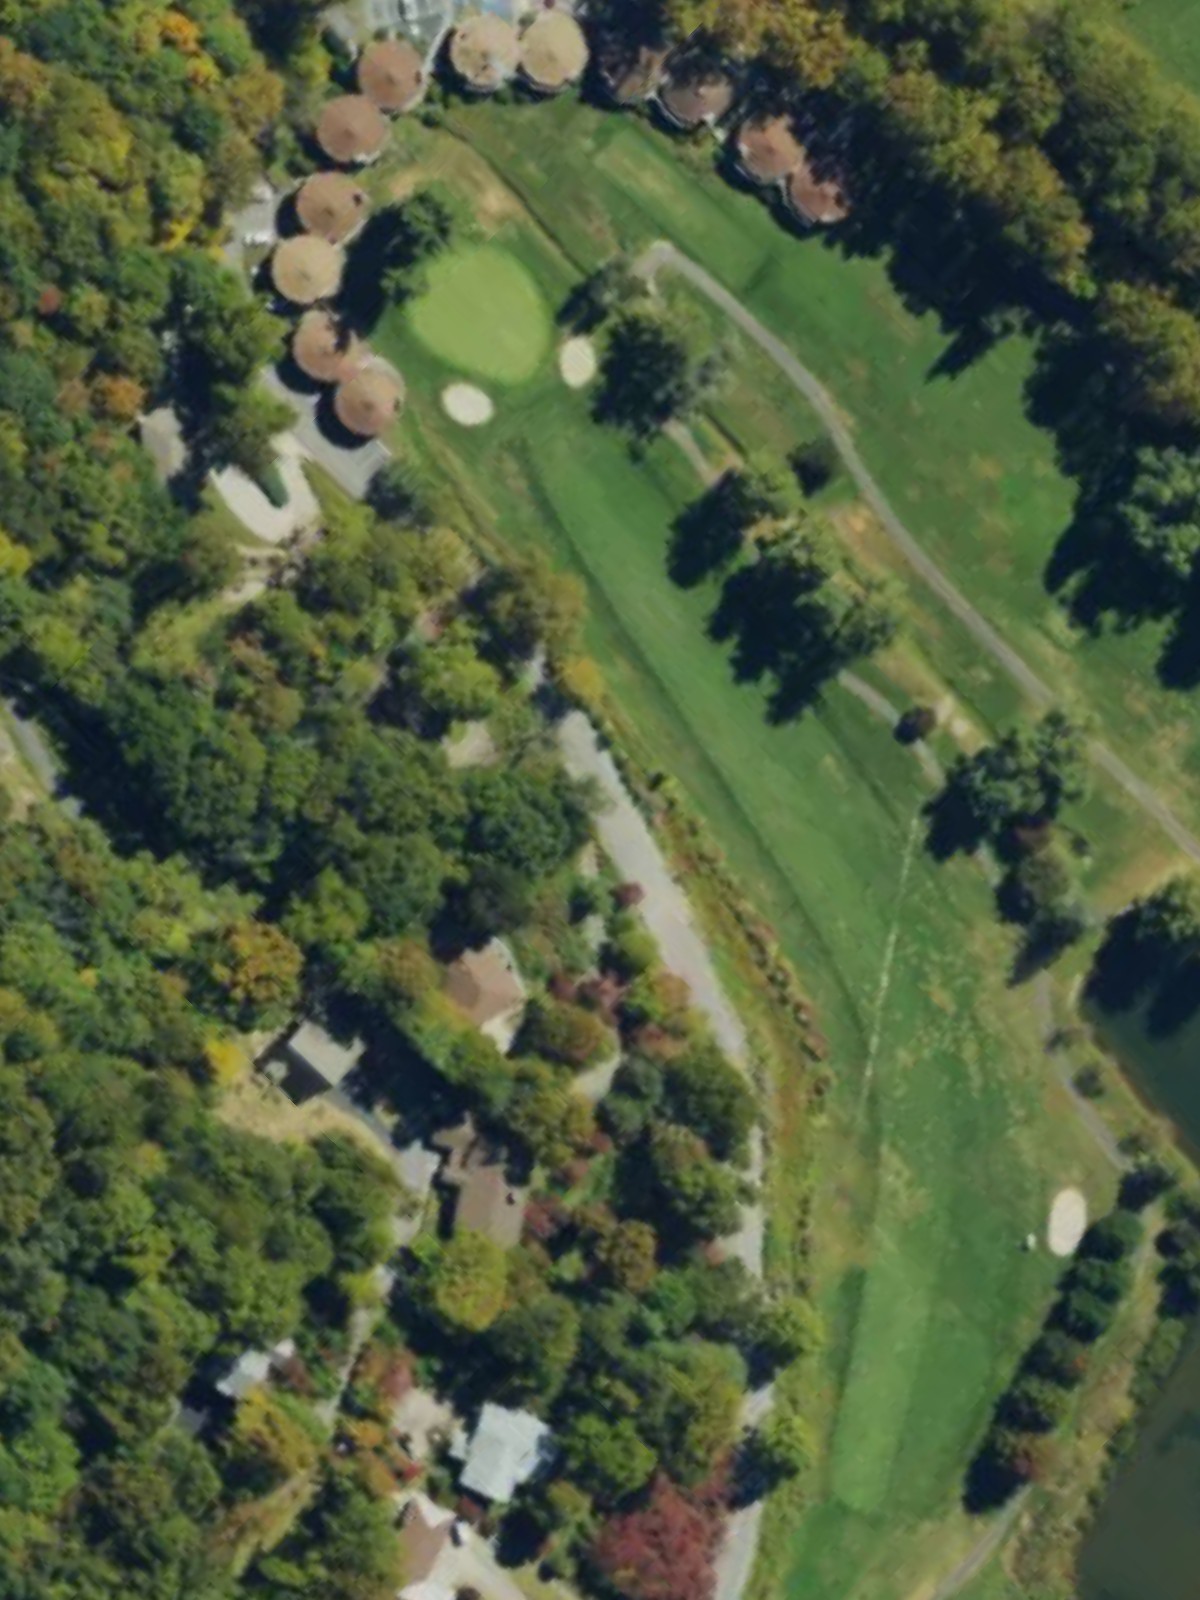
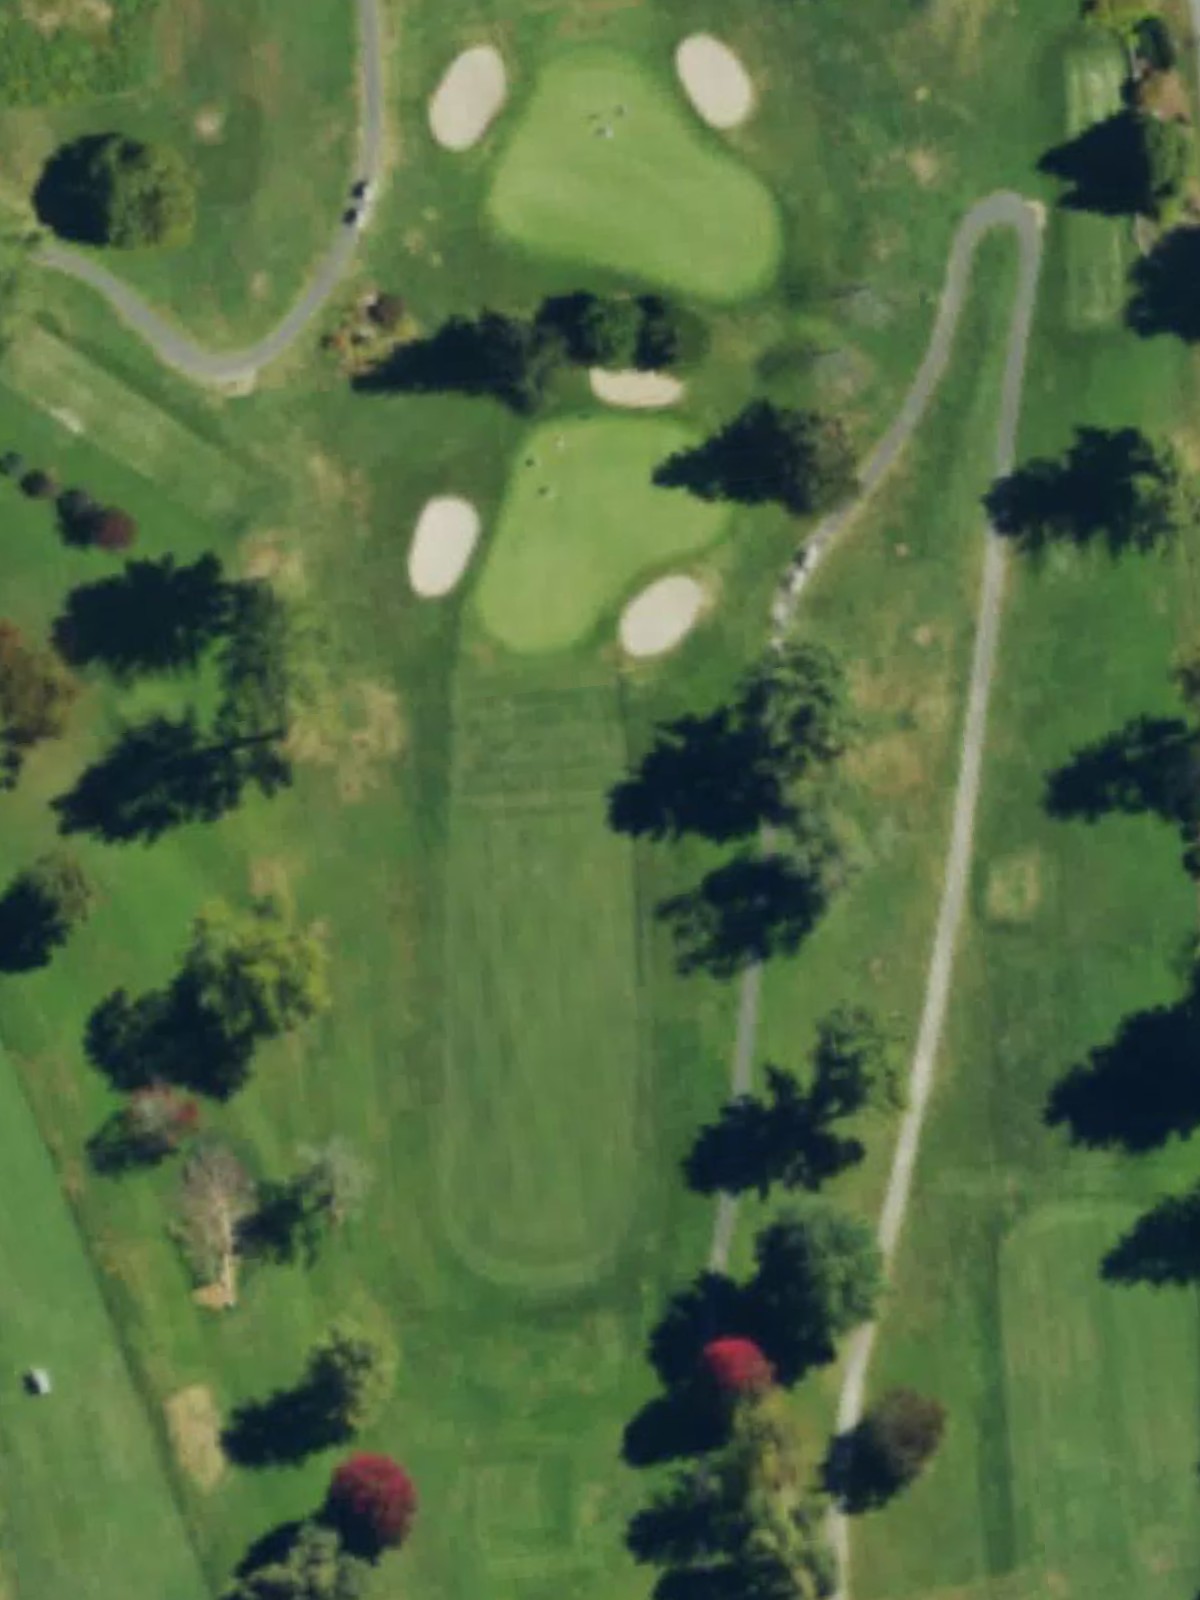
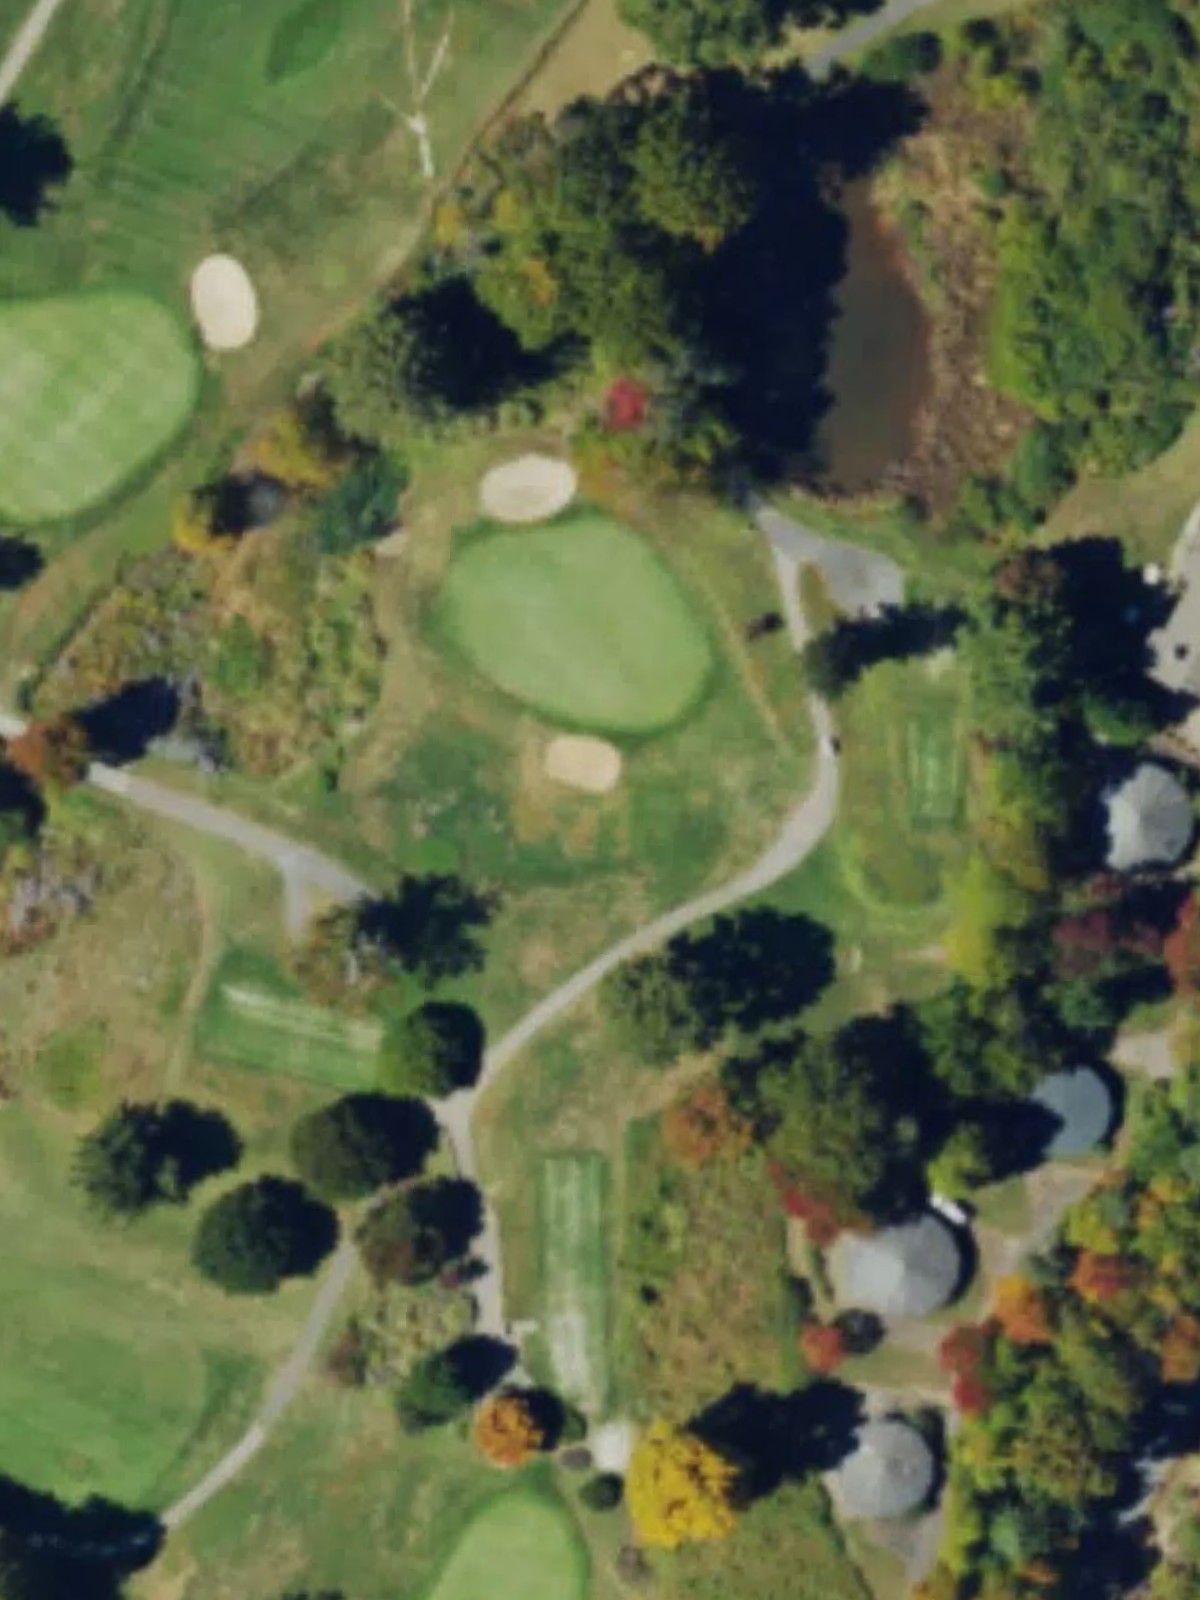
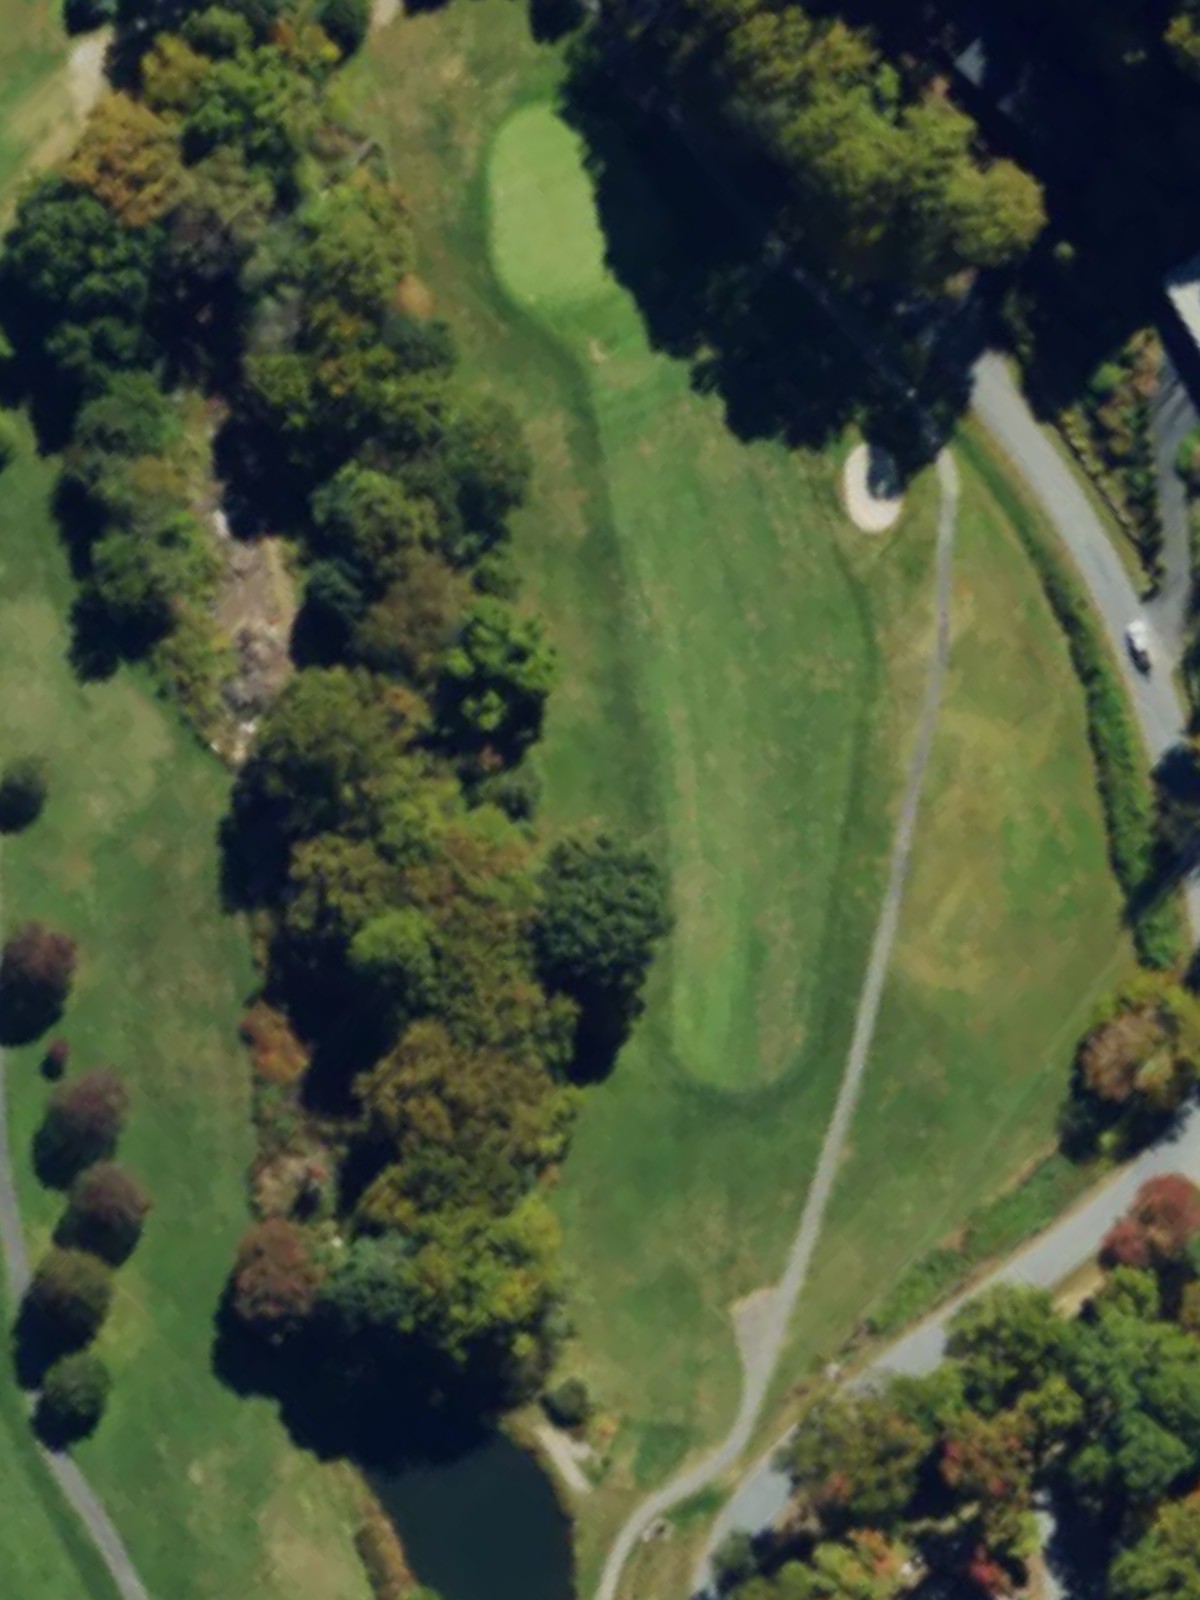
The longest par 4 on the course and the second most difficult hole, this straightaway hole demands two solid shots to reach a well-guarded green. Bunkers protect both sides of the landing area and frame the green, rewarding accuracy throughout.
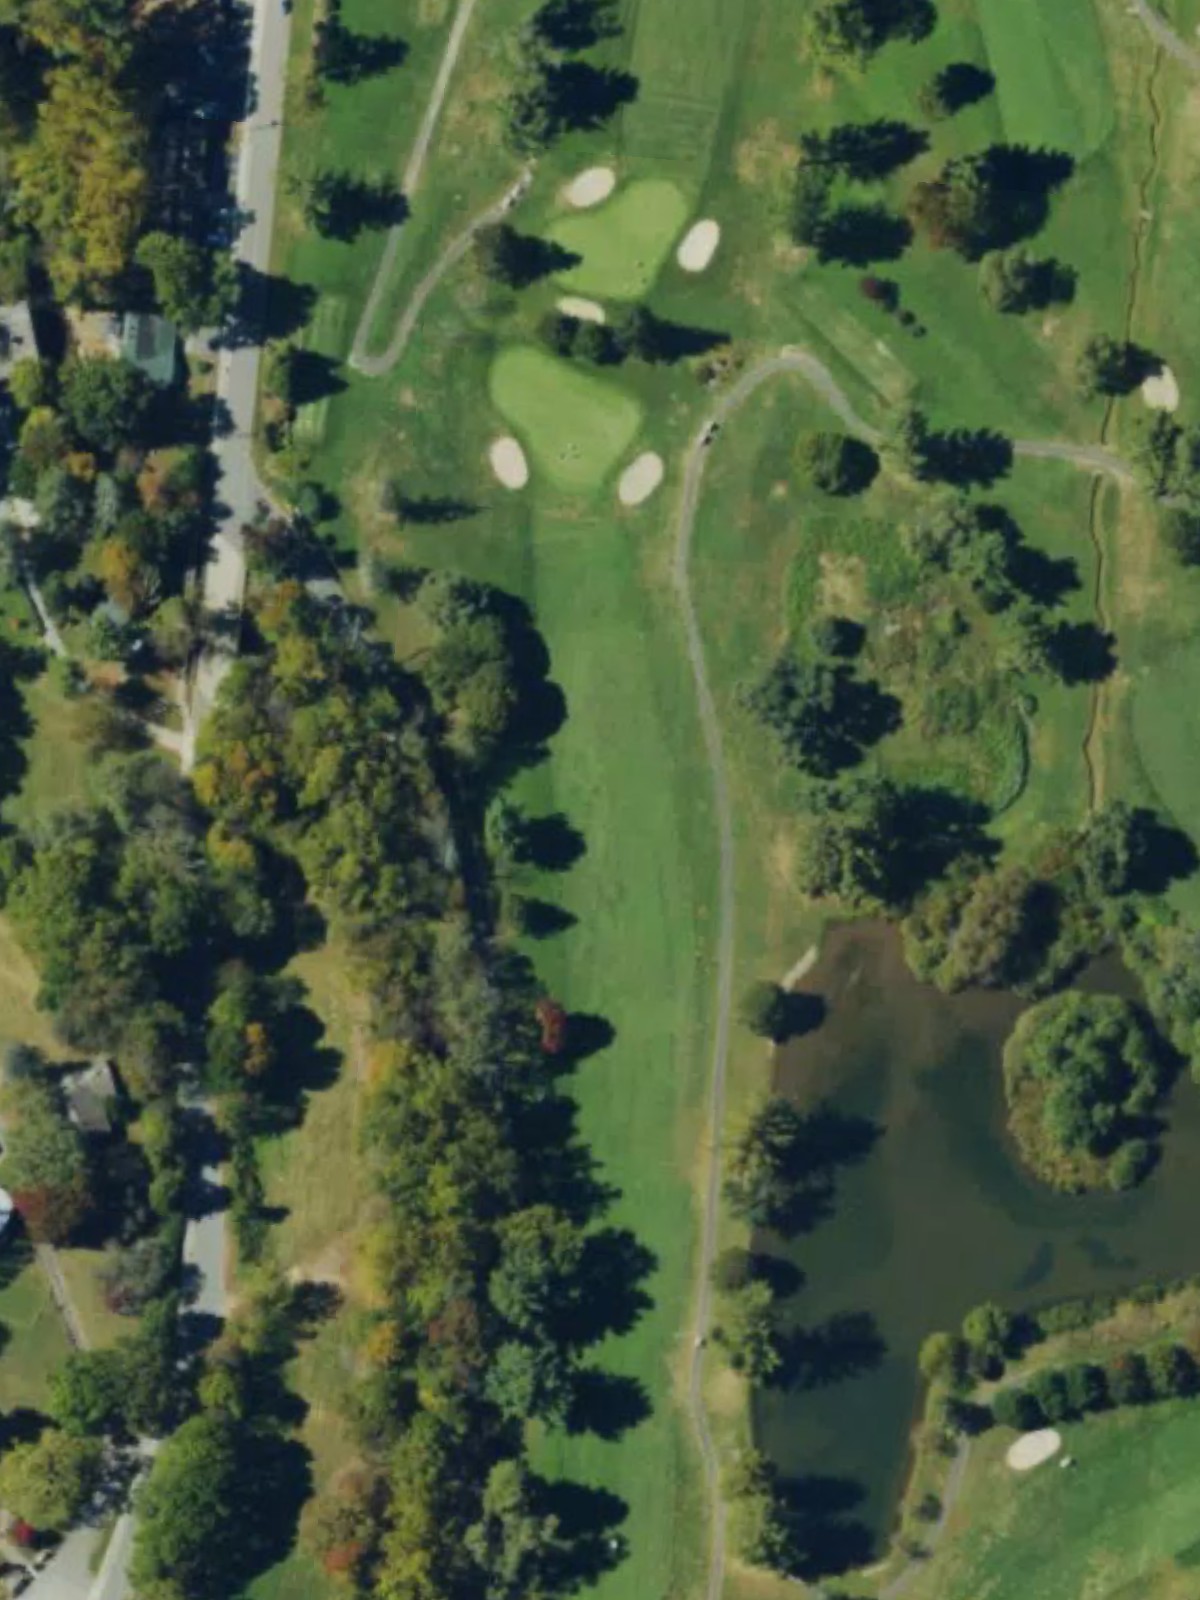
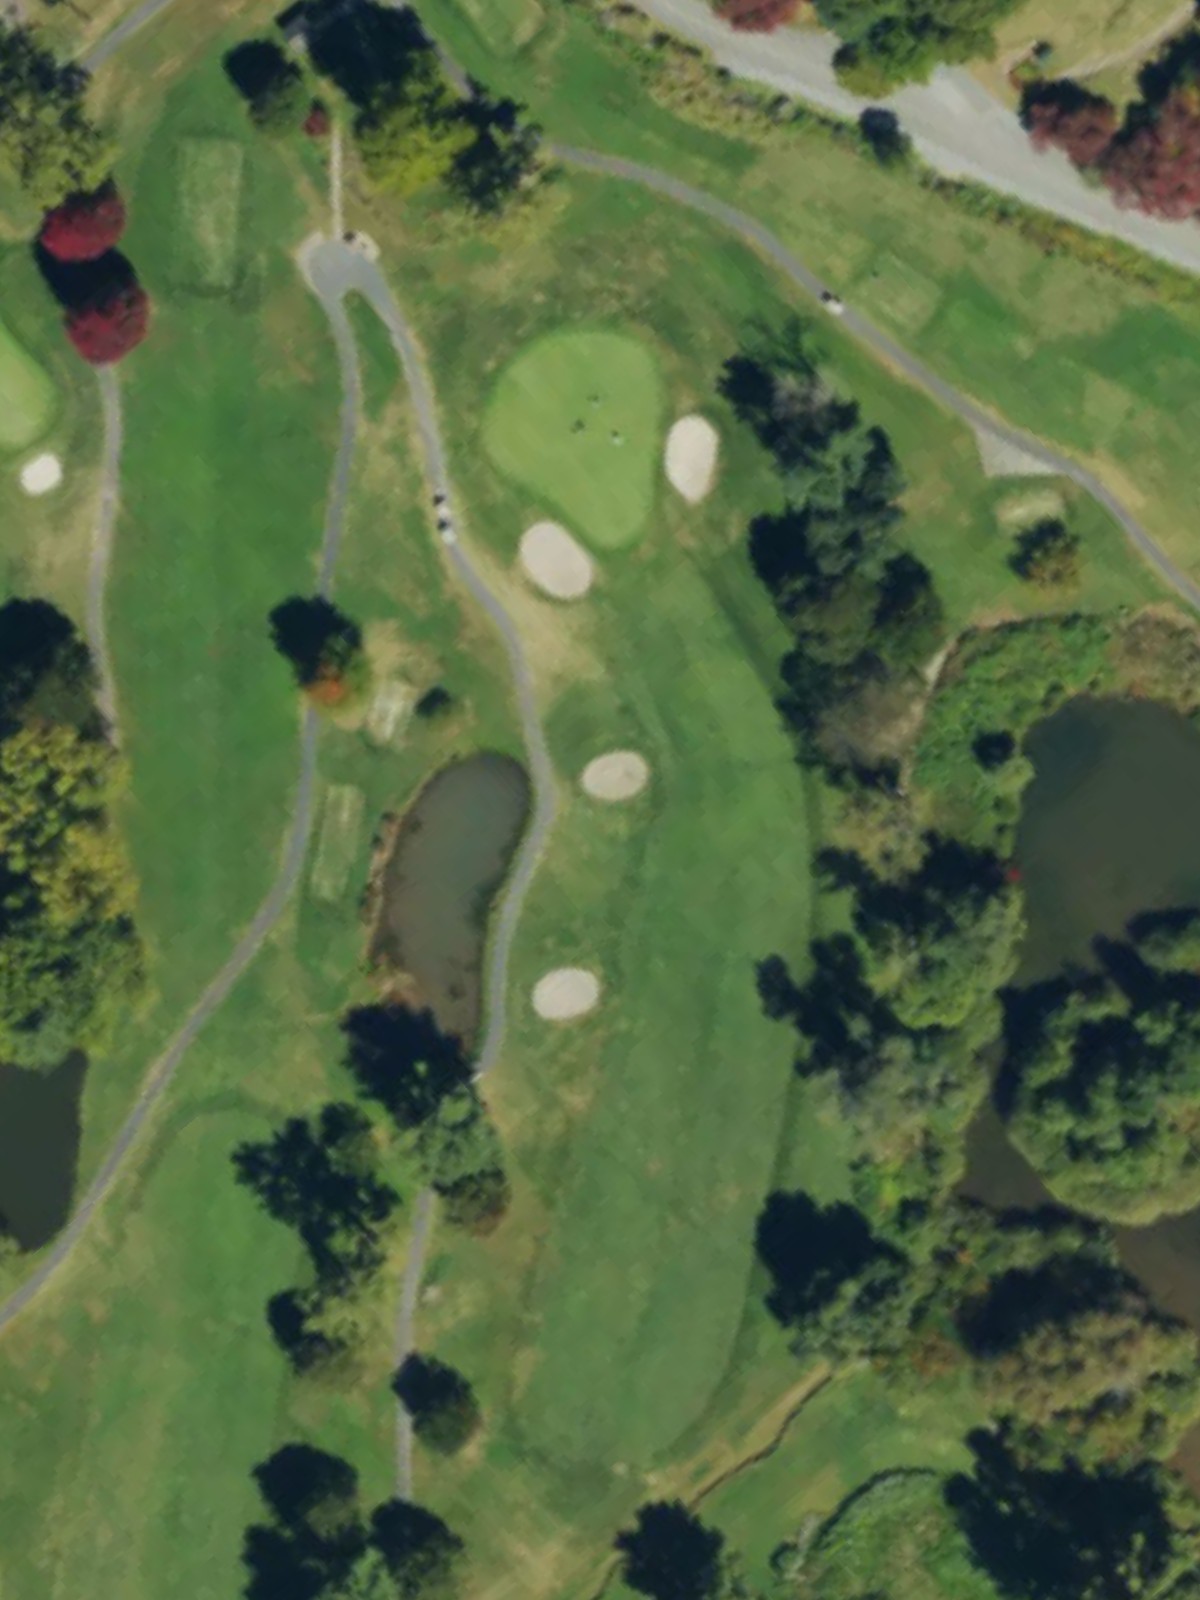
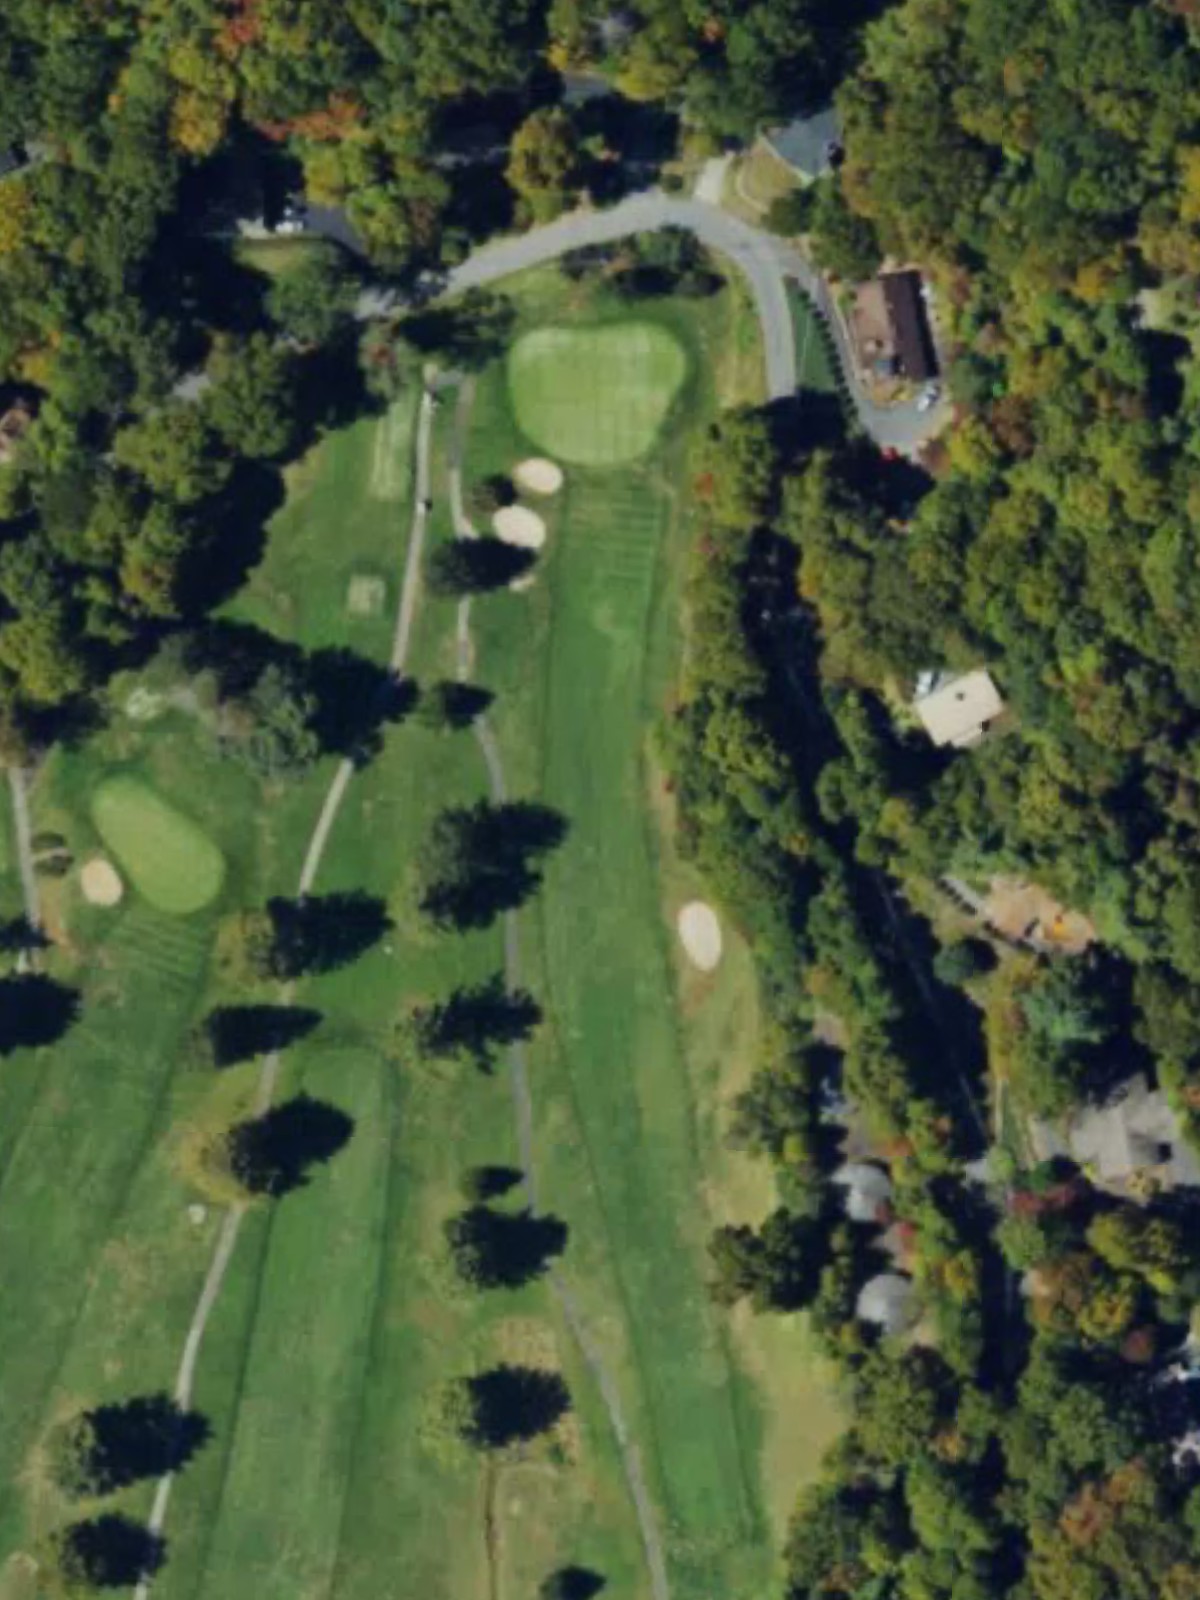
A reachable par 5 for longer hitters, this hole features a fairway that opens up in the landing zone before narrowing near the green. Water hazards and greenside bunkers create a strategic finish to this mid-length five.
A short par 4 that plays downhill with a fairly generous fairway offering multiple angles to the green. The relatively modest length makes this a scoring opportunity, though the sloping terrain adds subtle challenge to approach shots.

A lengthy par 5 that ranks among the course's most difficult holes, requiring precision on all three shots. Bunkers guard both sides of the fairway at various distances, and the green is well-protected, making a birdie a worthy accomplishment.
A mid-length par 3 with a clear line to an exposed green that offers little margin for error. The lack of significant bunkers makes this a straightforward but demanding one-shot hole where distance control is essential.
A challenging par 4 with a fairway that may tighten in the landing area and approach zones. Bunkers and rough terrain guard the green, making this a hole where precision matters more than raw distance.
A short par 3 playing downhill with a relatively open green and minimal hazards, making it the easiest hole on the course. Its brevity and straightforward nature provide a welcome respite before the closing stretch.
The most difficult hole on the course, this par 4 demands two excellent shots to a well-protected green. Hazards frame both sides of the fairway and guard the green, making this a formidable test of accuracy and control.
A shorter par 4 with an open fairway that narrows as it approaches the green, which is protected by bunkers. The relative brevity offers a scoring opportunity, though accurate approach play is necessary to take full advantage.
A very short par 3 that plays downhill to a small, exposed green with minimal fronting hazards. This diminutive hole rewards precision over power and provides another breather in the round.
A reachable par 5 with a fairway that widens in the landing zone, offering attacking golfers a chance to get home in two. The approach to the green requires careful navigation through bunkering and natural terrain.

A mid-length par 4 with a fairly open fairway that plays relatively straightforward to the green. Subtle bunkering and sloping around the putting surface add character and challenge to the approach shot.
A mid-length par 3 with a clear line to the green and moderate bunkering framing the target. The hole's reasonable length and design make it a fair but testing one-shot challenge.
A short, tight par 4 and the third most difficult hole on the course, where placement and precision are paramount. Out of bounds and bunkers create a demanding test despite the modest yardage, punishing wayward shots severely.
A relatively short par 4 with a narrow fairway that opens slightly in the landing zone before constricting near the green. Accurate tee shots are essential to set up a manageable approach to the well-guarded putting surface.

A strong finishing par 5 that demands two well-struck shots to position for a reasonable approach to the green. Bunkers and water guard the green, creating a climactic conclusion that requires both power and precision.
Scorecard
| Hole | 1 | 2 | 3 | 4 | 5 | 6 | 7 | 8 | 9 | Out | 10 | 11 | 12 | 13 | 14 | 15 | 16 | 17 | 18 | In | Tot |
|---|---|---|---|---|---|---|---|---|---|---|---|---|---|---|---|---|---|---|---|---|---|
| Par | 4 | 4 | 4 | 5 | 4 | 5 | 3 | 4 | 3 | 36 | 4 | 4 | 3 | 5 | 4 | 3 | 4 | 4 | 5 | 36 | 72 |
| HCP | 16 | 10 | 2 | 8 | 12 | 4 | 14 | 6 | 18 | 1 | 7 | 17 | 13 | 9 | 15 | 3 | 11 | 5 | |||
| blue tees | 367 | 335 | 454 | 469 | 318 | 524 | 219 | 394 | 169 | 3249 | 382 | 334 | 112 | 407 | 371 | 189 | 349 | 327 | 510 | 2981 | 6230 |
| white tees | 349 | 327 | 429 | 456 | 310 | 497 | 177 | 376 | 155 | 3076 | 370 | 323 | 100 | 391 | 363 | 181 | 333 | 284 | 486 | 2831 | 5907 |
| gold tees | 320 | 319 | 346 | 443 | 287 | 422 | 153 | 337 | 109 | 2736 | 301 | 240 | 90 | 294 | 355 | 173 | 236 | 279 | 475 | 2443 | 5179 |
| green tees | 276 | 247 | 316 | 336 | 270 | 401 | 129 | 292 | 102 | 2369 | 265 | 205 | 80 | 291 | 329 | 124 | 231 | 194 | 444 | 2163 | 4532 |