Longleaf Golf & Family Club is an 18-hole golf course in Southern Pines, NC with a par of 72. It offers 13 tee sets: tee no. 7 (6,682 yards, slope 132, rating 72.4), tee no. 6.5 (6,405 yards, slope 130, rating 70.7), tee no. 6 (6,153 yards, slope 127, rating 69.8), tee no. 5.5 (5,822 yards, slope 122, rating 68.3), tee no. 5 (5,491 yards, slope 116, rating 66.7), tee no. 4.5 (5,166 yards, slope 111, rating 65), tee no. 4 (4,872 yards, slope 107, rating 63.6), tee no. 3.5 (4,585 yards, slope 102, rating 62.6), tee no. 3 (4,316 yards, slope 98, rating 61.4), tee no. 2.5 (4,016 yards, slope 96, rating 60.6), tee no. 2 (3,702 yards, slope 93, rating 59.6), tee no. 1.5 (3,399 yards, slope 91, rating 58.7), tee no. 1 (3,103 yards, slope 89, rating 57.6). The hardest hole is #5, a par 5 playing 291 yards from the first tee.
Longleaf Golf & Family Club
Southern Pines, NC
Get PDF Yardage Book
We'll email you the PDF link. No spam, ever.
Create Your Game Plan
Pick your tees, enter your bag, and get a personalized shot-by-shot strategy for every hole.

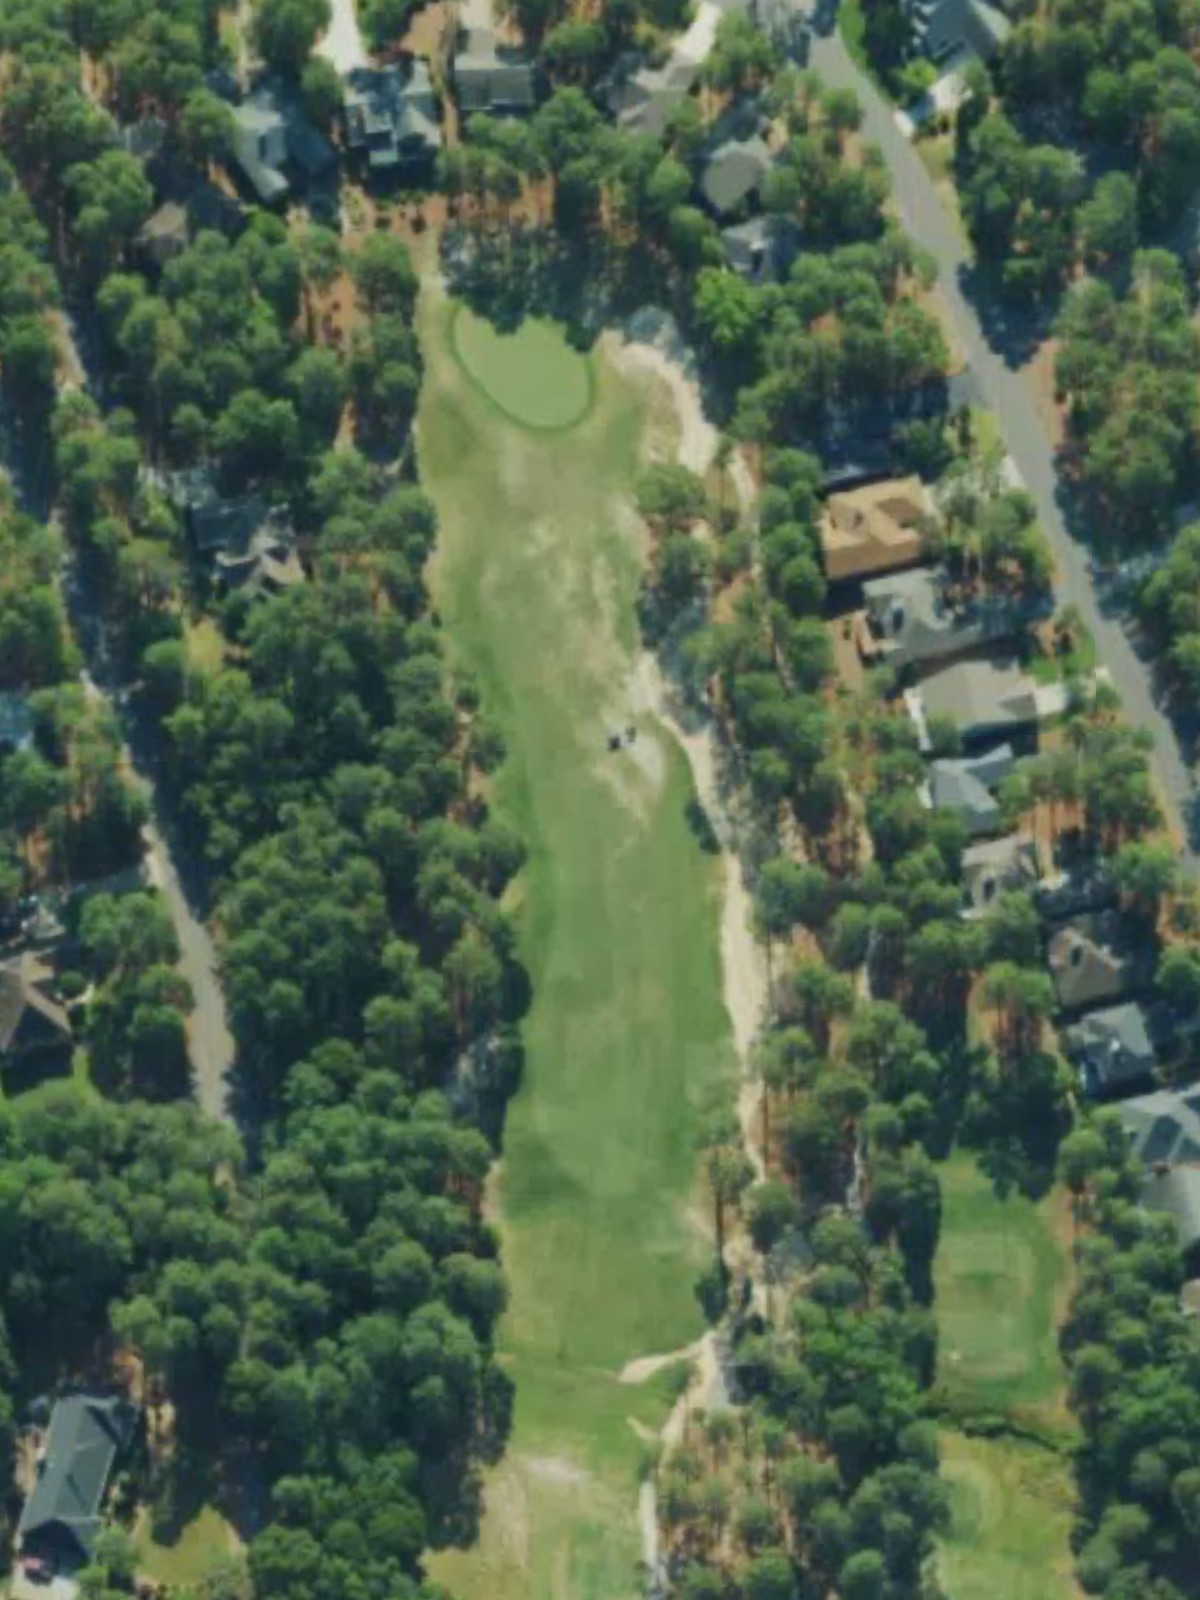
A straightforward par 4 that plays uphill to a green guarded by bunkers on the right. The fairway remains relatively open off the tee, providing an inviting opening hole.
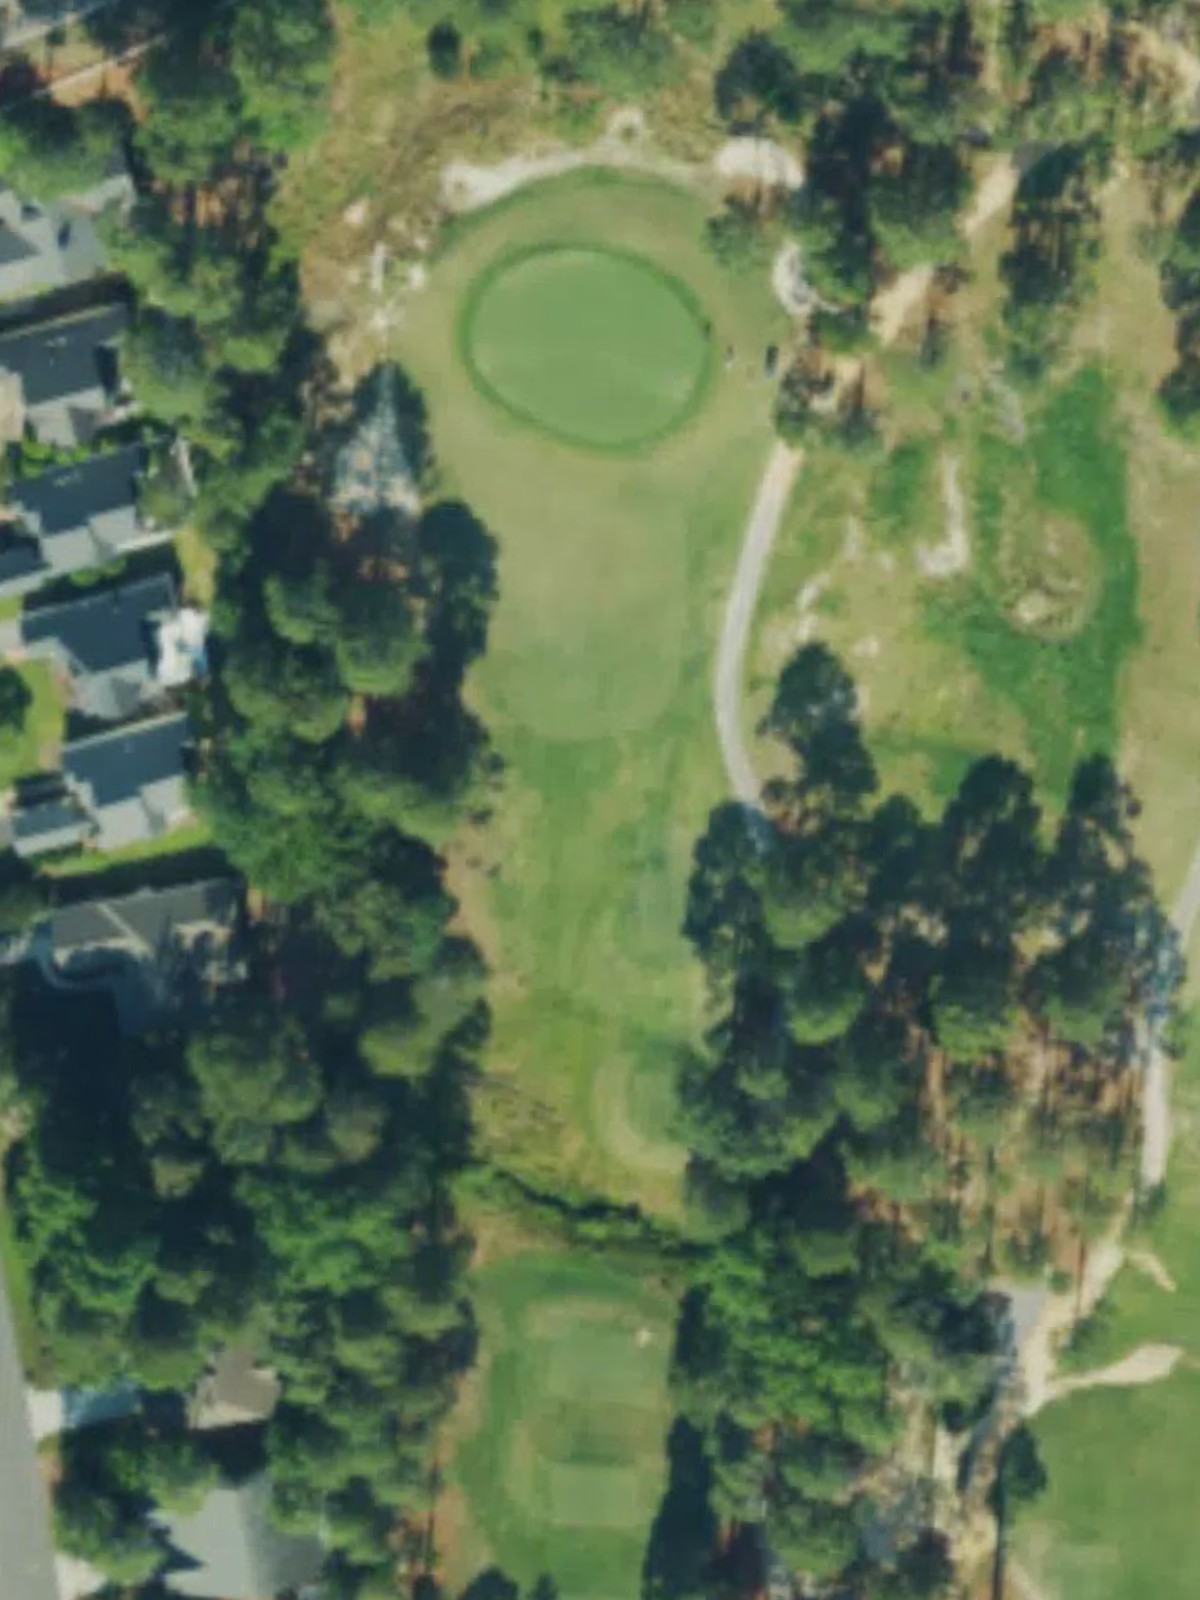
The number one handicap hole, this par 4 features a tight driving corridor with out-of-bounds left and fairway that narrows significantly before the green. Bunkers protect both sides of the putting surface, demanding accuracy throughout.
A short par 3 with a straightforward approach to a well-bunkered green. The compact yardage makes this an accessible one-shot hole, though accuracy remains essential.
A modest par 3 that plays shorter than most on the course, offering a gentle introduction to the back nine or middle of the round. Bunkers frame the green to demand a quality tee shot.

A substantial par 5 that ranks as the course's most difficult hole, playing toward an elevated green with hazards threatening both sides of the fairway. The length and strategic positioning of hazards demand careful positioning throughout.

A short par 3 that provides a breather with a relatively straightforward green complex. Despite modest yardage, course management is key to securing par.

A strong par 4 and the third-toughest hole on the course, characterized by a tight fairway with trouble lurking both left and right. The approach to the green is demanding, with bunkers positioned to catch wayward shots.

A testing par 5 that bends through the landscape with water hazards influencing play and bunkers scattered strategically throughout the hole. The fairway demands precision to set up a manageable third shot.

A solid par 4 with a fairway that plays relatively open off the tee before narrowing as it approaches the green. Bunkers guard the sides of the putting surface, rewarding accuracy on both the drive and approach.

A short par 4 that opens the back nine with a generous fairway and a relatively accessible green. Despite its modest length, course management remains important for a stress-free par.

A modest par 3 featuring a straightforward green complex with minimal hazard interference. The hole provides a welcome reprieve while still demanding an accurate tee shot.
A mid-range par 4 that plays slightly uphill to a green positioned with bunkers on the approach sides. The hole's character grows with yardage, becoming more challenging from the longer tees.
The second-hardest hole on the course, this par 4 demands both distance and precision with out-of-bounds and bunkers creating a narrow corridor to the green. Accuracy off the tee is paramount to success.

A challenging par 5 that stretches across the landscape with water hazards and bunkers positioned to penalize poor positioning. The generous yardage allows for aggressive play, but strategic placement is rewarded.

A solid par 4 with a fairway that remains relatively wide off the tee before narrowing at the approach. Bunkers guard the green complex, encouraging accuracy on the second shot.
A reachable par 5 that ranks as the easiest on the course, with a fair fairway and manageable hazards. The hole's length offers scoring opportunity for those who navigate the fairway successfully.

A strategic par 4 with a narrow driving corridor and bunkers positioned to guard both sides of the green. Precision and positioning are essential to scoring well on this risk-reward hole.
A finishing par 4 that narrows significantly as it approaches the green, with bunkers and hazards closing in on the final approach. This closing hole demands a composed finish to complete the round.
Scorecard
| Hole | 1 | 2 | 3 | 4 | 5 | 6 | 7 | 8 | 9 | Out | 10 | 11 | 12 | 13 | 14 | 15 | 16 | 17 | 18 | In | Tot |
|---|---|---|---|---|---|---|---|---|---|---|---|---|---|---|---|---|---|---|---|---|---|
| Par | 4 | 4 | 3 | 3 | 5 | 3 | 4 | 5 | 4 | 35 | 4 | 3 | 4 | 4 | 5 | 4 | 5 | 4 | 4 | 37 | 72 |
| HCP | 13 | 5 | 15 | 17 | 1 | 11 | 3 | 9 | 7 | 12 | 14 | 8 | 2 | 4 | 6 | 18 | 10 | 16 | |||
| tee no. 7 | 408 | 399 | 200 | 186 | 532 | 176 | 369 | 529 | 334 | 3133 | 393 | 207 | 390 | 421 | 522 | 391 | 506 | 329 | 390 | 3549 | 6682 |
| tee no. 6.5 | 385 | 399 | 200 | 186 | 509 | 176 | 338 | 529 | 308 | 3030 | 350 | 207 | 363 | 380 | 522 | 352 | 506 | 305 | 390 | 3375 | 6405 |
| tee no. 6 | 385 | 363 | 187 | 178 | 509 | 164 | 338 | 497 | 308 | 2929 | 350 | 182 | 363 | 380 | 487 | 352 | 461 | 305 | 344 | 3224 | 6153 |
| tee no. 5.5 | 343 | 319 | 187 | 178 | 509 | 138 | 338 | 446 | 308 | 2766 | 286 | 182 | 363 | 380 | 487 | 324 | 461 | 269 | 304 | 3056 | 5822 |
| tee no. 5 | 343 | 319 | 171 | 153 | 478 | 138 | 297 | 446 | 280 | 2625 | 286 | 141 | 330 | 337 | 455 | 324 | 420 | 269 | 304 | 2866 | 5491 |
| tee no. 4.5 | 317 | 319 | 153 | 153 | 390 | 138 | 267 | 386 | 280 | 2403 | 286 | 127 | 330 | 295 | 455 | 291 | 420 | 255 | 304 | 2763 | 5166 |
| tee no. 4 | 317 | 288 | 153 | 141 | 390 | 130 | 267 | 386 | 242 | 2314 | 247 | 127 | 302 | 295 | 396 | 291 | 375 | 255 | 270 | 2558 | 4872 |
| tee no. 3.5 | 281 | 288 | 153 | 141 | 364 | 130 | 238 | 386 | 220 | 2201 | 218 | 127 | 302 | 295 | 332 | 291 | 323 | 255 | 241 | 2384 | 4585 |
| tee no. 3 | 281 | 260 | 135 | 118 | 364 | 121 | 238 | 340 | 220 | 2077 | 218 | 104 | 277 | 257 | 332 | 246 | 323 | 241 | 241 | 2239 | 4316 |
| tee no. 2.5 | 256 | 260 | 102 | 118 | 316 | 121 | 220 | 340 | 202 | 1935 | 189 | 104 | 207 | 257 | 298 | 246 | 323 | 241 | 216 | 2081 | 4016 |
| tee no. 2 | 256 | 188 | 102 | 95 | 316 | 92 | 220 | 296 | 202 | 1767 | 189 | 95 | 207 | 224 | 298 | 224 | 282 | 200 | 216 | 1935 | 3702 |
| tee no. 1.5 | 205 | 188 | 77 | 95 | 291 | 92 | 188 | 296 | 177 | 1609 | 155 | 95 | 168 | 224 | 298 | 224 | 249 | 200 | 177 | 1790 | 3399 |
| tee no. 1 | 205 | 146 | 77 | 89 | 291 | 81 | 188 | 263 | 177 | 1517 | 155 | 81 | 168 | 177 | 222 | 188 | 249 | 169 | 177 | 1586 | 3103 |