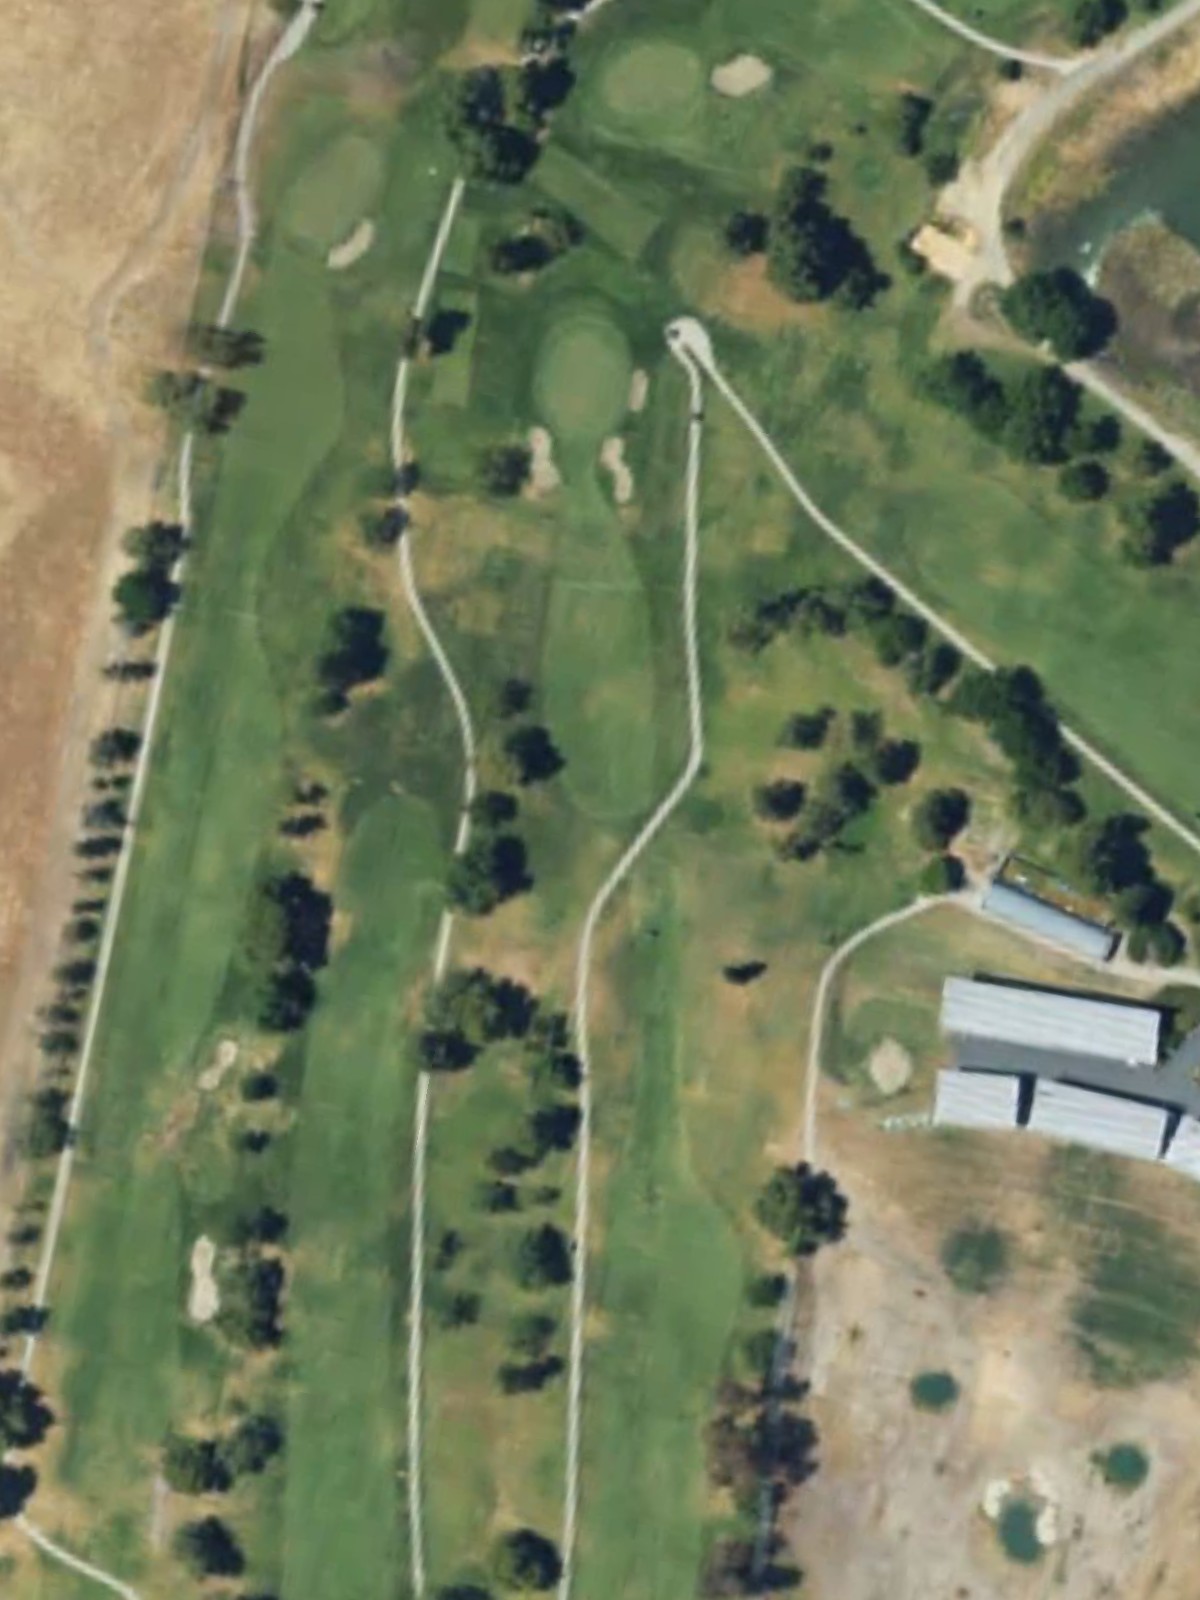
Lone Tree Gc is an 18-hole golf course in Antioch, CA with a par of 72. It offers 5 tee sets: blue (6,393 yards, slope 124, rating 70.5), green (6,287 yards, slope 123, rating 70), white (6,037 yards, slope 120, rating 68.8), gold (5,729 yards, slope 118, rating 67.4), red (4,769 yards, slope 107, rating 62.8). The hardest hole is #1, a par 4 playing 287 yards from the first tee.
Lone Tree Gc
Antioch, CA
Get PDF Yardage Book
We'll email you the PDF link. No spam, ever.
Create Your Game Plan
Pick your tees, enter your bag, and get a personalized shot-by-shot strategy for every hole.
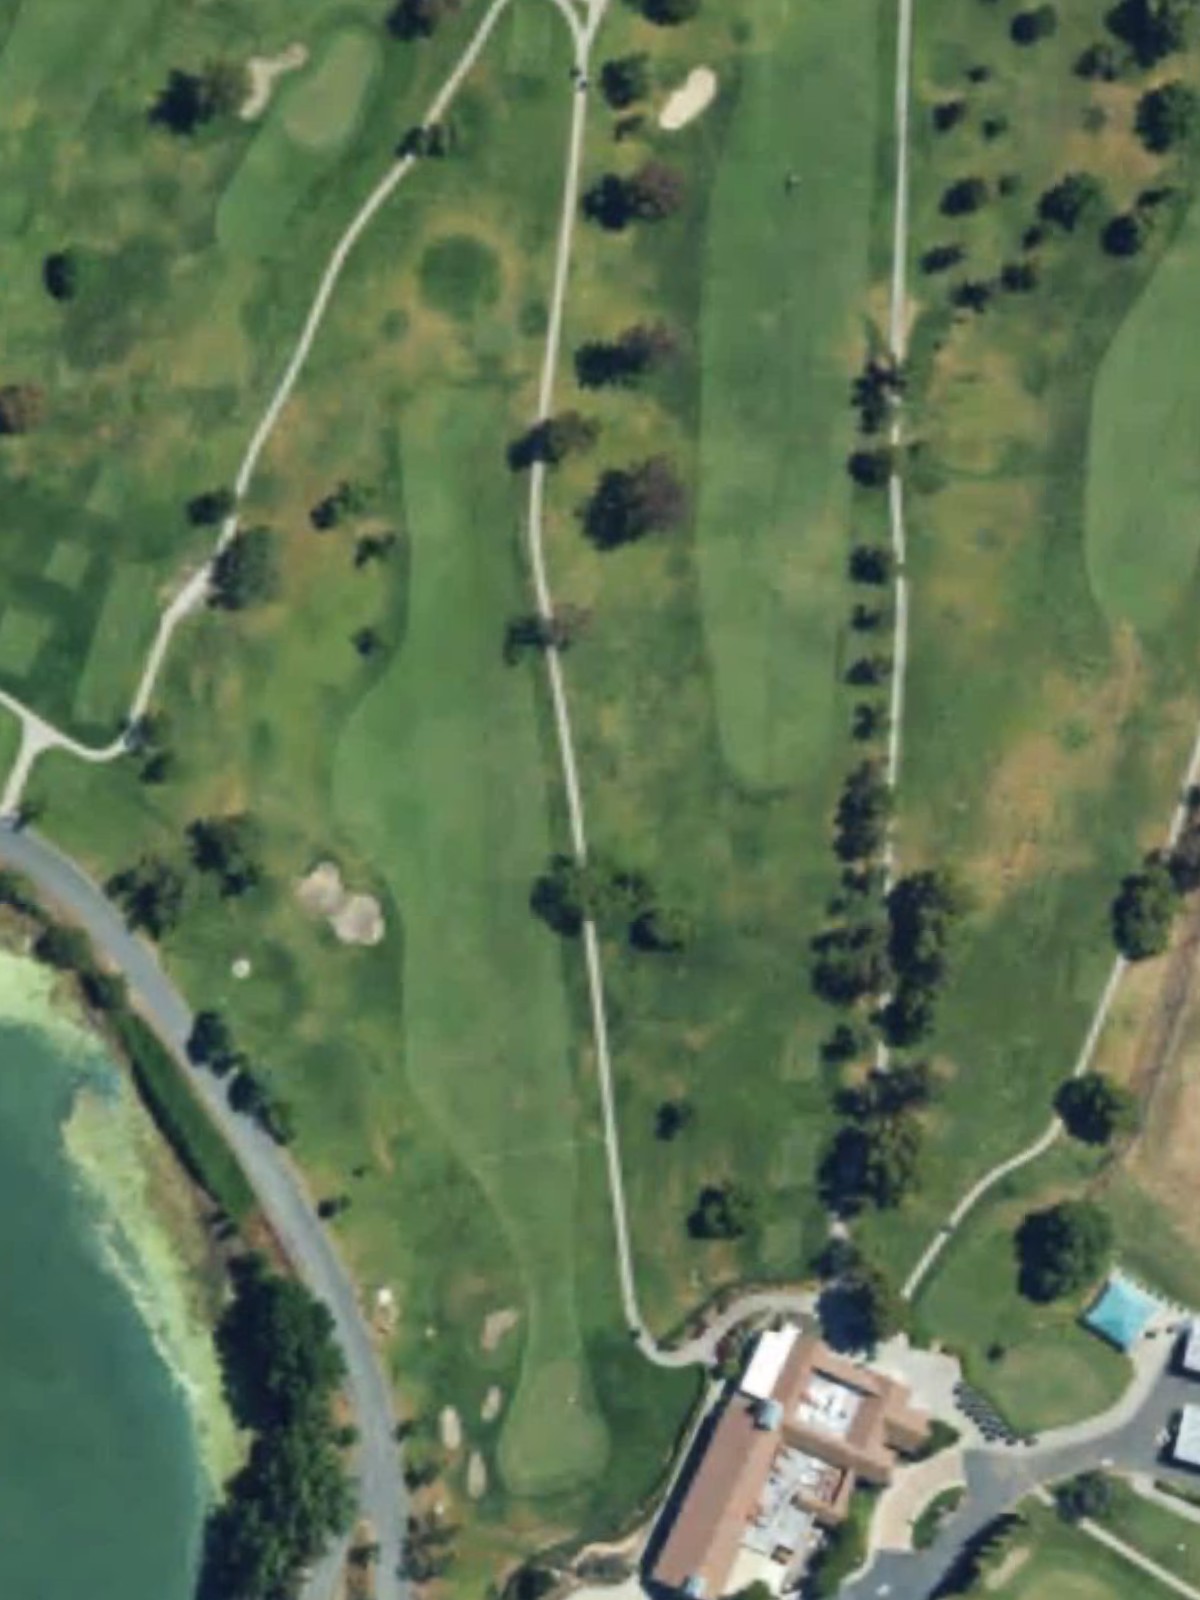
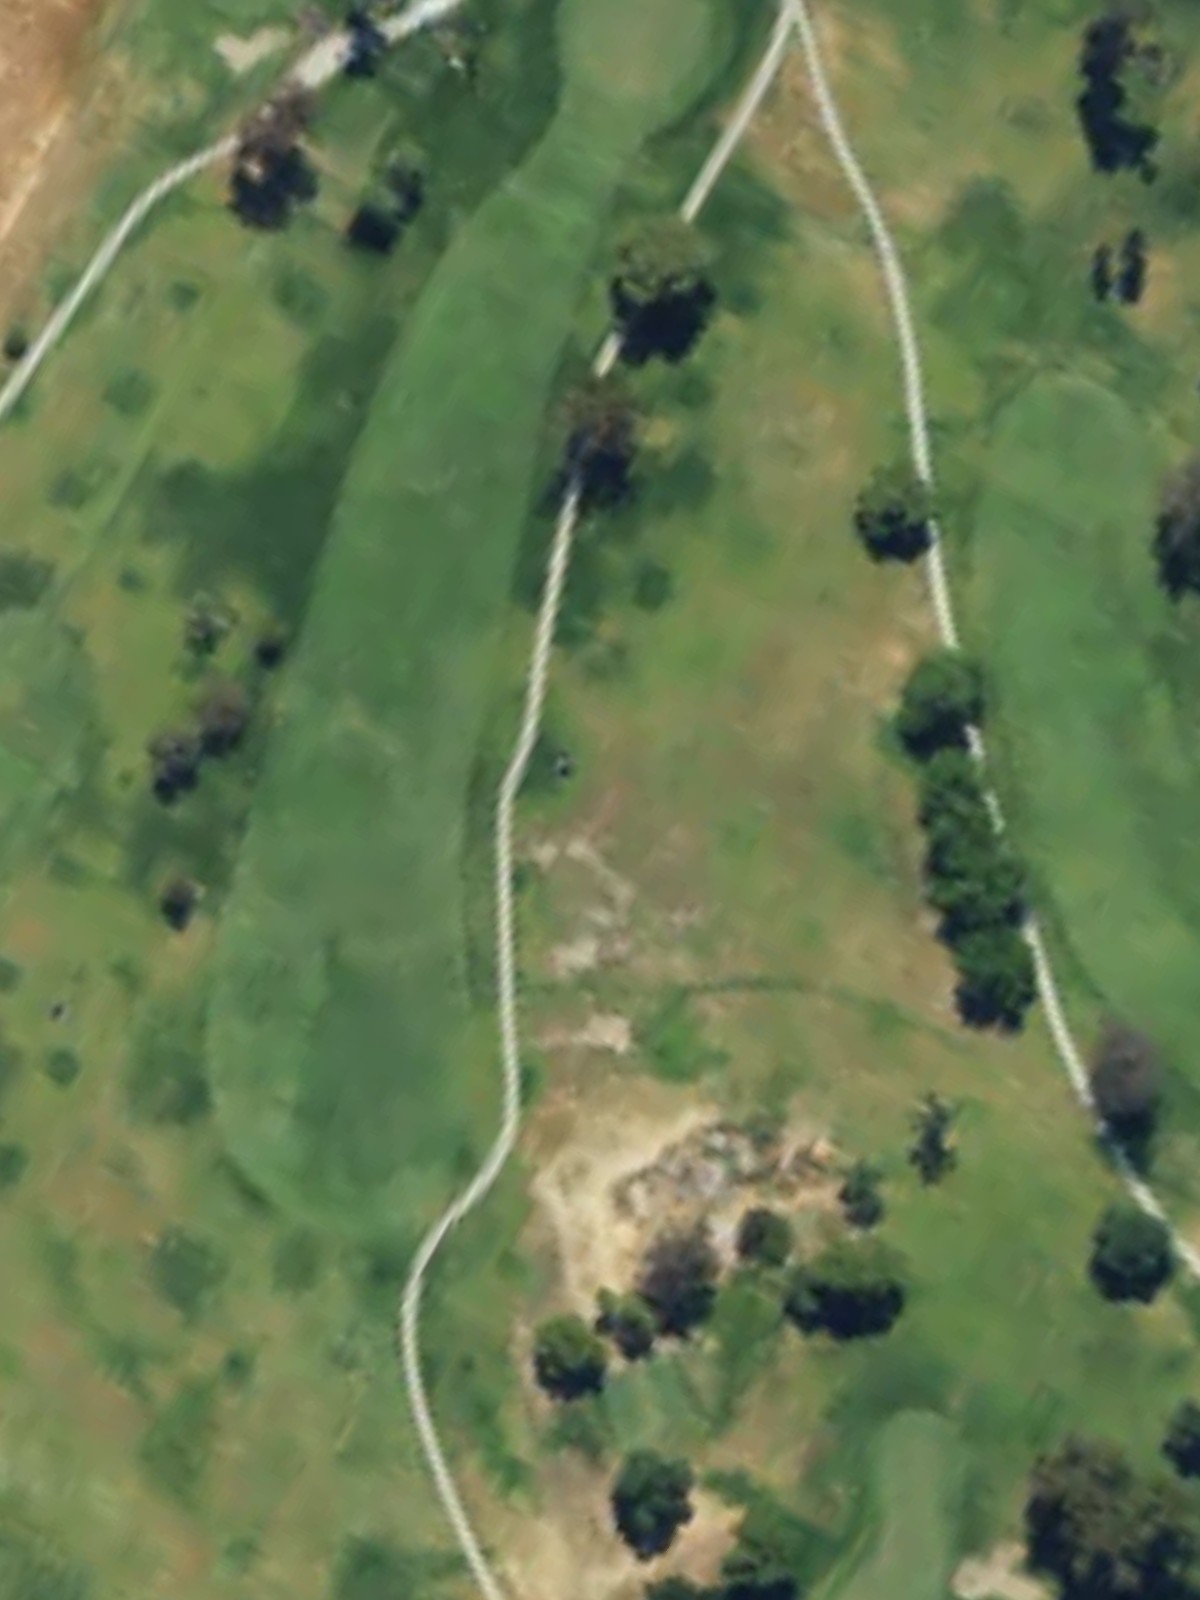
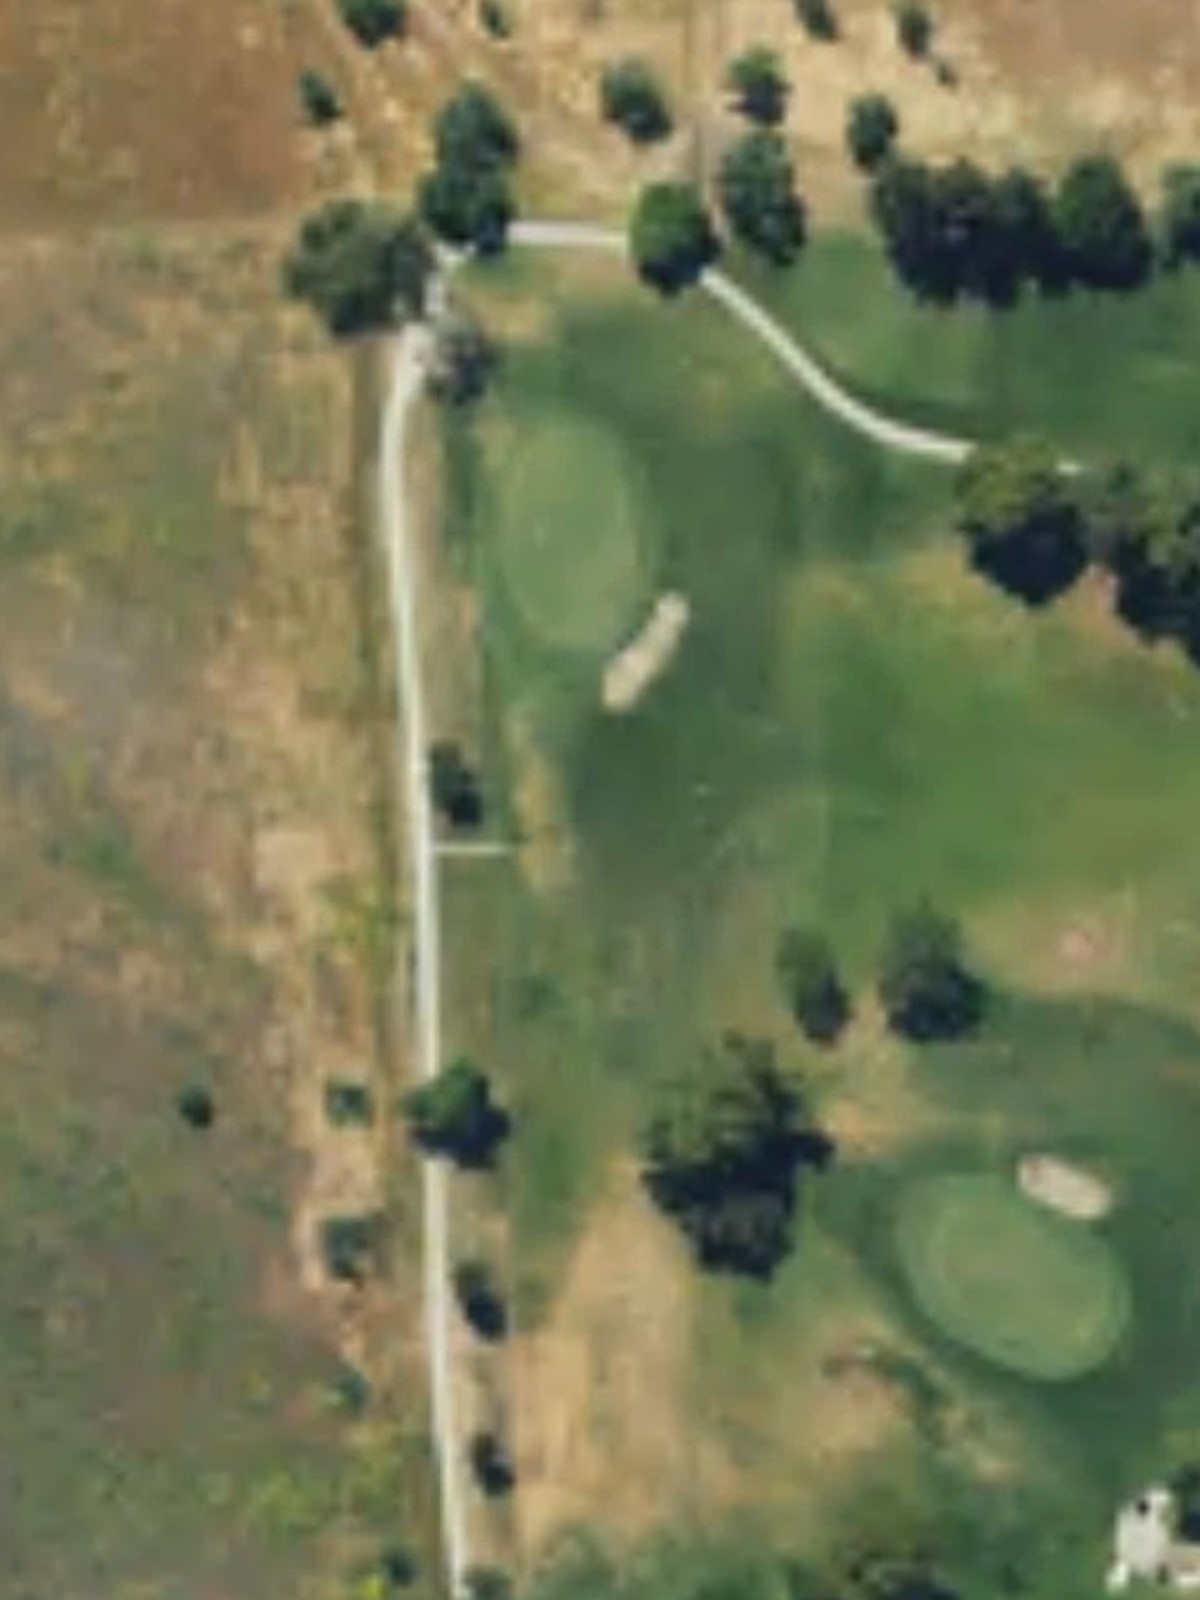
A demanding opener playing as the #1 handicap hole, this straightforward par 4 features a fairway that tightens considerably as it approaches the green. Bunkers and hazards protect the putting surface, making accuracy off the tee and into the green essential on this challenging introductory hole.

A short par 3 that plays to a well-bunkered green. The hole's brevity can be deceiving, as precise distance control is required to find the center of the green and avoid the surrounding hazards.
The easiest hole on the course, this short par 4 offers a straightforward layout with minimal hazards. The modest length allows players to advance the ball with confidence and set up a manageable approach to the green.
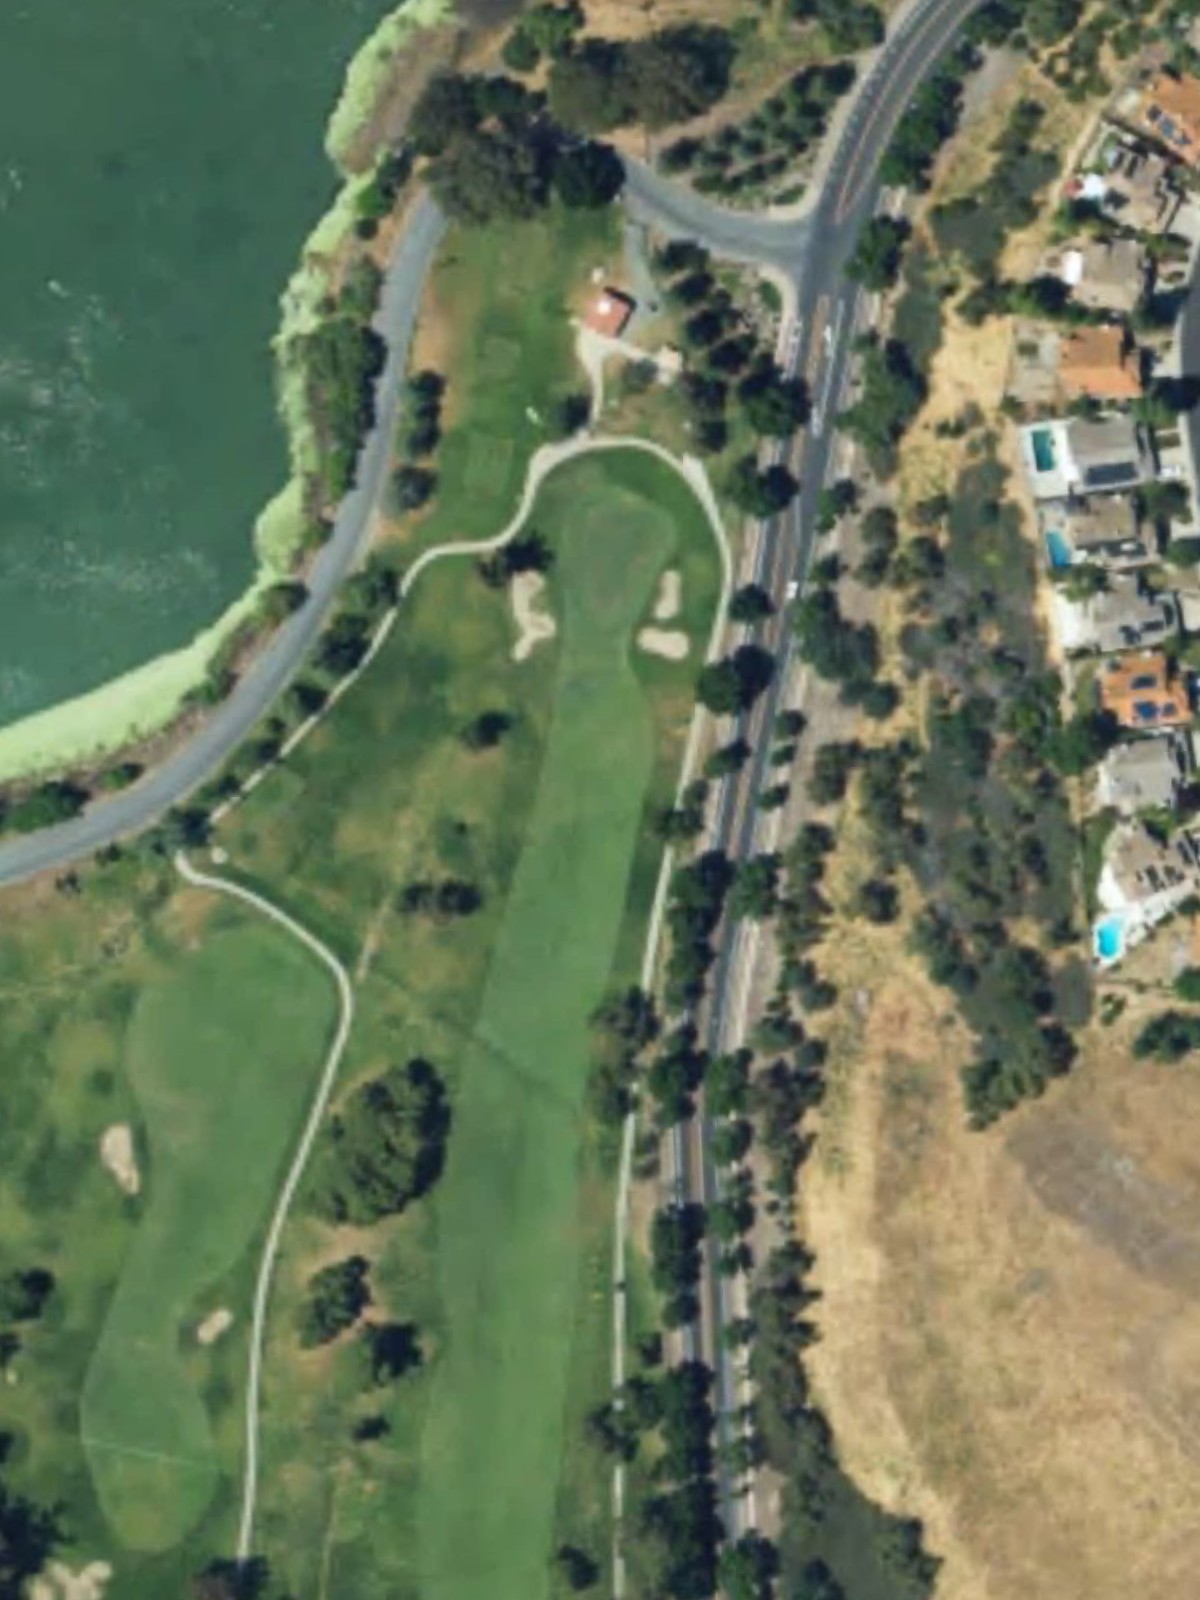
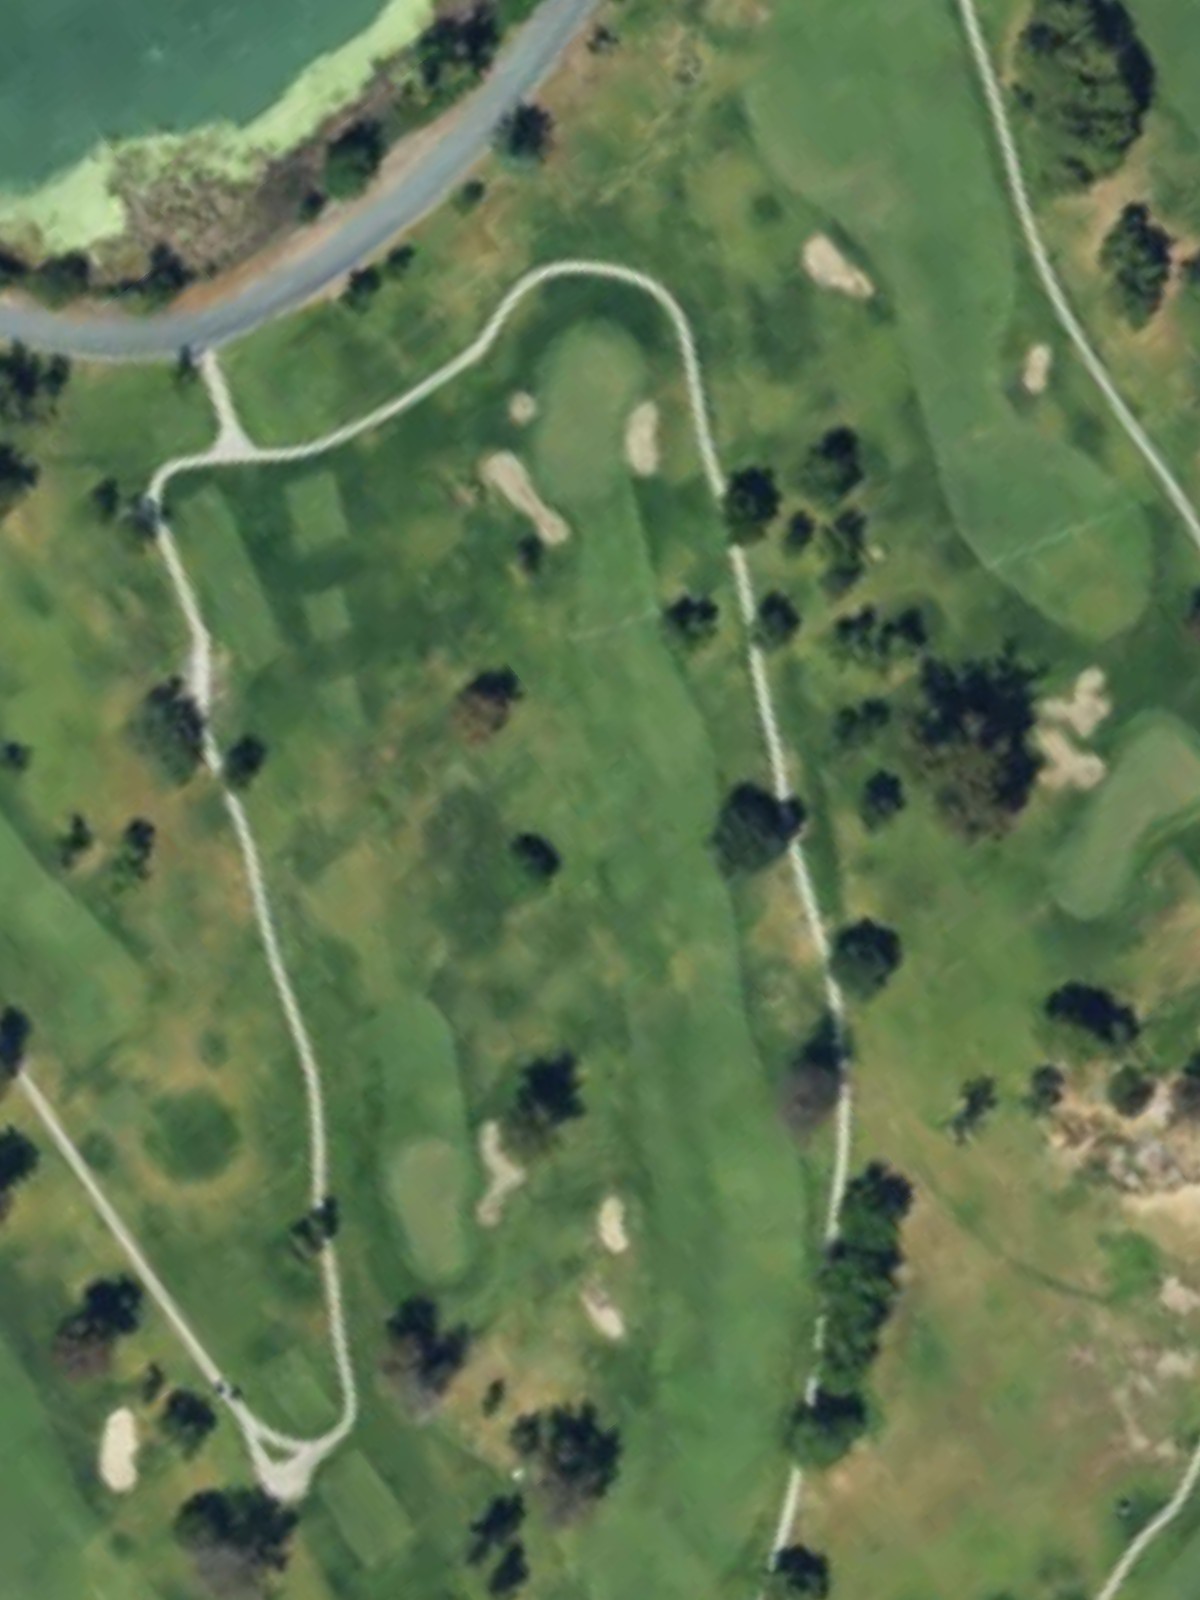
A long par 5 that provides a genuine birdie opportunity for skilled players. The hole features a wide fairway corridor that allows for strategic positioning, though hazards protect the approach and green to penalize poor execution.
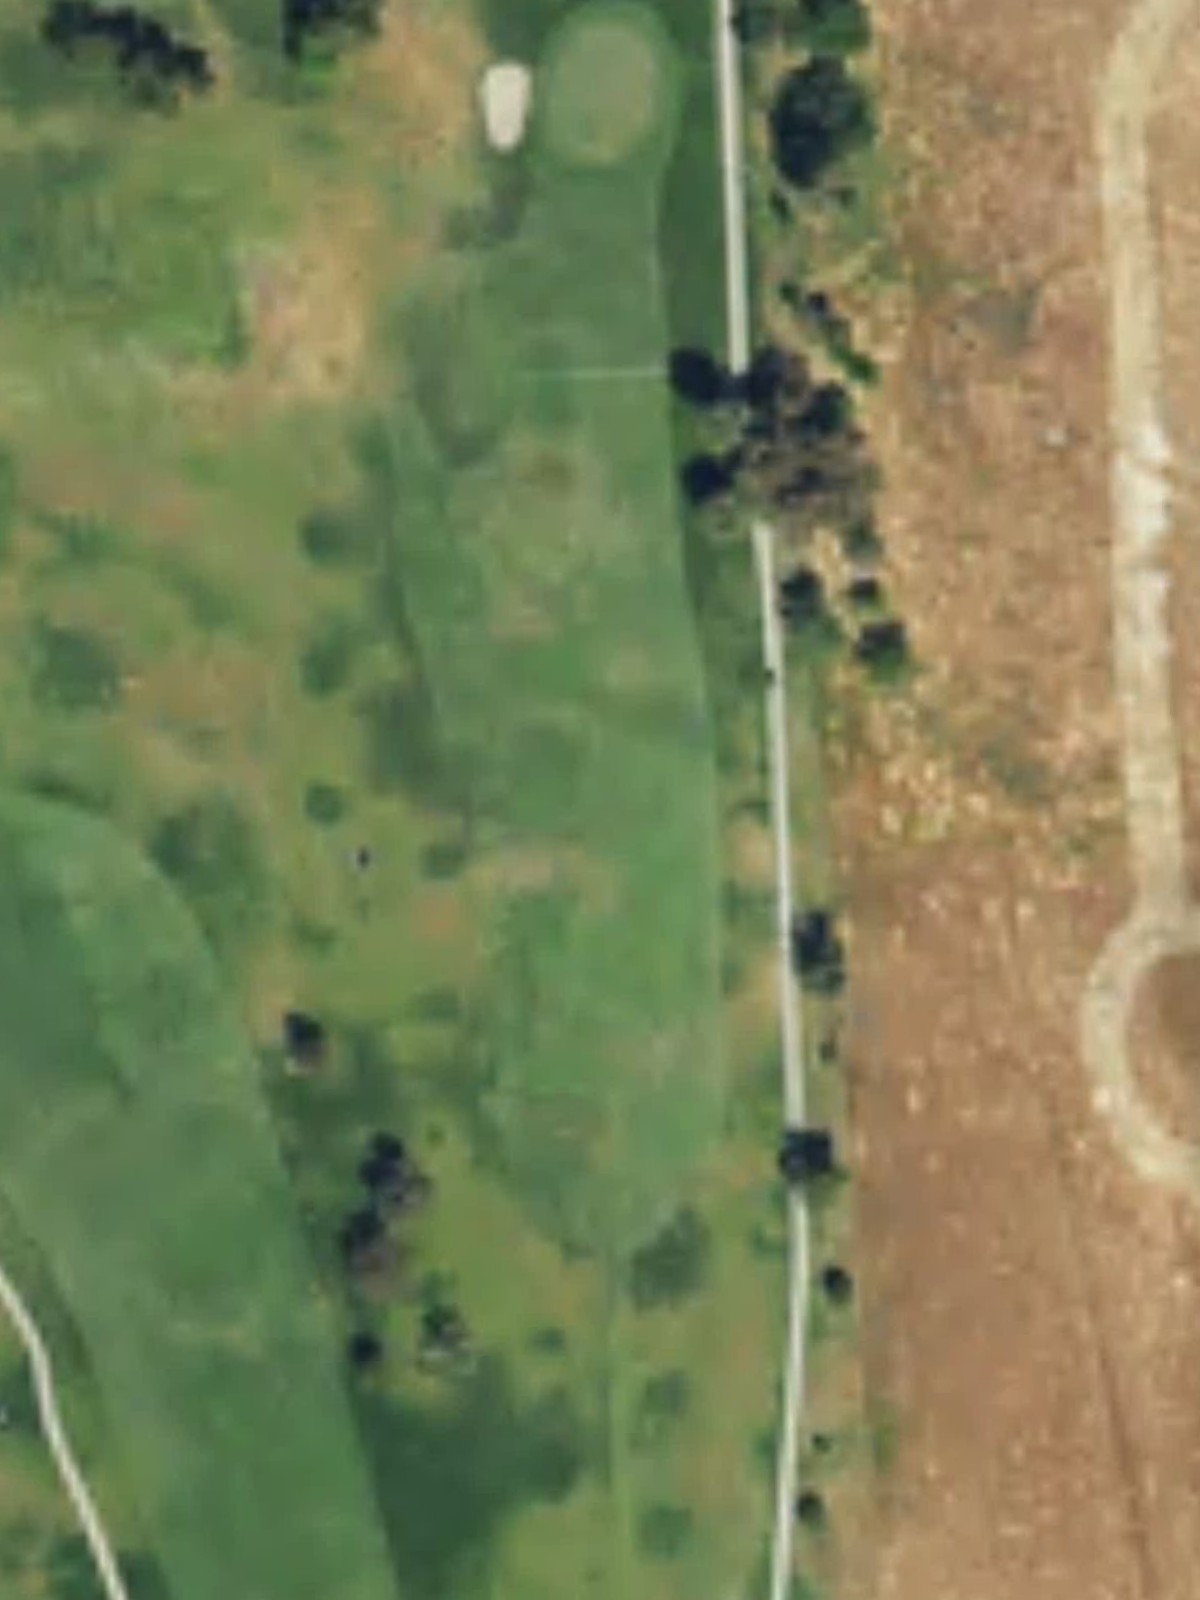
A deceptively challenging par 4 despite its modest length, with hazards strategically placed to catch errant shots. The narrow fairway and closely guarded green demand precision from tee to flag.
A relatively straightforward par 4 that plays shorter than its yardage suggests. The hole offers a fair test with moderate hazards, providing a reprieve in the round's difficulty.
The second most difficult hole on the course, this long par 4 is a formidable test of accuracy and power. Hazards frame the fairway and green, leaving little room for error on this stern challenge.
A short par 3 requiring an accurate mid-range tee shot to a green defended by bunkers and surrounding trouble. The hole's compact size demands quality ball-striking despite the limited yardage.
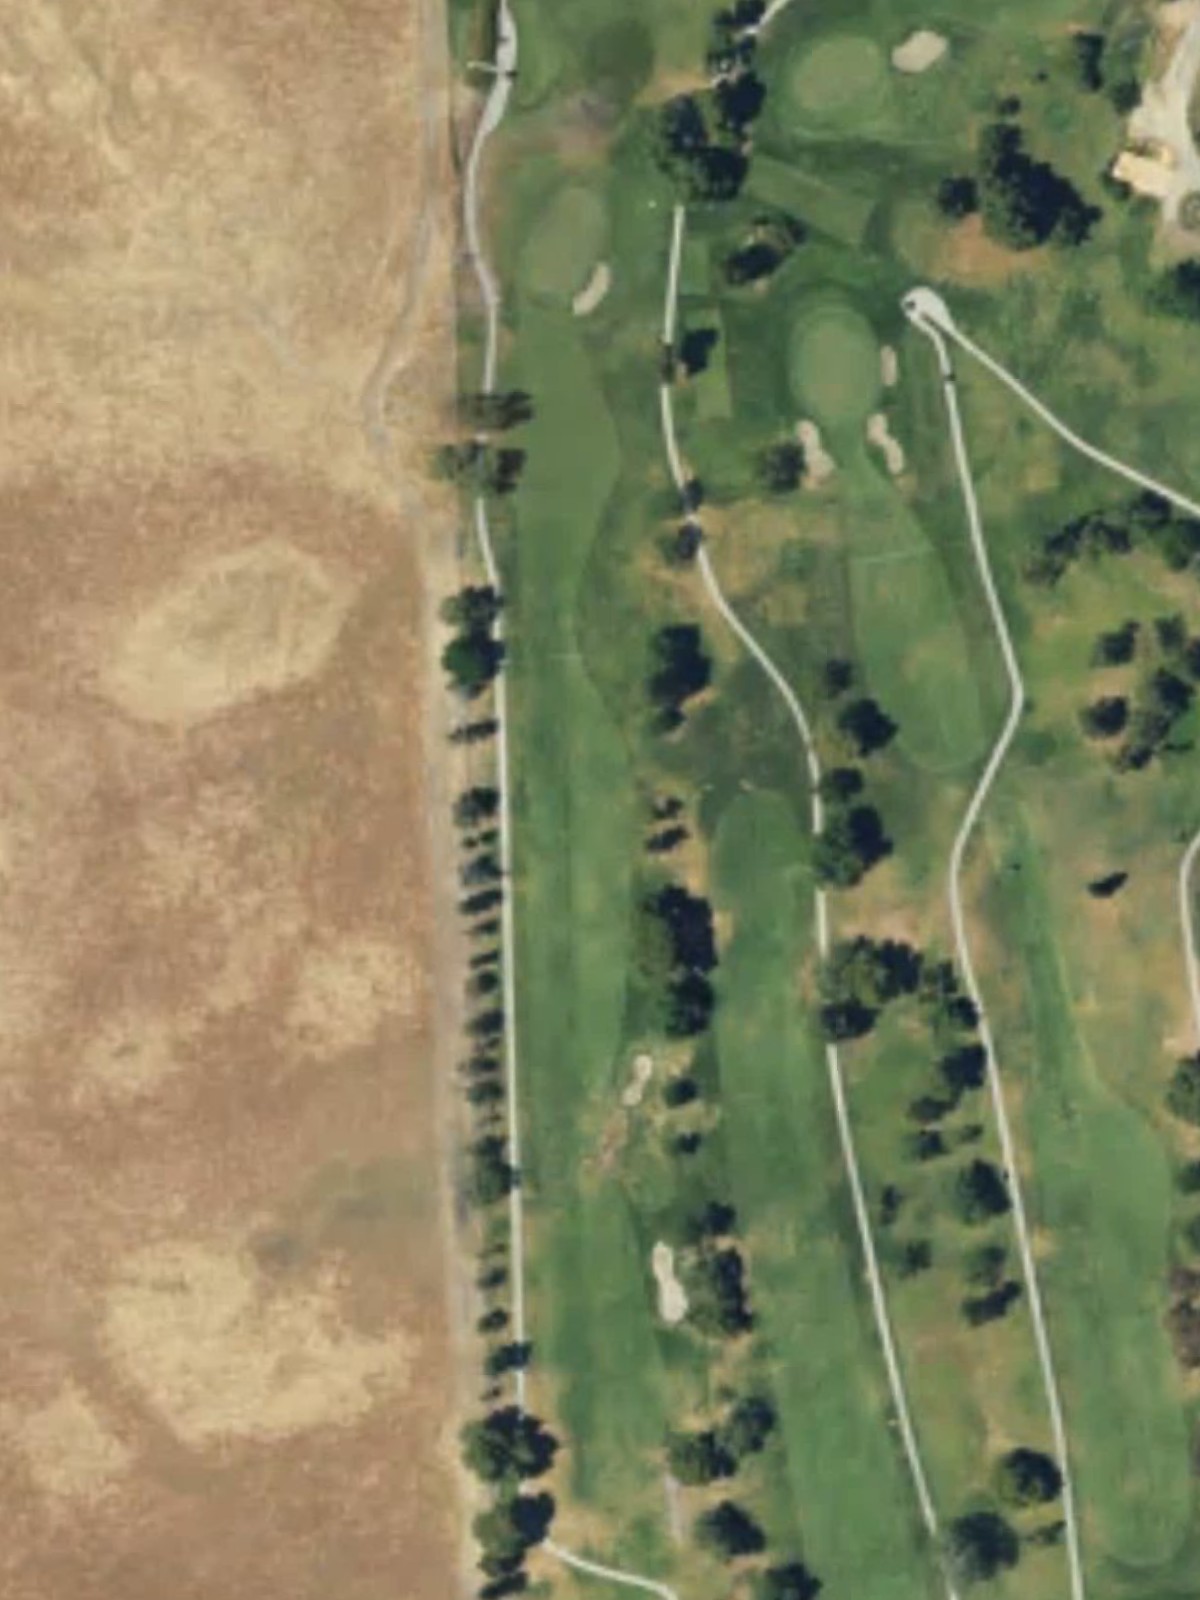
A well-balanced par 4 with a fairway that opens at the driving zone before narrowing toward the green. Strategic bunkering and hazards reward careful positioning and solid approach play.
A straightforward par 4 offering a fair and relatively relaxed test. The hole features a manageable layout with moderate hazard placement, allowing for a steady advancement down the fairway.
A mid-length par 3 with a straightforward target and moderate hazard protection around the green. This hole provides a balanced one-shot test without excessive difficulty.
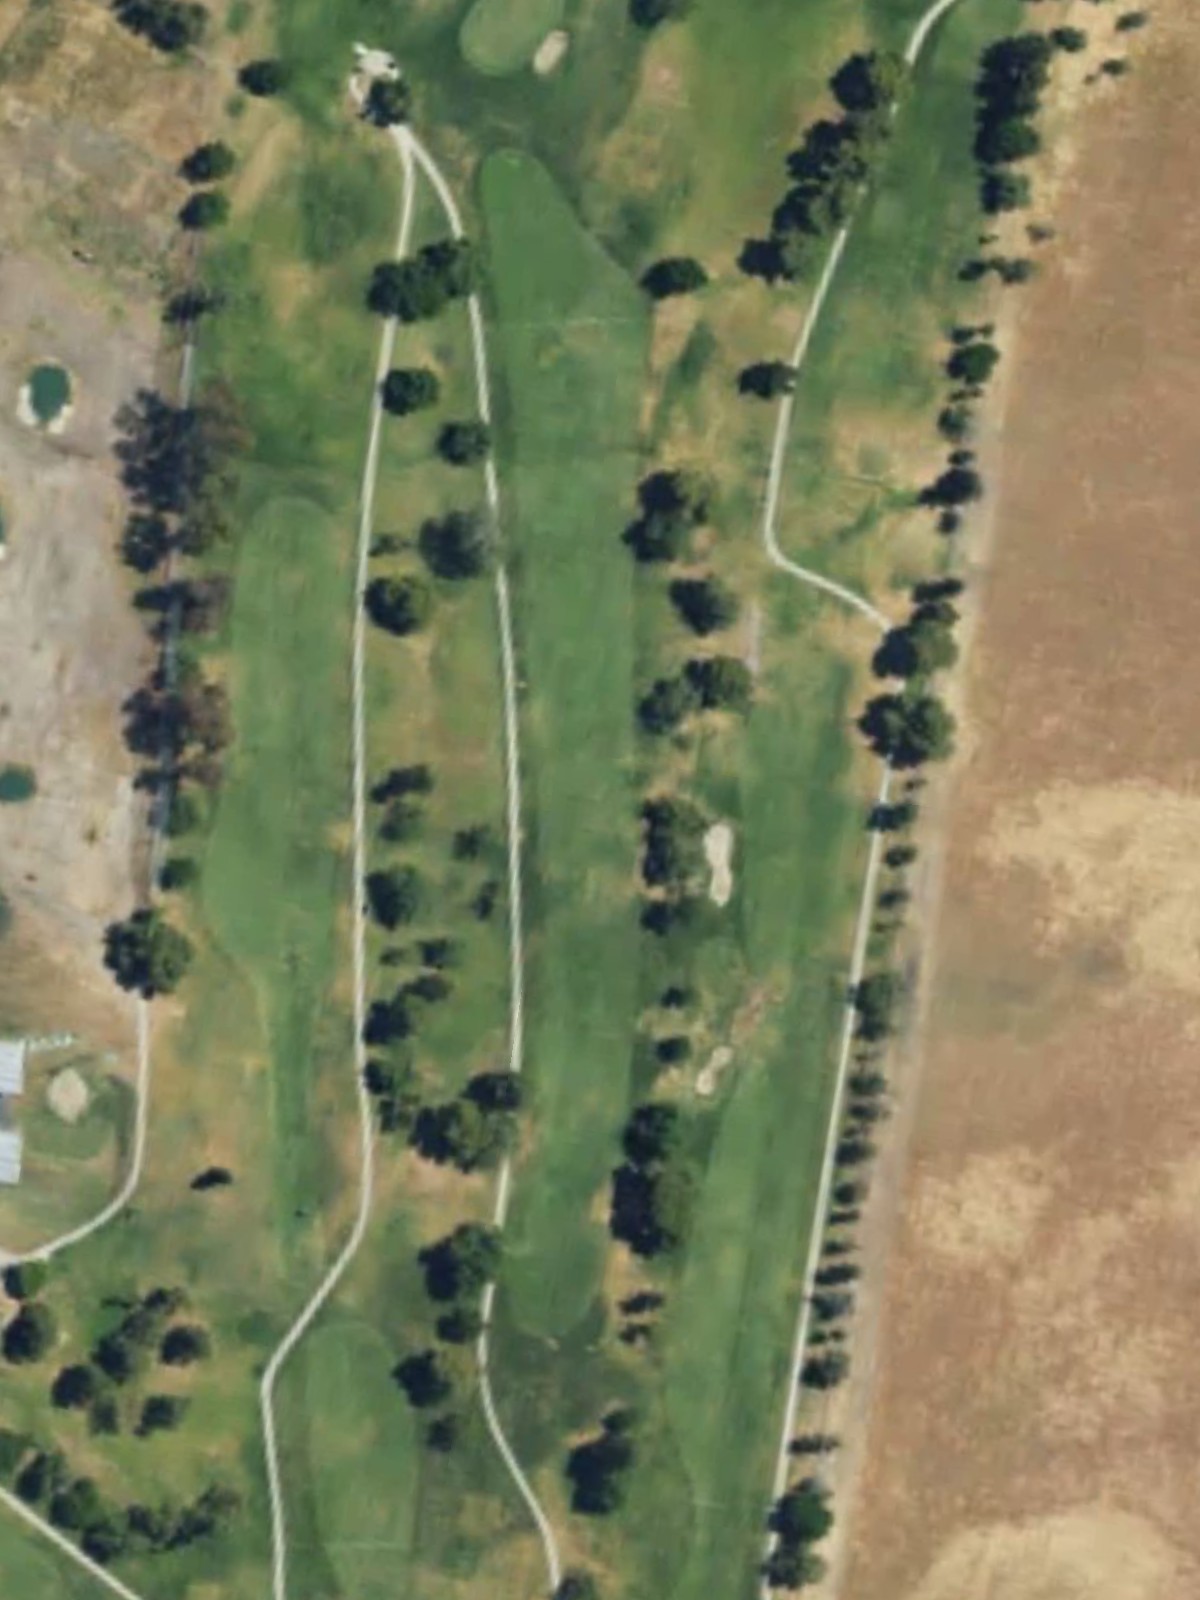
The second most difficult hole on the course, this long par 5 presents a significant challenge despite its birdie potential. Hazards and bunkers are positioned to punish wayward shots throughout the hole.

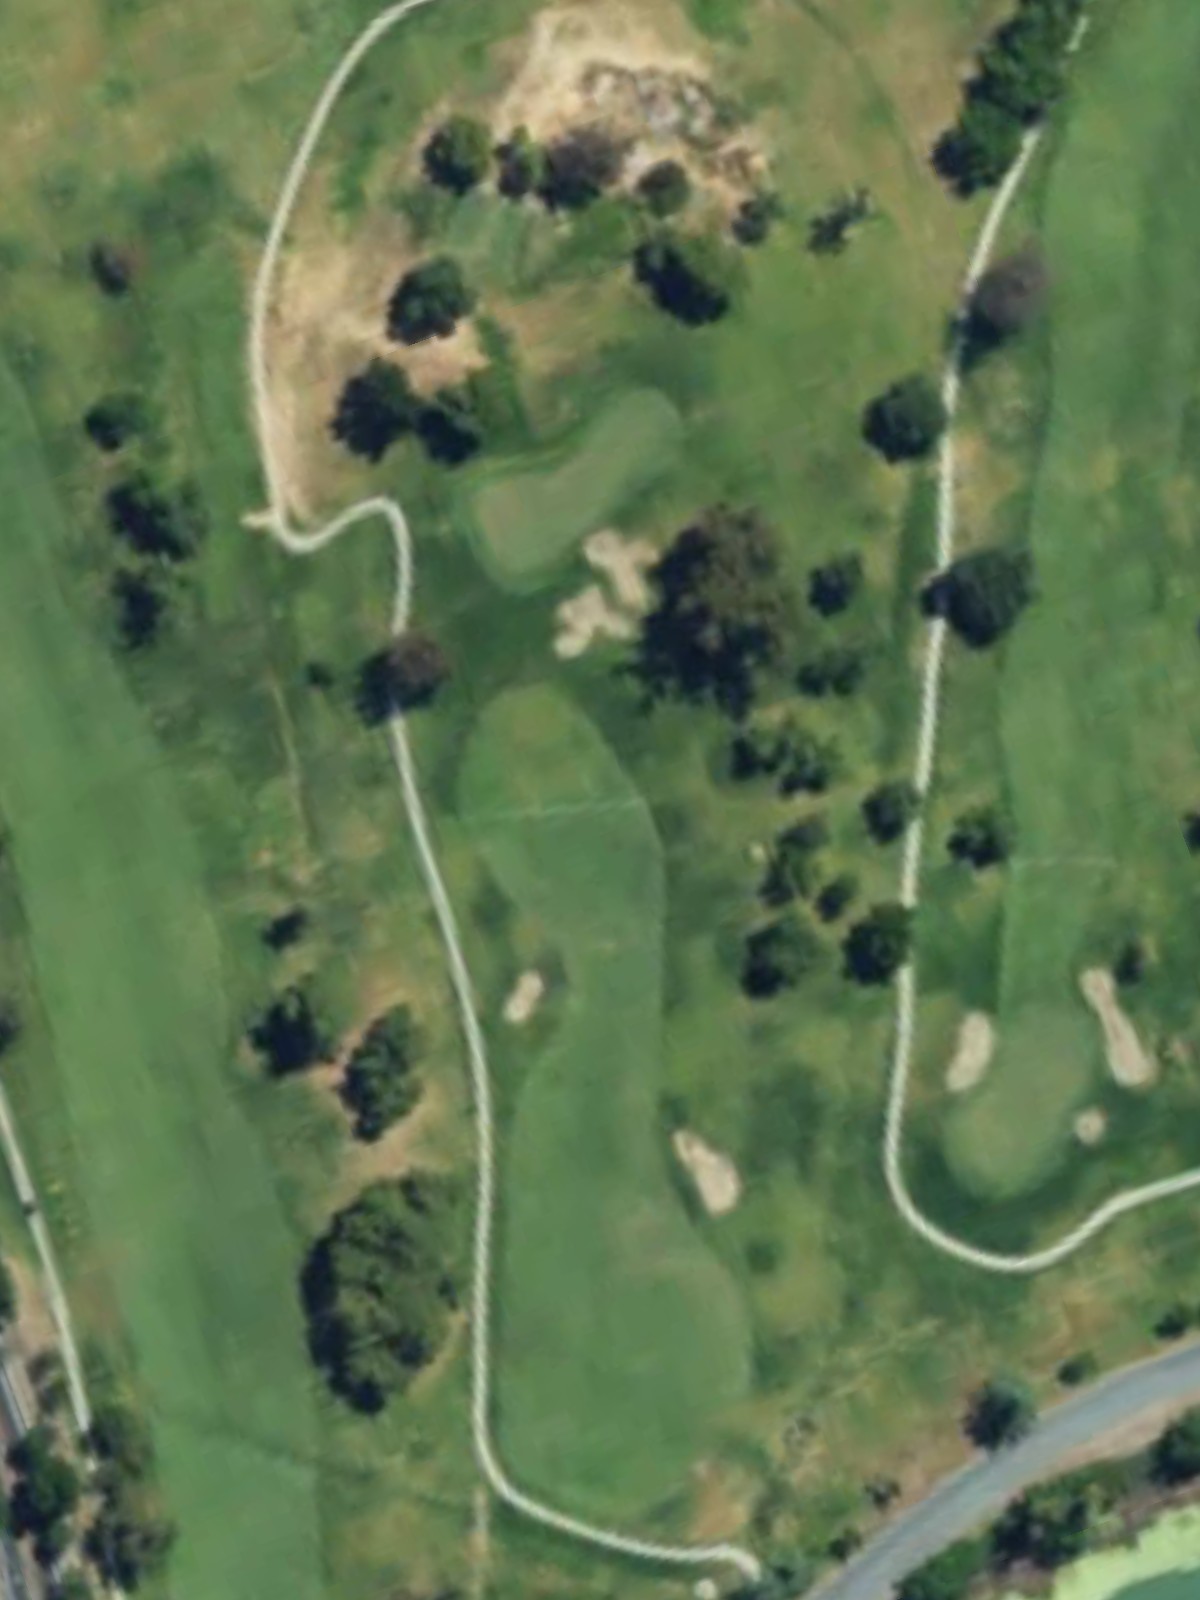
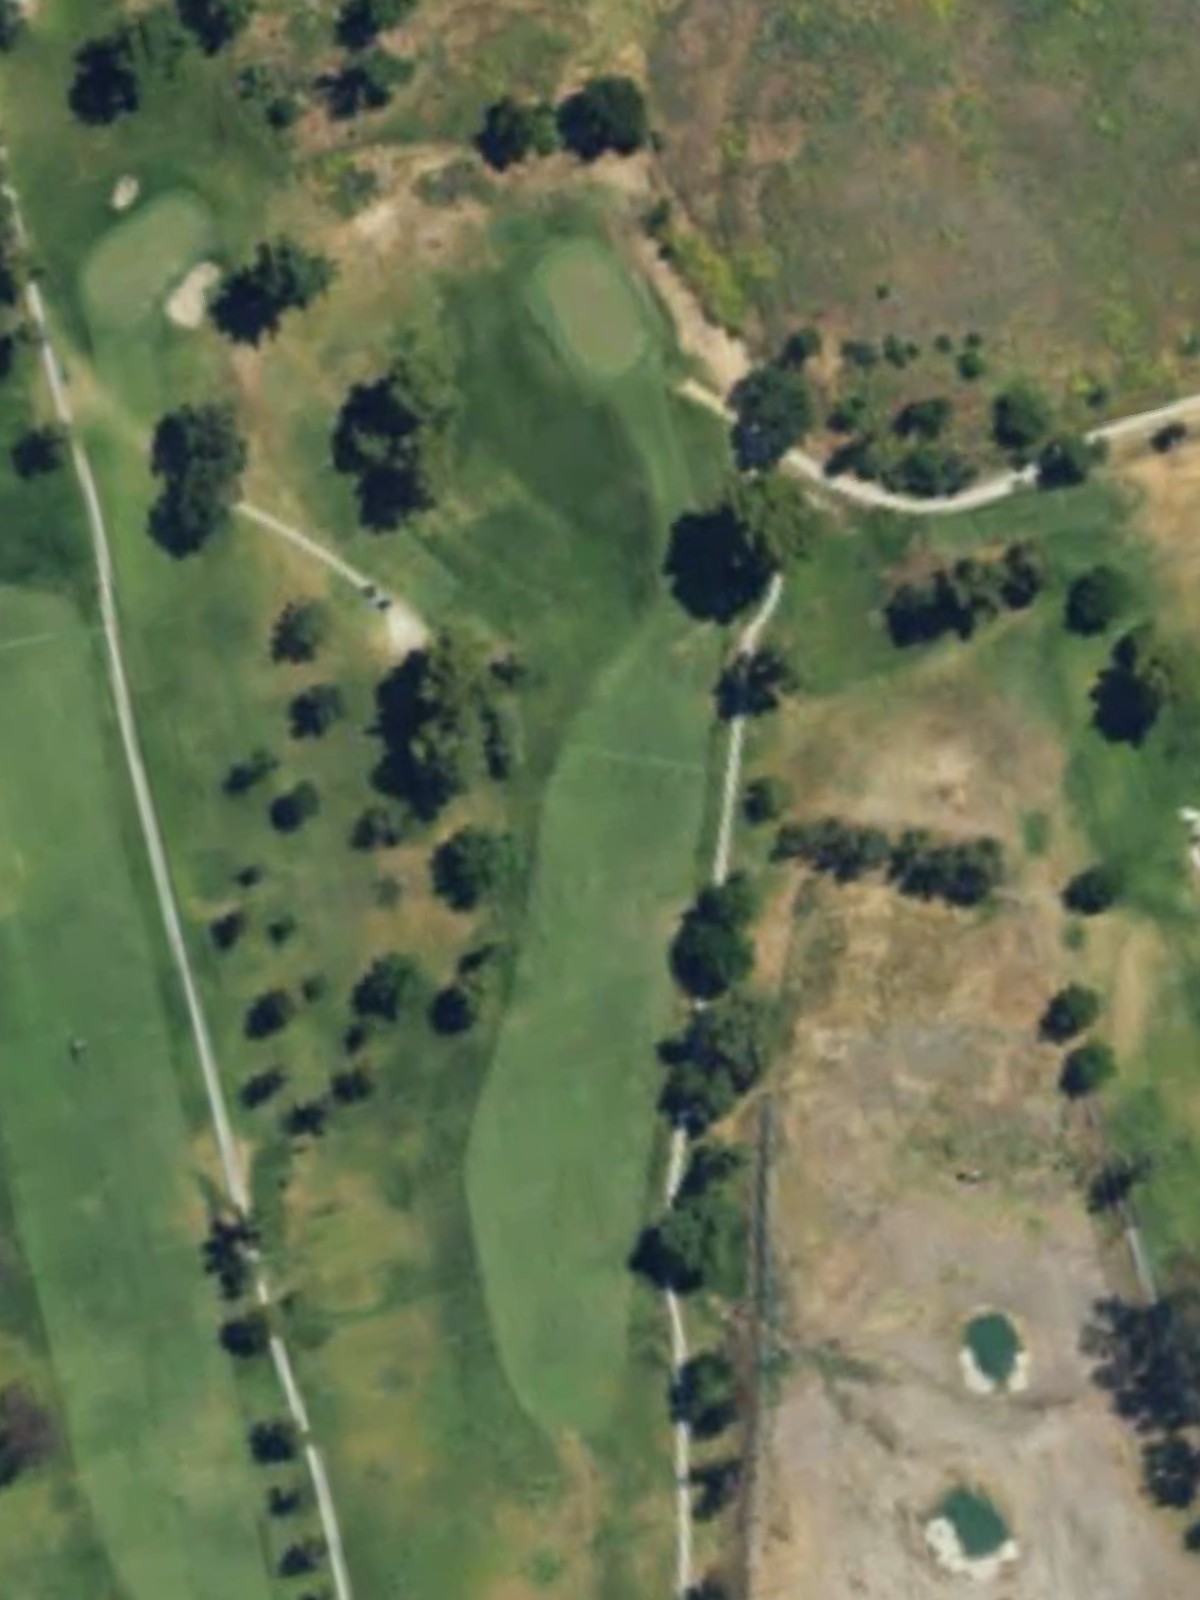
A dramatic par 4 ranked fourth in difficulty, featuring a sharp dogleg or significant curve in its routing. The green is tightly guarded, making placement and distance control critical for success.
The shortest hole on the course, this tiny par 3 plays to a modest green with minimal hazards. Despite its brevity, it demands precision and serves as a scoring opportunity.

A well-designed par 4 that balances challenge with playability, featuring strategic bunkering around the green. The hole rewards accurate ball-striking while remaining accessible to most players.
A generous par 5 that provides legitimate birdie chances for attacking players while protecting those who miss their targets. The routing allows for varied strategic approaches to reach the green.
A long par 5 that ranks tenth in difficulty, offering a balanced test of length and accuracy. Strategic hazards and bunkers are positioned to challenge players at multiple points along the hole.

The finishing par 4 plays moderate in difficulty and features strategic bunkering and hazard placement that frames the fairway and green. The hole provides a fitting conclusion to the round with clear rewards for solid execution.
Scorecard
| Hole | 1 | 2 | 3 | 4 | 5 | 6 | 7 | 8 | 9 | Out | 10 | 11 | 12 | 13 | 14 | 15 | 16 | 17 | 18 | In | Tot |
|---|---|---|---|---|---|---|---|---|---|---|---|---|---|---|---|---|---|---|---|---|---|
| Par | 4 | 3 | 4 | 5 | 4 | 4 | 4 | 3 | 4 | 35 | 4 | 3 | 5 | 4 | 3 | 4 | 5 | 5 | 4 | 37 | 72 |
| HCP | 1 | 13 | 17 | 9 | 7 | 15 | 3 | 11 | 5 | 16 | 12 | 2 | 4 | 18 | 6 | 8 | 10 | 14 | |||
| blue | 430 | 182 | 293 | 514 | 389 | 351 | 422 | 181 | 375 | 3137 | 412 | 170 | 520 | 384 | 118 | 362 | 492 | 494 | 304 | 3256 | 6393 |
| green | 414 | 167 | 293 | 502 | 382 | 351 | 417 | 181 | 375 | 3082 | 404 | 160 | 514 | 384 | 118 | 357 | 476 | 488 | 304 | 3205 | 6287 |
| white | 408 | 133 | 278 | 496 | 358 | 335 | 403 | 156 | 364 | 2931 | 399 | 150 | 503 | 371 | 109 | 346 | 466 | 473 | 289 | 3106 | 6037 |
| gold | 385 | 133 | 278 | 485 | 331 | 315 | 377 | 132 | 341 | 2777 | 331 | 150 | 457 | 371 | 109 | 334 | 454 | 457 | 289 | 2952 | 5729 |
| red | 287 | 115 | 264 | 433 | 234 | 306 | 262 | 111 | 336 | 2348 | 326 | 140 | 329 | 187 | 100 | 306 | 308 | 450 | 275 | 2421 | 4769 |