Lindenwood Golf Club is an 18-hole golf course in Mcmurray, PA with a par of 72. It offers 5 tee sets: black (6,435 yards, slope 132, rating 71.2), blue (6,220 yards, slope 130, rating 70.3), white (5,725 yards, slope 127, rating 67.7), gold (5,300 yards, slope 122, rating 65.7), red (4,815 yards, slope 113, rating 63.5). The hardest hole is #6, a par 4 playing 280 yards from the first tee.
Lindenwood Golf Club
Mcmurray, PA
Get PDF Yardage Book
We'll email you the PDF link. No spam, ever.
Create Your Game Plan
Pick your tees, enter your bag, and get a personalized shot-by-shot strategy for every hole.
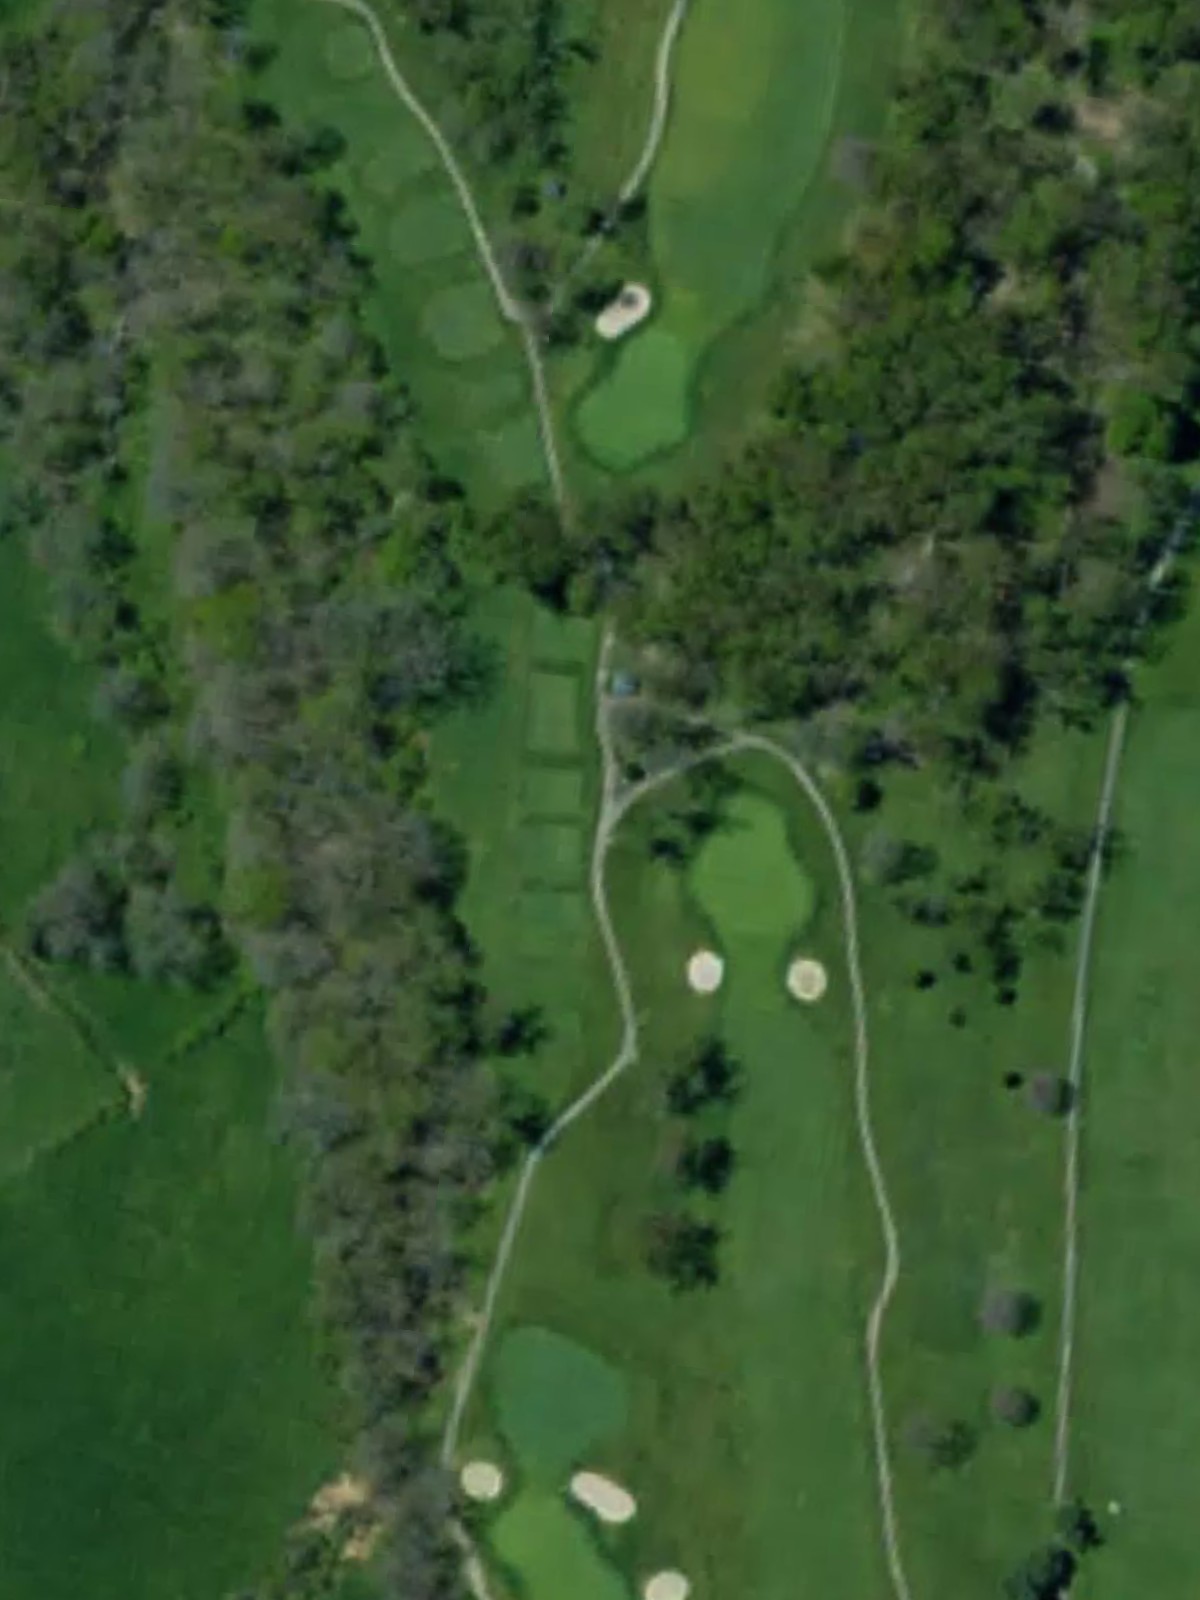
A welcoming opening par 4 with a fairly wide fairway that gradually narrows as it approaches the green. Greenside bunkers protect the right side of the green, while the left offers a clear approach for those favoring that line.
A lengthy par 5 that rewards distance off the tee with the fairway widening in the driving zone. Water hazards and bunkers tighten around the green, making the final approach the hole's primary challenge.
A short par 4 that plays deceptively easy despite its length, with a narrow fairway and tight green complex. Strategic placement is more important than distance on this straightforward but well-bunkered hole.
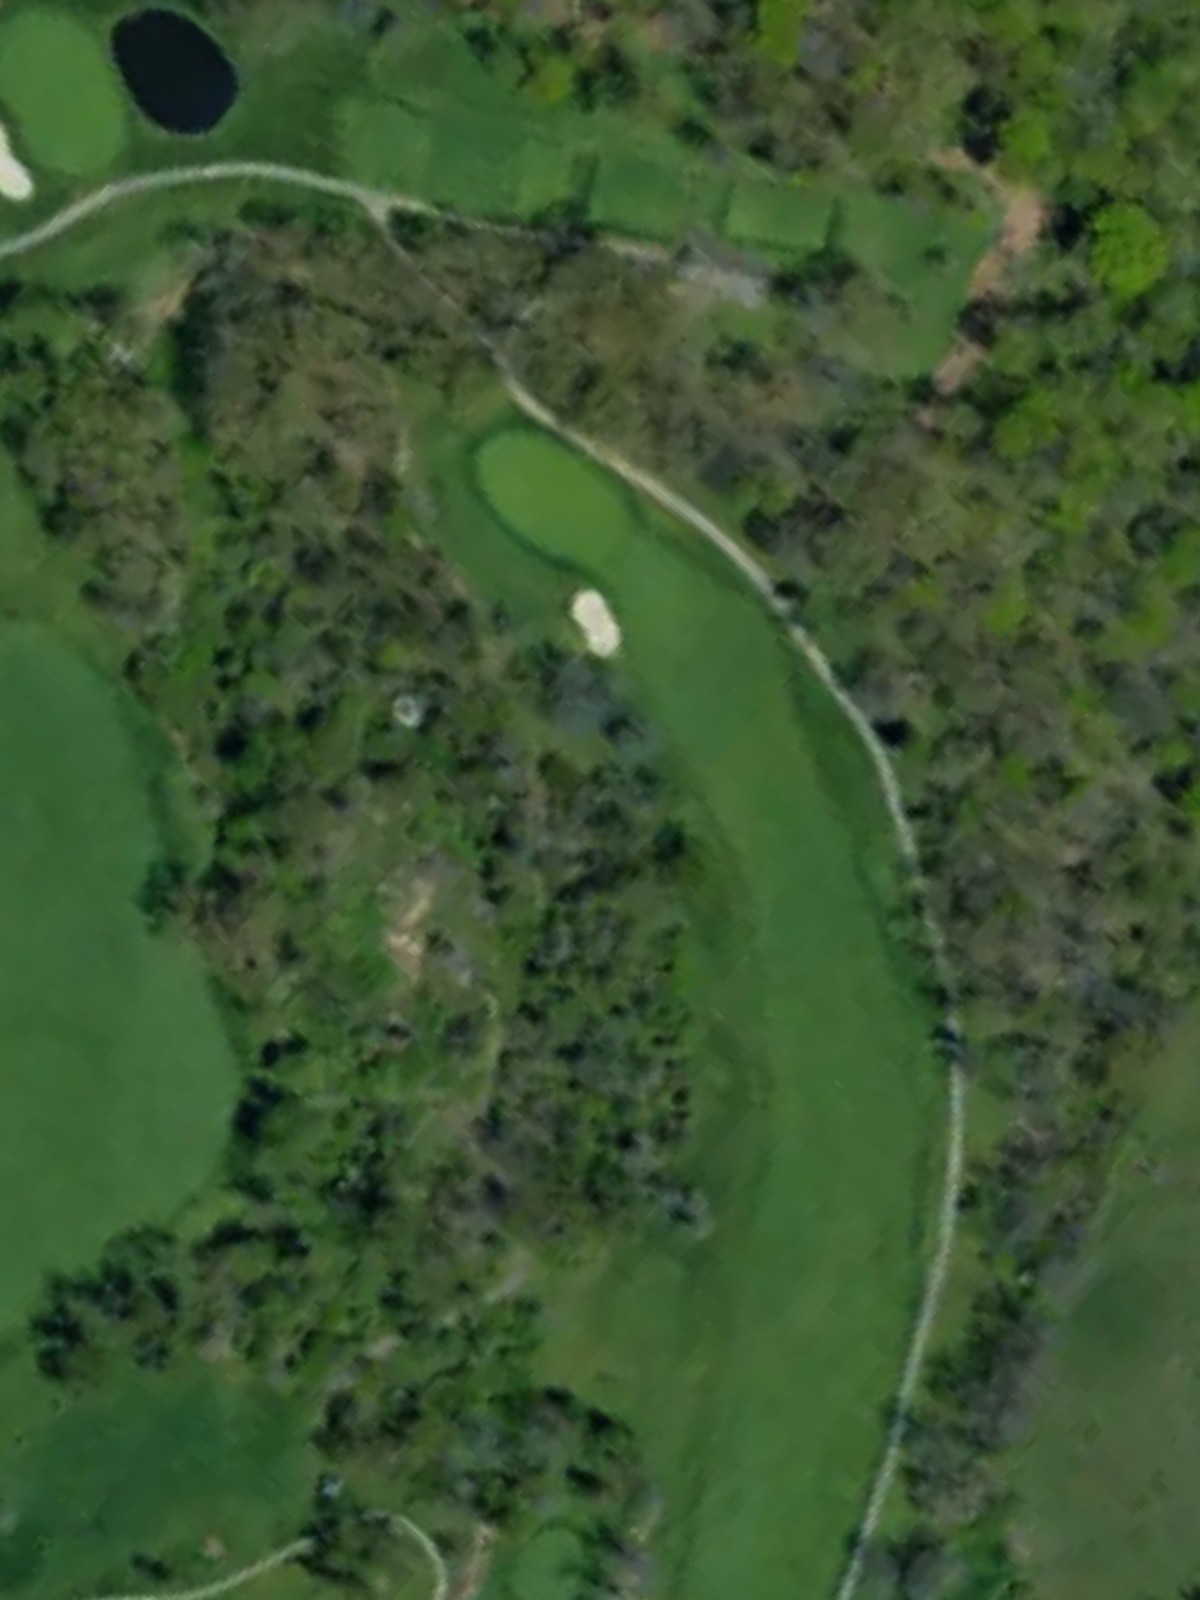
A short par 3 playing downhill to a modest green with light bunkering. The simplicity of the hole belies the precision required to avoid missing the small target.
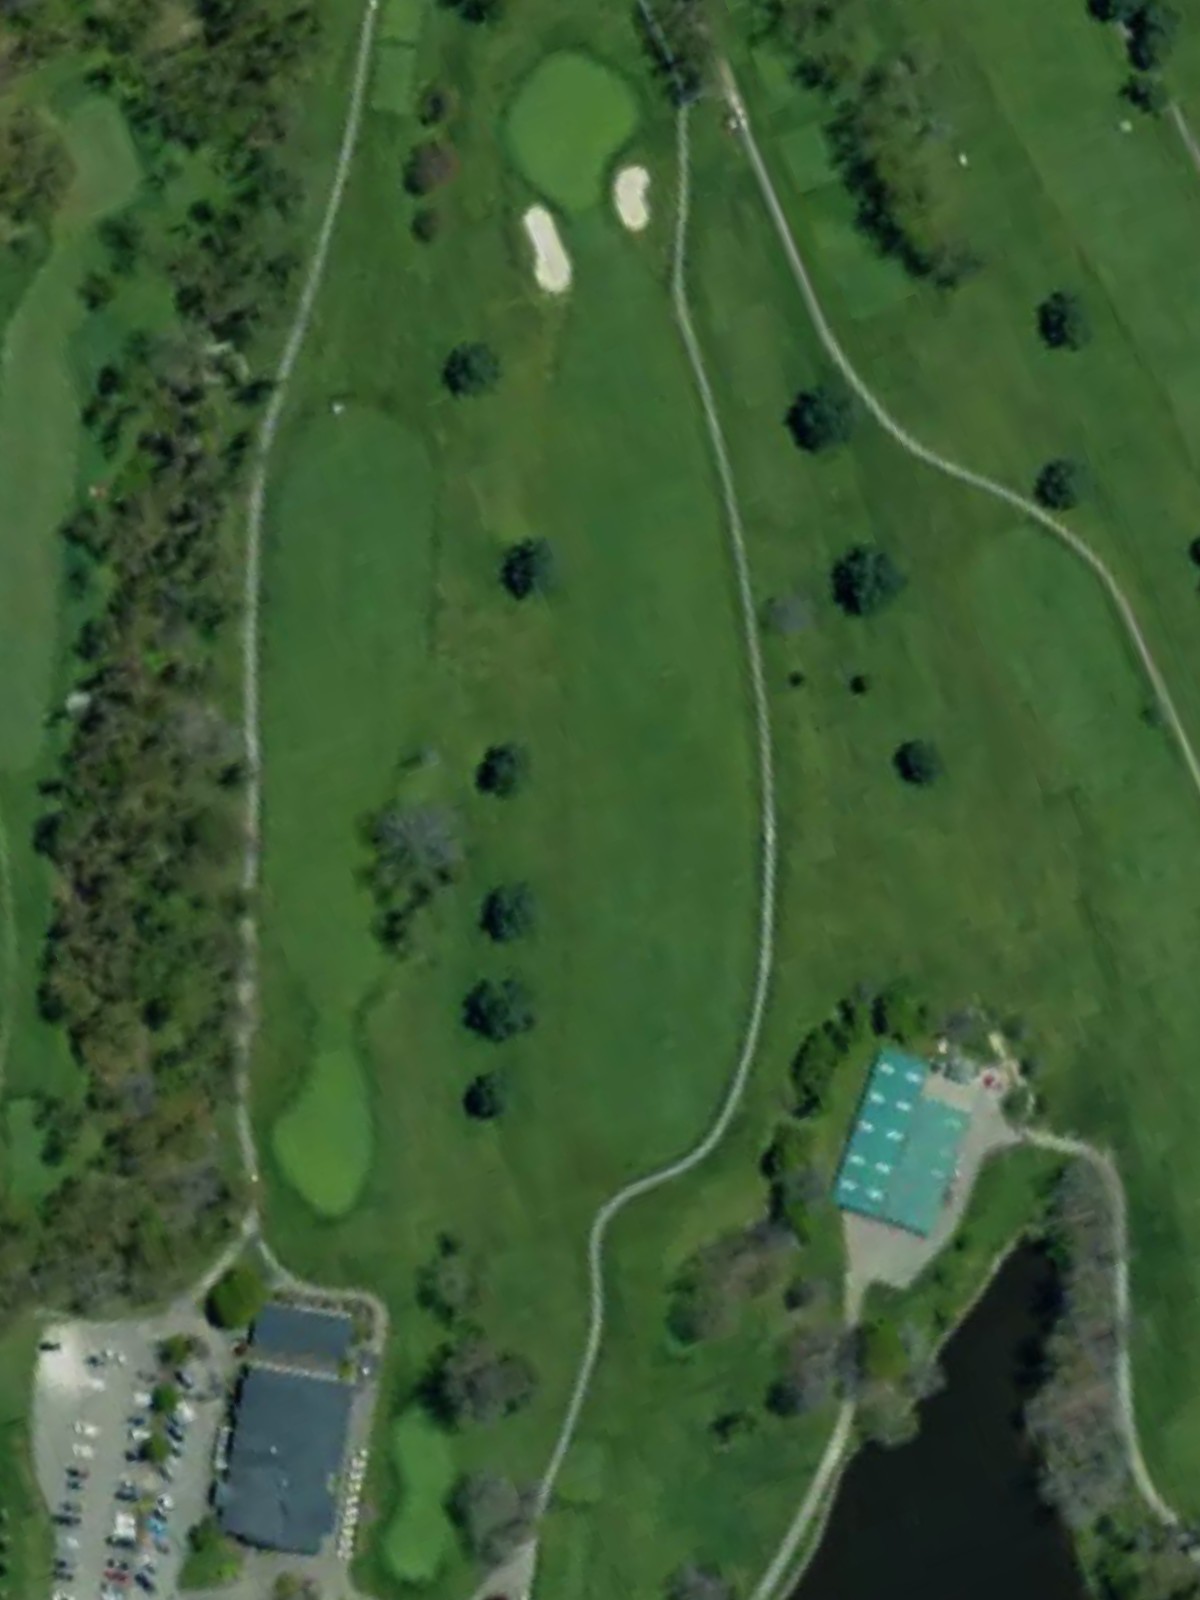
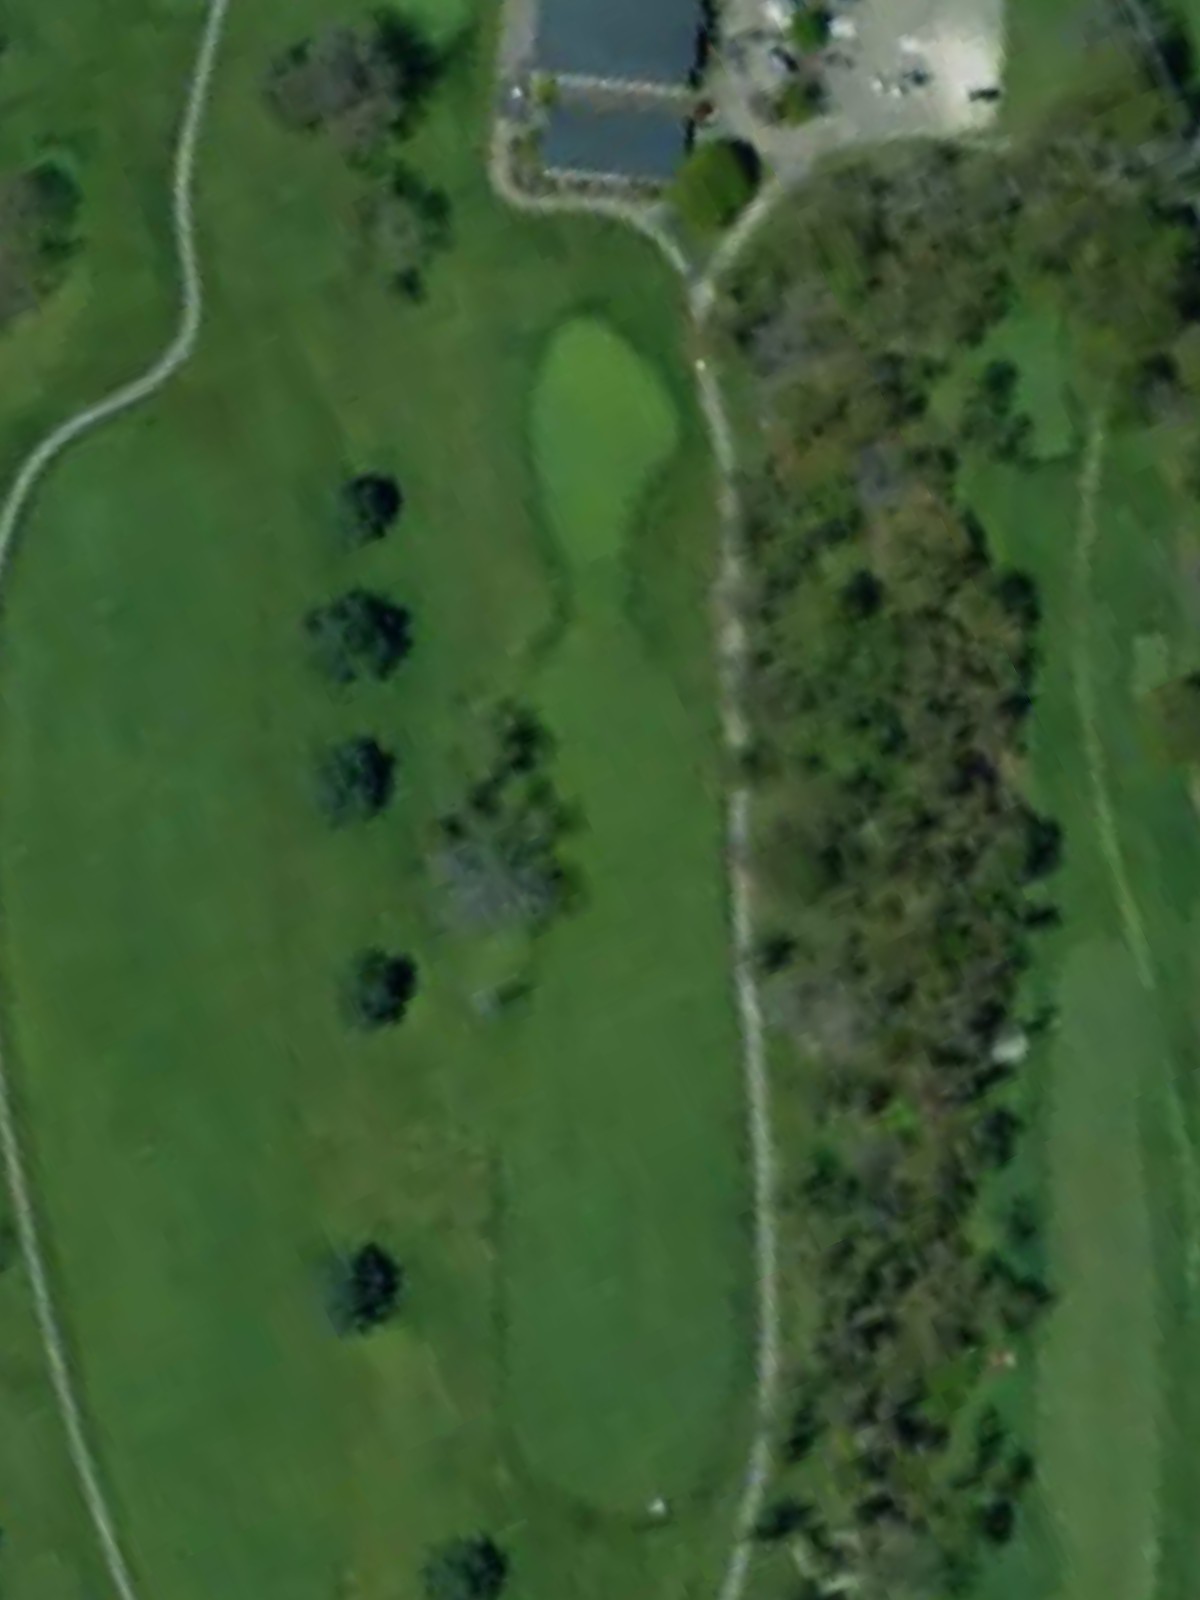
Lindenwood's most difficult hole, this par 4 features a tight fairway with hazards pressing in from both sides throughout the length of the hole. The approach shot must navigate a well-defended green to score.
The signature hole, this par 4 demands length and accuracy with a dramatic rightward doglegging fairway and significant water hazard left. The severely bunkered green sits at the elbow of the dogleg, creating a defining test.
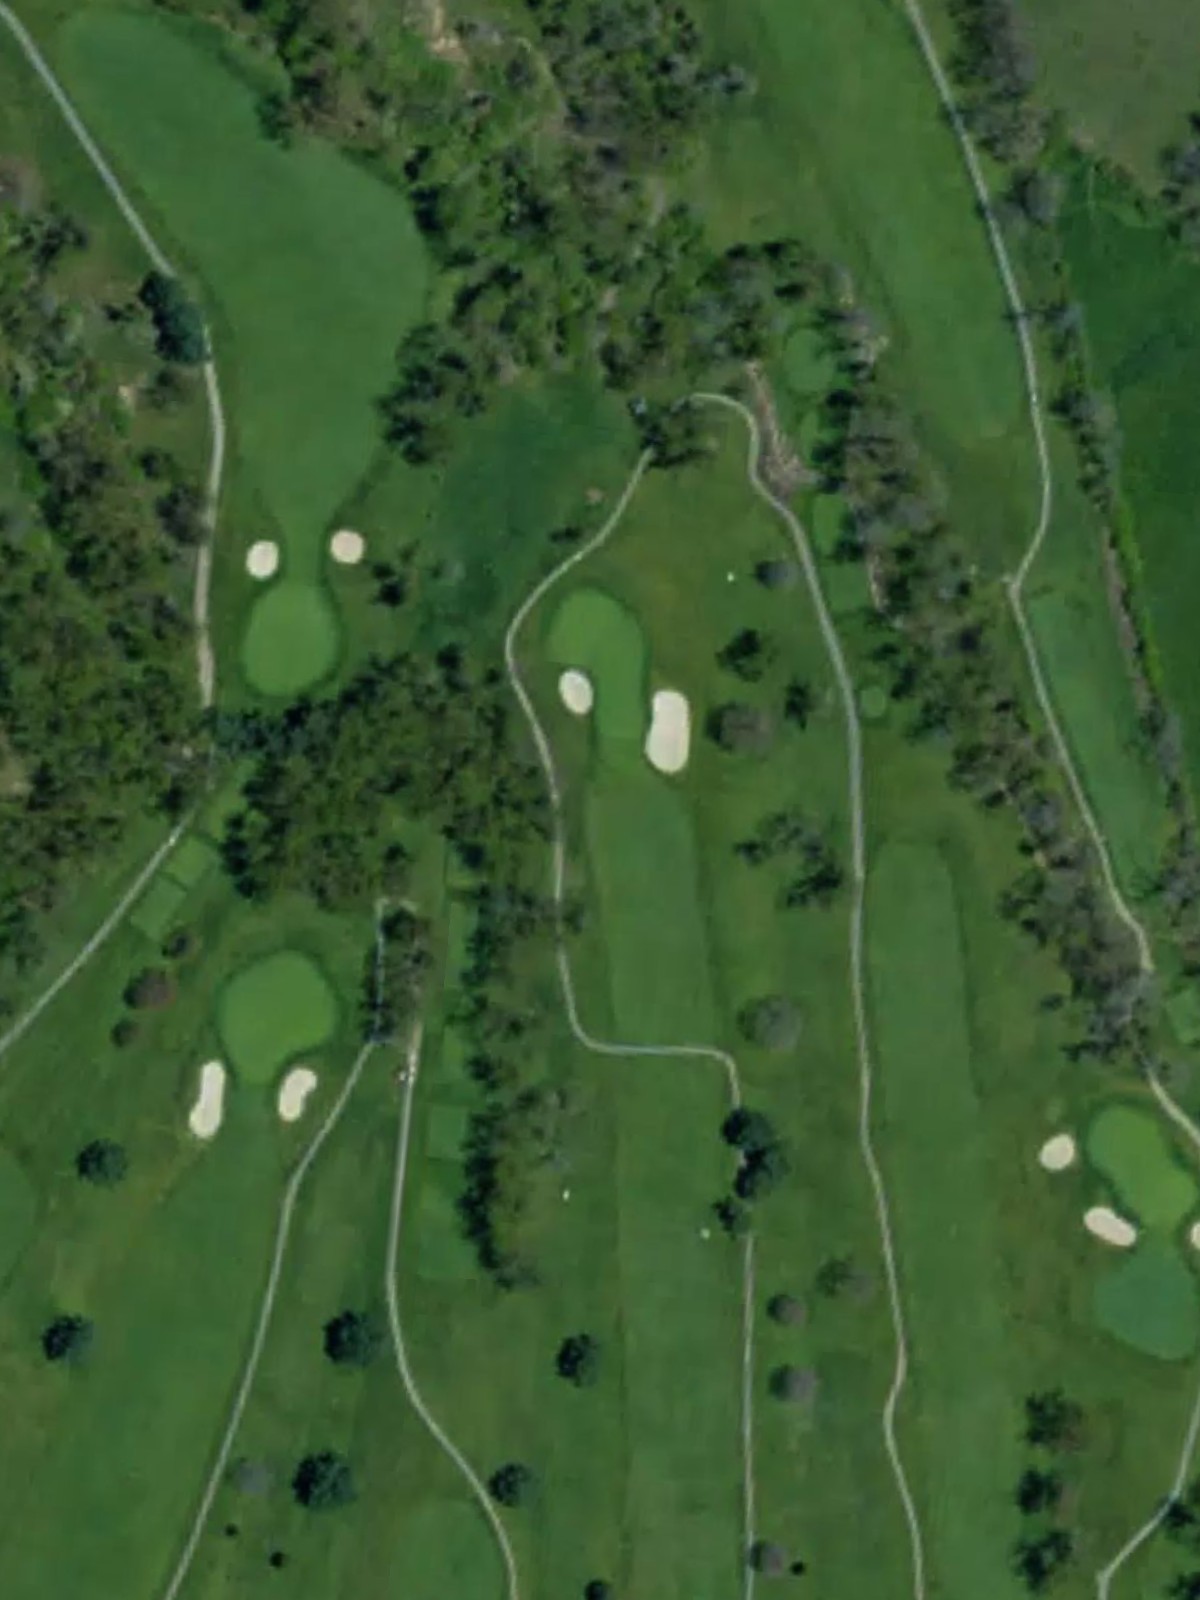
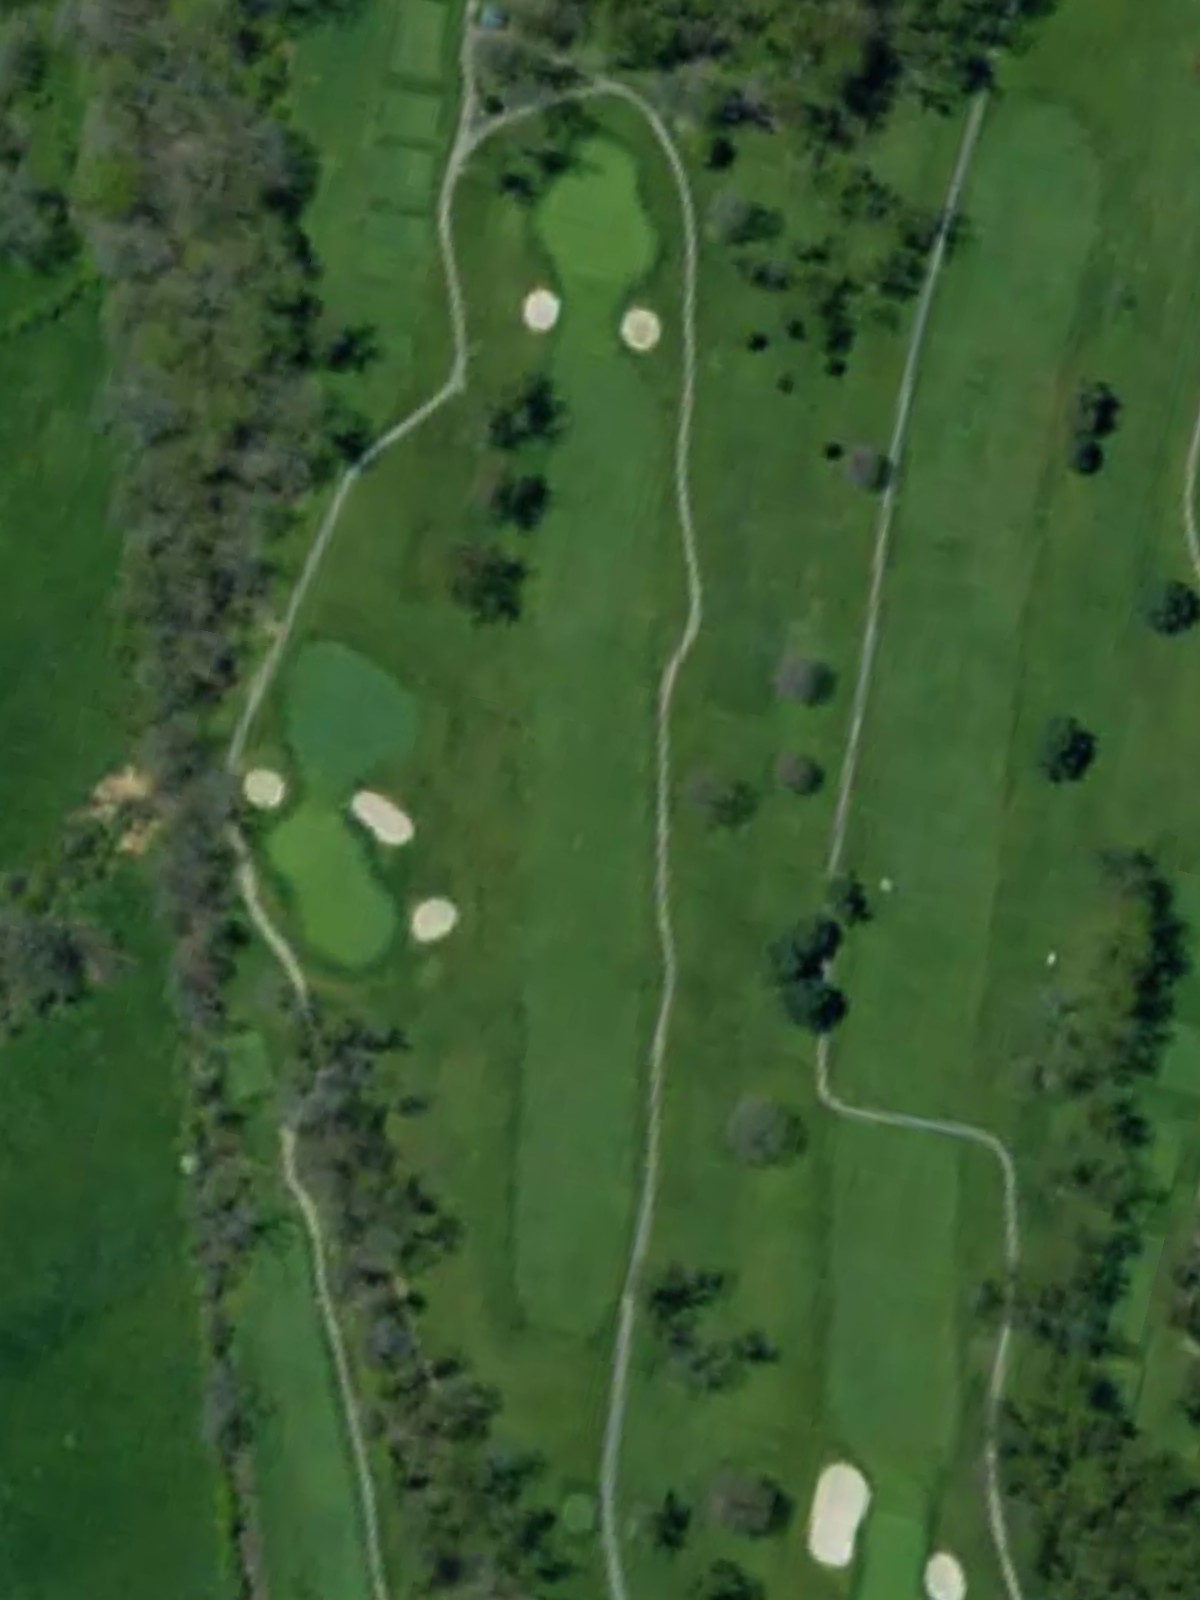
A mid-length par 4 with a straightforward routing but strategic bunkering throughout the approach zone. The hole's appeal lies in its clean design and the challenge of accurate iron play into the green.
A generous par 5 that opens with a wide fairway before narrowing on the approach to a green guarded by bunkers. The hole allows aggressive play from distance but demands precision for the finishing strokes.
A modest par 3 with a straightforward approach to a relatively open green. The hole serves as a breather before the back nine's harder stretch, though accuracy remains important.
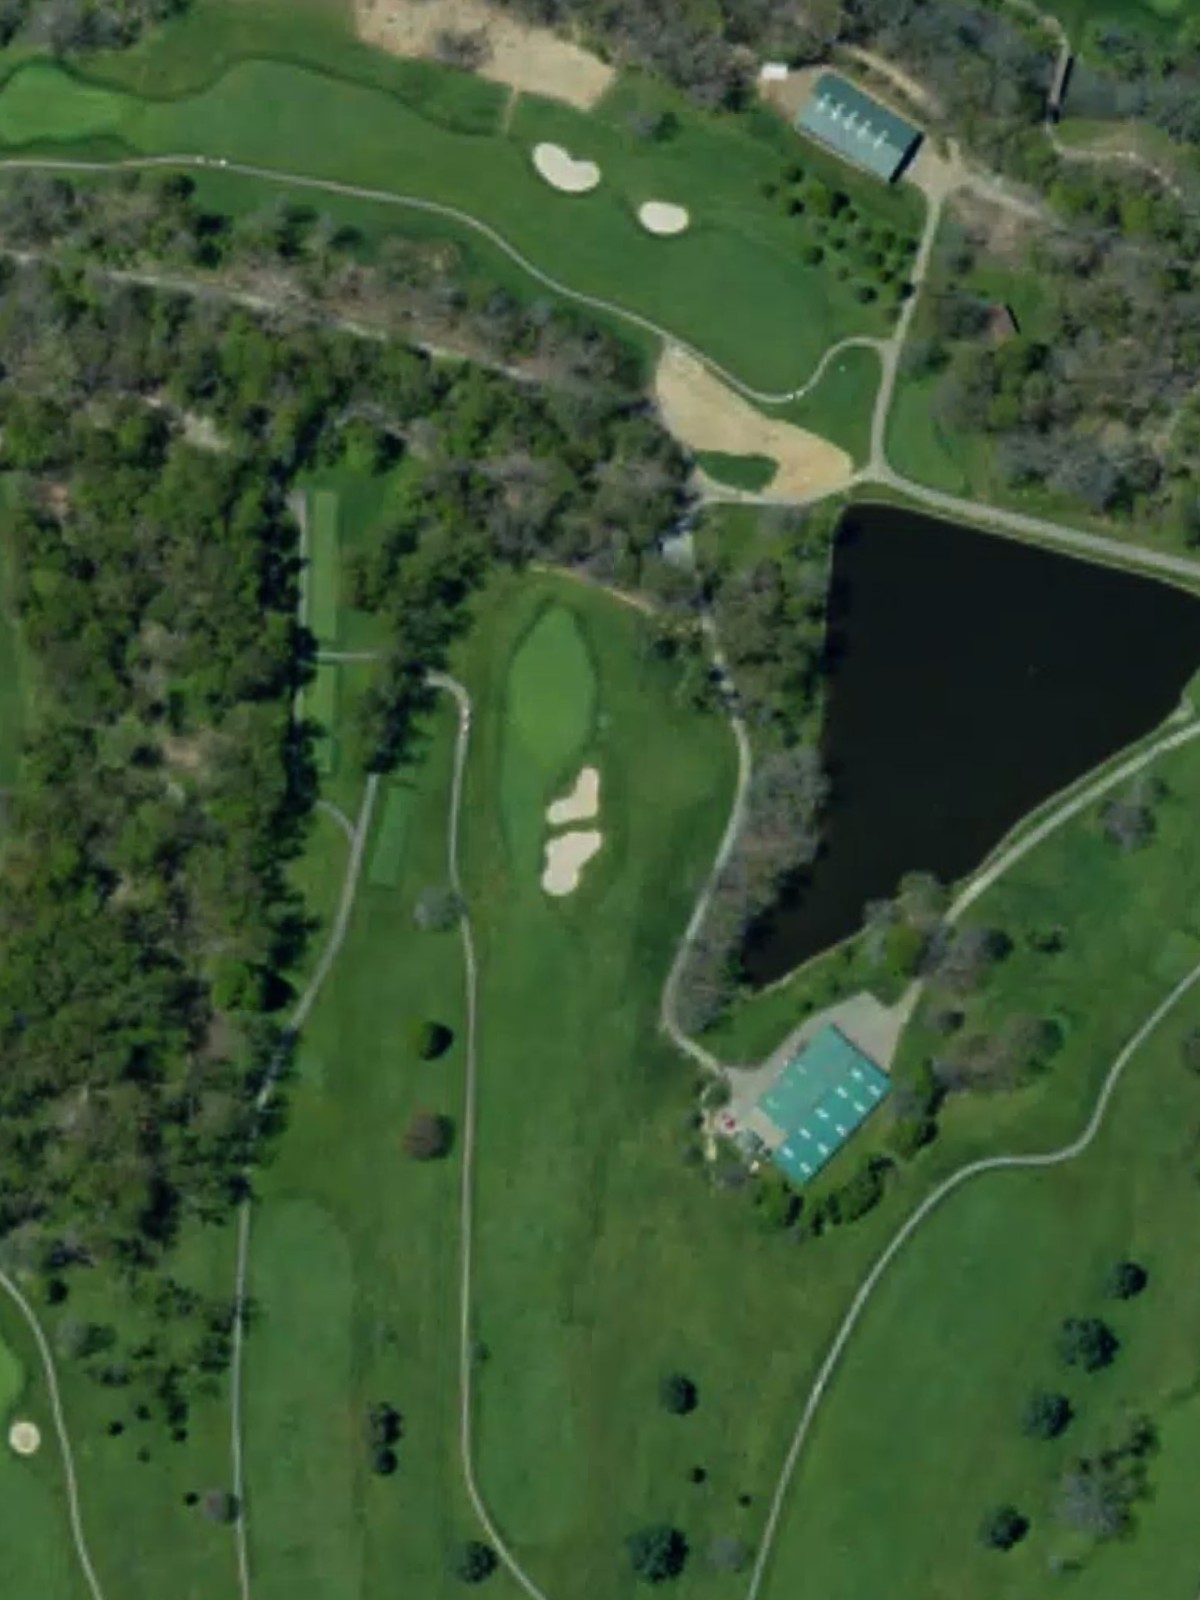
The back nine's signature challenge, this par 4 dogleg right features a narrow fairway with water left and out-of-bounds right. The severely bunkered green sits at the corner, making this the course's second-most difficult hole.
The easiest hole on the course, this short par 4 offers a comfortable drive and straightforward approach. Wide fairways and a receptive green make this an ideal scoring opportunity.
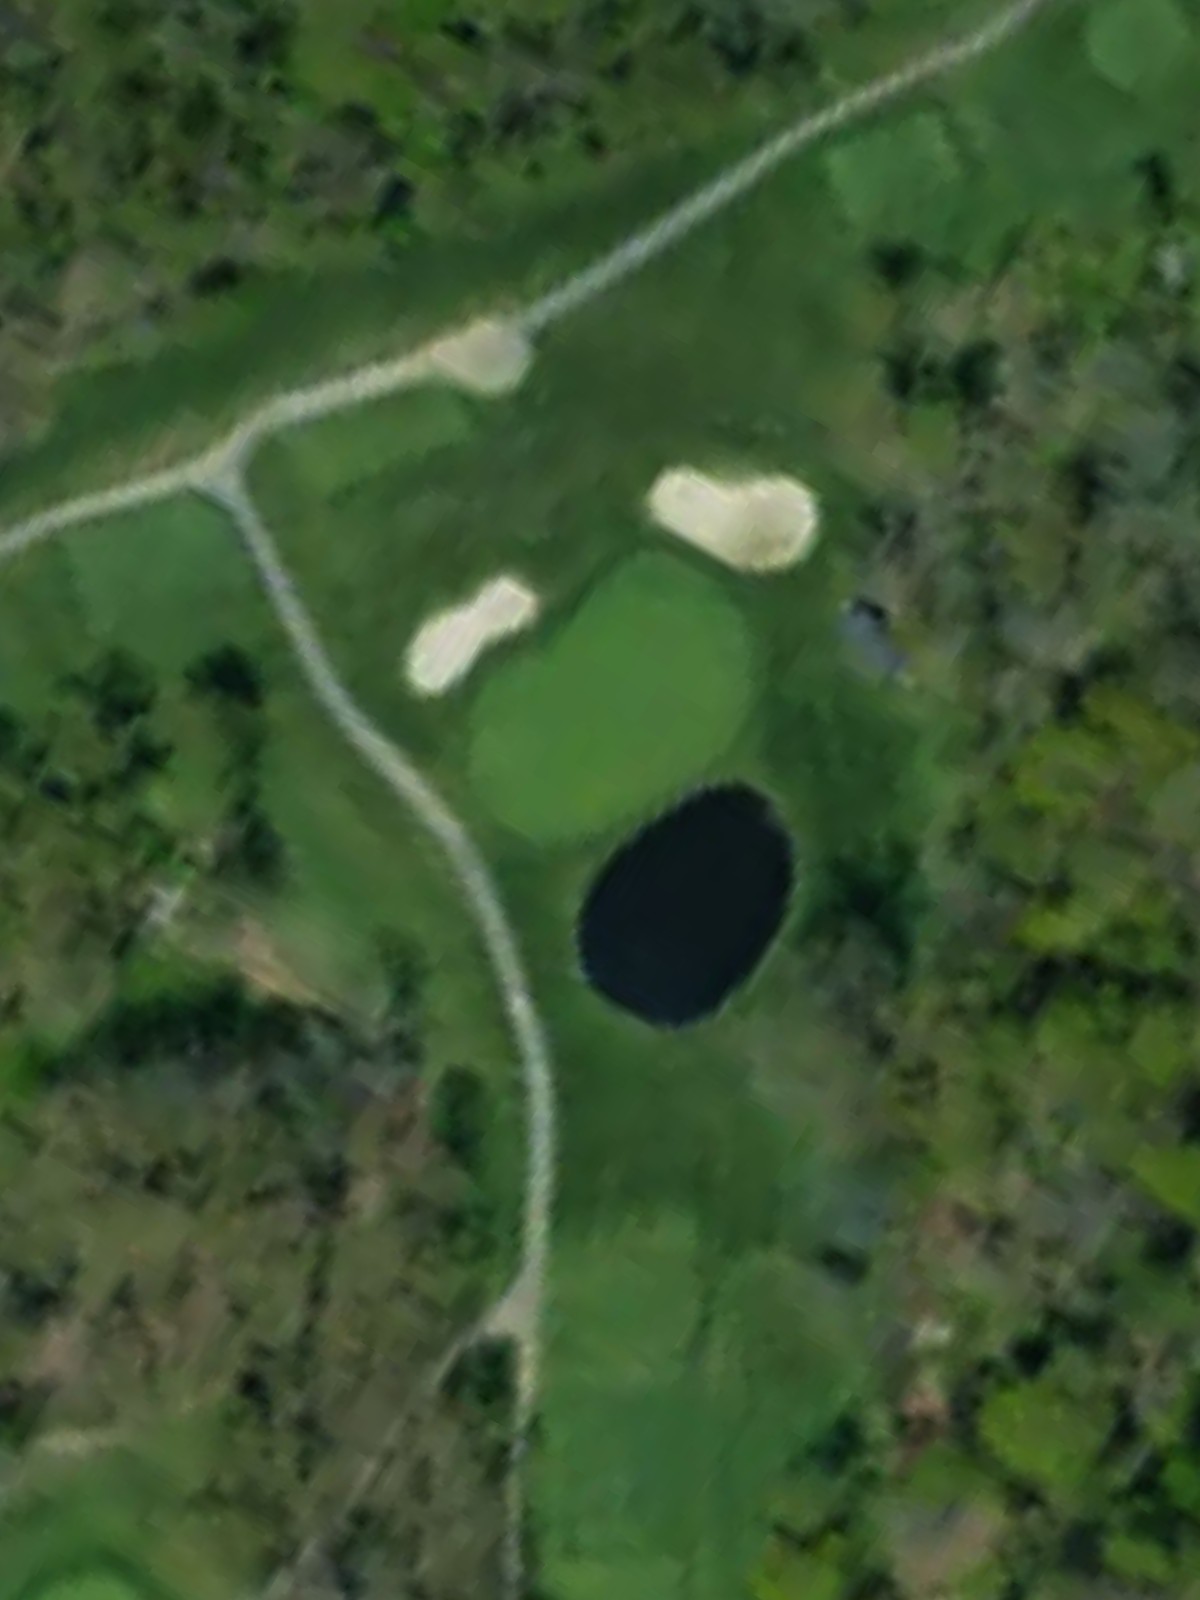
A brief par 3 with a small, well-bunkered green that demands precision over distance. The minimal yardage belies the accuracy required to avoid the surrounding hazards.
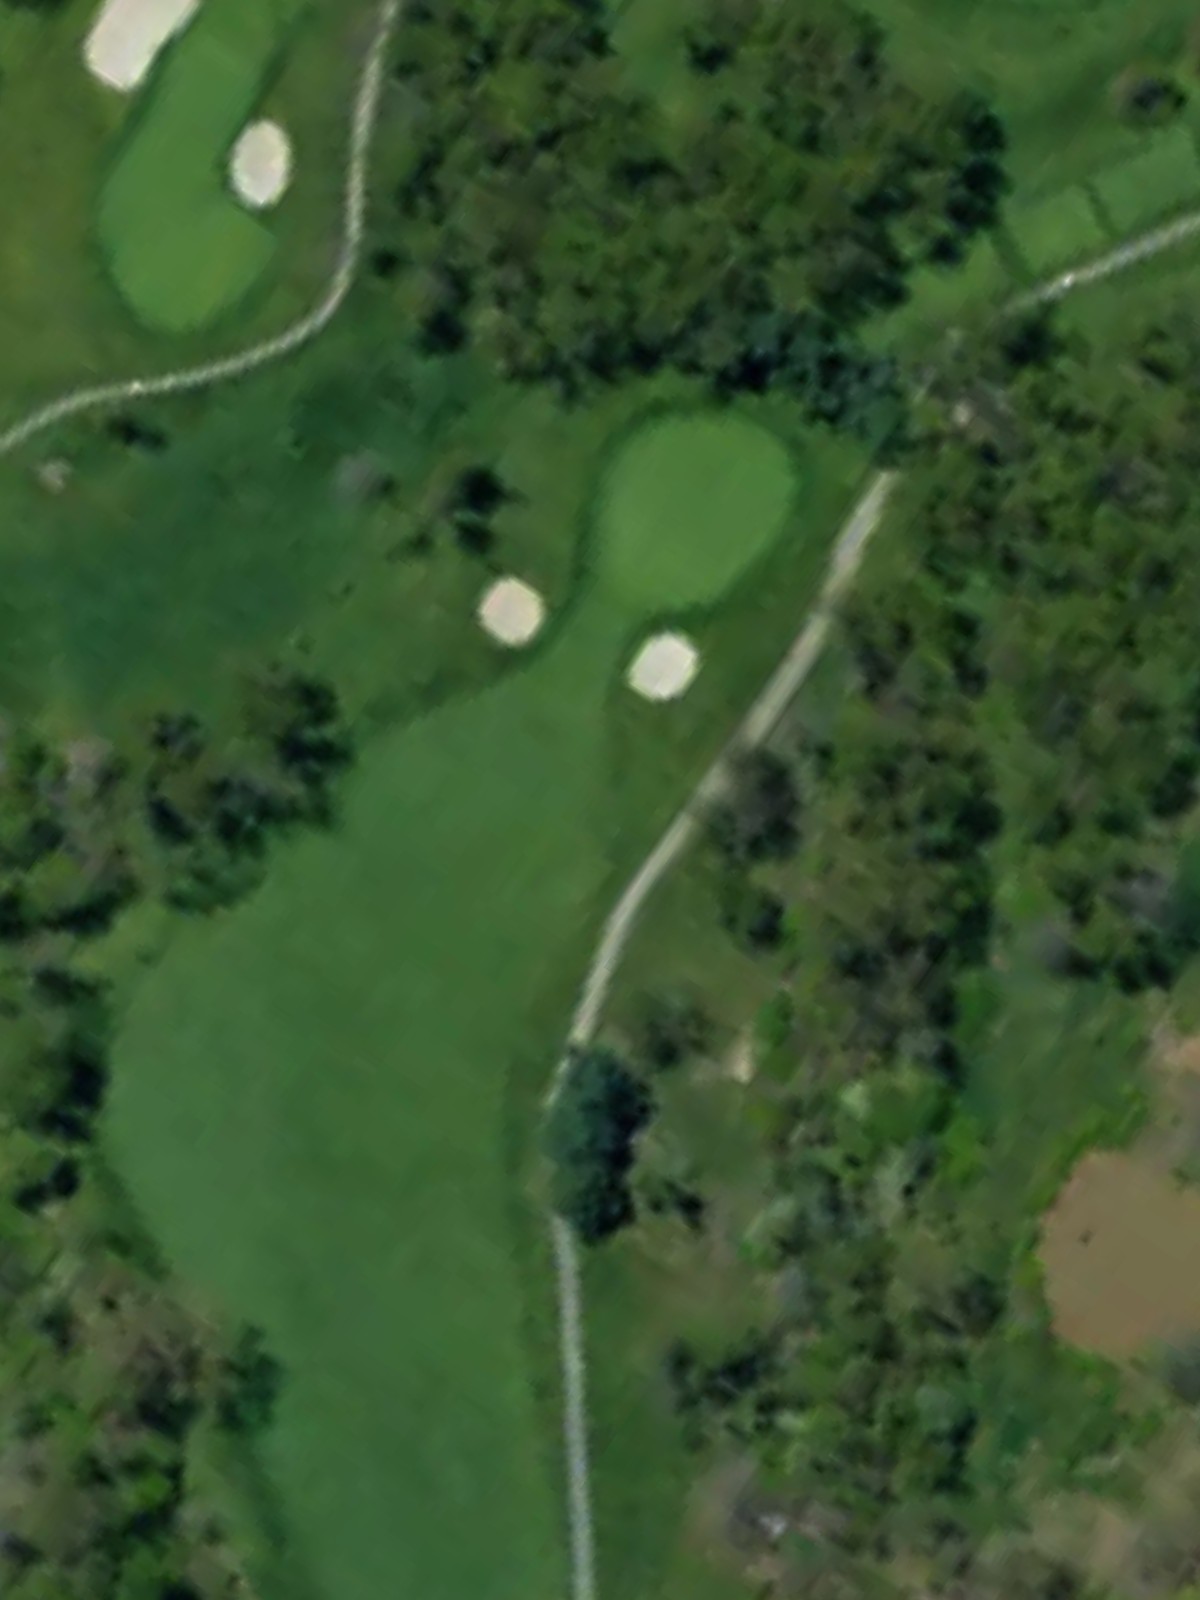
A mid-length par 4 with bunkers strategically placed along the fairway's edges and guarding both sides of the green. The hole's character lies in its balanced difficulty and consistent challenge throughout.
A long par 5 that plays straightforward off the tee with width opening in the driving zone, then gradually constricting on the approach. Water and bunkers defend the green complex, rewarding distance with position but demanding accuracy on the final shot.
A compact par 4 with a narrow, tree-lined fairway that demands accuracy off the tee. The approach to a bunkered green leaves little margin for error, making this a precise driving hole.
A mid-length par 4 with strategic bunkering defining the fairway's play and protecting the green on both sides. The hole offers multiple routing options but rewards those who position the drive correctly.
A dramatic short par 3 that plays extremely downhill to a small, bunkered green. The significant elevation change and minimal yardage create an interesting contrast that defines this hole's character.
A testing par 5 finishing hole with length and strategic complexity throughout the hole's routing. Bunkers and narrow fairways create a stern finale that can determine the outcome of the round.
Scorecard
| Hole | 1 | 2 | 3 | 4 | 5 | 6 | 7 | 8 | 9 | Out | 10 | 11 | 12 | 13 | 14 | 15 | 16 | 17 | 18 | In | Tot |
|---|---|---|---|---|---|---|---|---|---|---|---|---|---|---|---|---|---|---|---|---|---|
| Par | 4 | 5 | 4 | 3 | 4 | 4 | 4 | 5 | 3 | 36 | 4 | 4 | 3 | 4 | 5 | 4 | 4 | 3 | 5 | 36 | 72 |
| HCP | 11 | 5 | 17 | 15 | 3 | 1 | 9 | 7 | 13 | 2 | 18 | 12 | 8 | 6 | 10 | 14 | 16 | 4 | |||
| black | 350 | 525 | 370 | 215 | 345 | 450 | 360 | 445 | 160 | 3220 | 430 | 270 | 185 | 345 | 585 | 325 | 350 | 190 | 535 | 3215 | 6435 |
| blue | 340 | 485 | 345 | 215 | 345 | 430 | 350 | 445 | 160 | 3115 | 410 | 270 | 165 | 335 | 575 | 325 | 350 | 165 | 510 | 3105 | 6220 |
| white | 330 | 470 | 320 | 170 | 325 | 380 | 340 | 435 | 150 | 2920 | 300 | 255 | 150 | 325 | 545 | 285 | 320 | 145 | 480 | 2805 | 5725 |
| gold | 315 | 405 | 295 | 155 | 300 | 365 | 330 | 420 | 140 | 2725 | 260 | 185 | 130 | 310 | 525 | 275 | 300 | 125 | 465 | 2575 | 5300 |
| red | 295 | 380 | 275 | 130 | 300 | 280 | 310 | 365 | 140 | 2475 | 260 | 185 | 105 | 285 | 485 | 240 | 280 | 90 | 410 | 2340 | 4815 |