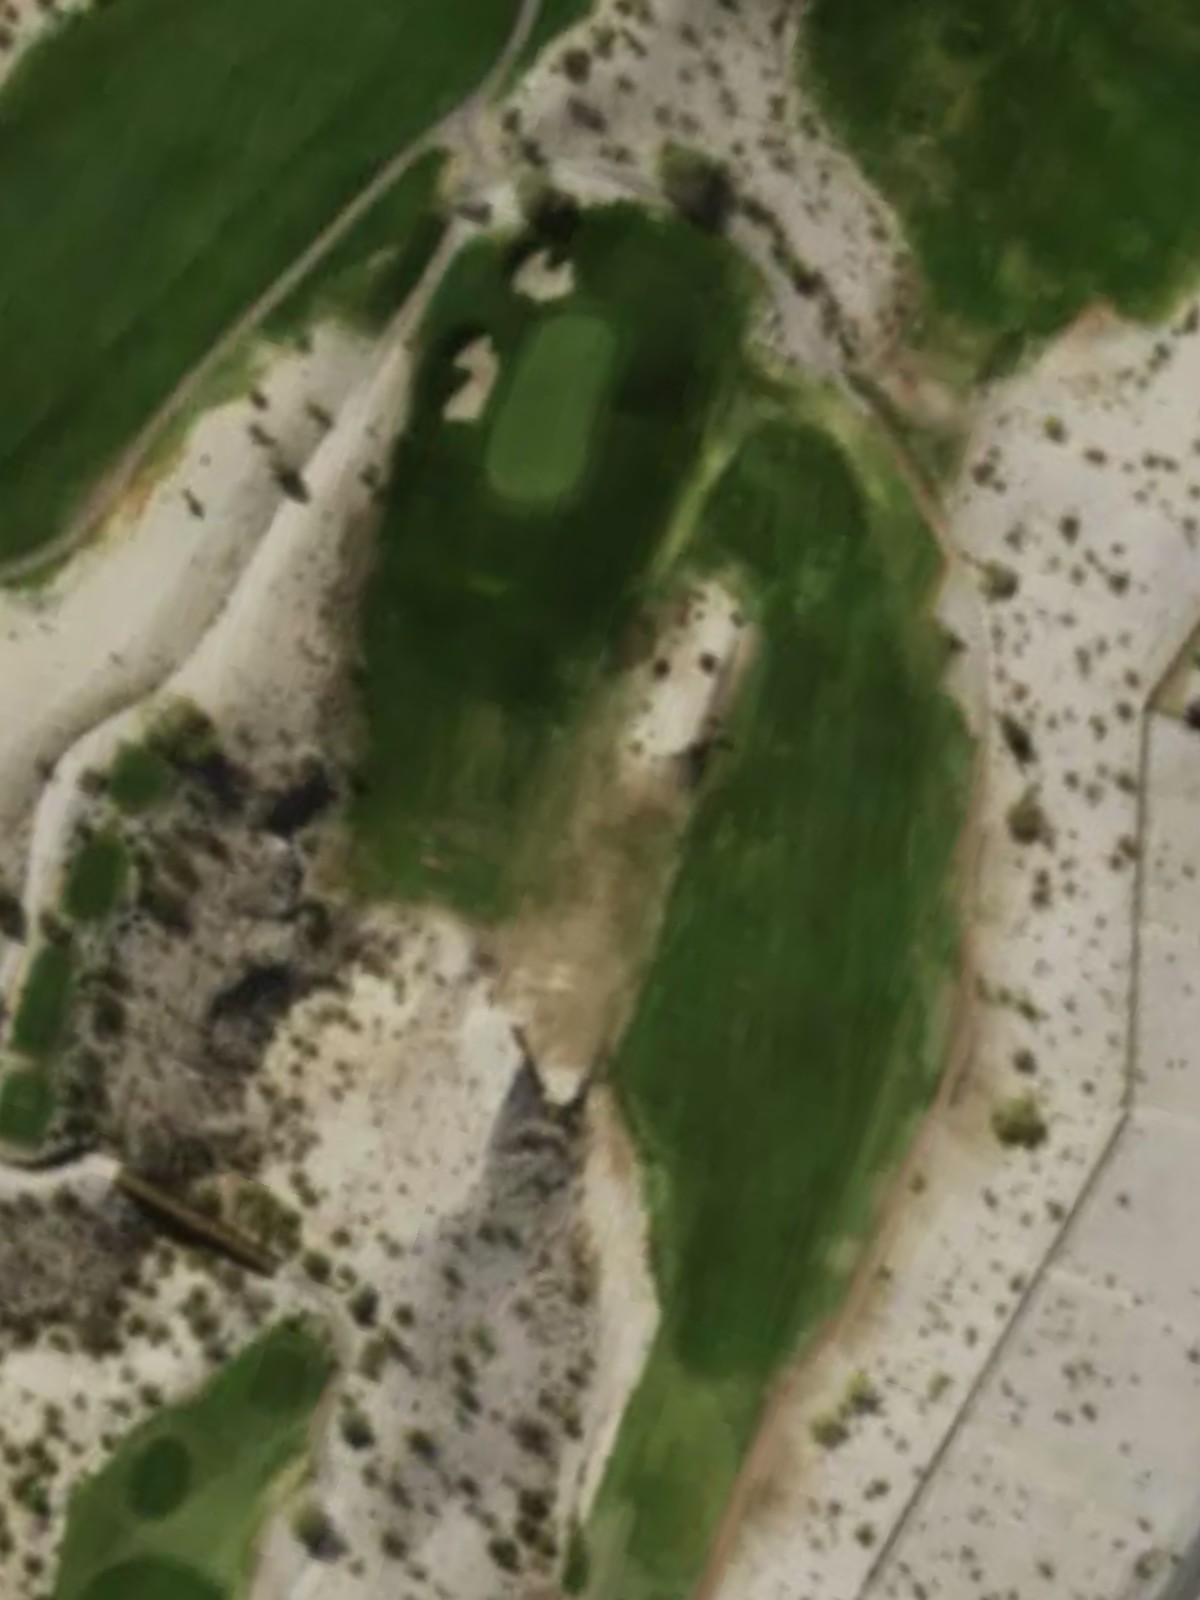
Laughlin Ranch Golf Club is an 18-hole golf course in Bullhead City, AZ with a par of 72. It offers 4 tee sets: gold (7,155 yards, slope 143, rating 73.6), zinc (6,565 yards, slope 137, rating 71.4), silver (6,091 yards, slope 129, rating 69.1), copper (4,985 yards, slope 115, rating 64). The hardest hole is #6, a par 4 playing 415 yards from the first tee.
Laughlin Ranch Golf Club
Bullhead City, AZ
Get PDF Yardage Book
We'll email you the PDF link. No spam, ever.
Create Your Game Plan
Pick your tees, enter your bag, and get a personalized shot-by-shot strategy for every hole.

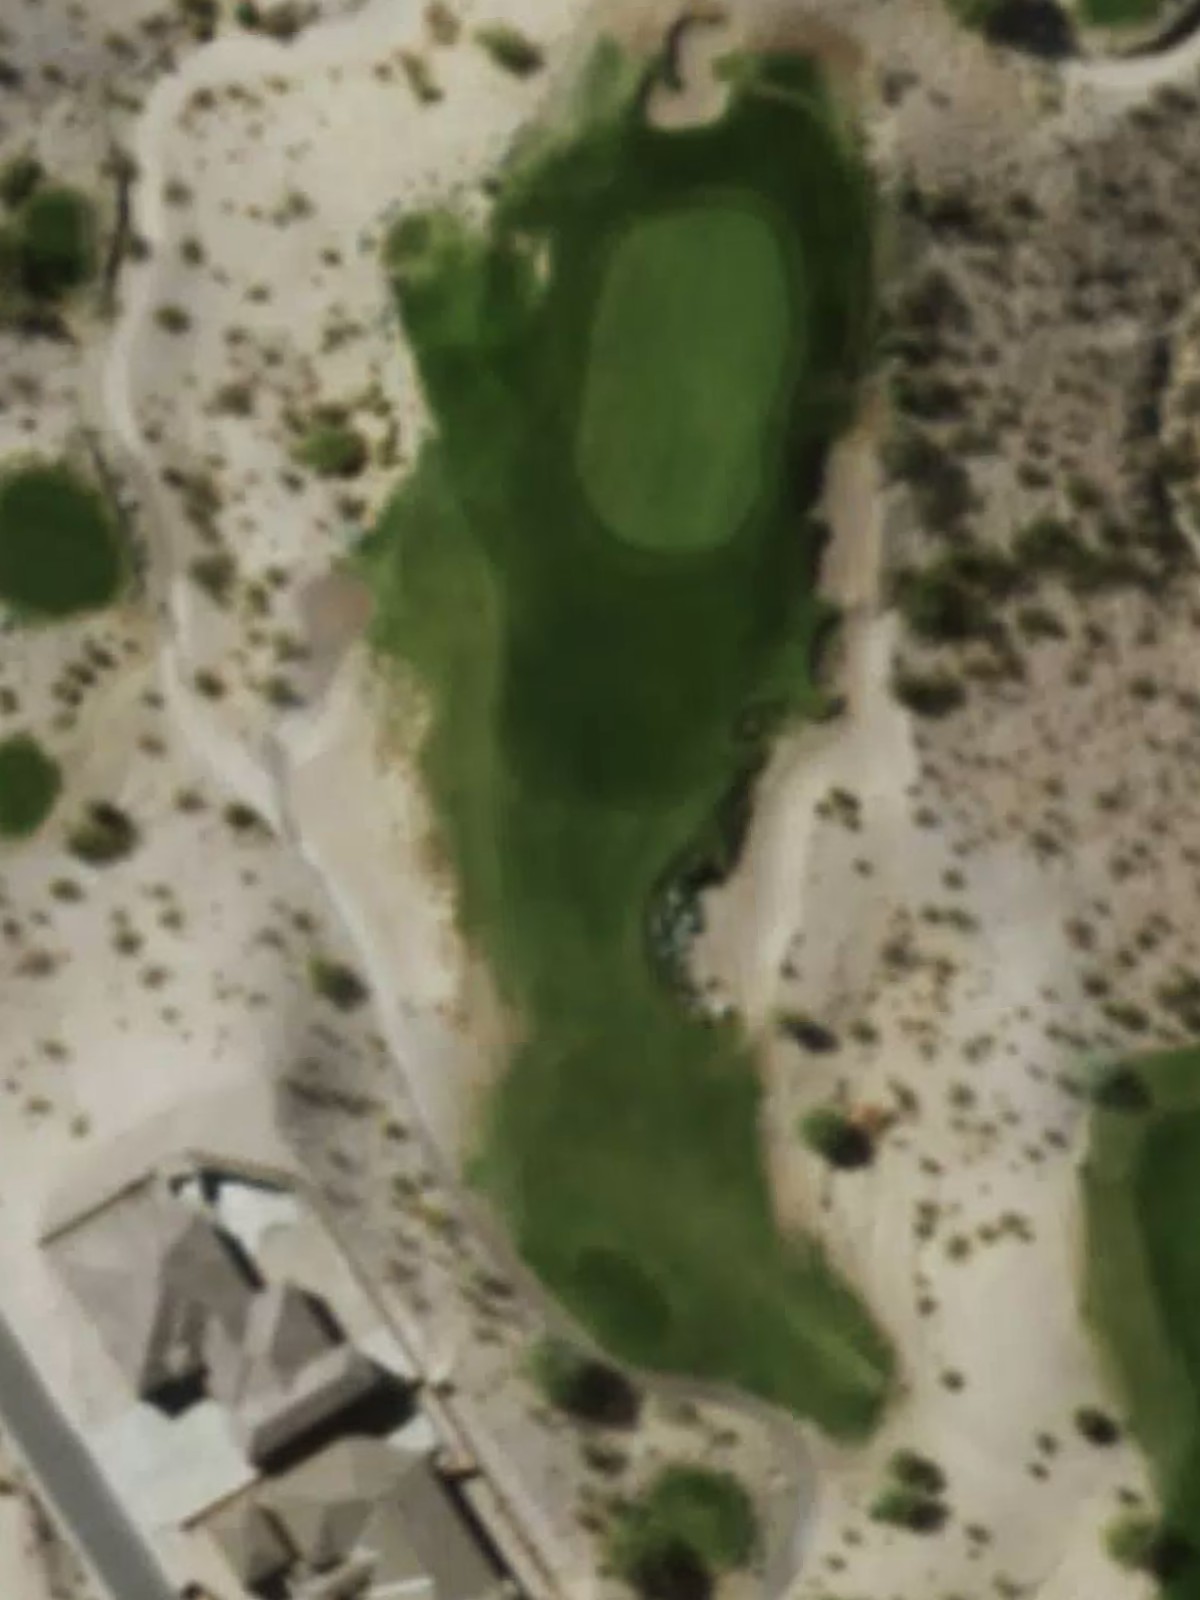
A lengthy par 5 that demands precision over distance, with the fairway corridor tightening as it approaches the green. Strategic bunkering and potential water hazards frame the landing areas, making positioning off the tee critical for a successful approach to this demanding opener.
A short par 4 with a narrow, well-defined fairway that requires accuracy rather than length. Hazards frame both sides of the approach, creating a tight target into the green.
A modest par 3 over relatively open terrain with minimal framing. The green's moderate size and relatively forgiving character make this a good opportunity to build momentum early.
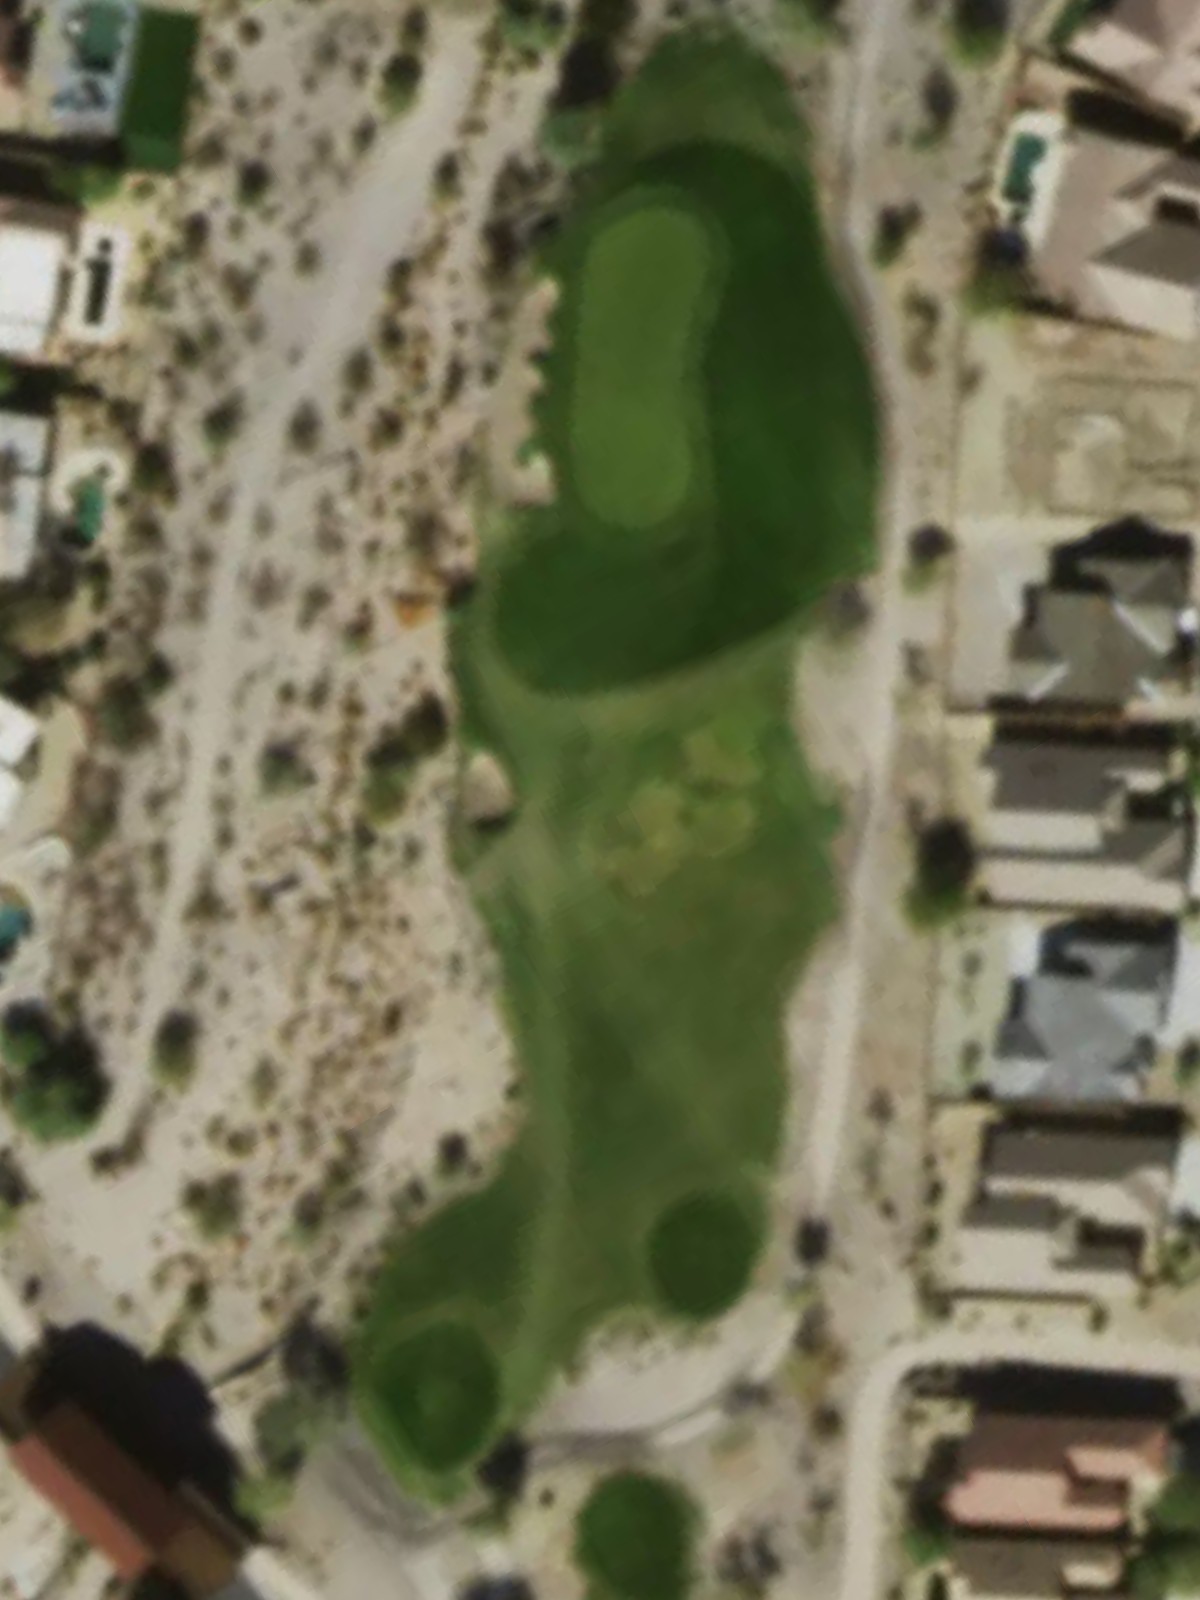
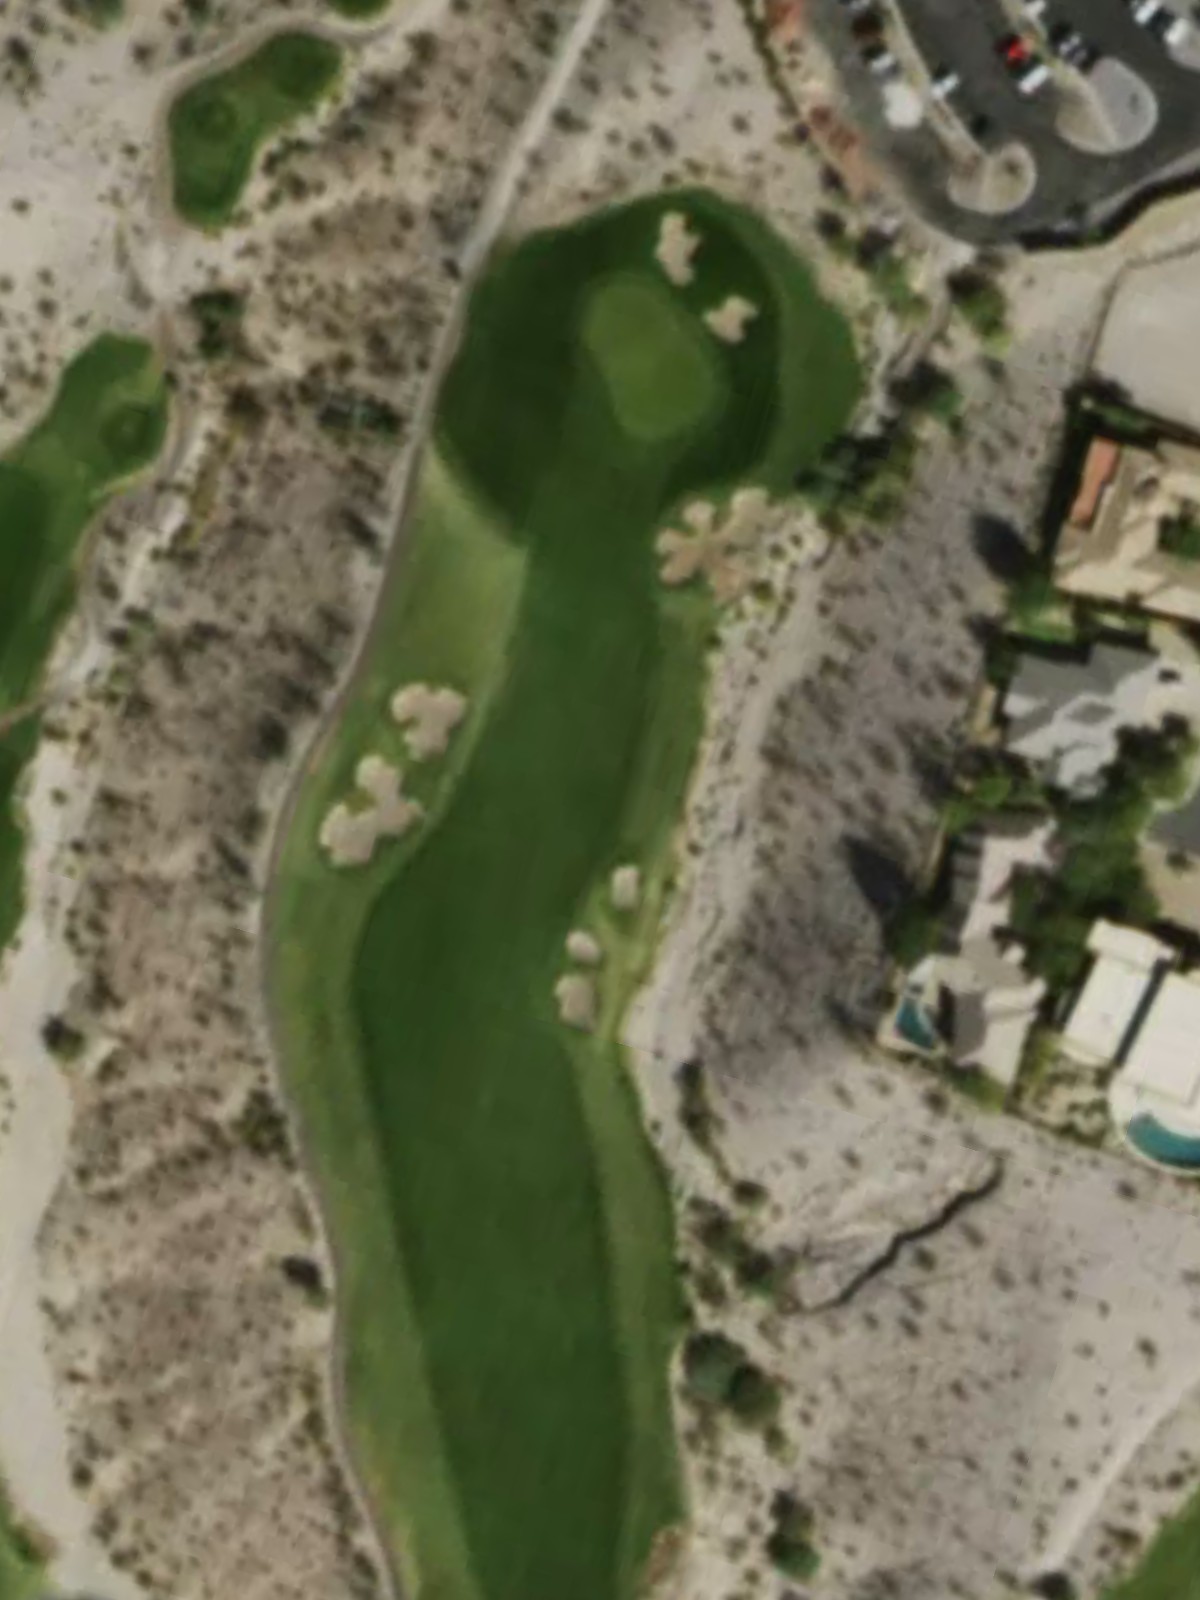
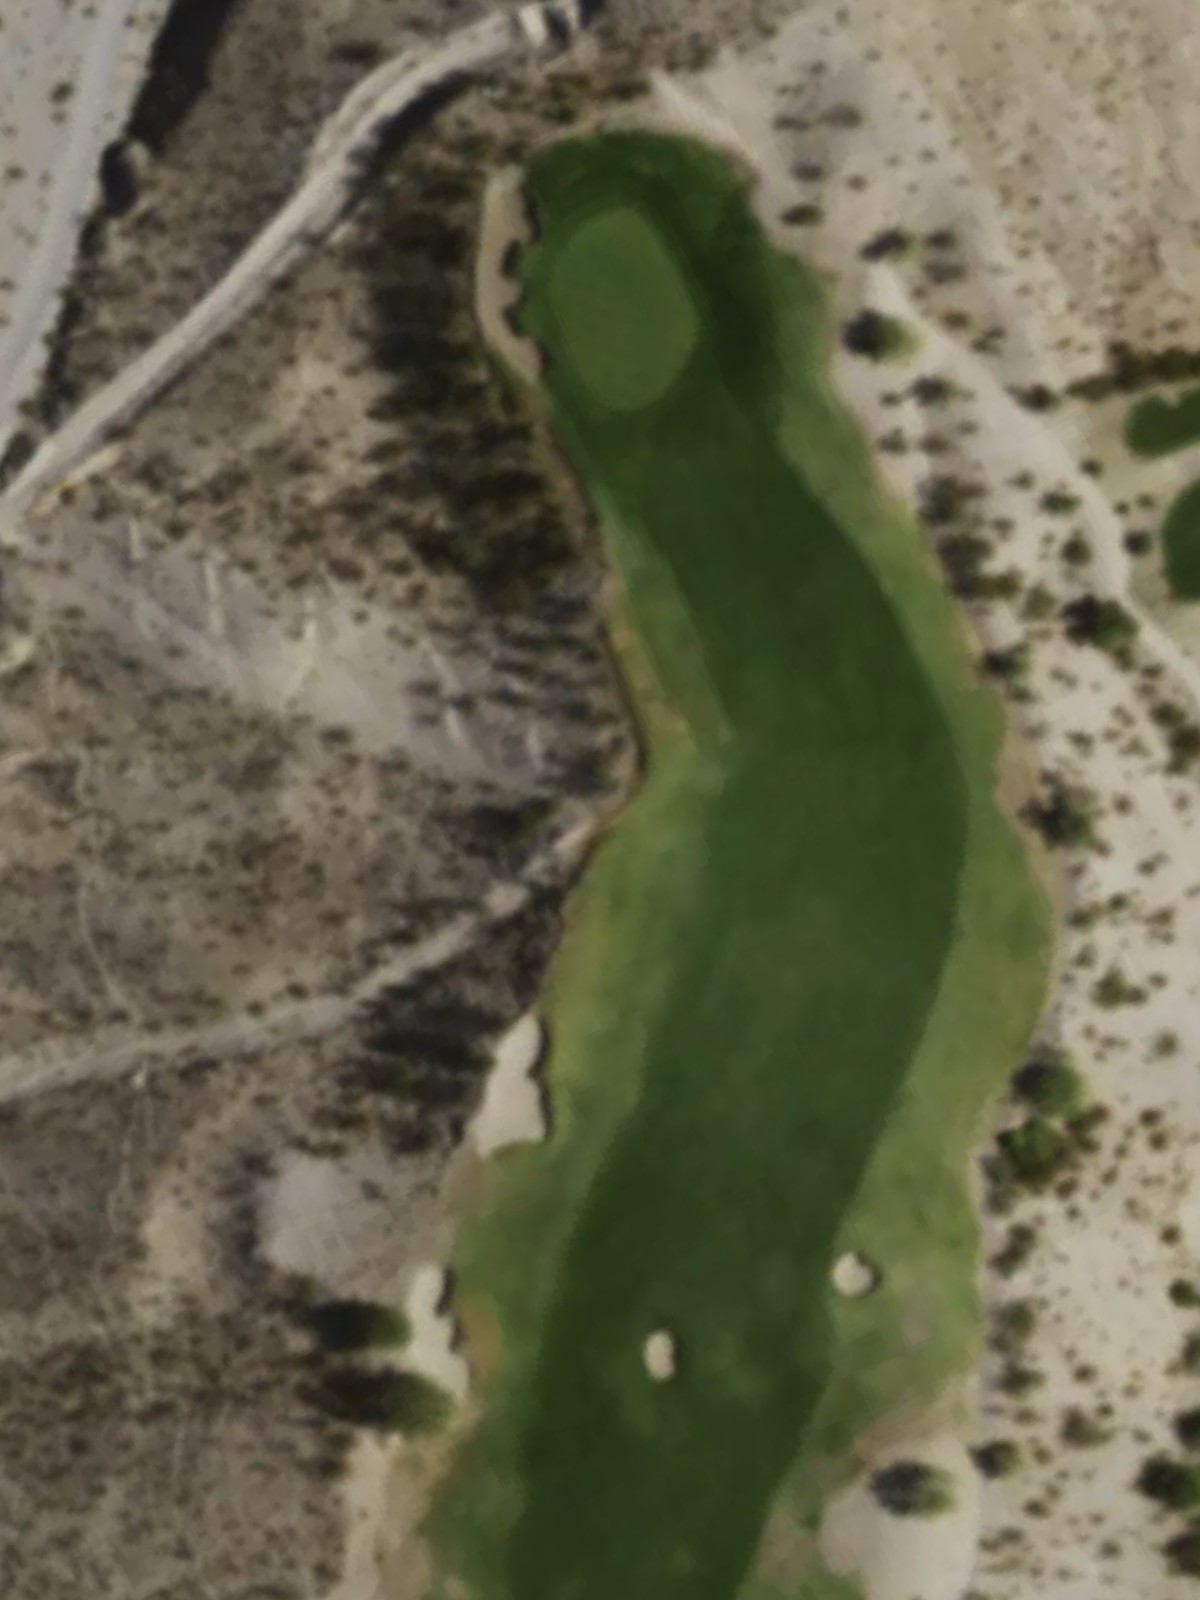
A substantial par 4 with a fairway that narrows significantly in the landing zone and again near the green. Bunkers and rough terrain guard the approach, punishing wayward shots and requiring a precise long approach to reach the green.
A mid-length par 4 with a slightly dogleg shape that demands an accurate tee shot into a narrowing fairway. The approach to the green is tightened by hazards, making this a hole where position off the tee is essential.
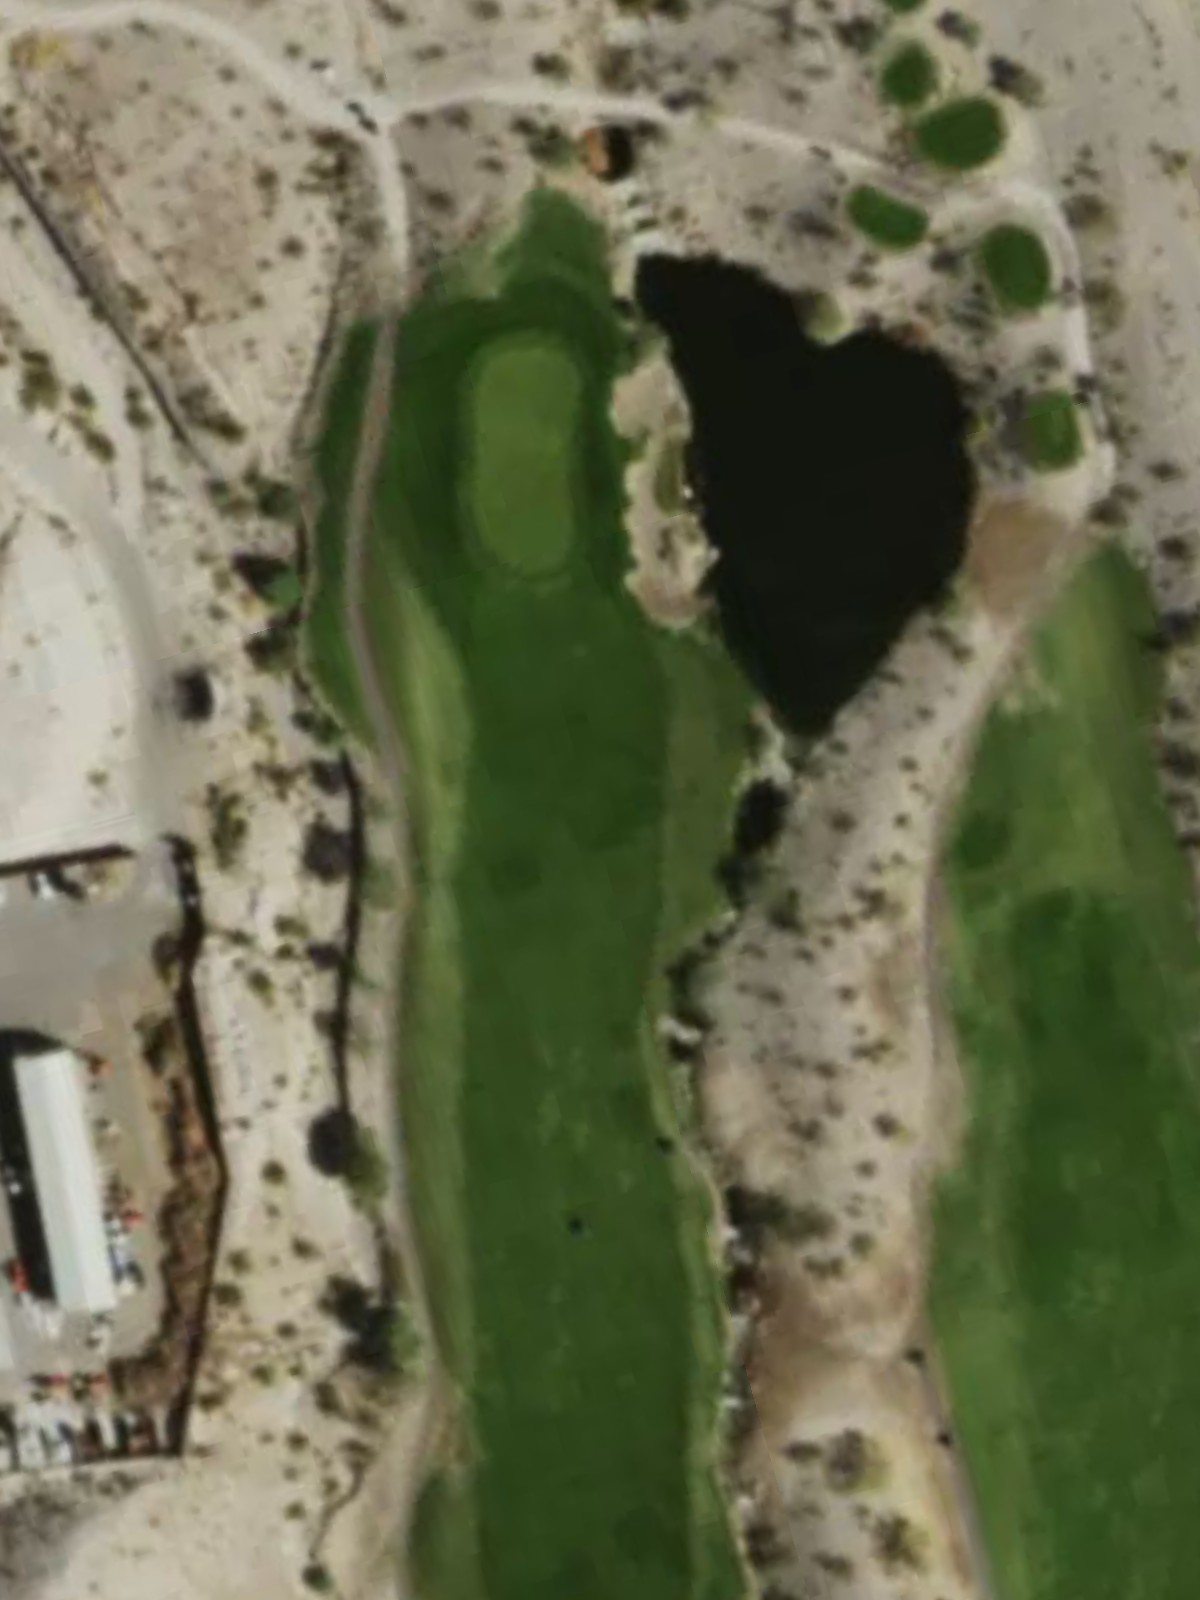
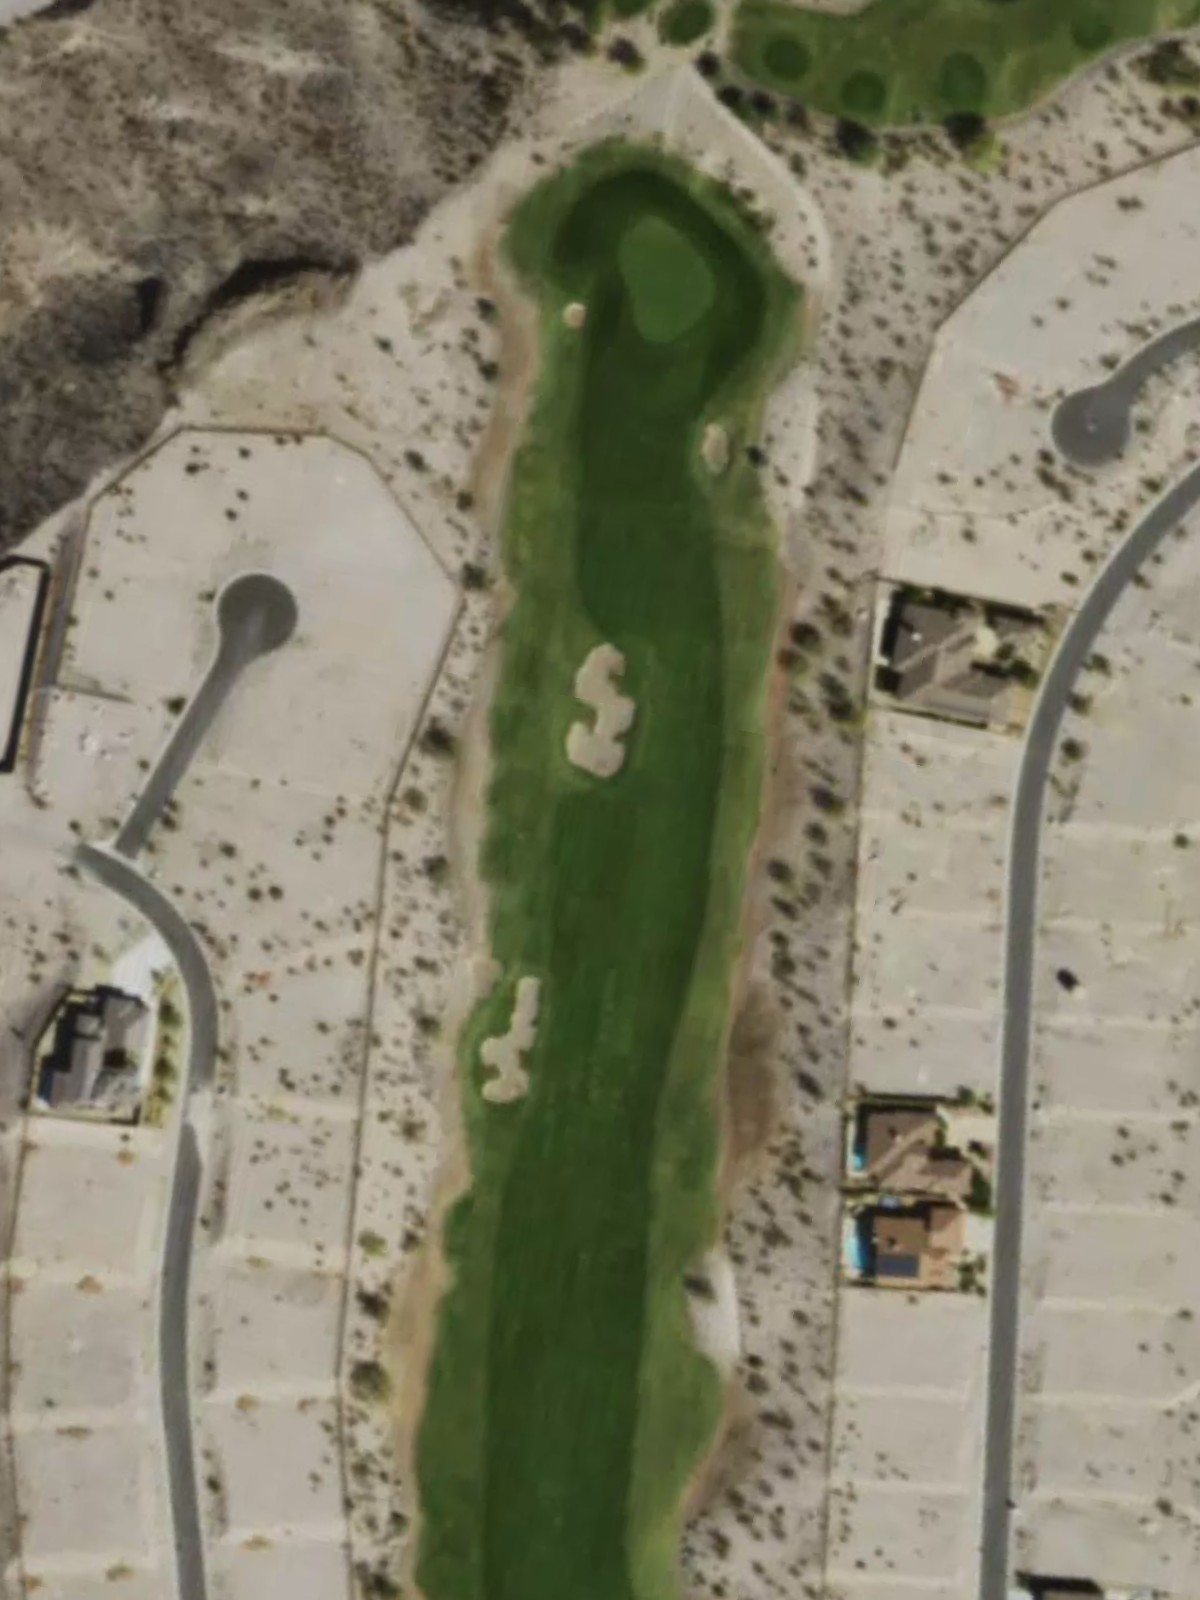
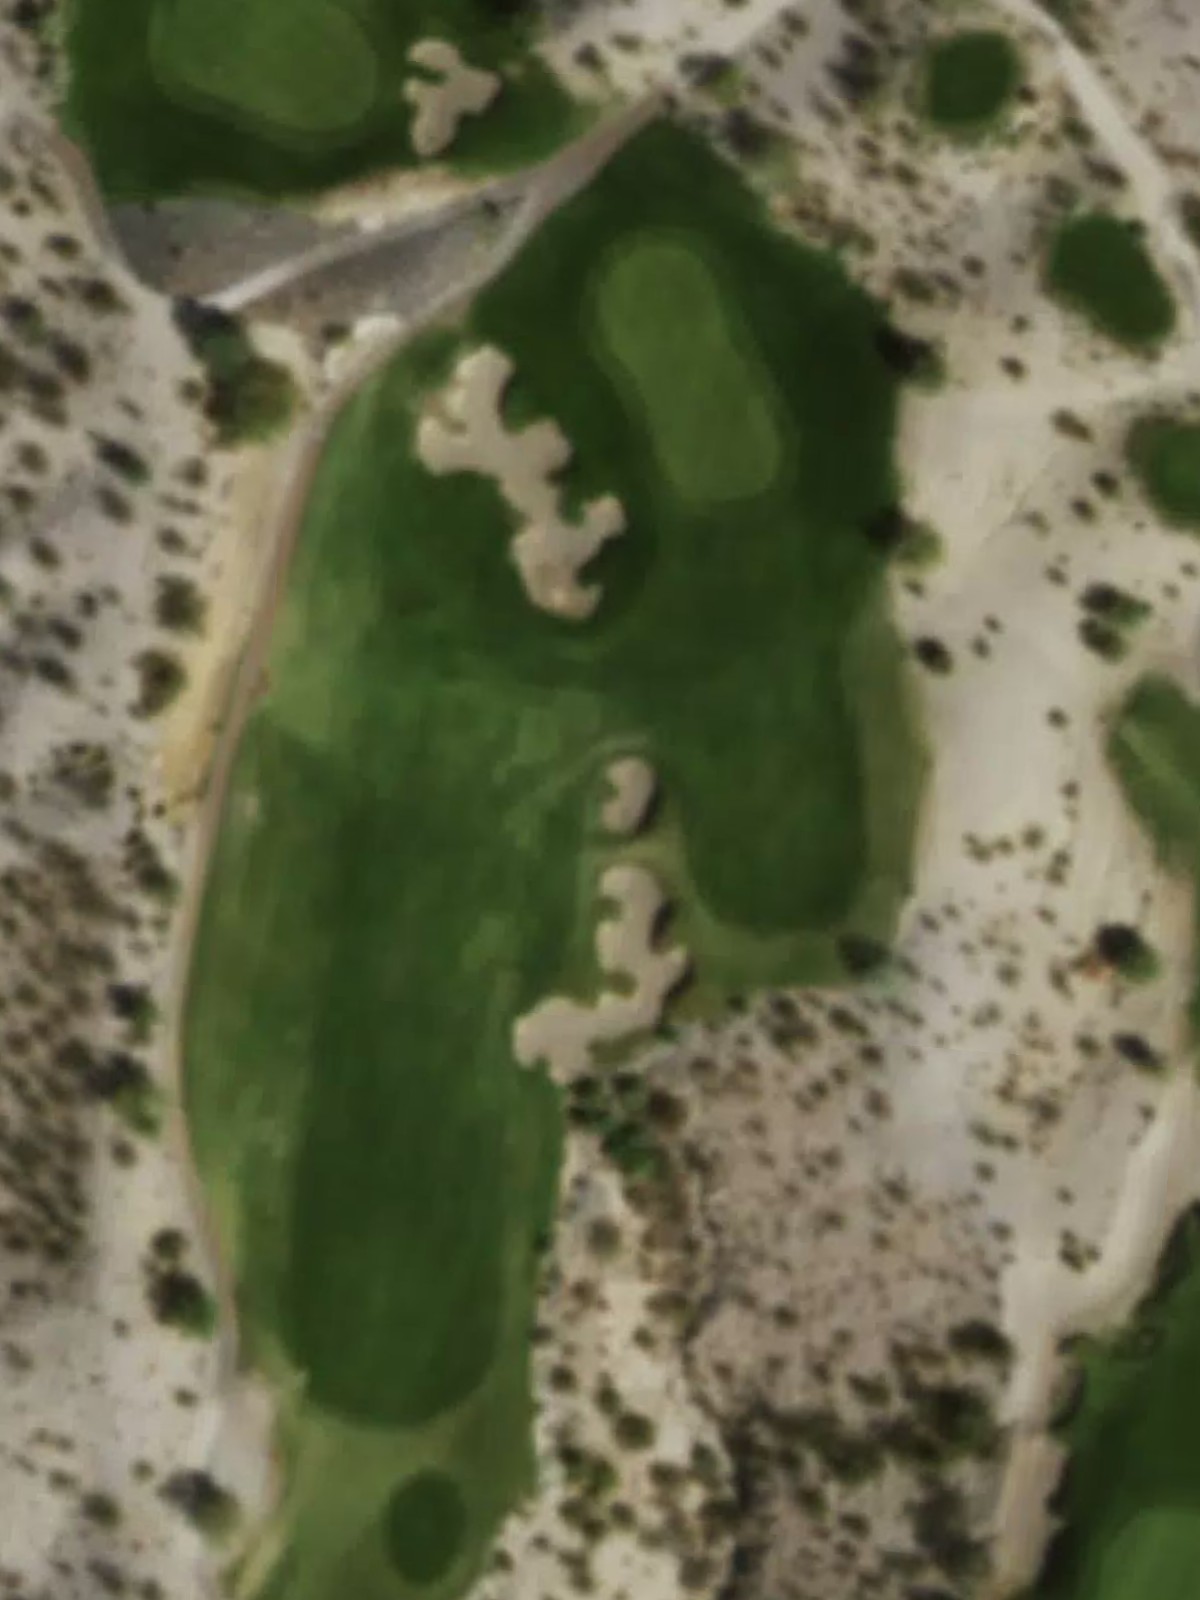
The course's most difficult par 4, this hole features a challenging dogleg or significantly bended shape with hazards strategically placed throughout. The demanding yardage combined with tight angles makes this a premium test of ball-striking.
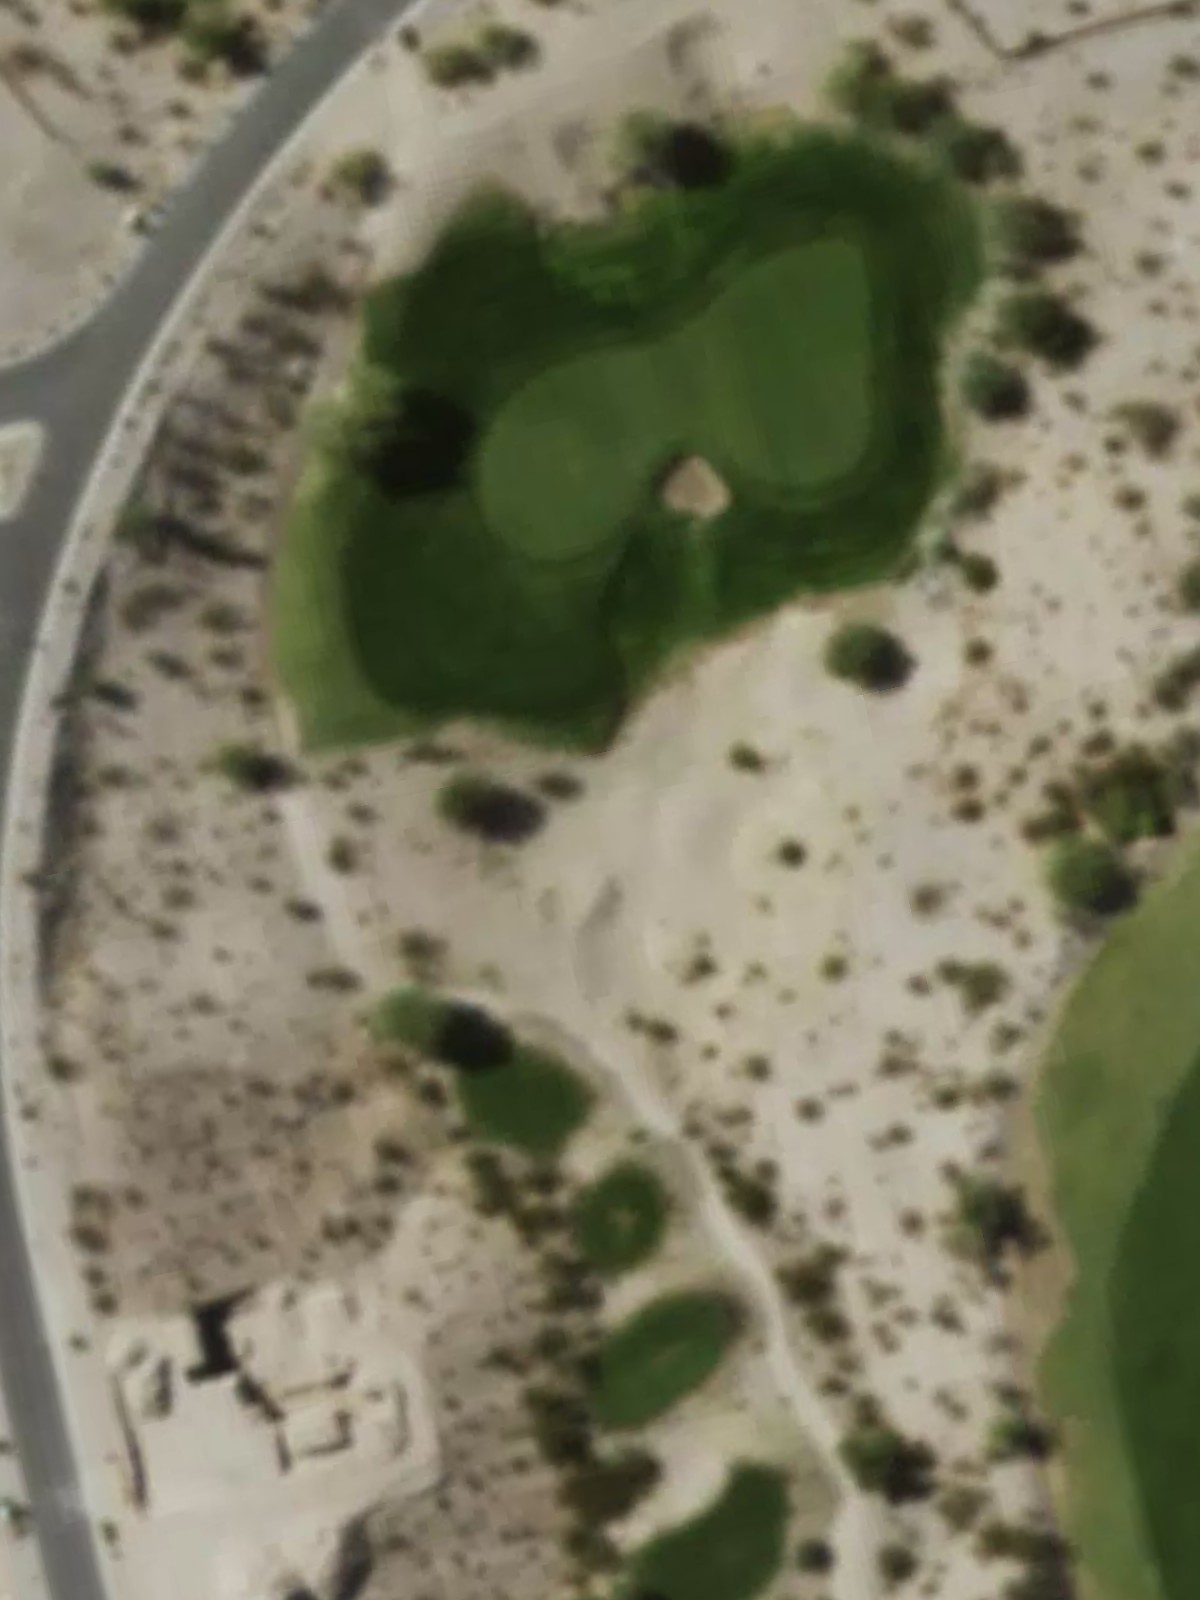
A mid-length par 3 with a straightforward approach over open ground. Bunkers frame the green complex, and the hole's moderate length provides a fair mid-round challenge.
A reachable par 5 with a fairway that opens generously off the tee before tightening significantly near the green. Hazards guard the final approach, rewarding position and penalizing aggressive play into the scoring zone.
A solid par 4 with a manageable fairway that narrows toward the green. Greenside bunkers and rough framing require a thoughtful approach shot to find the putting surface.

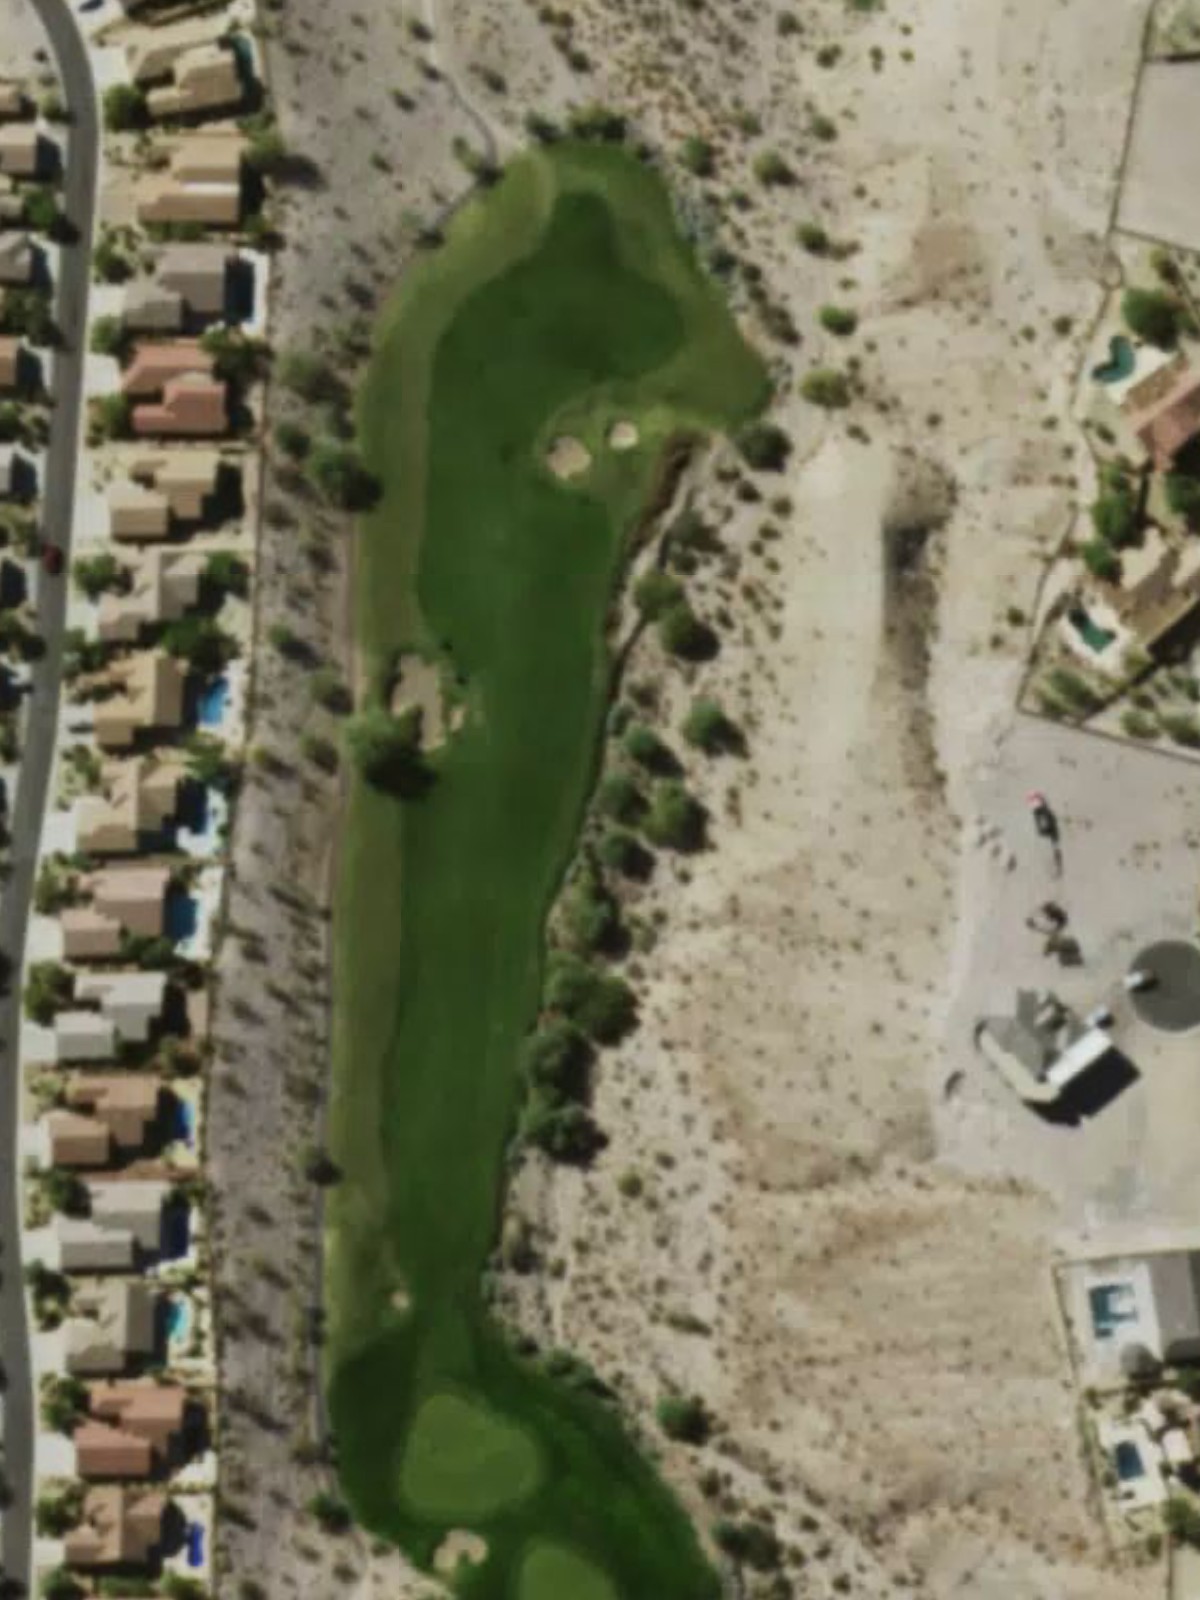
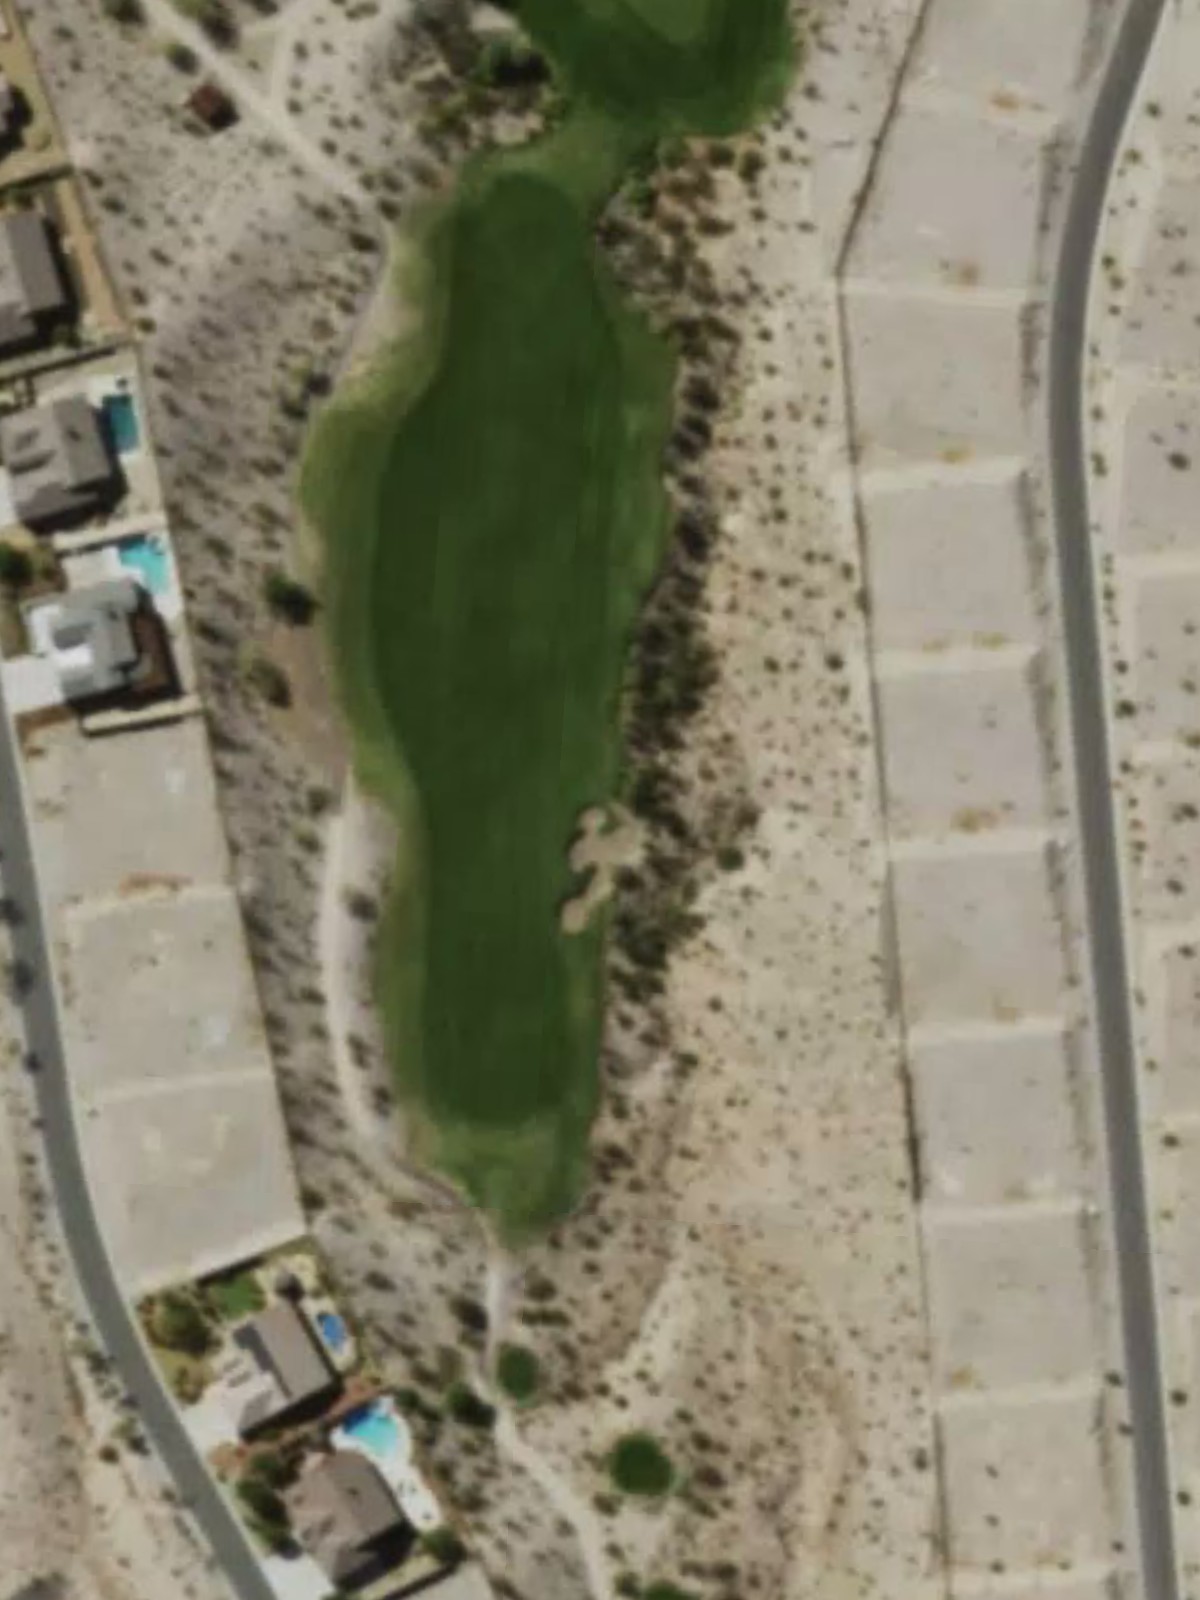
A strong par 4 with demanding length and a fairway that narrows progressively from tee to green. Hazards and bunkers frame both sides of the hole, making accurate driving and a precise approach essential.
A lengthy par 5 with considerable distance and a fairway that narrows significantly in the approach zone. Strategic bunkering and hazards throughout the hole demand careful positioning on both the drive and layup shots.
A shorter par 4 offering a birdie opportunity with a relatively open fairway and straightforward approach. The modest length and forgiving character provide a brief respite on the back nine.
A short par 3 with a simple, direct approach over open terrain to a modest green. This is among the course's most straightforward holes, providing a risk-reward break in the round.
The second-most difficult hole on the course, this par 4 combines demanding yardage with a tight fairway corridor and strategically placed hazards. A punishing test that requires accuracy from tee to green.
A mid-length par 4 with a fairly open fairway that tightens as it approaches the green. Bunkers and hazards frame the final approach, demanding precision into a defended scoring area.
A short par 4 with an accessible fairway and straightforward green complex, offering excellent scoring opportunity. The modest yardage and relatively benign hazard placement make this a welcome respite on the back nine.
A lengthy par 3 requiring a substantial carry over open ground to a framed green. Bunkers and hazards guard the scoring area, making club selection and execution critical on this dramatic one-shotter.

A finishing par 5 that demands controlled aggression, with a fairway narrowing through the landing zones and tightening significantly near the green. Strategic hazards throughout create a compelling final challenge worthy of its closing position.
Scorecard
| Hole | 1 | 2 | 3 | 4 | 5 | 6 | 7 | 8 | 9 | Out | 10 | 11 | 12 | 13 | 14 | 15 | 16 | 17 | 18 | In | Tot |
|---|---|---|---|---|---|---|---|---|---|---|---|---|---|---|---|---|---|---|---|---|---|
| Par | 5 | 4 | 3 | 4 | 4 | 4 | 3 | 5 | 4 | 36 | 4 | 5 | 4 | 3 | 4 | 4 | 4 | 3 | 5 | 36 | 72 |
| HCP | 3 | 9 | 17 | 5 | 7 | 1 | 15 | 11 | 13 | 4 | 6 | 16 | 14 | 2 | 10 | 18 | 12 | 8 | |||
| gold | 608 | 288 | 190 | 478 | 442 | 415 | 183 | 505 | 395 | 3504 | 447 | 650 | 363 | 176 | 446 | 411 | 314 | 234 | 610 | 3651 | 7155 |
| zinc | 566 | 279 | 172 | 418 | 411 | 372 | 164 | 462 | 374 | 3218 | 397 | 594 | 352 | 154 | 427 | 386 | 294 | 203 | 540 | 3347 | 6565 |
| silver | 545 | 252 | 154 | 385 | 398 | 347 | 154 | 424 | 354 | 3013 | 372 | 547 | 336 | 129 | 400 | 366 | 270 | 174 | 484 | 3078 | 6091 |
| copper | 466 | 192 | 126 | 340 | 279 | 269 | 120 | 318 | 304 | 2414 | 327 | 475 | 270 | 100 | 310 | 300 | 240 | 124 | 425 | 2571 | 4985 |