Latah Creek Golf Course is an 18-hole golf course in Spokane, WA with a par of 72. It offers 6 tee sets: blue (6,839 yards, slope 133, rating 72.7), blue/white (6,550 yards, slope 132, rating 71.4), white (6,328 yards, slope 131, rating 69.9), white/gold (6,007 yards, slope 121, rating 68.6), gold (5,660 yards, slope 118, rating 67.3), red (5,095 yards, slope 111, rating 64.4). The hardest hole is #13, a par 4 playing 343 yards from the first tee.
Latah Creek Golf Course
Spokane, WA
Get PDF Yardage Book
We'll email you the PDF link. No spam, ever.
Create Your Game Plan
Pick your tees, enter your bag, and get a personalized shot-by-shot strategy for every hole.

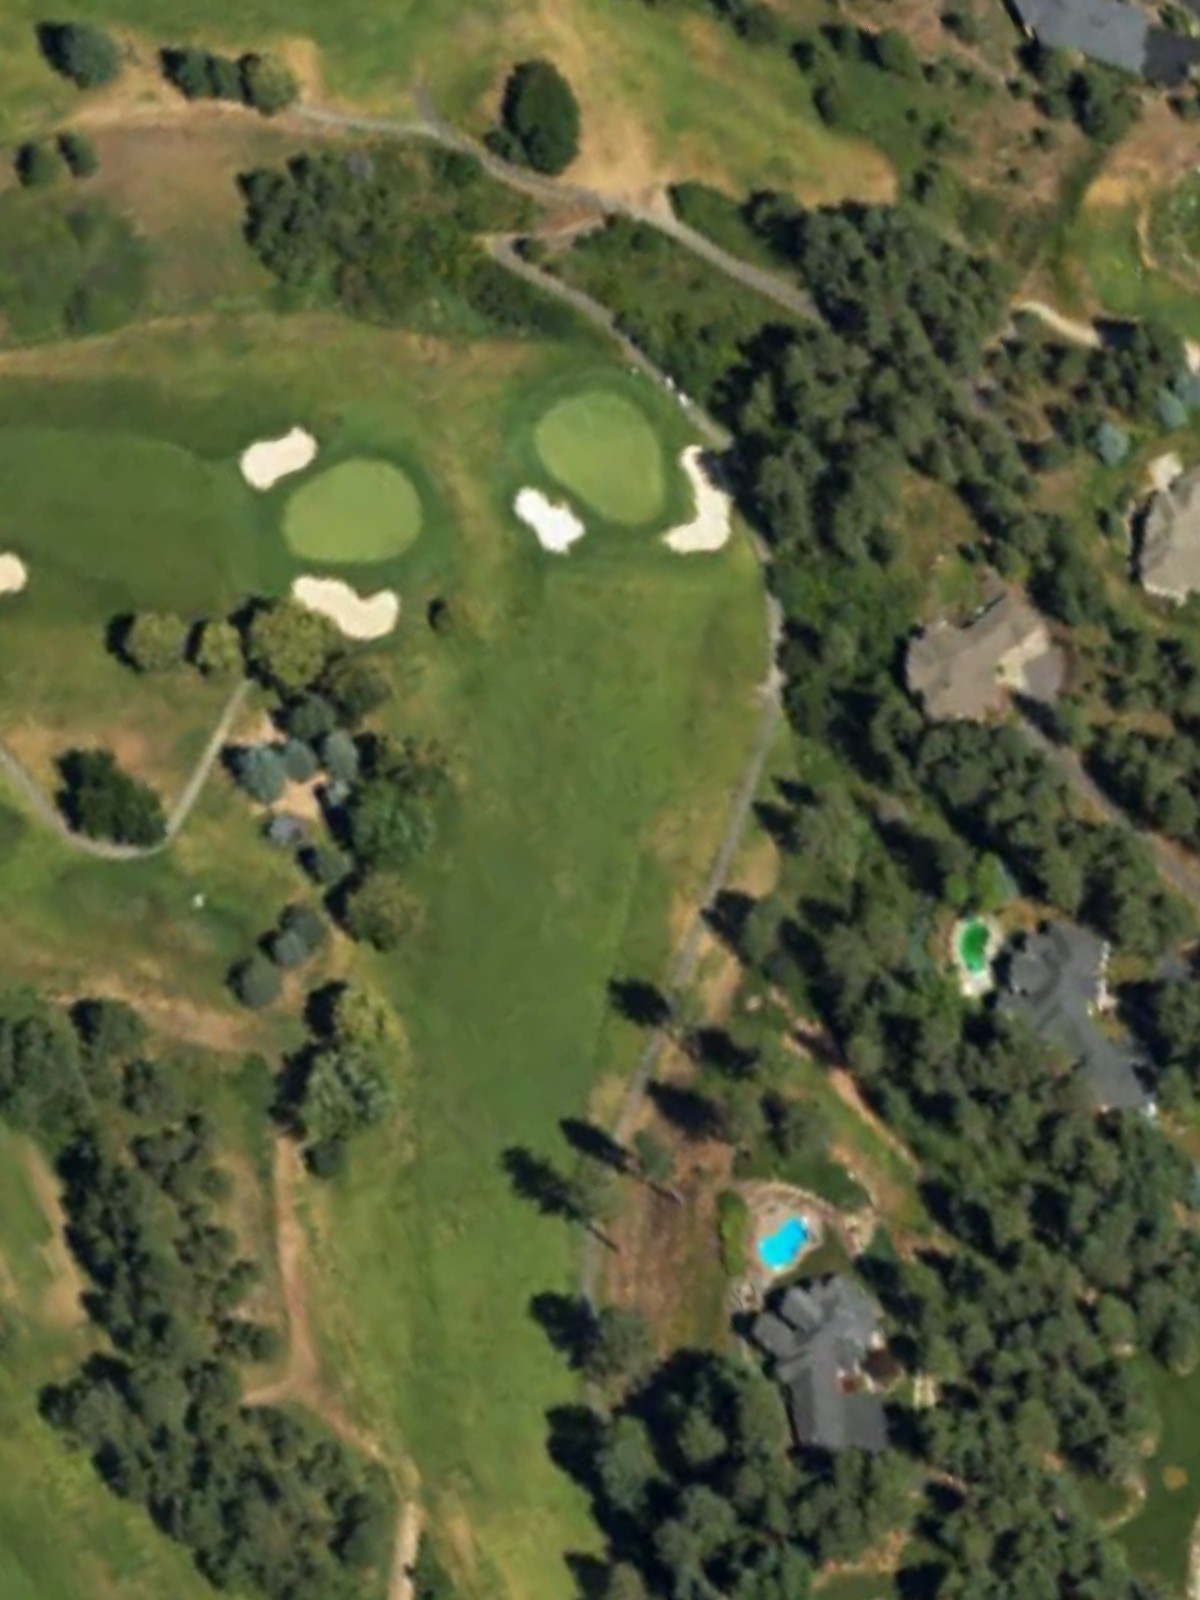
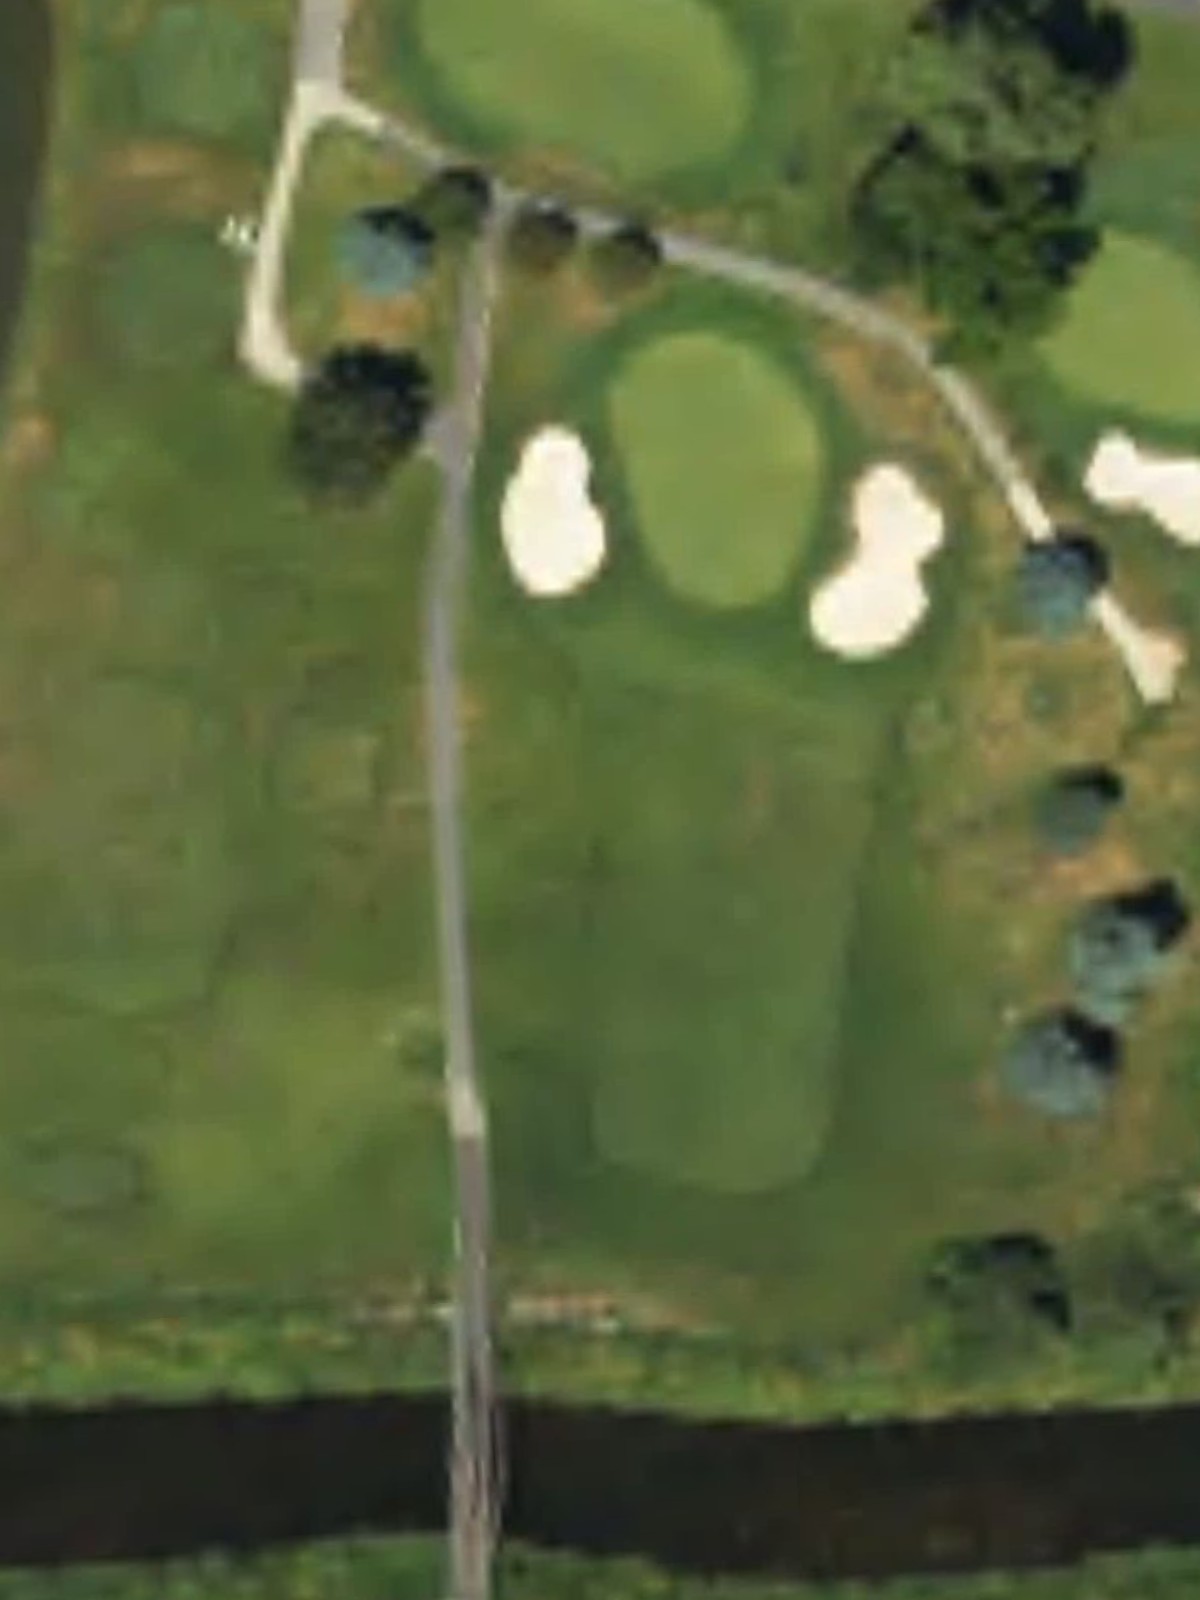
A straightforward par 4 that plays as a moderate opener with a fairway that gradually narrows toward the green. Bunkers protect the right side of the green, demanding accuracy on the approach shot.

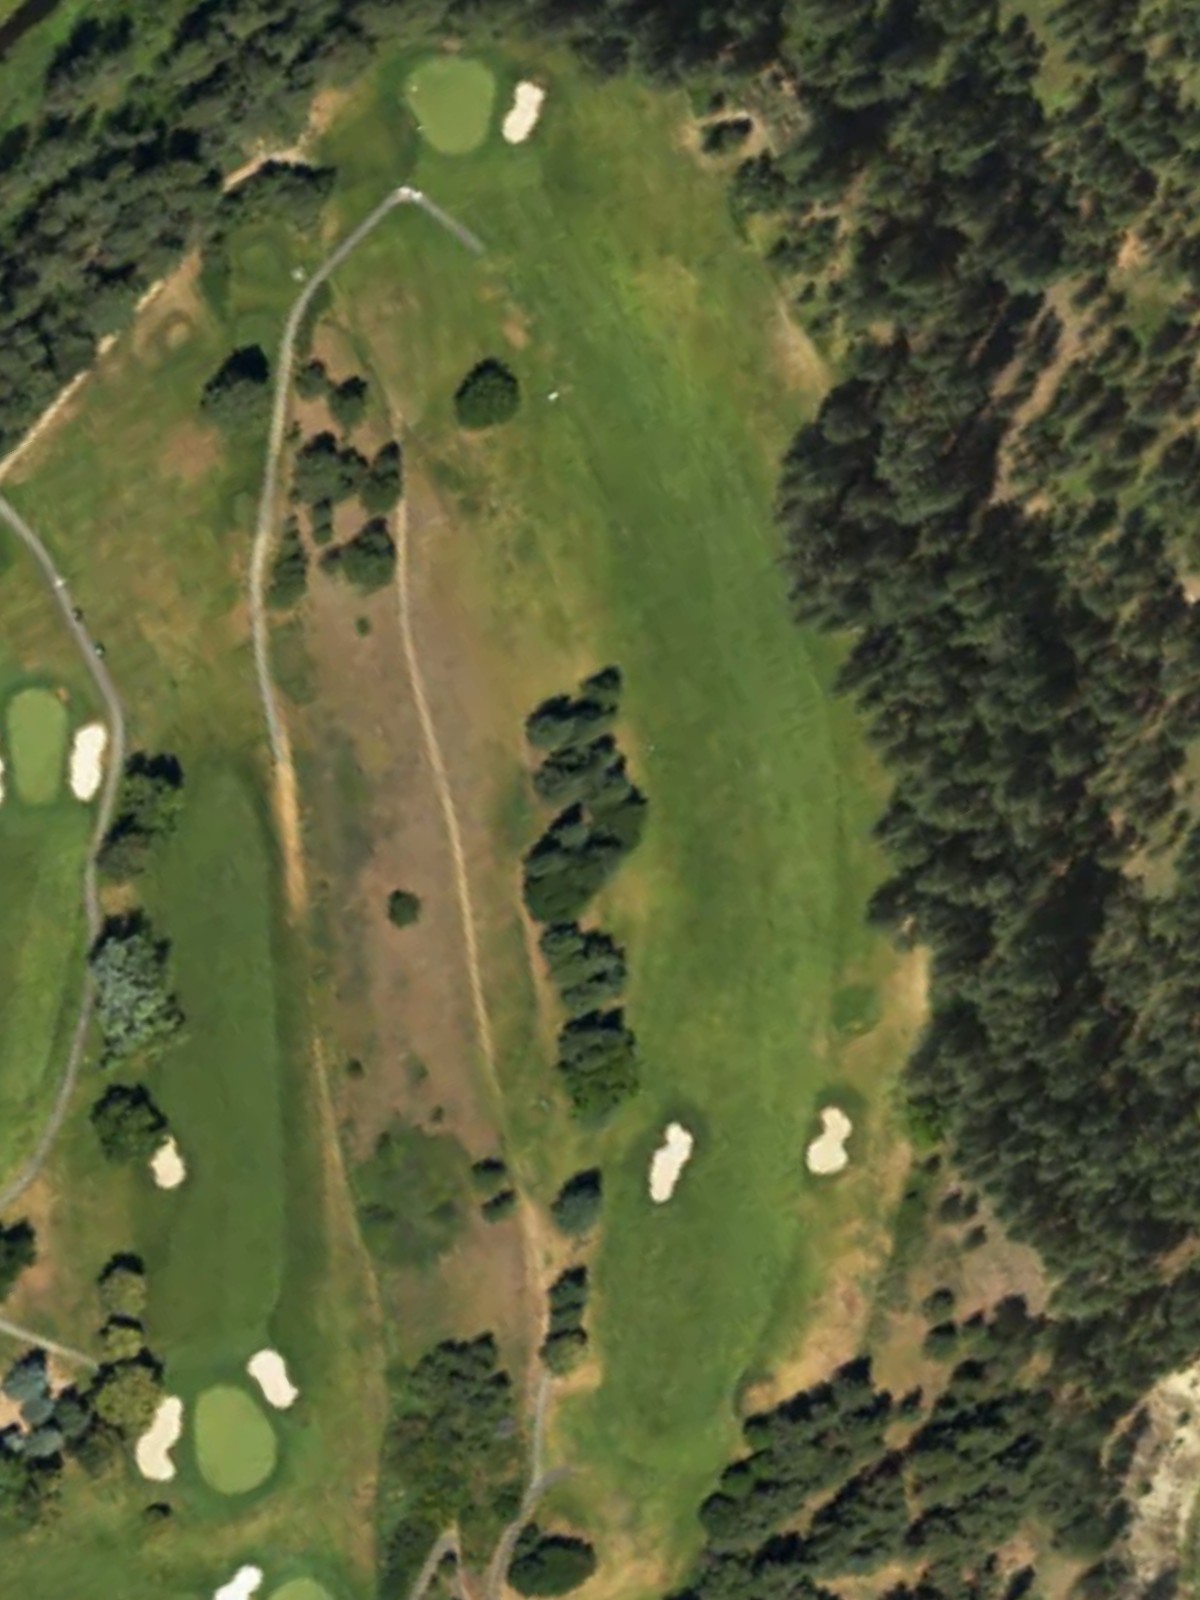
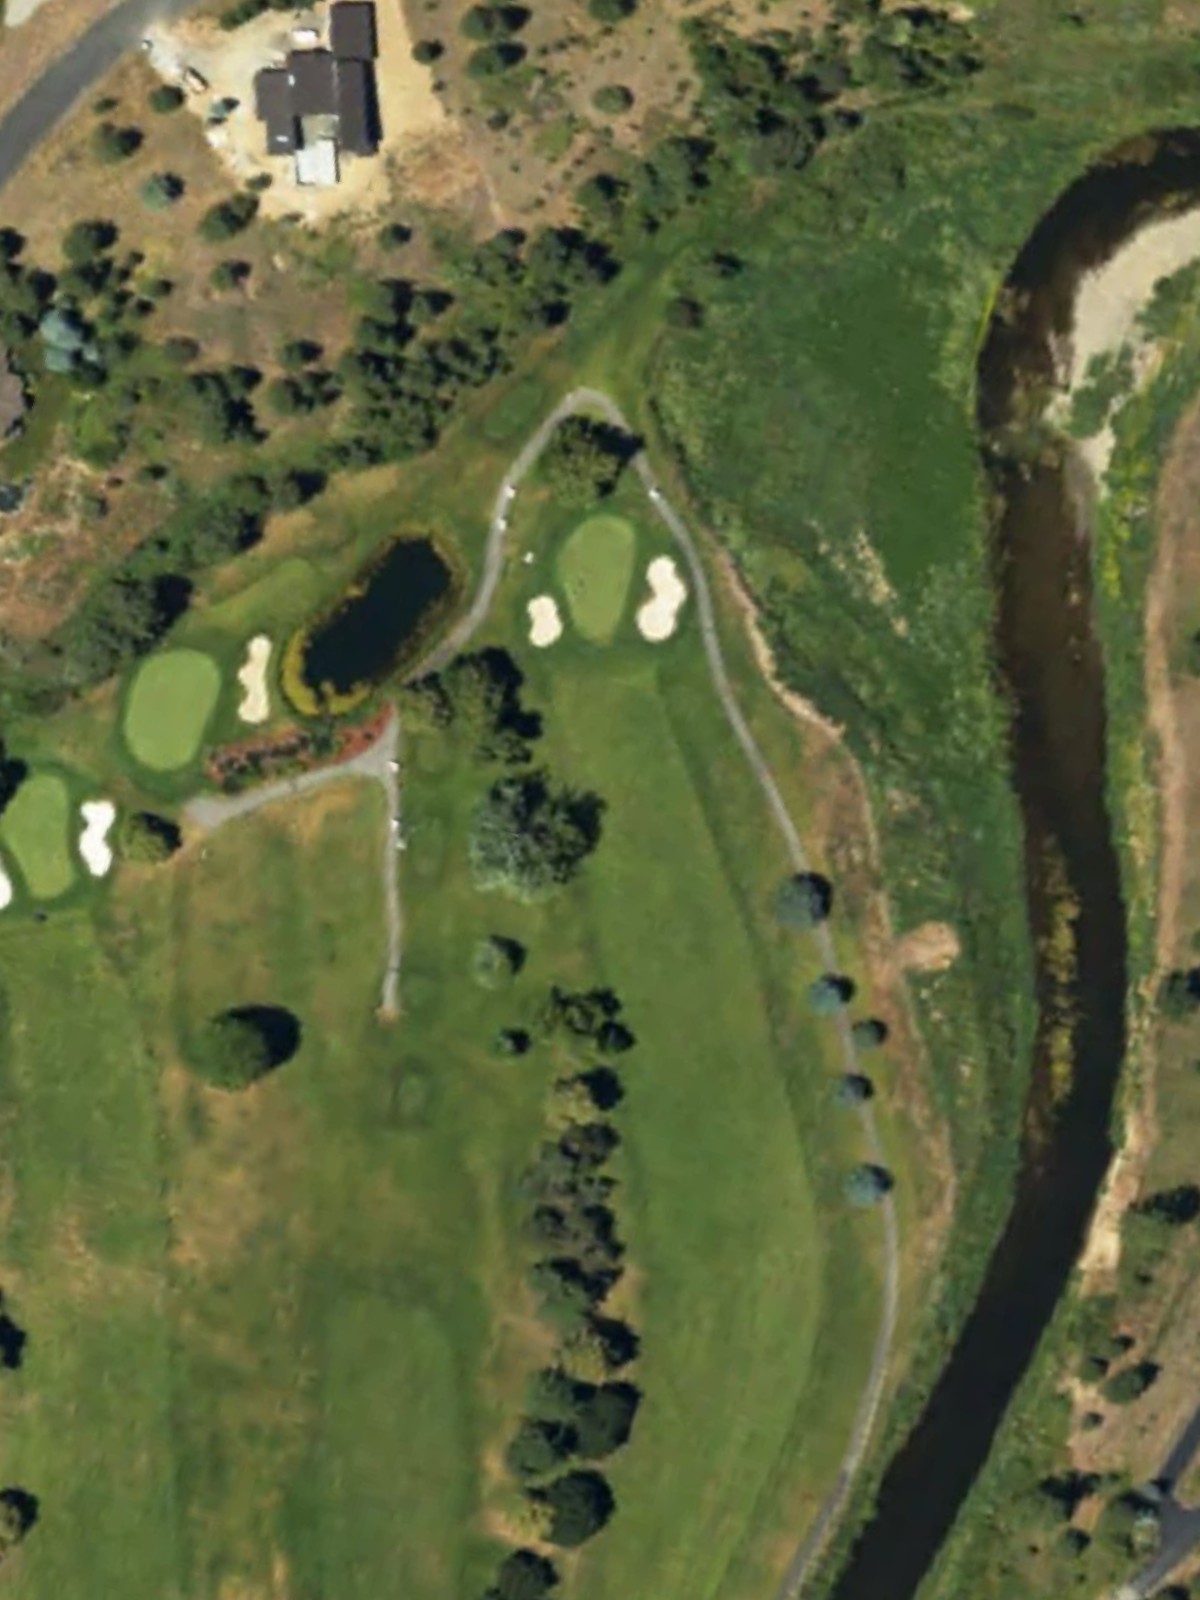
A short par 4 that offers an inviting opportunity, though the compact length can be deceiving. The green complex presents the primary challenge on what ranks as the easiest hole on the course.

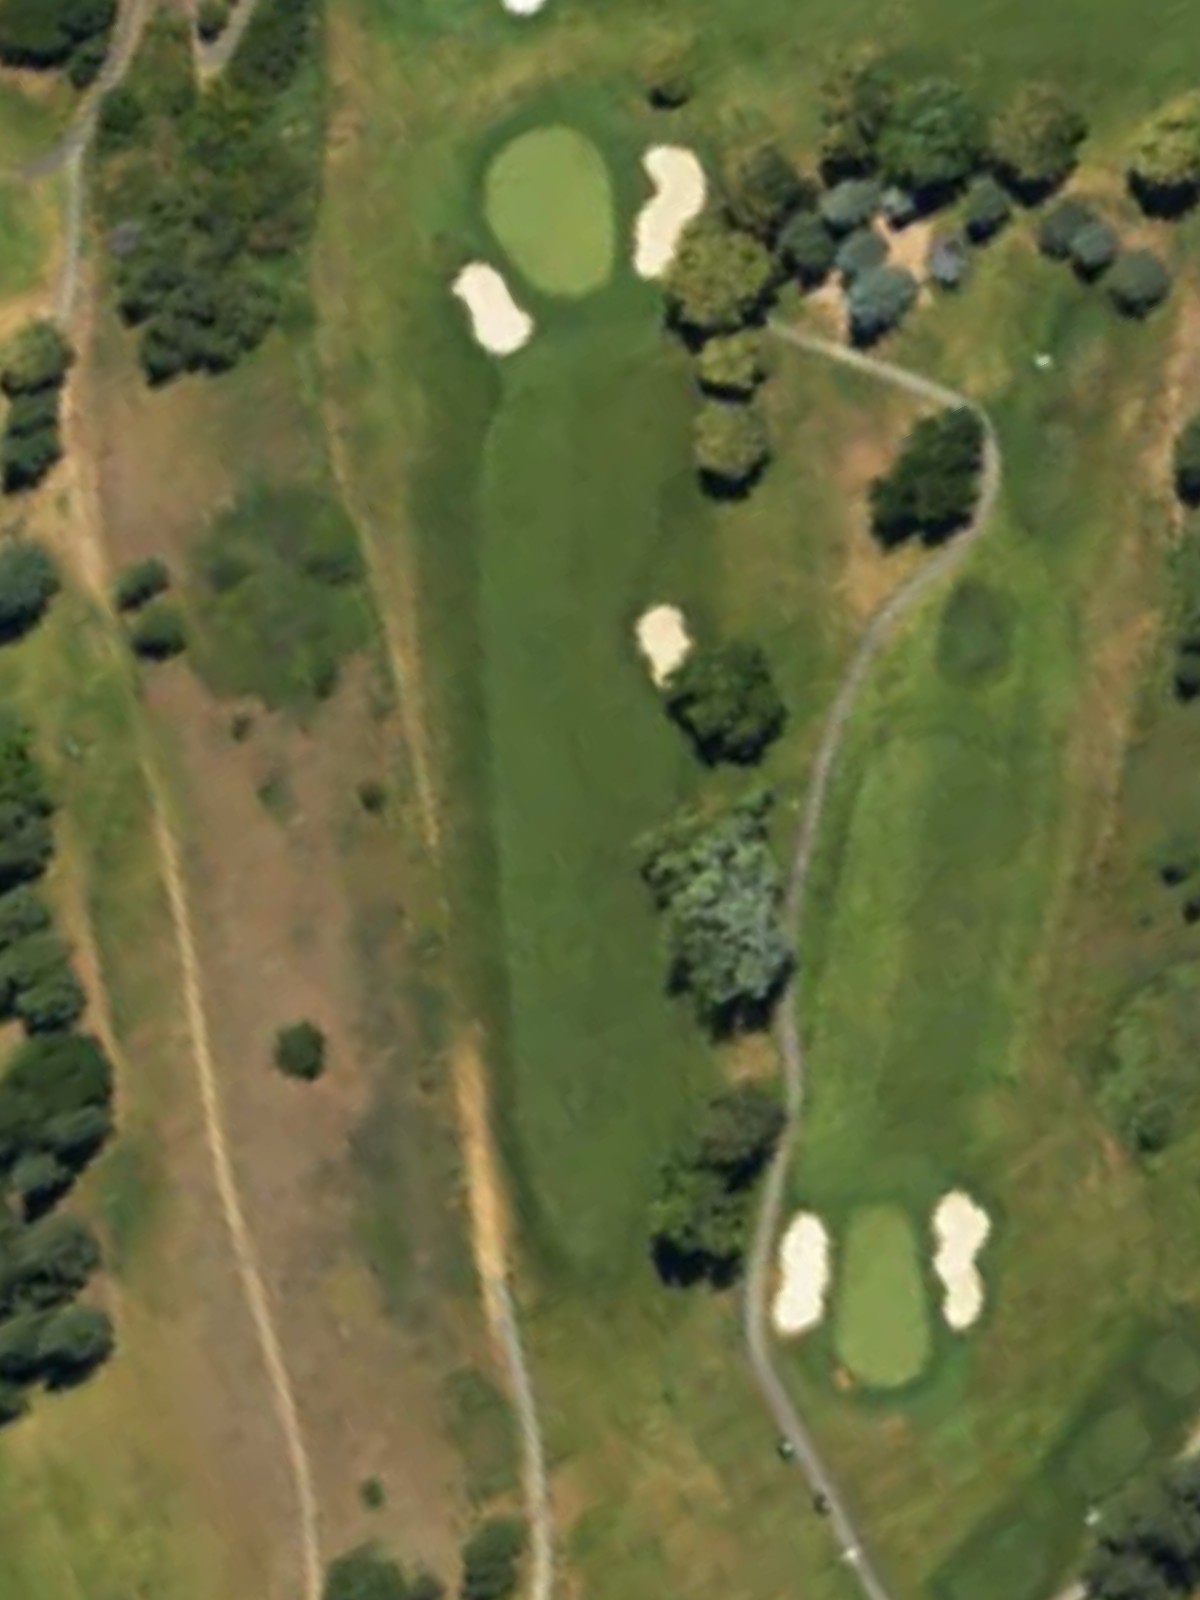
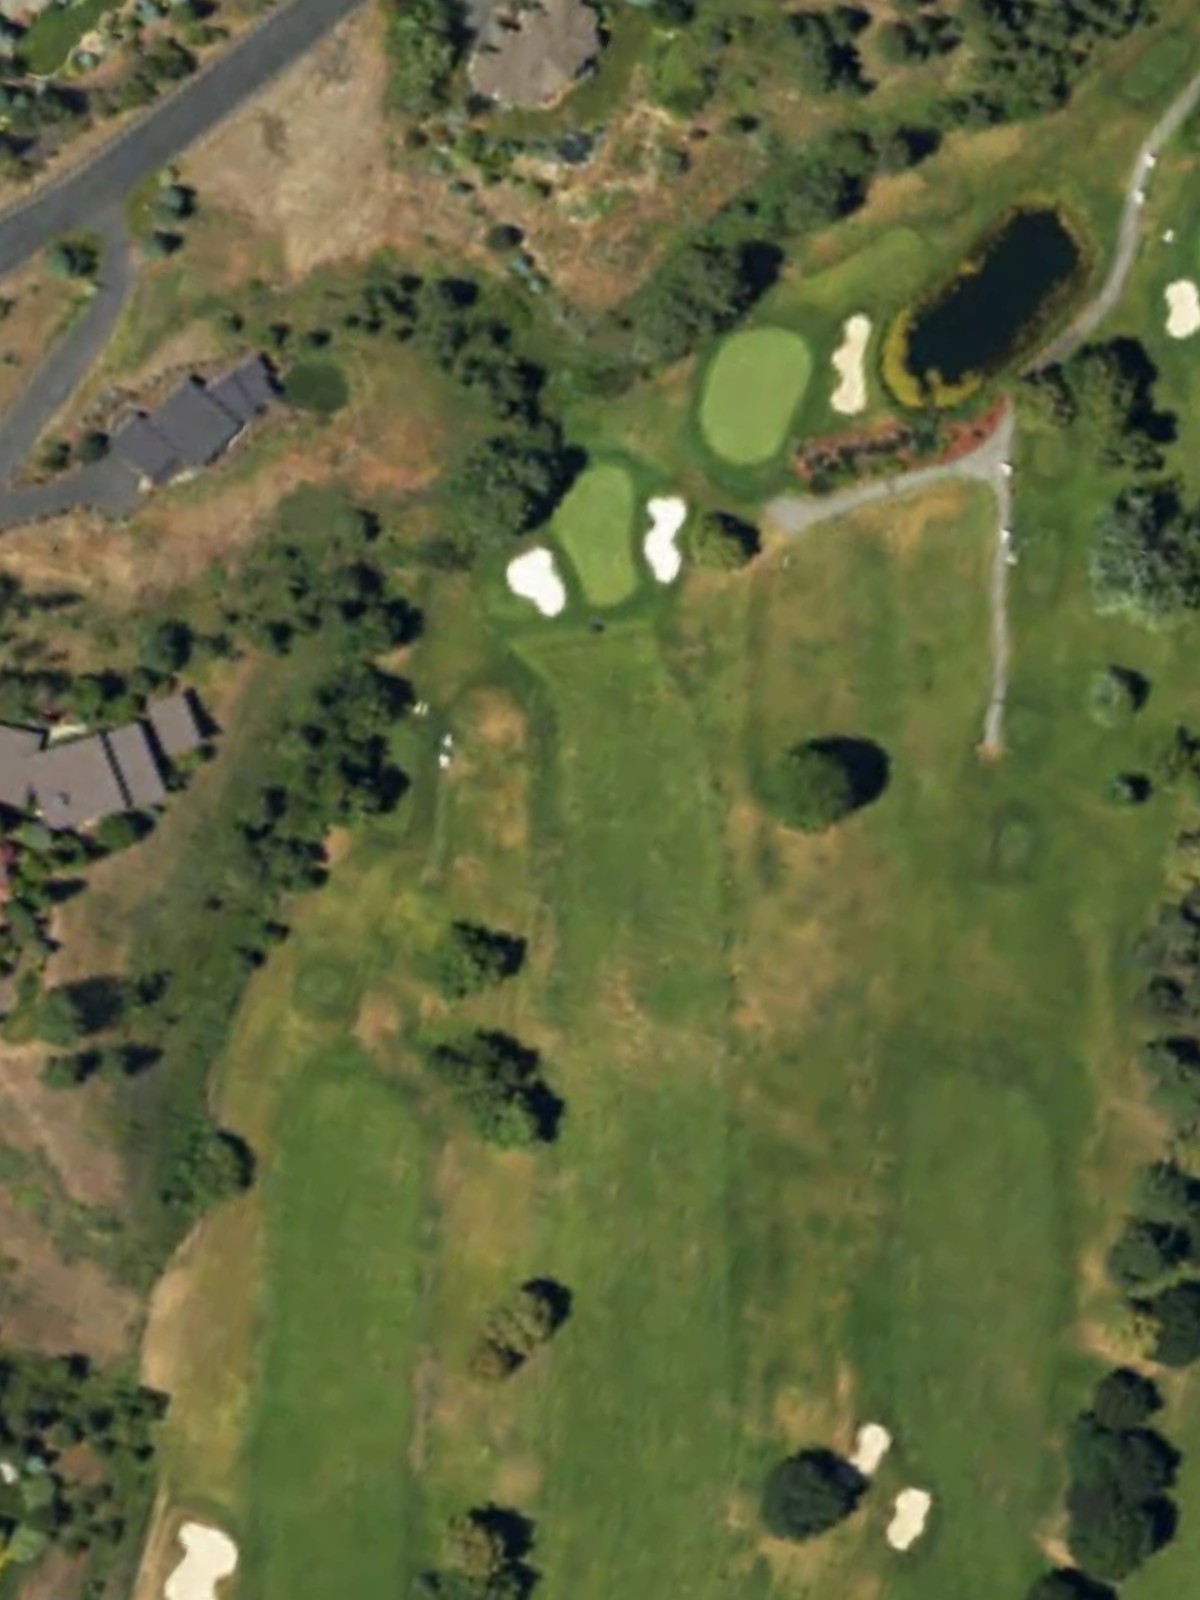
A deceptive par 4 where dramatic length variations between tees create very different strategic considerations. The approach shot is critical, as hazards tighten around the green.
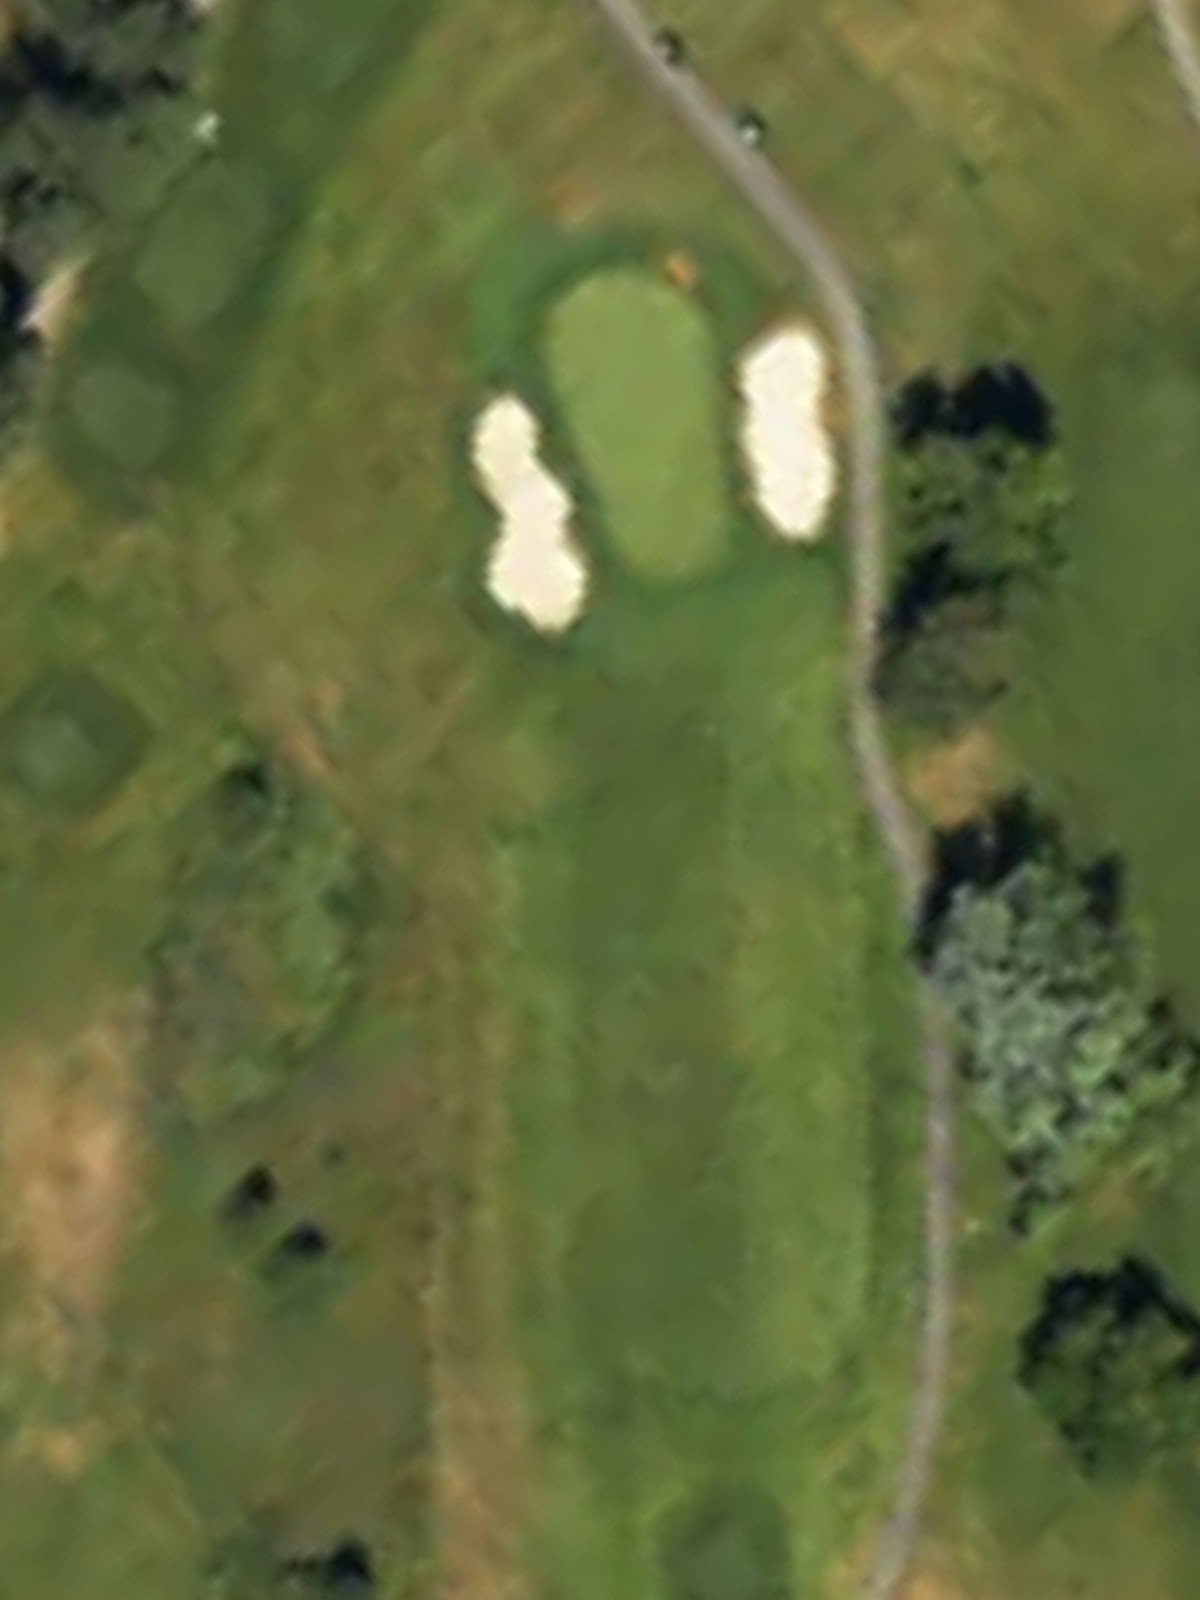
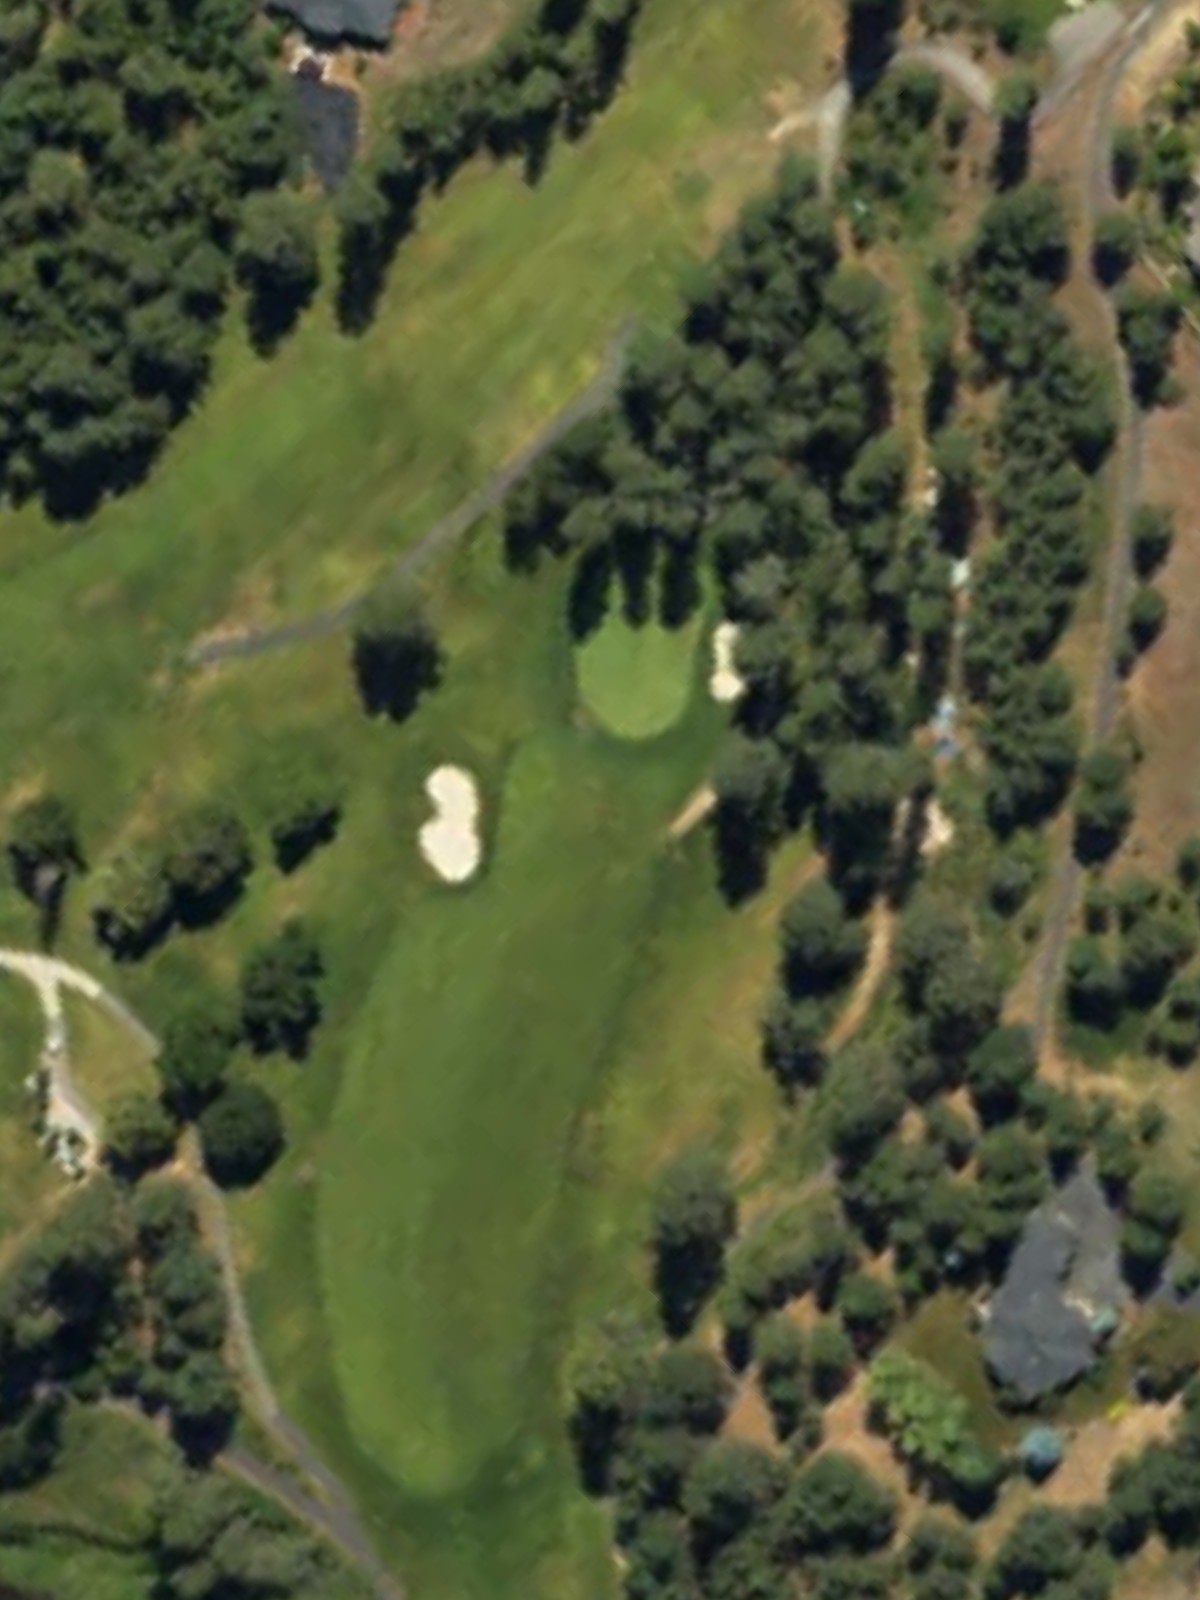
One of the course's most demanding par 4s, this hole presents a stout test from the longer tees with significant length and a challenging green complex. Strategic positioning off the tee is essential to avoid trouble.
A long par 5 that rewards accuracy over distance, with a narrow corridor that must be navigated carefully. The hole's length and strategic hazard placement require thoughtful execution across multiple shots.
A mid-length par 4 with a straightforward design that plays more difficult than yardage alone suggests. Precision into the green is essential, as the green complex penalizes wayward approaches.
A short par 3 that provides a brief respite from longer holes, though its modest yardage masks the importance of club selection and accuracy. The green's compact nature demands a precise tee shot.

A par 5 that unfolds gradually with strategic depth, requiring management across multiple shots rather than aggressive play. The fairway's character and green placement reward patience and positioning.
A mid-length par 3 that serves as the back nine's opening test with a straightforward design. The green demands solid contact, as misses in any direction carry consequences.
A challenging par 5 that stretches across the landscape and requires sustained accuracy throughout. The hole's length and routing create difficulty despite a relatively open design.

A short par 3 with dramatic tee-to-green elevation or visual changes that can mislead golfers on club selection. Despite its modest length, the hole presents a meaningful challenge in the back nine.

A premium par 4 that ranks among the course's most difficult holes, with significant length and hazards that penalize both poor drives and weak approaches. Strategic positioning becomes paramount on this stern test.
The course's hardest hole, this par 4 demands excellence from tee to green with length, hazards, and a well-protected green. Every shot requires precision on this signature challenge.

A solid par 4 with good length and strategic interest, presenting a balanced test that rewards solid fundamentals. The green complex adds definition to what is otherwise a relatively open hole.
A manageable par 4 that offers relief from the course's more demanding stretches, though it should not be underestimated. The hole's shorter length invites aggressive play, but accuracy remains rewarded.

A long par 5 that presents a strategic puzzle across three shots, with length and routing creating natural difficulty. The fairway's character and green placement demand careful planning and execution.
A signature par 3 and one of the course's toughest short holes, combining length with a well-protected green that punishes imprecision. The tee shot is the pivotal moment on this premium one-shotter.
The closing par 4 provides a dramatic finish with enough length and strategic hazards to test nerves down the stretch. The hole's finish-line positioning amplifies the importance of a solid closing approach.
Scorecard
| Hole | 1 | 2 | 3 | 4 | 5 | 6 | 7 | 8 | 9 | Out | 10 | 11 | 12 | 13 | 14 | 15 | 16 | 17 | 18 | In | Tot |
|---|---|---|---|---|---|---|---|---|---|---|---|---|---|---|---|---|---|---|---|---|---|
| Par | 4 | 4 | 4 | 4 | 5 | 4 | 3 | 5 | 3 | 36 | 5 | 3 | 4 | 4 | 4 | 4 | 5 | 3 | 4 | 36 | 72 |
| HCP | 4 | 18 | 16 | 2 | 10 | 12 | 6 | 14 | 8 | 9 | 15 | 5 | 1 | 7 | 17 | 13 | 3 | 11 | |||
| blue | 389 | 320 | 335 | 384 | 630 | 353 | 188 | 527 | 195 | 3321 | 548 | 189 | 425 | 442 | 401 | 344 | 603 | 191 | 375 | 3518 | 6839 |
| blue/white | 370 | 320 | 335 | 374 | 611 | 353 | 188 | 527 | 163 | 3241 | 512 | 164 | 425 | 423 | 401 | 344 | 509 | 191 | 340 | 3309 | 6550 |
| white | 370 | 302 | 314 | 374 | 611 | 330 | 174 | 499 | 163 | 3137 | 512 | 164 | 403 | 423 | 372 | 279 | 509 | 189 | 340 | 3191 | 6328 |
| white/gold | 349 | 302 | 242 | 374 | 611 | 330 | 161 | 471 | 163 | 3003 | 470 | 124 | 403 | 404 | 372 | 279 | 454 | 189 | 309 | 3004 | 6007 |
| gold | 349 | 277 | 242 | 356 | 463 | 304 | 161 | 471 | 148 | 2771 | 470 | 124 | 360 | 404 | 352 | 260 | 454 | 156 | 309 | 2889 | 5660 |
| red | 340 | 271 | 198 | 288 | 410 | 279 | 130 | 437 | 147 | 2500 | 447 | 117 | 333 | 343 | 309 | 248 | 451 | 144 | 203 | 2595 | 5095 |