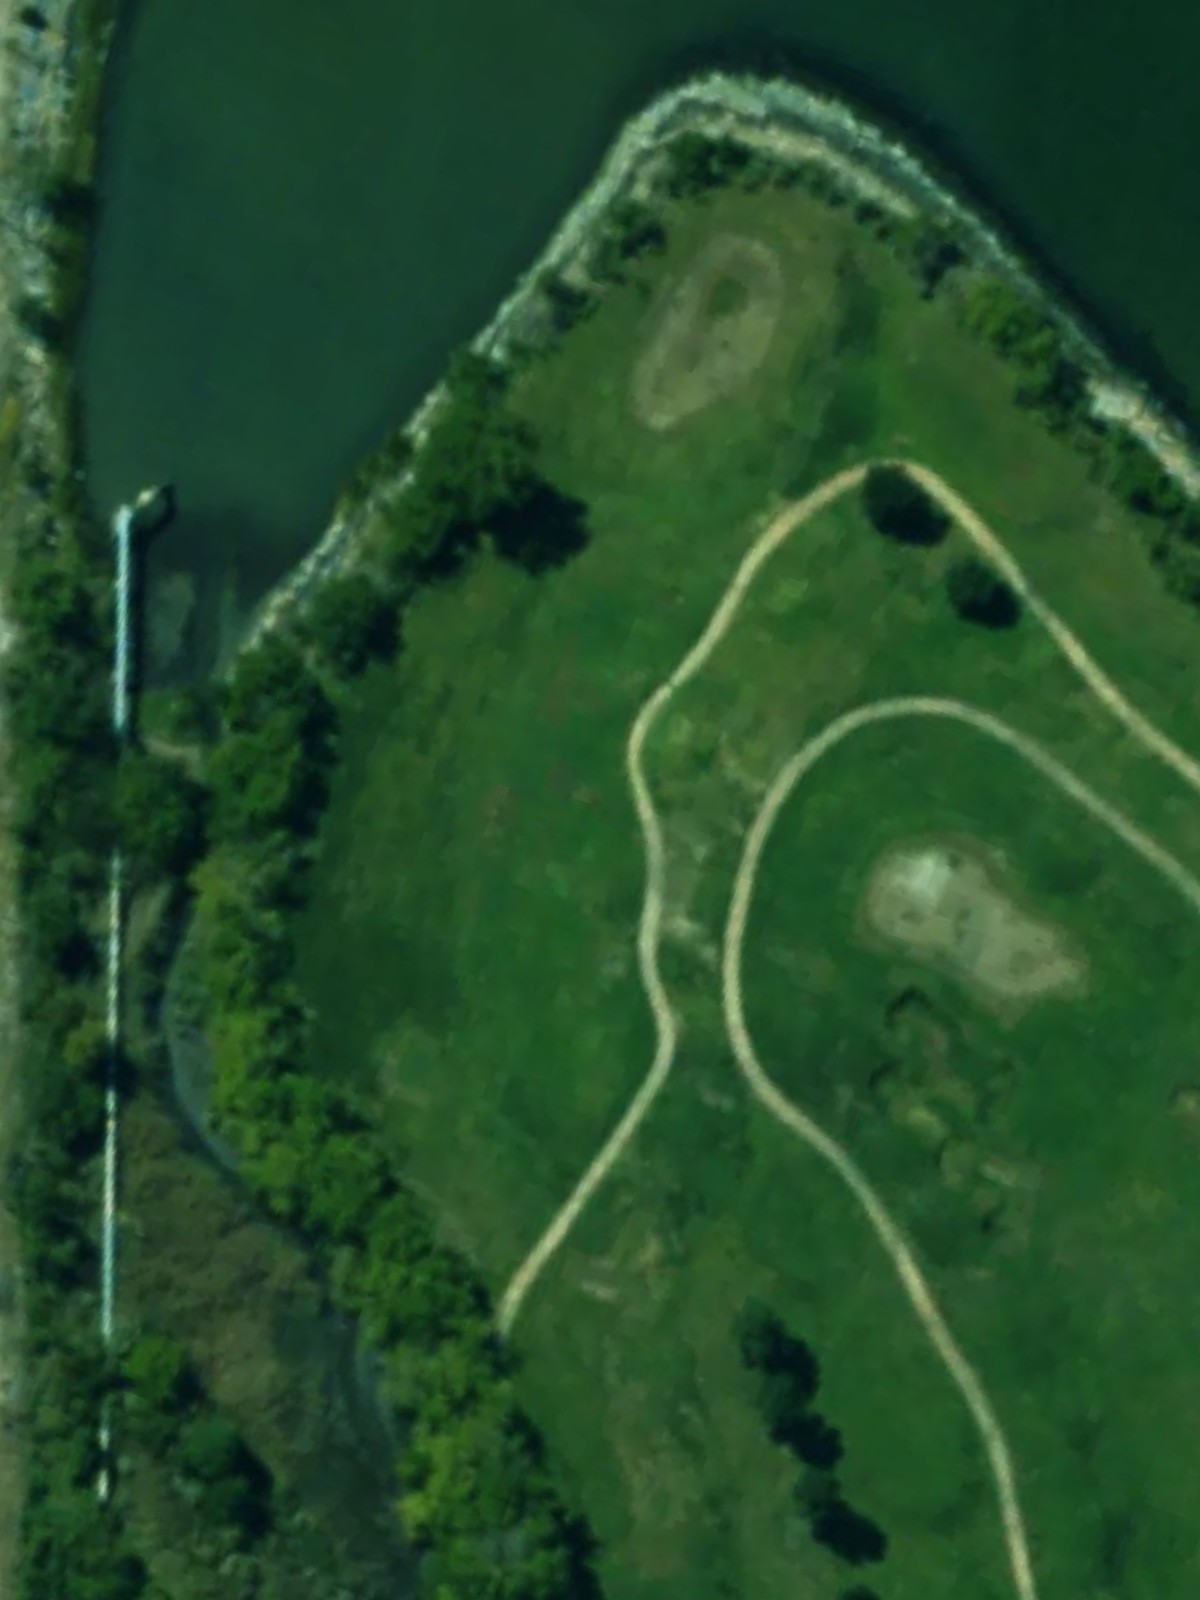
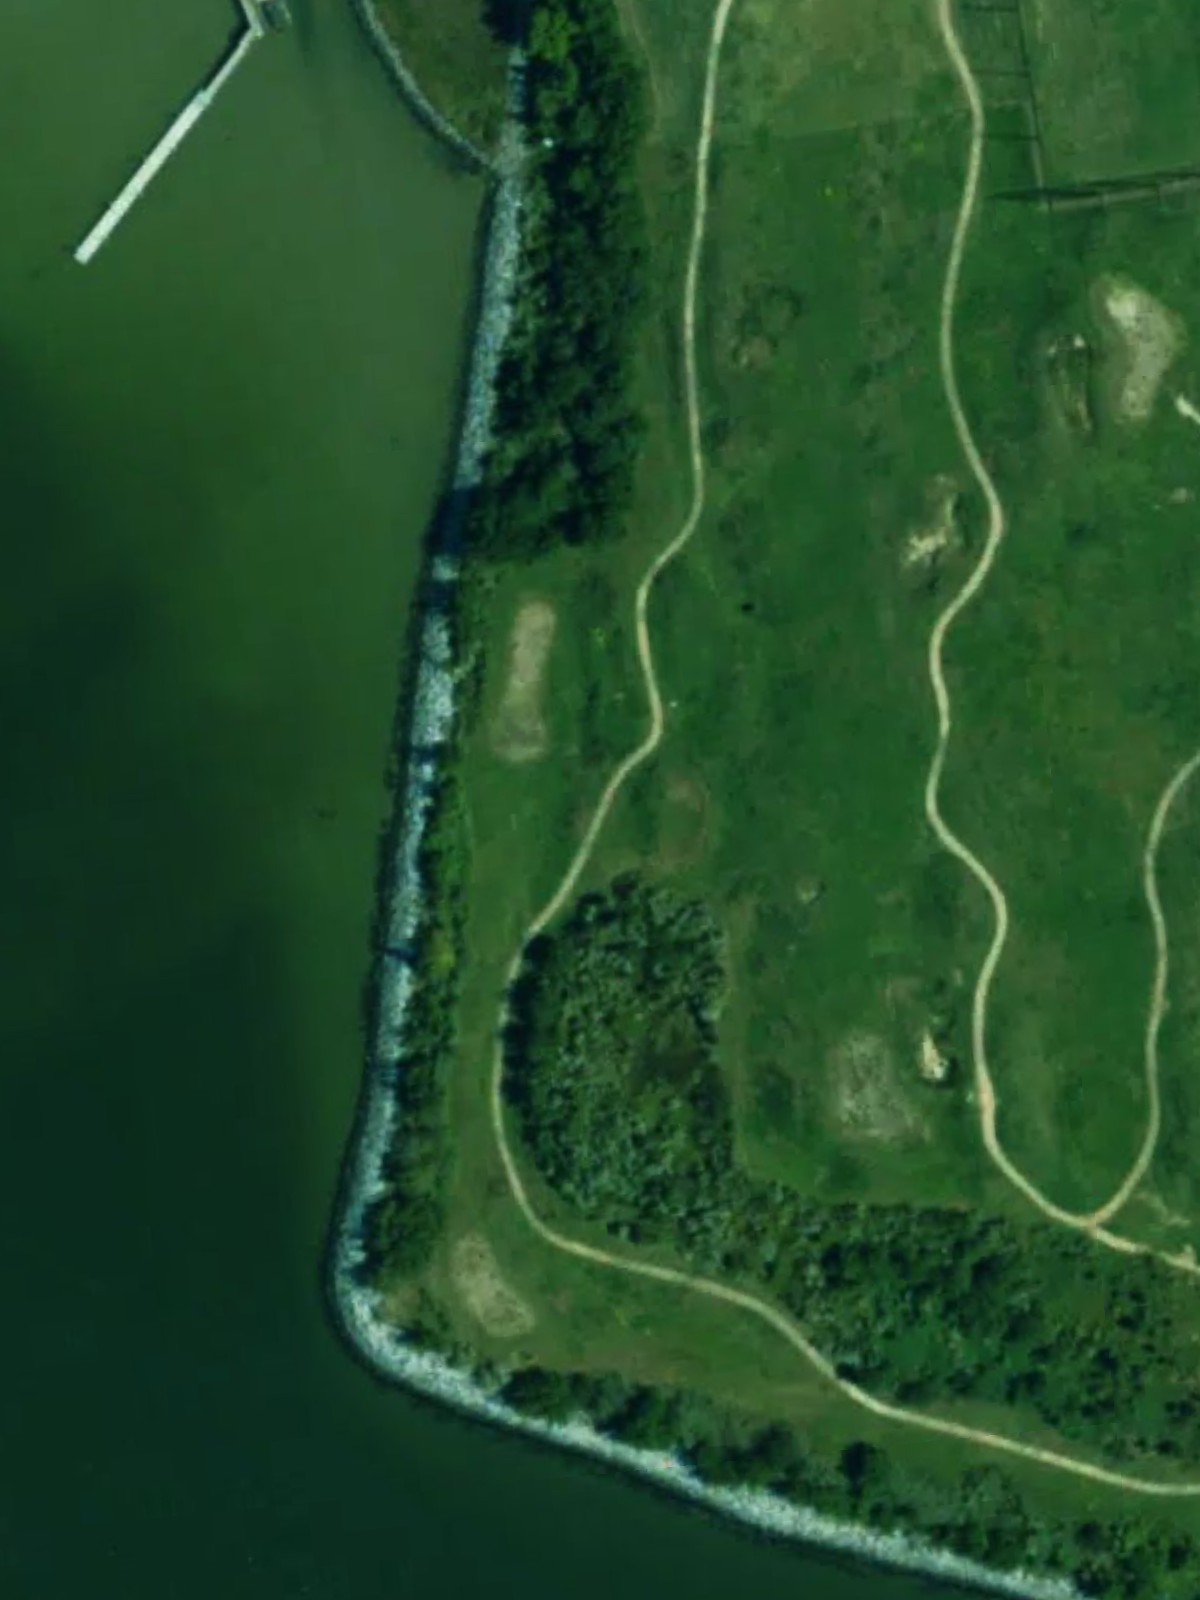
Lambert'S Point Golf Club is an 18-hole golf course in Norfolk, VA with a par of 68. It offers 4 tee sets: white/black (5,253 yards, slope 117, rating 67.2), white/white (4,952 yards, slope 114, rating 65.6), yellow/white (4,647 yards, slope 111, rating 64.2), red/red (3,604 yards, slope 102, rating 60.6). The hardest hole is #9, a par 4 playing 321 yards from the first tee.
Lambert'S Point Golf Club
Norfolk, VA
Get PDF Yardage Book
We'll email you the PDF link. No spam, ever.
Create Your Game Plan
Pick your tees, enter your bag, and get a personalized shot-by-shot strategy for every hole.
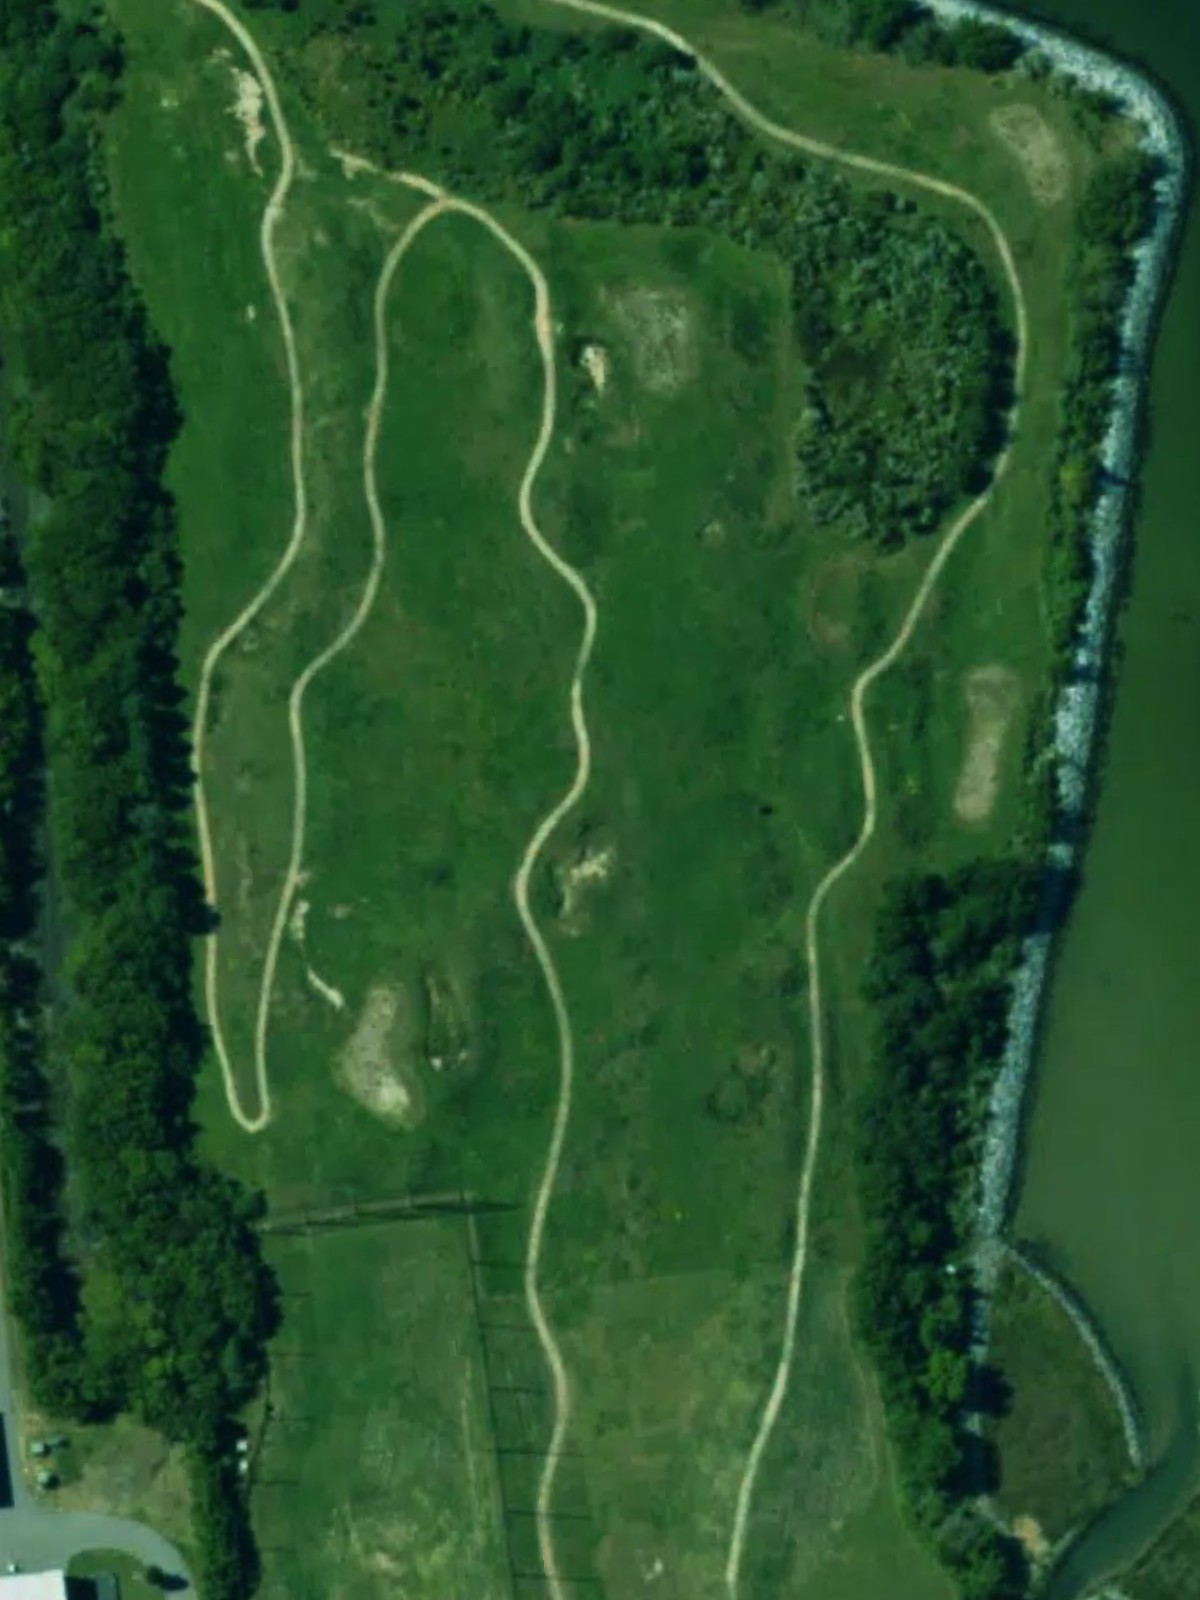
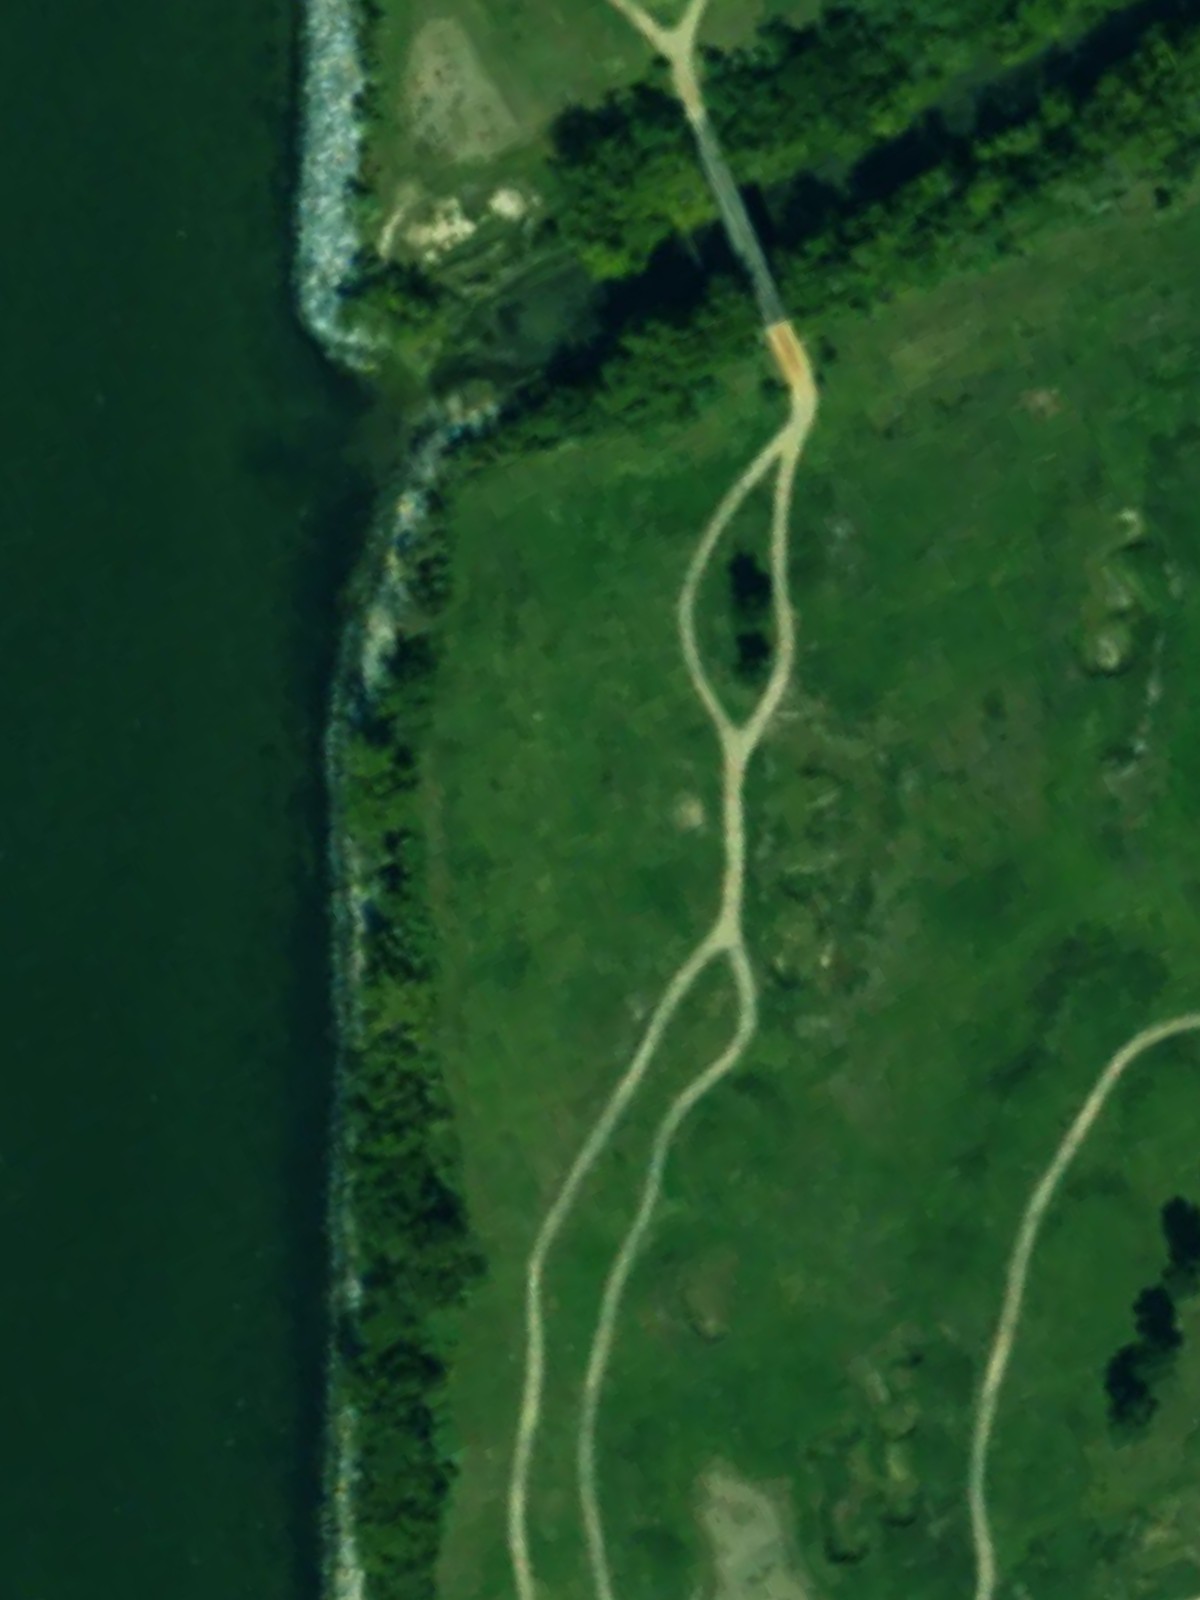
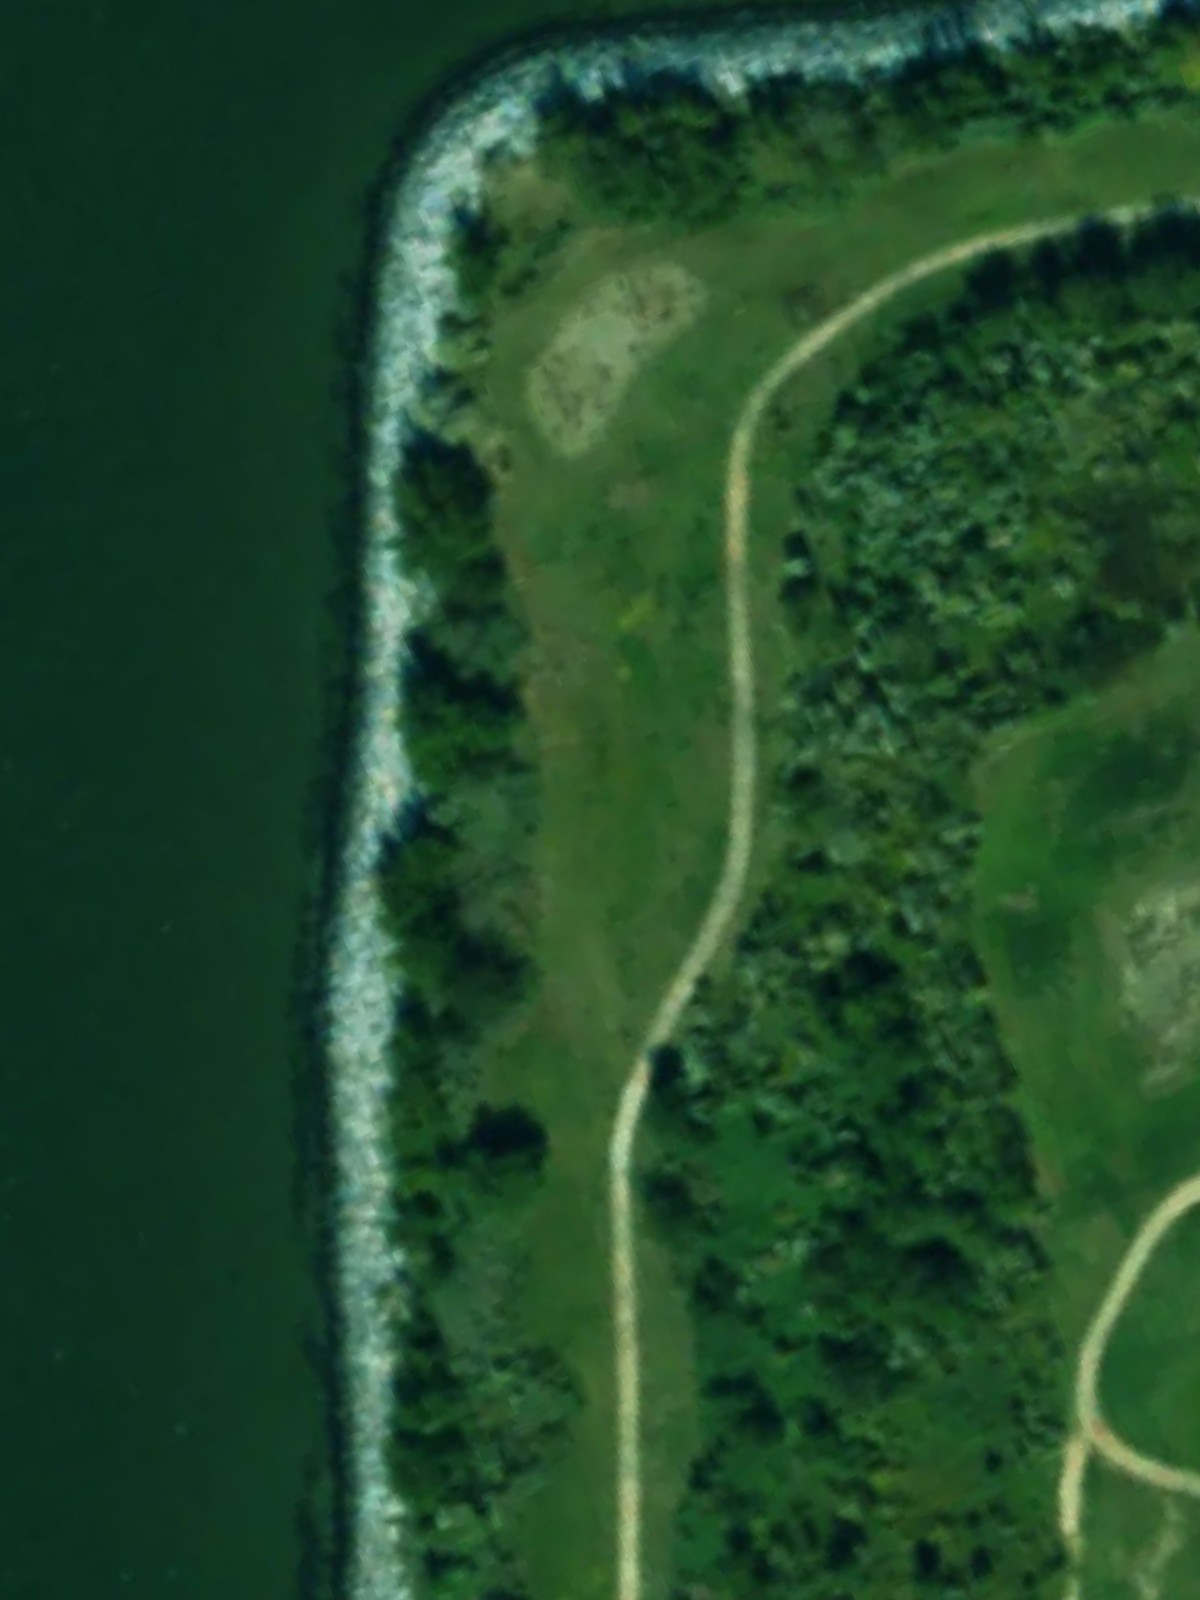
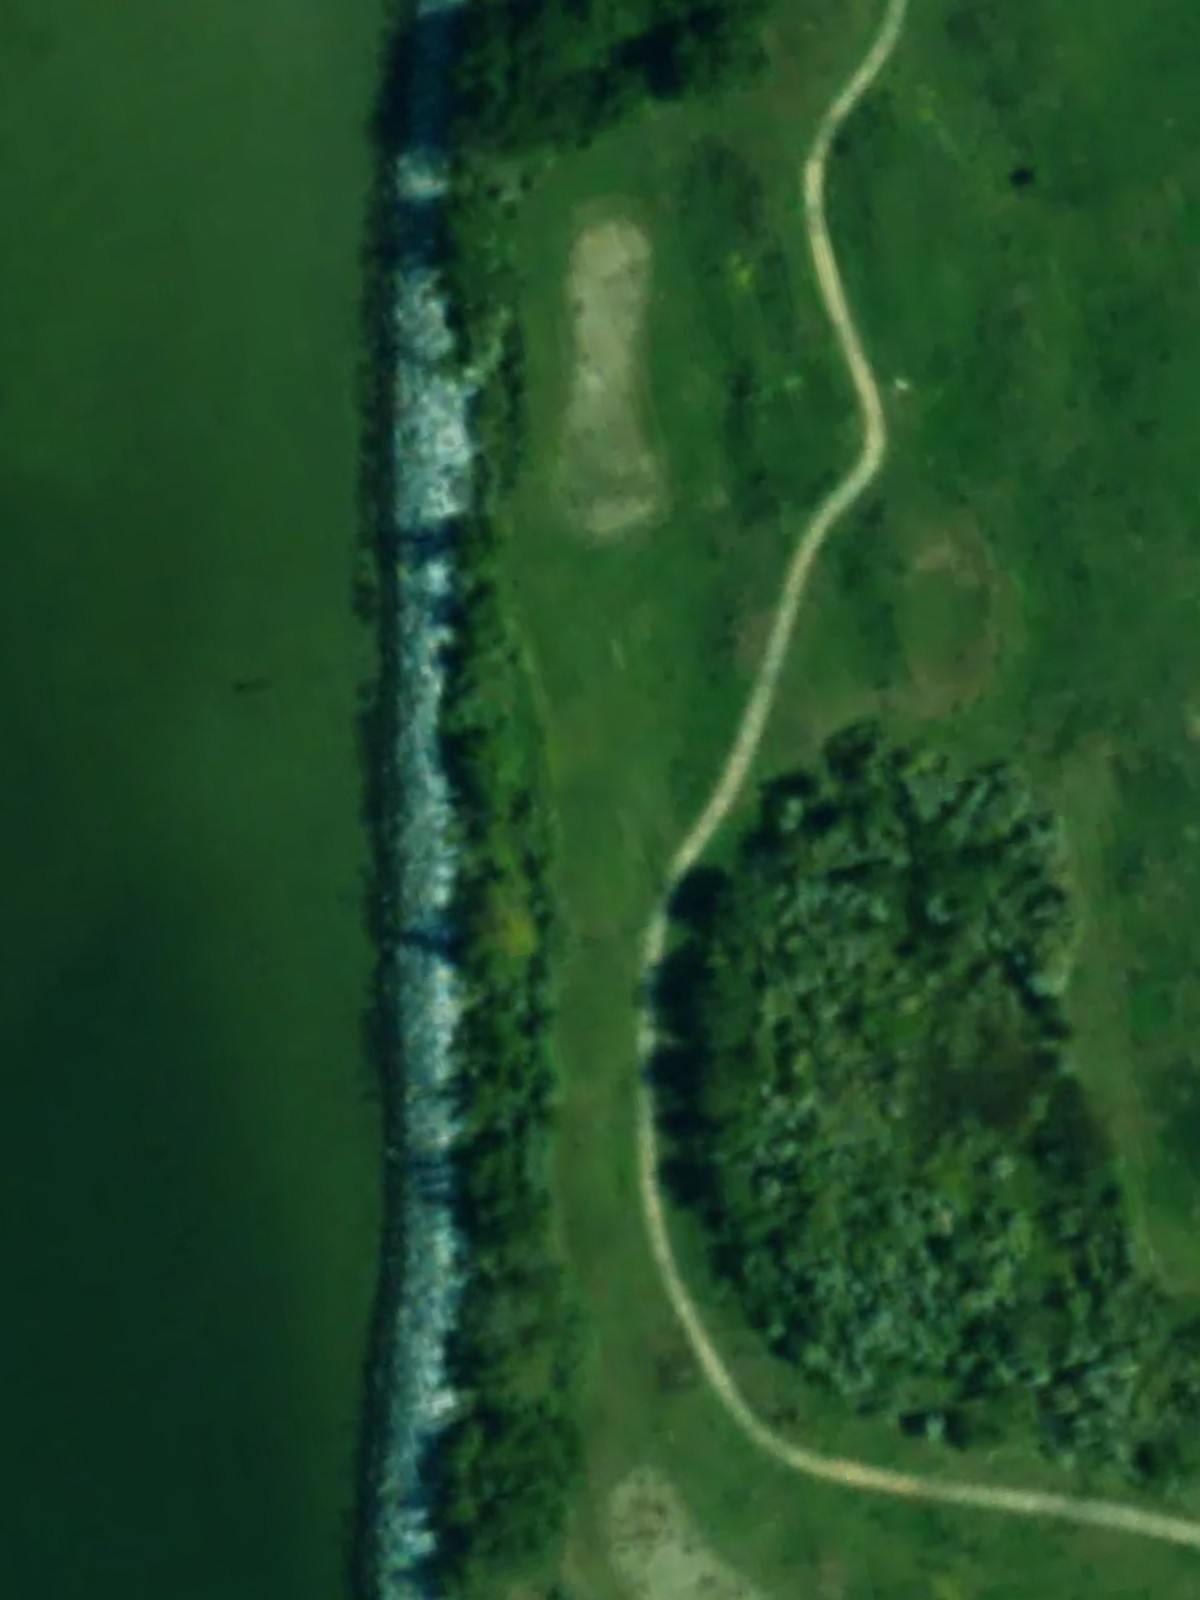
A long par 5 that plays straightforward with a fairway that gradually narrows as it approaches the green. Bunkers positioned along the fairway and around the green demand accurate positioning for the approach shot, making this opening hole a test of sustained accuracy.
A short par 3 featuring a relatively open green complex with strategic bunkers guarding the sides. The modest length is offset by the need for precision, as the green's defenses require a well-placed tee shot.
The course's signature par 5 plays as a genuine three-shot hole with significant length and strategic bunker placement throughout. This premium handicap hole demands intelligent course management and strong execution on successive shots.
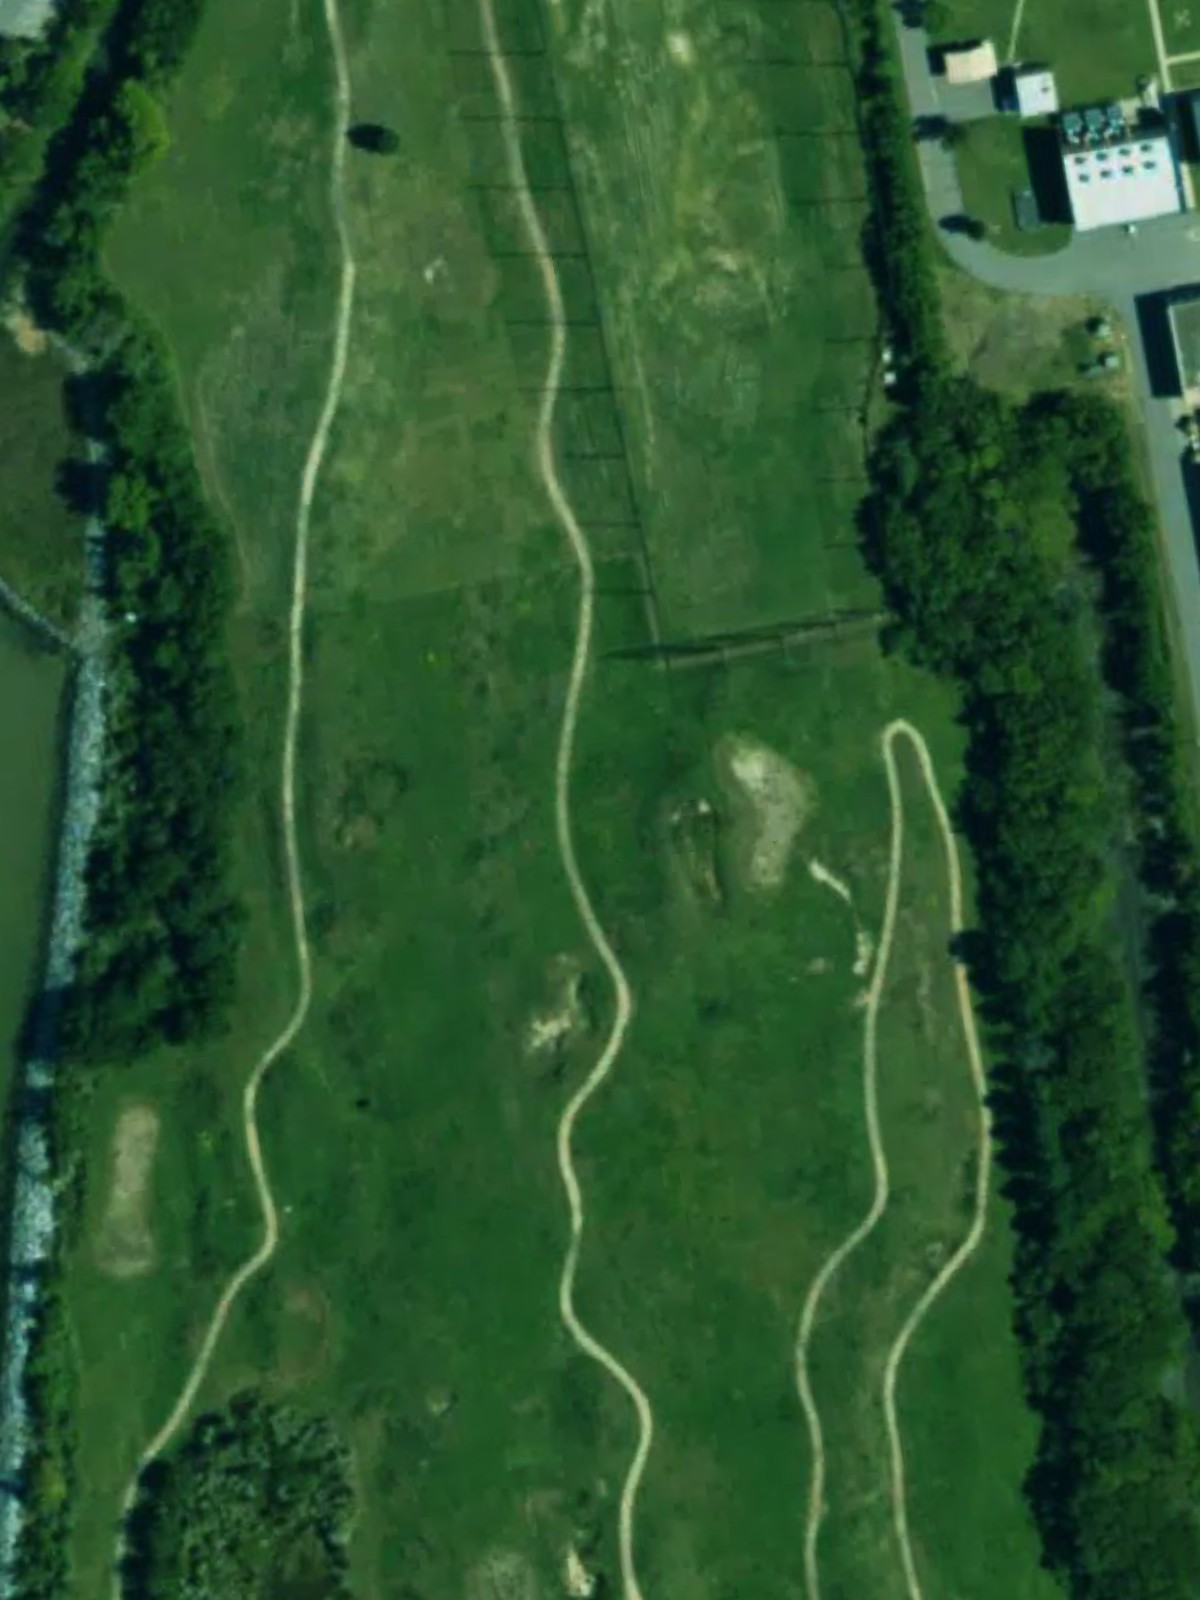
A mid-length par 3 with bunkers framing the green and rough surrounding the playing area. The relatively tight green complex requires accuracy from the tee to avoid costly recovery shots.
A short par 4 that offers a more approachable scoring opportunity with a straightforward layout. The modest yardage invites aggressive play, though precision remains essential for a good result.
A mid-length par 4 with strategic bunker placement along the fairway and near the green. The rough running through the hole adds definition to the corridor, rewarding straight striking over the entire hole.
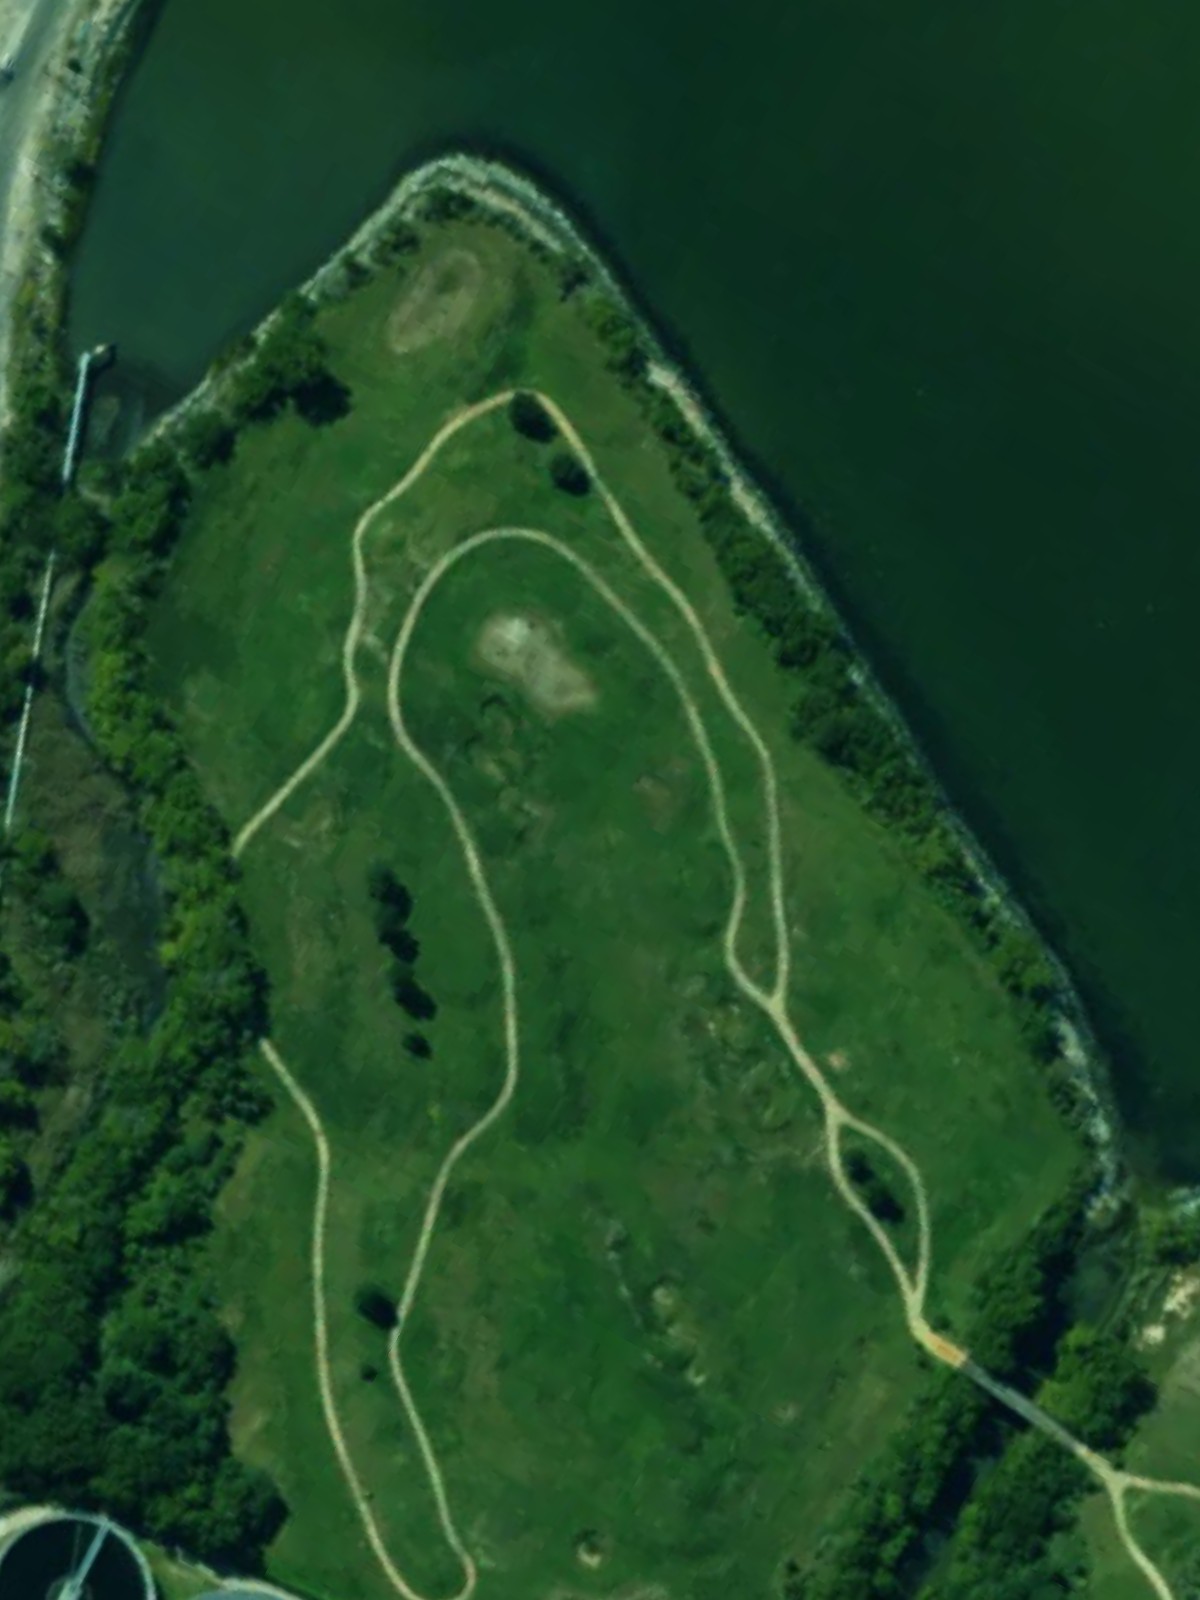
A diminutive par 3 that belies its challenge through bunker placement and rough framing the small green. Despite the short yardage, precision from the tee is essential to avoid difficult sand and rough saves.
The shortest par 3 on the course, playing to a straightforward green with minimal hazards. This risk-reward hole offers a golden opportunity for a strong score in the round's middle stretch.
The course's most demanding par 4, featuring a lengthy approach with bunkers and rough positioned to penalize wayward drives and second shots. This closing hole of the front nine demands sustained excellence and serves as the round's primary test.
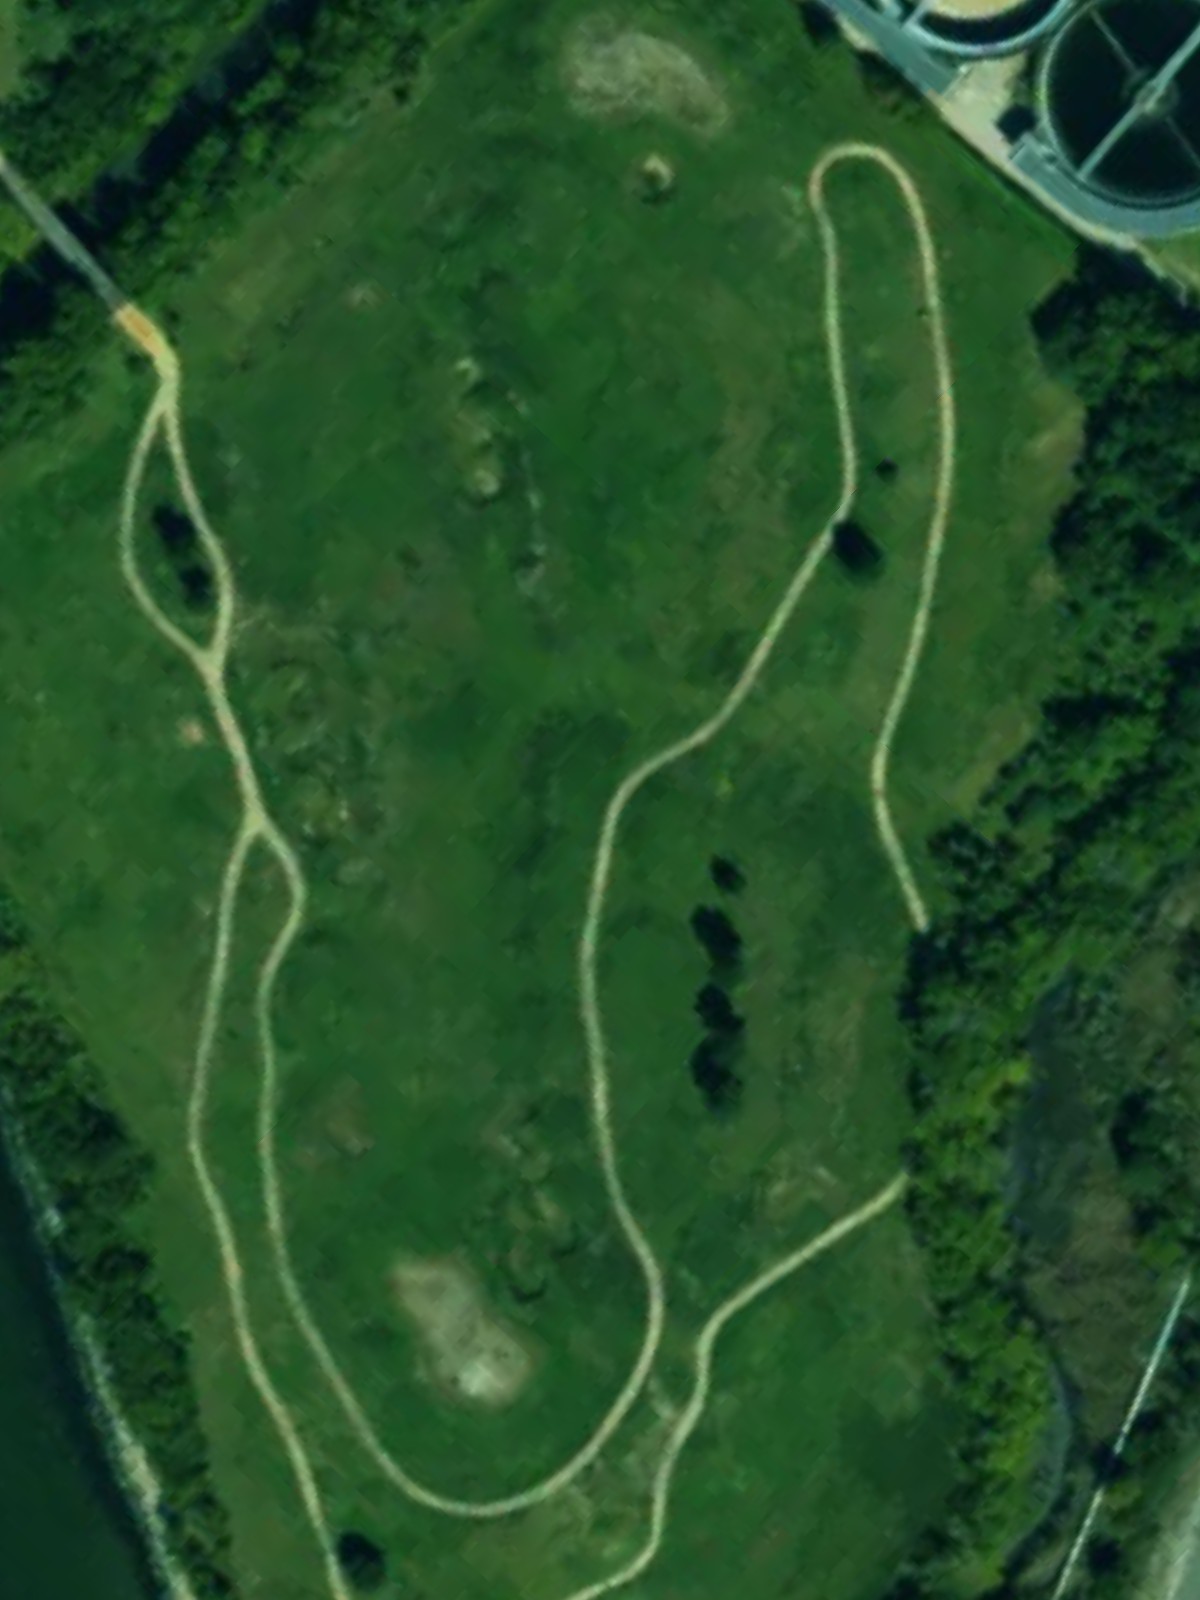
A substantial par 5 that requires thoughtful positioning over three shots to reach the green in regulation. Strategic length and hazard placement make this a significant challenge early in the back nine.
A mid-range par 3 with a green that requires an accurate tee shot to avoid trouble. The hole's length variation across tee markers provides flexibility for different skill levels.
A formidable par 5 ranking among the course's most difficult holes, playing long with demanding approach angles. Bunkers and rough throughout the hole penalize imprecision and demand strong execution on all three shots.
A challenging par 3 of moderate length with strategic hazards guarding the green. The hole's character demands a confident and accurate tee shot to secure par.
A shorter par 4 offering a relatively generous scoring opportunity with a straightforward layout. The modest length makes this a chance to attack and gain ground in the round.
A substantial par 4 with significant length and strategic placement of hazards throughout the hole. The hole demands both distance and accuracy to reach the green in regulation and set up a scoring opportunity.
A short par 3 with dramatic variance in yardage across tee markers, creating different challenges for various skill levels. Despite the shorter overall distance, strategic hazards demand precise execution.
A very short par 3 designed as a risk-reward opportunity near the round's conclusion. The minimal length and straightforward design offer a chance for an easy score before the closing challenge.
A demanding closing par 4 that ranks second in course difficulty and requires strong execution under pressure. Length, hazard placement, and the match-deciding nature of this hole make it a fitting and formidable finale to the round.
Scorecard
| Hole | 1 | 2 | 3 | 4 | 5 | 6 | 7 | 8 | 9 | Out | 10 | 11 | 12 | 13 | 14 | 15 | 16 | 17 | 18 | In | Tot |
|---|---|---|---|---|---|---|---|---|---|---|---|---|---|---|---|---|---|---|---|---|---|
| Par | 5 | 3 | 5 | 3 | 4 | 4 | 3 | 3 | 4 | 34 | 5 | 3 | 5 | 3 | 4 | 4 | 3 | 3 | 4 | 34 | 68 |
| HCP | 5 | 13 | 3 | 9 | 15 | 7 | 11 | 17 | 1 | 6 | 14 | 4 | 10 | 16 | 8 | 12 | 18 | 2 | |||
| white/black | 404 | 170 | 495 | 188 | 255 | 299 | 167 | 106 | 392 | 2476 | 434 | 203 | 563 | 214 | 293 | 315 | 202 | 116 | 437 | 2777 | 5253 |
| white/white | 404 | 170 | 495 | 188 | 255 | 299 | 167 | 106 | 392 | 2476 | 404 | 170 | 495 | 188 | 255 | 299 | 167 | 106 | 392 | 2476 | 4952 |
| yellow/white | 362 | 156 | 447 | 176 | 234 | 224 | 128 | 89 | 355 | 2171 | 404 | 170 | 495 | 188 | 255 | 299 | 167 | 106 | 392 | 2476 | 4647 |
| red/red | 315 | 131 | 290 | 152 | 213 | 214 | 99 | 67 | 321 | 1802 | 315 | 131 | 290 | 152 | 213 | 214 | 99 | 67 | 321 | 1802 | 3604 |