Lakewood Country Club is an 18-hole golf course in Lakewood, NJ with a par of 72. It offers 3 tee sets: back (6,479 yards, slope 129, rating 71.4), middle (5,991 yards, slope 125, rating 68.9), forward (5,258 yards, slope 122, rating 67.8). The hardest hole is #5, a par 4 playing 372 yards from the first tee.
Lakewood Country Club
Lakewood, NJ
Get PDF Yardage Book
We'll email you the PDF link. No spam, ever.
Create Your Game Plan
Pick your tees, enter your bag, and get a personalized shot-by-shot strategy for every hole.
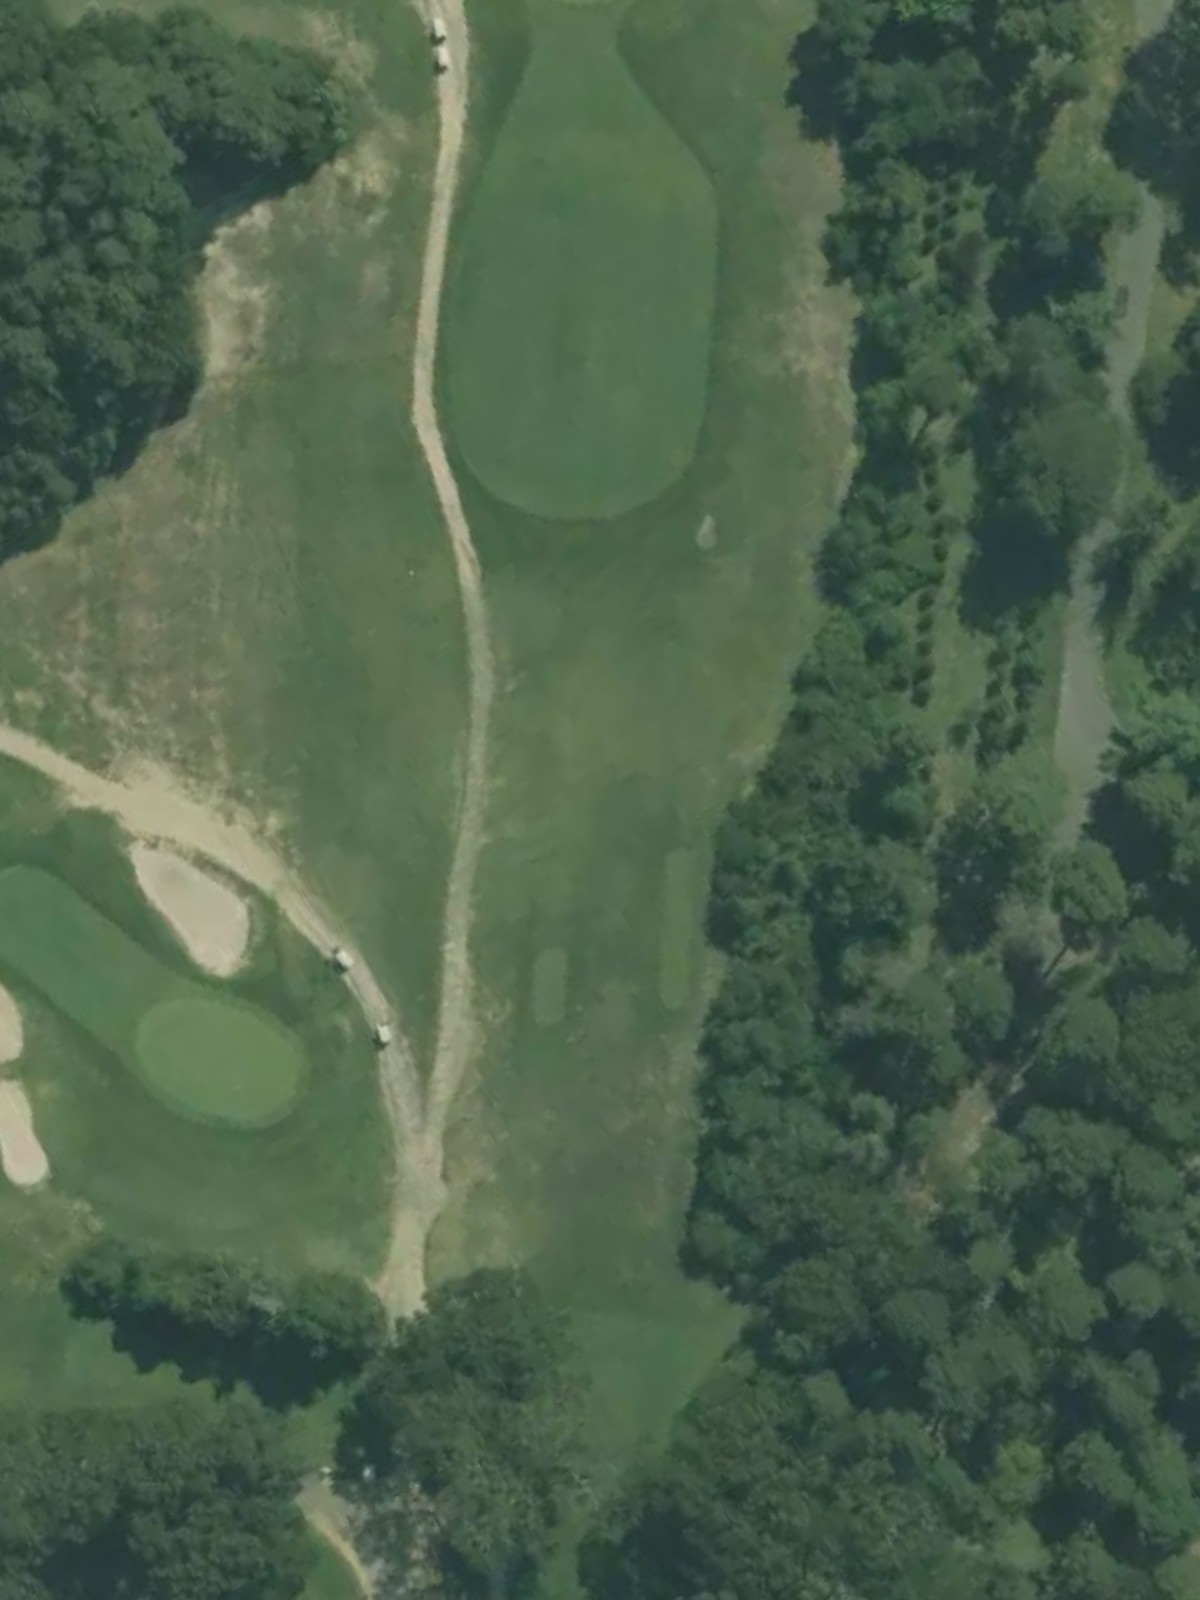
A straightforward opening par 4 with a wide fairway that gradually narrows as it approaches the green. Bunkers protect both sides of the putting surface, rewarding accuracy over distance on the approach shot.
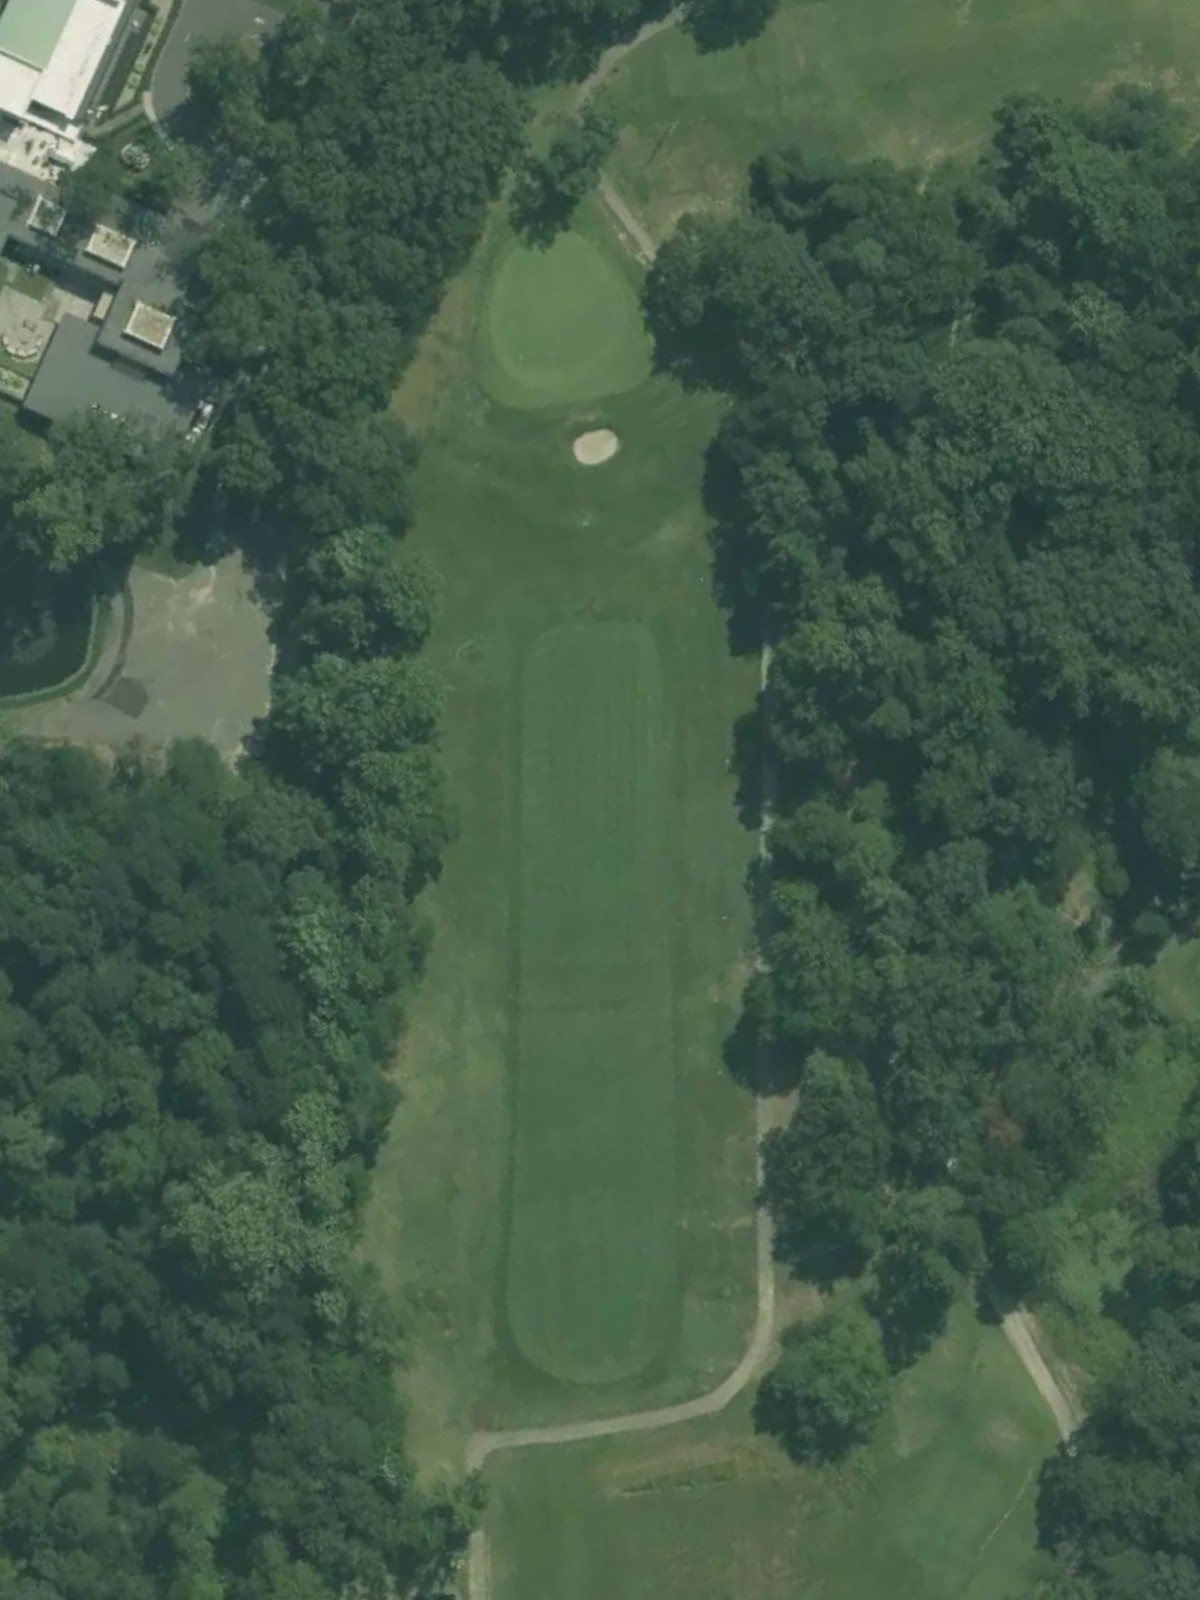
A mid-length par 3 playing over relatively open terrain to a well-bunkered green. The primary challenge is finding the correct distance, with hazards framing both left and right sides of the target.
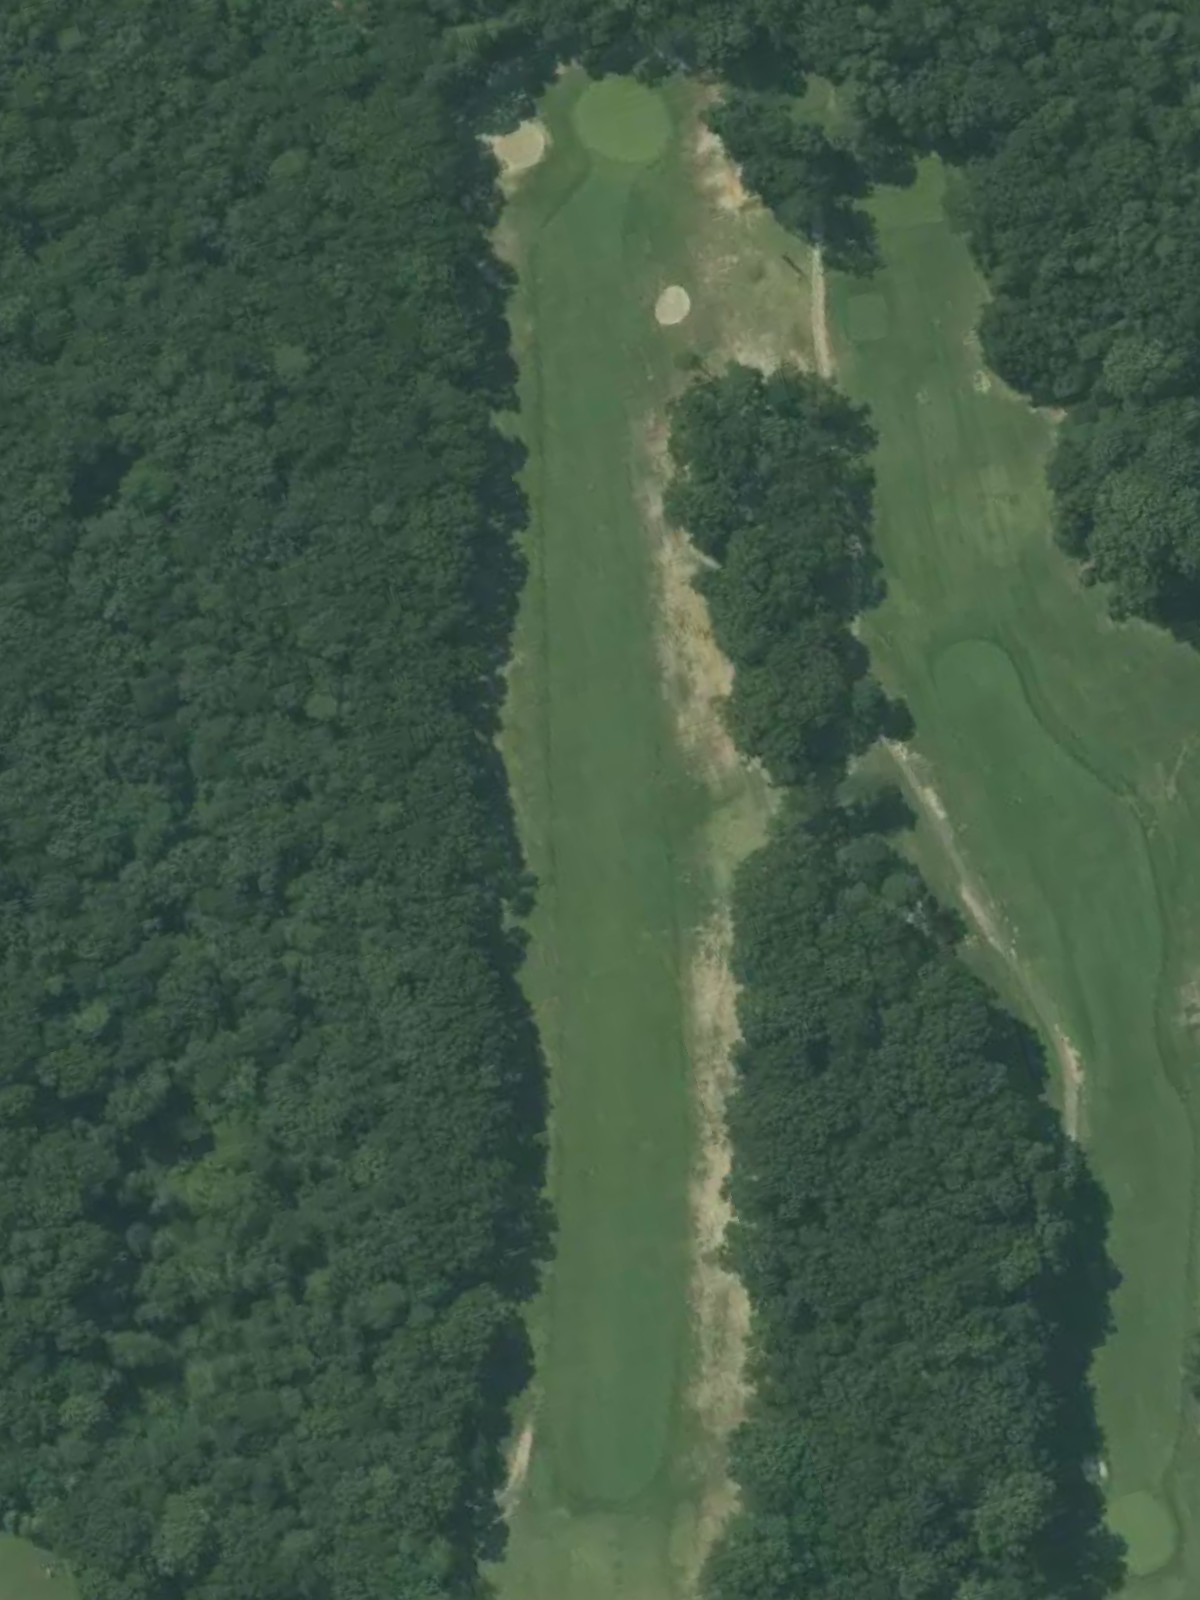
A tight par 4 that demands precision from the tee, with the fairway constricting significantly in the landing area. The approach must navigate hazards guarding the green to find the putting surface on this one of the course's most difficult holes.
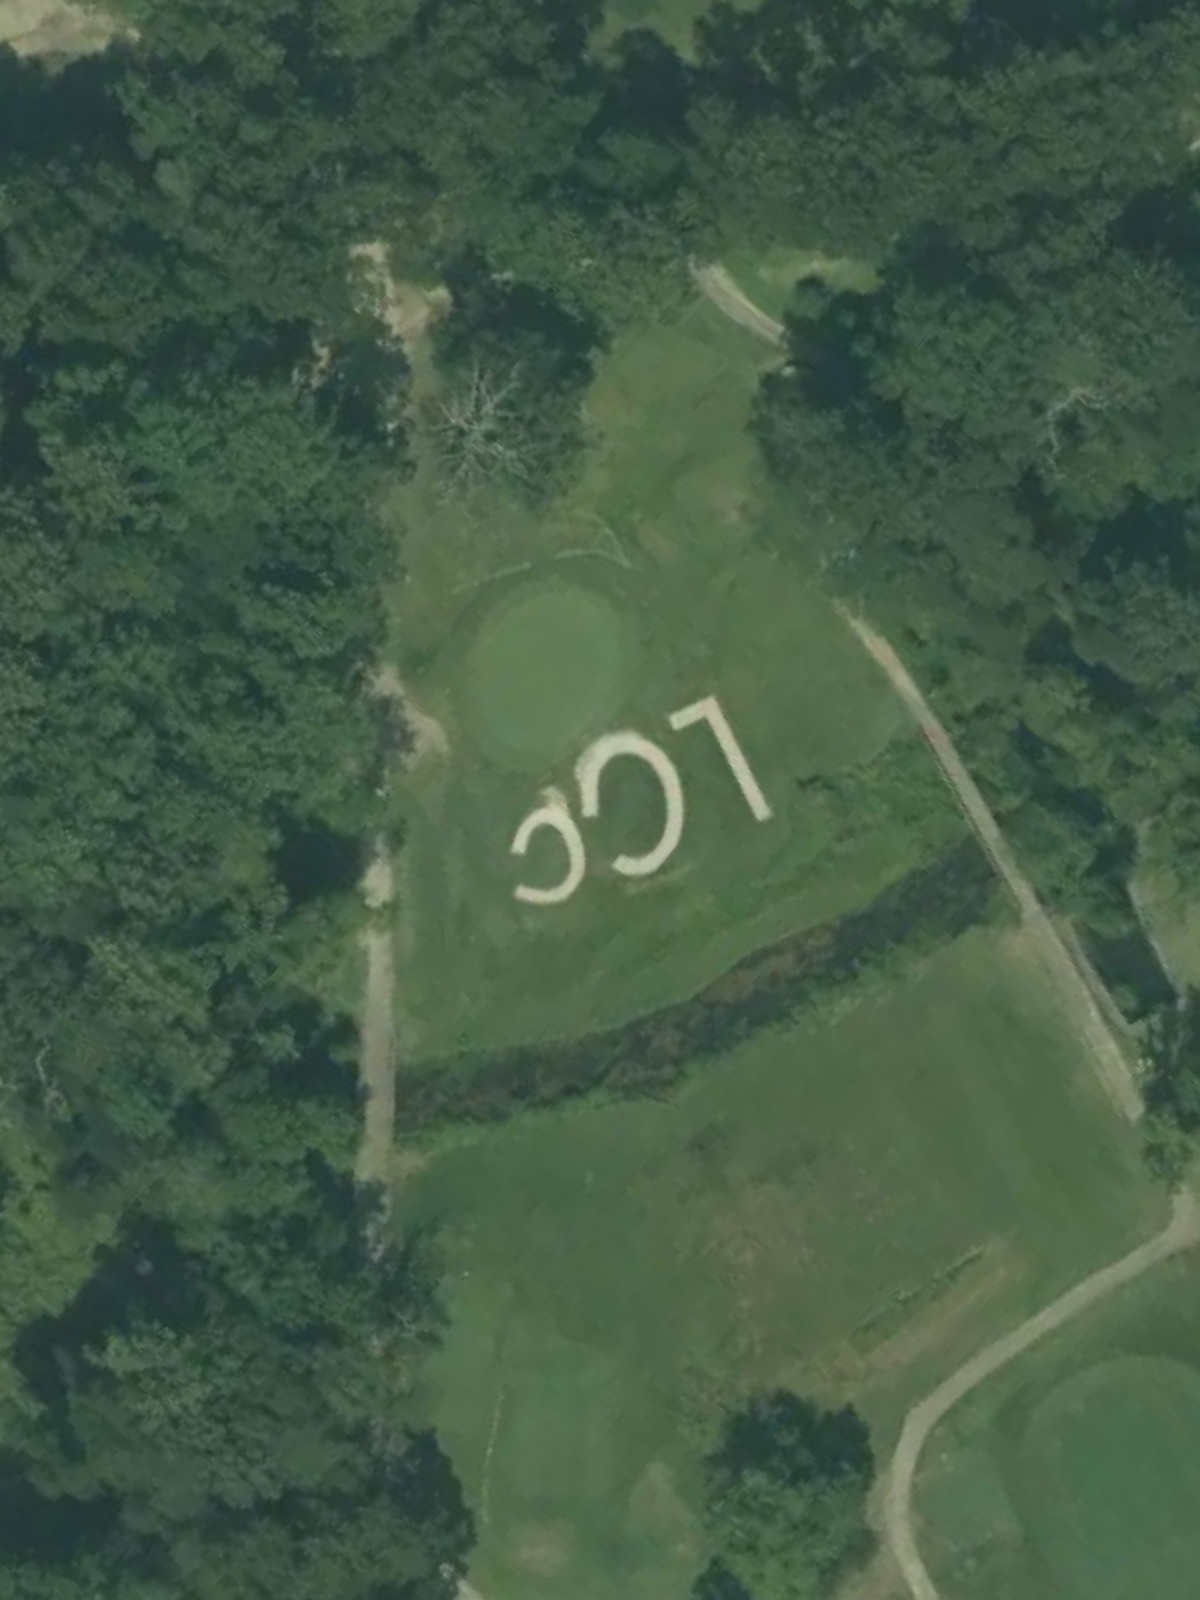
A demanding par 4 that doglegs right and features a narrow corridor off the tee. Water or other hazards come into play on the right side, making position off the tee critical for a clear approach.
The course's most difficult par 4, this hole plays relatively straight but presents challenges throughout. Hazards frame the fairway and green, requiring solid execution on both the drive and approach to score well.
A short but challenging par 3 protected by strategic bunkering around the green. The putting surface's elevated position and limited bailout area make club selection and accuracy essential.
A manageable par 4 with a relatively open fairway that allows room for error off the tee. The green complex presents the main challenge, with bunkers or water defending the approach area.
An accessible par 4 that offers one of the course's more forgiving setups, though length can play a factor. The fairway provides landing area, but hazards tighten around the green to defend par.

A long par 5 that demands strategic positioning over two shots to set up a reasonable third. Hazards likely bisect the hole or guard the approaches, creating distinct risk-reward options for players attacking the green in two.
A lengthy par 3 that plays as one of the course's more challenging one-shot holes. Water, bunkers, or out-of-bounds likely frame the green, making distance control and direction equally important.

A substantial par 5 with hazards that influence both the driving zone and the second shot approach. The hole's length and layout require careful route planning to avoid trouble while positioning for the final shot.
A deceptively difficult short par 4 that ranks among the course's toughest despite its modest length. Tight bunkering or water around the green punishes imprecise approaches on this hole.
A mid-length par 5 that offers multiple angles of approach depending on how aggressively players position their second shot. Hazards throughout the hole, particularly around the green, reward thoughtful course management.

A challenging par 4 with a defined shape—likely a dogleg—that requires accurate positioning off the tee. Strategic hazards guard the fairway turn and green, making this a premium scoring opportunity among the course's harder holes.
A very short par 3 that presents deceptive difficulty despite its minimal yardage from the forward tees. Bunkers or water in close proximity to the green demand precision rather than distance on this quirky hole.
A long par 5 that challenges players to manage distance while avoiding hazards that likely frame the fairway and green. The hole's substantial length makes reaching in two difficult, putting a premium on intelligent second-shot positioning.

A mid-length par 4 with moderate difficulty that offers a relatively straightforward path to the green. Fairway hazards and greenside bunkering are the primary challenges on this back-nine hole.
A strong finishing par 4 that demands accuracy and solid execution to close out the round. Hazards frame the approach area and green, making this a fitting final test of skill and nerve.
Scorecard
| Hole | 1 | 2 | 3 | 4 | 5 | 6 | 7 | 8 | 9 | Out | 10 | 11 | 12 | 13 | 14 | 15 | 16 | 17 | 18 | In | Tot |
|---|---|---|---|---|---|---|---|---|---|---|---|---|---|---|---|---|---|---|---|---|---|
| Par | 4 | 3 | 4 | 4 | 4 | 3 | 4 | 4 | 5 | 35 | 3 | 5 | 4 | 5 | 4 | 3 | 5 | 4 | 4 | 37 | 72 |
| HCP | 13 | 15 | 5 | 7 | 1 | 3 | 11 | 17 | 9 | 16 | 10 | 2 | 12 | 6 | 18 | 8 | 14 | 4 | |||
| back | 385 | 184 | 362 | 387 | 372 | 185 | 340 | 375 | 522 | 3112 | 219 | 539 | 332 | 493 | 382 | 138 | 512 | 354 | 398 | 3367 | 6479 |
| middle | 369 | 150 | 332 | 333 | 332 | 150 | 324 | 334 | 482 | 2806 | 205 | 506 | 307 | 429 | 347 | 200 | 492 | 323 | 376 | 3185 | 5991 |
| forward | 335 | 129 | 281 | 280 | 262 | 107 | 283 | 317 | 440 | 2434 | 185 | 481 | 290 | 365 | 318 | 113 | 416 | 298 | 358 | 2824 | 5258 |