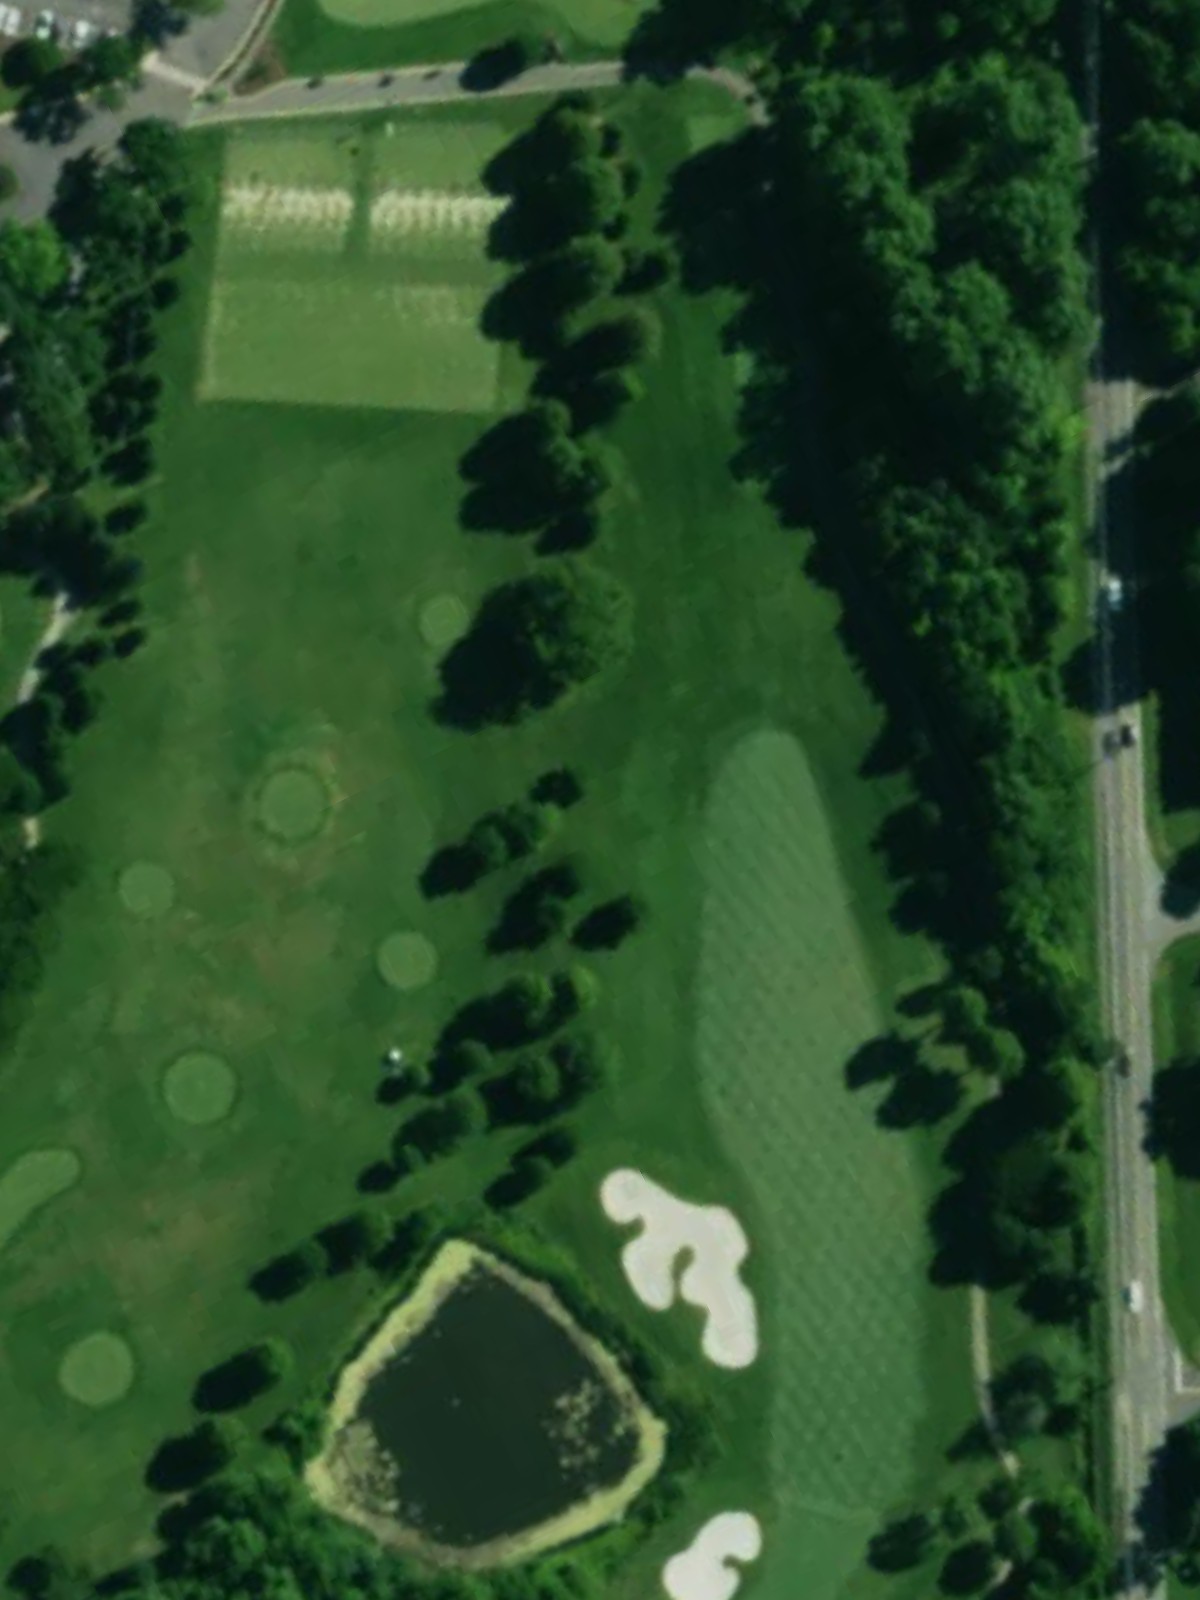
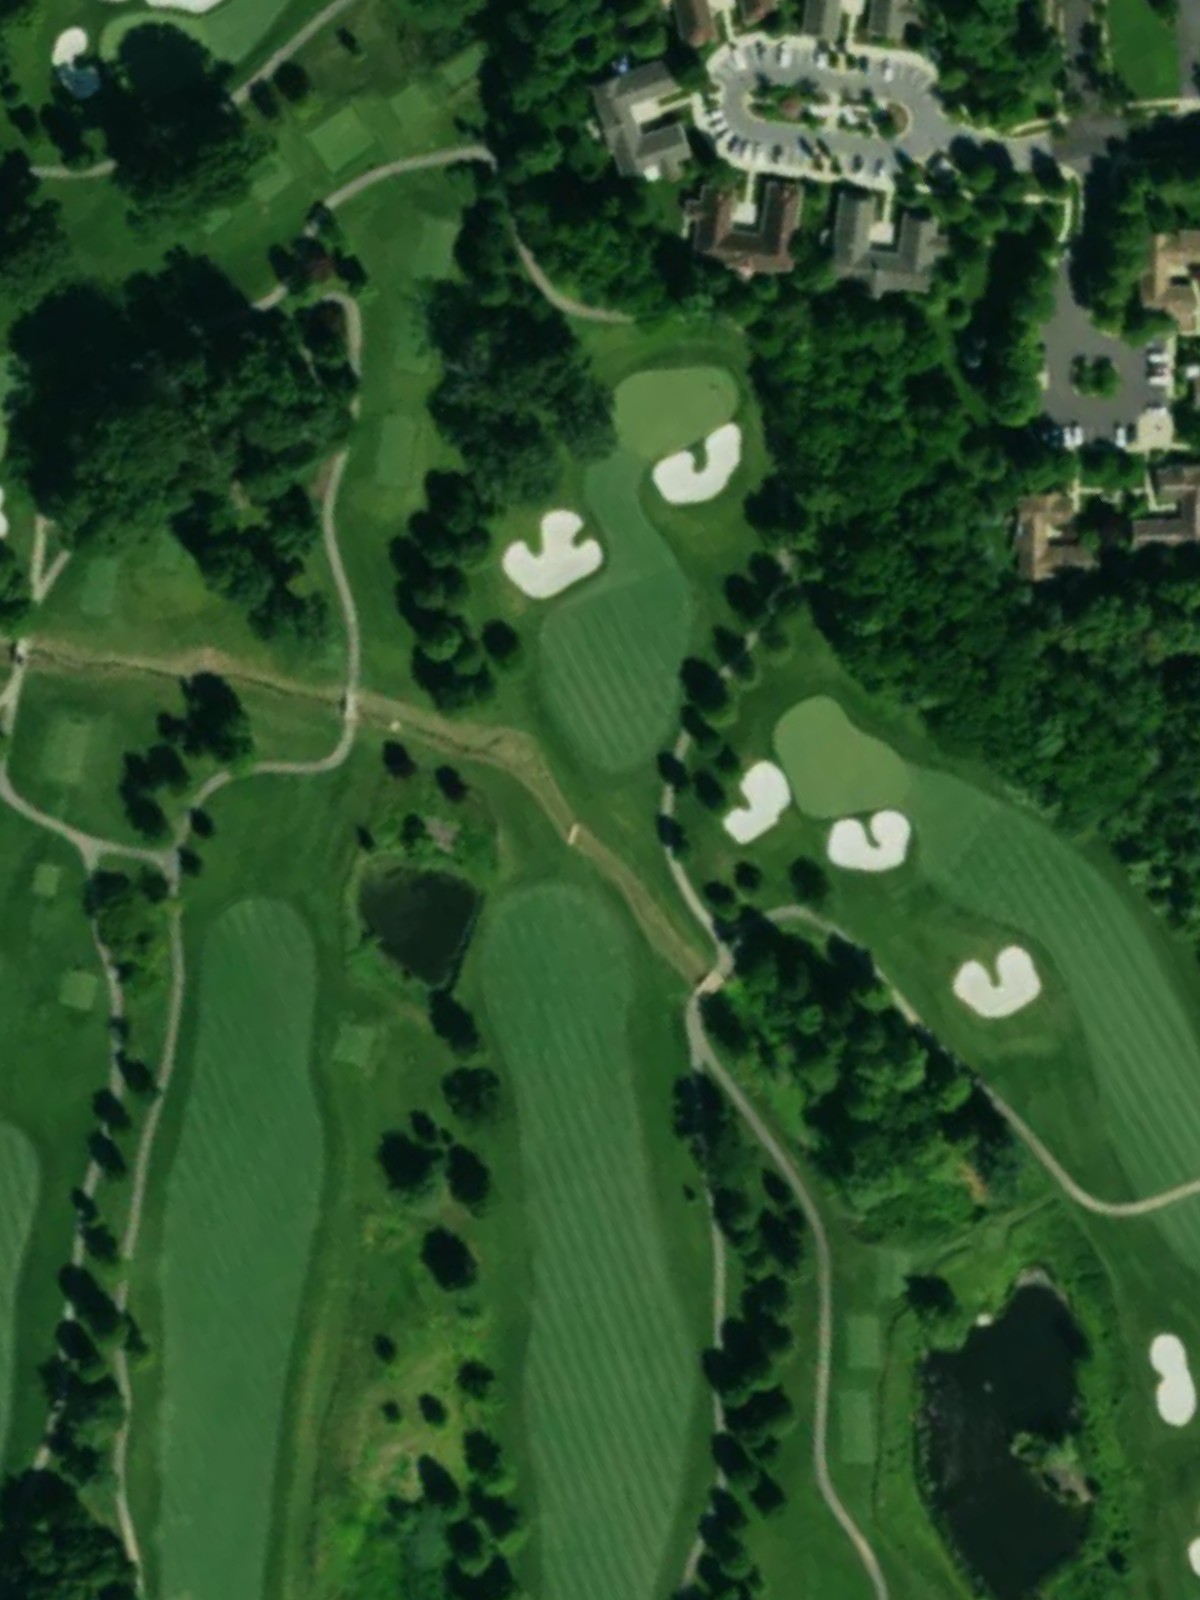
Lakewood Cc is an 18-hole golf course in Rockville, MD with a par of 72. It offers 7 tee sets: tournament (7,165 yards, slope 135, rating 74.1), championship (6,829 yards, slope 131, rating 72.6), black/blue (6,635 yards, slope 130, rating 71.7), member (6,463 yards, slope 130, rating 70.9), blue/white (6,182 yards, slope 128, rating 69.4), middle (5,936 yards, slope 125, rating 68.6), white/red (5,278 yards, slope 119, rating 65.4). The hardest hole is #7, a par 4 playing 430 yards from the first tee.
Lakewood Cc
Rockville, MD
Get PDF Yardage Book
We'll email you the PDF link. No spam, ever.
Create Your Game Plan
Pick your tees, enter your bag, and get a personalized shot-by-shot strategy for every hole.
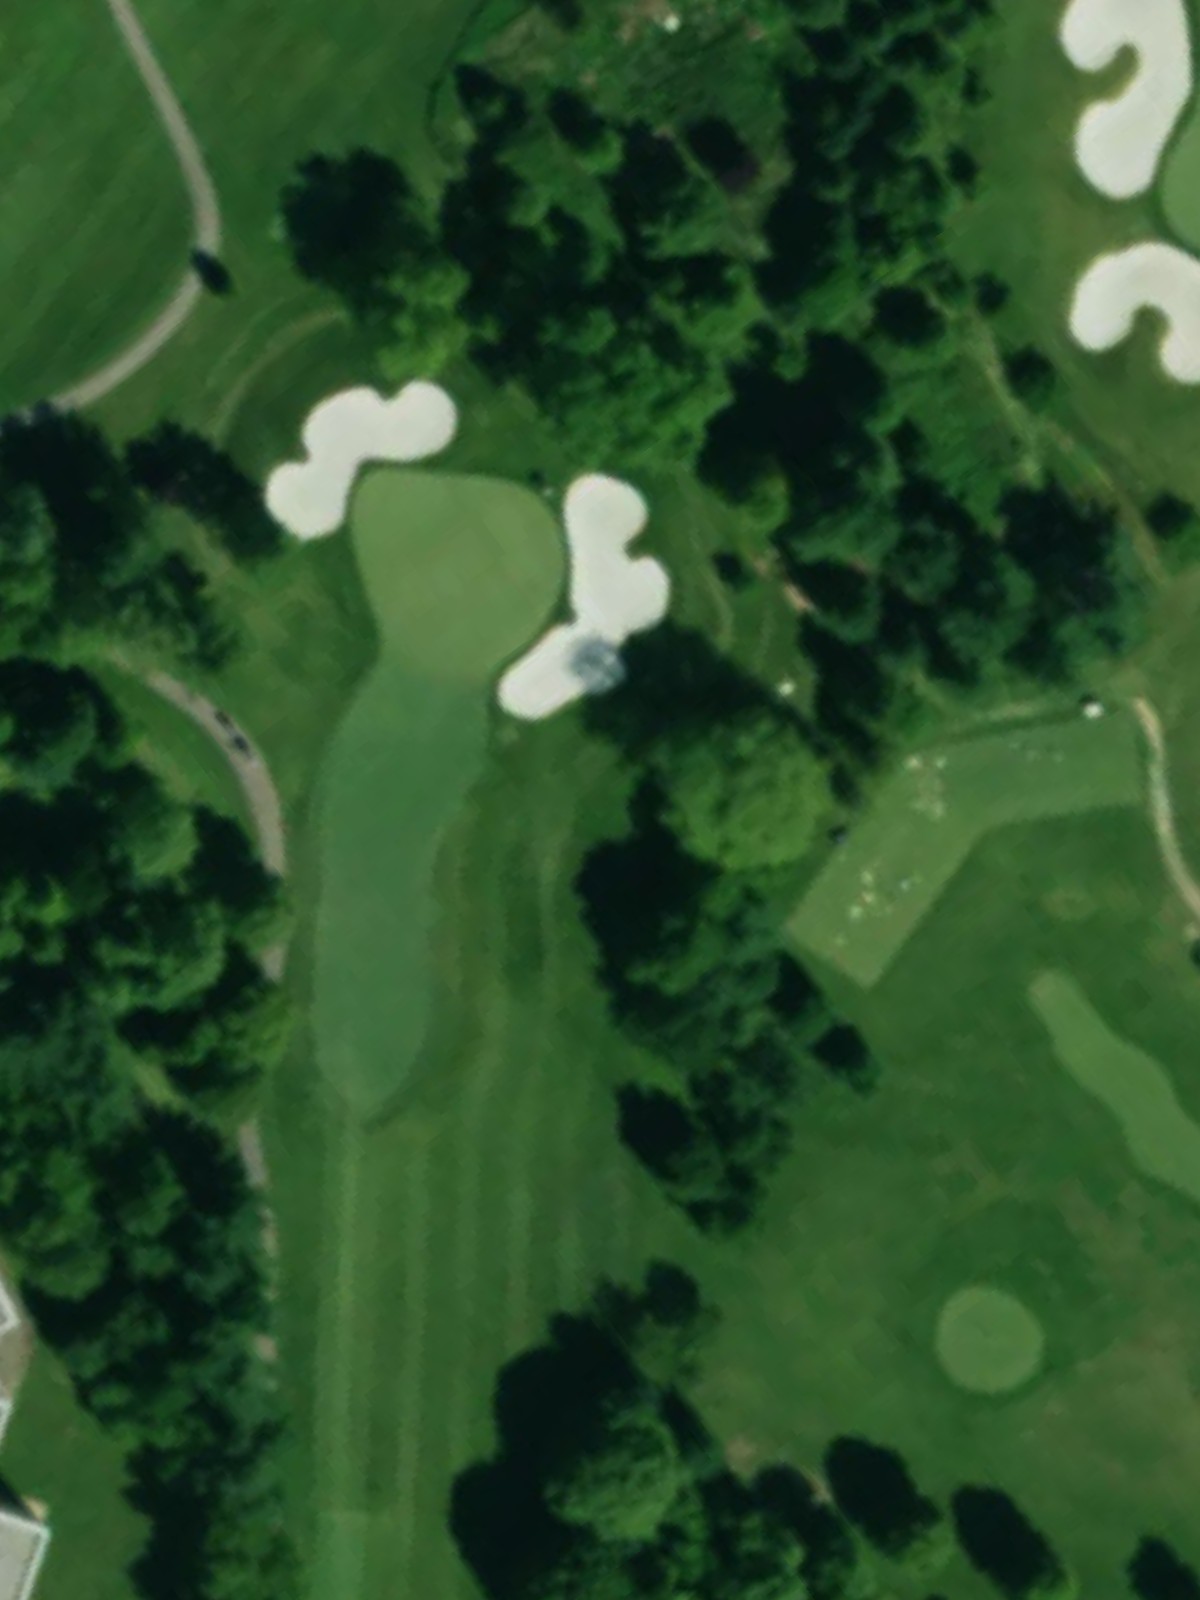
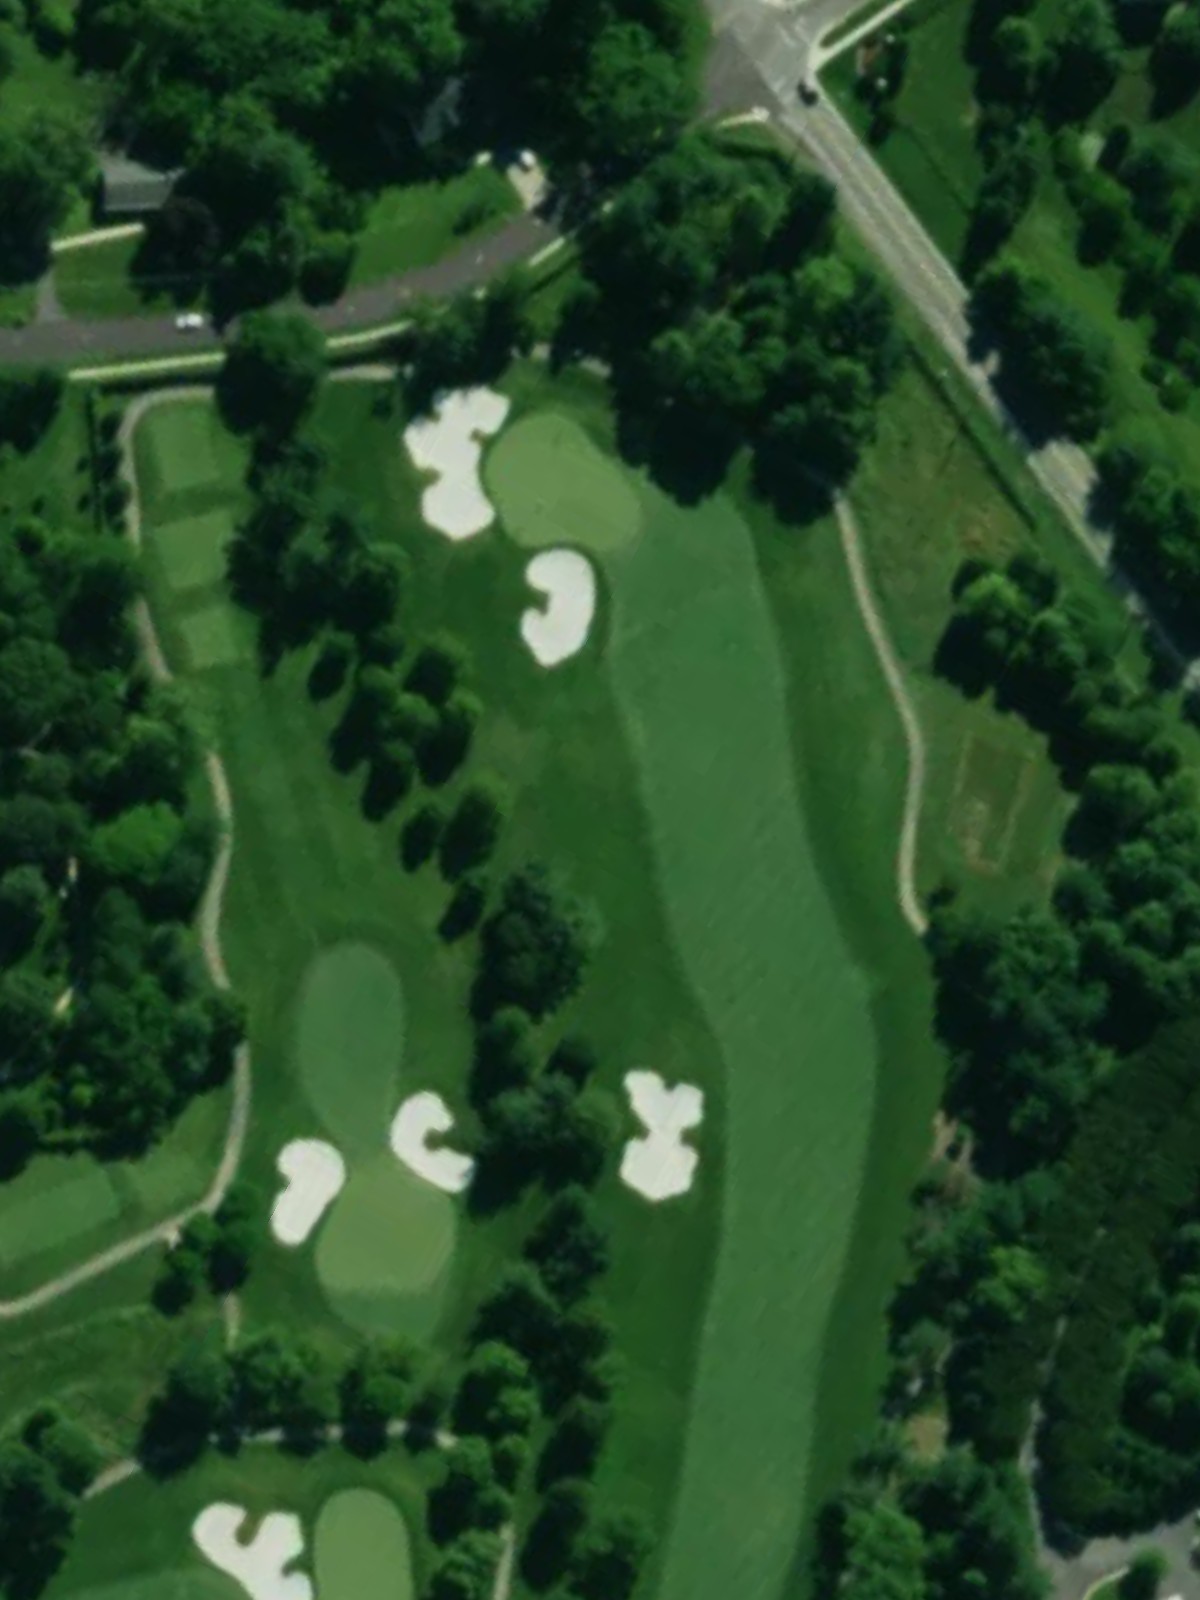
A relatively short, straightforward par 4 with a wide fairway that gradually narrows as it approaches the green. Bunkers guard the right side of the green, making accuracy on the approach shot important despite the modest length.
A short par 3 with a well-bunkered green that demands precision from the tee. The compact green and surrounding hazards make club selection and accuracy critical on this one-shot hole.
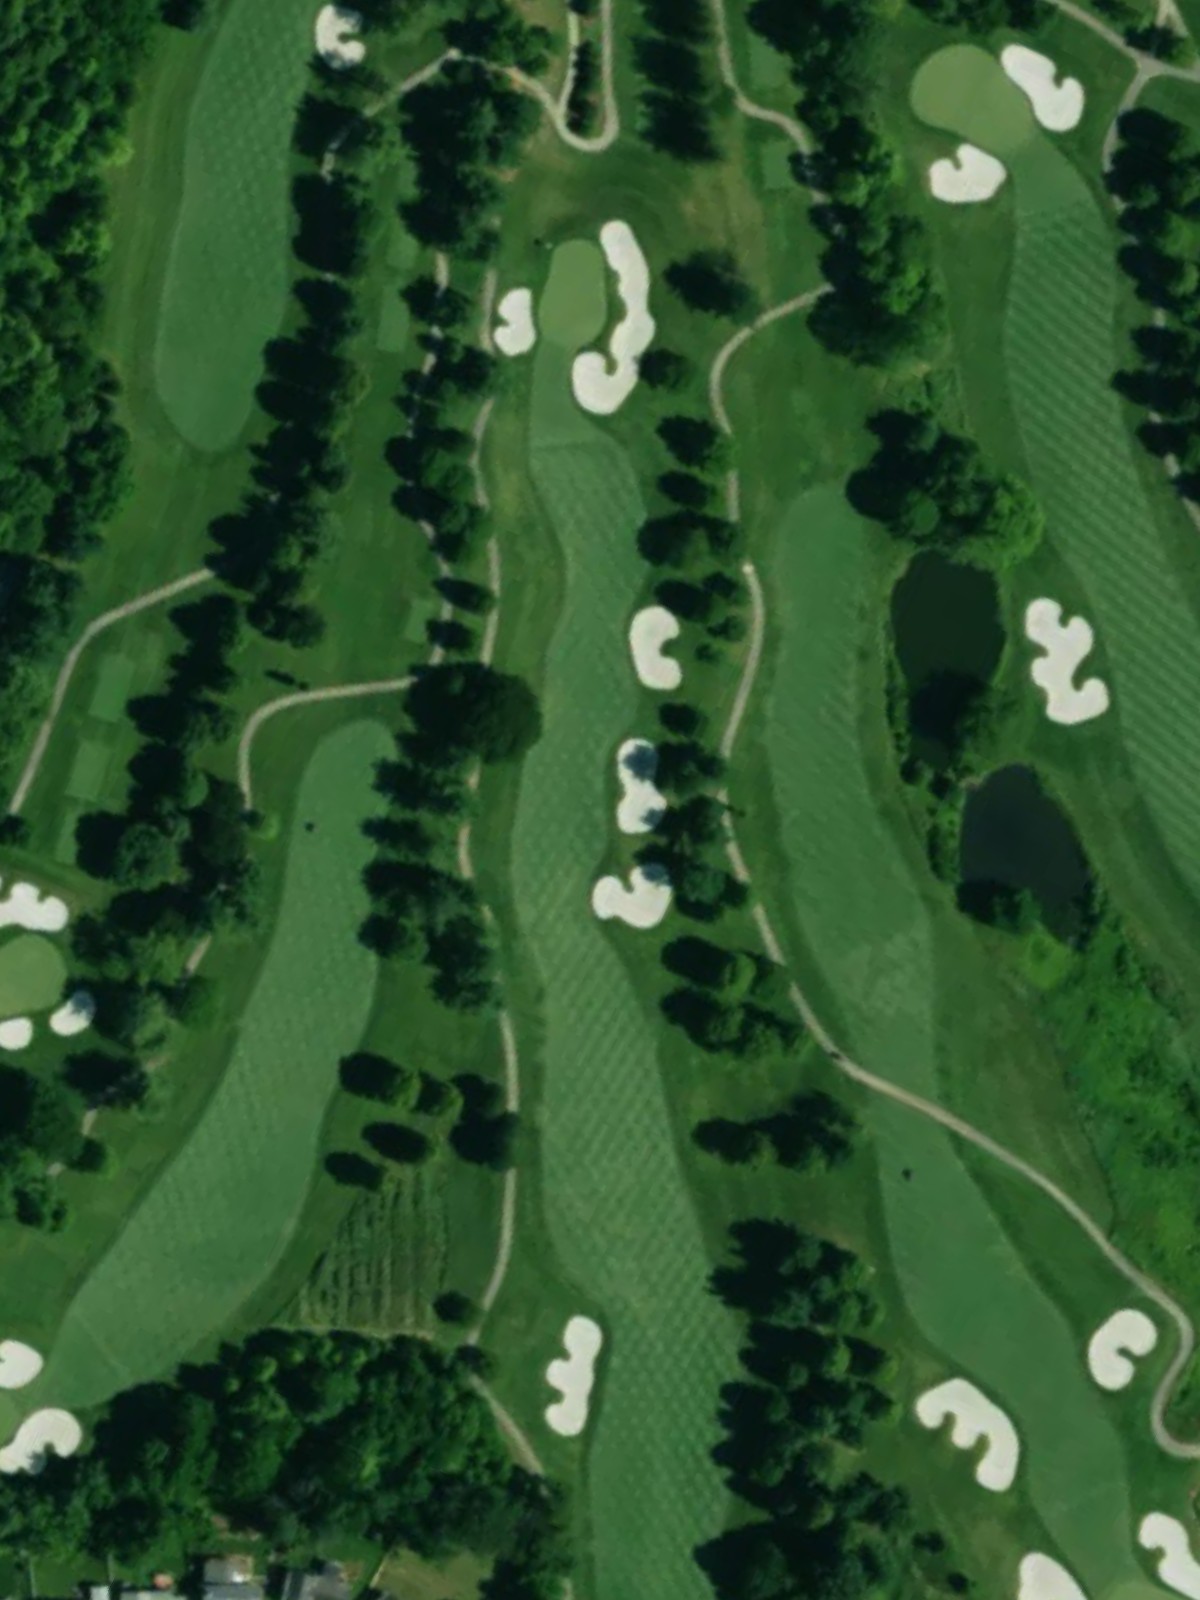
A lengthy par 5 that ranks as one of the course's most challenging holes due to its length and layout. Strategic positioning is essential as the fairway presents opportunities for aggressive play or lay-up approaches depending on conditions.
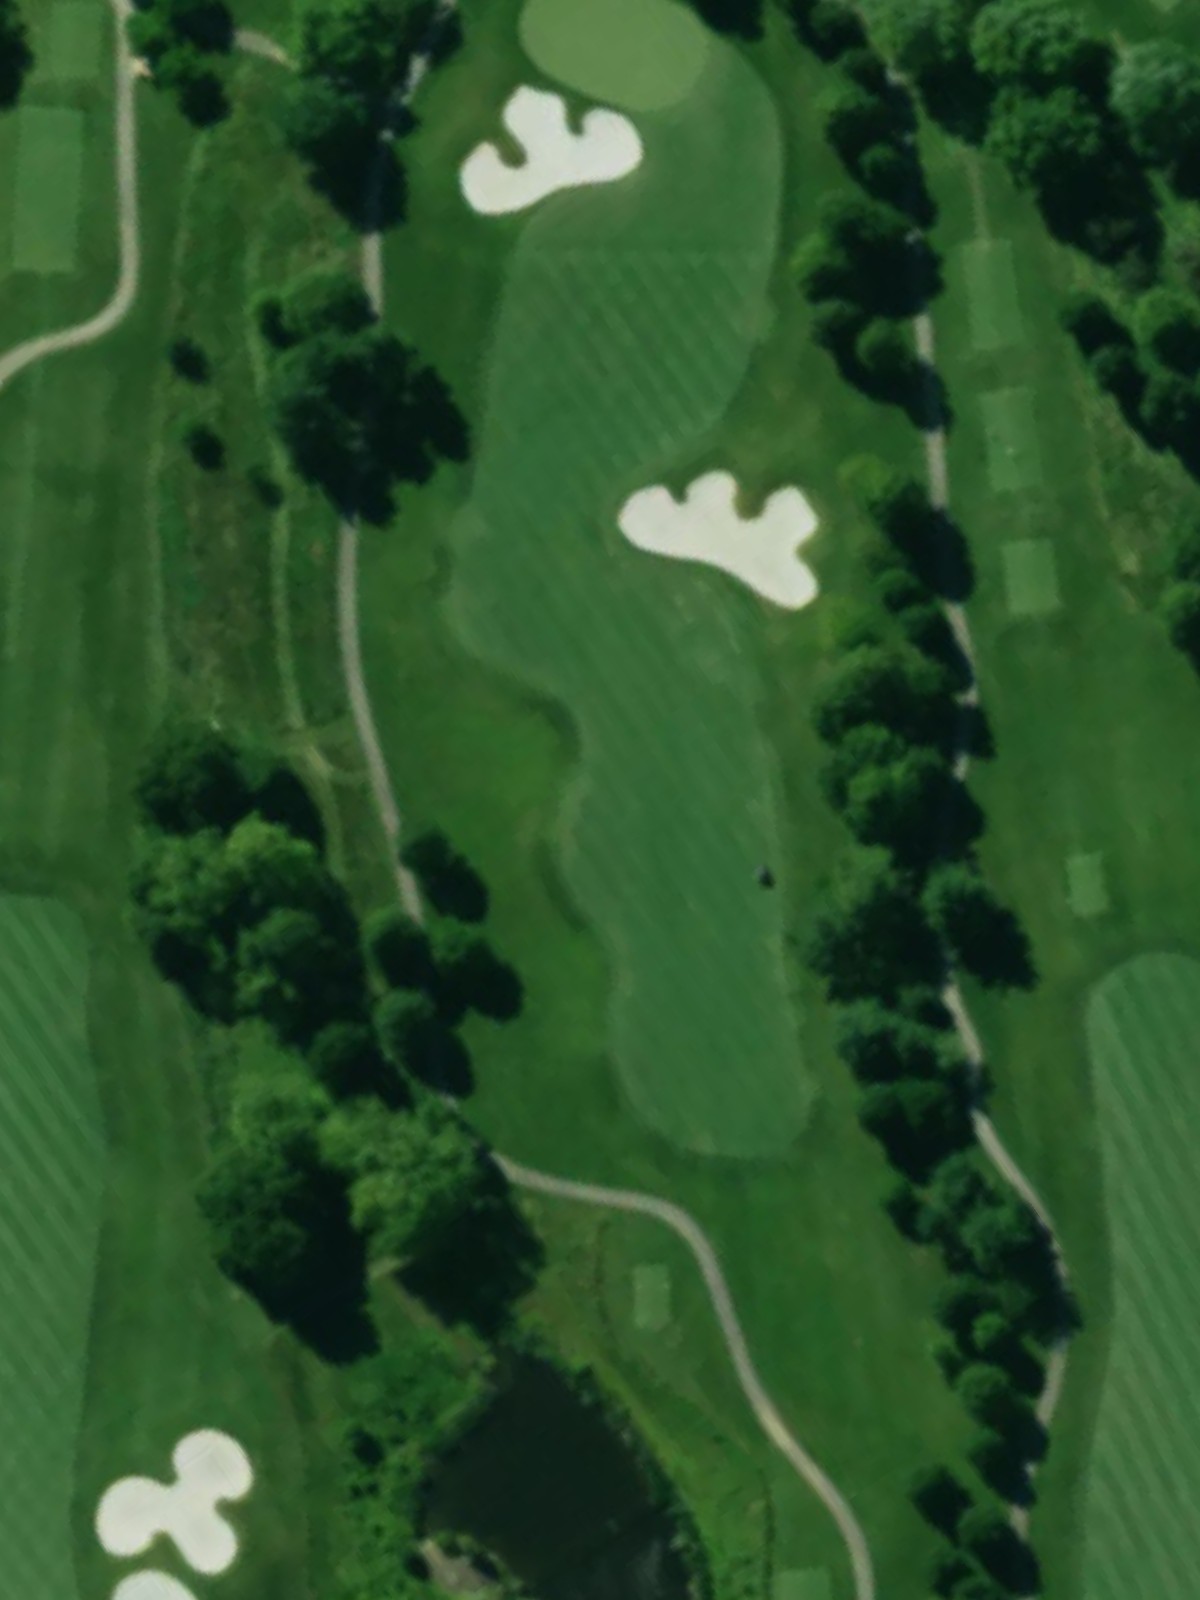
A substantial par 4 that plays significantly longer from the back tees, with a fairway that requires solid ball-striking to set up a reasonable approach. The hole's length and layout make it one of the course's most demanding four-par shots.
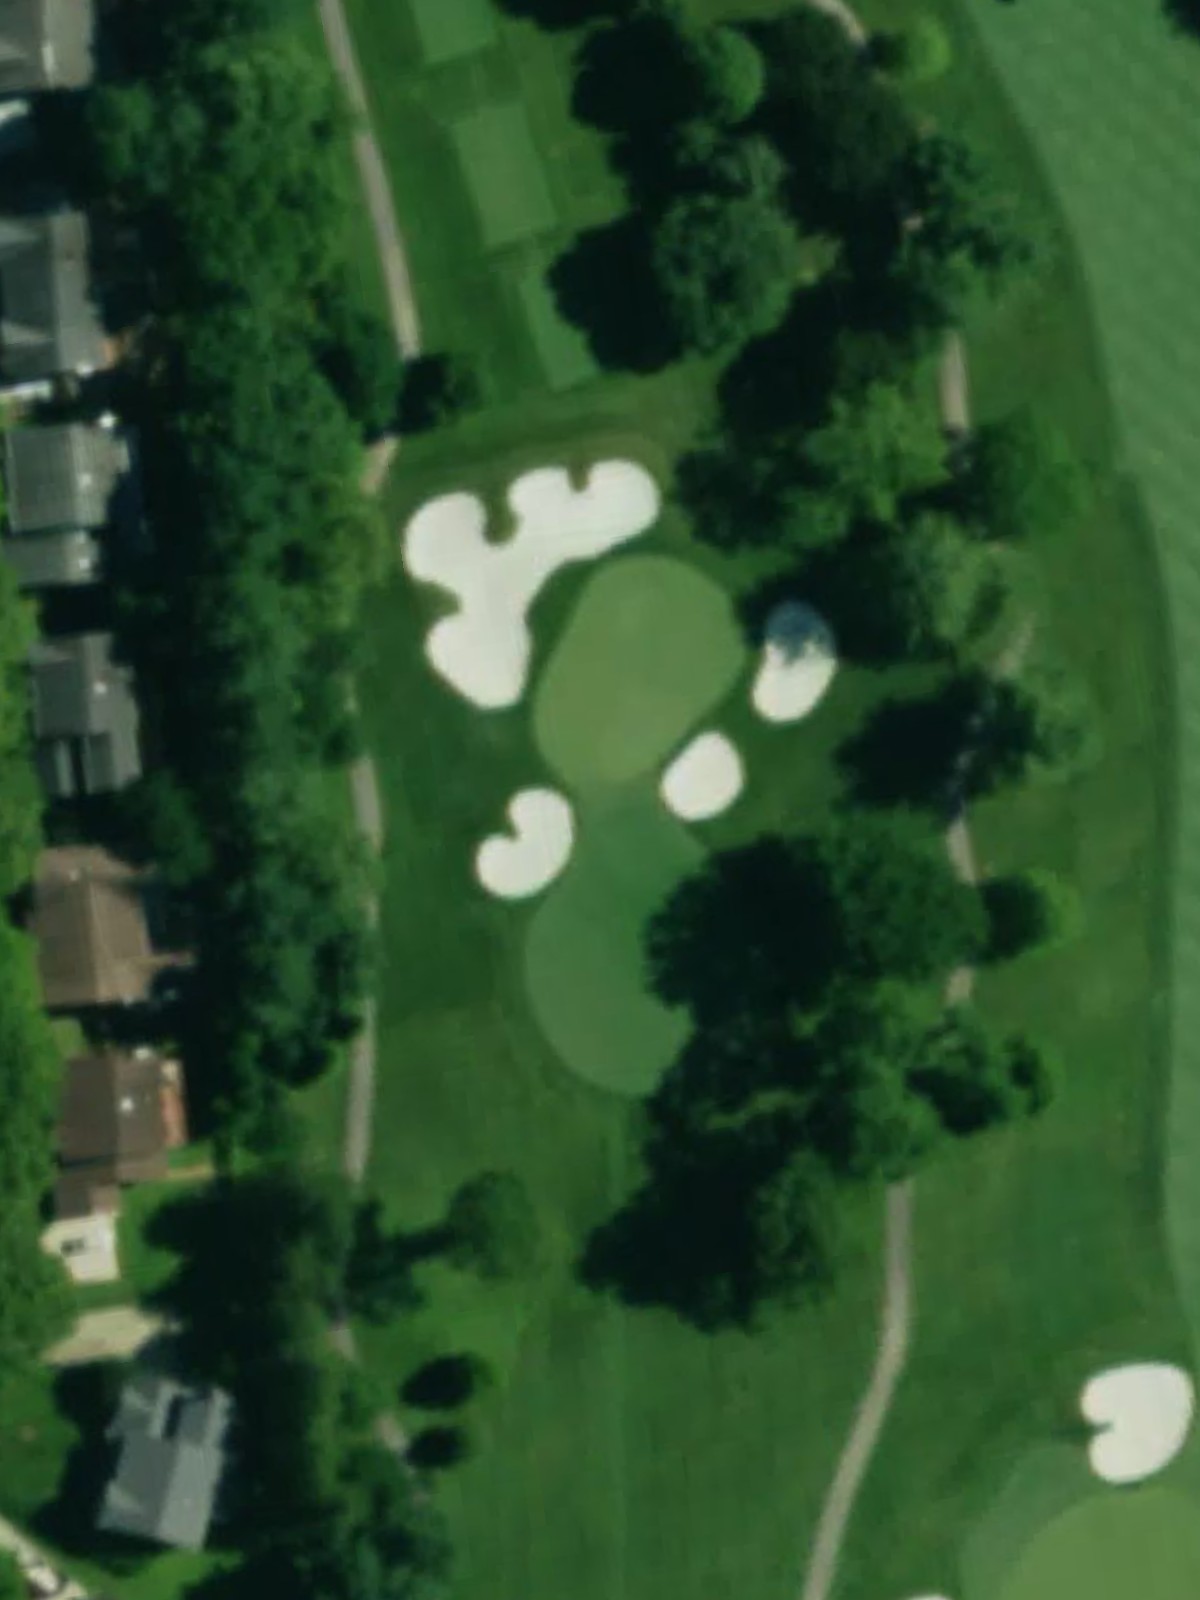
A short but tricky par 3 with a well-designed green that challenges golfers despite its modest yardage. Bunkers and green contours make this a deceptively difficult one-shot hole from the tee.
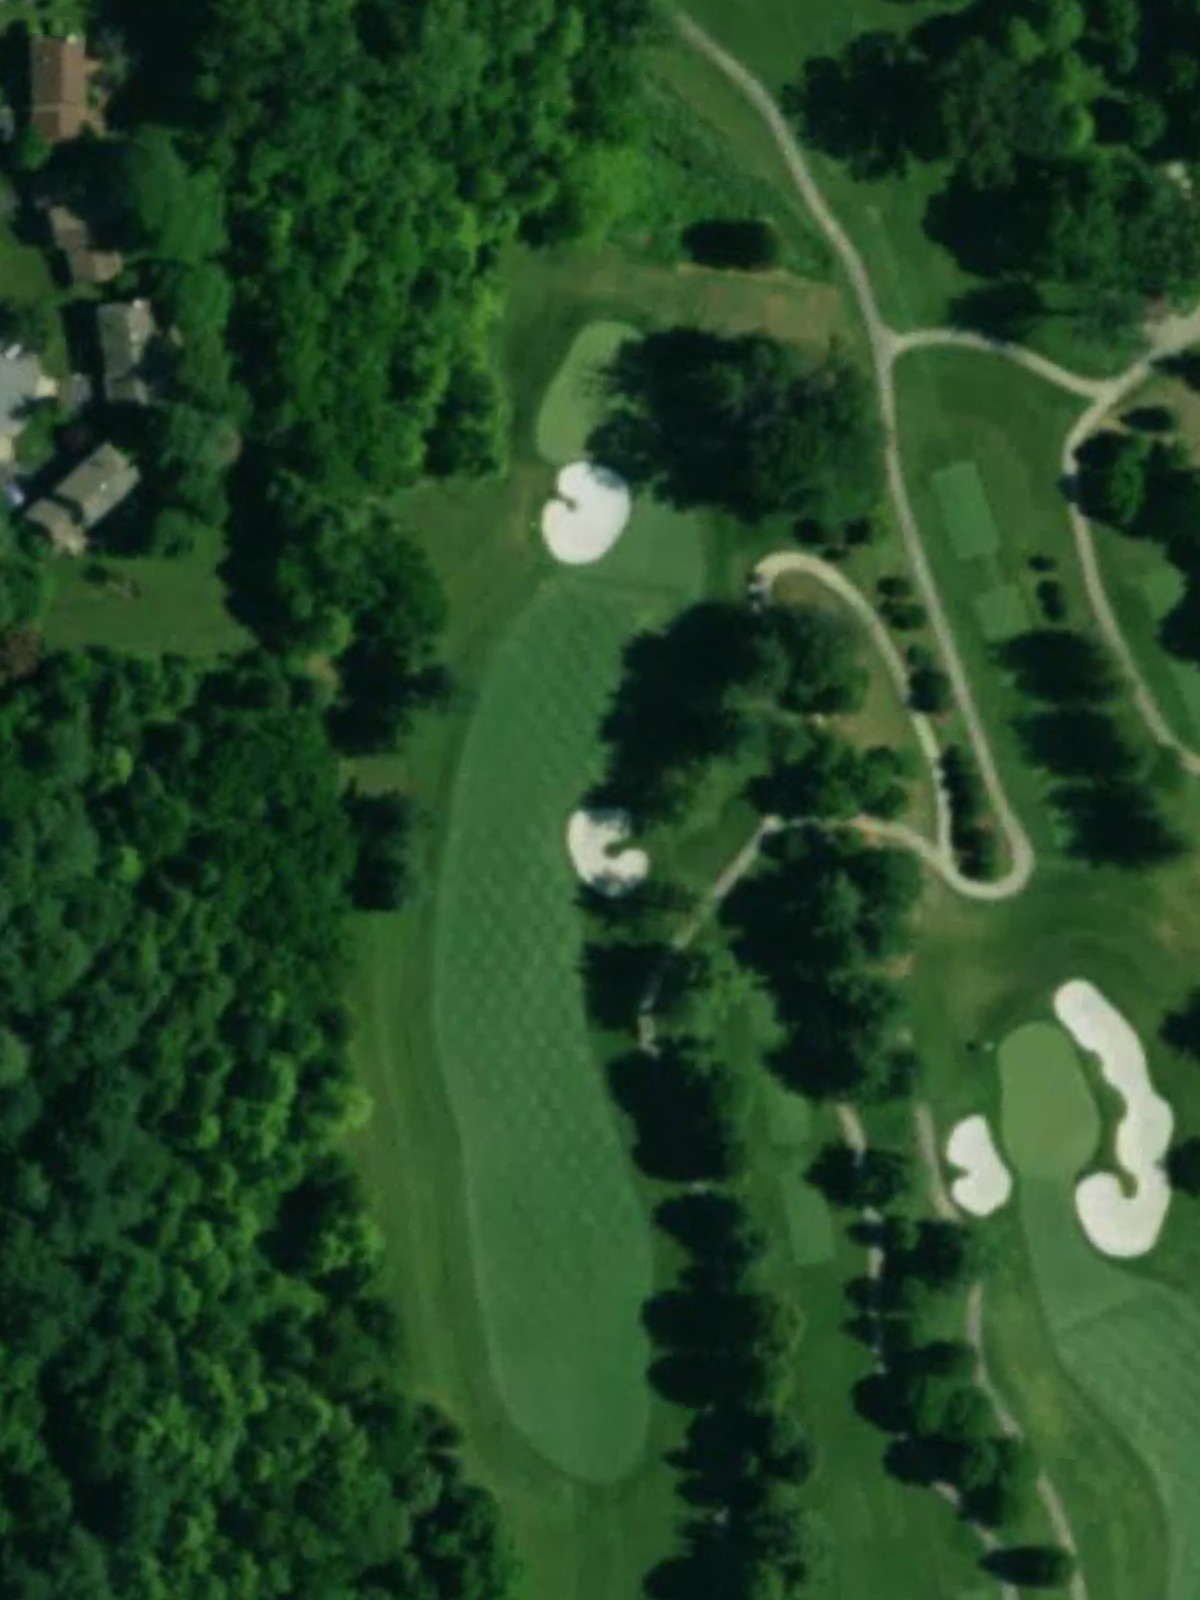
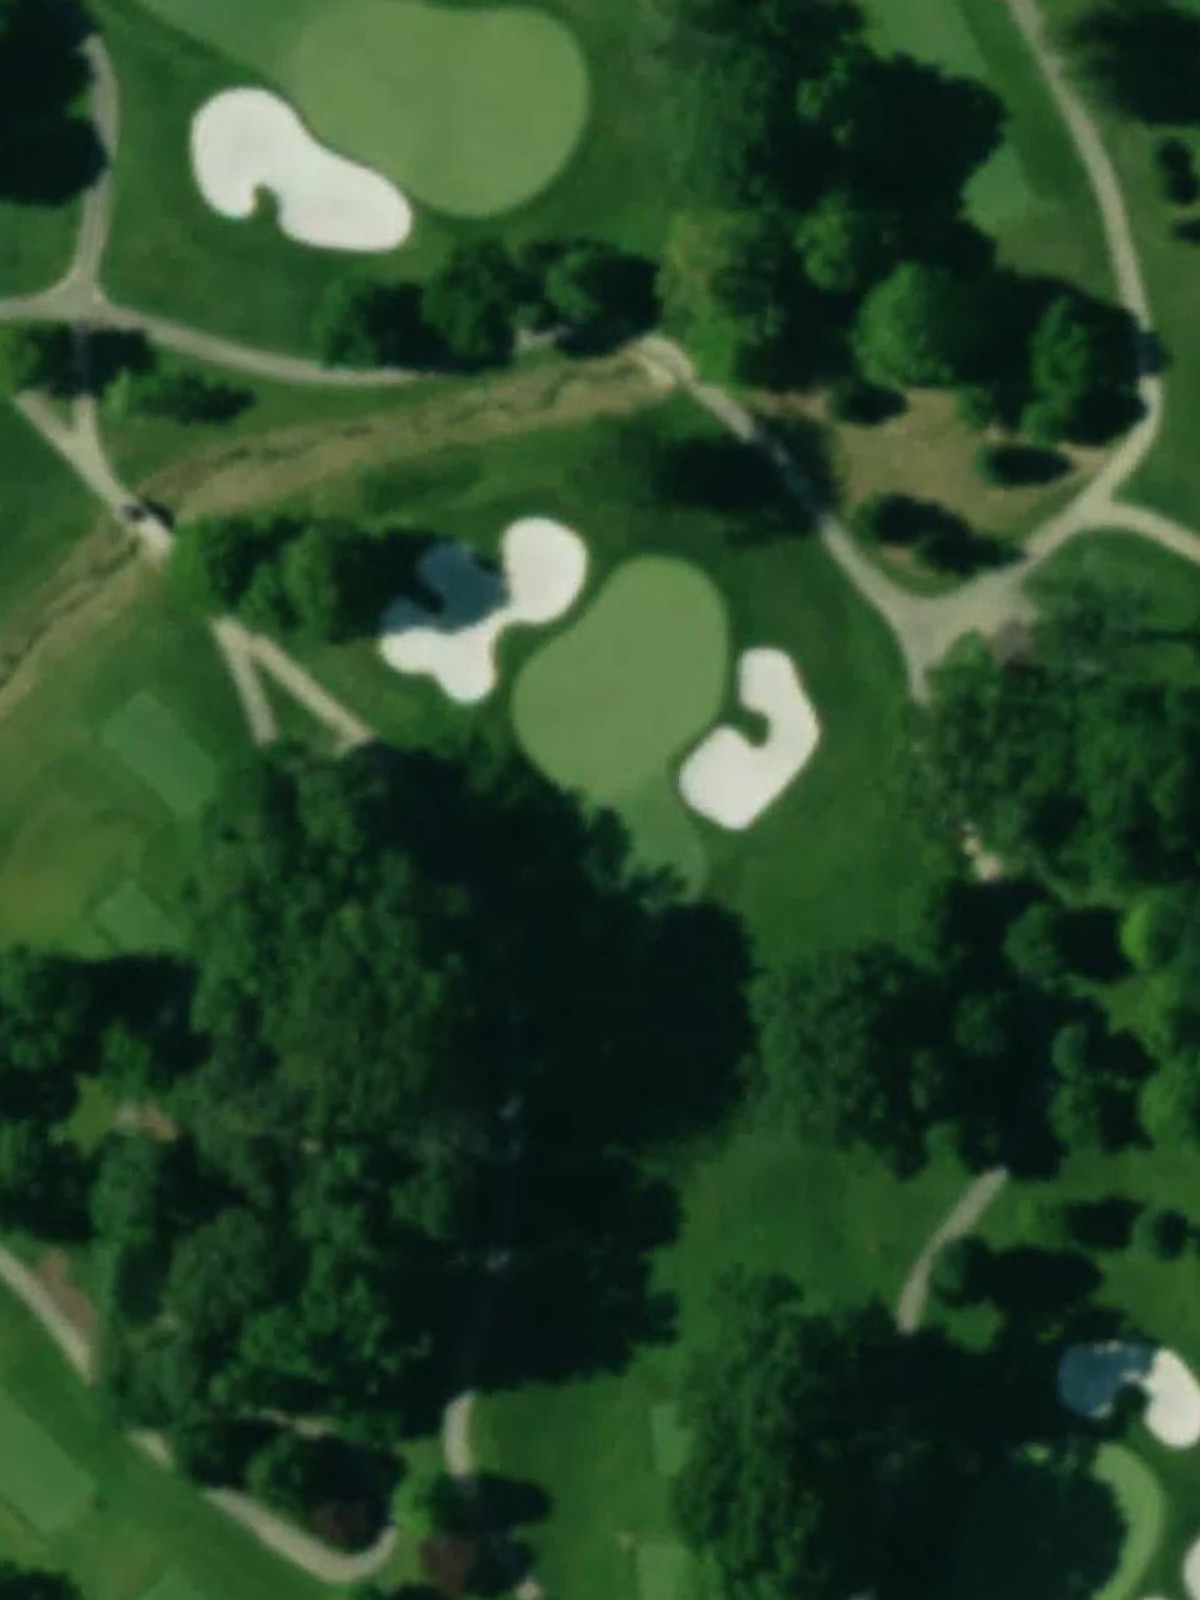
A mid-length par 4 with a straightforward design that plays consistently across all tee boxes. Strategic hazard placement around the green and fairway demands accurate striking to post a good score.
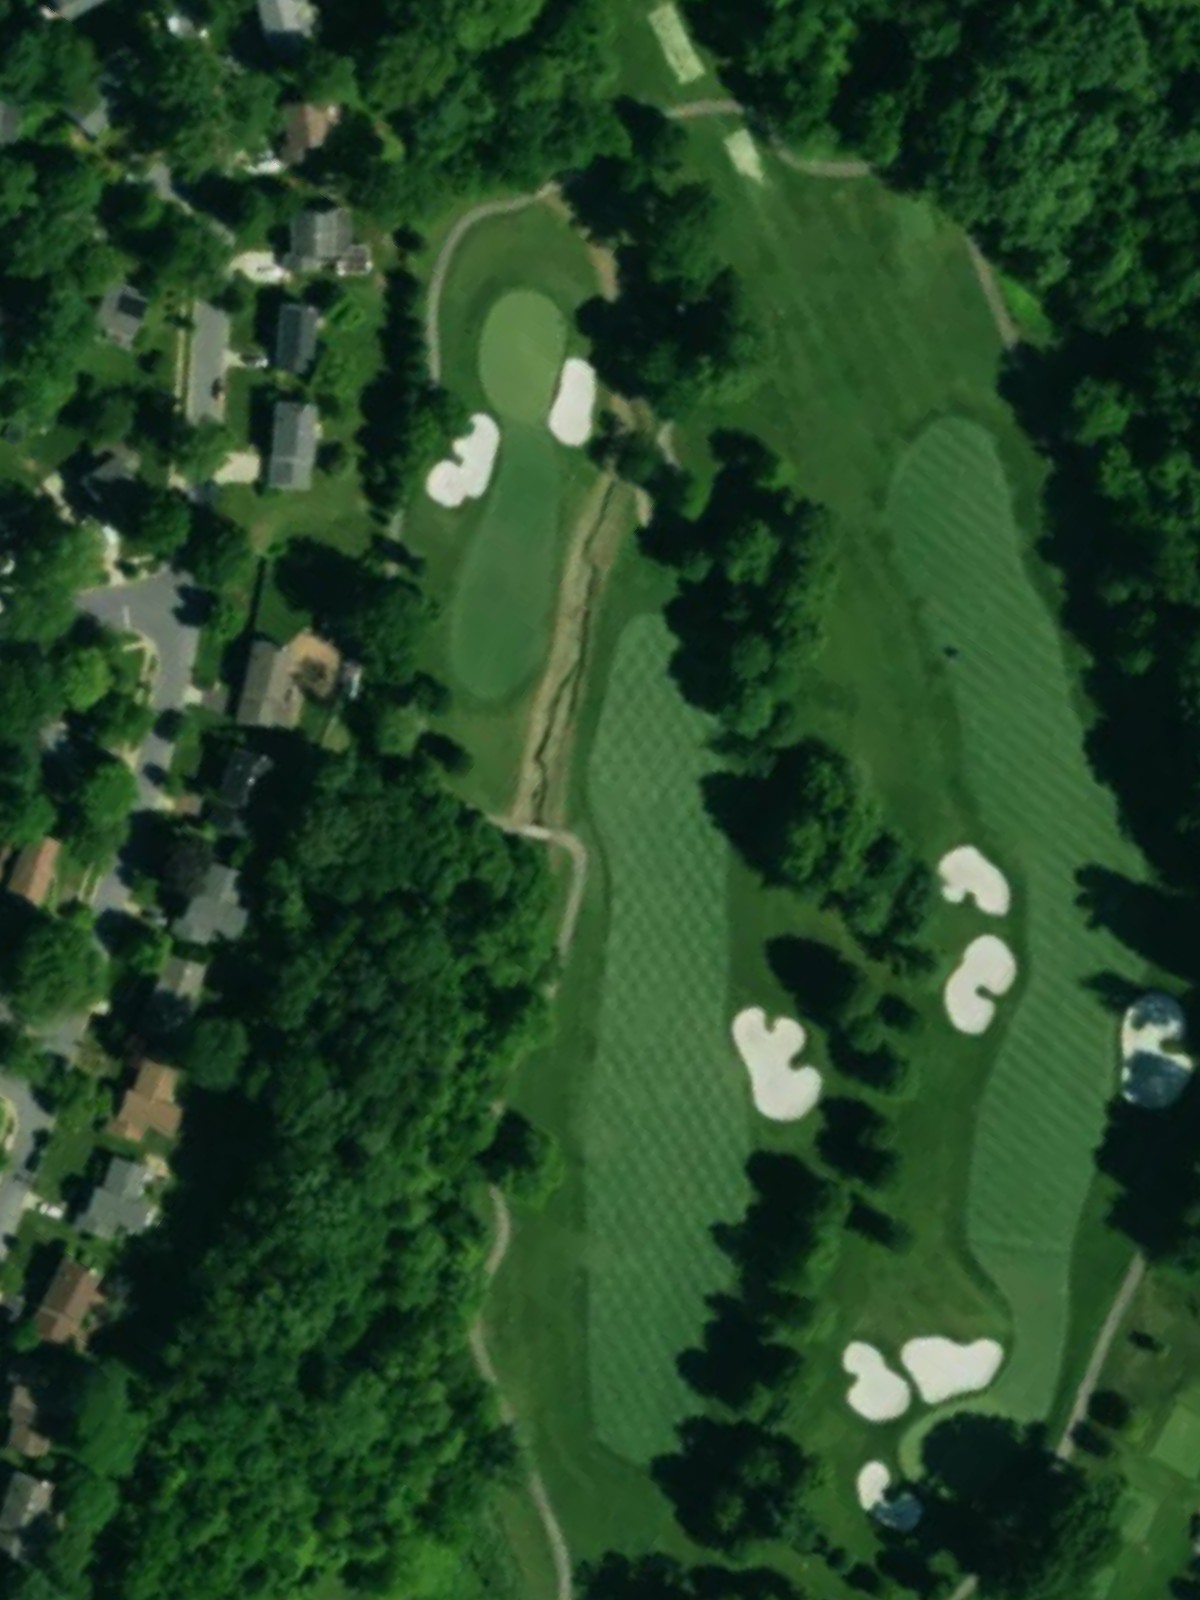
The course's most difficult hole, this long par 4 presents a stern test with its length and demanding approach to the green. The hole's handicap ranking reflects the challenge required to score well on this signature hole.

A strong par 4 with a design that penalizes poor shots but rewards solid ball-striking. Hazard placement and the demanding second shot make this a pivotal hole in the round.
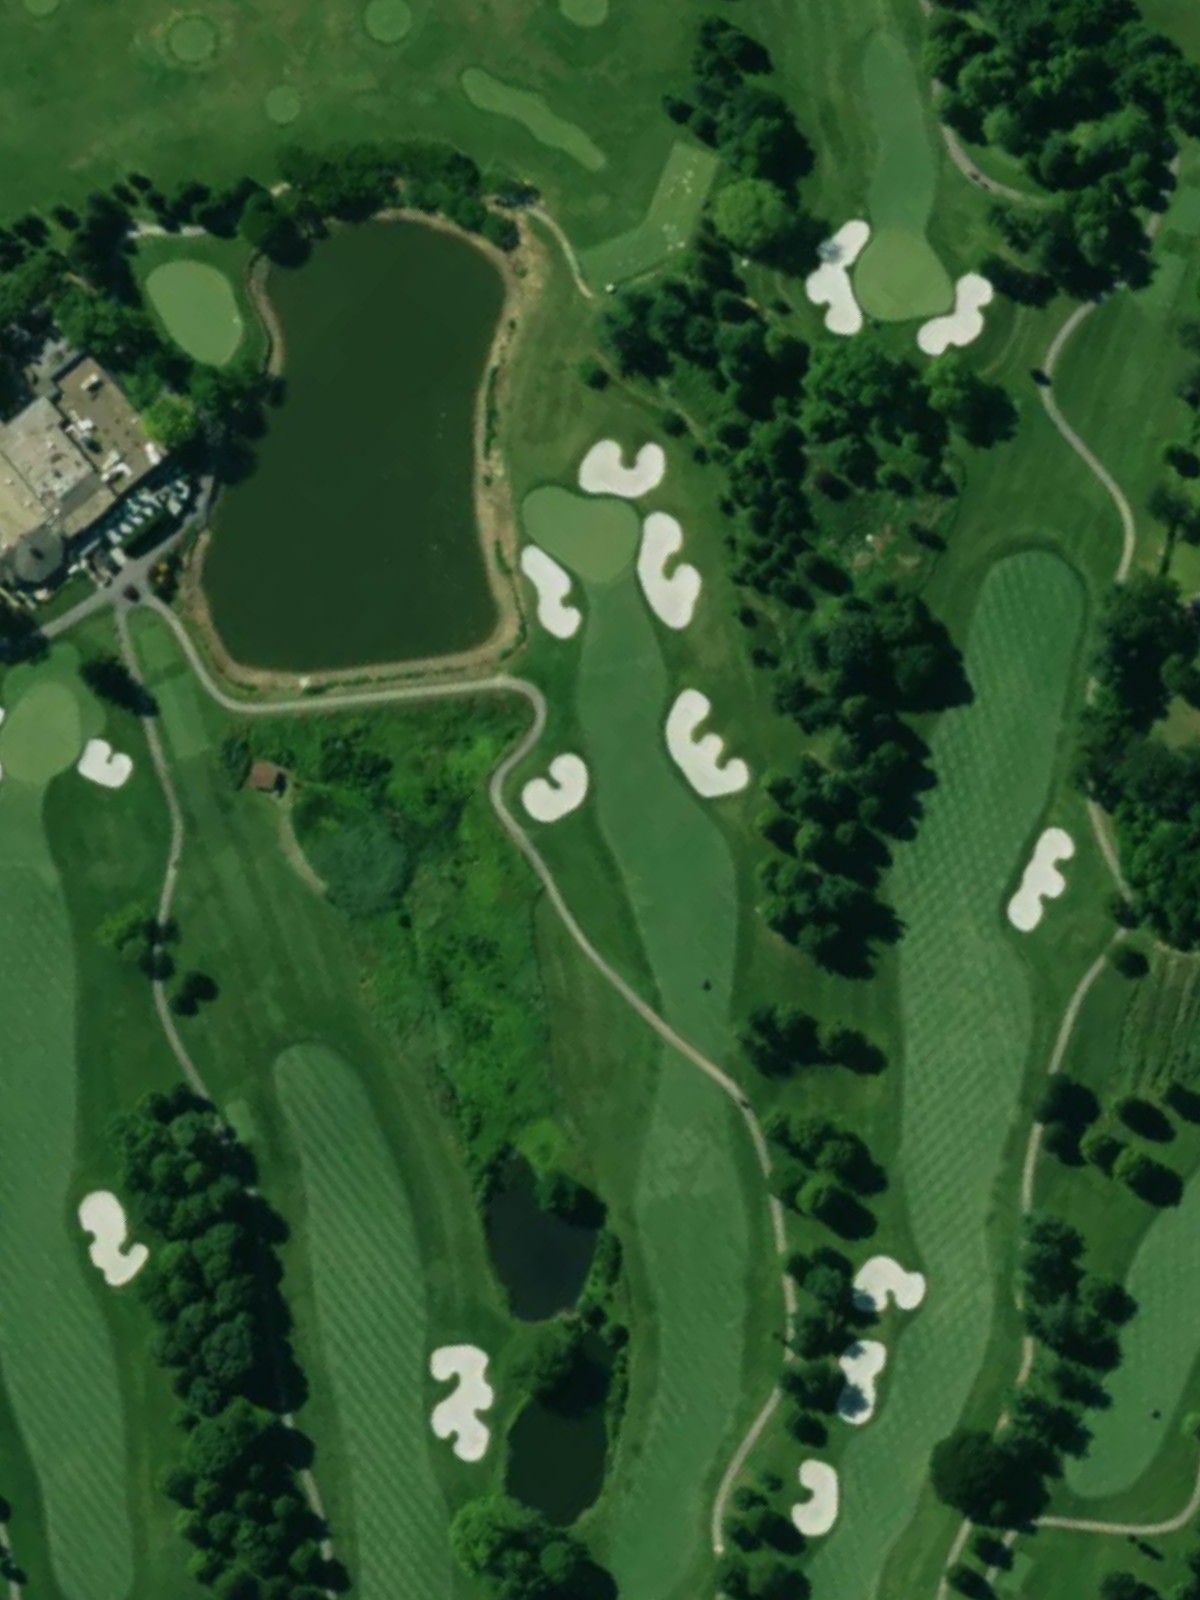
A mid-length par 5 that presents opportunities for scoring if approached strategically. The hole's layout and hazard placement require thoughtful shot selection throughout.

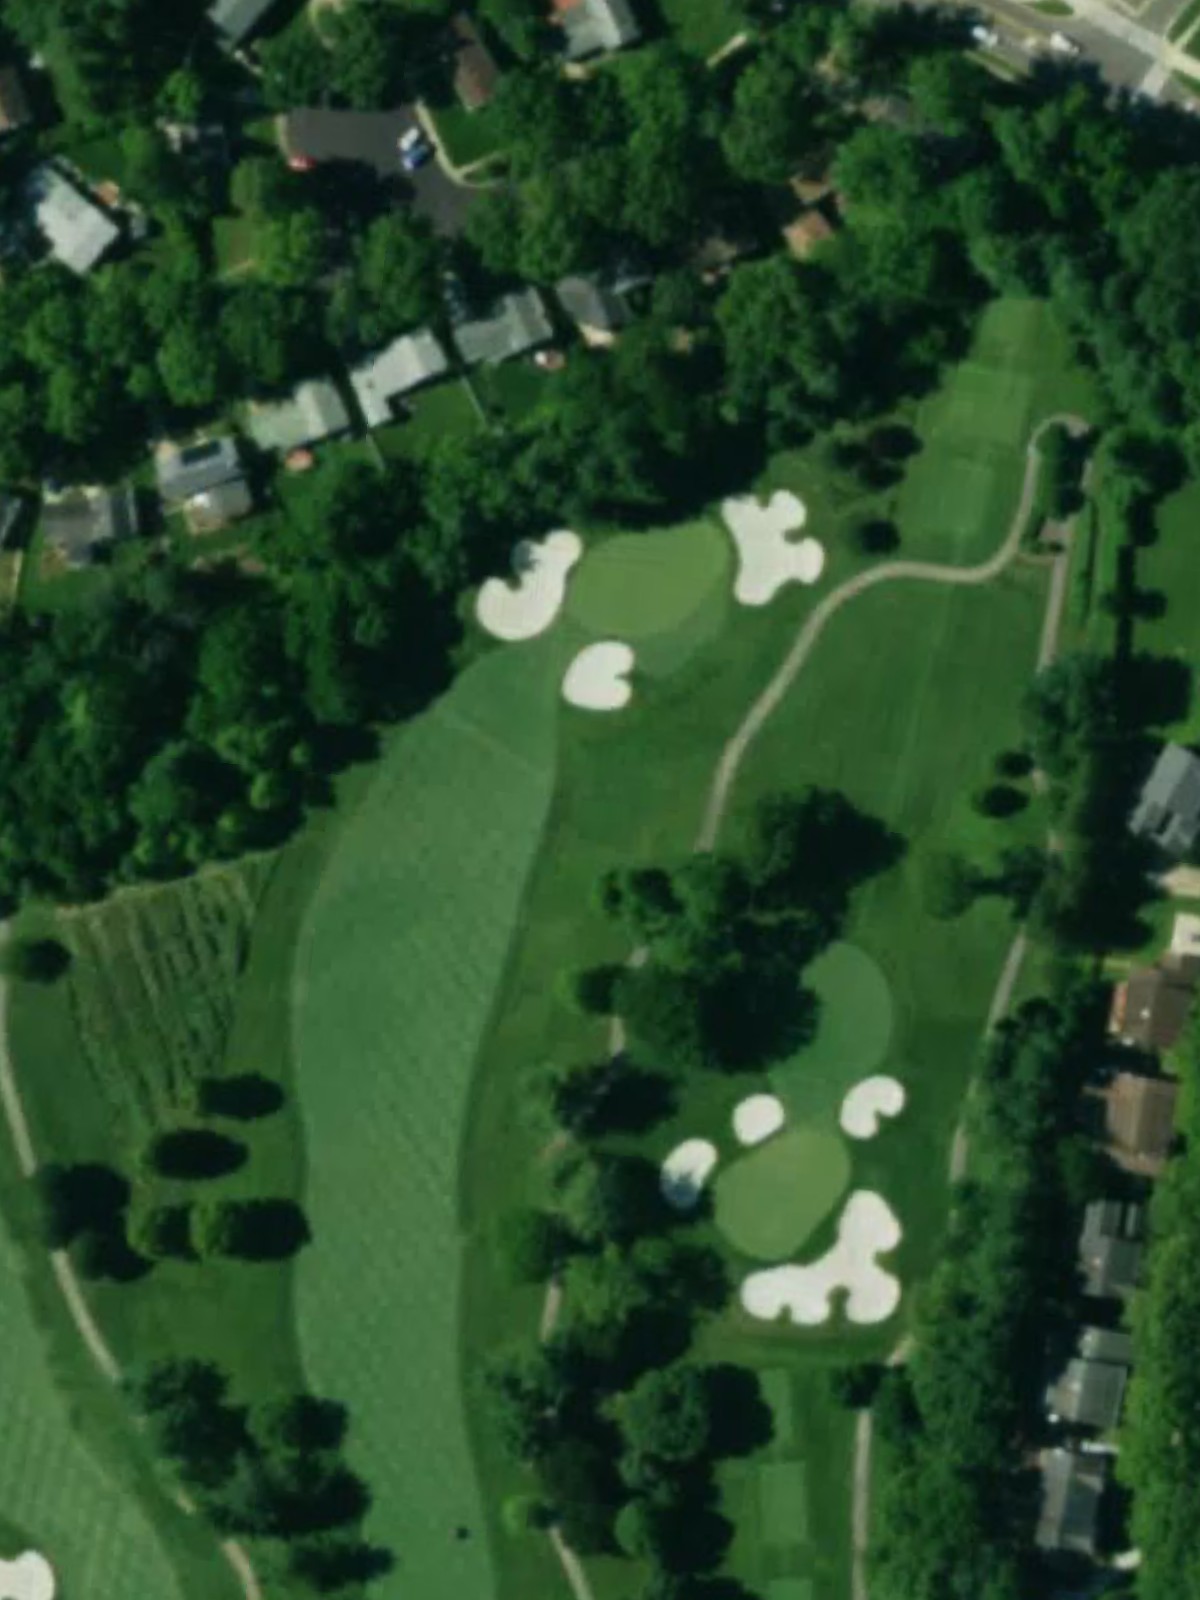
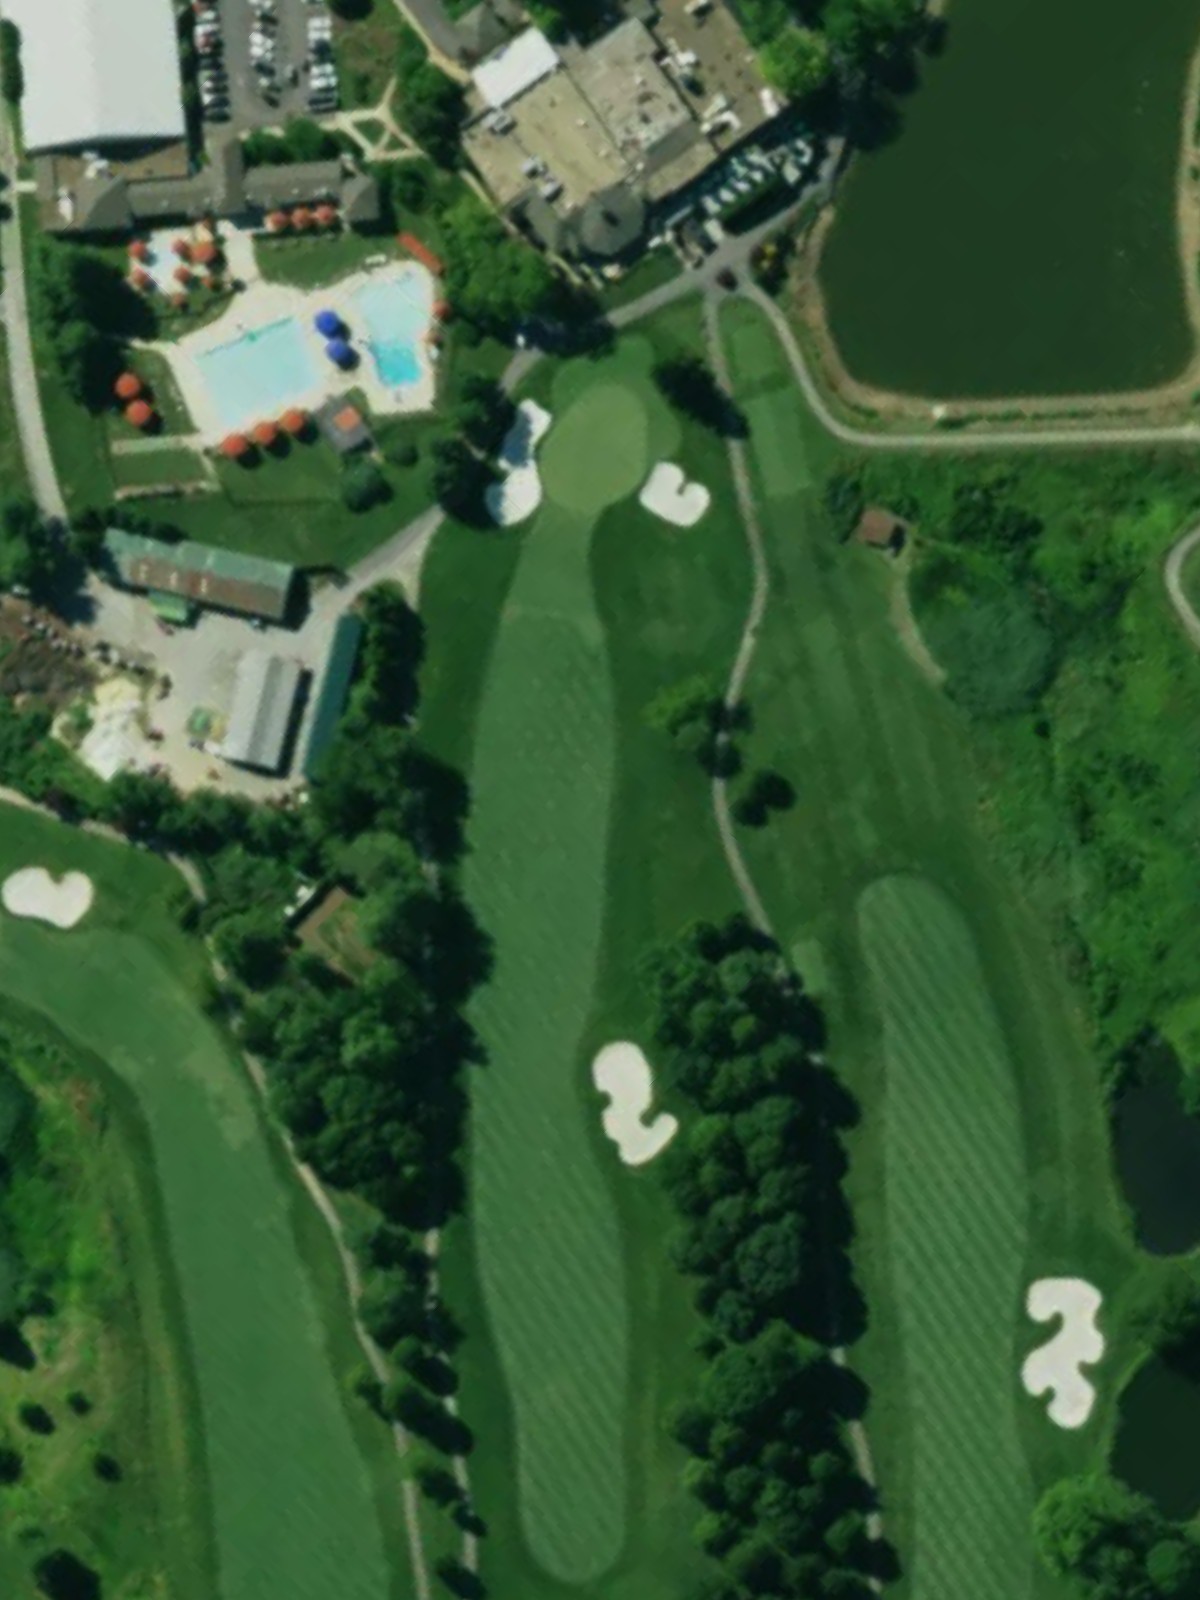
A challenging par 4 that plays longer from the back tees and features significant length as a primary defense. The fairway and green demand accuracy to achieve a good score on this strong finishing hole for the front nine.

The second-most difficult hole on the course, this par 4 is notable for its length and demanding character. Strategic positioning off the tee is crucial to set up a manageable approach on this imposing hole.
A solid par 4 of moderate length with a fairway that guides play toward the green. Hazards positioned strategically around the green require a precise approach shot for scoring opportunities.
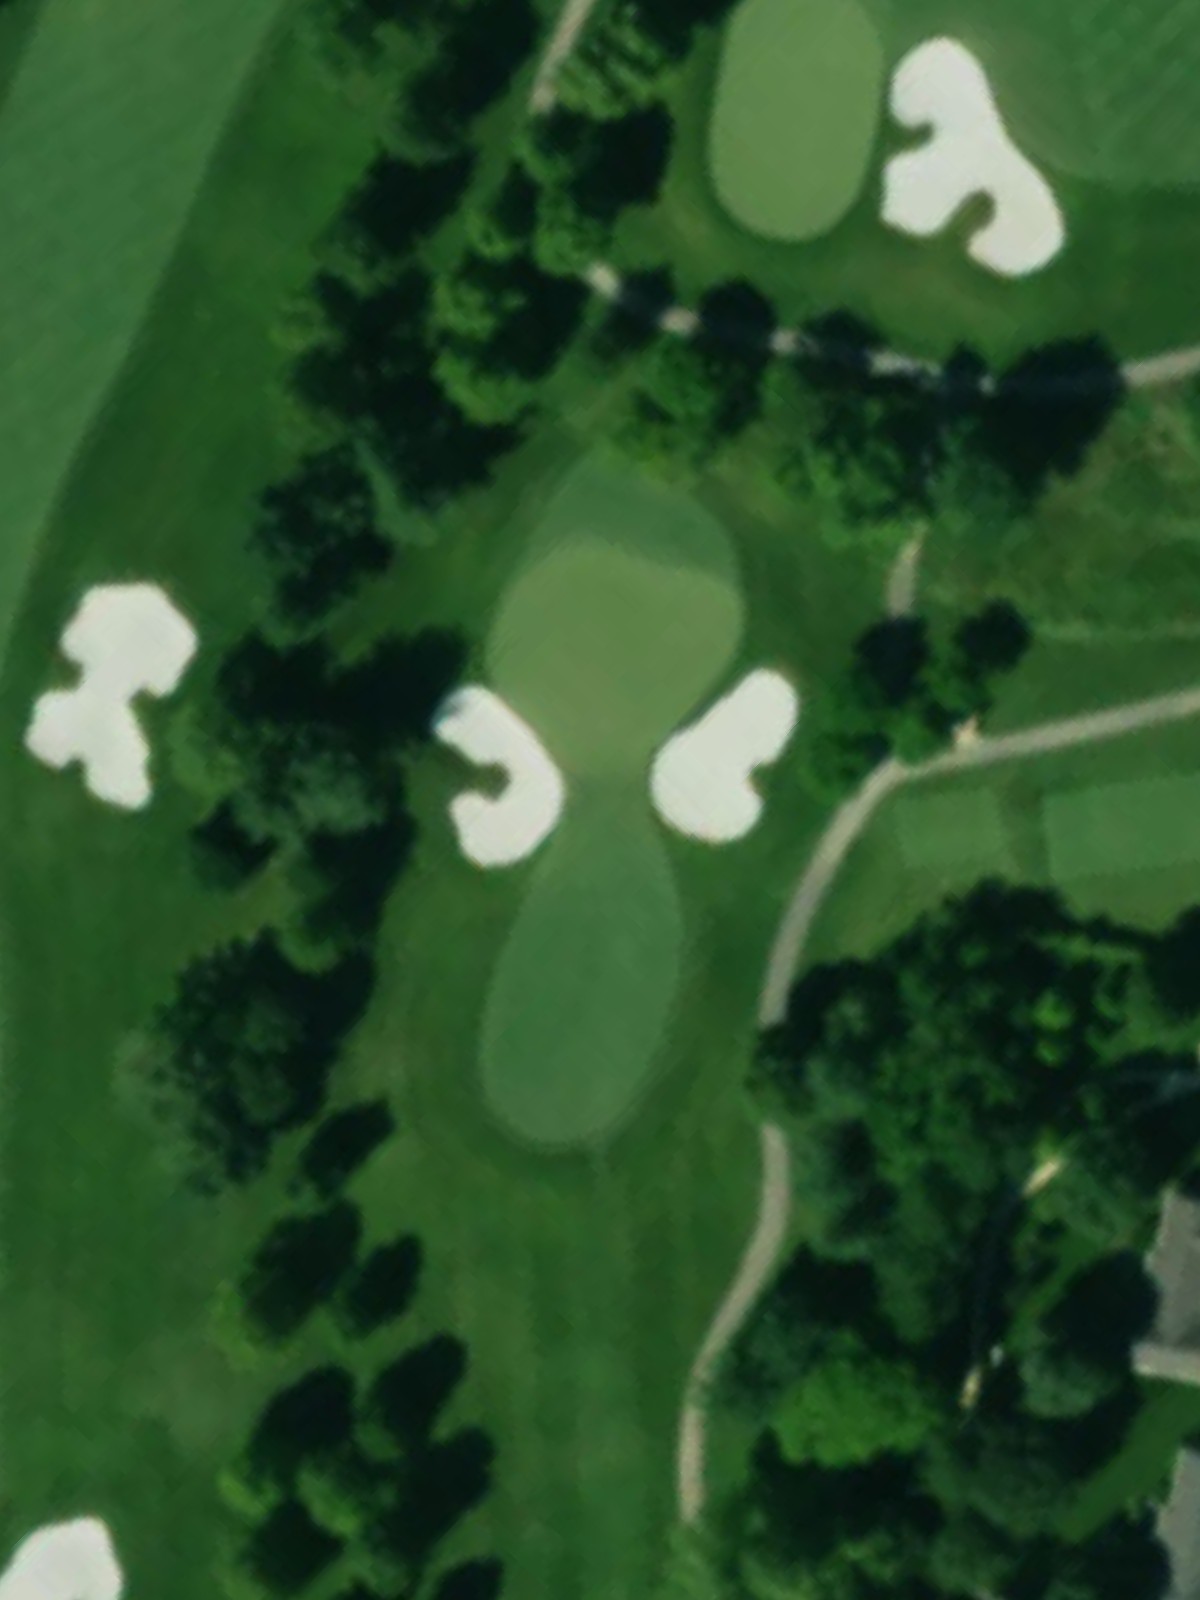
A short par 3 with an elevated green and well-placed bunkering that makes this seem easier than it plays. The green's position and surrounding hazards demand careful club selection and accurate ball-striking.
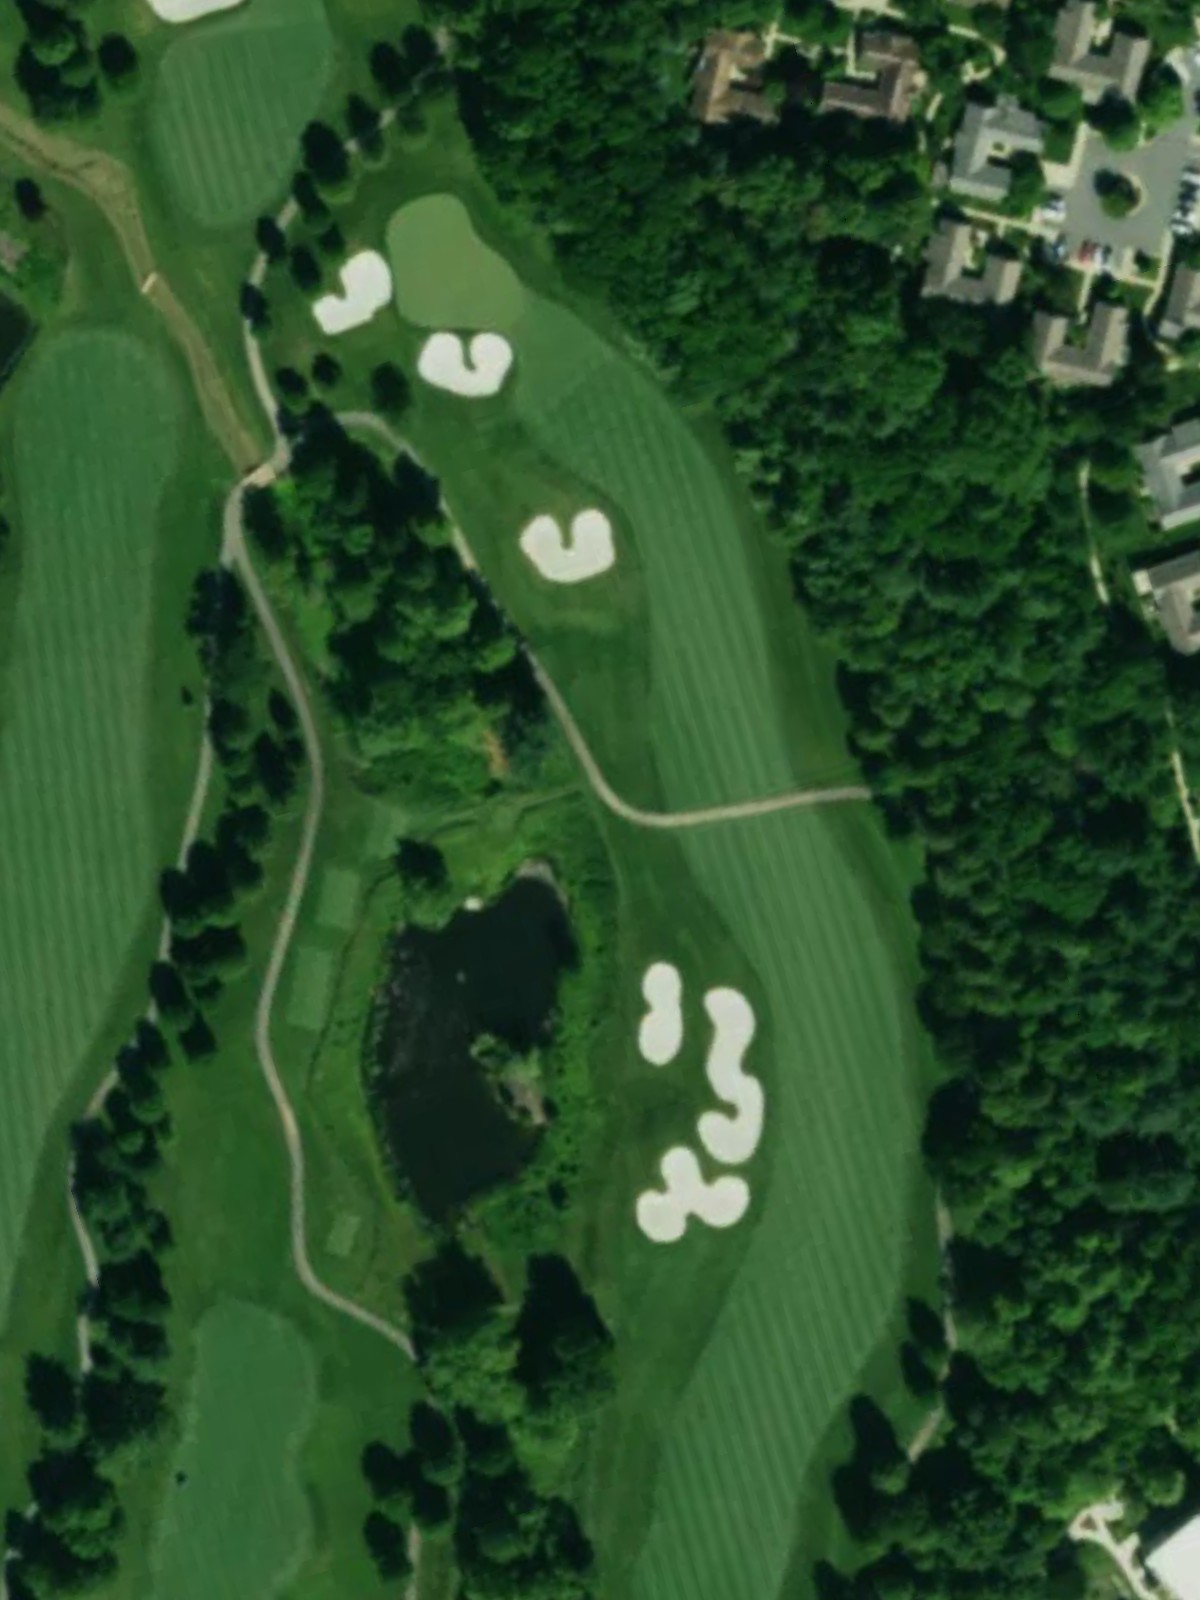
A generous par 5 that offers birdie opportunities for players who navigate its layout effectively. The hole's length and design provide multiple strategic options for advancing the ball toward the green.
A shorter par 4 that emphasizes accuracy over length, with a tightly designed hole that rewards precision. Despite its modest yardage, strategic hazards make this a more demanding hole than distance alone suggests.
A long par 5 featuring a layout that rewards aggressive play while penalizing poor execution. The substantial length and fairway design create an interesting risk-reward dynamic throughout the hole.
The shortest hole on the course, this par 3 can be deceptively difficult due to its tight green and hazard placement. The hole's simplicity in design contrasts with the precision required to score well.
A strong finishing par 4 that plays as one of the course's most difficult holes, particularly from the back tees. The length and green design create a demanding final test that determines the round's outcome.
Scorecard
| Hole | 1 | 2 | 3 | 4 | 5 | 6 | 7 | 8 | 9 | Out | 10 | 11 | 12 | 13 | 14 | 15 | 16 | 17 | 18 | In | Tot |
|---|---|---|---|---|---|---|---|---|---|---|---|---|---|---|---|---|---|---|---|---|---|
| Par | 4 | 3 | 5 | 4 | 3 | 4 | 4 | 4 | 5 | 36 | 4 | 4 | 4 | 3 | 5 | 4 | 5 | 3 | 4 | 36 | 72 |
| HCP | 15 | 11 | 3 | 7 | 17 | 13 | 1 | 5 | 9 | 10 | 2 | 8 | 16 | 12 | 14 | 6 | 18 | 4 | |||
| tournament | 350 | 232 | 580 | 413 | 193 | 350 | 491 | 410 | 510 | 3529 | 433 | 475 | 421 | 180 | 533 | 360 | 562 | 183 | 489 | 3636 | 7165 |
| championship | 336 | 212 | 555 | 413 | 176 | 350 | 460 | 397 | 503 | 3402 | 426 | 455 | 400 | 180 | 533 | 328 | 525 | 140 | 440 | 3427 | 6829 |
| black/blue | 336 | 181 | 555 | 388 | 176 | 350 | 430 | 397 | 503 | 3316 | 426 | 418 | 400 | 180 | 533 | 328 | 499 | 140 | 395 | 3319 | 6635 |
| member | 326 | 181 | 530 | 388 | 164 | 331 | 430 | 389 | 493 | 3232 | 415 | 418 | 385 | 155 | 515 | 309 | 499 | 140 | 395 | 3231 | 6463 |
| blue/white | 326 | 181 | 480 | 363 | 164 | 331 | 400 | 360 | 493 | 3098 | 395 | 343 | 385 | 155 | 515 | 309 | 485 | 140 | 357 | 3084 | 6182 |
| middle | 298 | 166 | 480 | 363 | 156 | 307 | 400 | 360 | 460 | 2990 | 395 | 343 | 329 | 135 | 492 | 289 | 485 | 121 | 357 | 2946 | 5936 |
| white/red | 298 | 146 | 480 | 279 | 156 | 307 | 330 | 323 | 405 | 2724 | 275 | 248 | 329 | 135 | 412 | 289 | 411 | 121 | 334 | 2554 | 5278 |