Lakeridge Golf Course is an 18-hole golf course in Reno, NV with a par of 71. It offers 4 tee sets: gold (6,656 yards, slope 135, rating 72), green (6,095 yards, slope 128, rating 69), gray (5,476 yards, slope 119, rating 66.2), red (5,059 yards, slope 112, rating 64.6). The hardest hole is #9, a par 4 playing 336 yards from the first tee.
Lakeridge Golf Course
Reno, NV
Get PDF Yardage Book
We'll email you the PDF link. No spam, ever.
Create Your Game Plan
Pick your tees, enter your bag, and get a personalized shot-by-shot strategy for every hole.
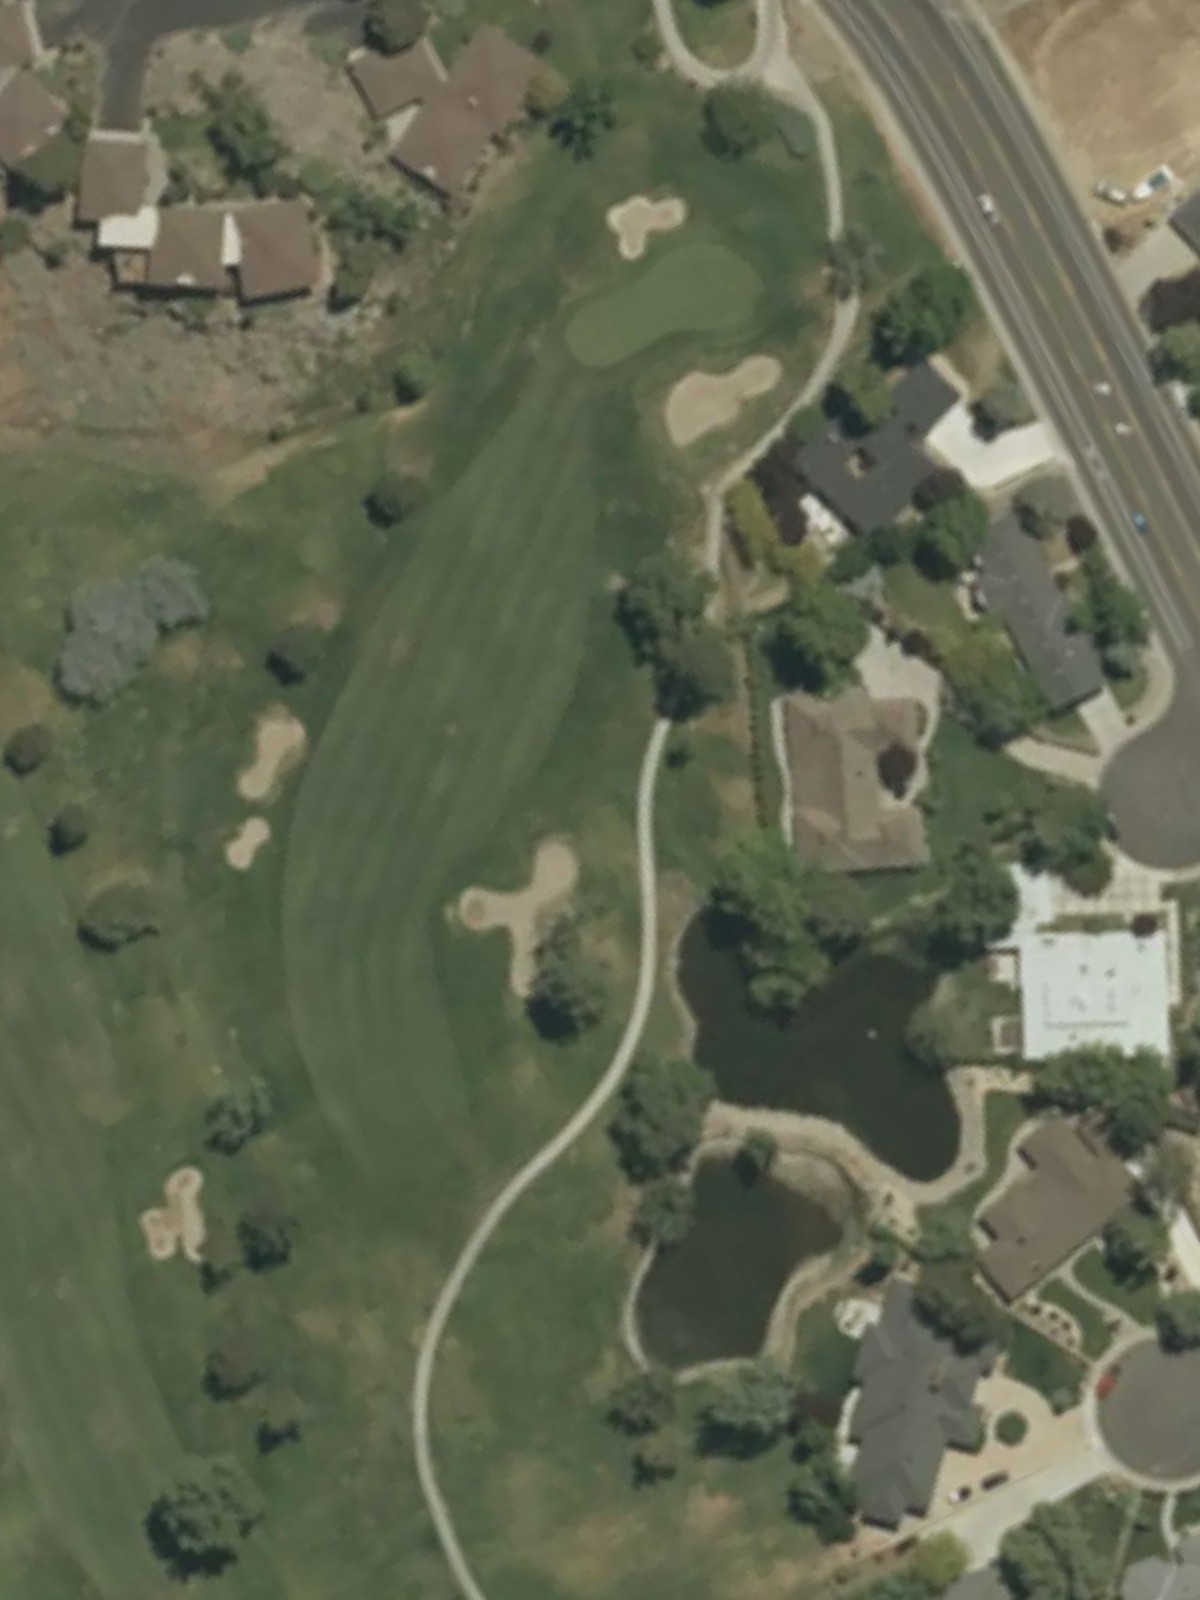
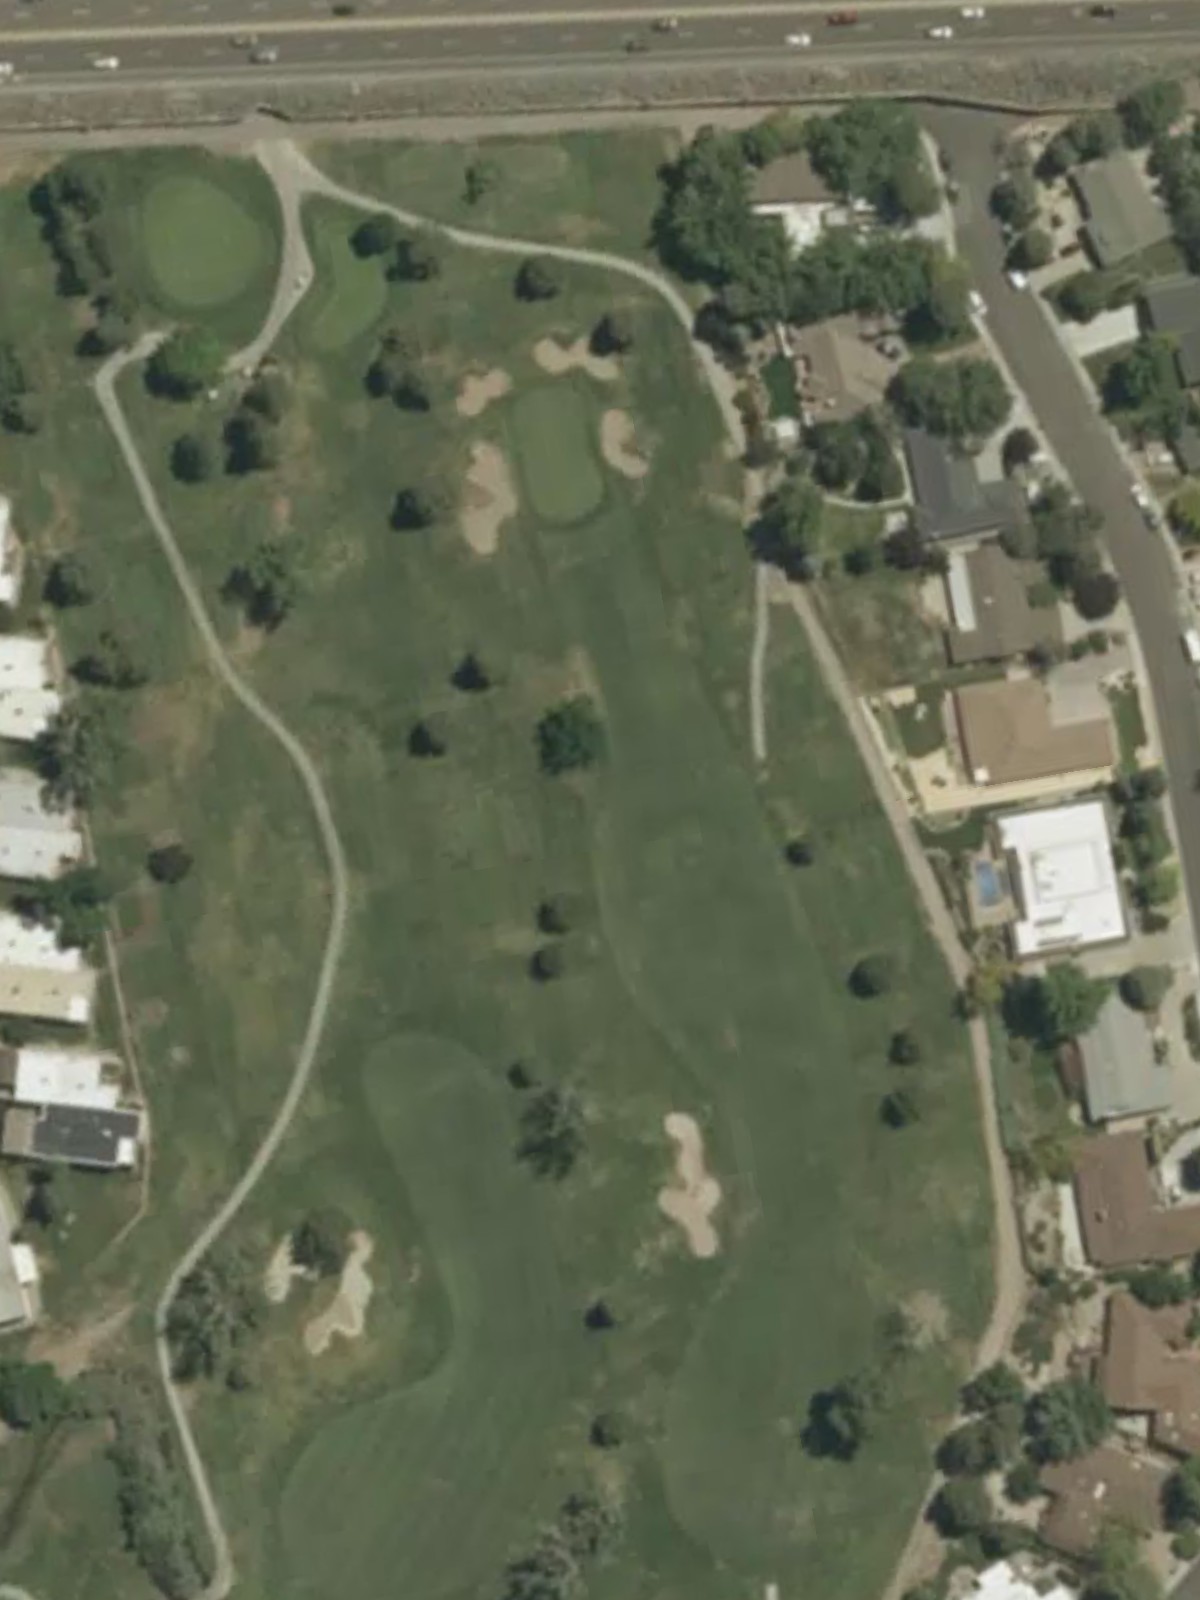
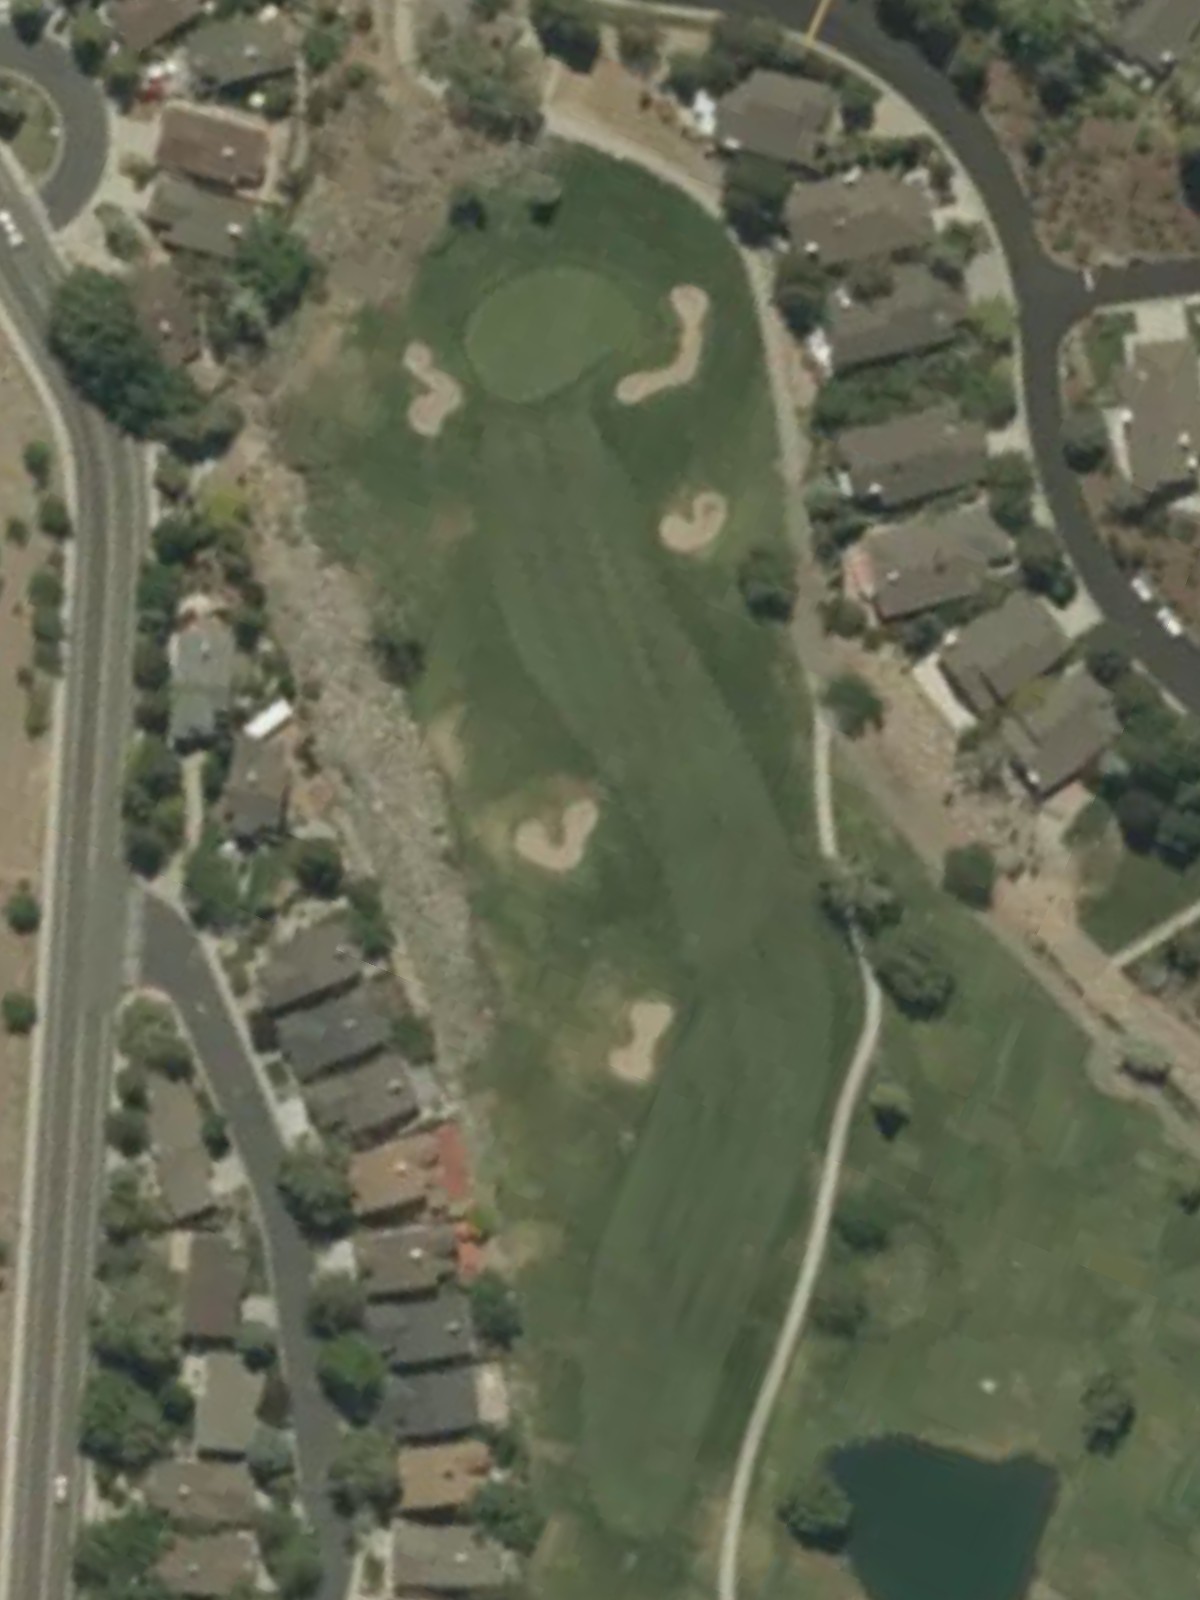
A welcoming opening par 4 with a relatively straightforward layout and a fairway that narrows as it approaches the green. Greenside bunkers protect the right side of the putting surface, rewarding accurate approach play.
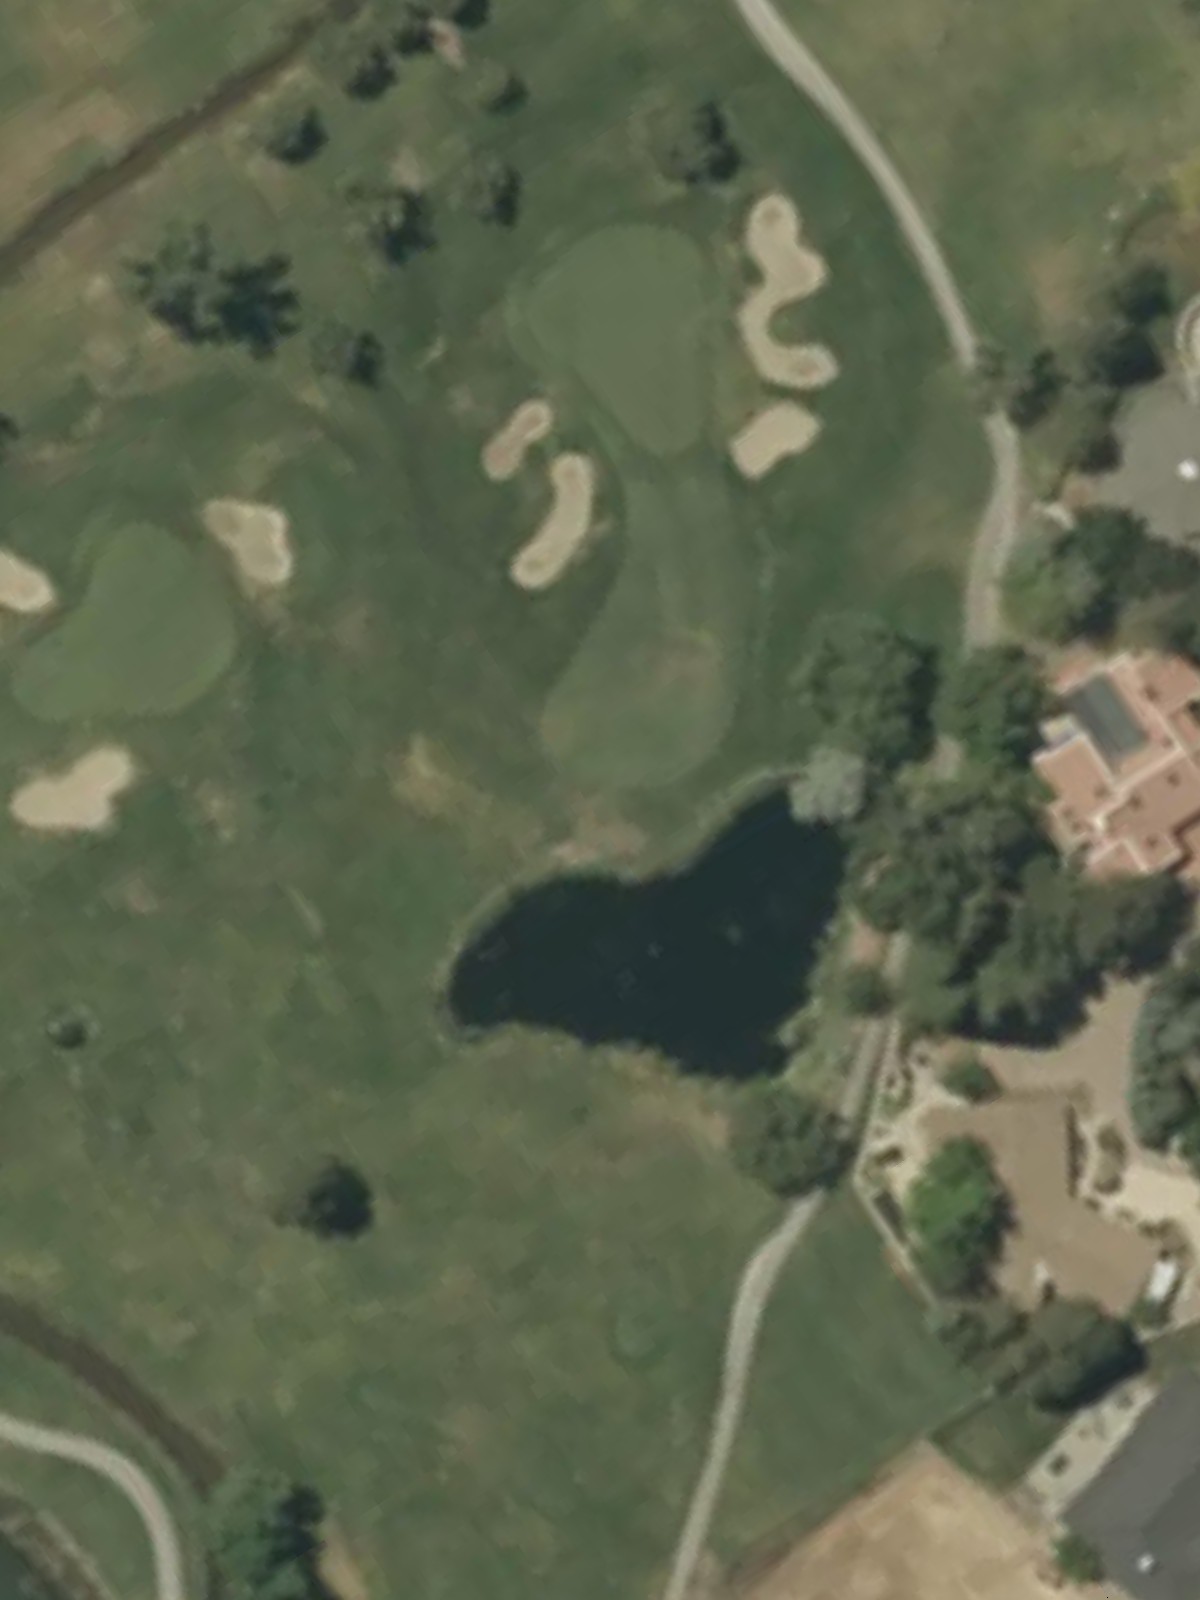
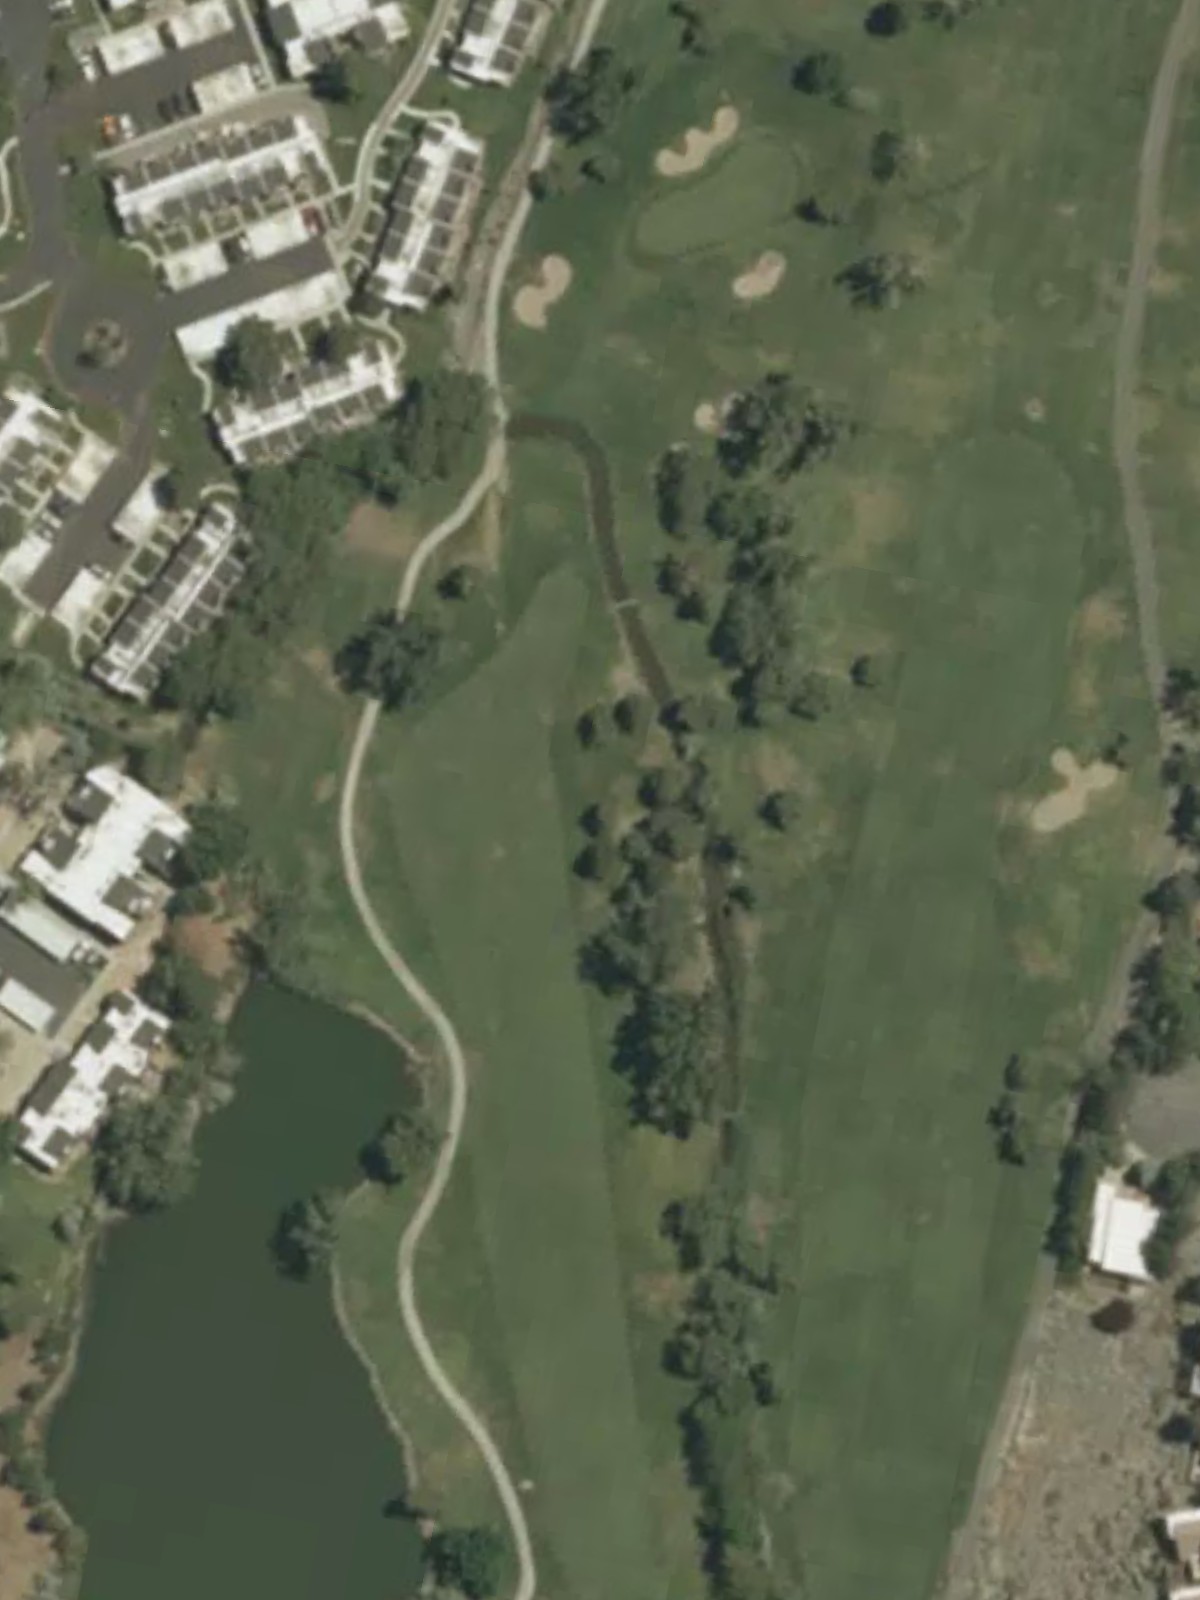
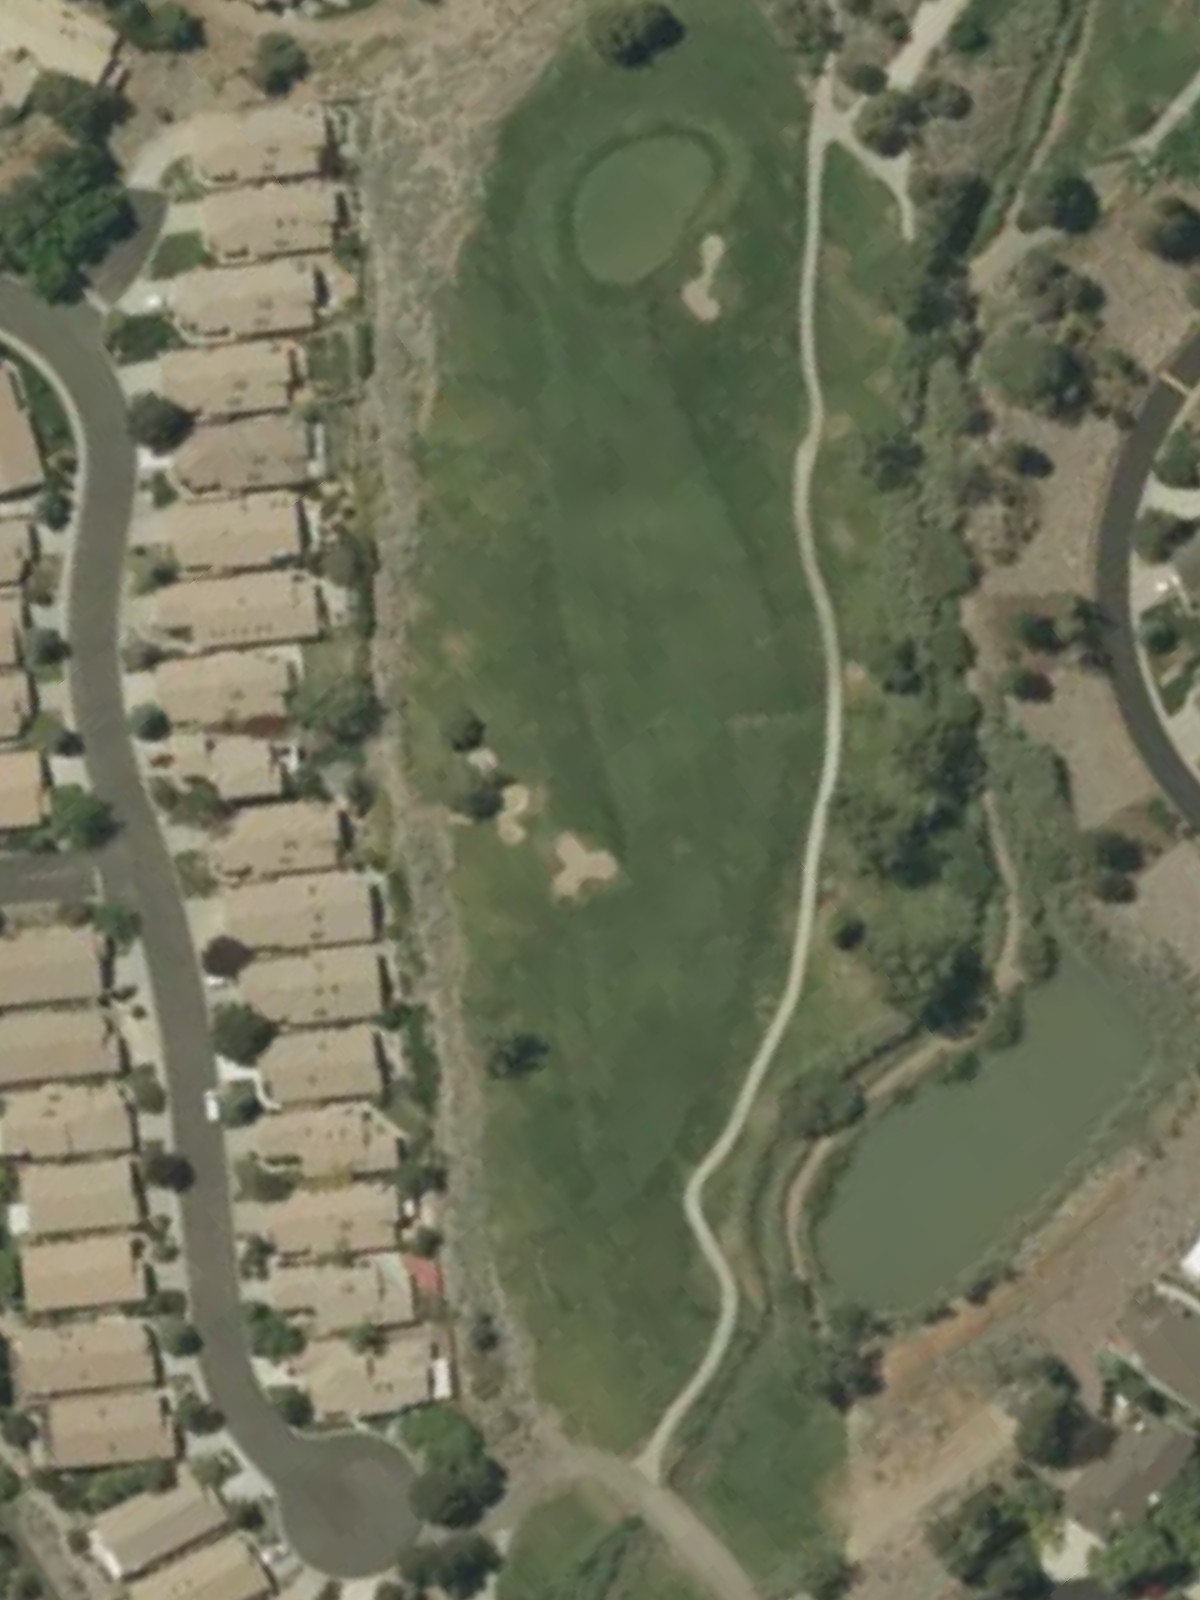
A short par 3 that plays downhill to a compact green. The hole's brevity belies its precision requirement, with bunkers flanking the green and little room for error on either side.
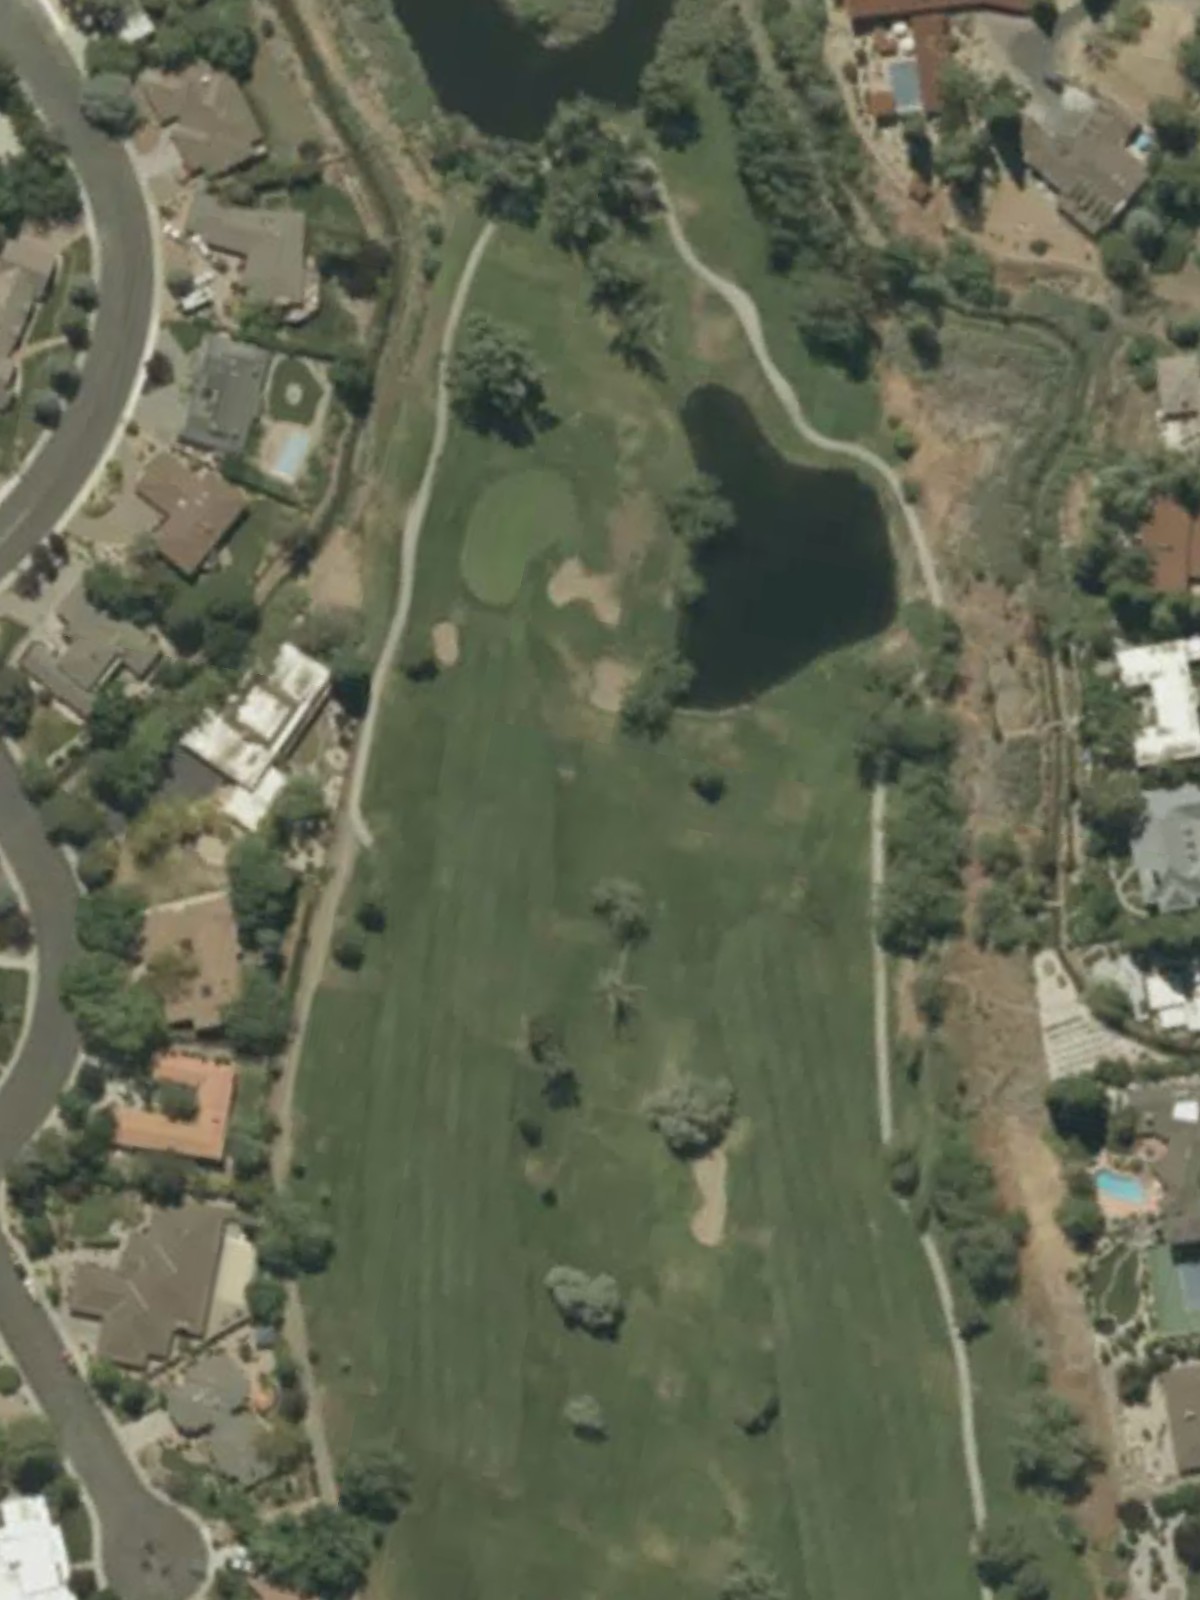
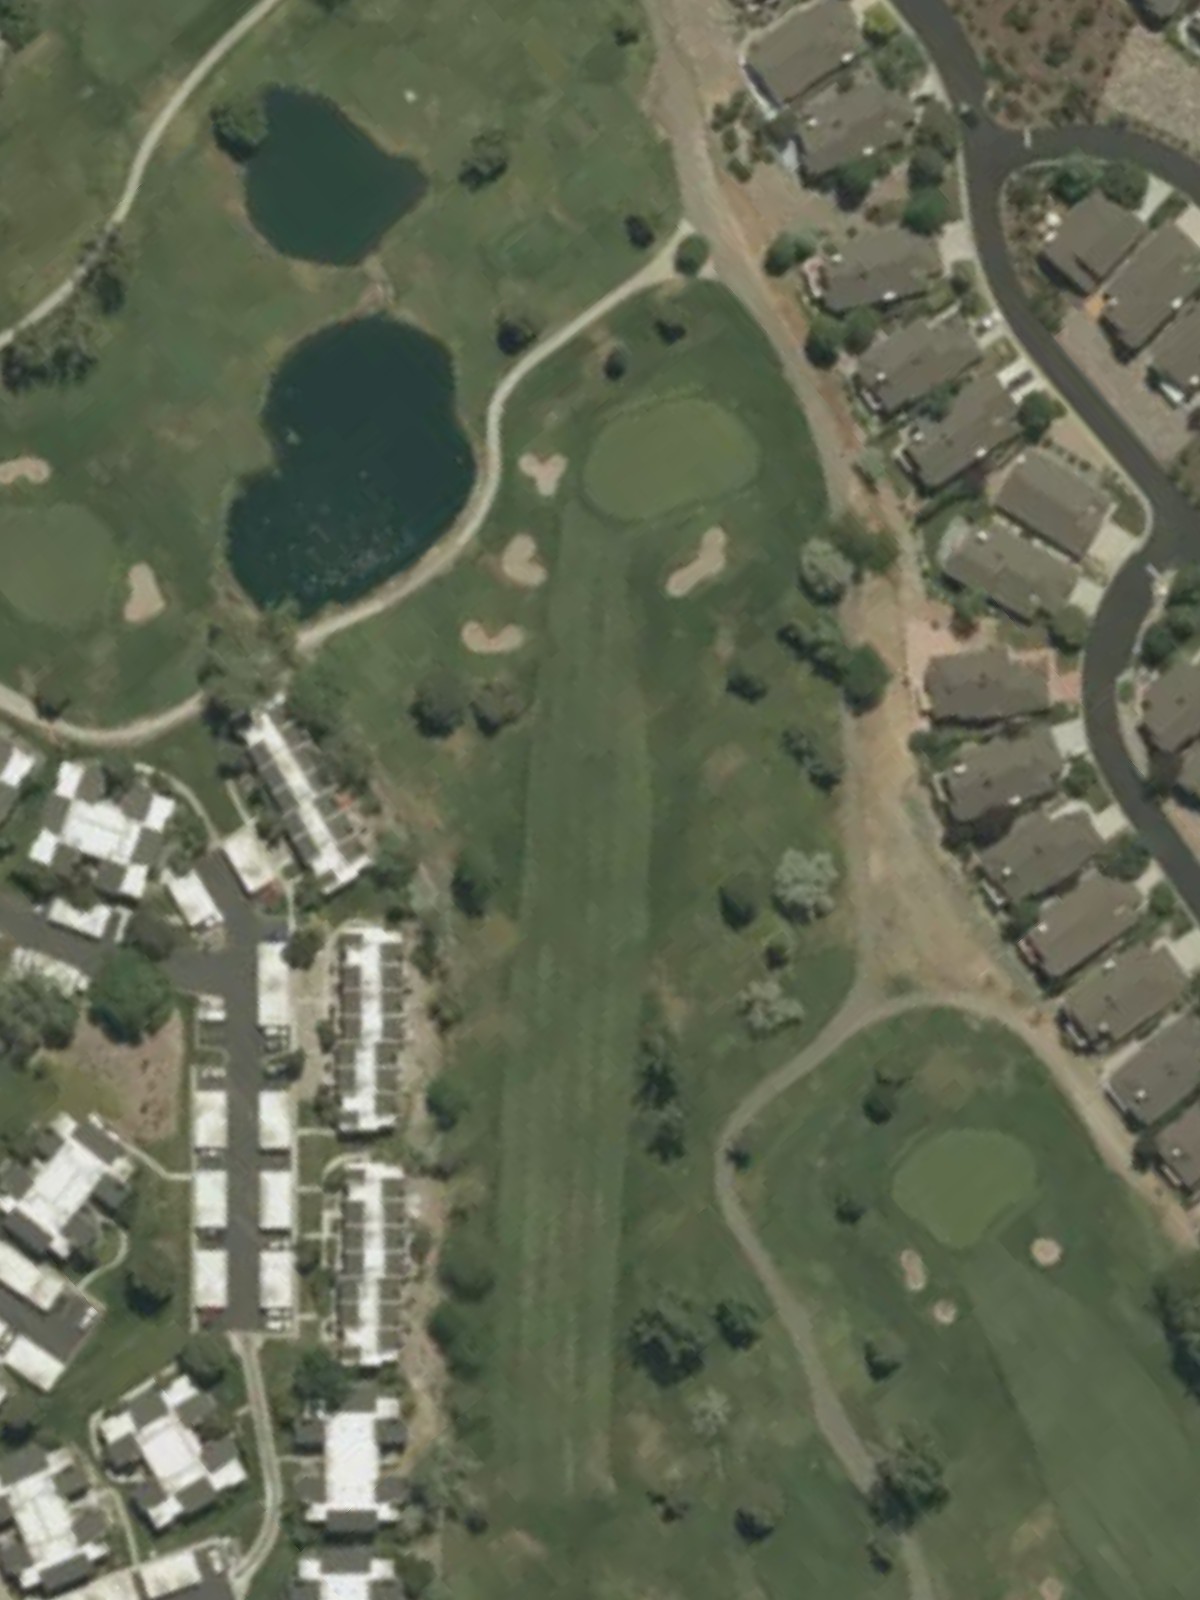
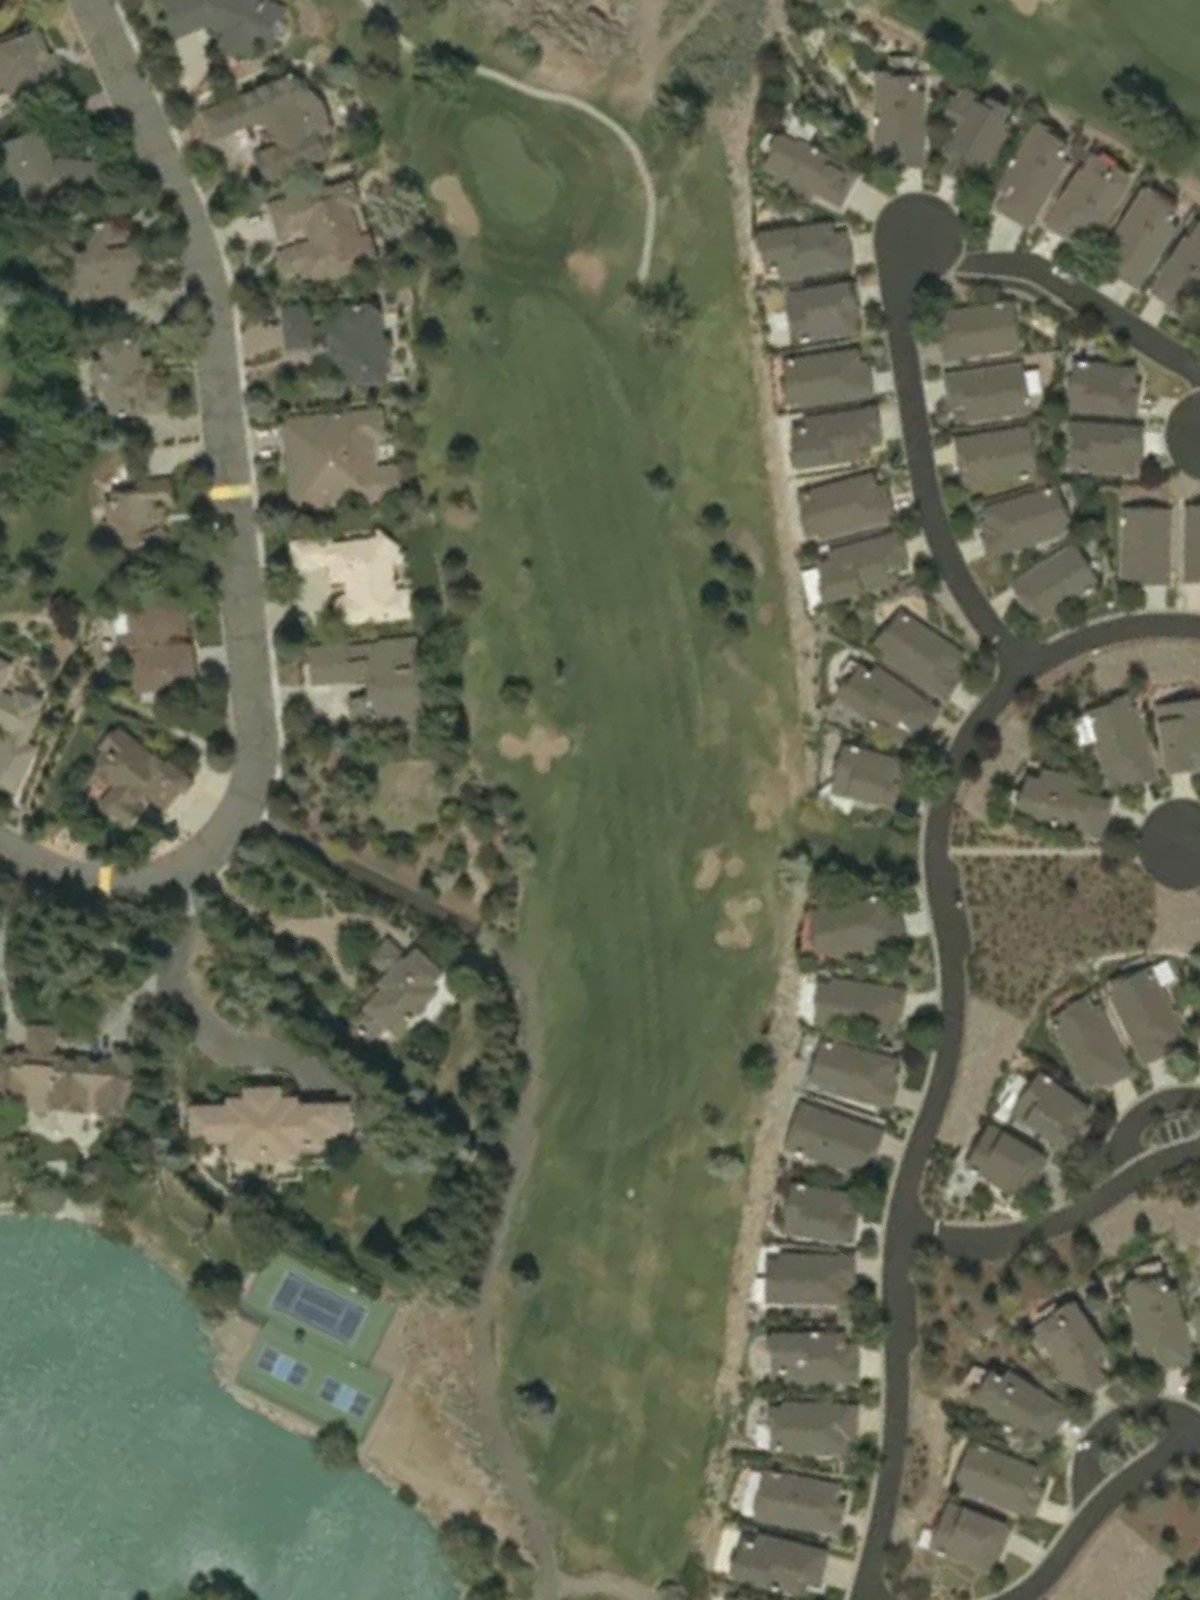
A gently doglegging par 4 with a narrow playing corridor that demands positional accuracy off the tee. Hazards tighten around the green, making the approach shot the key to scoring.
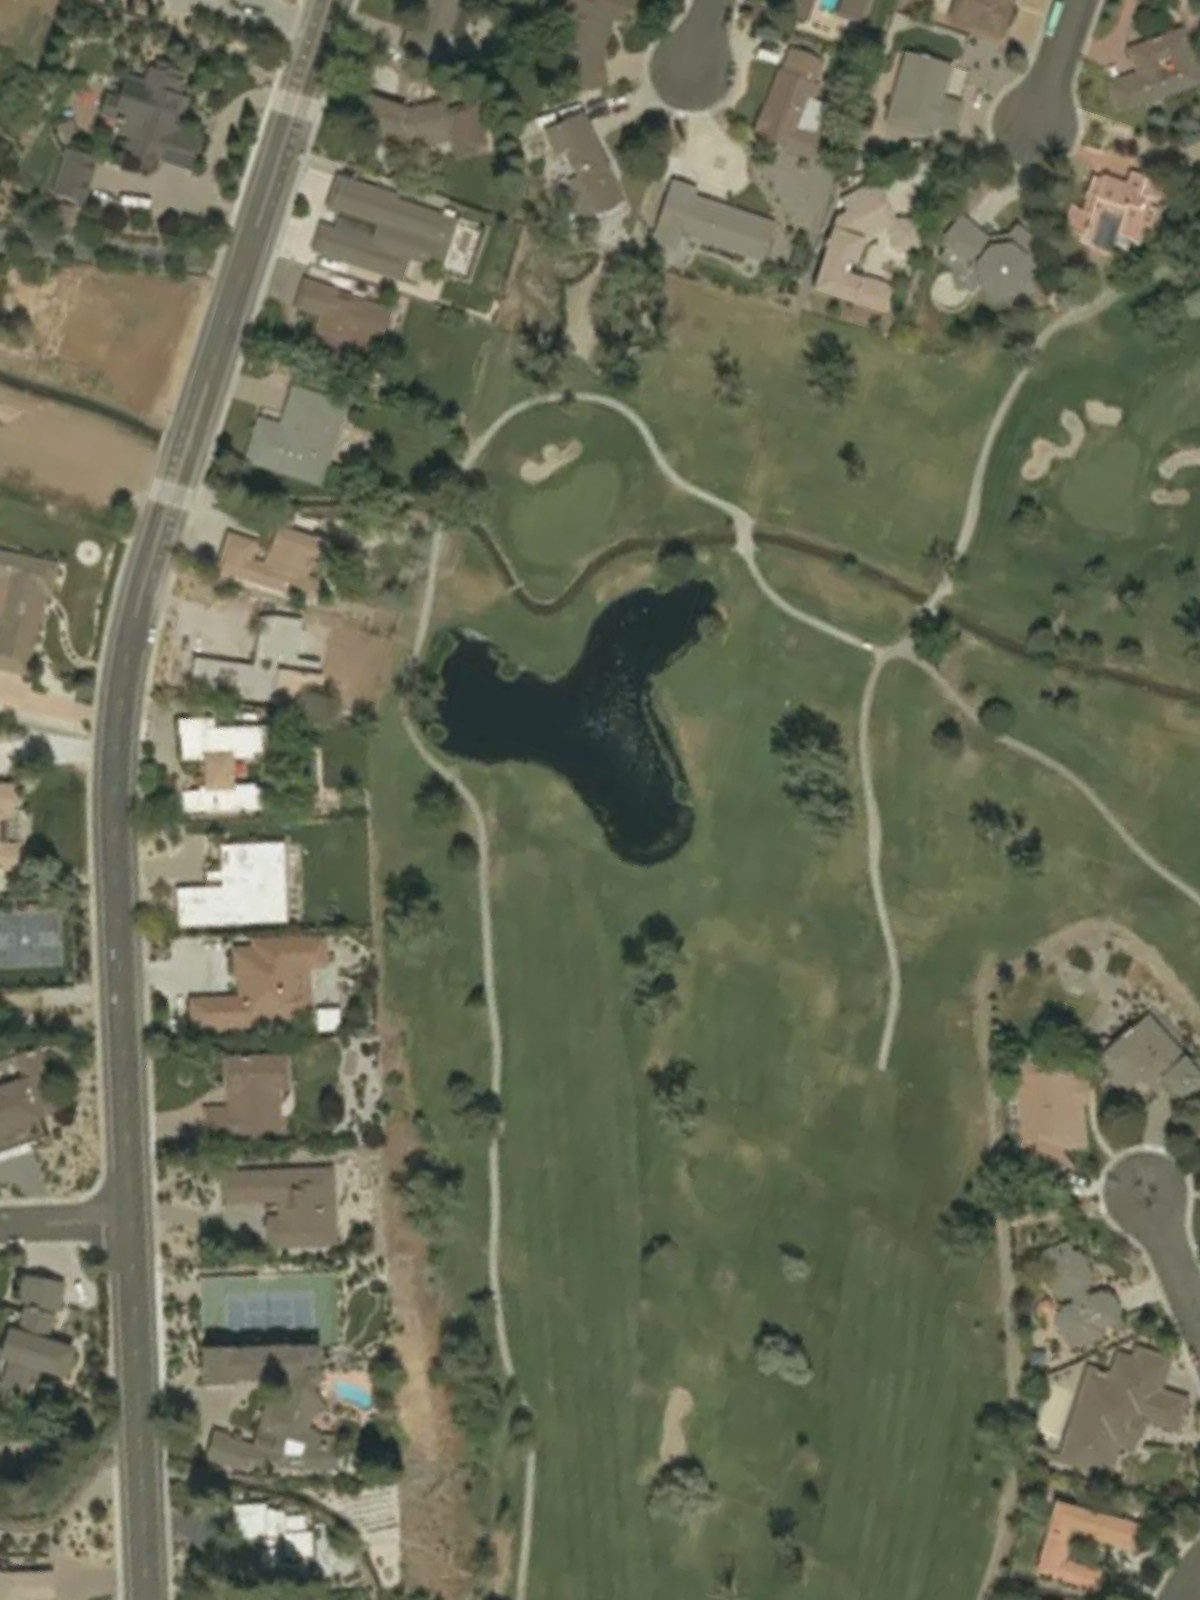
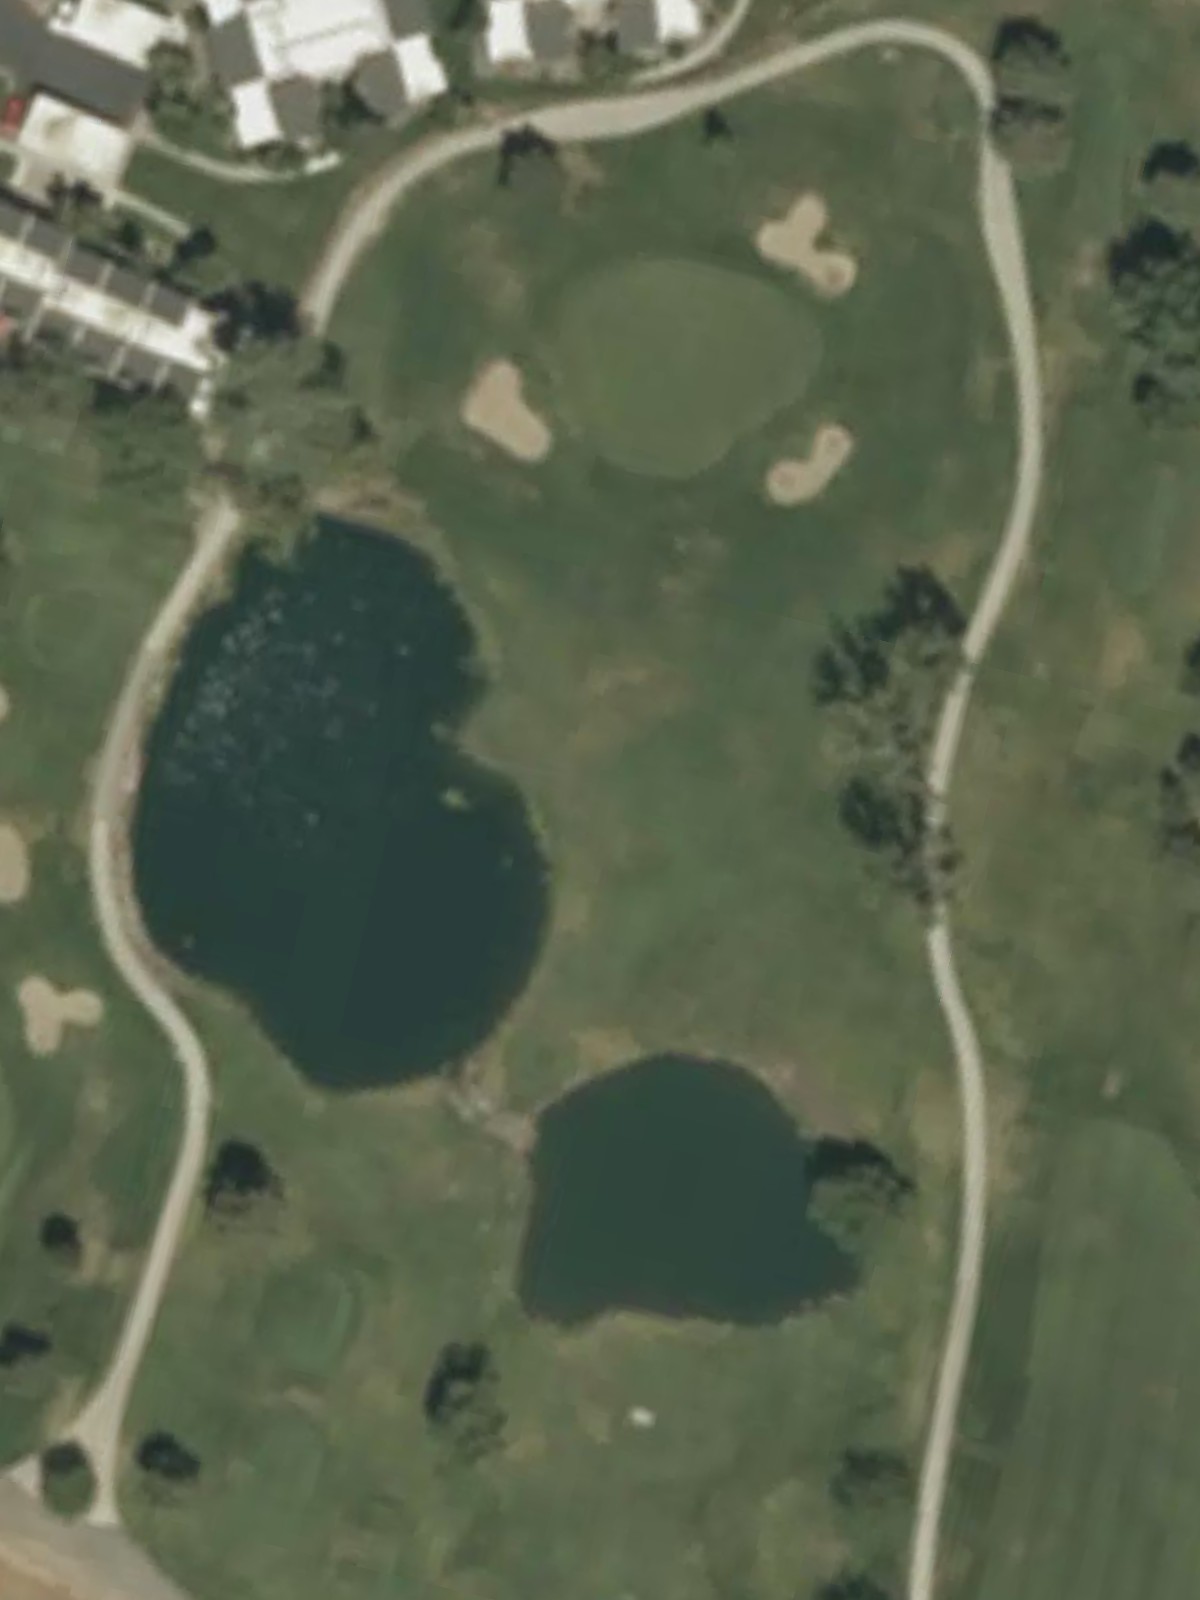
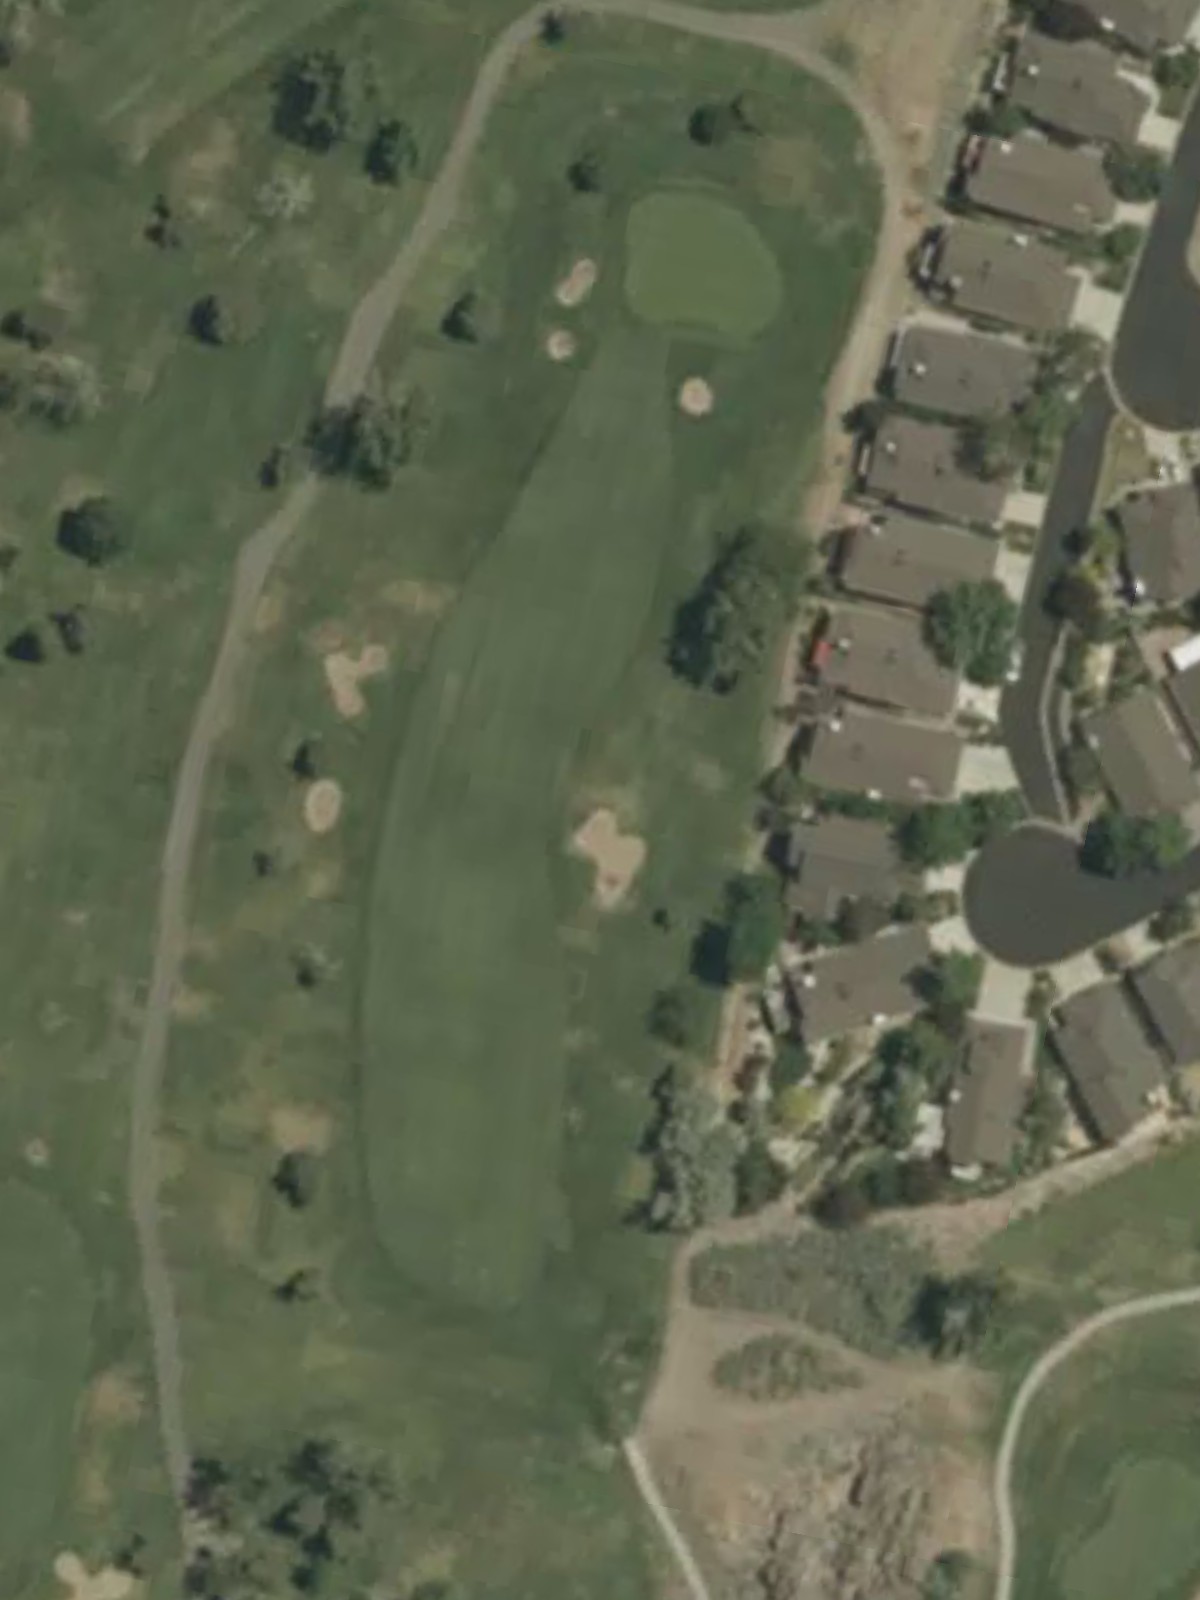
A substantial par 5 that rewards aggressive play with length, though strategic placement off the tee is essential to open up the best angles into the green. Water and bunkers guard the scoring area, making the final approach critical.
A compact par 4 that plays shorter than its yardage suggests, offering an inviting risk-reward opportunity. The green is protected by hazards on the right, favoring a left-side approach.
A demanding par 3 requiring precision over distance, with a well-bunkered green that tests accuracy from tee to flag. The narrow target area and surrounding hazards make club selection paramount.
A balanced par 4 with a fairway that offers good width off the tee before tightening near the green. Strategic positioning is rewarded, as the approach shot becomes increasingly difficult from the rough or hazard areas.
A generous par 5 that provides multiple options for reaching the green in three strokes, though hazards guard the scoring area. The dogleg configuration and bunker placement reward thoughtful club selection over brute force.
A strong finishing stretch begins with this par 4, ranked the hardest on the course, featuring a narrow landing area and a well-protected green. Water and bunkers frame the entire hole, leaving little margin for error.
Another formidable test with a dramatic dogleg that brings hazards into play on the right side. The green sits elevated and well-guarded, making the approach shot one of the course's most challenging.
A mid-length par 4 with a straightforward routing and a fairway that provides ample landing area off the tee. The green's configuration and bunker placement create a manageable but thoughtful scoring opportunity.
A short par 3 with a deceptively small target, where accurate distance control is more important than raw length. Strategic bunkering around the green penalizes misses on either side.
A classic par 4 with a fairway that plays fairly wide but narrows significantly near the green. Bunkers and hazards frame the approach, making position off the tee valuable for setting up a clear second shot.
A short par 4 that offers a scoring opportunity despite its length, with an accessible fairway and a relatively open green complex. The hole's brevity can lull players into overconfidence, making course management essential.

A dramatic par 3 with a substantial carry requirement and a small, well-protected green surrounded by water and bunkers. The hole demands both distance and direction, offering little room for adjustment.
A powerful par 4 with a challenging dogleg right and hazards that frame the entire playing corridor. The green sits in a tight island of safety, requiring a precise approach to avoid the surrounding dangers.
A relatively forgiving par 4 that provides the most accessible scoring opportunity of the back nine, with a fair fairway and an open green. The calm before the storm sets up the dramatic finishing hole.
A fitting finale, this par 5 features a dramatic finish with water and bunkers guarding the green on both sides. The hole's configuration offers strategic options for different skill levels while maintaining its challenge throughout.
Scorecard
| Hole | 1 | 2 | 3 | 4 | 5 | 6 | 7 | 8 | 9 | Out | 10 | 11 | 12 | 13 | 14 | 15 | 16 | 17 | 18 | In | Tot |
|---|---|---|---|---|---|---|---|---|---|---|---|---|---|---|---|---|---|---|---|---|---|
| Par | 4 | 3 | 4 | 5 | 4 | 3 | 4 | 5 | 4 | 36 | 4 | 4 | 3 | 4 | 4 | 3 | 4 | 4 | 5 | 35 | 71 |
| HCP | 11 | 15 | 17 | 5 | 13 | 3 | 9 | 7 | 1 | 2 | 10 | 14 | 12 | 16 | 4 | 6 | 18 | 8 | |||
| gold | 410 | 164 | 332 | 593 | 348 | 204 | 378 | 534 | 410 | 3373 | 423 | 375 | 192 | 361 | 360 | 230 | 450 | 361 | 531 | 3283 | 6656 |
| green | 367 | 145 | 321 | 558 | 318 | 171 | 352 | 487 | 387 | 3106 | 408 | 344 | 156 | 345 | 295 | 216 | 378 | 329 | 518 | 2989 | 6095 |
| gray | 334 | 91 | 296 | 478 | 299 | 141 | 297 | 463 | 342 | 2741 | 381 | 310 | 146 | 307 | 276 | 154 | 342 | 329 | 490 | 2735 | 5476 |
| red | 324 | 91 | 283 | 471 | 281 | 125 | 297 | 383 | 336 | 2591 | 325 | 310 | 128 | 297 | 241 | 102 | 336 | 293 | 436 | 2468 | 5059 |