Kimberton Golf Club is an 18-hole golf course in Phoenixville, PA with a par of 70. It offers 3 tee sets: blue (6,086 yards, slope 119, rating 69.2), white (5,787 yards, slope 116, rating 67.8), gold (4,819 yards, slope 107, rating 63.4). The hardest hole is #3, a par 4 playing 413 yards from the first tee.
Kimberton Golf Club
Phoenixville, PA
Get PDF Yardage Book
We'll email you the PDF link. No spam, ever.
Create Your Game Plan
Pick your tees, enter your bag, and get a personalized shot-by-shot strategy for every hole.
A straightforward par 4 with a welcoming fairway that offers room off the tee. The approach shot demands accuracy as the green is defended by bunkers and requires a precise strike to avoid trouble around the putting surface.
A testing par 4 that plays longer than its yardage suggests with a narrow driving corridor. Water hazards and greenside bunkers create a challenging approach, making position off the tee critical for a manageable second shot.
The stroke index 1 hole stands as the course's most difficult par 4, playing long and straight with minimal margin for error. Strategic bunkering throughout the hole and a well-guarded green demand precision from tee to green.
A short par 3 protected by bunkers surrounding the putting surface. The relatively accessible green is the course's easiest one-shot hole, though accuracy from the tee remains essential.
A strong par 4 with a dogleg shape that rewards a well-placed drive down the correct side of the fairway. Water and bunkers frame the hole, with the green requiring a careful approach shot to avoid costly mistakes.
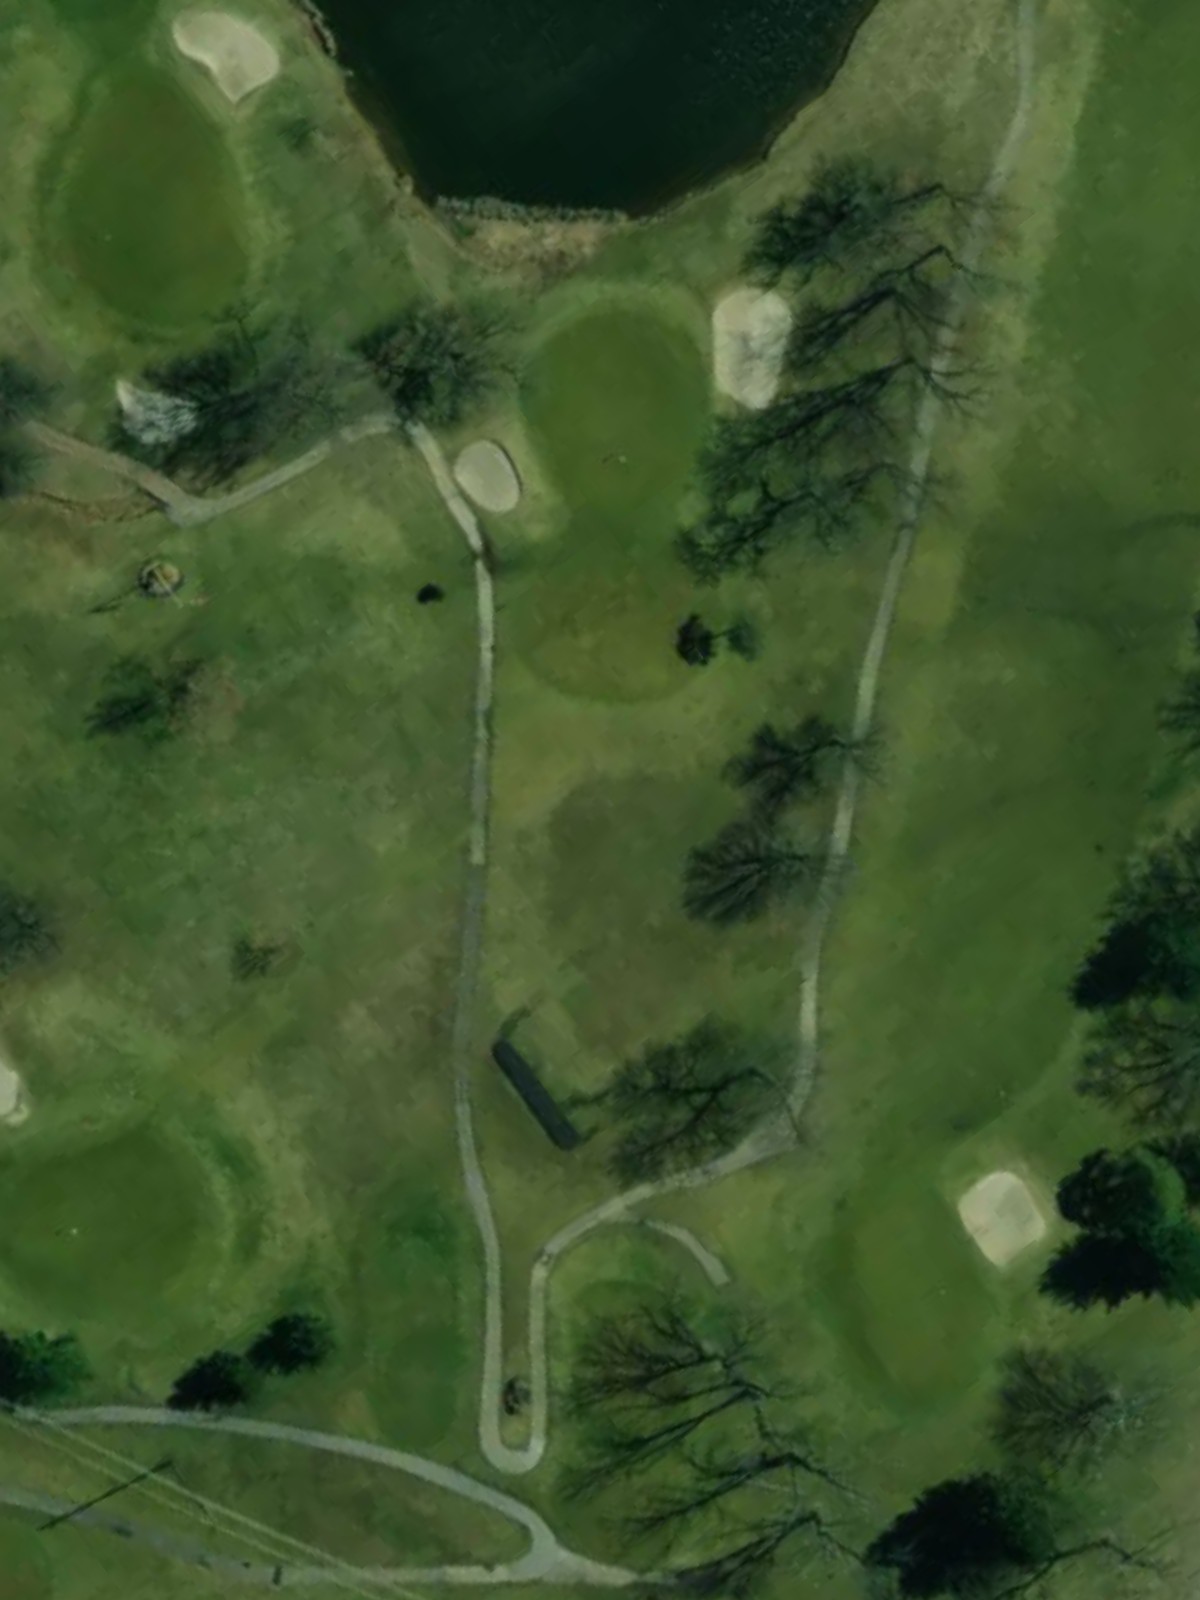
A picturesque par 3 over water to an island green, where distance control is paramount. The green's isolation makes this a dramatic short hole that demands a confident, accurate tee shot.
A long, reachable par 5 that opens with a generous driving area before the fairway tightens near the green. Strategic bunkering in the landing zones and around the putting surface rewards intelligent positioning over distance.
The stroke index 3 hole presents a formidable par 4 with a narrow, demanding layout. Bunkers and water hazards frame the fairway and green, making this one of the course's most severe tests of ball-striking.
A short, forgiving par 3 that serves as a welcome respite on the back nine. The modest length and minimal hazards make this the course's most accessible one-shot hole.
A short par 4 that plays downhill with a tight driving corridor bordered by hazards. The elevated green requires an accurate approach, with little room for error despite the hole's modest length.
A formidable stroke index 2 par 4 playing long and straight with bunkers threatening the fairway at mid-distance. The well-bunkered green demands a precise long iron or fairway wood approach for a scoring opportunity.
A tight, dramatic par 4 where length and width work against the golfer at every stage. Bunkers pinch the fairway and surround the green, making this short hole play considerably harder than its yardage.
A compact par 4 with a tight fairway that requires an accurate drive to set up an approachable second shot. Greenside bunkers and strategic hazards demand controlled ball-striking throughout.
A lengthy par 3 that tests distance judgment over hazardous terrain toward a well-protected green. The hole's length and challenging approach make it a formidable one-shot test.
A lengthy par 5 that plays as a genuine three-shot hole with strategic bunkering throughout the fairway. Water hazards and bunkers frame the approach to the green, rewarding patience and smart positioning.
The handicap 18 par 3 is the course's shortest and friendliest one-shot hole with a spacious green. Minimal bunkering makes this an excellent scoring opportunity despite its testing yardage from the back tees.
A long par 5 with an elegant design that tests strategy and distance control over its full length. Well-placed bunkers throughout and a tiered green reward intelligent routing and solid execution.
The finishing par 4 plays relatively short but demands accuracy with hazards framing both sides of the fairway and green. A dramatic closer that requires a composed approach to end the round with a birdie opportunity.
Scorecard
| Hole | 1 | 2 | 3 | 4 | 5 | 6 | 7 | 8 | 9 | Out | 10 | 11 | 12 | 13 | 14 | 15 | 16 | 17 | 18 | In | Tot |
|---|---|---|---|---|---|---|---|---|---|---|---|---|---|---|---|---|---|---|---|---|---|
| Par | 4 | 4 | 4 | 3 | 4 | 3 | 5 | 4 | 3 | 34 | 4 | 4 | 4 | 4 | 3 | 5 | 3 | 5 | 4 | 36 | 70 |
| HCP | 11 | 9 | 1 | 13 | 7 | 15 | 5 | 3 | 17 | 14 | 2 | 4 | 10 | 12 | 8 | 18 | 6 | 16 | |||
| blue | 382 | 409 | 413 | 182 | 405 | 165 | 518 | 371 | 135 | 2980 | 296 | 455 | 328 | 337 | 202 | 503 | 157 | 498 | 330 | 3106 | 6086 |
| white | 366 | 395 | 364 | 170 | 392 | 151 | 484 | 356 | 125 | 2803 | 289 | 441 | 315 | 327 | 190 | 472 | 149 | 483 | 318 | 2984 | 5787 |
| gold | 338 | 329 | 302 | 145 | 306 | 118 | 437 | 303 | 115 | 2393 | 260 | 335 | 255 | 241 | 140 | 394 | 123 | 423 | 255 | 2426 | 4819 |