Kiawah Island Club is an 18-hole golf course in Charleston, SC with a par of 72. It offers 3 tee sets: forward (4,995 yards, slope 122, rating 64.8), forward s (4,045 yards, slope 114, rating 61.2), junior level 1 (3,000 yards, slope 101, rating 56.4). The hardest hole is #18, a par 4 playing 290 yards from the first tee.
Kiawah Island Club
Charleston, SC
Get PDF Yardage Book
We'll email you the PDF link. No spam, ever.
Create Your Game Plan
Pick your tees, enter your bag, and get a personalized shot-by-shot strategy for every hole.

A straightforward par 4 playing to a receptive green with modest length. The fairway is fairly open, though bunkers protect the right side of the green and demand accuracy on the approach.
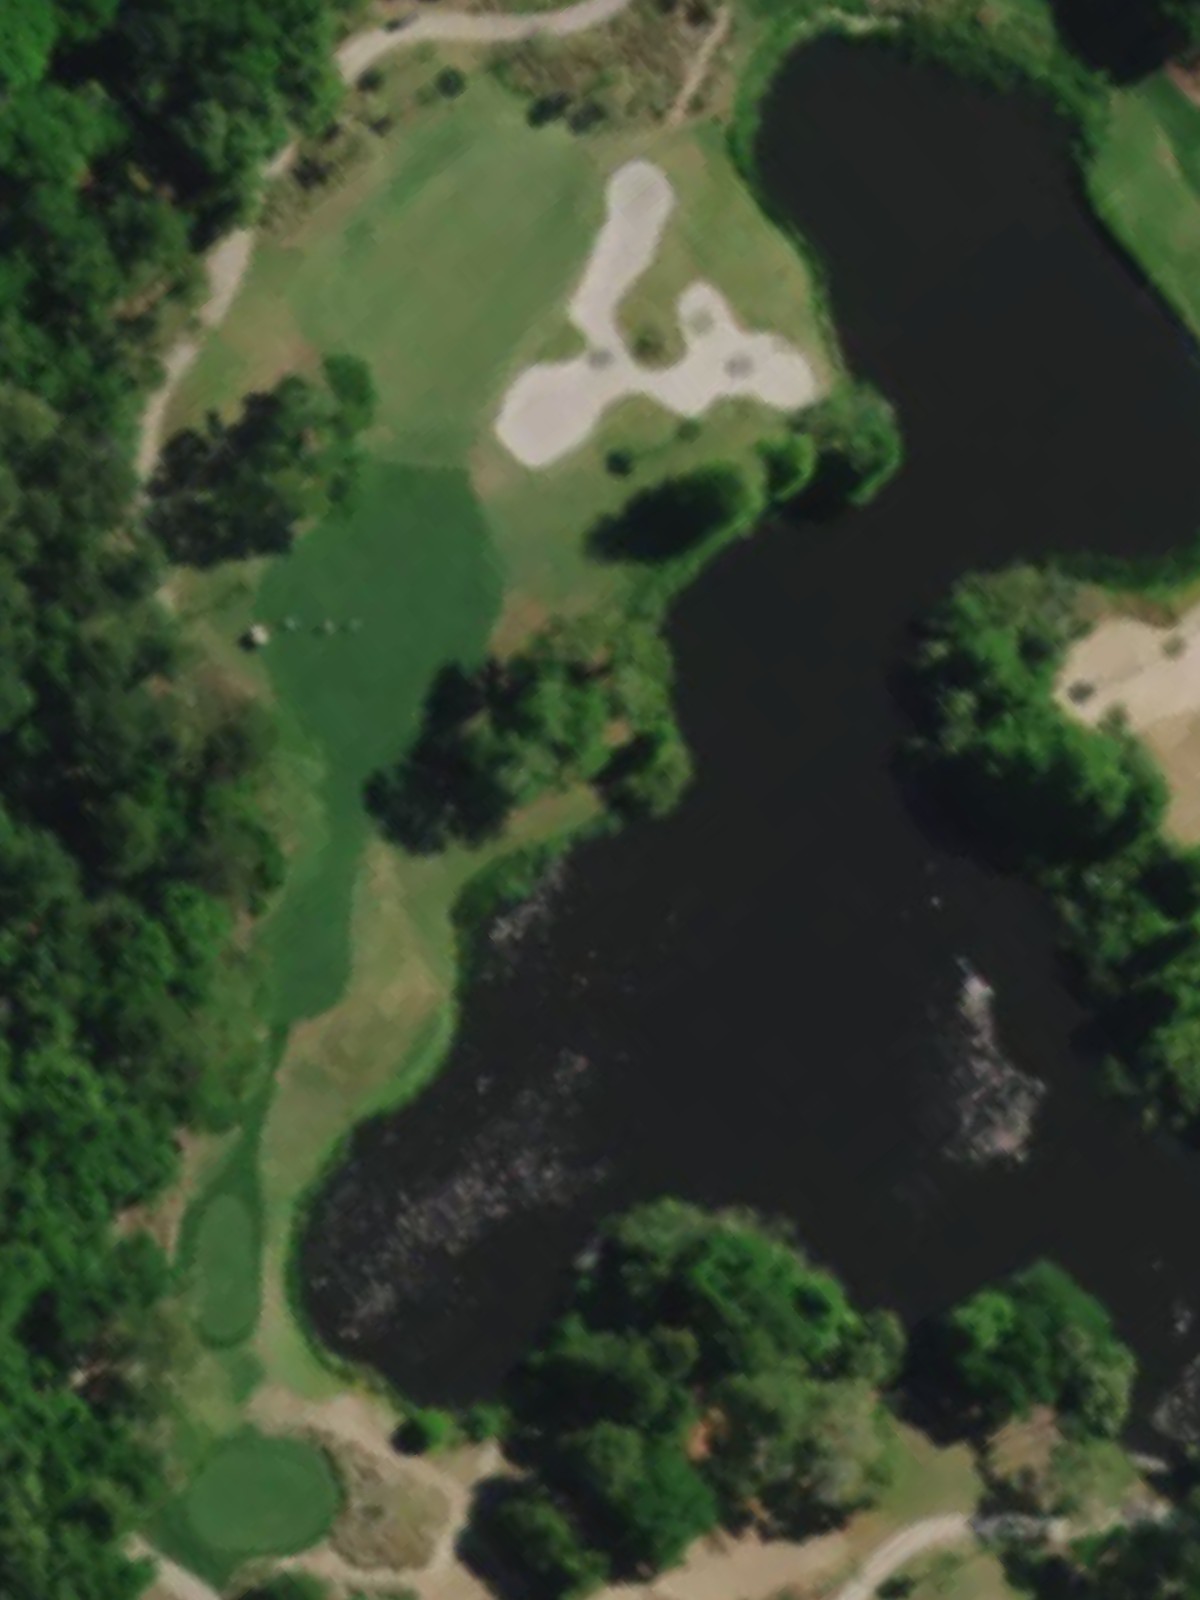
A reachable par 5 with a wide fairway that provides good scoring opportunity. Water hazards frame the left side of the hole, while the green is guarded by bunkers that reward precision on the second or third shot.
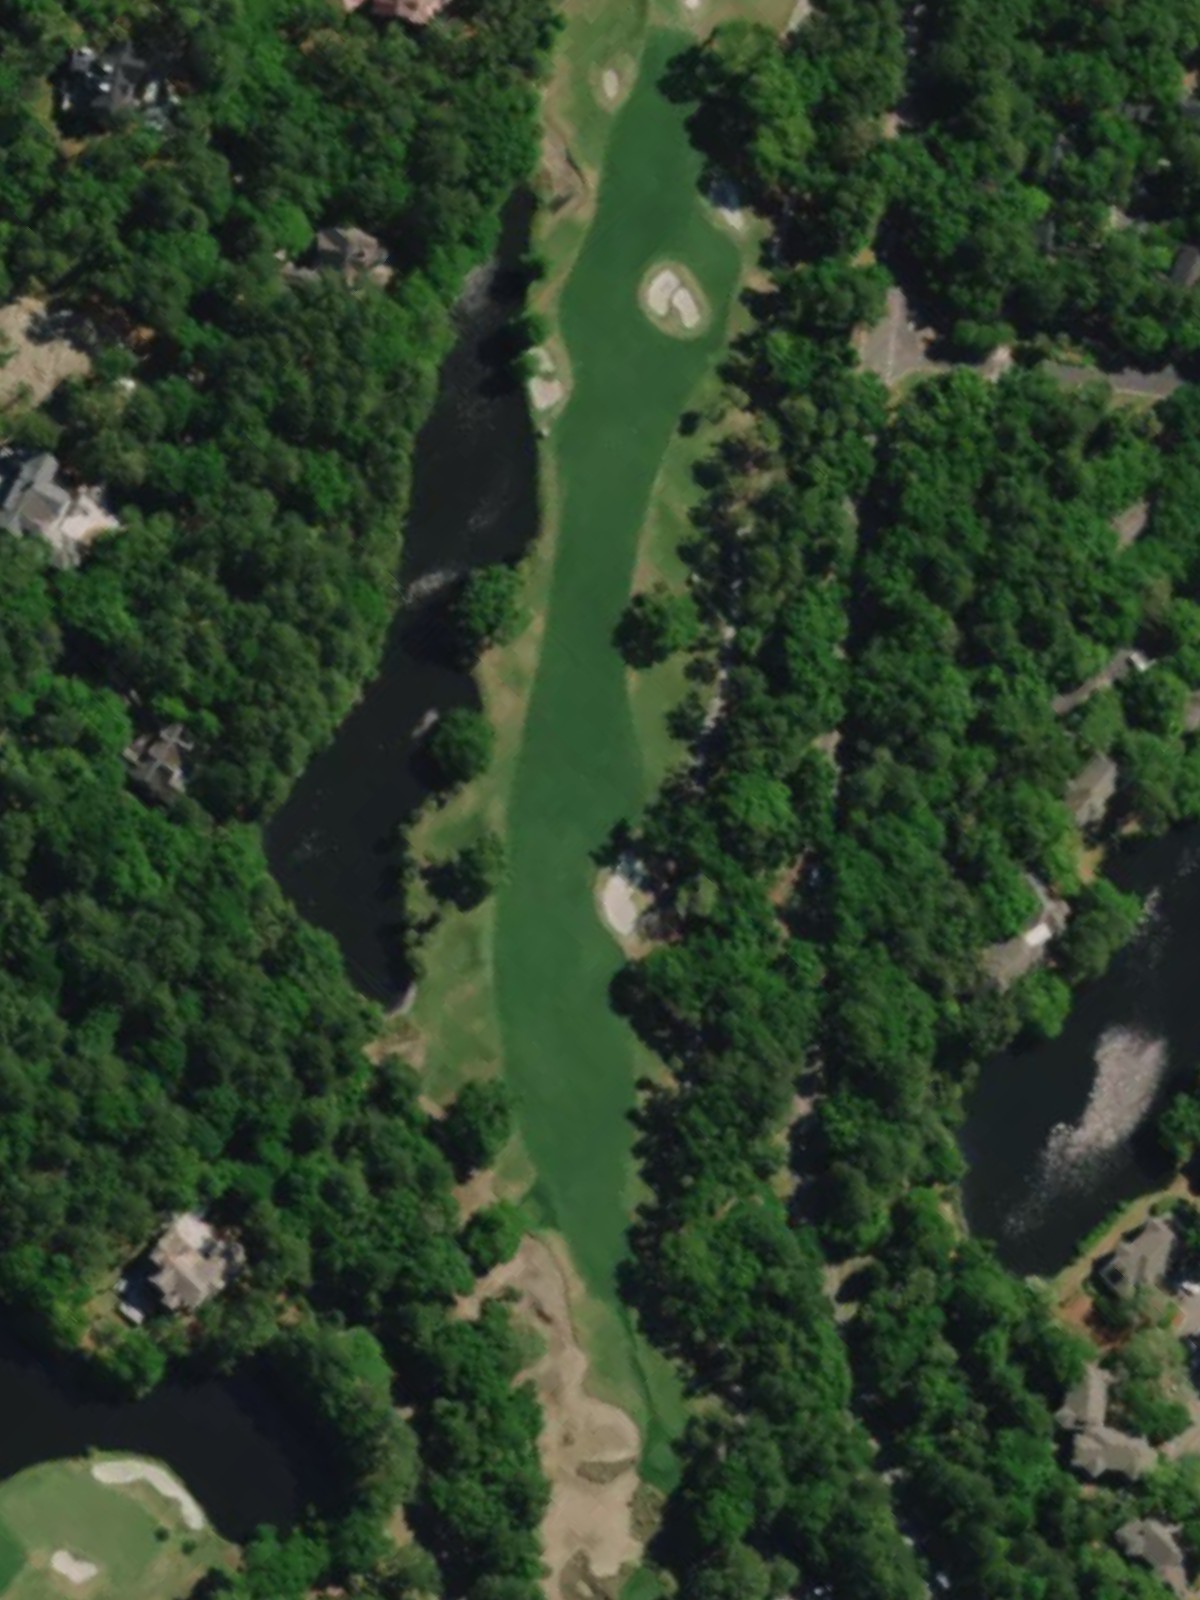
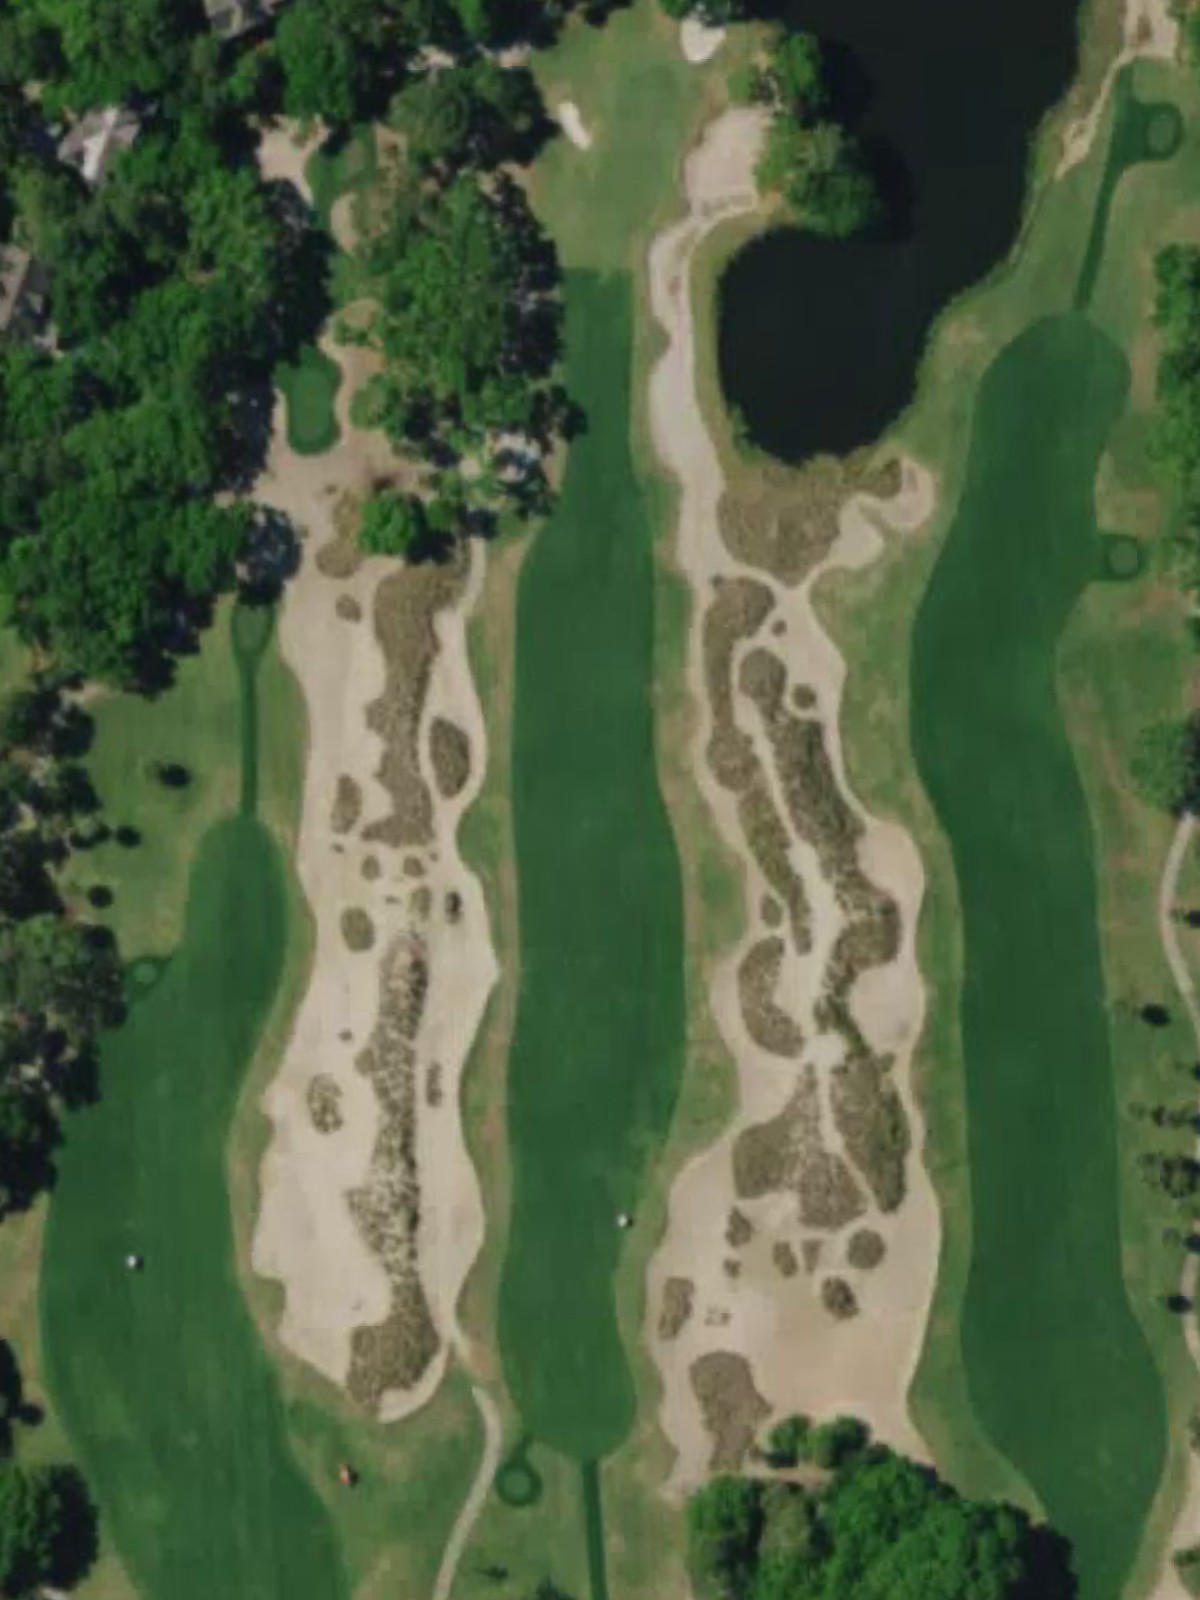
A challenging par 4 that ranks among the course's most difficult holes. Bunkers and potential water hazards left demand a well-struck tee shot, and the green narrows considerably, leaving little room for error on the approach.
A short par 4 that plays downhill and offers a relatively forgiving tee shot into an open fairway. The green is relatively undefended, making this one of the course's more accessible holes.
A brief par 3 playing under 100 yards, making it one of the shortest holes on the course. The compact green demands accuracy despite the modest yardage.
A lengthy par 5 with an open fairway that provides birdie opportunity for longer hitters. Bunkers scattered throughout and water left require careful positioning on both the drive and subsequent shots.
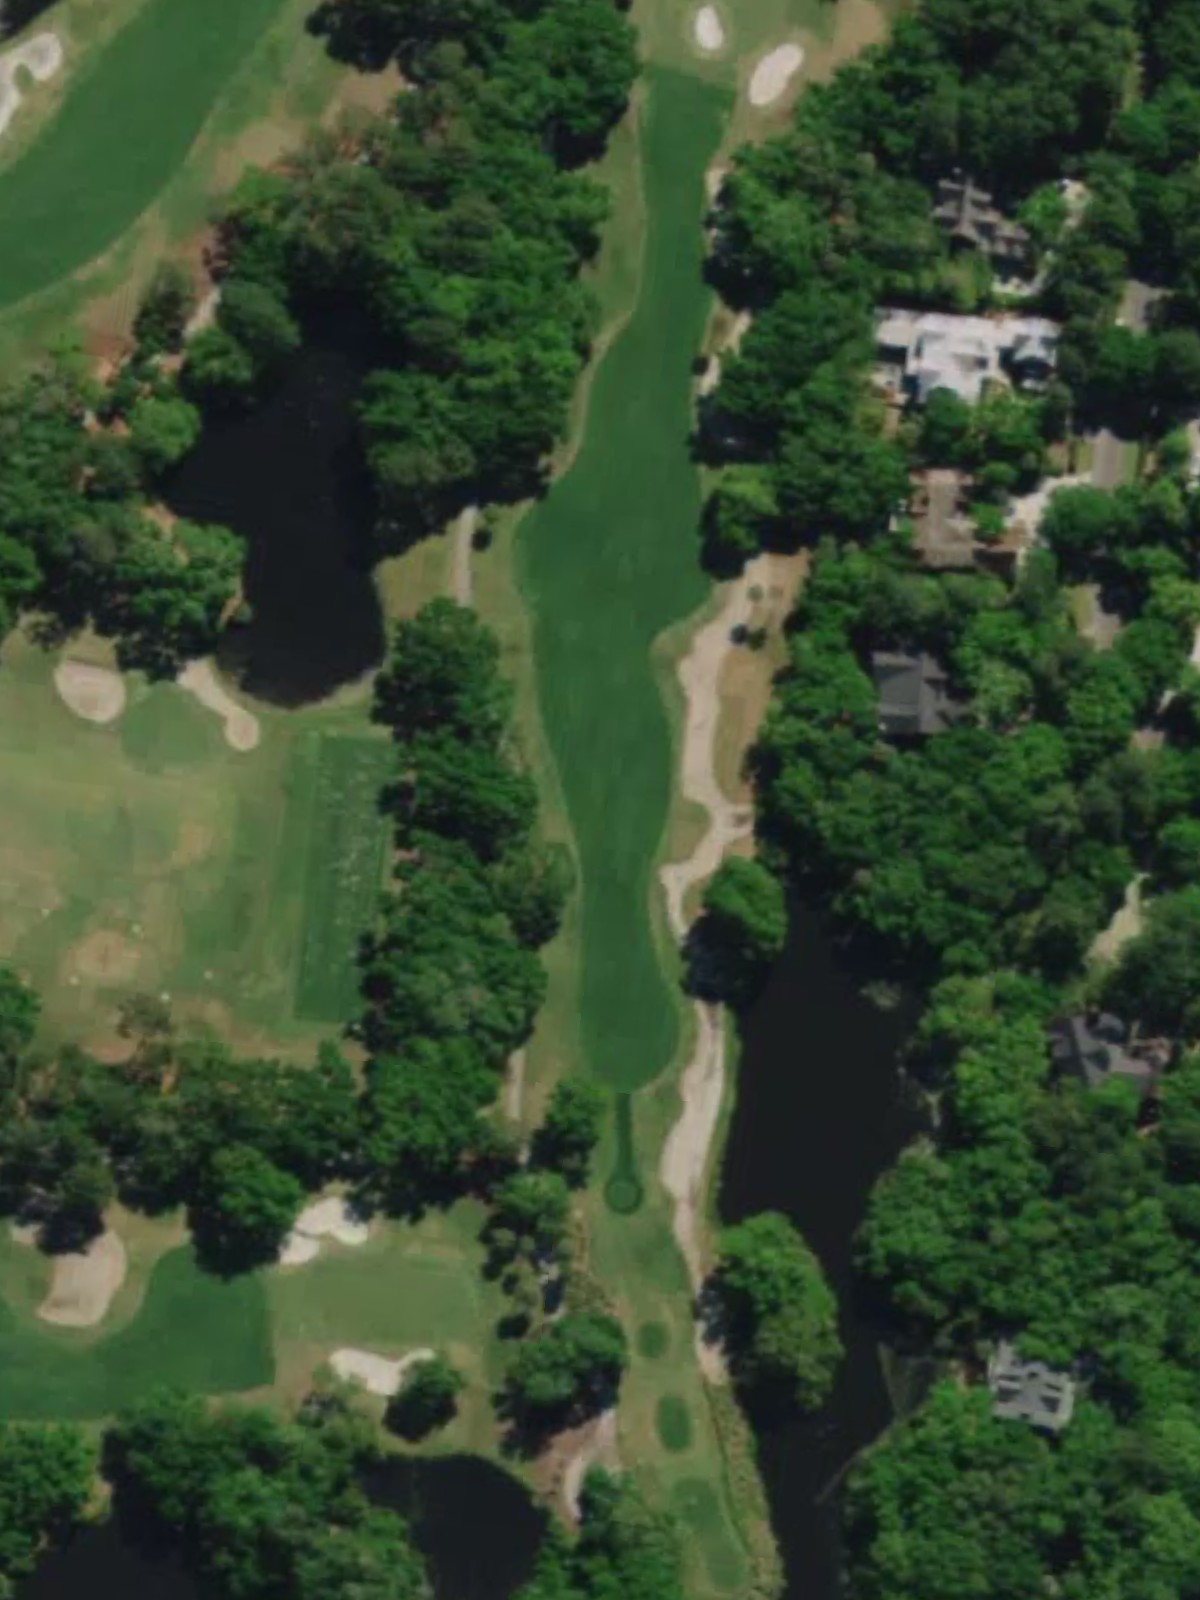
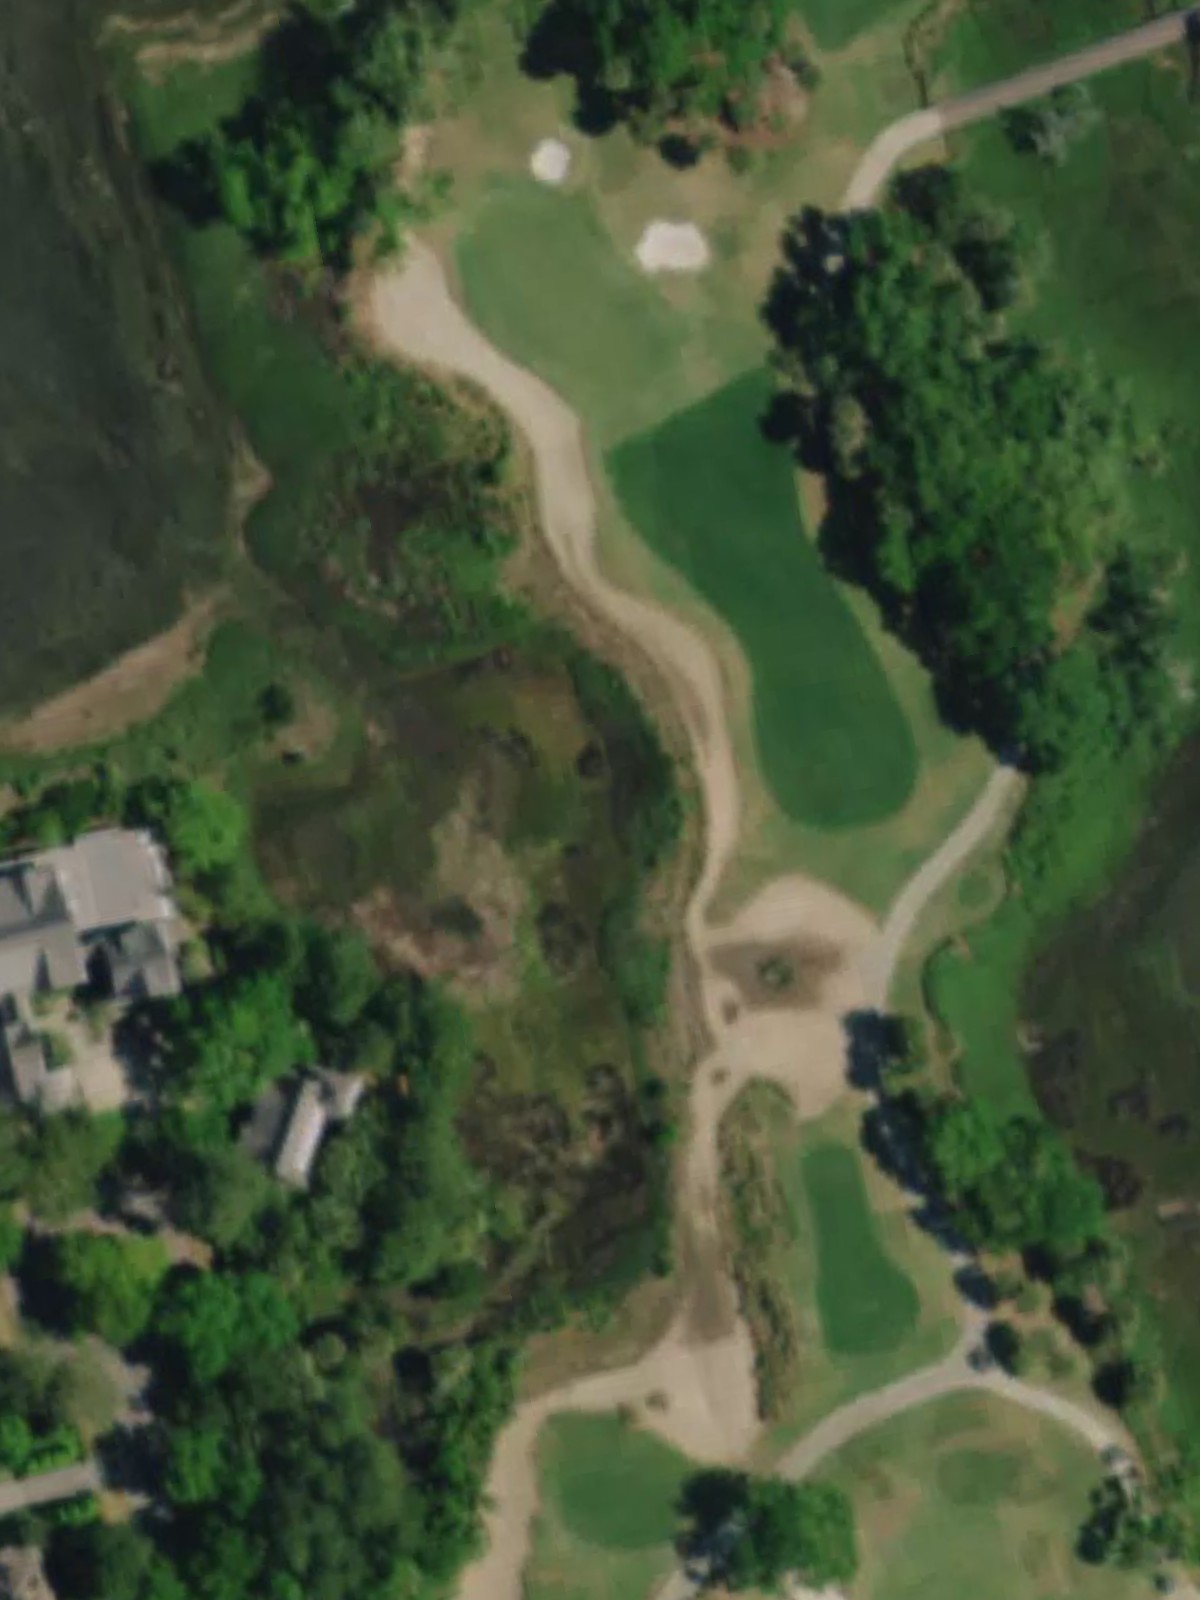
A short par 3 that plays around 110 yards with a modest but well-defined green. Water or bunker hazards surround the putting surface, making club selection and accuracy critical.

A deceptively short par 4 playing under 250 yards that requires precision rather than power. The narrow fairway and tight green demand well-controlled shots despite the limited yardage.
The second-hardest hole on the course, this par 4 presents a stiff test with a tight fairway. Significant hazards left and right of the green, combined with its length, make this a demanding finishing stretch opener.
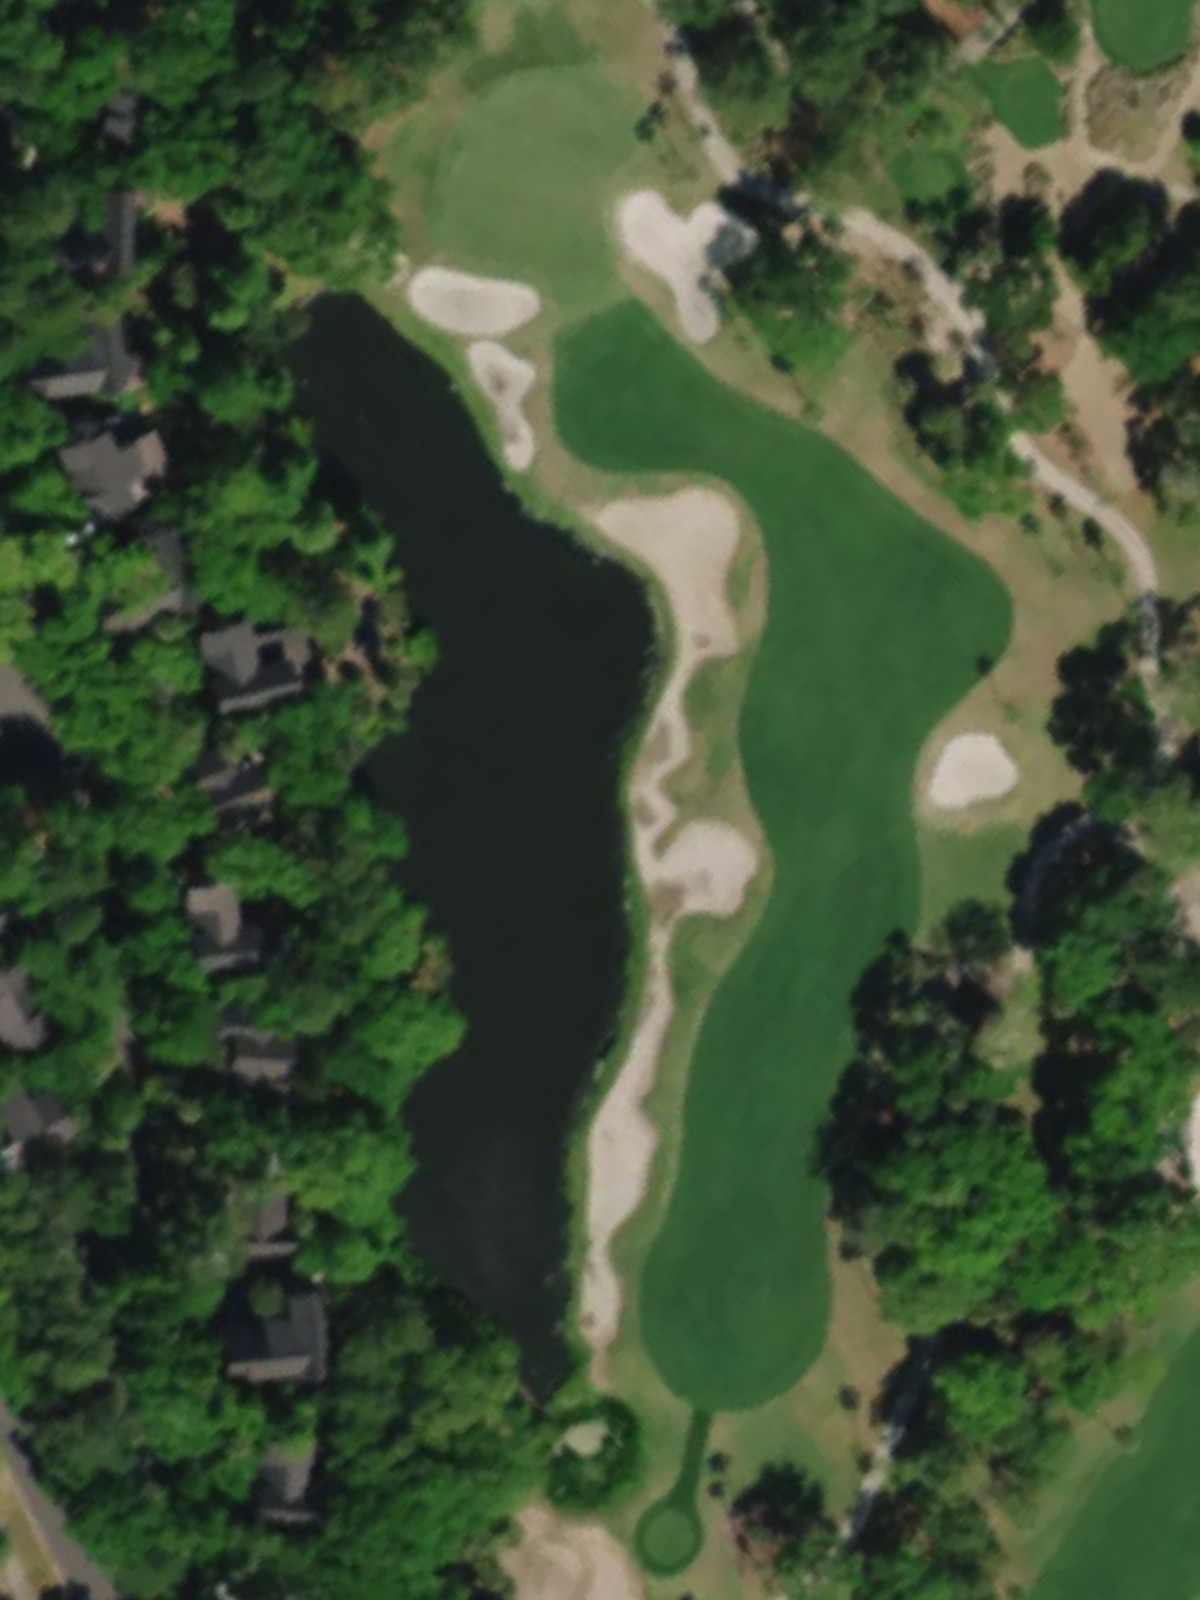
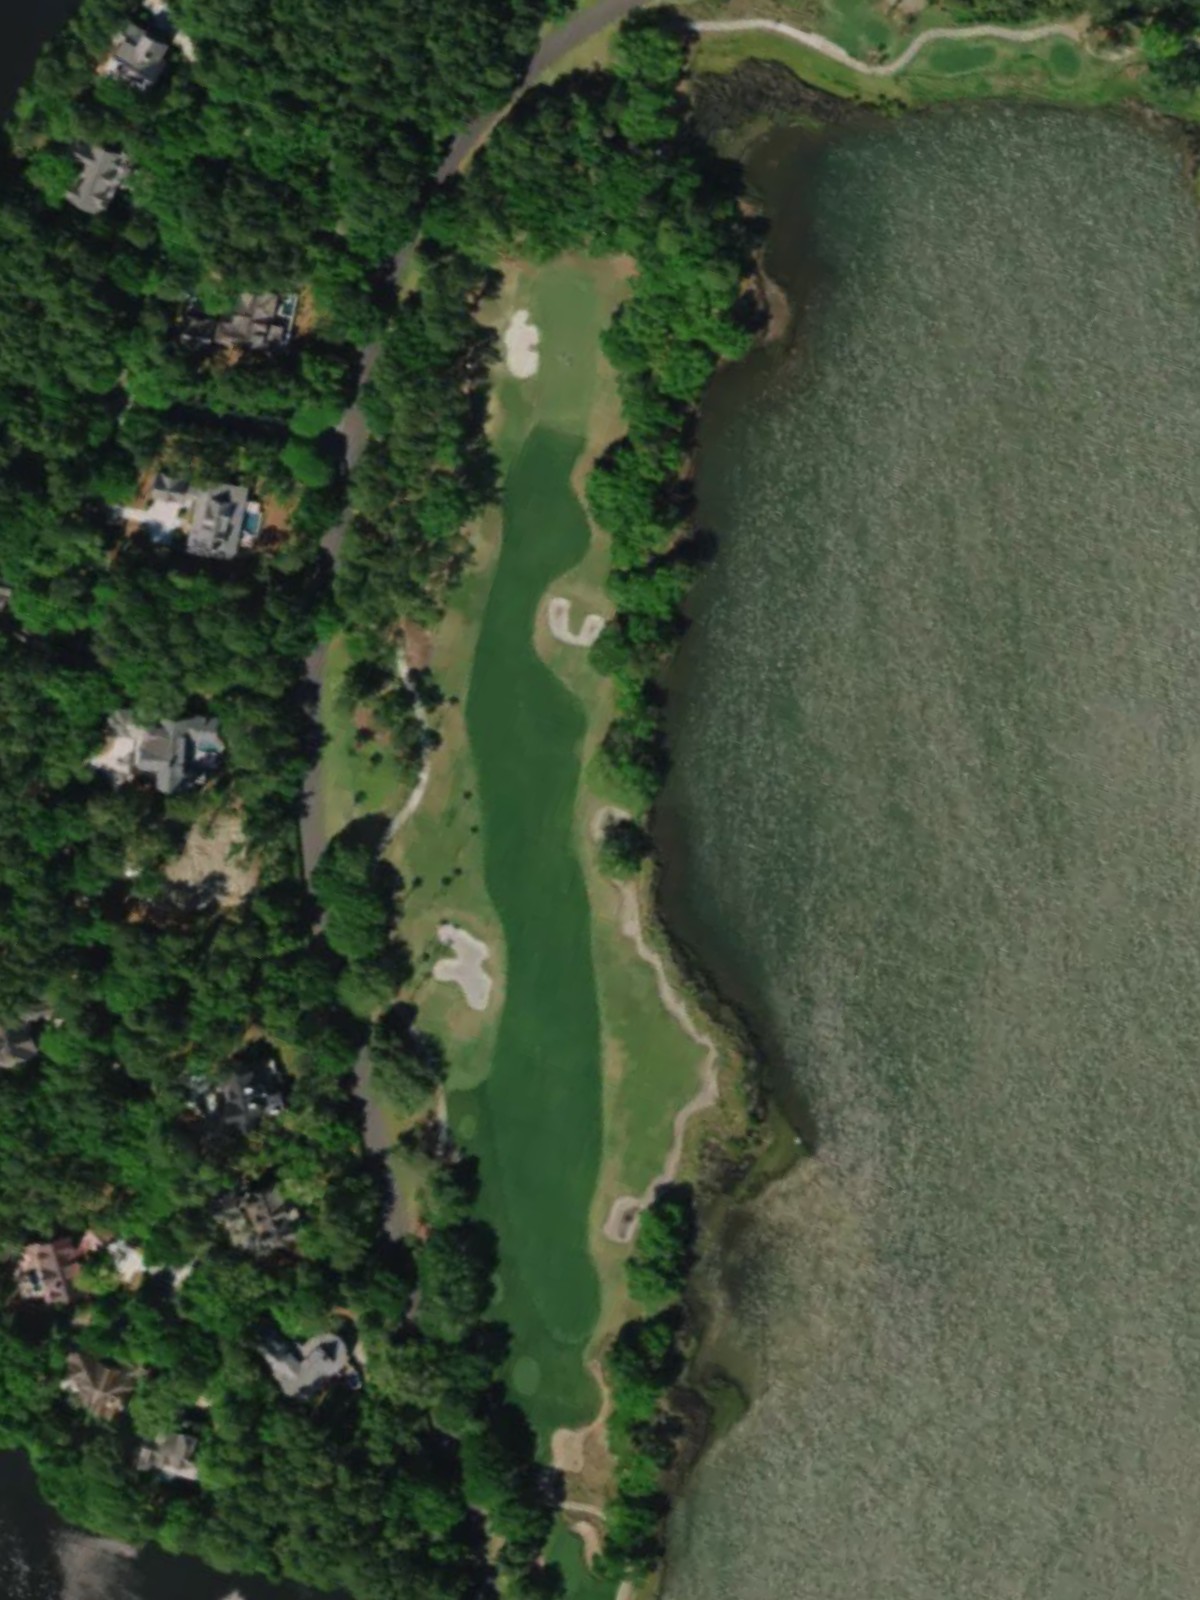
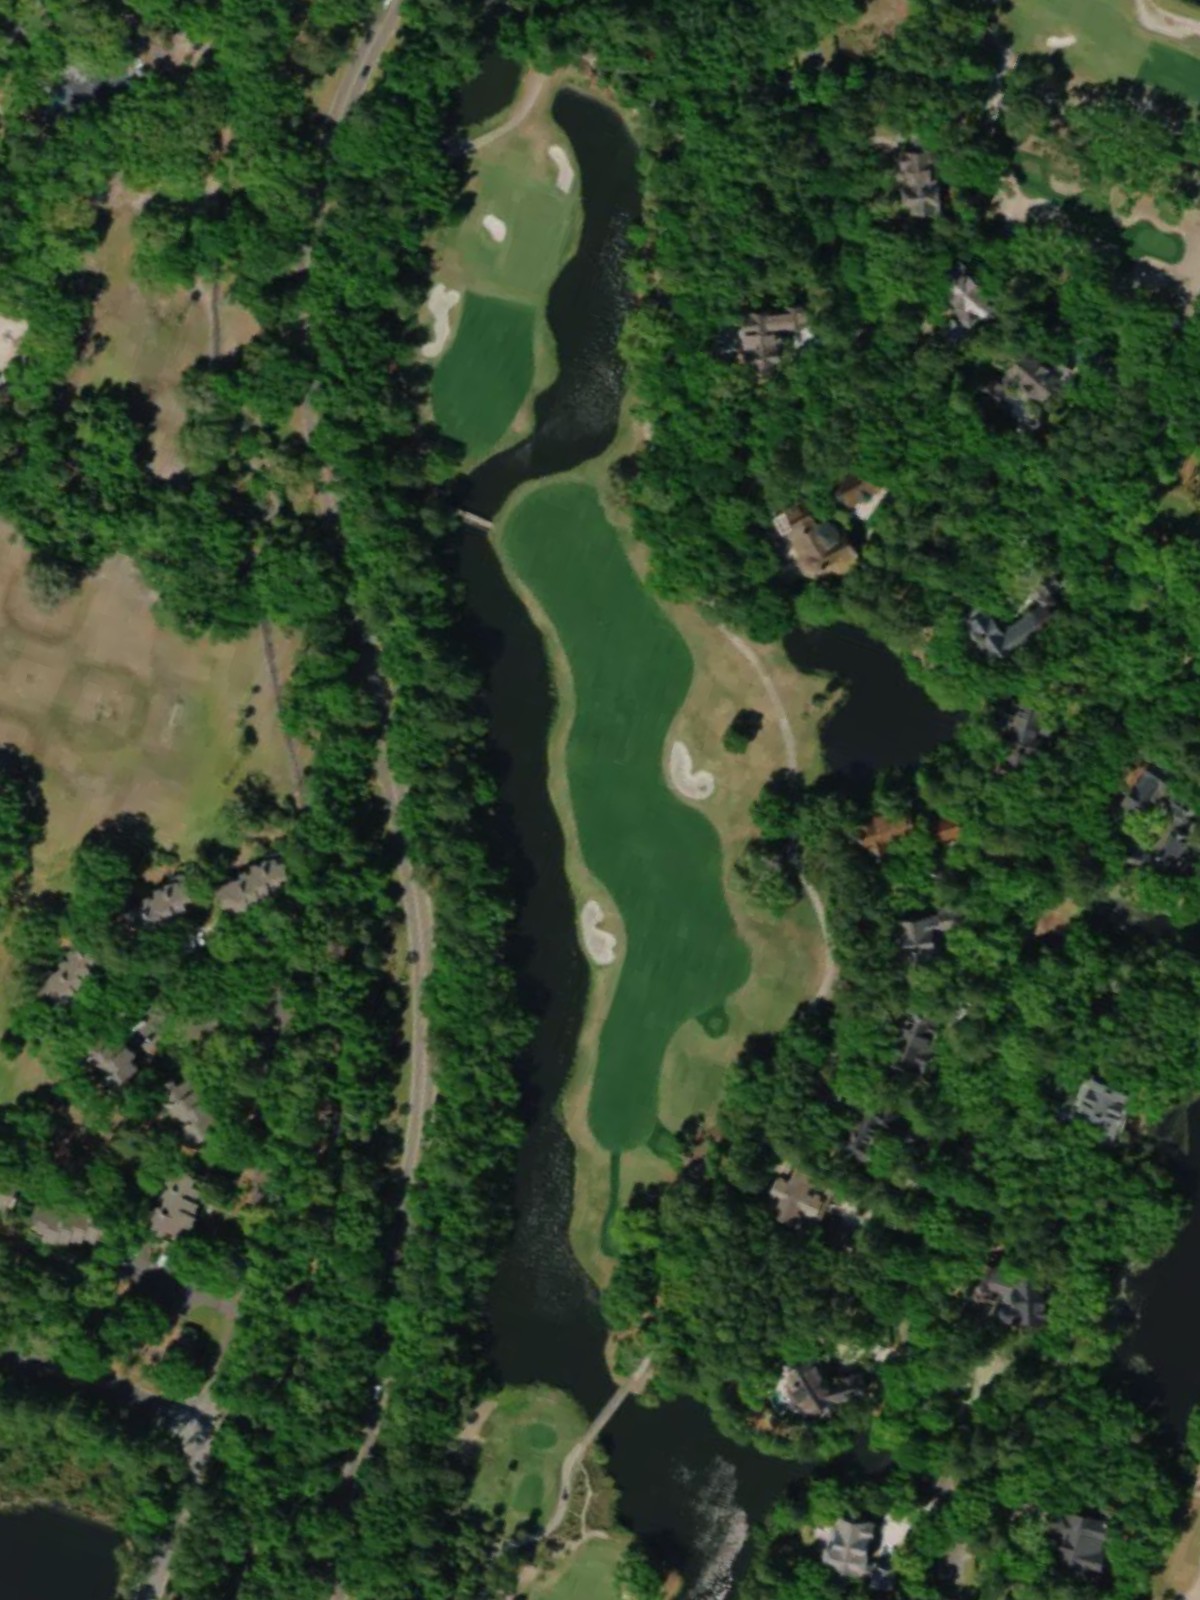
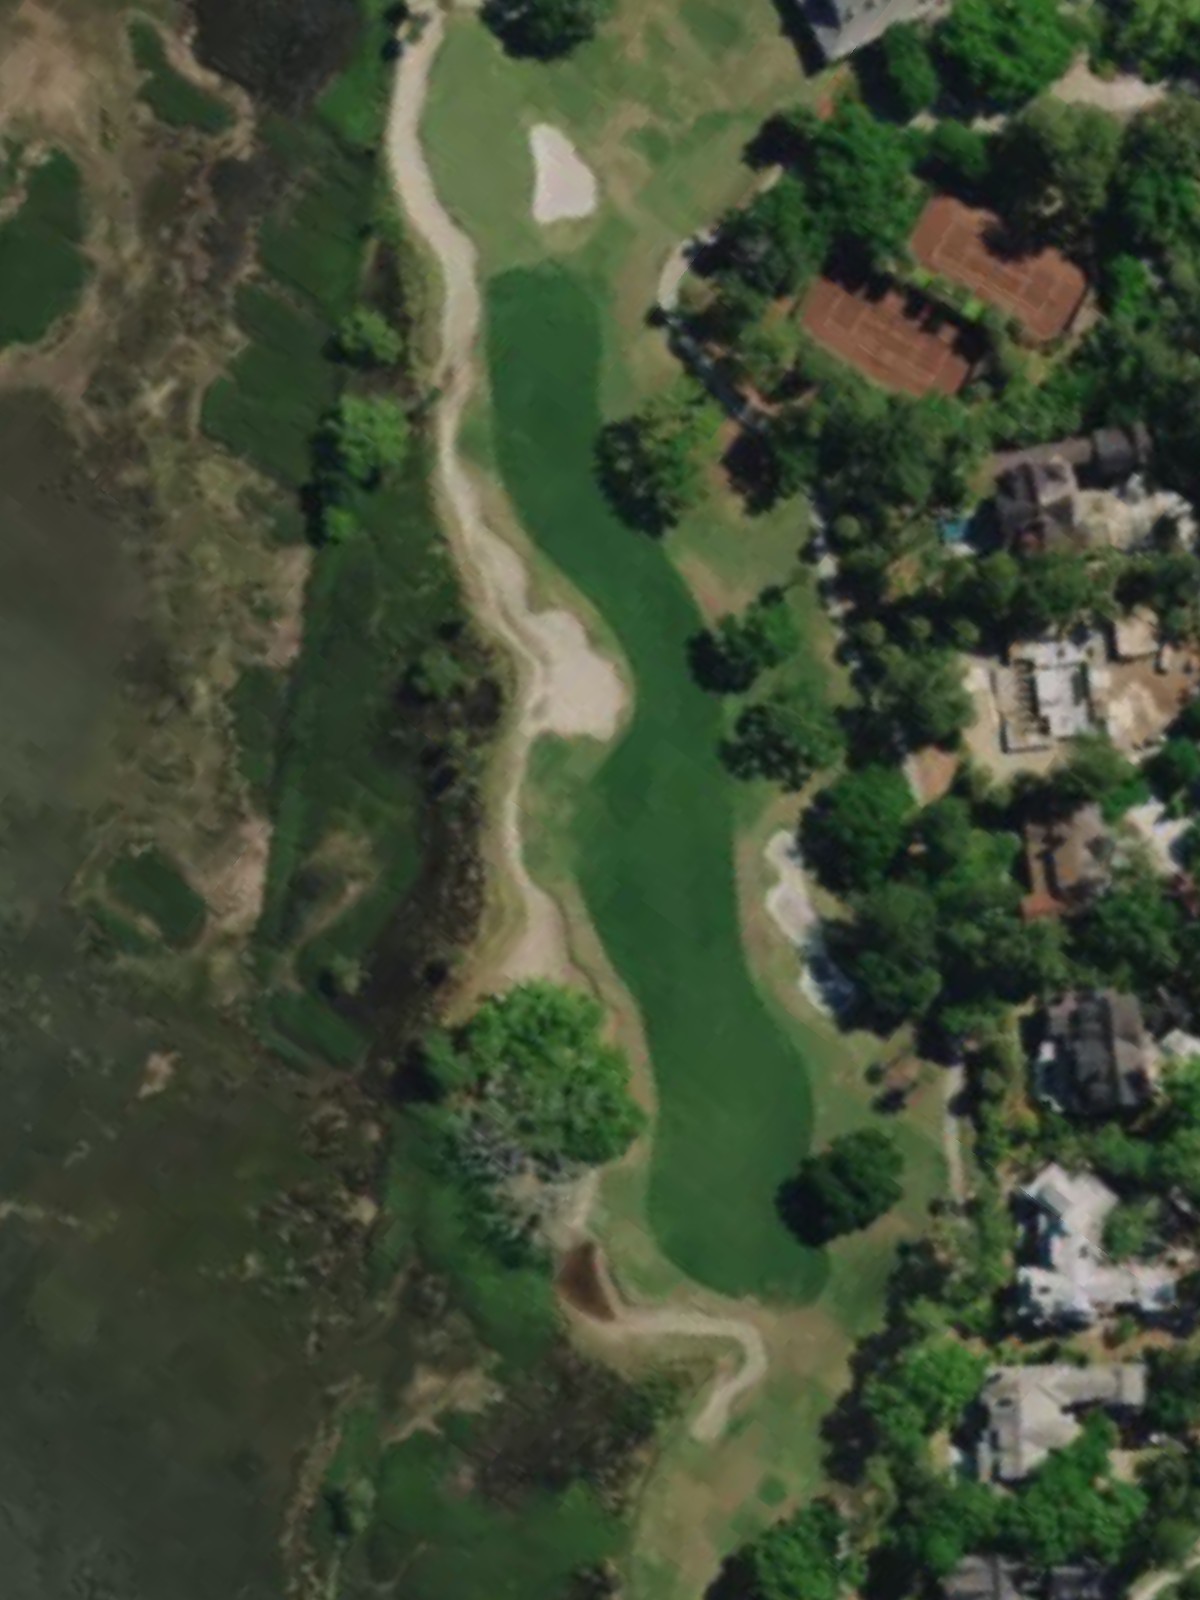
A mid-length par 4 with a fairway that tightens as it approaches the green. Bunkers and water hazards on the right side of the hole demand a controlled tee shot and accurate approach play.
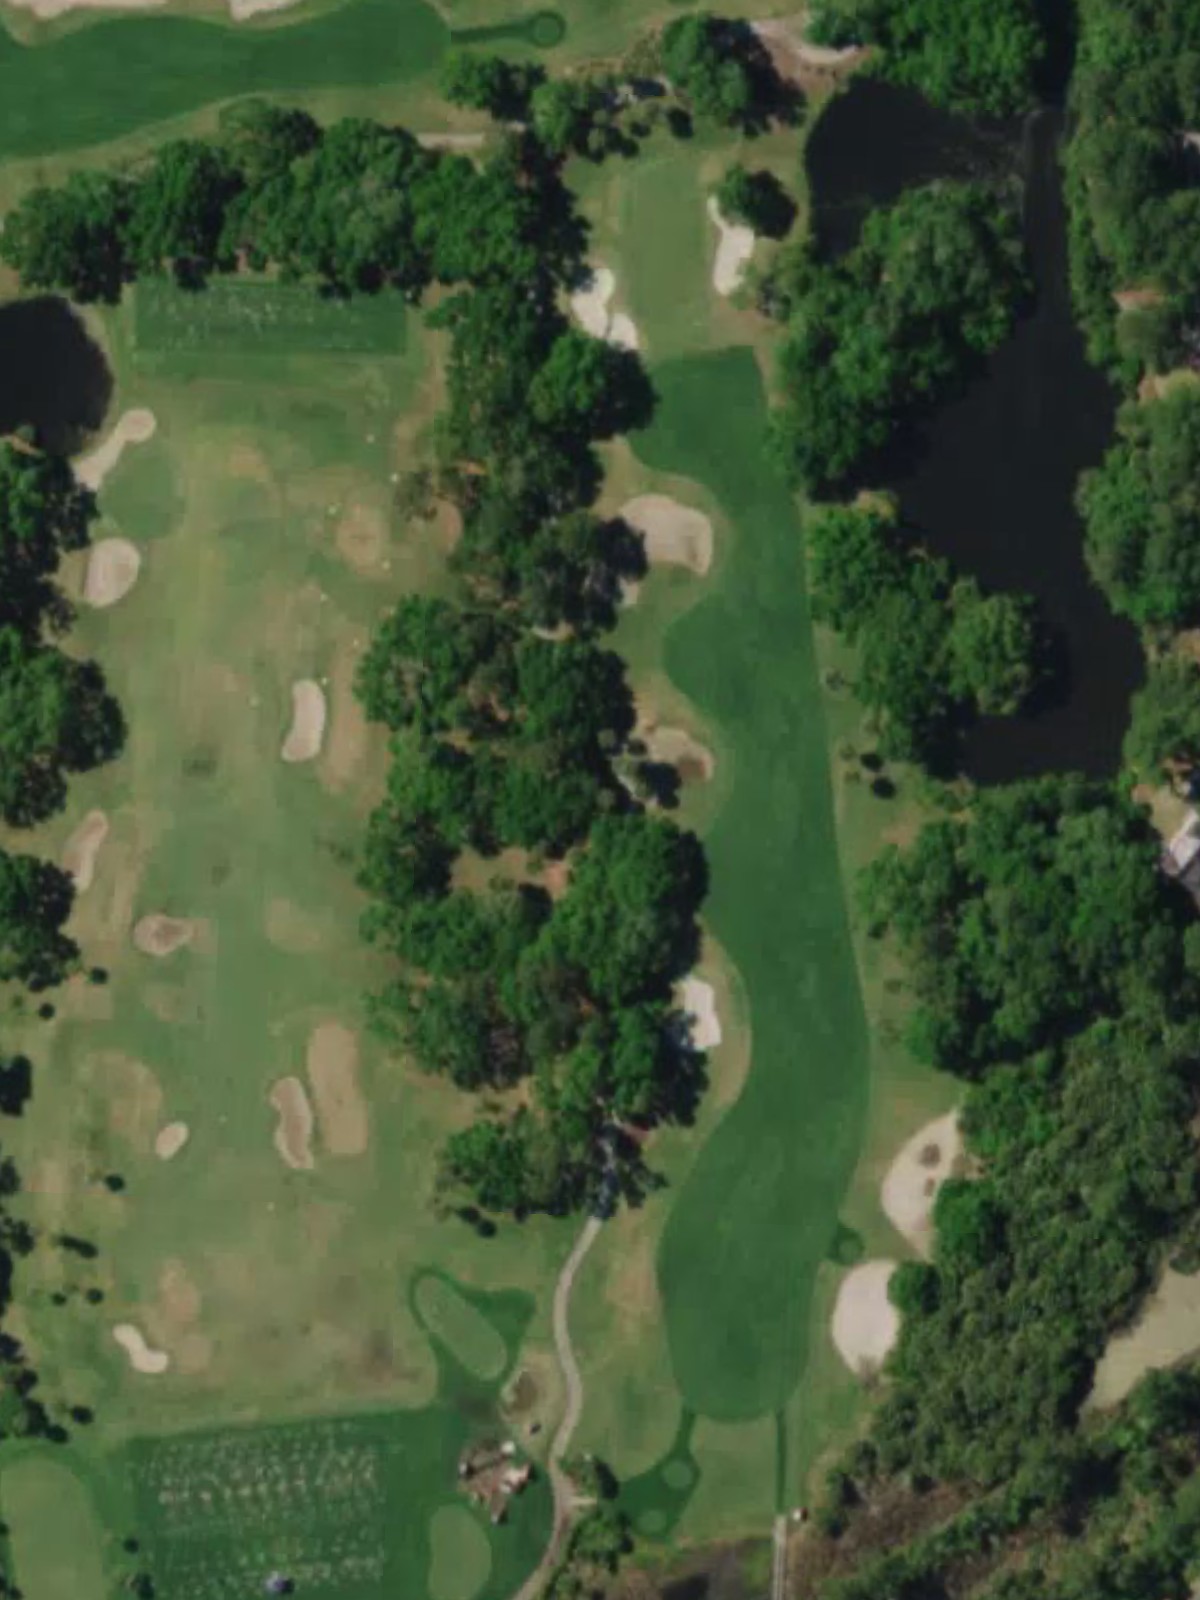
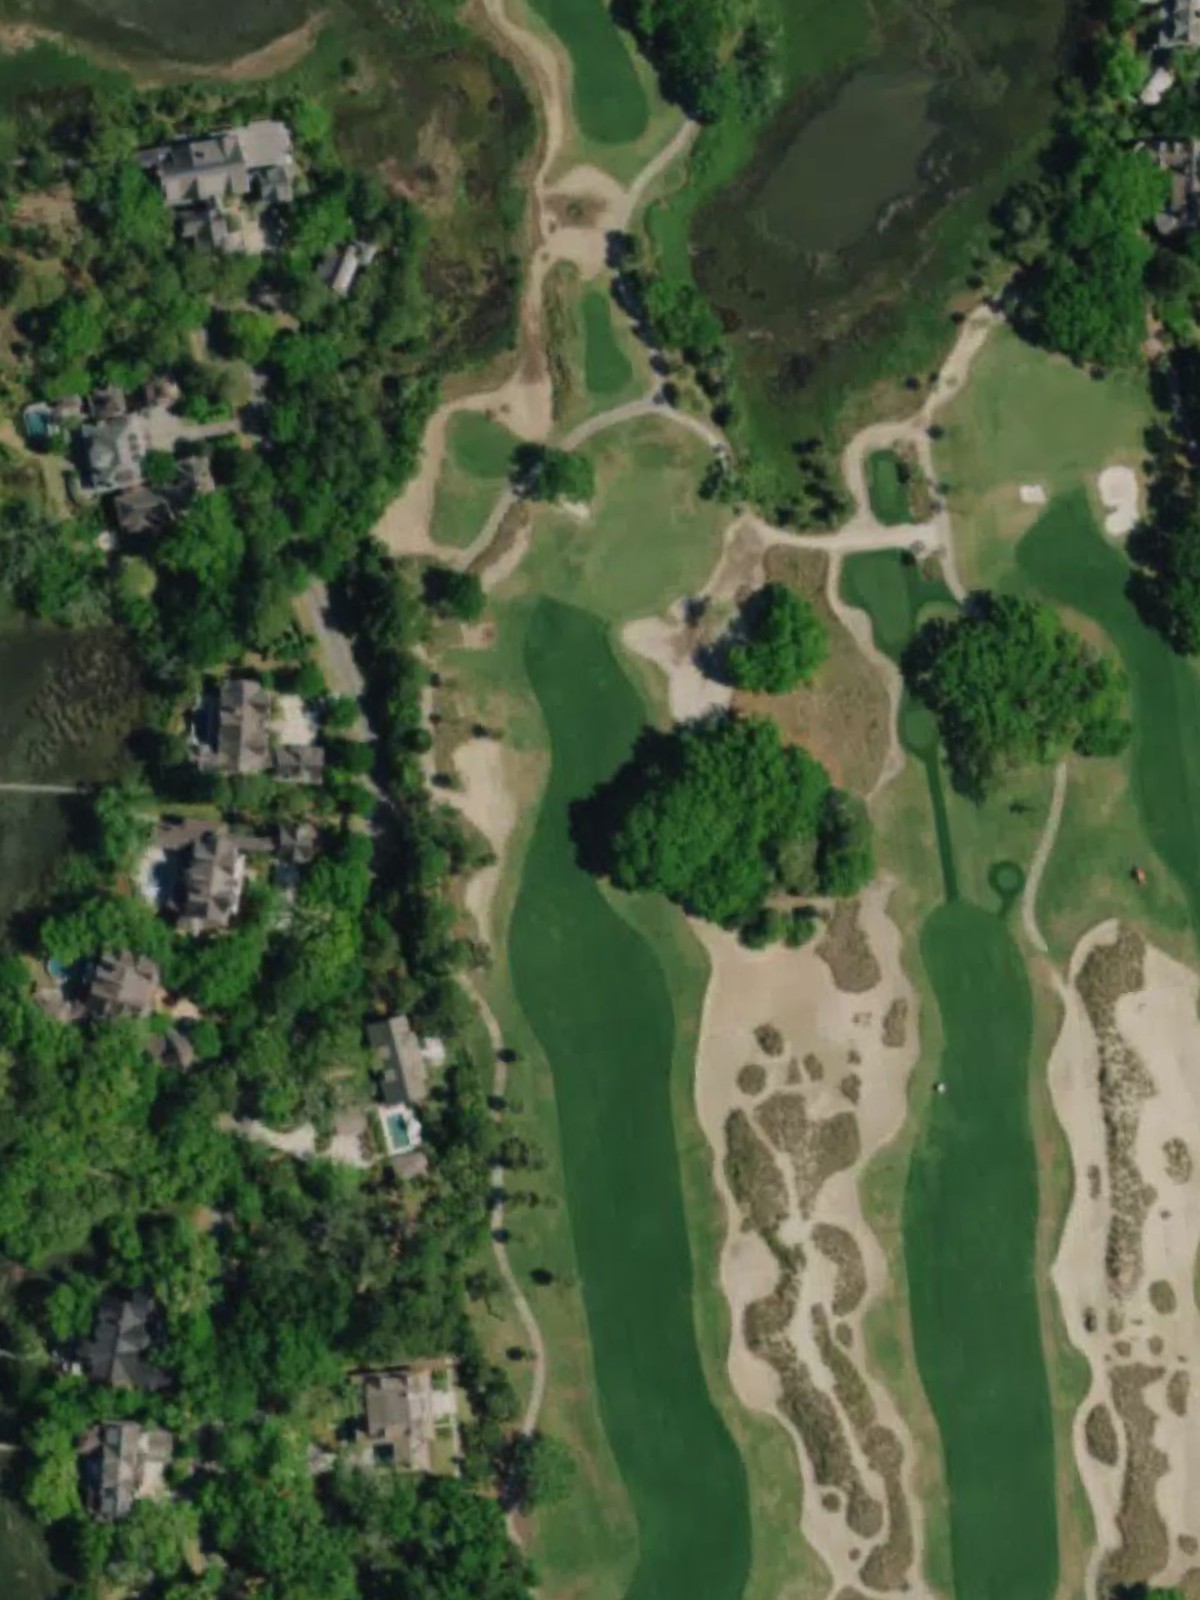
A substantial par 5 and one of the course's most challenging holes, requiring strategic placement over two shots before the approach. Water and bunkers guard the left side throughout, while the green is well-protected.
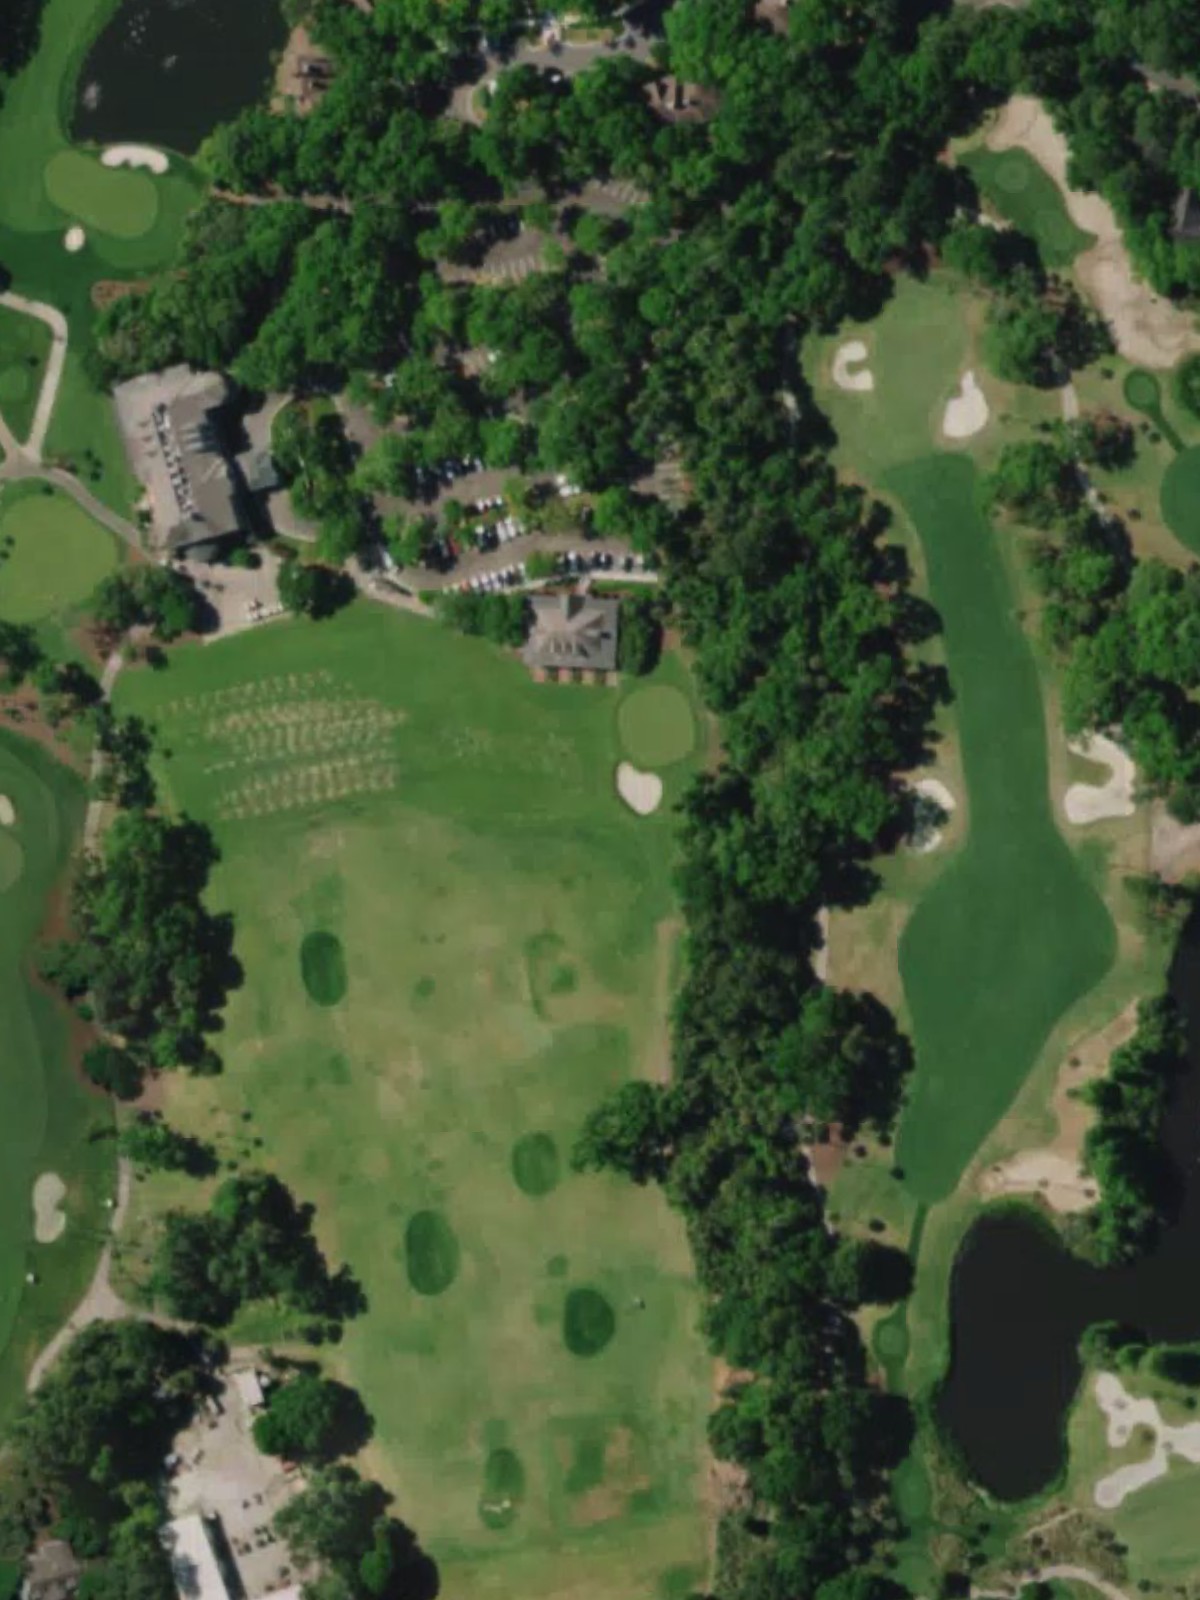
A manageable par 4 with a relatively open layout that provides a birdie opportunity. Fairway bunkers and greenside hazards are present but not overly punitive, making accuracy the primary demand.
A short par 3 playing just over 100 yards to a small, well-guarded green. Despite its brevity, bunkers and water surrounding the putting surface demand a precise tee shot.
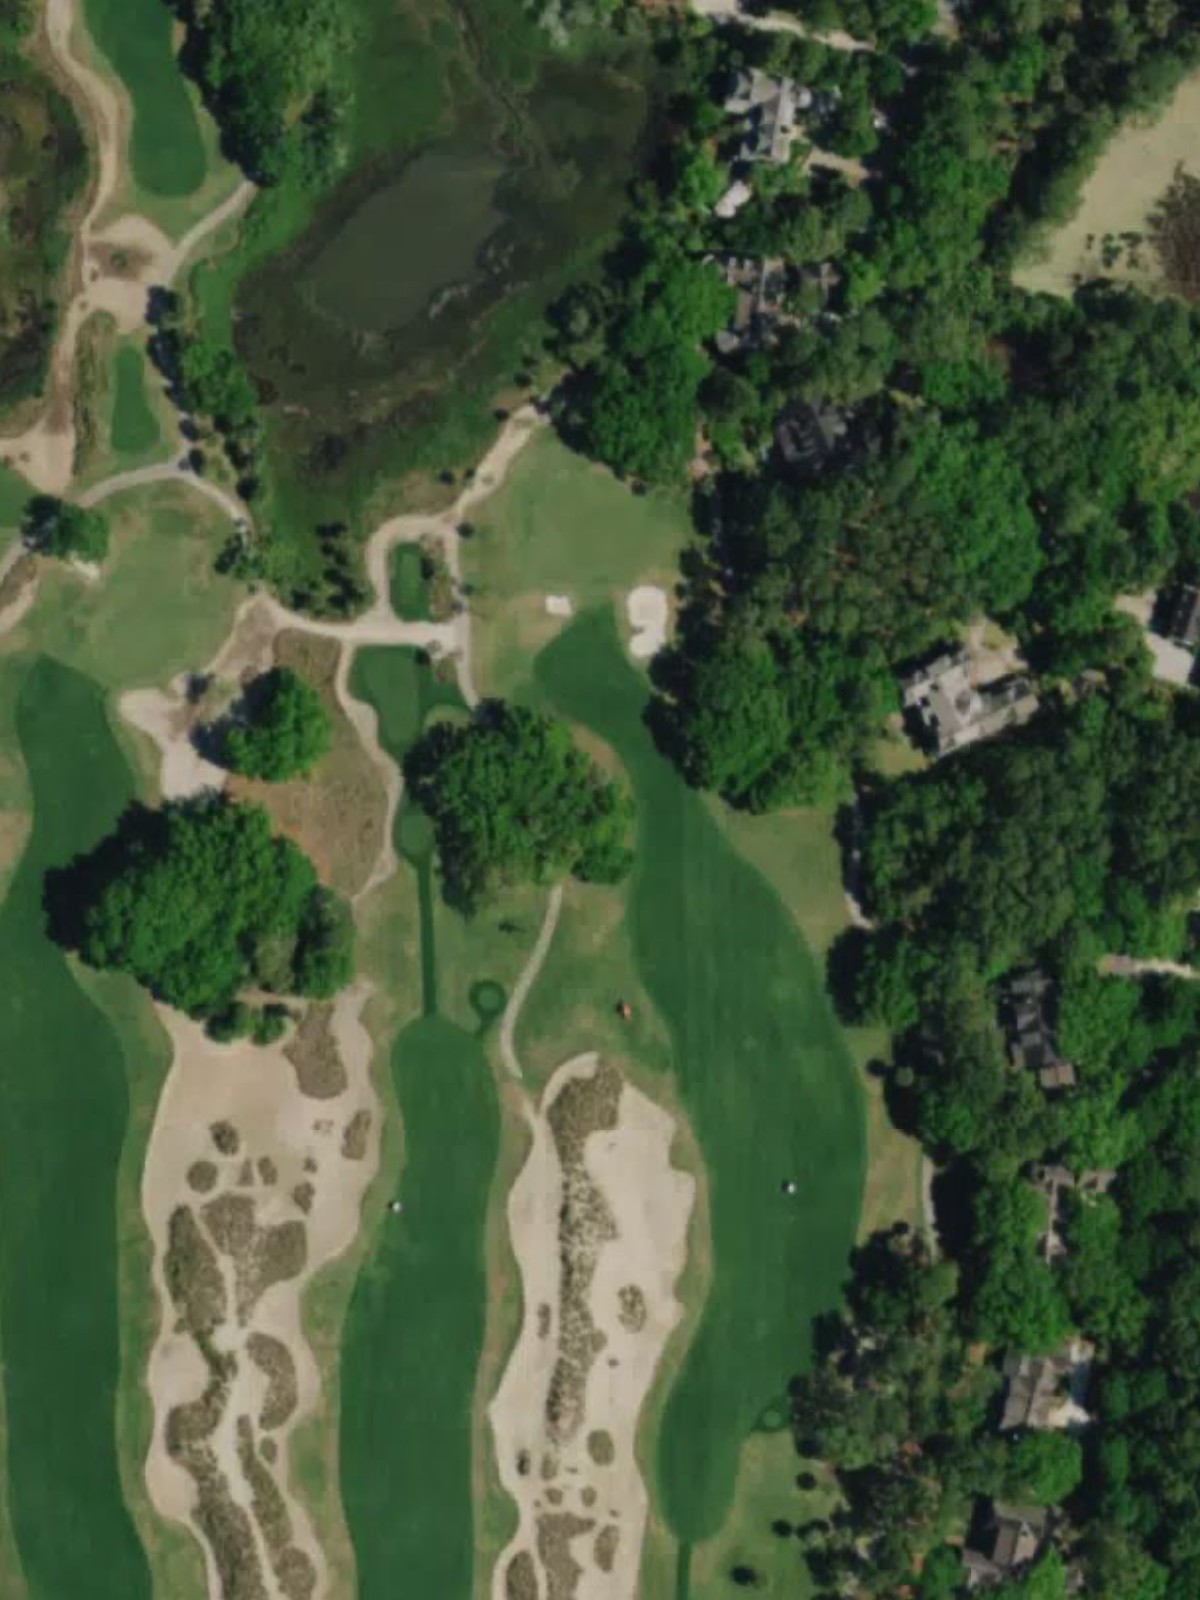
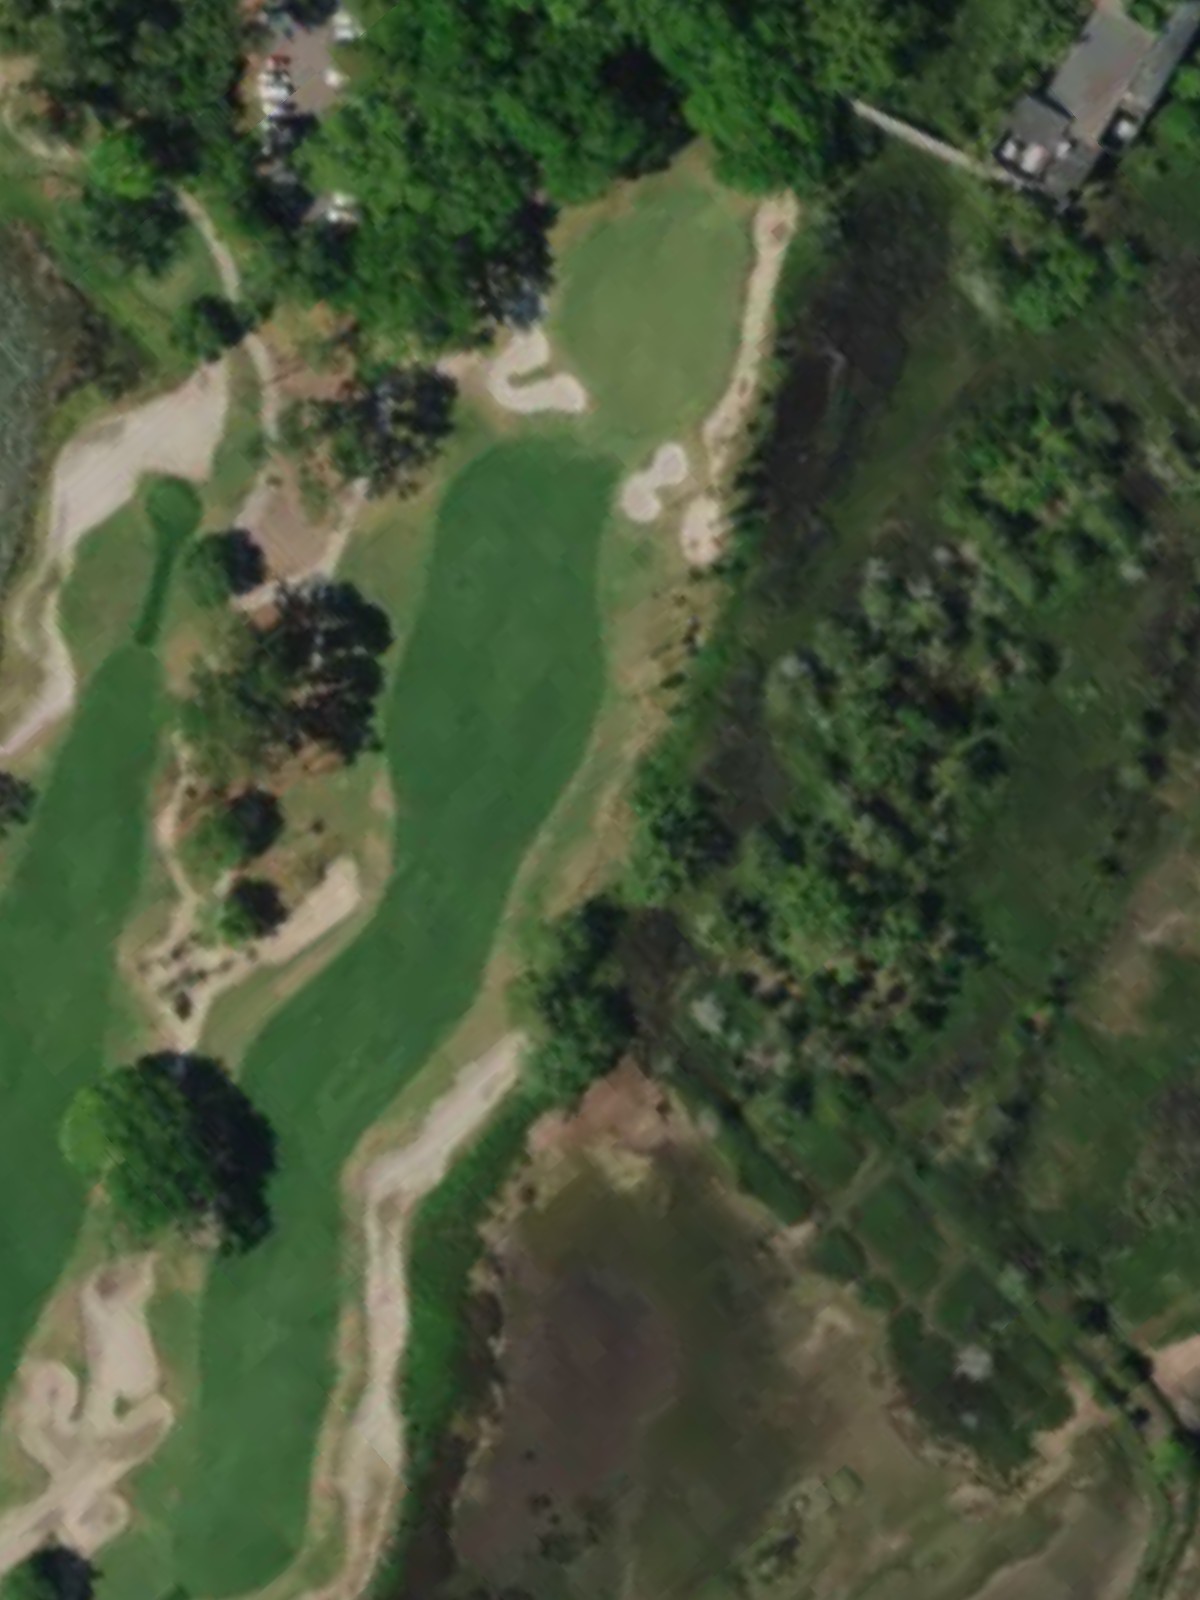
The third-hardest hole on the course, this par 4 combines length with tight confines around the green. Water or out-of-bounds left and bunkers right create a claustrophobic approach corridor.
A par 5 with moderate length and an inviting fairway that encourages aggressive play. Hazards intensify as the hole progresses, with water and bunkers creating a challenging finish to the scoring opportunity.
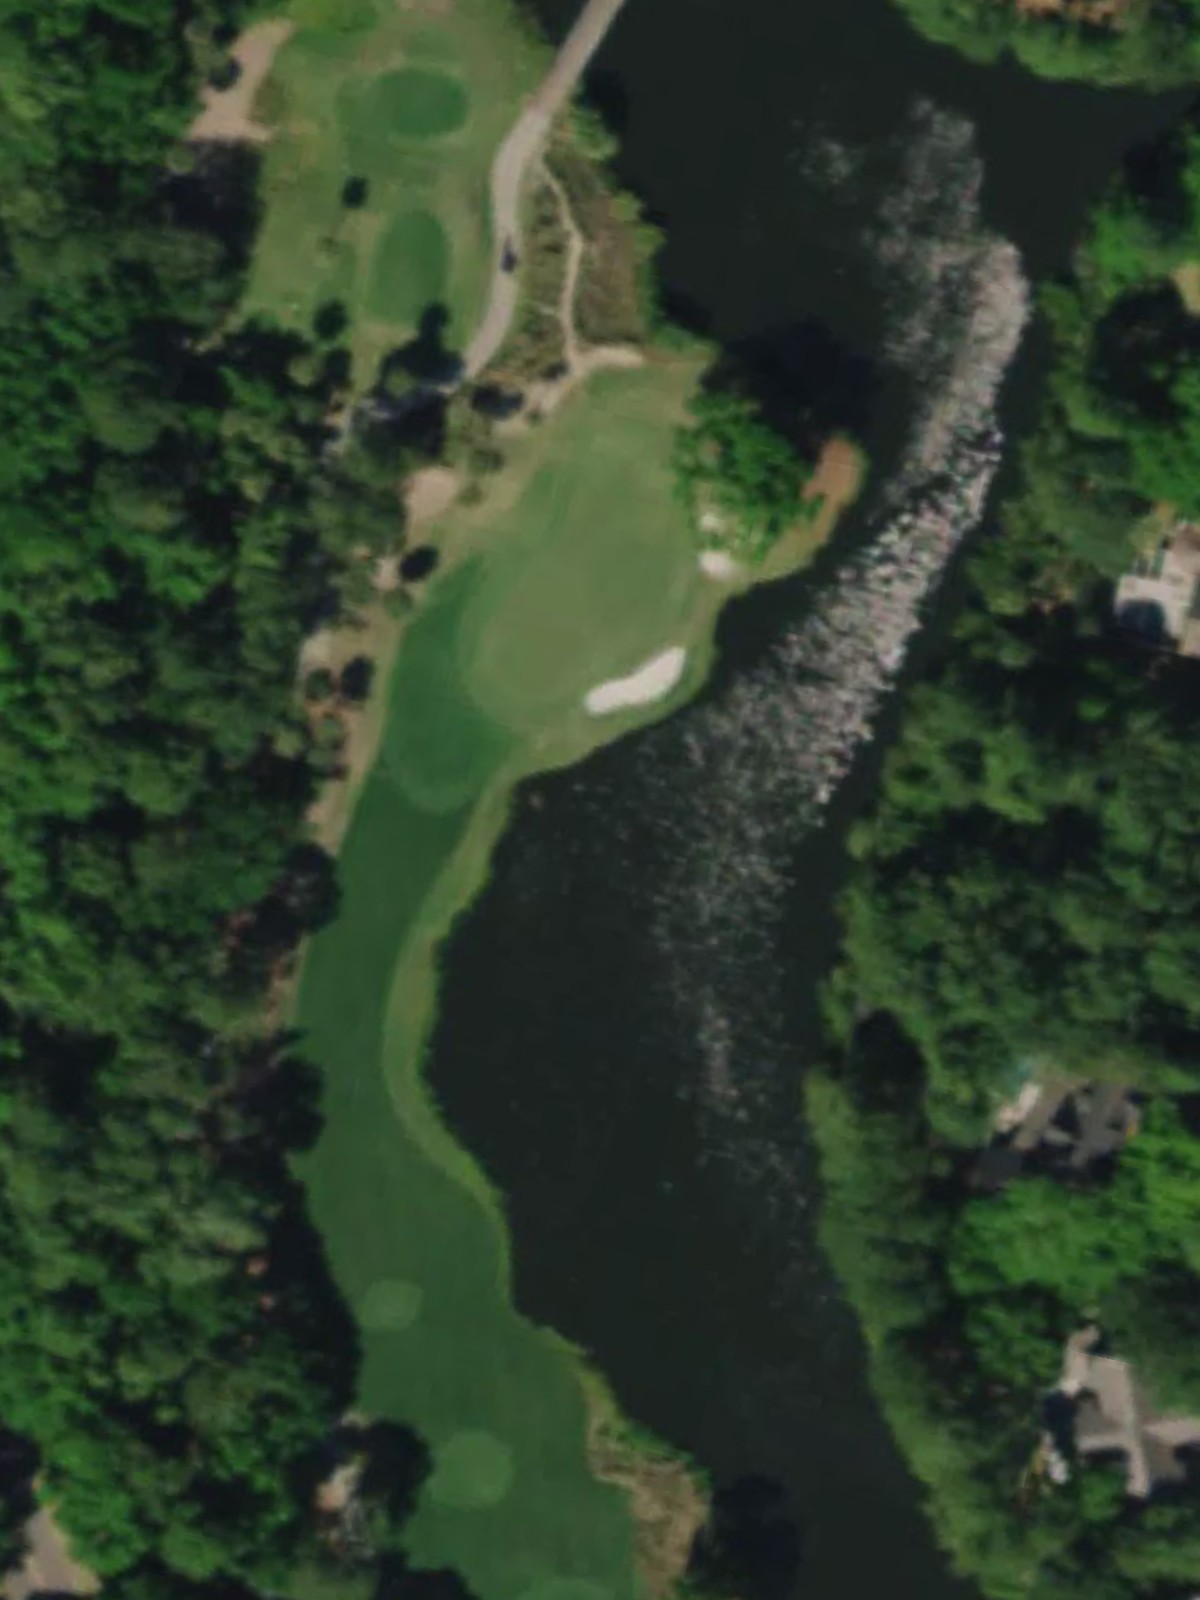
A brief par 3 under 120 yards with an island-style or heavily bunkered green. The short yardage is deceptive, as the well-protected green leaves minimal room for mishits.
A mid-length par 4 with a fairway that opens invitingly off the tee. Water left and bunkers right guide the shape of the hole, while the green demands a precise final approach.
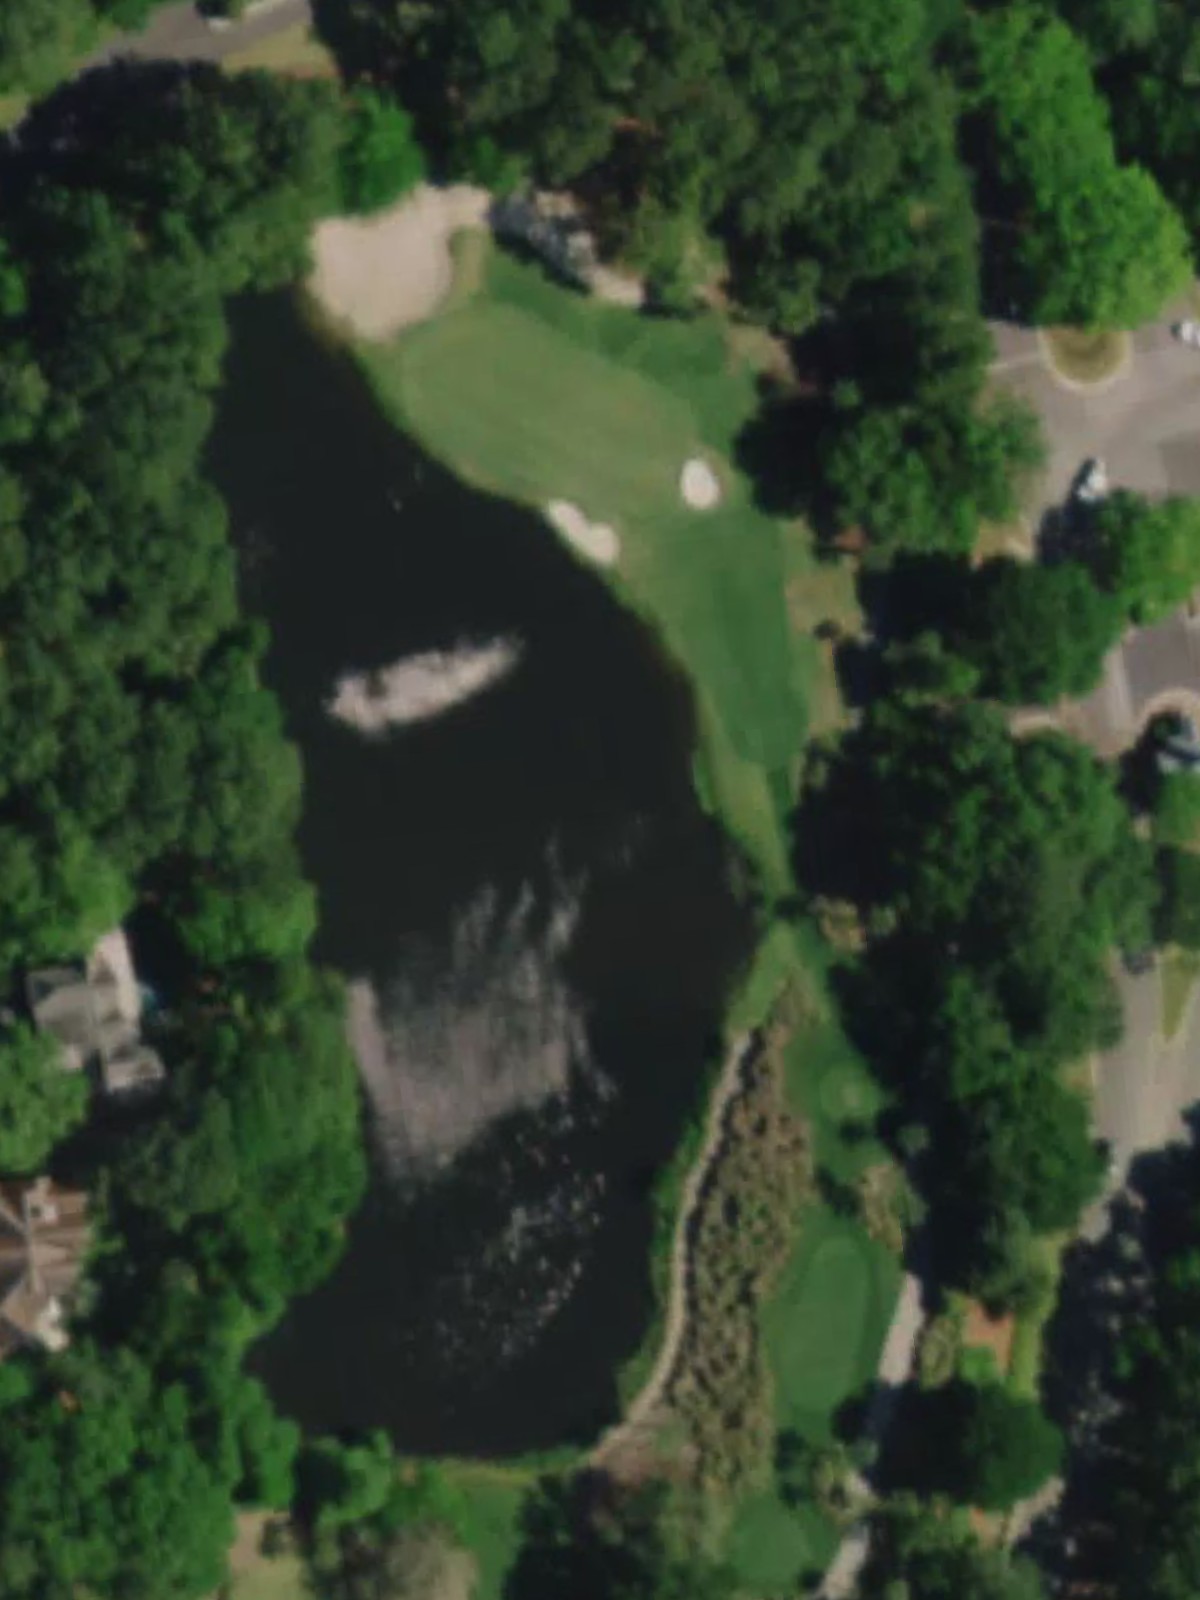
The course's signature finishing hole and its most difficult par 4, combining length with hazards that frame both sides of the fairway. Water or out-of-bounds left and bunkers right create a dramatic conclusion requiring a flawless tee shot and approach.
Scorecard
| Hole | 1 | 2 | 3 | 4 | 5 | 6 | 7 | 8 | 9 | Out | 10 | 11 | 12 | 13 | 14 | 15 | 16 | 17 | 18 | In | Tot |
|---|---|---|---|---|---|---|---|---|---|---|---|---|---|---|---|---|---|---|---|---|---|
| Par | 4 | 5 | 4 | 4 | 3 | 5 | 3 | 4 | 4 | 36 | 4 | 5 | 4 | 3 | 4 | 5 | 3 | 4 | 4 | 36 | 72 |
| HCP | 6 | 10 | 4 | 14 | 18 | 16 | 12 | 8 | 2 | 9 | 5 | 11 | 13 | 3 | 15 | 17 | 7 | 1 | |||
| forward | 305 | 375 | 340 | 280 | 100 | 420 | 110 | 240 | 290 | 2460 | 330 | 400 | 275 | 110 | 305 | 385 | 120 | 320 | 290 | 2535 | 4995 |
| forward s | 250 | 320 | 250 | 195 | 100 | 325 | 130 | 165 | 250 | 1985 | 230 | 340 | 220 | 110 | 240 | 330 | 120 | 220 | 250 | 2060 | 4045 |
| junior level 1 | 180 | 240 | 190 | 150 | 90 | 270 | 100 | 110 | 200 | 1530 | 160 | 220 | 150 | 90 | 180 | 220 | 110 | 170 | 170 | 1470 | 3000 |