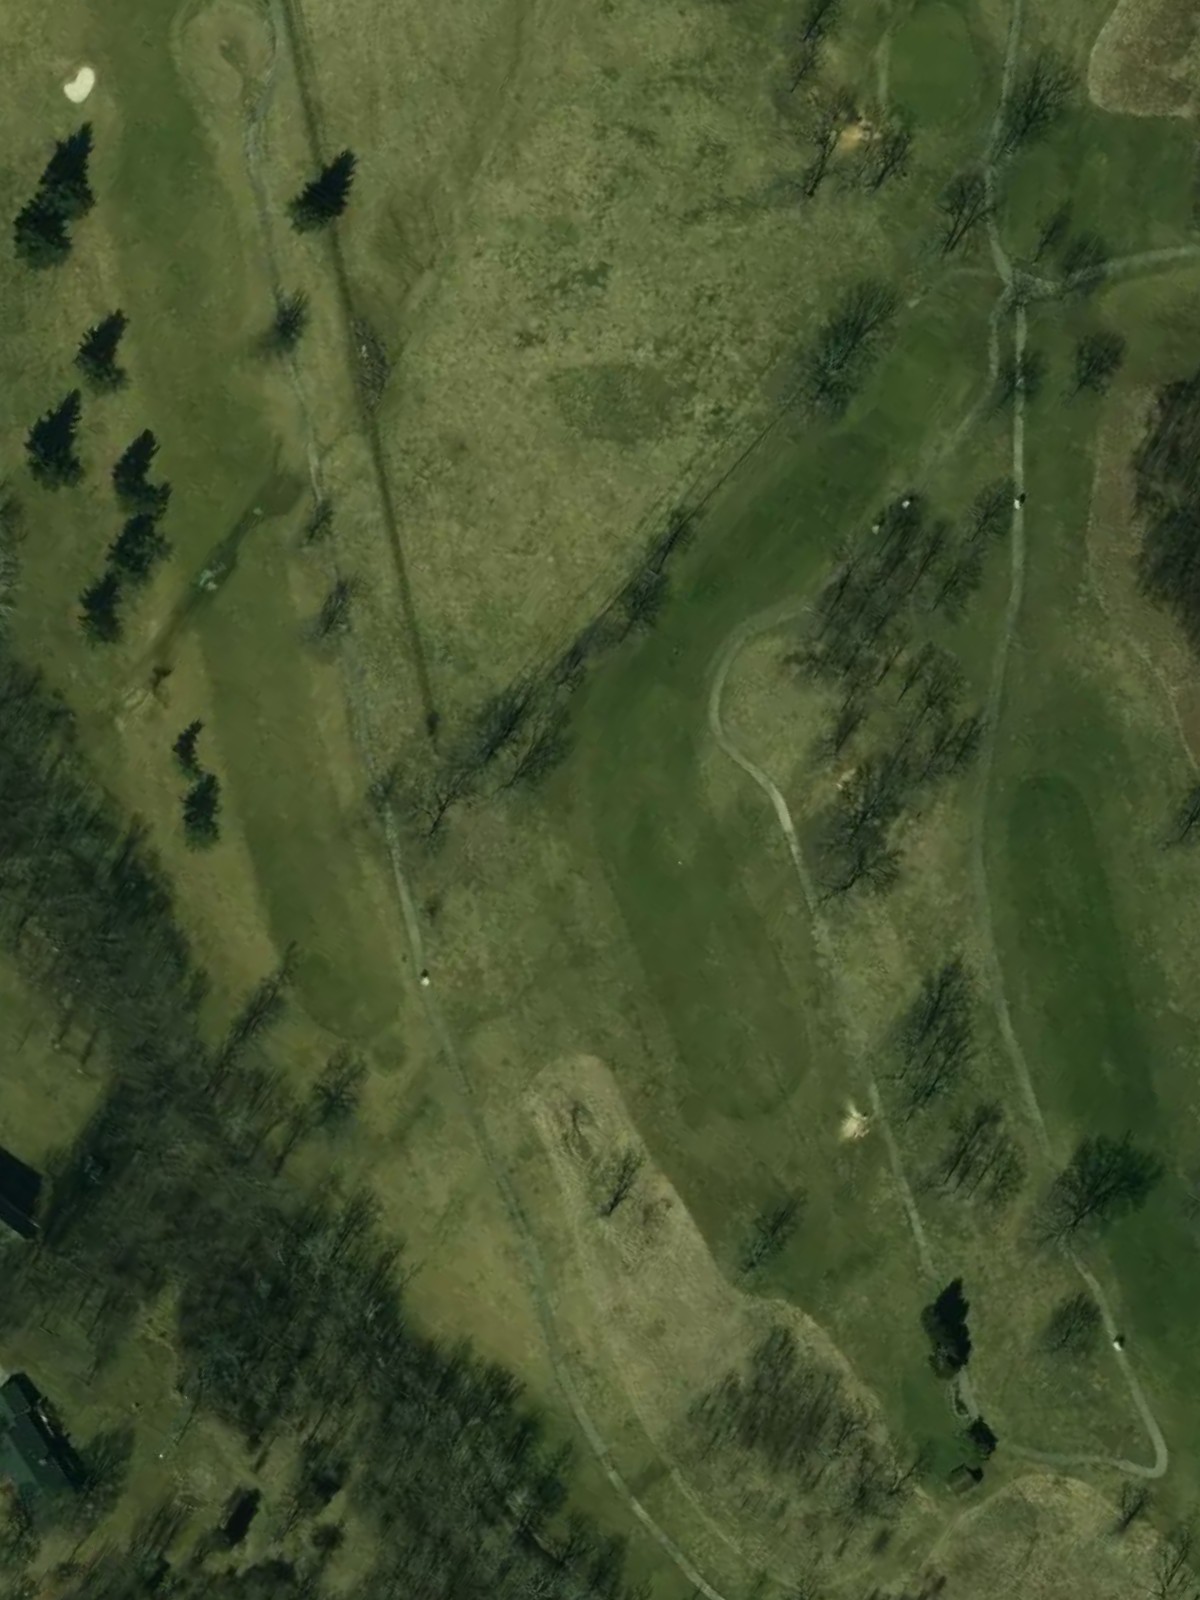
Kenton County Golf Club is an 18-hole golf course in Independence, KY with a par of 72. It offers 3 tee sets: blue (6,794 yards, slope 131, rating 72.7), white (6,412 yards, slope 127, rating 71), yellow (5,834 yards, slope 122, rating 68.2). The hardest hole is #4, a par 4 playing 398 yards from the first tee.
Kenton County Golf Club
Independence, KY
Get PDF Yardage Book
We'll email you the PDF link. No spam, ever.
Create Your Game Plan
Pick your tees, enter your bag, and get a personalized shot-by-shot strategy for every hole.
A straightforward opening par 4 with a wide fairway that gradually narrows as it approaches the green. Bunkers flank both sides of the green, with the right side presenting the more demanding angle for the approach shot.

A short par 3 that plays downhill to a well-bunkered green. Water hazard left requires accuracy off the tee, making this an important early test despite its modest length.

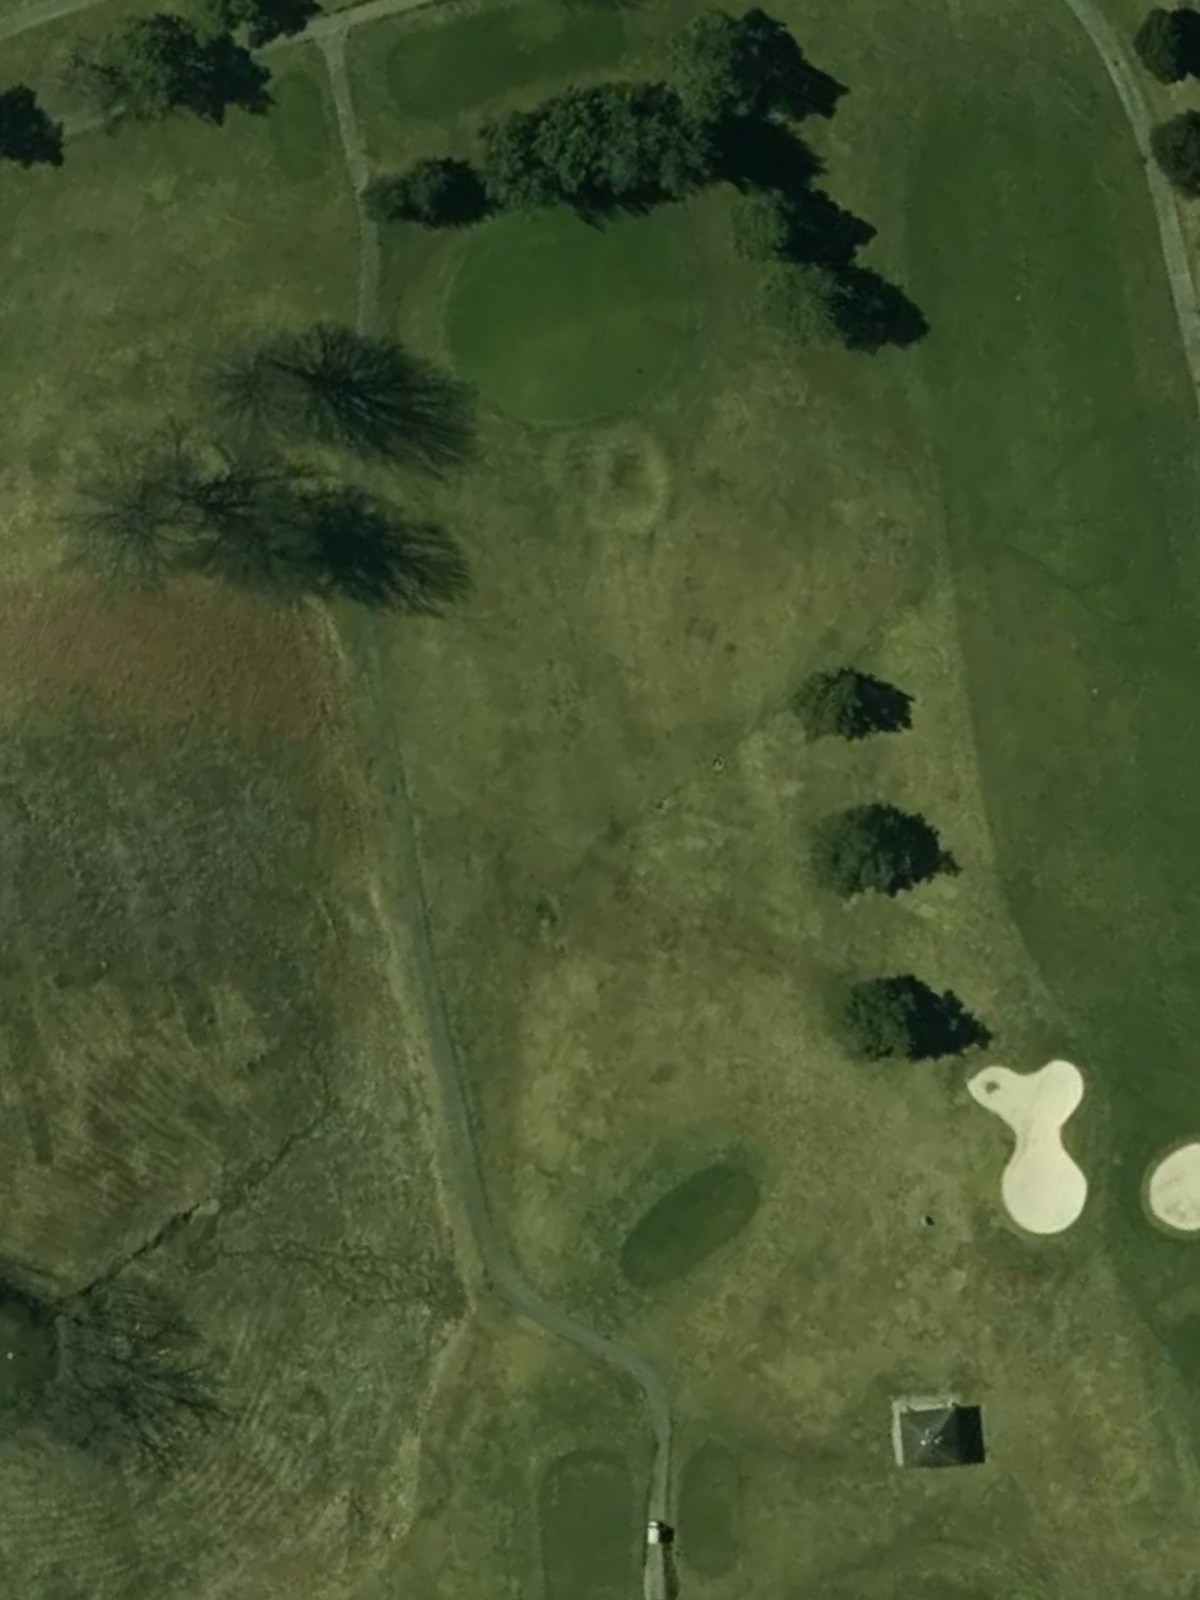
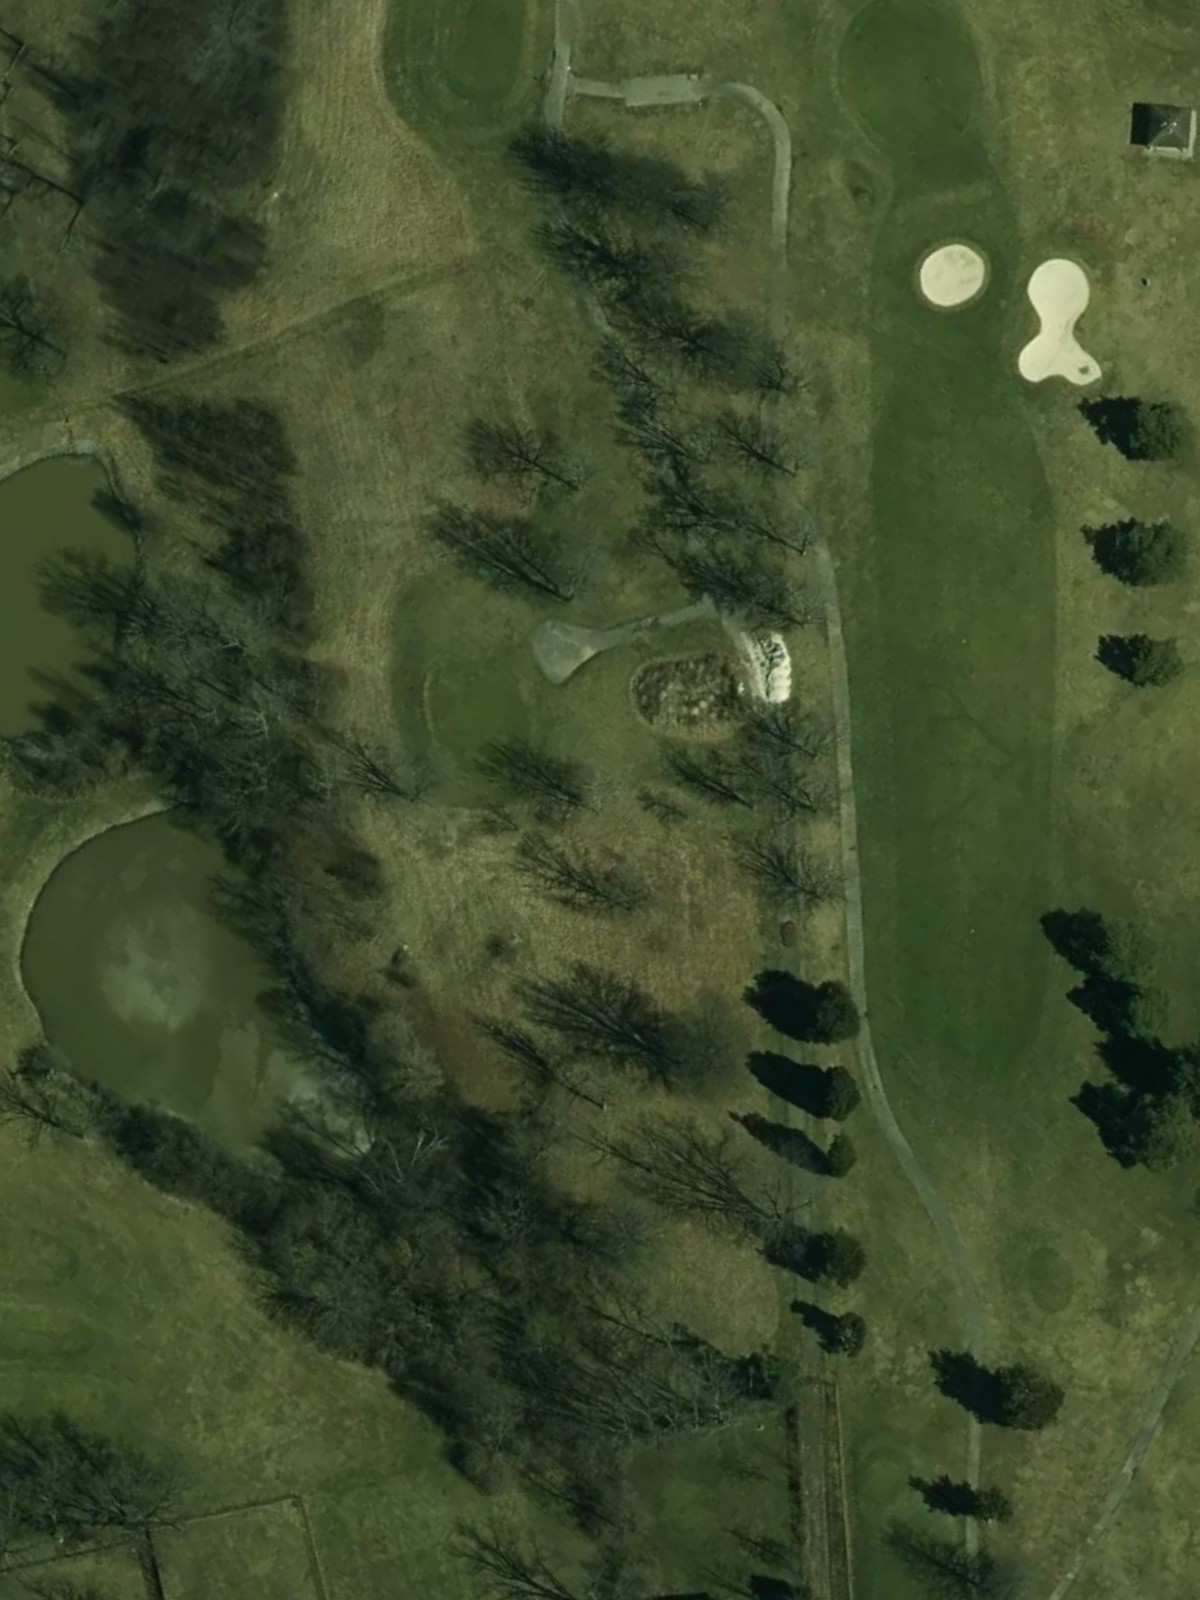
A short par 4 playing downhill with a narrow, sloping fairway that can make the second shot tricky. Bunkers guard the left and right sides of the green, rewarding precision on the approach.
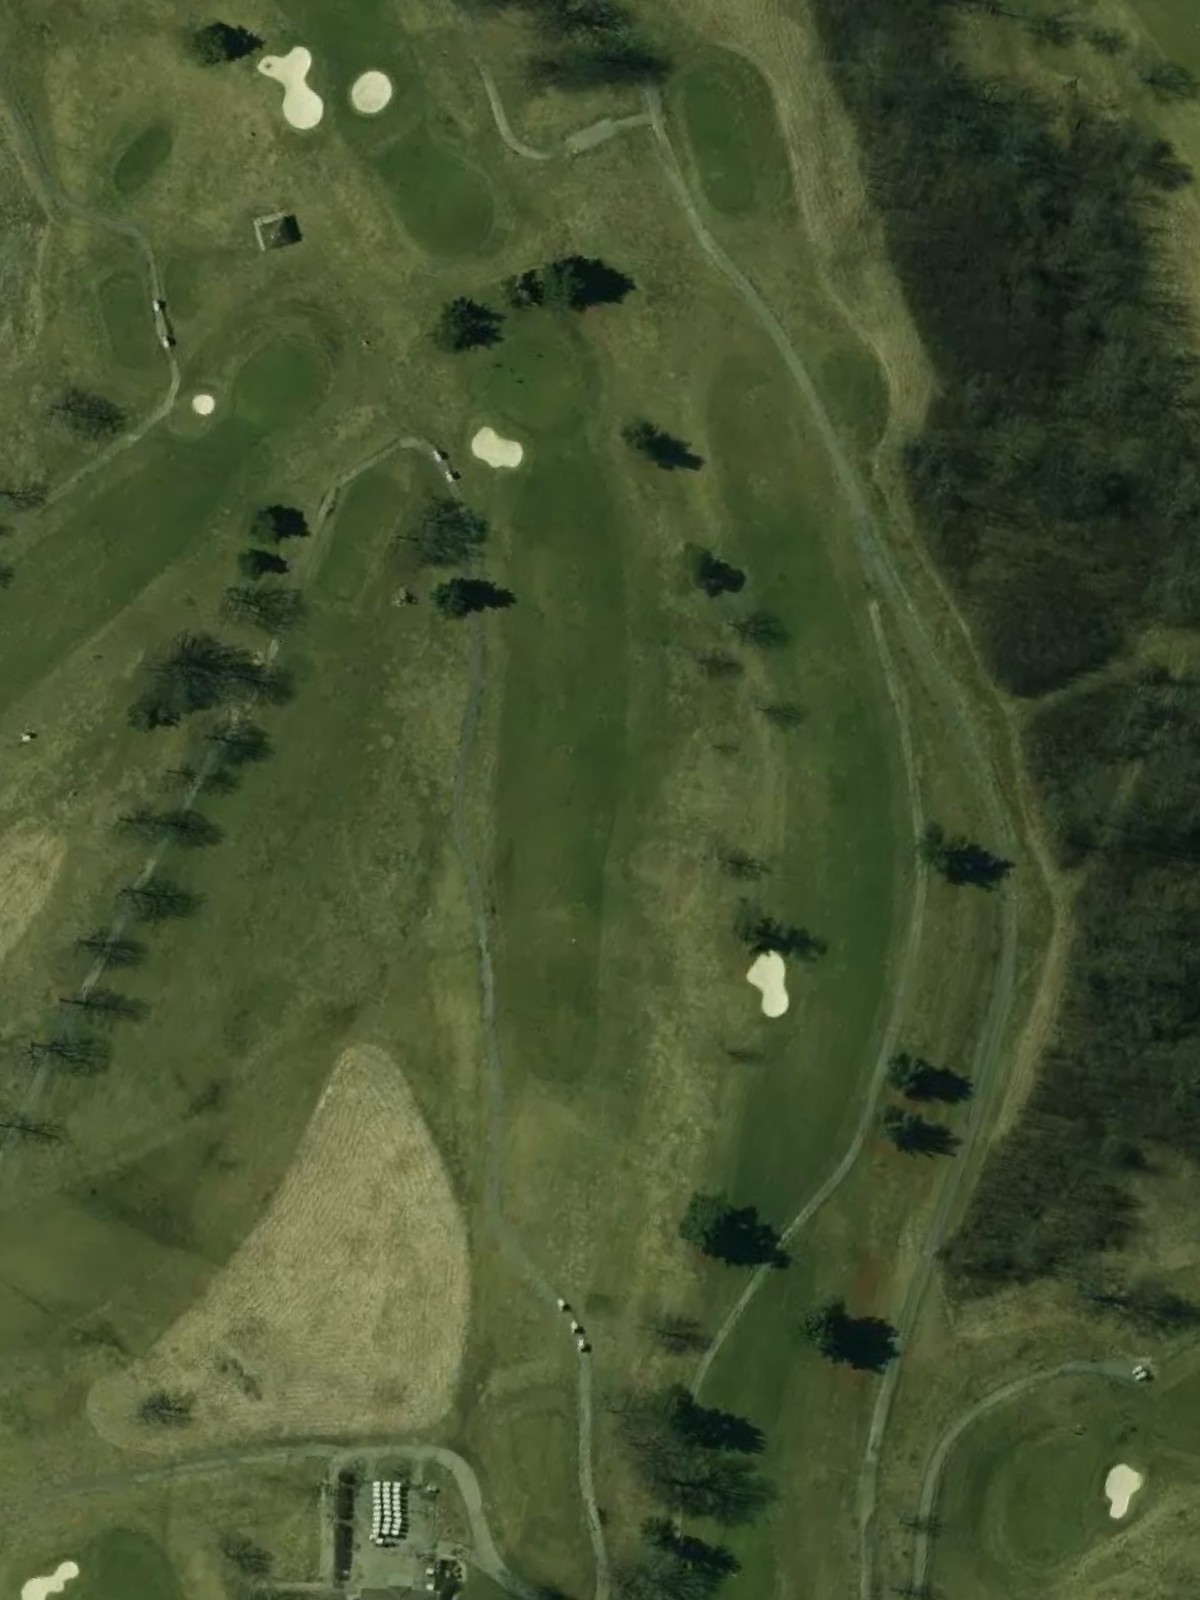
The course's number-one handicap hole, this par 4 is long and demanding with a tight fairway corridor. Out of bounds right and strategic bunkers left of the green create a challenging risk-reward approach.
A mid-length par 3 with a well-elevated green surrounded by protective bunkers. The elevated tee shot and hazards surrounding the putting surface demand a confident strike to the target.

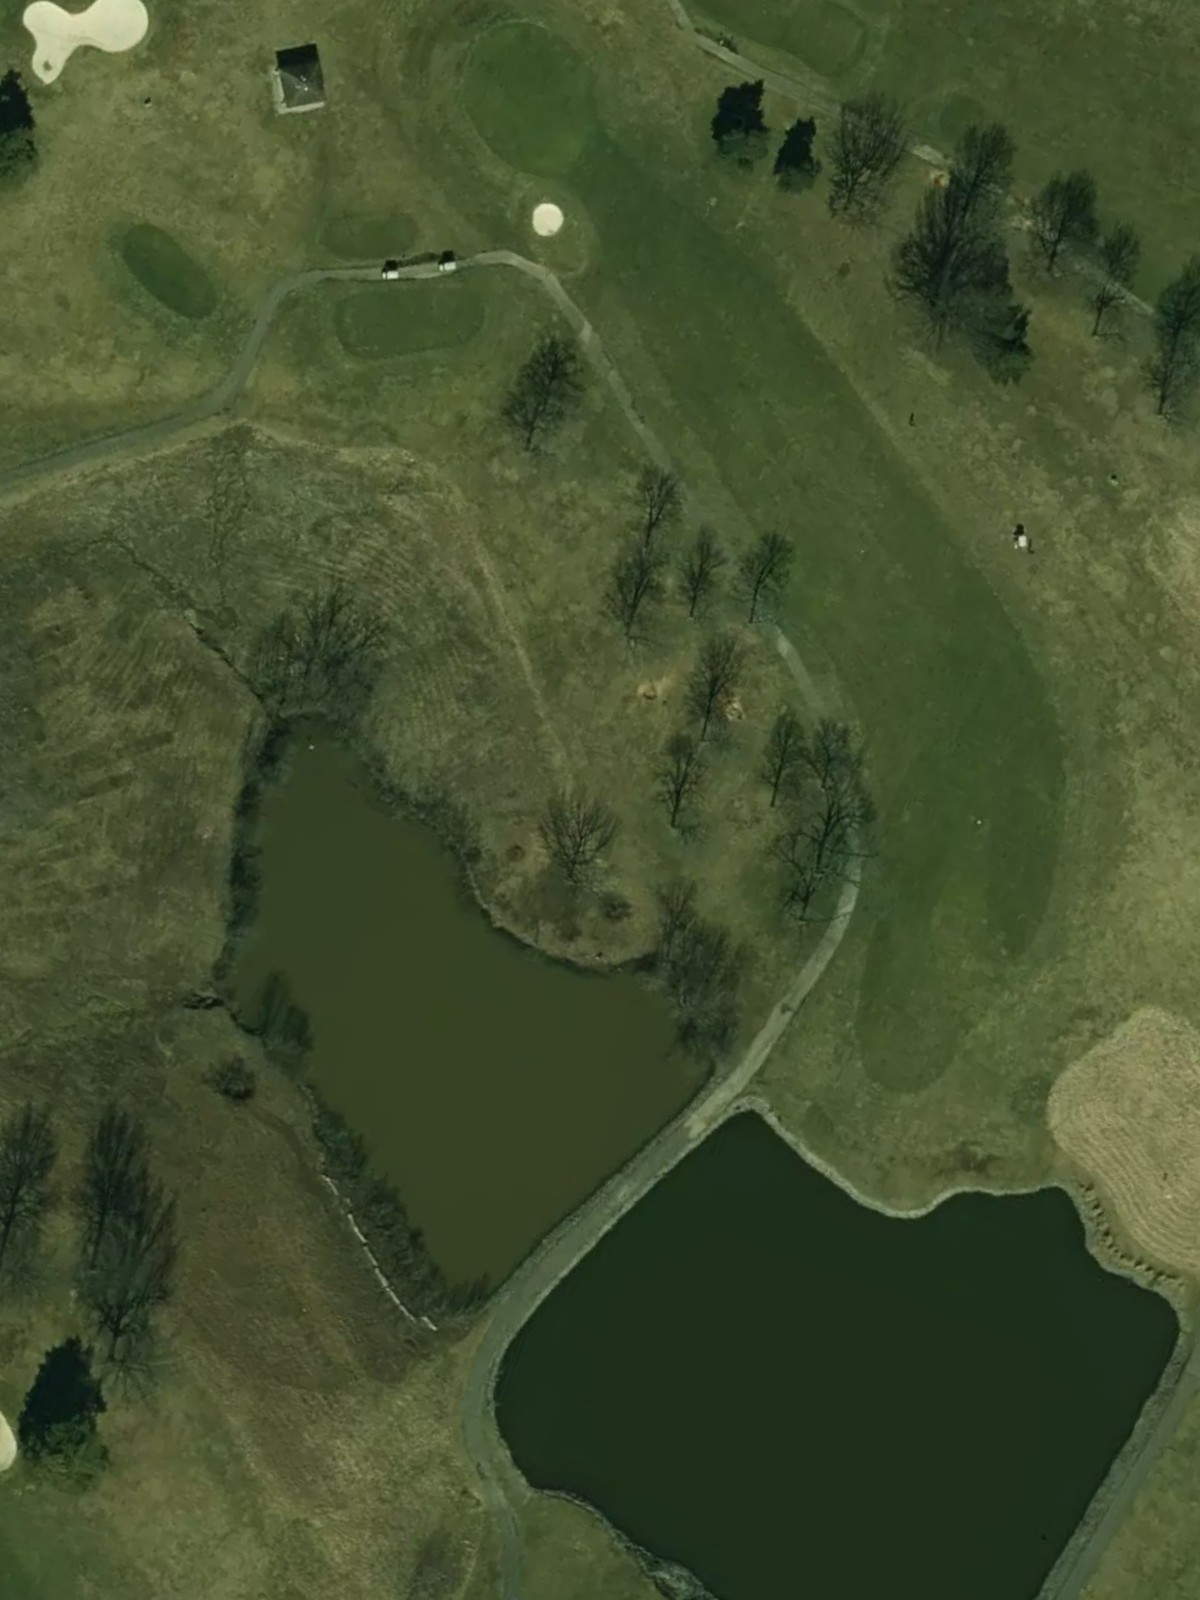
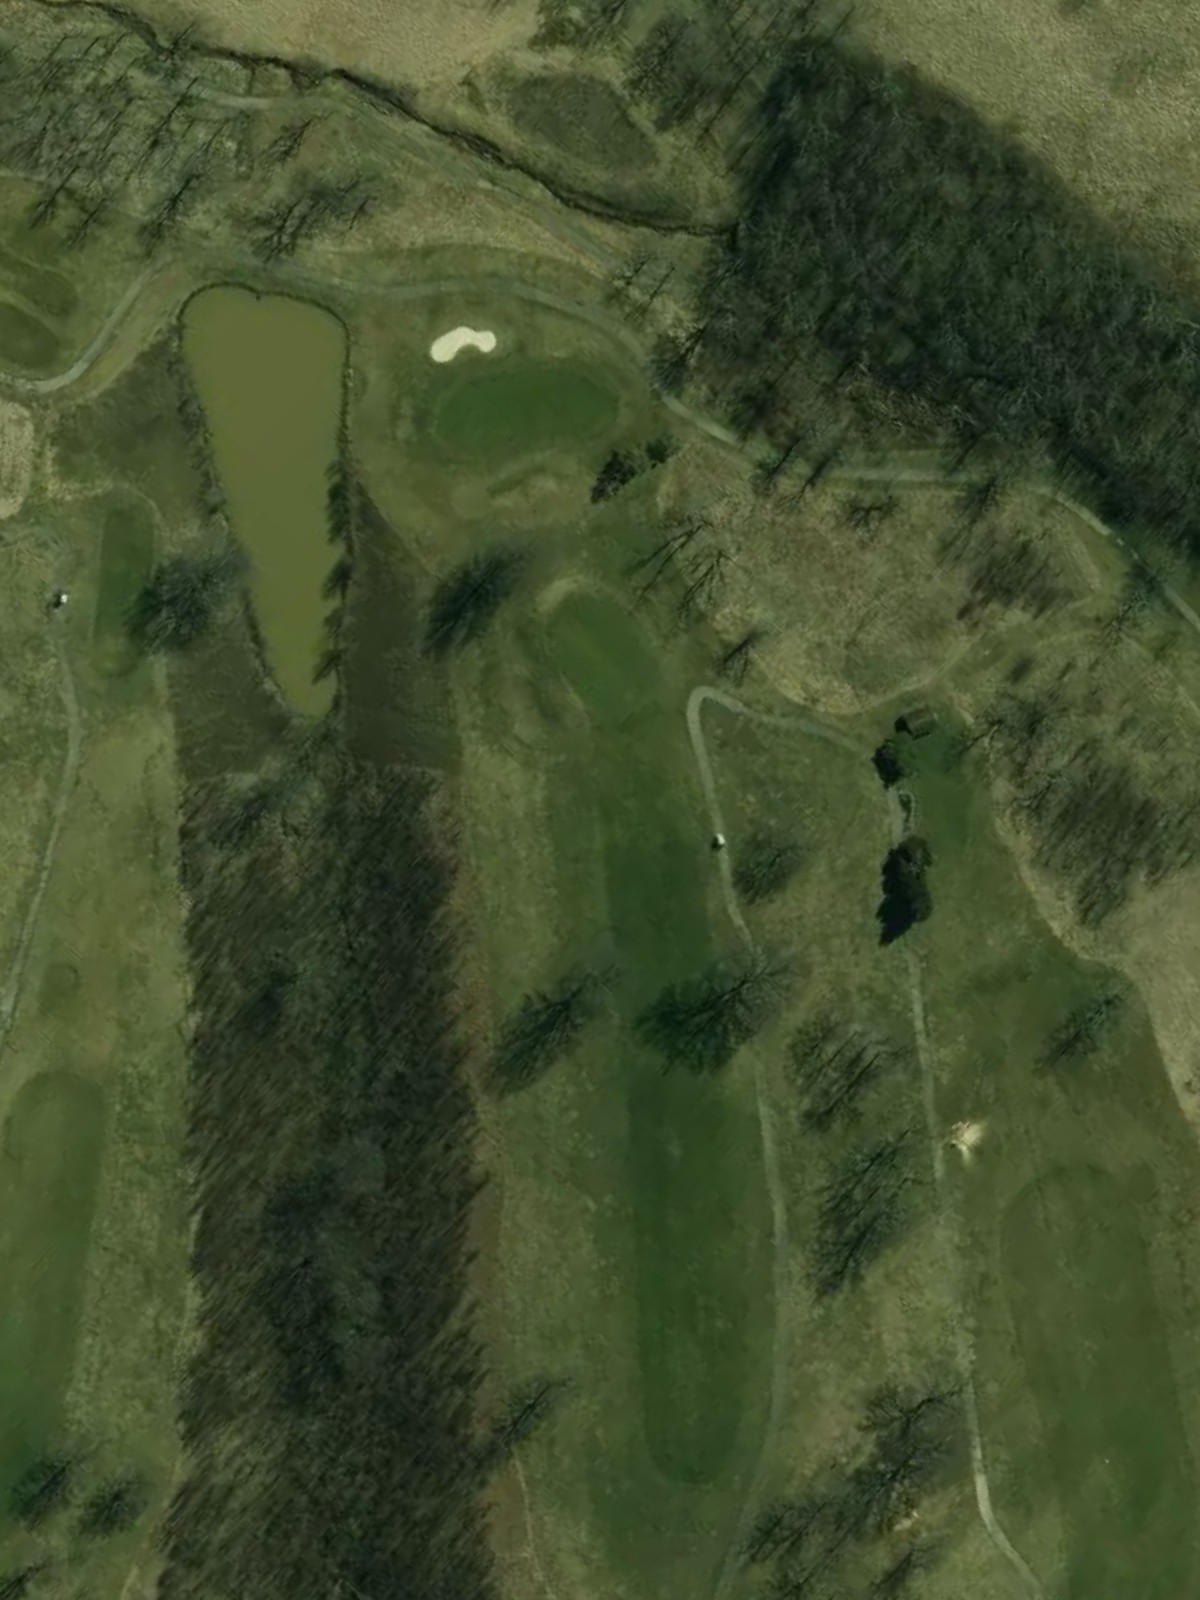
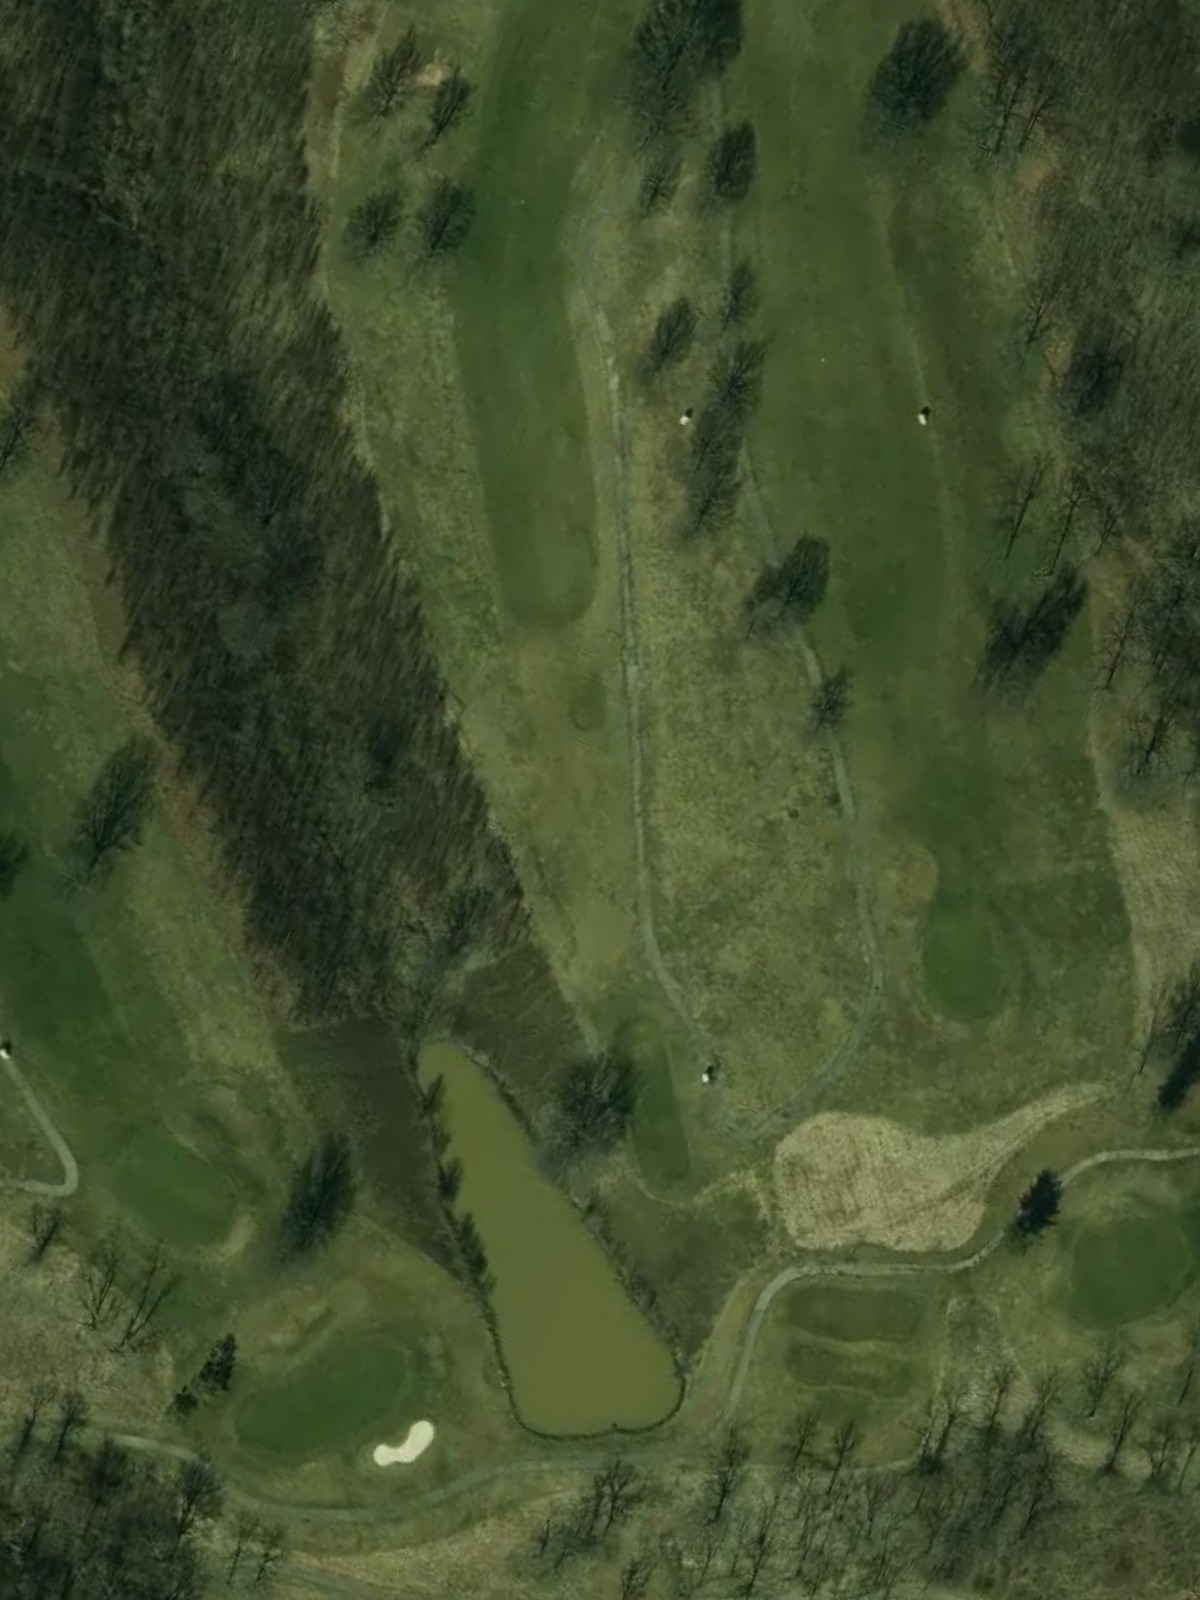
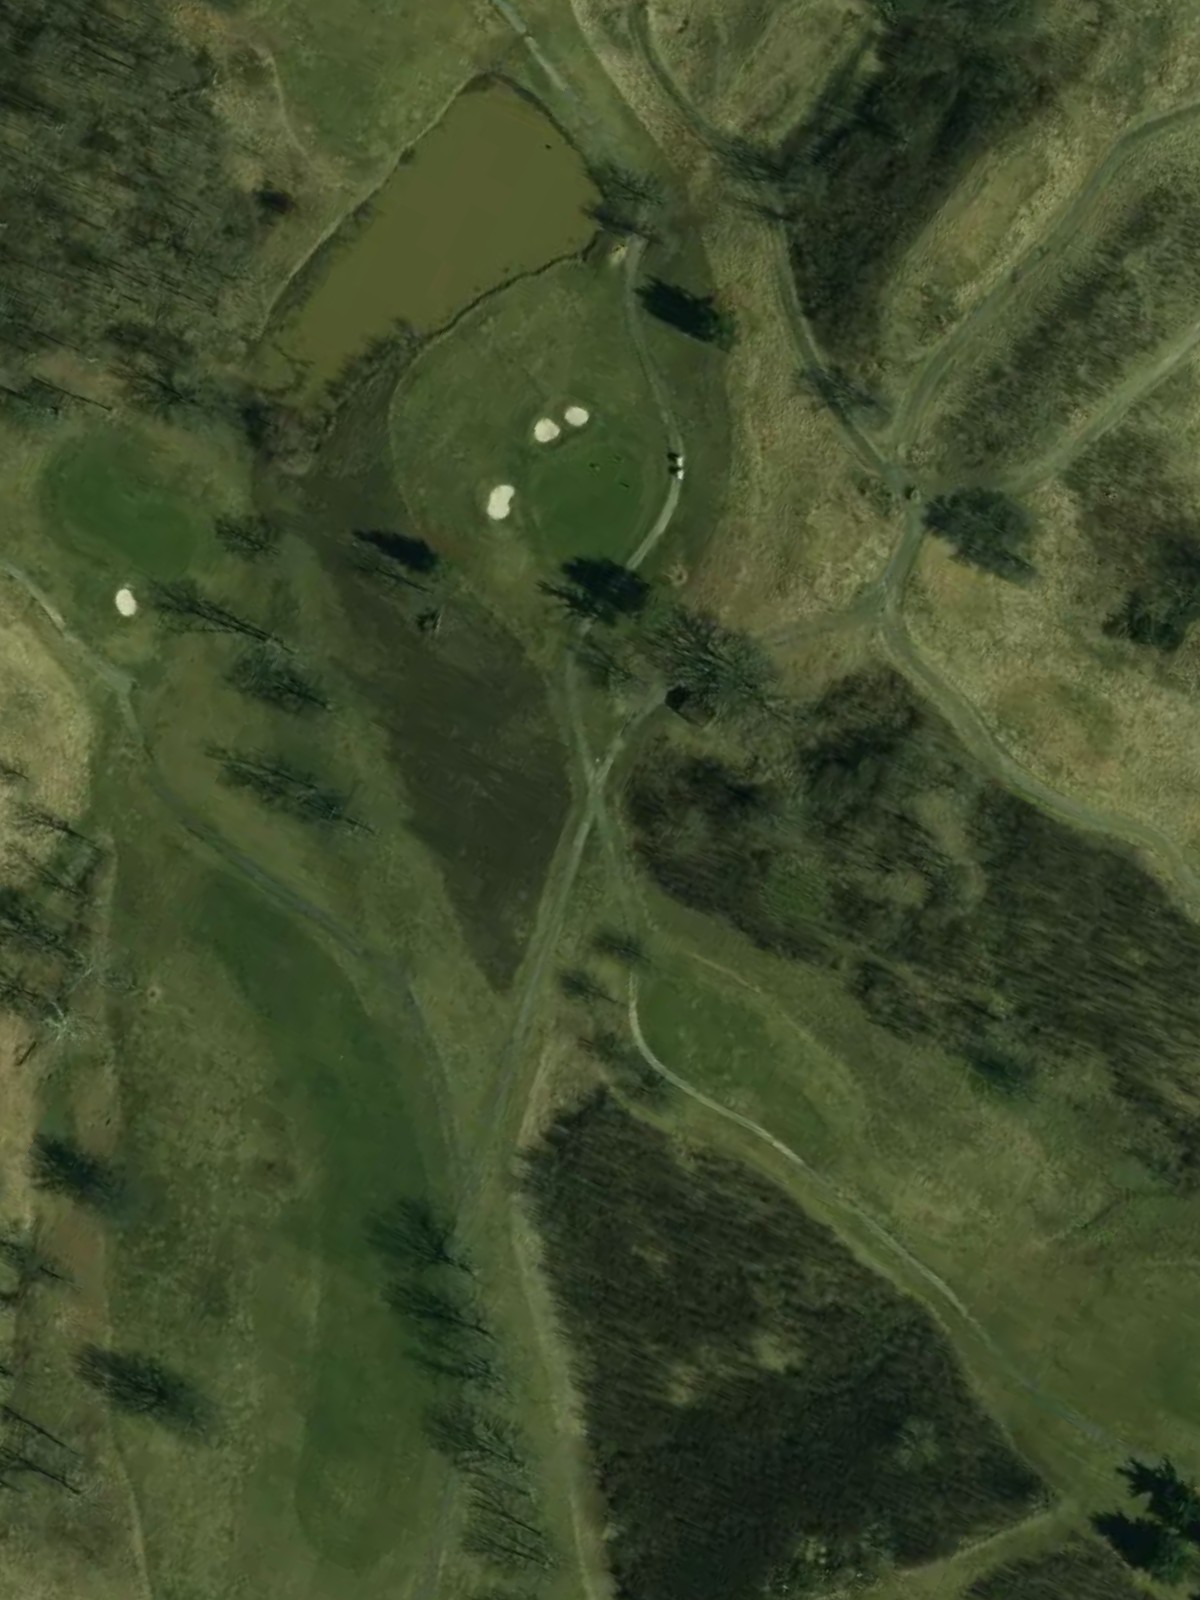
A reachable par 5 with a fairway that widens in the landing zone before narrowing again near the green. Water left and bunkers right frame the approach, offering options for aggressive or conservative second shots.
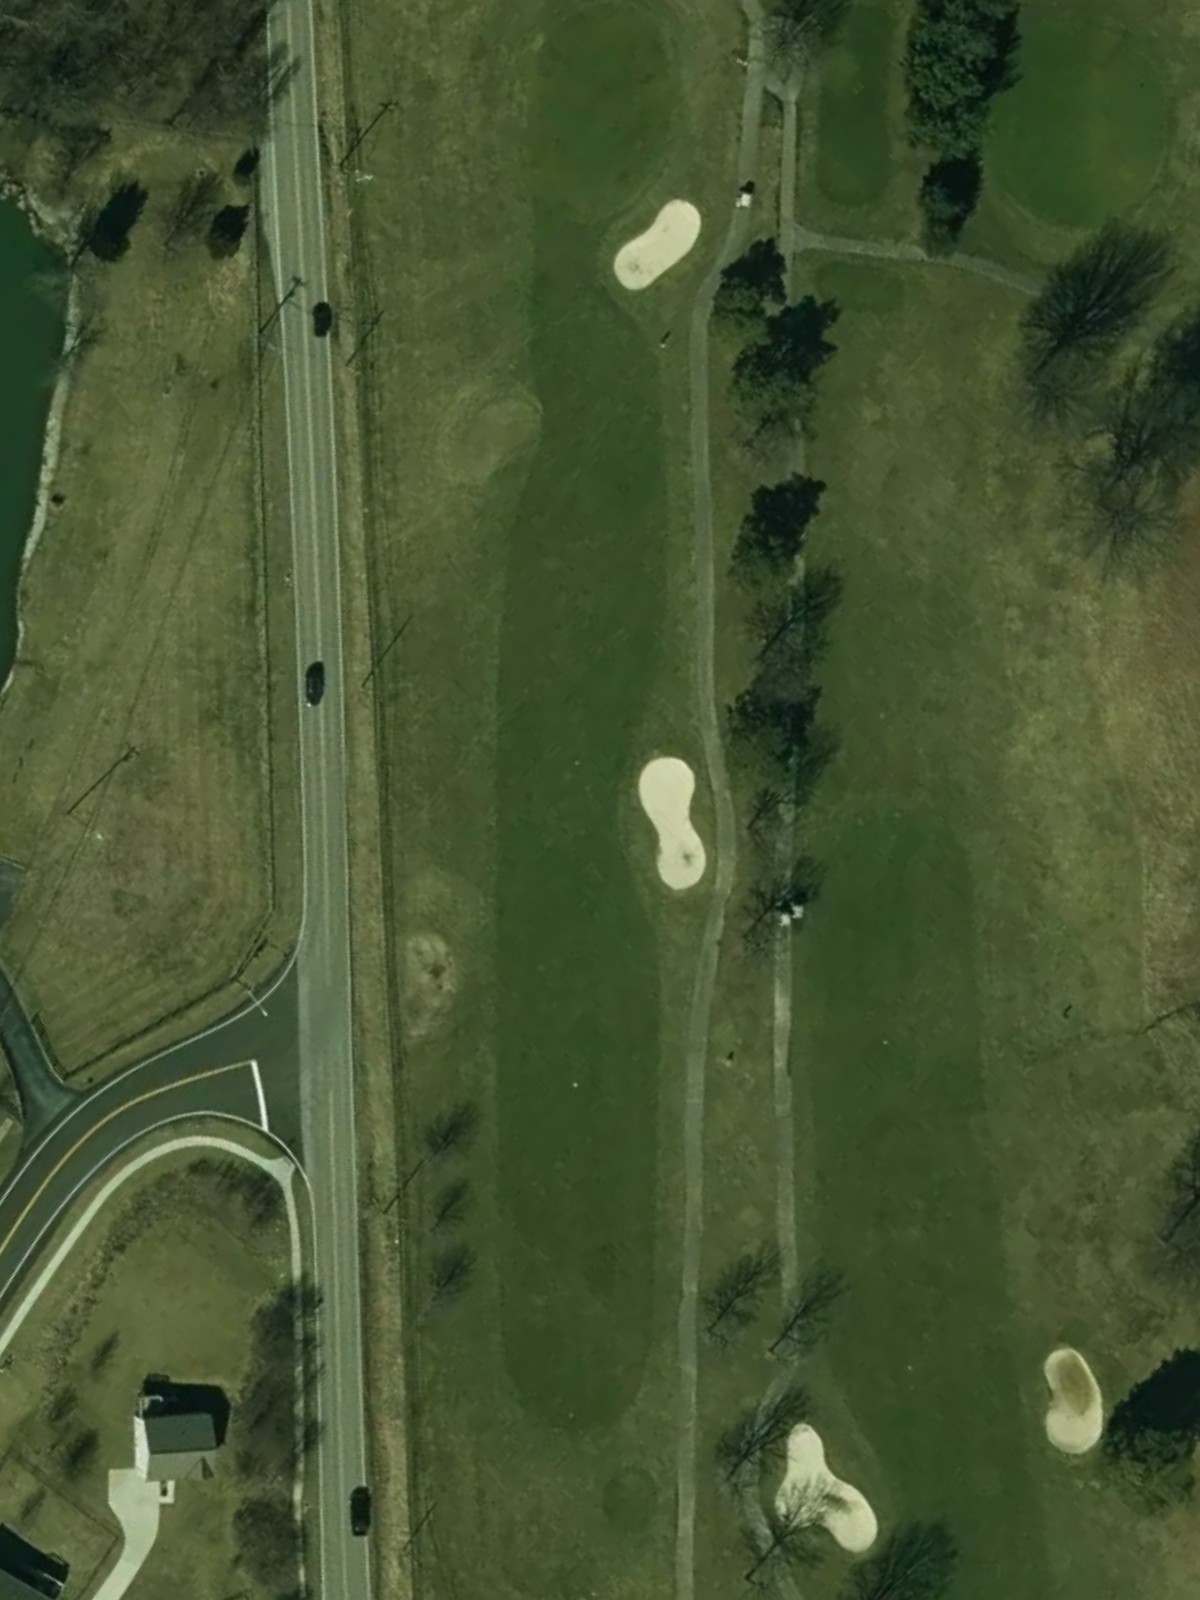
A solid par 4 with a fairway that bends slightly left and offers generous width in the landing area. Bunkers on both sides of the green and slightly elevated putting surface create the primary challenge on approach.
A strong par 4 featuring a dogleg left with hazards that can come into play for aggressive lines off the tee. The green is protected by bunkers left and right, making accurate club selection critical.
The third-hardest hole on the course, this long par 5 demands two quality shots to set up a third. Water right along the fairway and bunkers framing the green make this a three-shot challenge for most players.
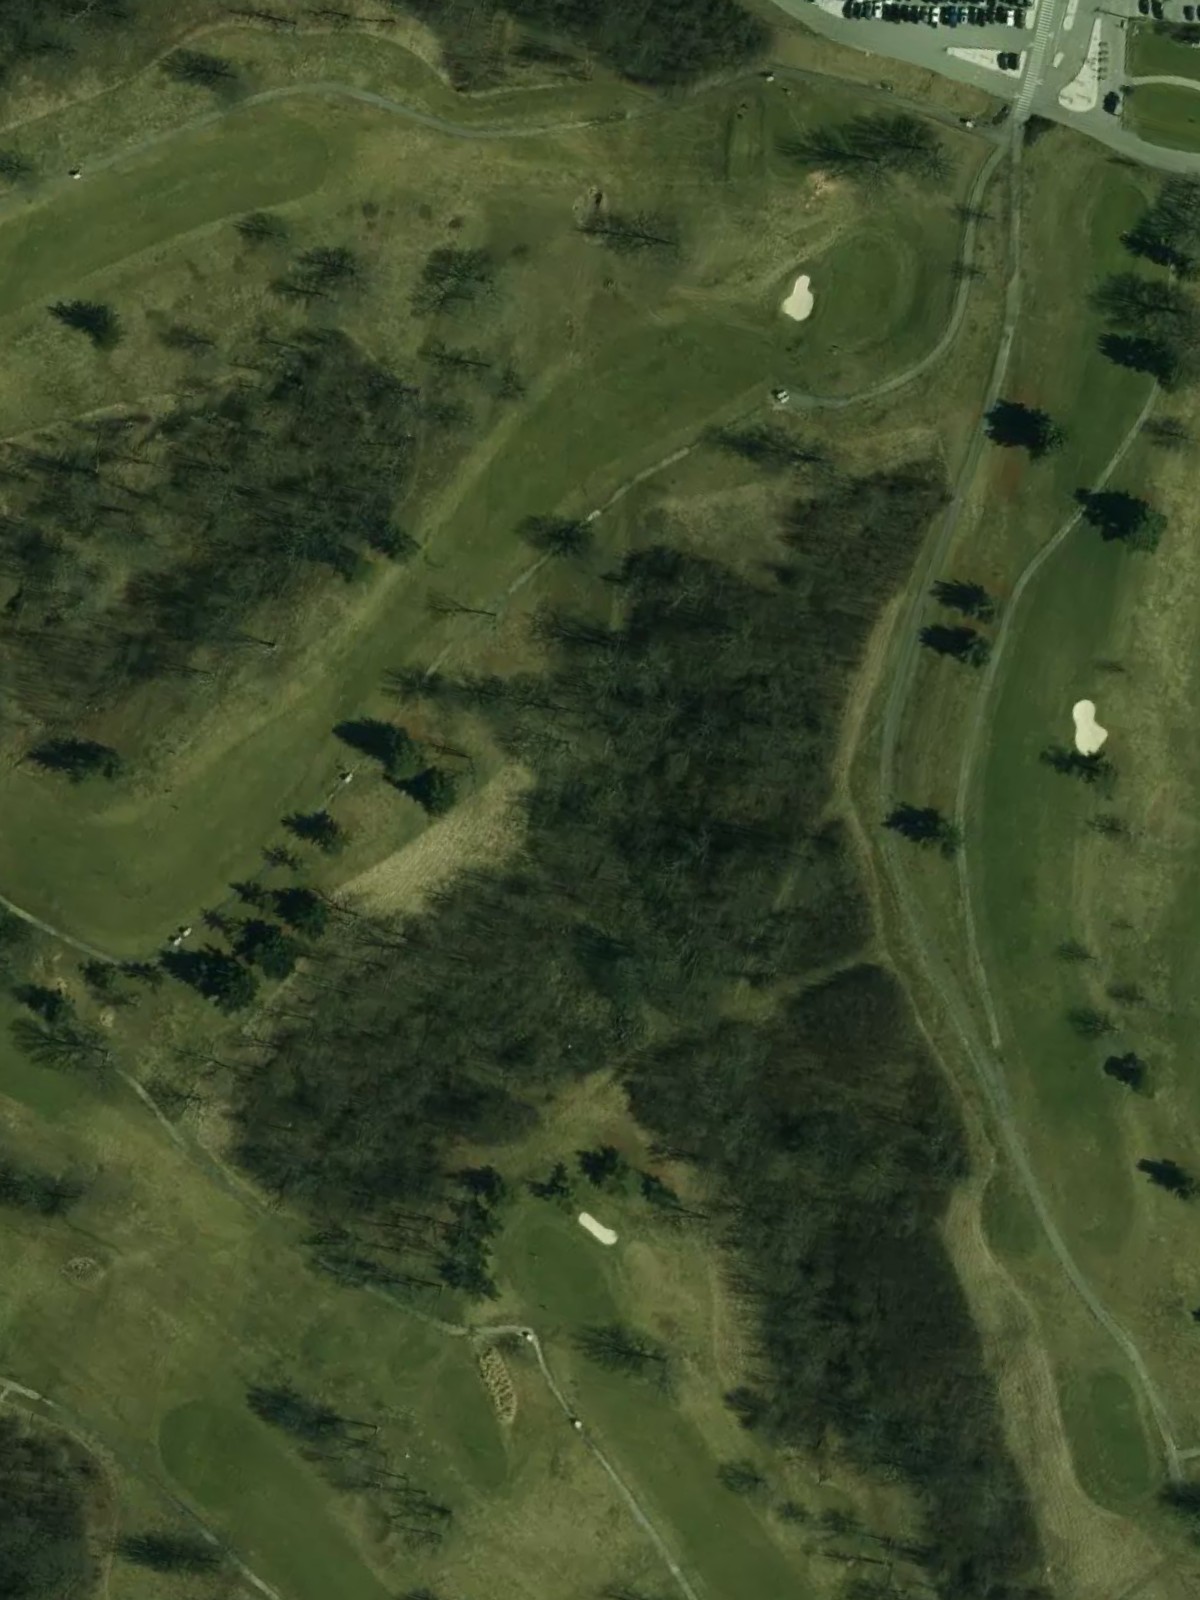
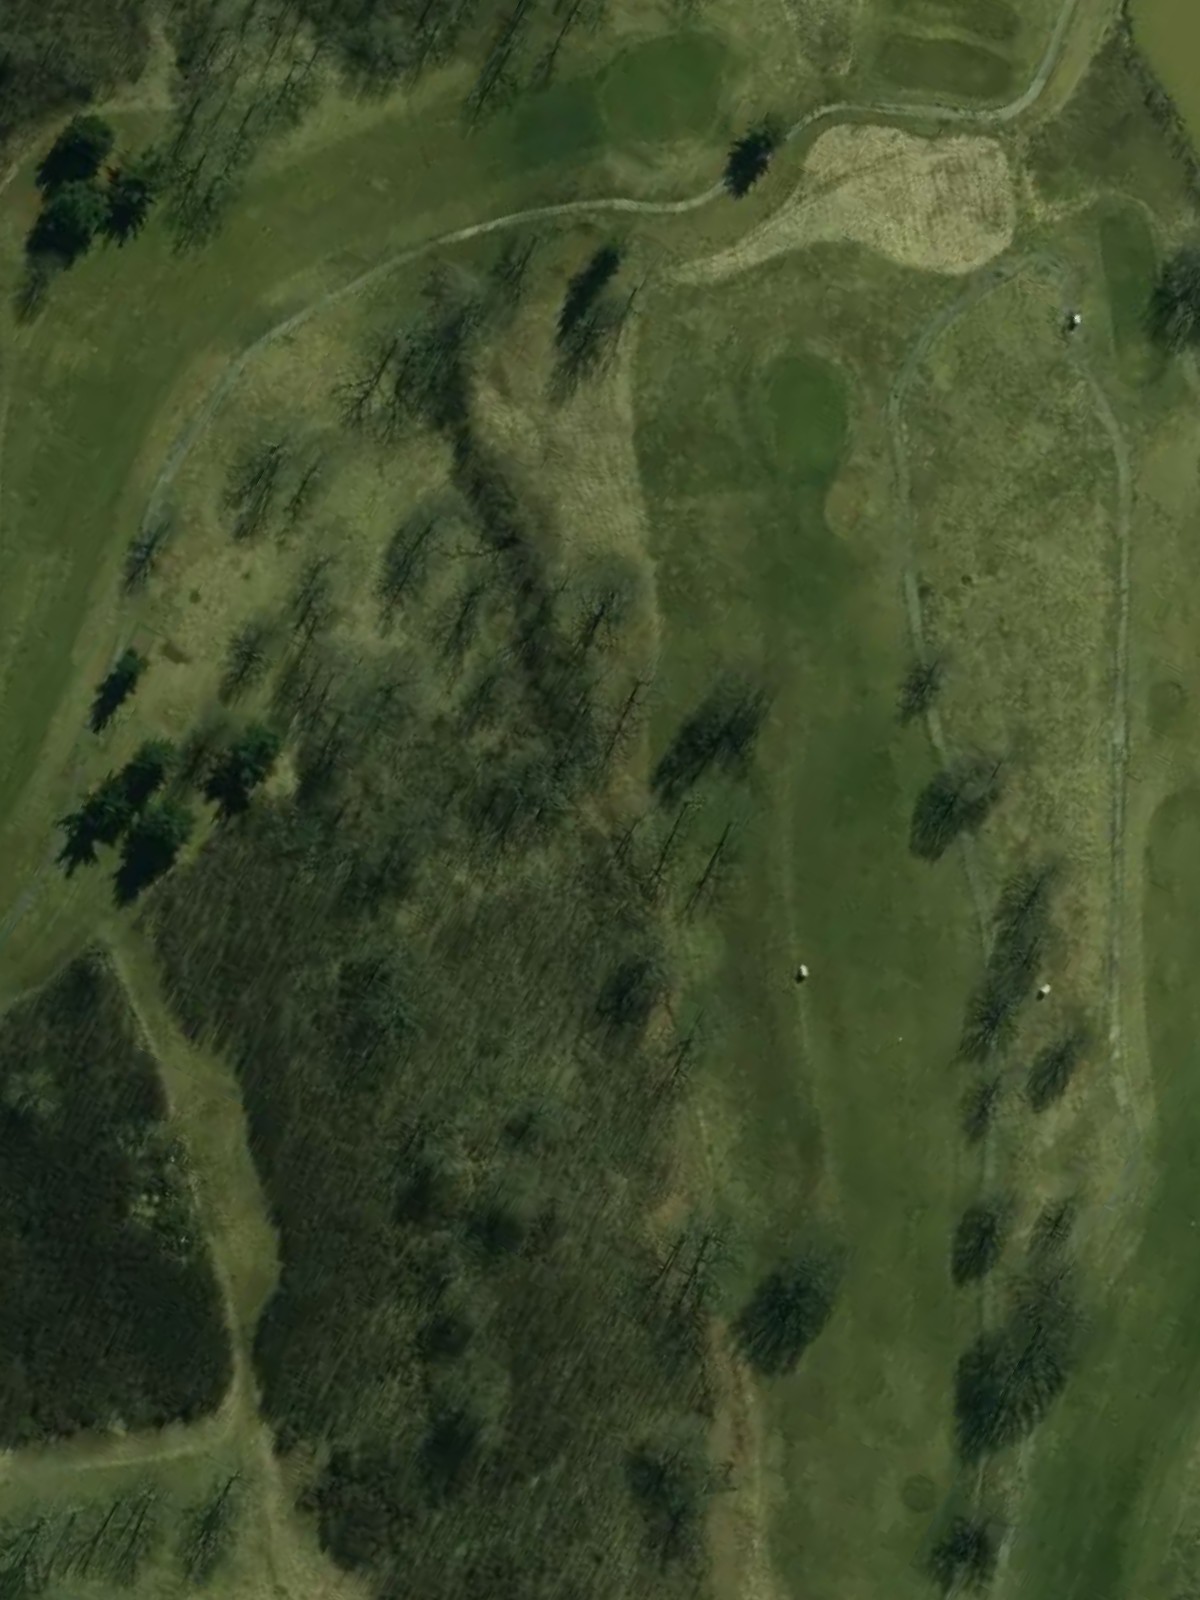
The second-most difficult hole, this par 4 plays long and straight with a narrow, tree-lined fairway. Out of bounds left and bunkers right of the green create a tight corridor that rewards accuracy throughout.
A mid-range par 3 with a green that slopes away from the tee and is protected by bunkers on the left. Wind can be a significant factor on this exposed hole despite its reasonable yardage.
A long par 5 with strategic bunkering throughout that demands three precision shots to reach the elevated green. Water hazard left along part of the hole and out of bounds right create a demanding risk-reward scenario.

A challenging par 4 playing relatively long and straight with a fairway that narrows significantly at the landing zone. Bunkers cluster around the green, and a elevated putting surface adds complexity to the approach shot.
A mid-length par 4 with a fairway that doglegs slightly left, offering a manageable routing for most players. Bunkers guard both sides of the green, with the right side bunker positioned to catch aggressive approaches.
A solid par 4 with a fairway that plays relatively straight and offers good width through the landing area. Strategic bunkers frame the green on both sides, and the elevated putting surface adds a final dimensional challenge.
A long par 4 with a dramatic dogleg right that tests both length and positioning off the tee. Out of bounds right threatens aggressive lines, while bunkers and a narrow green complex demand precision on the approach.
The easiest par 3 on the course, this short hole nevertheless features a small, firm green that slopes away from the tee. Light bunkering left and a relatively open approach make this a potential scoring opportunity.
A strong finishing par 5 that doglegs left with fairway bunkers positioned in the driving zone to shape the hole. Water left throughout and bunkers guarding the green create a dramatic finisher requiring two quality shots and placement over power.
Scorecard
| Hole | 1 | 2 | 3 | 4 | 5 | 6 | 7 | 8 | 9 | Out | 10 | 11 | 12 | 13 | 14 | 15 | 16 | 17 | 18 | In | Tot |
|---|---|---|---|---|---|---|---|---|---|---|---|---|---|---|---|---|---|---|---|---|---|
| Par | 4 | 3 | 4 | 4 | 3 | 5 | 4 | 4 | 5 | 36 | 4 | 3 | 5 | 4 | 4 | 4 | 4 | 3 | 5 | 36 | 72 |
| HCP | 7 | 17 | 15 | 1 | 11 | 5 | 13 | 9 | 3 | 2 | 16 | 6 | 8 | 12 | 14 | 10 | 18 | 4 | |||
| blue | 392 | 154 | 304 | 398 | 192 | 506 | 389 | 402 | 527 | 3264 | 438 | 182 | 568 | 438 | 390 | 393 | 419 | 145 | 557 | 3530 | 6794 |
| white | 366 | 131 | 295 | 377 | 179 | 497 | 357 | 366 | 513 | 3081 | 429 | 159 | 550 | 407 | 354 | 373 | 387 | 136 | 536 | 3331 | 6412 |
| yellow | 331 | 128 | 271 | 344 | 164 | 485 | 340 | 329 | 510 | 2902 | 405 | 152 | 501 | 383 | 175 | 365 | 348 | 126 | 477 | 2932 | 5834 |