Kenmure Cc is an 18-hole golf course in Flat Rock, NC with a par of 72. It offers 6 tee sets: black tees (6,456 yards, slope 143, rating 71.4), blue tees (5,951 yards, slope 135, rating 69), gold tees (5,590 yards, slope 128, rating 67.5), white tees (5,119 yards, slope 115, rating 65.7), red tees (4,556 yards, slope 102, rating 63.6), glenroy tees (3,350 yards, slope 94, rating 59.9). The hardest hole is #2, a par 5 playing 422 yards from the first tee.
Kenmure Cc
Flat Rock, NC
Get PDF Yardage Book
We'll email you the PDF link. No spam, ever.
Create Your Game Plan
Pick your tees, enter your bag, and get a personalized shot-by-shot strategy for every hole.
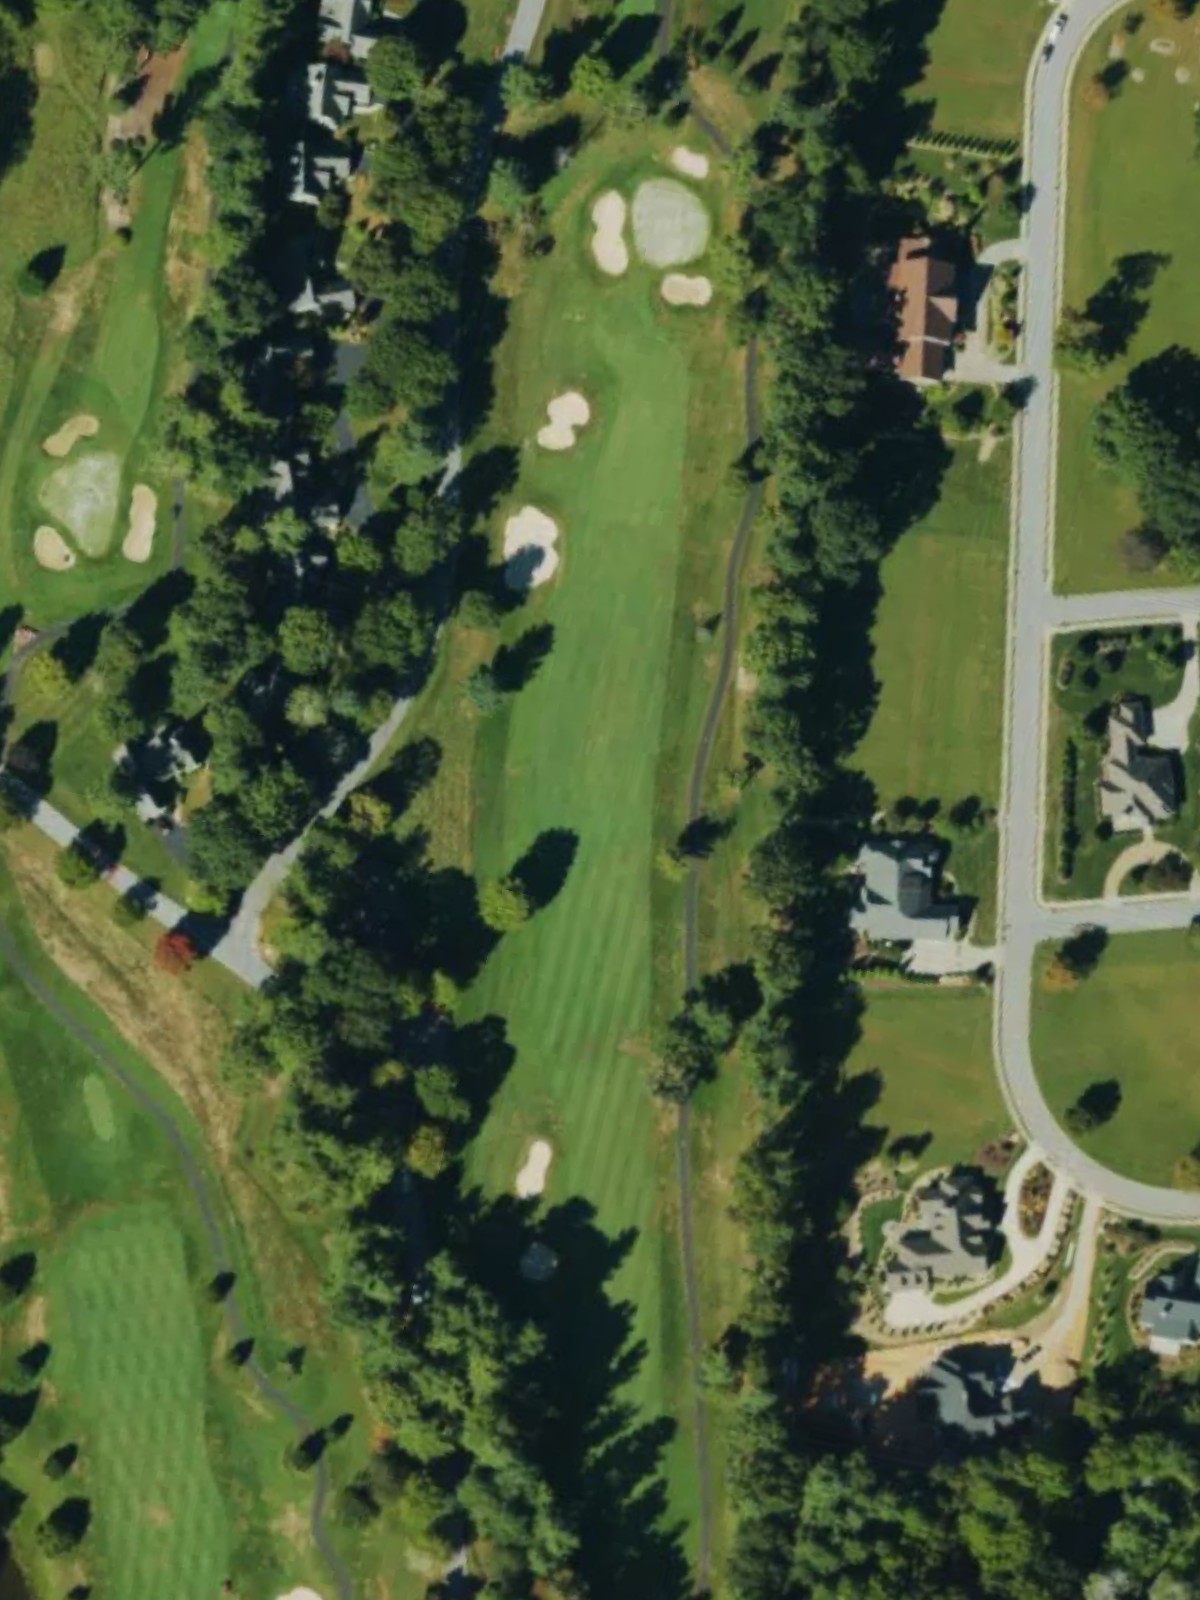
A straightforward opening par 4 with a welcoming fairway that gradually narrows as it approaches the green. Bunkers protect the right side of the putting surface, requiring accuracy on the approach shot.
The course's signature hole, a demanding par 5 that plays as the number one handicap. Strategic positioning off the tee is critical, as hazards frame both sides of the fairway throughout its length.
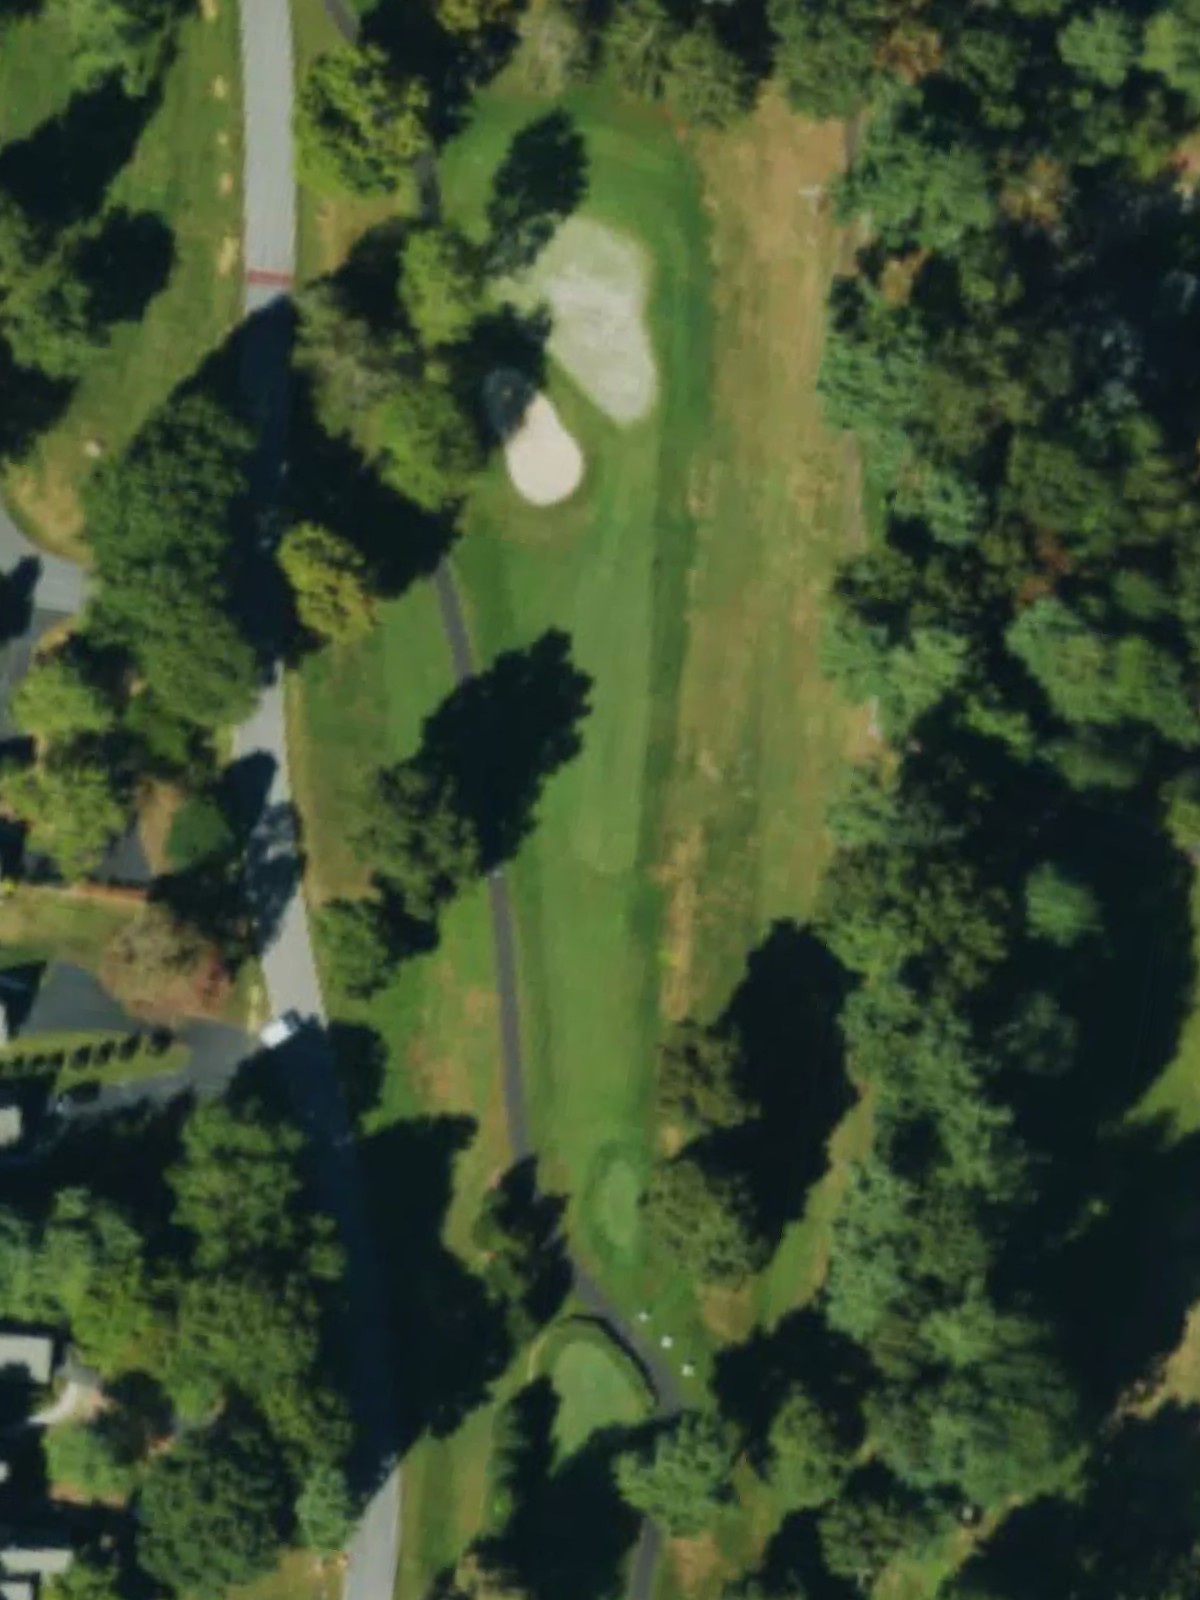
A testing par 4 ranked fifth in difficulty with a tight driving corridor and well-guarded green. The green's elevated position and surrounding bunkers demand a precise approach to avoid trouble.
A mid-length par 4 with a fairway that requires thoughtful positioning from the tee. The approach into a relatively open green offers the best opportunity for scoring on this moderately difficult hole.
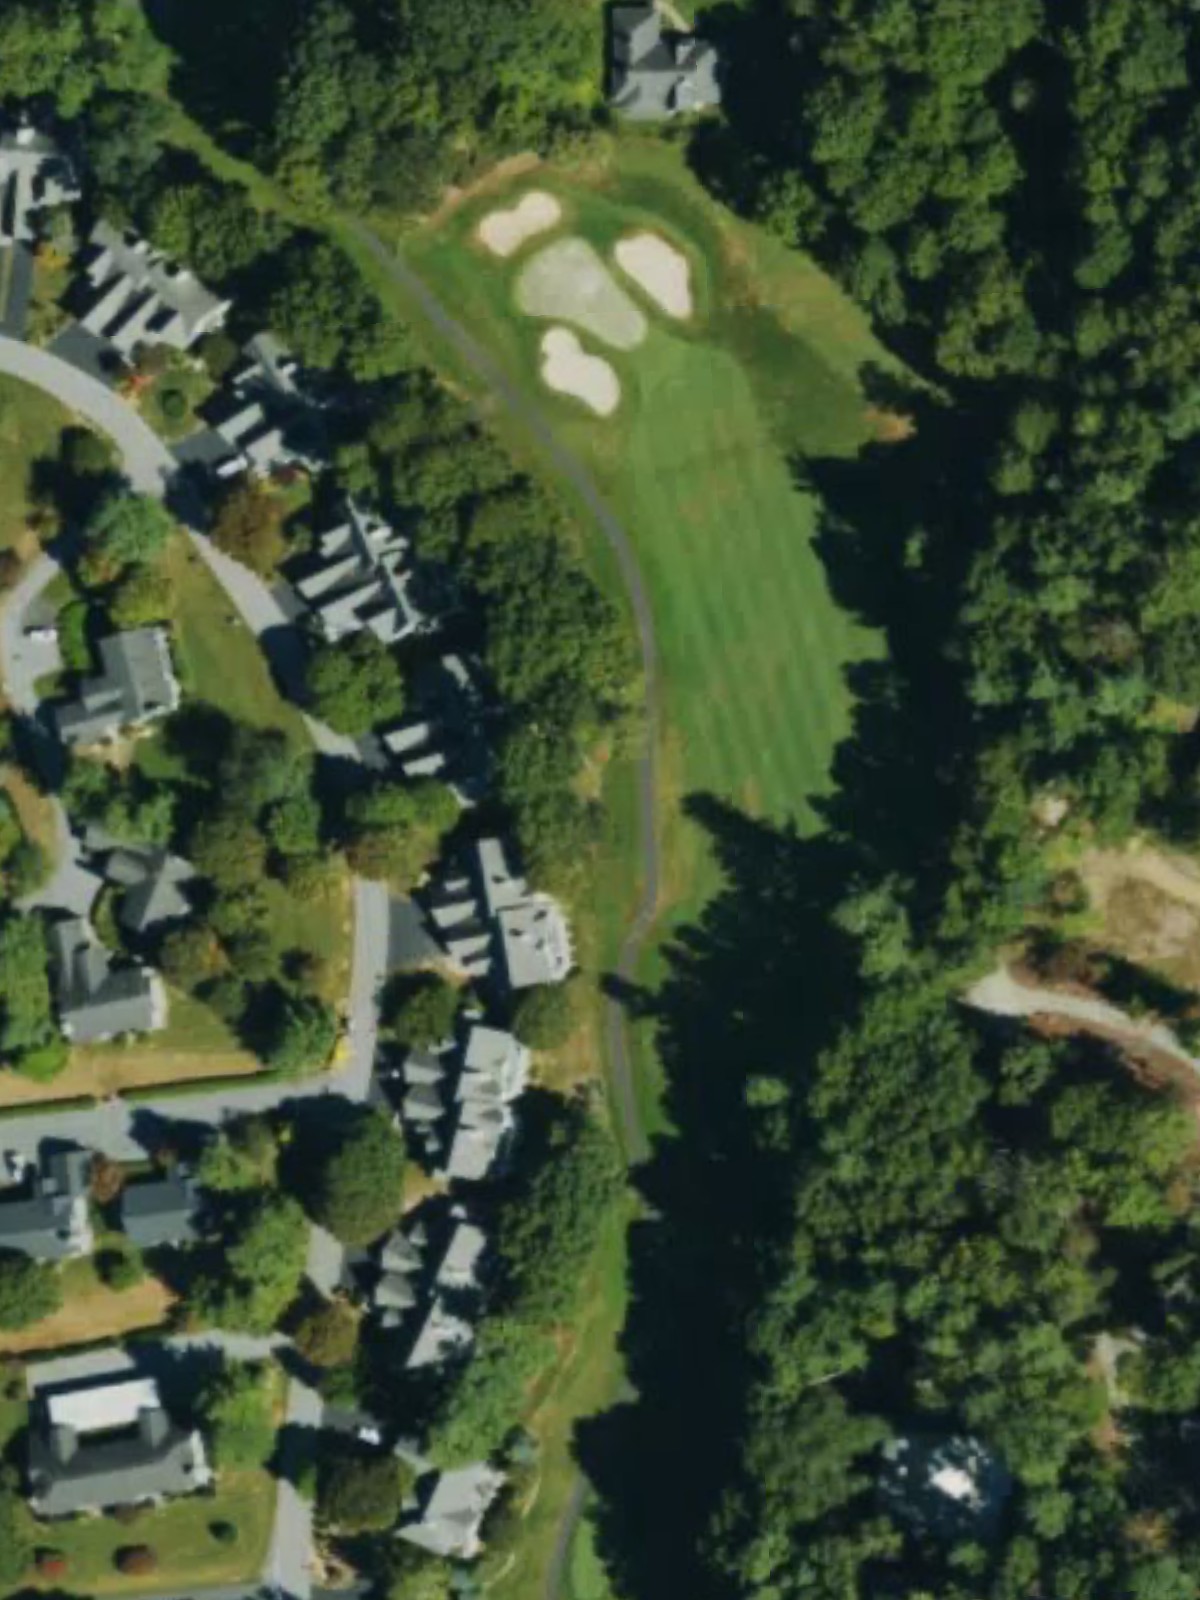
A short par 3 that plays straightforward to a modest green with minimal hazards. Despite its brevity, accuracy from the tee is essential for a birdie opportunity.
A compact par 4 with tight quarters that demand control off the tee and into the green. Strategic bunkering frames the short approach, making this a deceptively challenging hole.
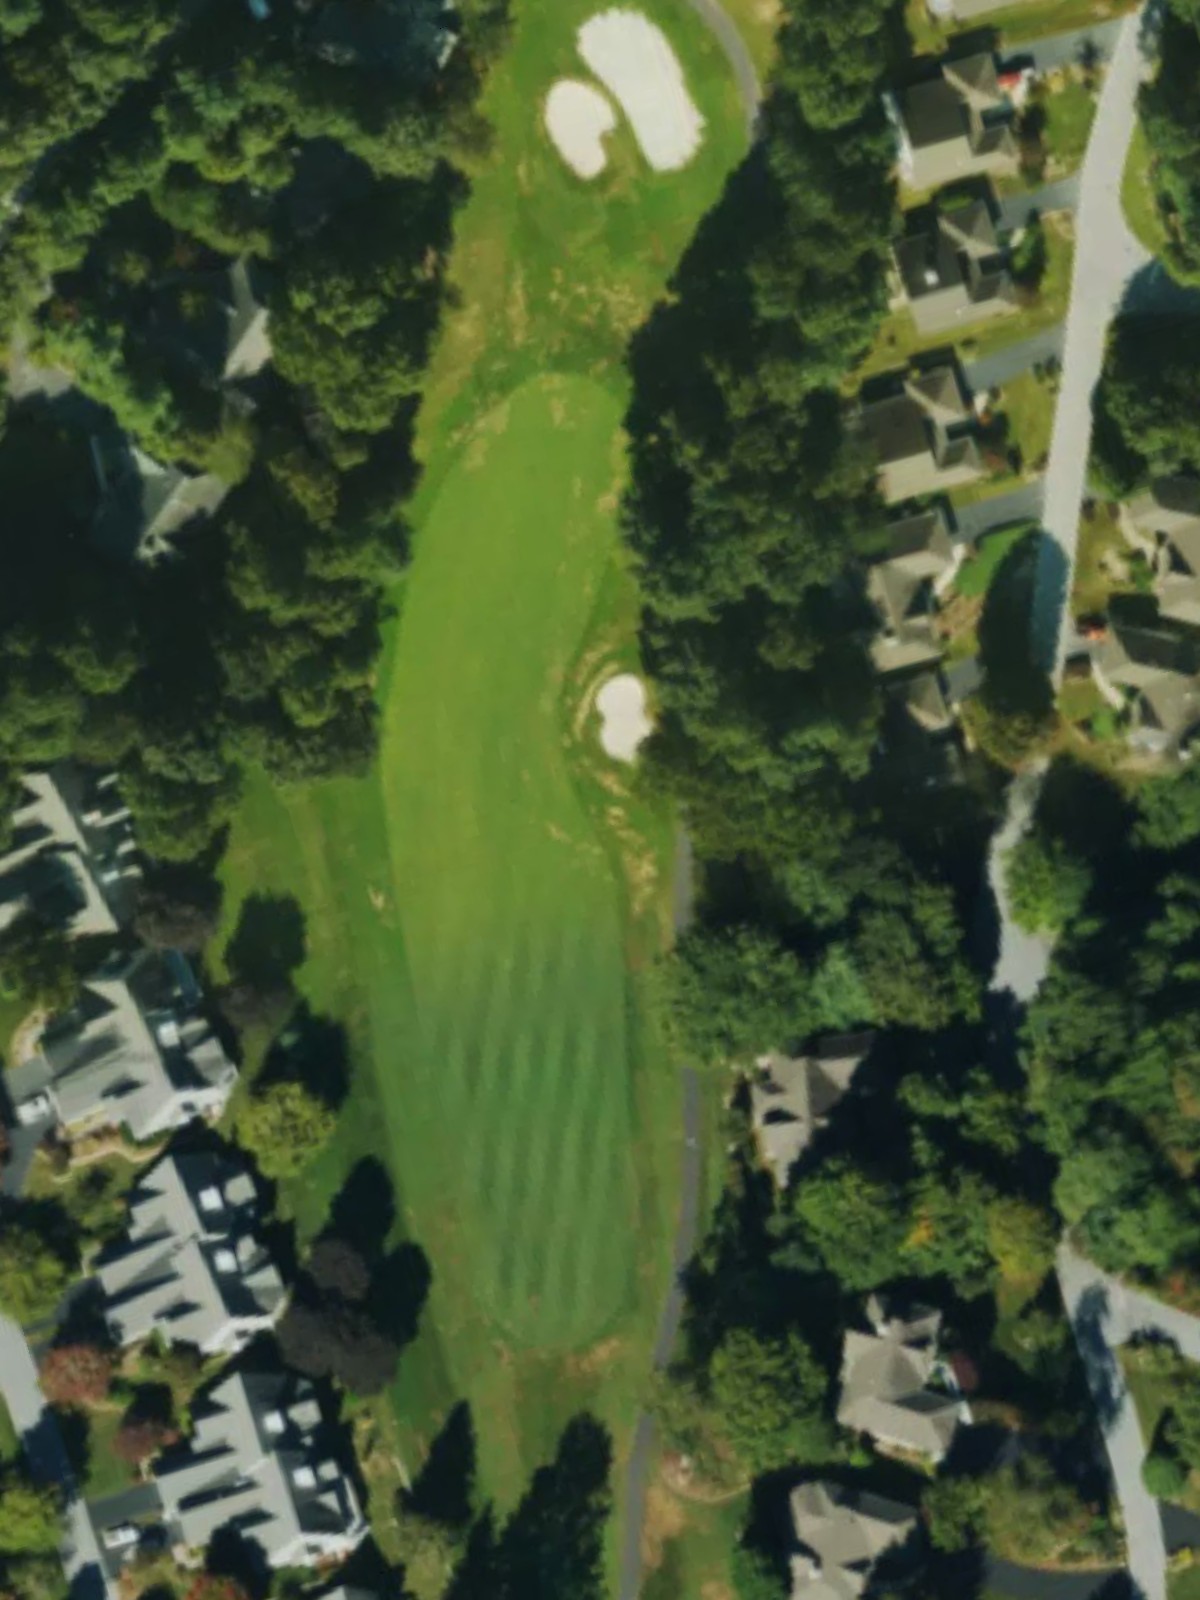
One of the course's more generous par 4s, offering the most forgiving conditions of the front nine. The relatively open fairway and green create a welcome scoring opportunity.
A formidable par 5 ranked third in course difficulty, requiring two powerful or well-placed shots to position for the approach. Hazards pinch the fairway at strategic distances, demanding careful route selection.
A diminutive par 3 that closes the front nine with charm rather than length. The green's small target area punishes wayward tee shots despite the short distance.
The back nine's signature test, a par 5 ranked sixth overall that demands precision throughout its length. Strategic layup opportunities exist, but aggressive lines reward bold play.
The most straightforward par 3 on the course, providing a brief reprieve from the challenge. The green is relatively forgiving, though bunkering frames the sides.
A mid-range par 4 with moderate difficulty that sits comfortably in the middle of the round. The fairway flows naturally toward a green that accepts various approach angles.
The second-hardest hole on the course, this par 5 demands respect from the opening tee shot through the final approach. Multiple hazards and a well-defended green make this a pivotal scoring moment.
A short par 3 with plenty of character that tests precision over distance. The compact green and surrounding hazards create a surprisingly difficult target for its yardage.
A shortened par 4 that plays more aggressively than its yardage suggests, particularly from the back tees. Strategic bunkering near the green demands an accurate approach.
A solid par 4 that balances length and difficulty without excessive hazards. The fairway provides reasonable landing areas, though the approach to the green requires attention.
A testing par 4 ranked eighth in difficulty with strategic hazards that frame the playing corridor. Proper positioning from the tee opens the best angles into the well-defined green.

The closing par 4 presents a strong finishing challenge as the fourth-hardest hole on the course. Hazards bookend the fairway, demanding both a controlled tee shot and precise approach to close the round.
Scorecard
| Hole | 1 | 2 | 3 | 4 | 5 | 6 | 7 | 8 | 9 | Out | 10 | 11 | 12 | 13 | 14 | 15 | 16 | 17 | 18 | In | Tot |
|---|---|---|---|---|---|---|---|---|---|---|---|---|---|---|---|---|---|---|---|---|---|
| Par | 4 | 5 | 4 | 4 | 3 | 4 | 4 | 5 | 3 | 36 | 5 | 3 | 4 | 5 | 3 | 4 | 4 | 4 | 4 | 36 | 72 |
| HCP | 11 | 1 | 5 | 7 | 13 | 9 | 15 | 3 | 17 | 6 | 18 | 14 | 2 | 16 | 12 | 10 | 8 | 4 | |||
| black tees | 385 | 534 | 420 | 390 | 165 | 313 | 355 | 500 | 167 | 3229 | 523 | 166 | 335 | 529 | 195 | 352 | 345 | 387 | 395 | 3227 | 6456 |
| blue tees | 366 | 510 | 340 | 370 | 155 | 292 | 307 | 485 | 137 | 2962 | 491 | 146 | 317 | 509 | 174 | 288 | 322 | 362 | 380 | 2989 | 5951 |
| gold tees | 366 | 470 | 340 | 312 | 155 | 292 | 307 | 438 | 137 | 2817 | 491 | 146 | 317 | 436 | 146 | 288 | 322 | 316 | 311 | 2773 | 5590 |
| white tees | 297 | 470 | 291 | 312 | 145 | 235 | 254 | 438 | 119 | 2561 | 405 | 134 | 271 | 436 | 146 | 273 | 266 | 316 | 311 | 2558 | 5119 |
| red tees | 253 | 422 | 280 | 275 | 135 | 225 | 209 | 385 | 102 | 2286 | 393 | 119 | 261 | 397 | 119 | 211 | 255 | 242 | 273 | 2270 | 4556 |
| glenroy tees | 197 | 312 | 183 | 211 | 73 | 179 | 169 | 316 | 58 | 1698 | 306 | 119 | 214 | 264 | 73 | 145 | 181 | 206 | 144 | 1652 | 3350 |