Ken Mcdonald Golf Course is an 18-hole golf course in Tempe, AZ with a par of 72. It offers 5 tee sets: tips (6,876 yards, slope 127, rating 72.3), black (6,876 yards, slope 125, rating 71.9), blue (6,537 yards, slope 121, rating 70.4), white (6,250 yards, slope 115, rating 68.7), red (5,732 yards, slope 107, rating 66.7). The hardest hole is #2, a par 5 playing 447 yards from the first tee.
Ken Mcdonald Golf Course
Tempe, AZ
Get PDF Yardage Book
We'll email you the PDF link. No spam, ever.
Create Your Game Plan
Pick your tees, enter your bag, and get a personalized shot-by-shot strategy for every hole.
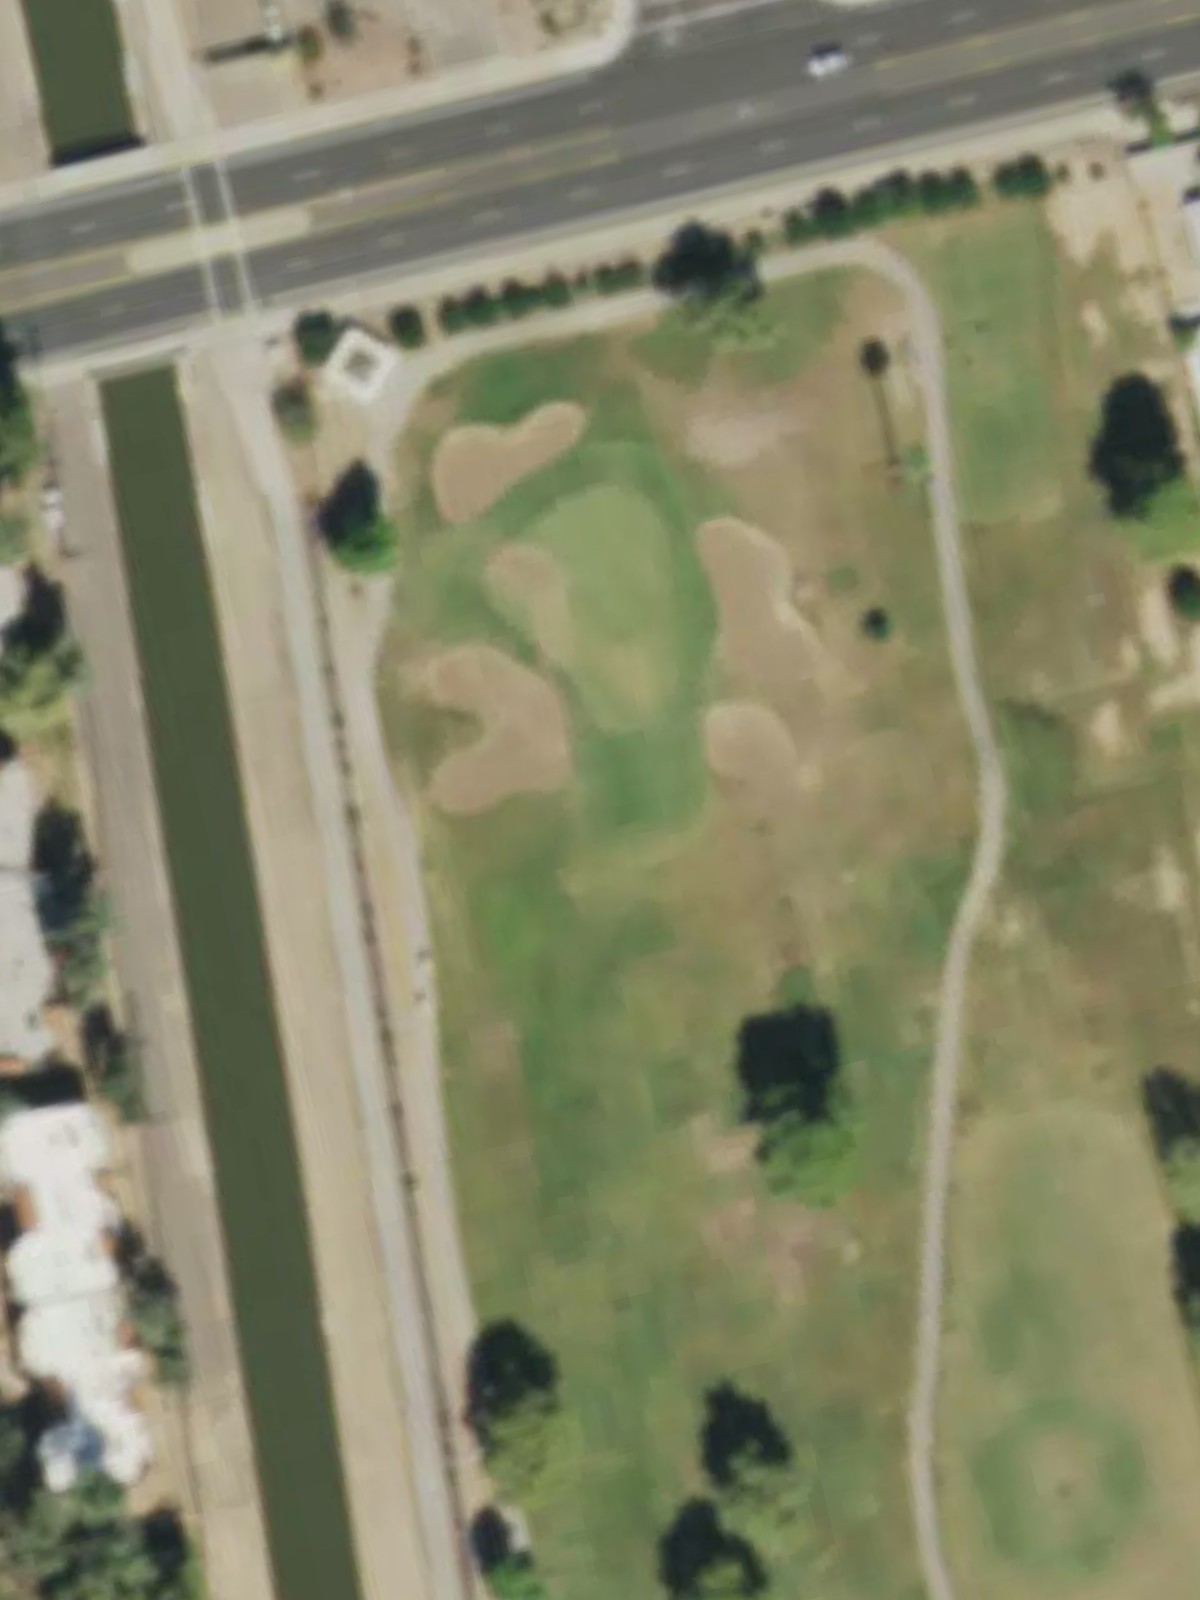
A relatively short par 4 that offers a good opening hole with a straightforward layout. The fairway is receptive off the tee, but accuracy into the green is important as bunkers and rough frame the putting surface.
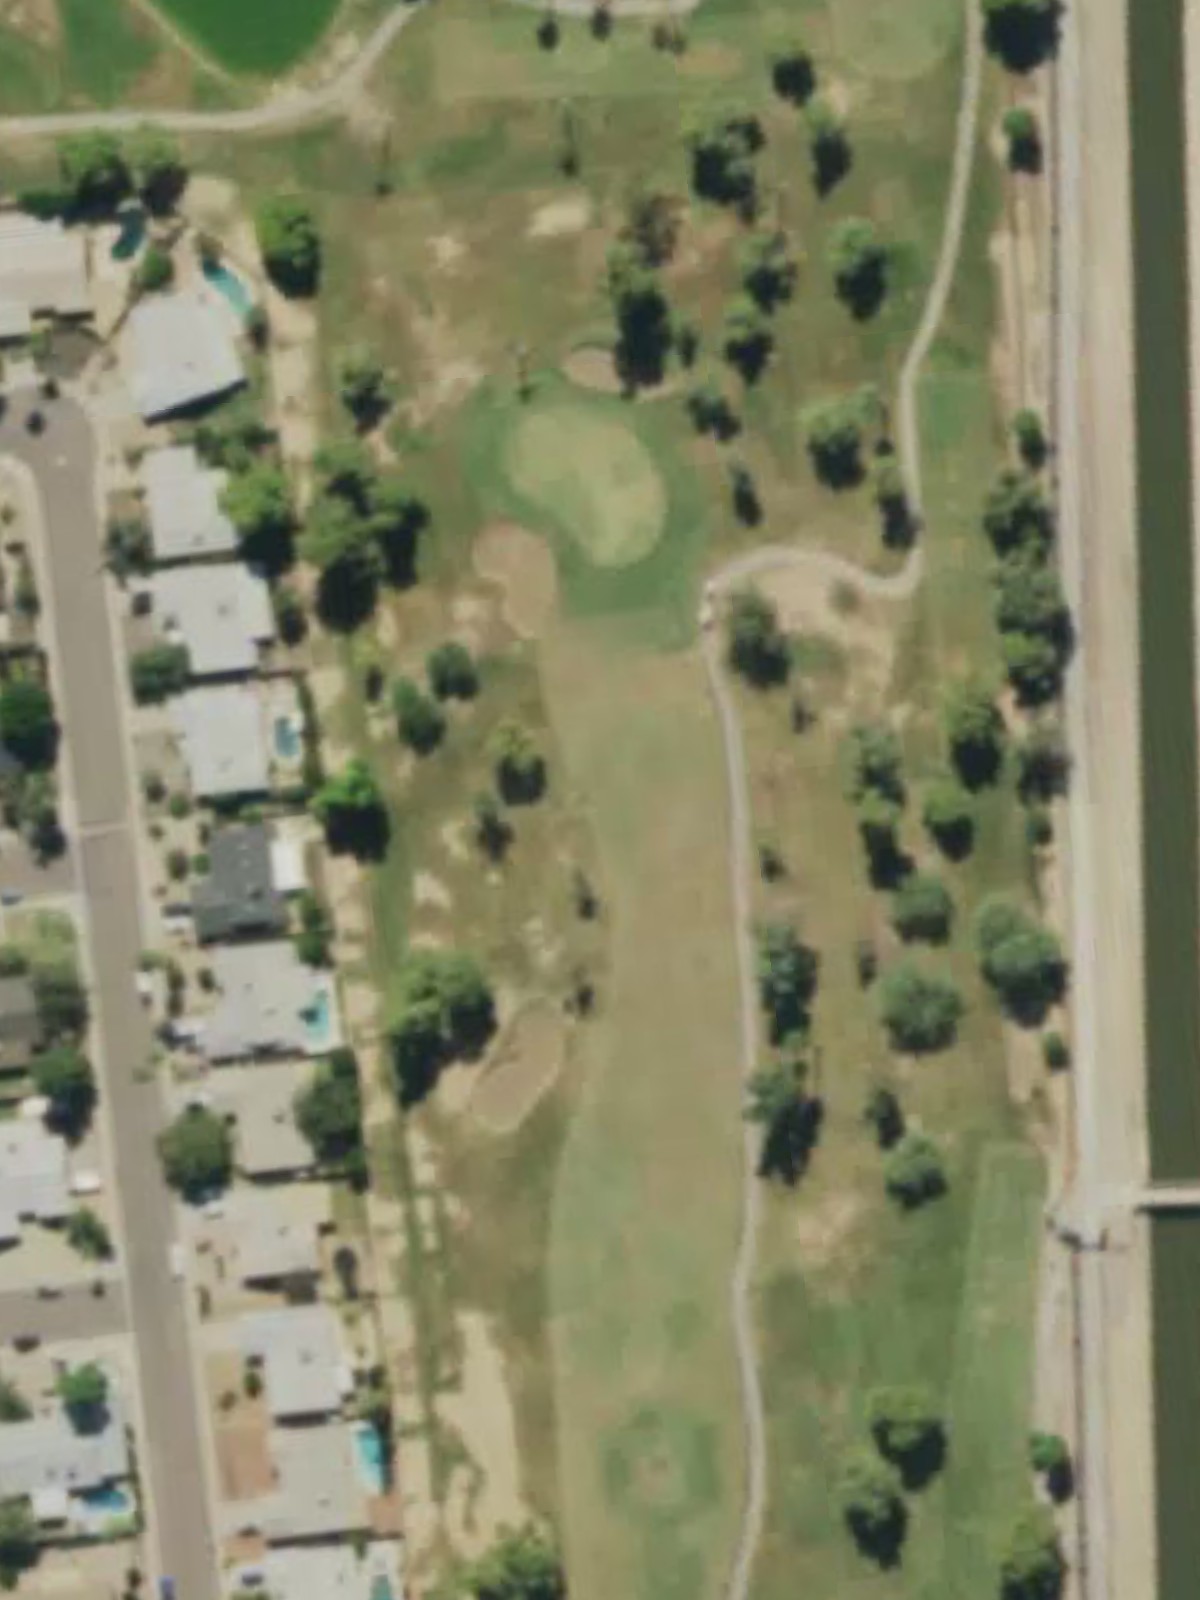
The course's signature hole—a long par 5 that ranks as the #1 handicap and demands two strong shots to set up a scoring opportunity. The substantial length and likely hazards throughout make this a dramatic start to the back nine.
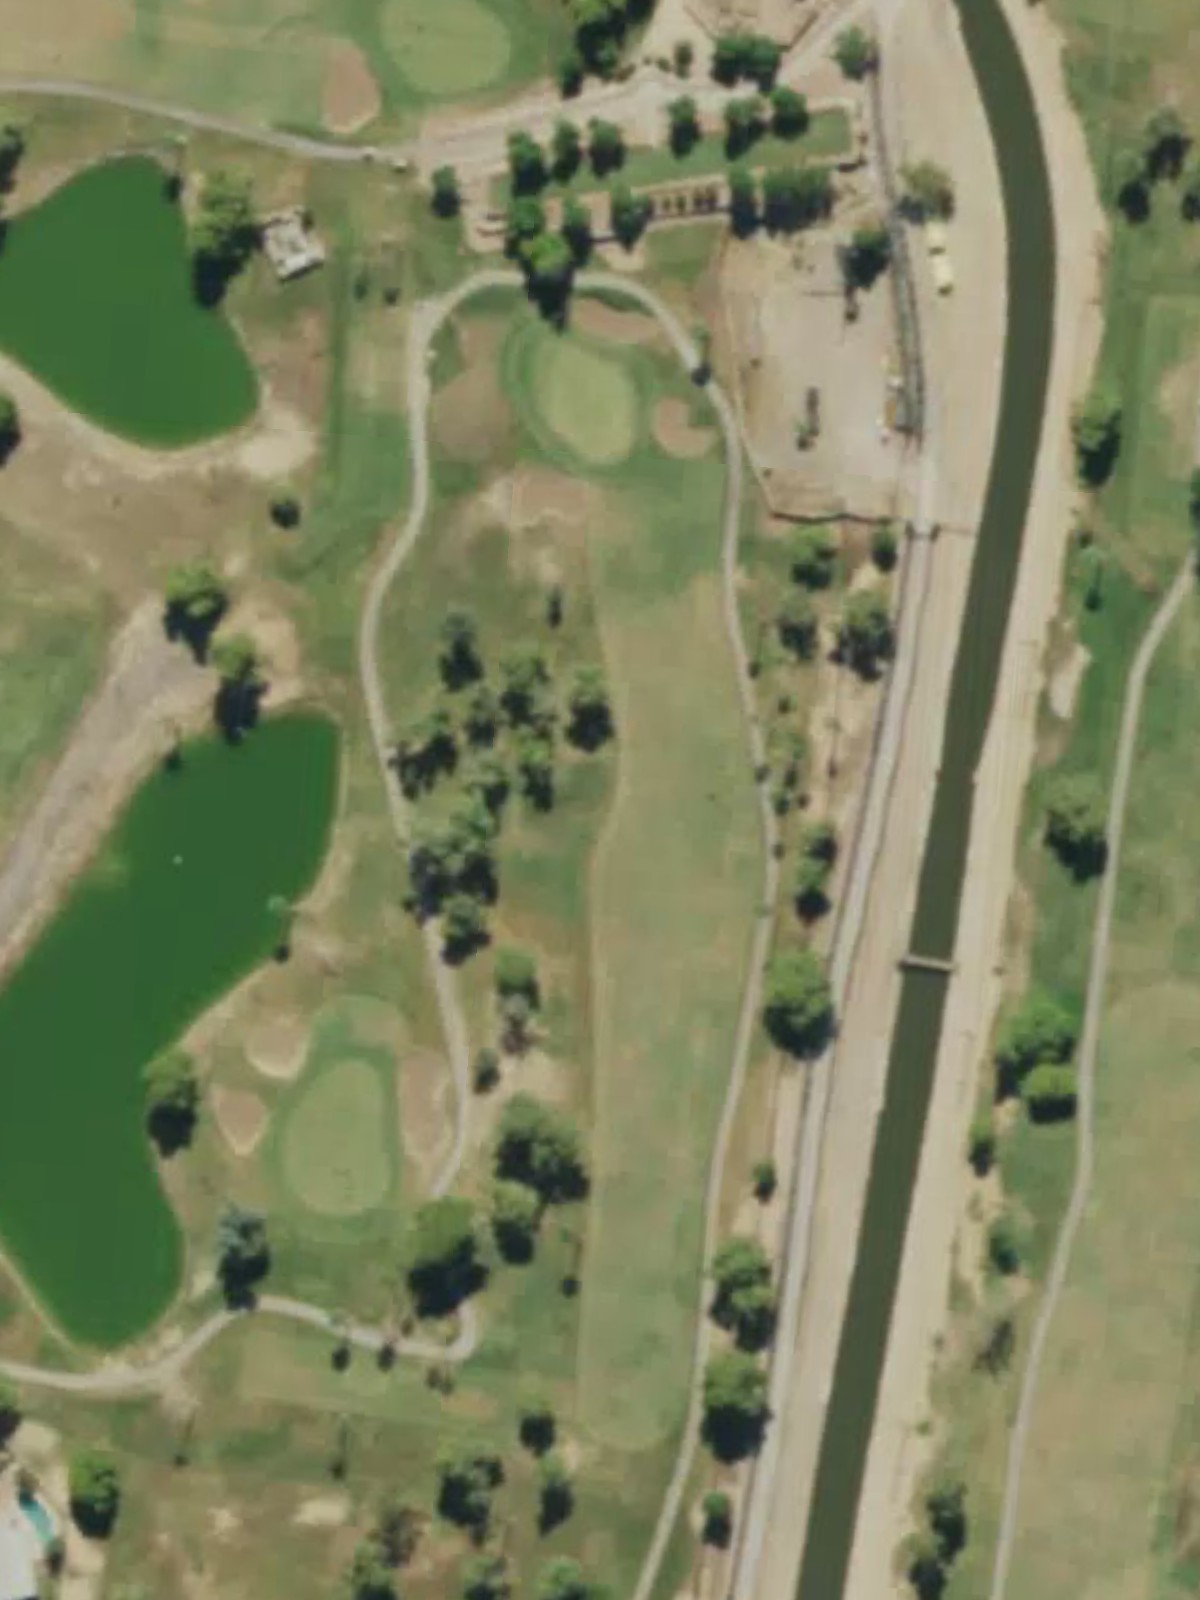
A mid-length par 4 with a relatively forgiving character, offering players a chance to settle in early. The hole's moderate handicap suggests a balanced test without extreme hazards dominating the play.
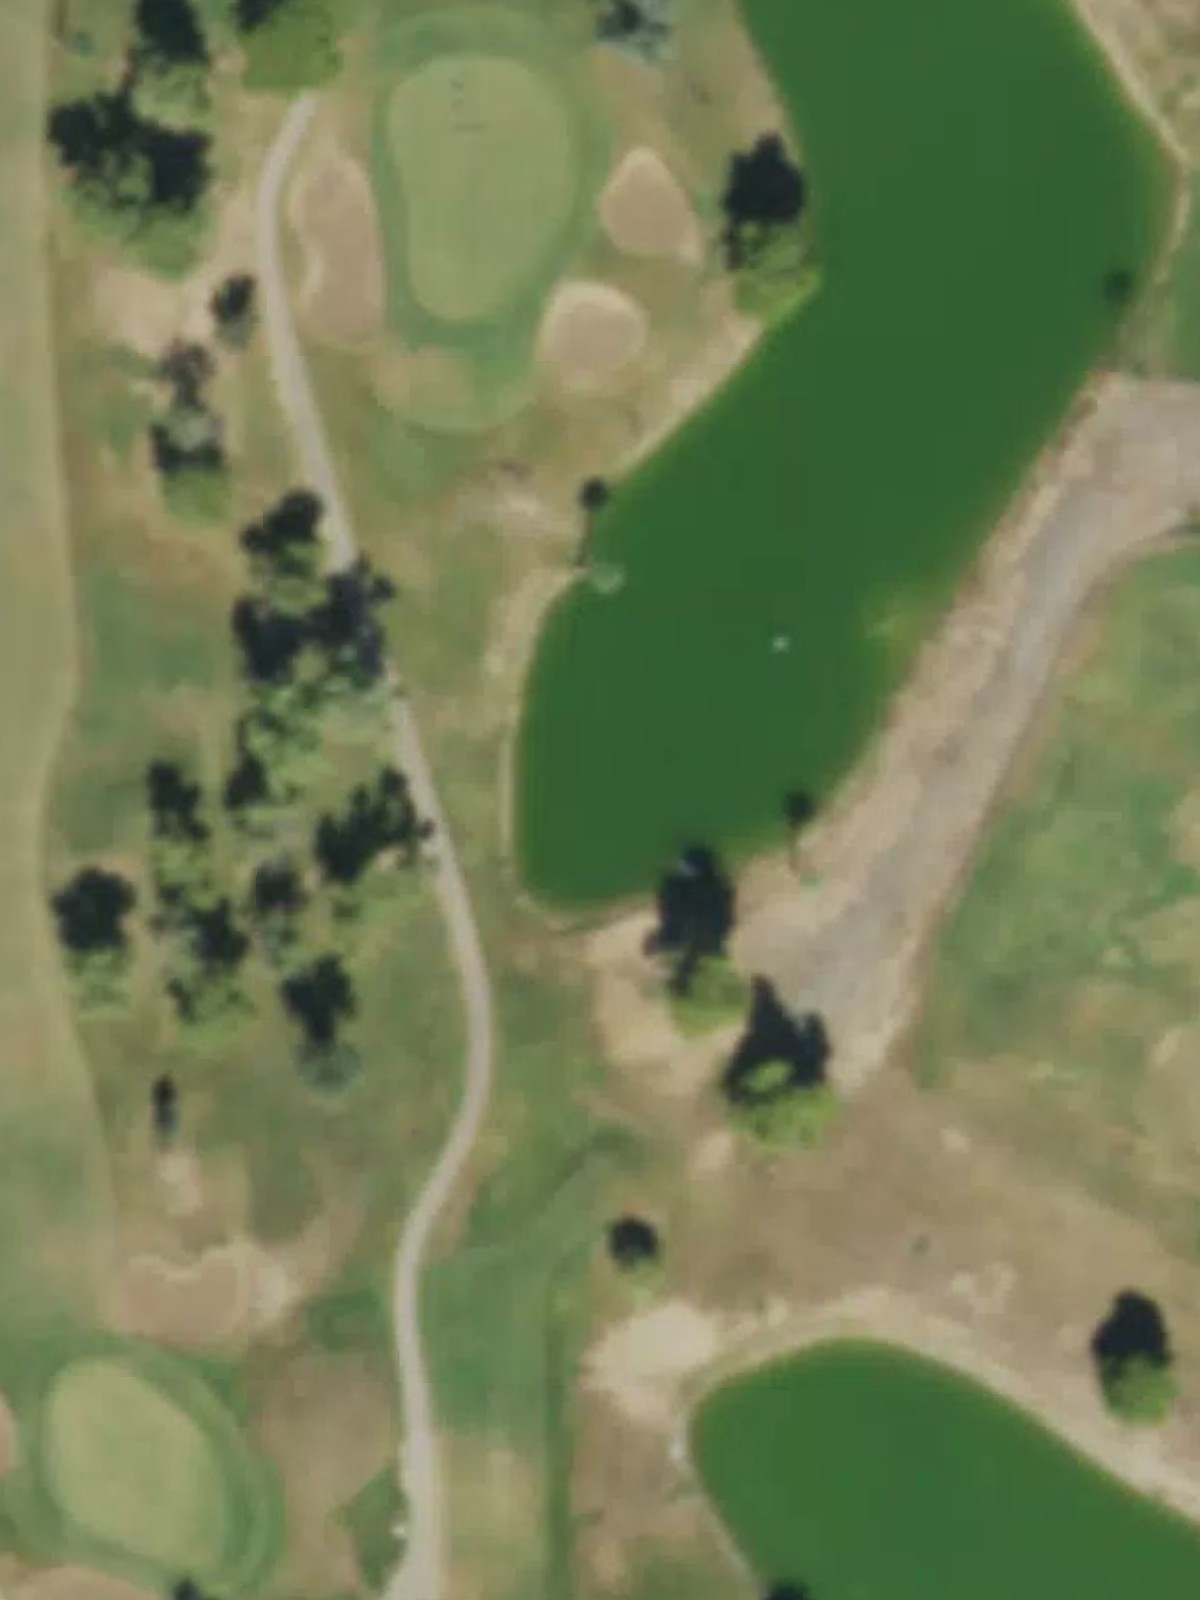
A substantial par 5 ranking among the course's hardest holes, requiring discipline and length to navigate successfully. Strategic positioning off the tee is essential to access a scoring opportunity in three shots.
A short par 3 providing a potential scoring hole with minimal yardage separating the tee from the green. The reduced length makes this a welcome breather in the round, though precision is still required on the putting surface.
The course's easiest hole—a short par 4 that rewards solid fundamental play without punishing minor mistakes. The straightforward design offers a confidence-building opportunity in the round.
A compact par 4 that compensates for modest length with strategic design elements and likely narrowing fairway conditions. The hole's moderate difficulty suggests clever hazard placement or green complexity rather than pure distance.
A mid-range par 3 requiring a solid mid-iron to an island green or well-bunkered target. The hole's ranking indicates a legitimate one-shot test with hazards likely surrounding the putting surface.
A strong finishing hole for the front nine, this par 4 ranks among the course's most challenging and demands controlled execution on both shots. Strategic fairway positioning is critical to avoid hazards and access the green effectively.
A generous par 5 that opens the back nine with a manageable three-shot hole despite its length. The relatively low handicap suggests accessible fairways and a green within reasonable reach for most players.
The course's shortest hole, this diminutive par 3 provides a near-gimme scoring opportunity in the round. Despite minimal yardage, the small target demands precision despite the reduced distance challenge.
A mid-length par 4 with likely hazards and terrain changes that create the moderate difficulty. The fairway likely requires a thoughtful approach to set up a manageable approach shot to the green.
A challenging par 3 that ranks among the course's toughest one-shot holes despite its mid-range yardage. Water, bunkers, or elevated green design likely combine to create a deceptive test of accuracy and distance control.
A short par 4 offering a breather mid-back nine with a straightforward layout and minimal complications. The reduced yardage and higher handicap suggest a more forgiving design allowing for a birdie opportunity.
A three-shot par 5 of moderate length that offers strategic options depending on player ability and risk tolerance. The fairway likely provides interesting routing with potential hazards to navigate on the second or third shot.

A demanding par 4 that ranks among the course's hardest holes and likely features significant length, hazards, or challenging topography. Positioning and discipline are essential to avoid trouble and secure a respectable score.
The course's easiest closing hole, this short par 4 provides a relatively gentle approach to the dramatic finisher. The minimal yardage and highest handicap suggest a confidence-building penultimate test before the final challenge.
A powerful closing par 4 ranking as the #2 handicap with substantial length and likely significant hazards throughout. The final hole's difficulty ensures a memorable conclusion that demands two strong, accurate shots to finish the round.
Scorecard
| Hole | 1 | 2 | 3 | 4 | 5 | 6 | 7 | 8 | 9 | Out | 10 | 11 | 12 | 13 | 14 | 15 | 16 | 17 | 18 | In | Tot |
|---|---|---|---|---|---|---|---|---|---|---|---|---|---|---|---|---|---|---|---|---|---|
| Par | 4 | 5 | 4 | 5 | 3 | 4 | 4 | 3 | 4 | 36 | 5 | 3 | 4 | 3 | 4 | 5 | 4 | 4 | 4 | 36 | 72 |
| HCP | 13 | 1 | 11 | 3 | 15 | 17 | 9 | 7 | 5 | 8 | 16 | 12 | 6 | 14 | 10 | 4 | 18 | 2 | |||
| tips | 365 | 574 | 397 | 516 | 184 | 363 | 375 | 200 | 401 | 3375 | 553 | 165 | 409 | 216 | 359 | 541 | 449 | 347 | 462 | 3501 | 6876 |
| black | 366 | 585 | 395 | 518 | 185 | 364 | 374 | 198 | 400 | 3385 | 557 | 164 | 407 | 217 | 358 | 530 | 446 | 345 | 467 | 3491 | 6876 |
| blue | 349 | 539 | 379 | 508 | 173 | 354 | 354 | 184 | 386 | 3226 | 518 | 153 | 393 | 206 | 348 | 508 | 436 | 332 | 417 | 3311 | 6537 |
| white | 334 | 518 | 363 | 496 | 160 | 343 | 336 | 169 | 368 | 3087 | 496 | 133 | 384 | 192 | 337 | 489 | 419 | 320 | 393 | 3163 | 6250 |
| red | 317 | 447 | 348 | 482 | 146 | 331 | 312 | 150 | 351 | 2884 | 469 | 102 | 319 | 160 | 324 | 473 | 396 | 308 | 297 | 2848 | 5732 |