Jonathan'S Landing is an 18-hole golf course in Jupiter, FL with a par of 72. It offers 9 tee sets: i (7,104 yards, slope 136, rating 74.3), i/ii (6,676 yards, slope 131, rating 72.5), ii (6,424 yards, slope 129, rating 71.3), ii/iii (6,076 yards, slope 128, rating 69.6), iii (5,822 yards, slope 125, rating 68.3), iii/iv (5,409 yards, slope 115, rating 66.4), iv (5,118 yards, slope 111, rating 65.1), iv/v (4,632 yards, slope 106, rating 63), v (4,443 yards, slope 104, rating 62.3). The hardest hole is #6, a par 5 playing 568 yards from the first tee.
Jonathan'S Landing
Jupiter, FL
Get PDF Yardage Book
We'll email you the PDF link. No spam, ever.
Create Your Game Plan
Pick your tees, enter your bag, and get a personalized shot-by-shot strategy for every hole.
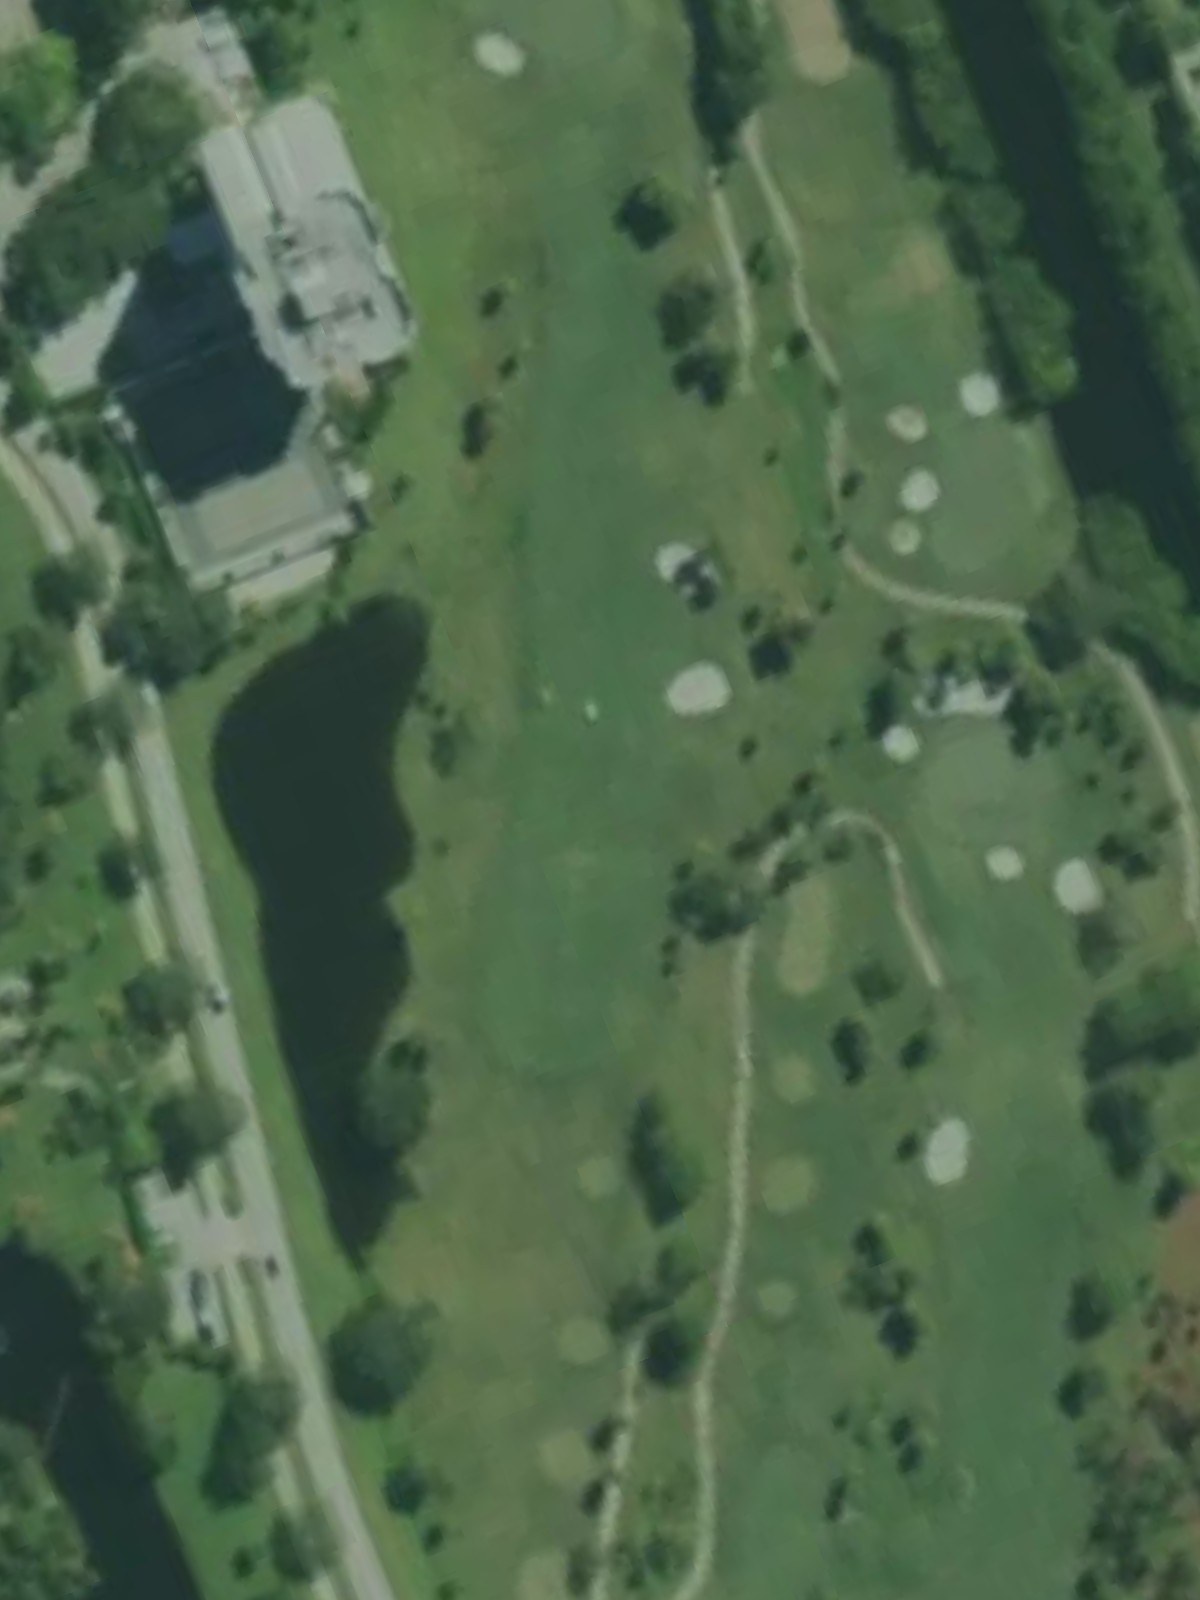
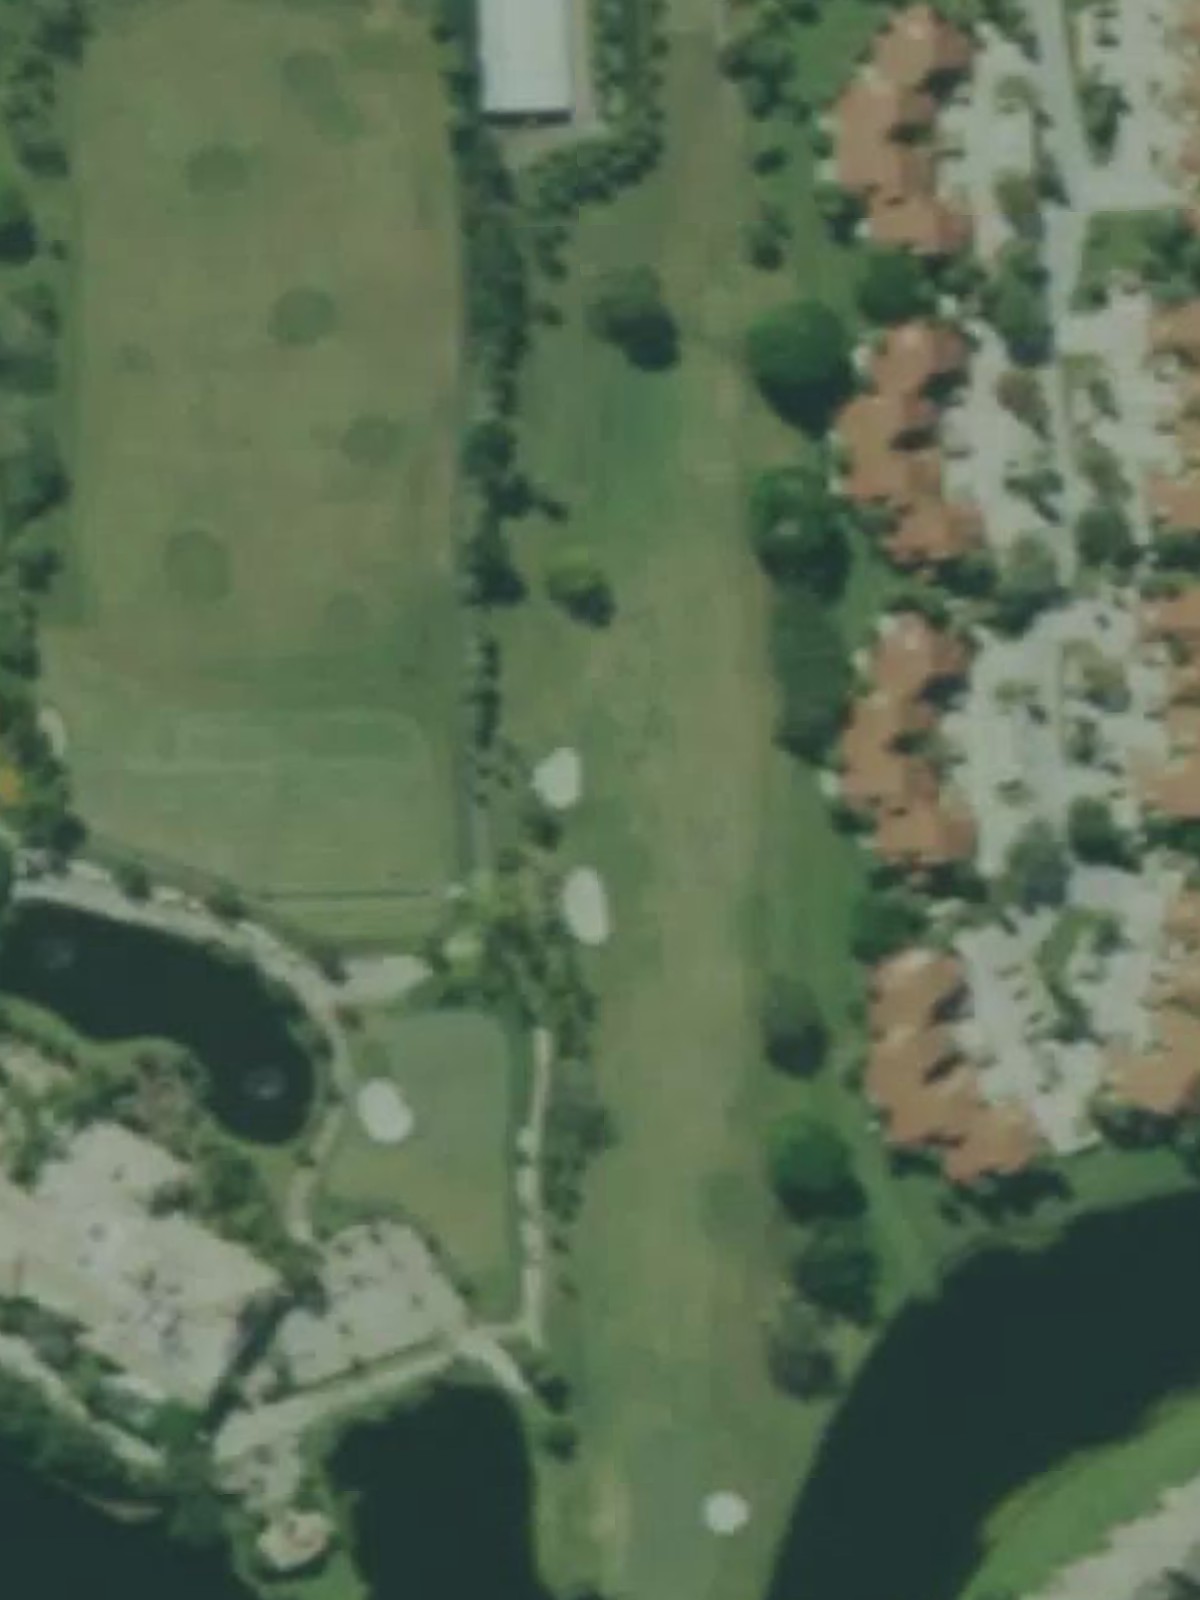
A welcoming opening par 4 that plays relatively straight with a fairway that gradually narrows as it approaches the green. Greenside bunkers on the right demand accuracy on the approach shot, making this a solid starting test without excessive difficulty.
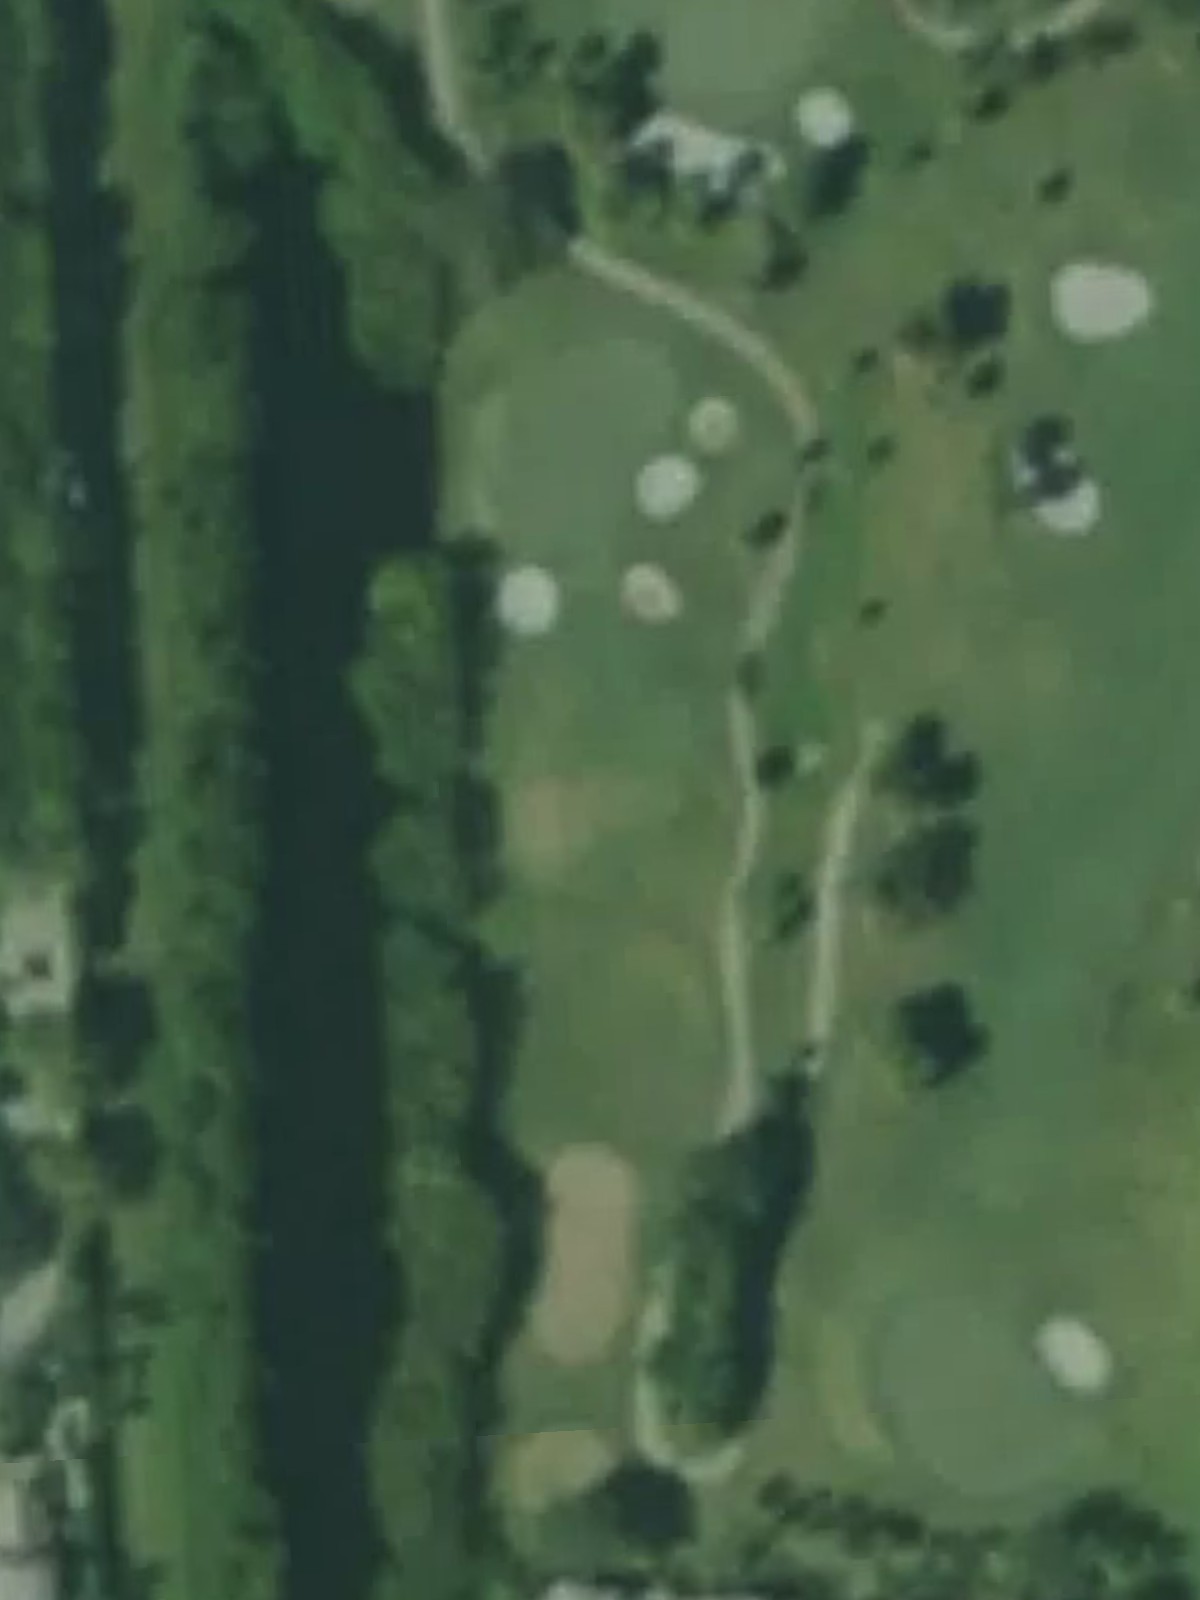
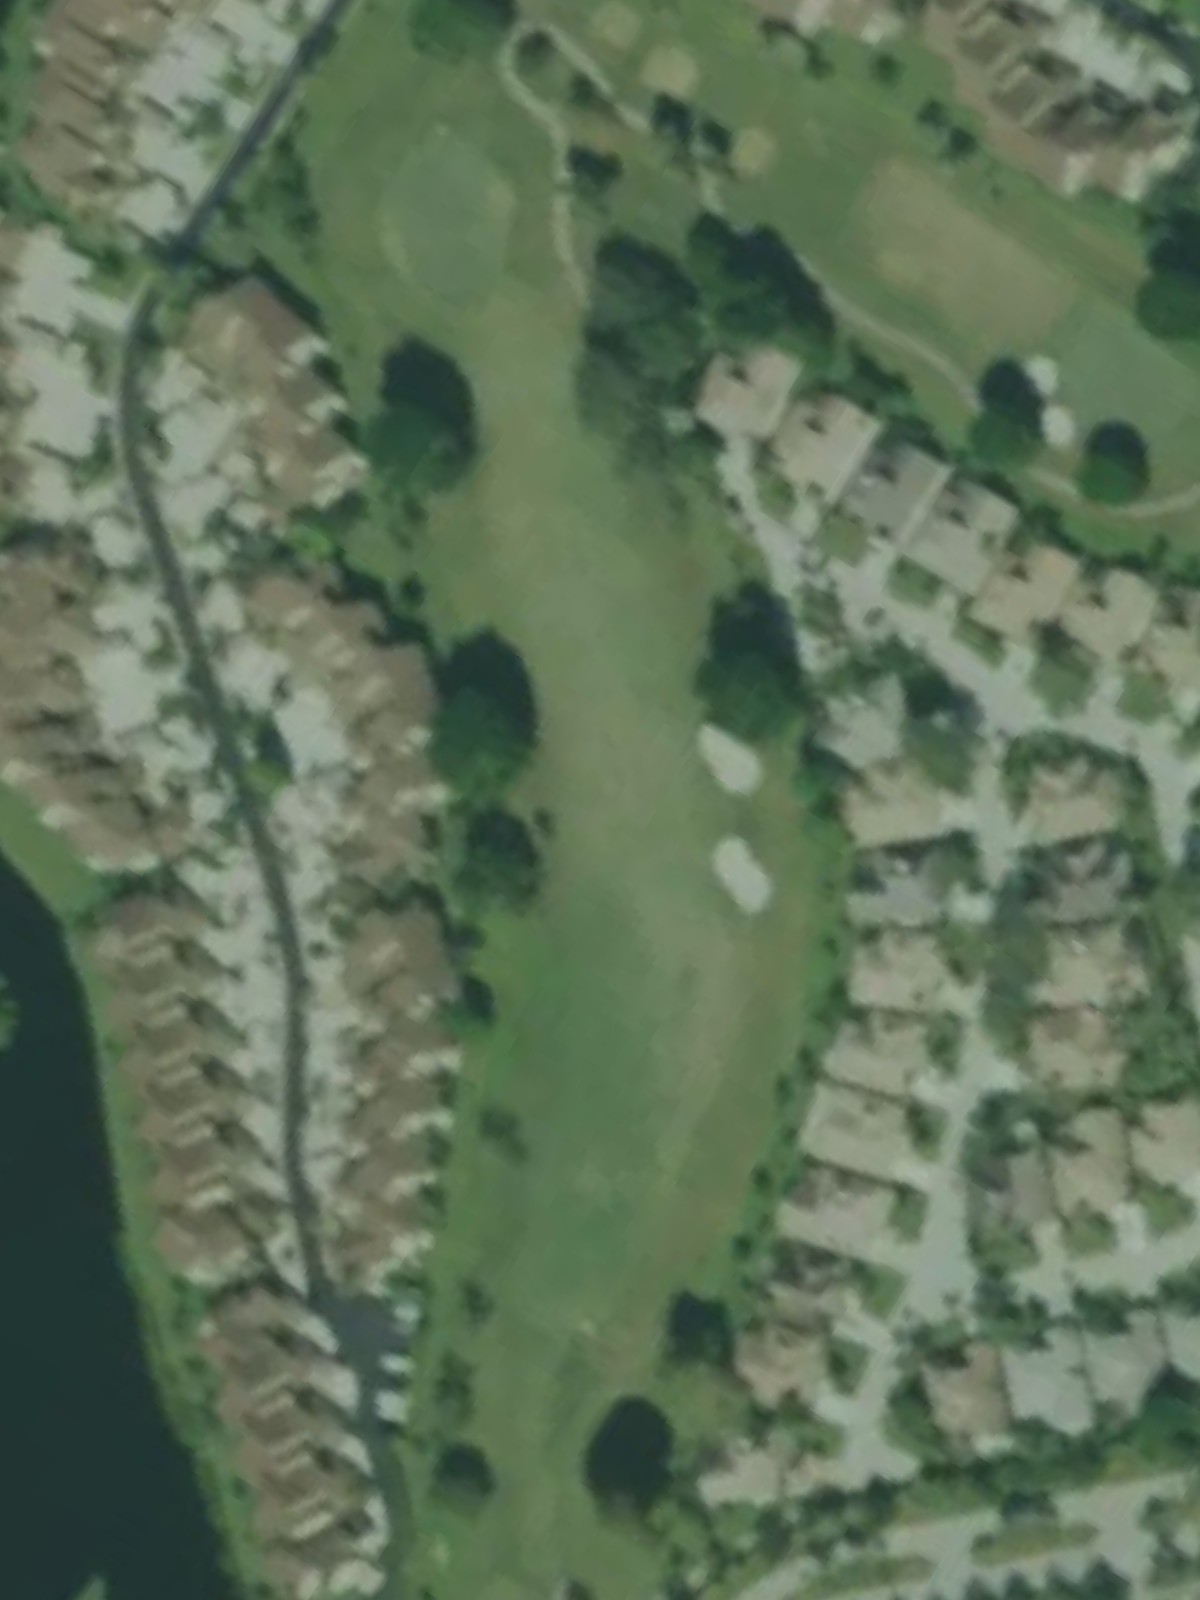
The first of the course's real teeth, this strong par 4 features a tight fairway with water presenting a significant threat along the left side. The approach to a well-bunkered green requires precision, making length and accuracy equally important from tee to green.
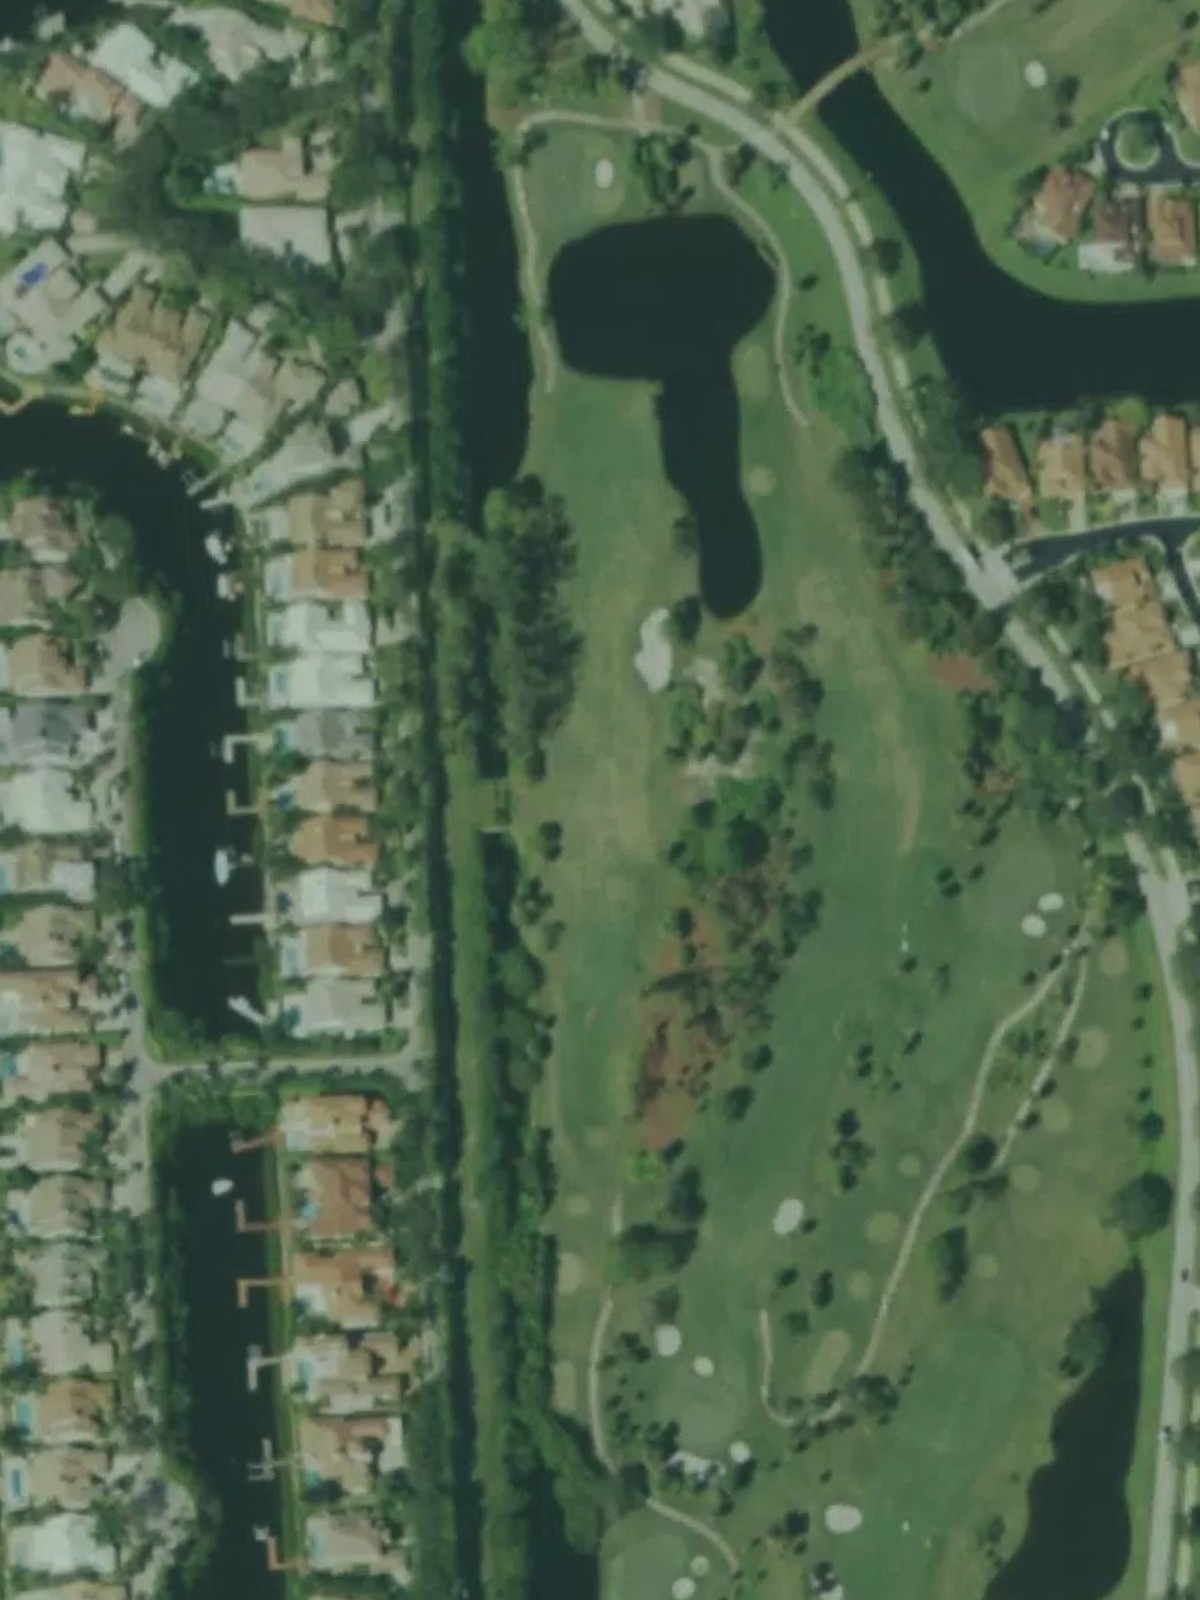
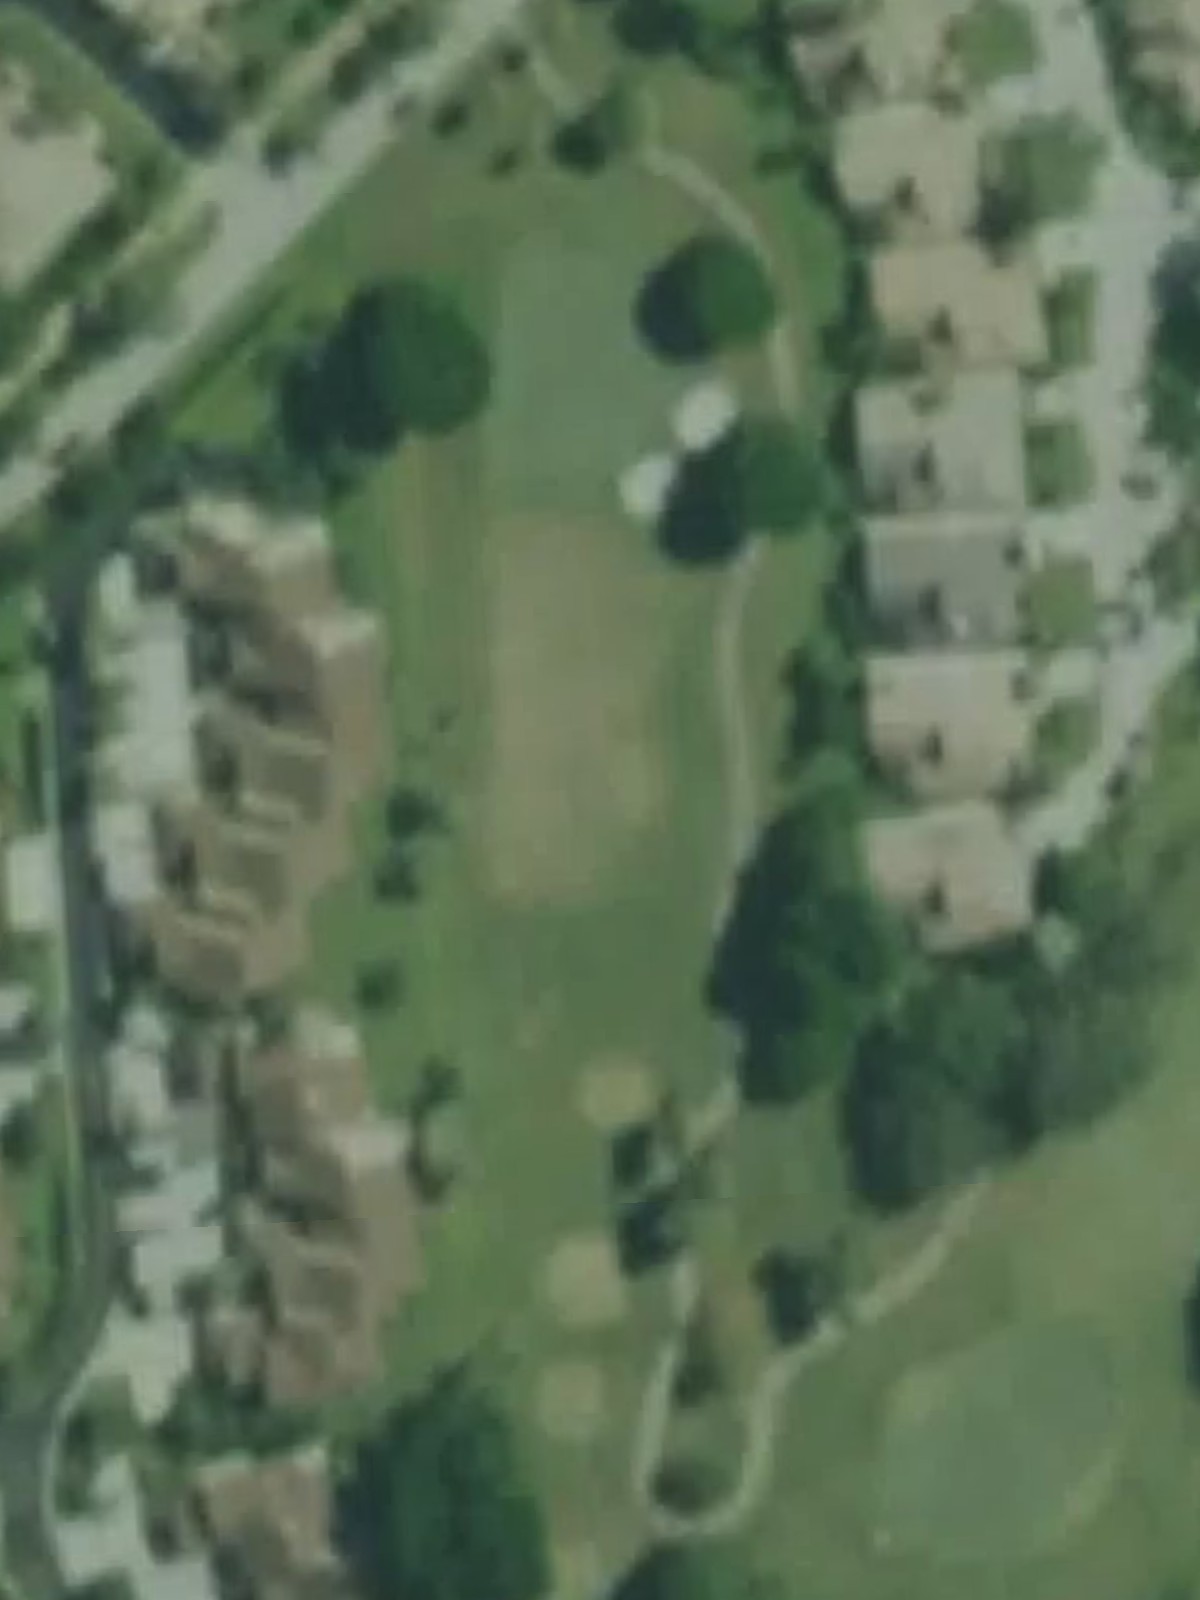
A short but deceptive par 3 where club selection is critical due to the moderate yardage and what appears to be a relatively open green complex. Wind and undulation make this a trickier one-shotter than its length might suggest.
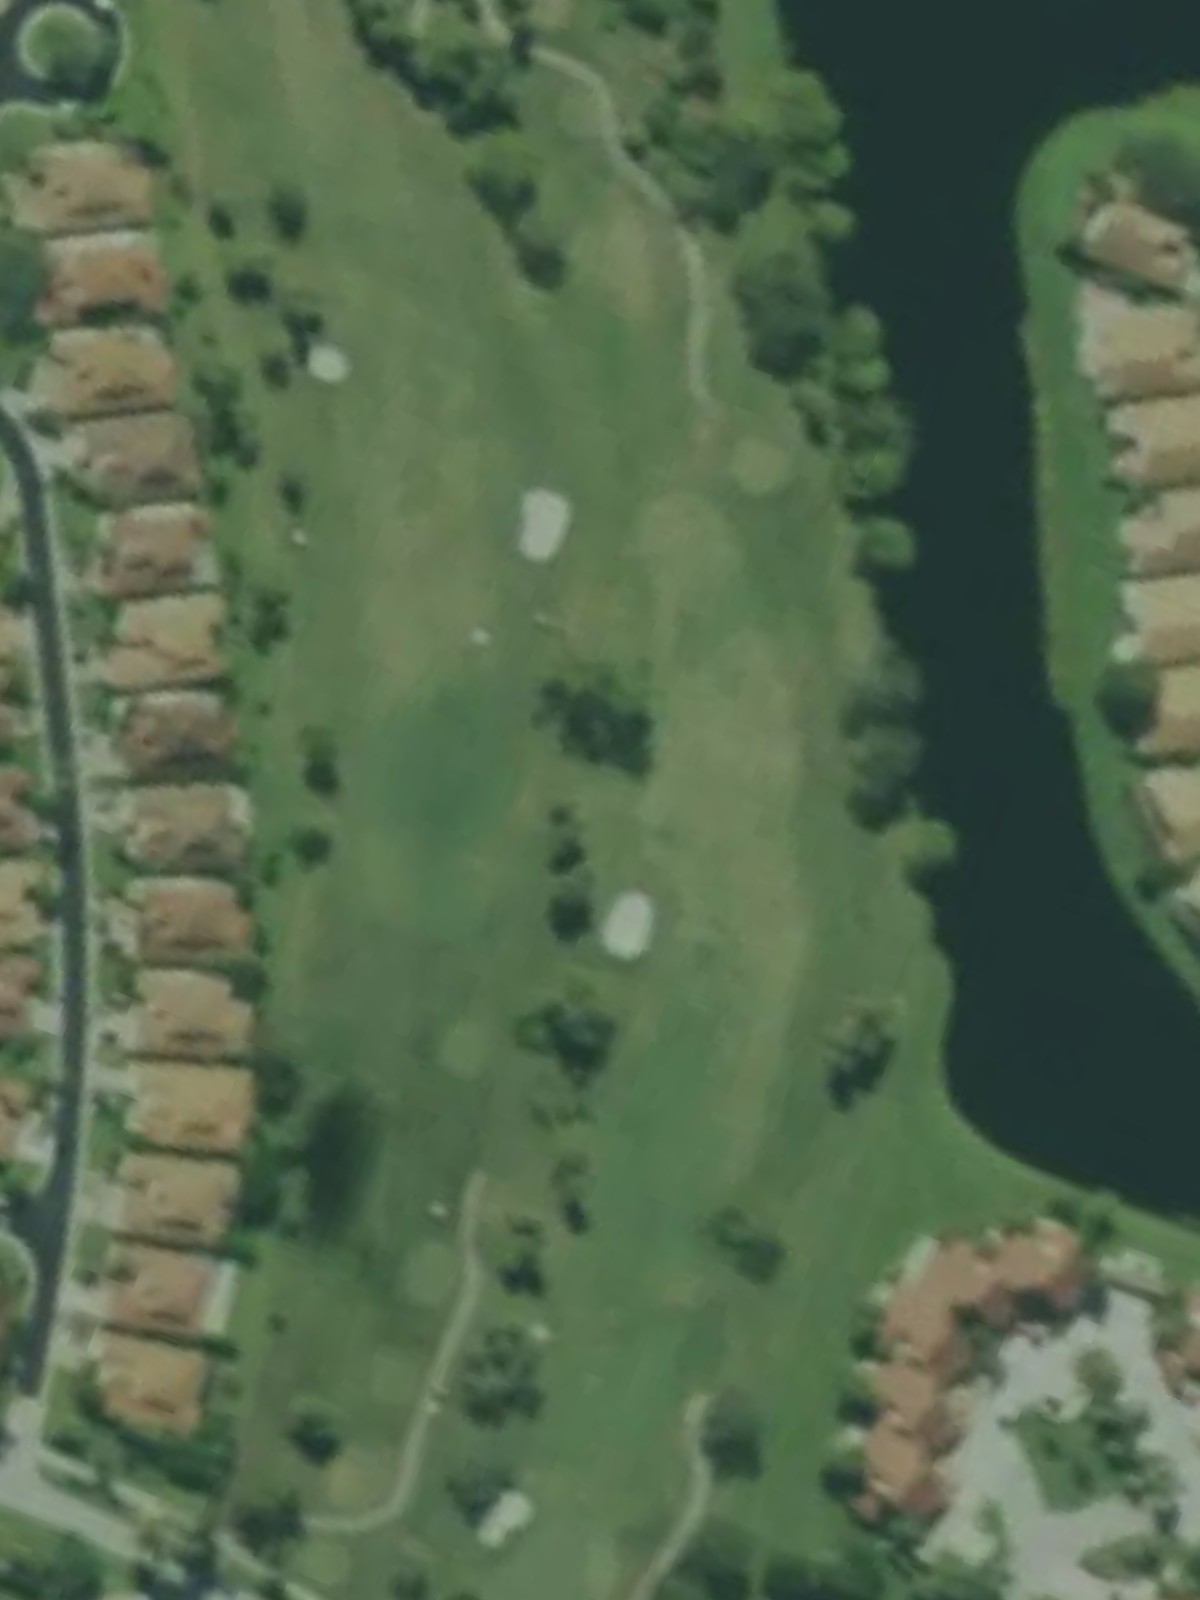
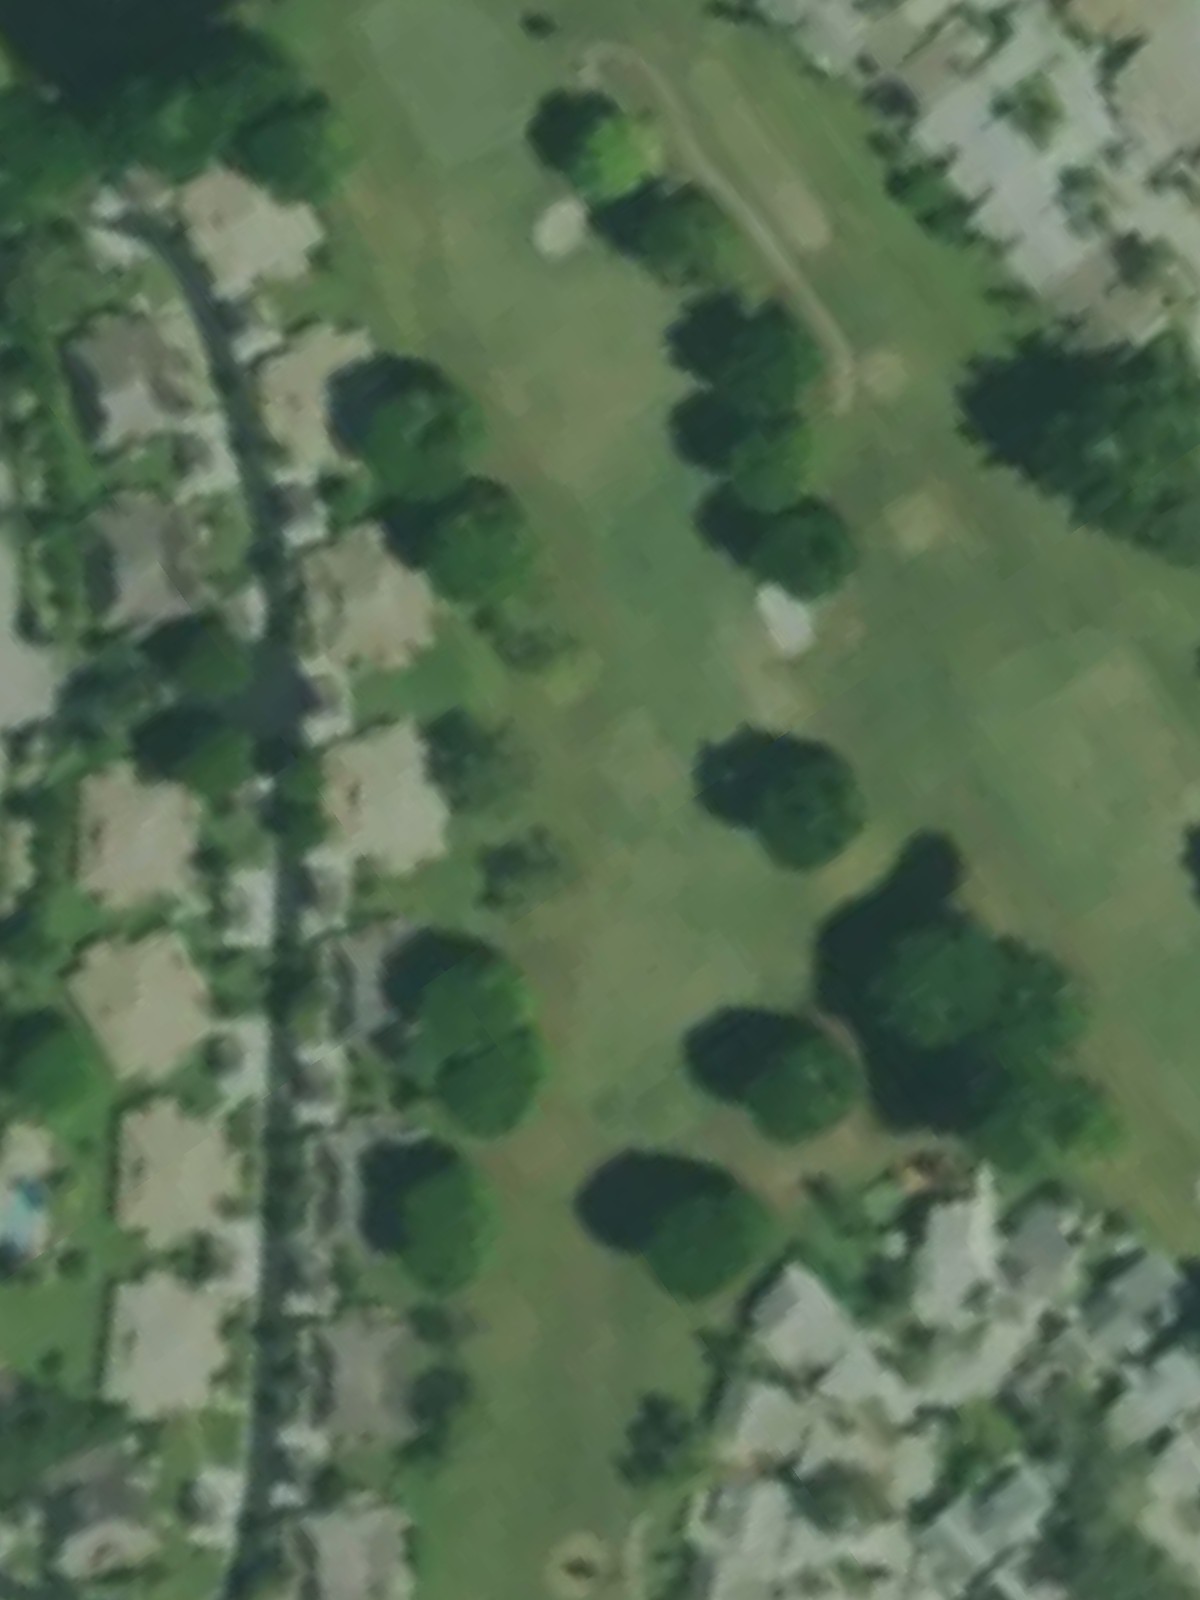
A powerful par 4 that demands respect, with hazards likely positioned to penalize wayward tee shots and approaches. The demanding yardage and handicap ranking indicate bunkers or water will come into play for most approach shots.
A short par 3 with significant length variations across the tee boxes, offering accessibility for shorter hitters while still presenting a challenge to the back tees. The narrow yardage spread suggests a well-defined target area that must be found.
The signature par 5 and handicap 1 hole at Jonathan's Landing, this brute requires strategic positioning off the tee and a well-executed second shot to set up a reasonable third. Water and bunkers likely guard the fairway corridor and surround the green, making this the course's most demanding hole.
A short and clever par 4 that relies on position and accuracy rather than raw power. The dramatic yardage variance suggests a risk-reward design where aggressive play from the tee can be rewarded or punished.
A solid mid-length par 4 that plays longer than its yardage suggests, with strategic hazards positioned to challenge both tee and approach shots. The consistent handicap ranking across tee boxes indicates a fairly neutral hole design without major quirks.
A substantial par 5 where positioning off the tee is crucial for reaching the green in three strokes. Bunkers and/or water likely shape the fairway, requiring thoughtful course management to avoid trouble while advancing toward a well-protected green.
A demanding par 4 that plays longer than its length might suggest, with hazards positioned to catch both aggressive and conservative approaches. The consistent difficulty across tee boxes indicates a well-bunkered hole with limited bailout options.
A mid-length par 4 that plays shorter than many on the course, offering a slight reprieve in the round. Bunkers or water likely frame the fairway or green, creating a tactical puzzle despite the moderate yardage.
A manageable par 4 where a well-placed tee shot sets up a straightforward approach to a receptive green. This appears to be one of the more forgiving holes on the course, offering a scoring opportunity.
The second-ranked handicap hole, this par 5 presents a stern test with strategic hazards that likely force decisions throughout the routing. Bunkers and/or water positioned in the fairway and around the green make this one of the course's most challenging three-shot holes.
A short par 3 with surprising difficulty, suggesting that a small or well-guarded green and/or hazardous surroundings demand precision over distance. The wide yardage spread indicates multiple ways to play this hole depending on conditions and position.
A formidable par 5 and fourth-hardest hole that demands excellence across all three shots, with likely water and bunker trouble positioned to penalize both aggressive and hesitant play. The consistent difficulty suggests a hole with few safe options and plenty of peril.

The easiest hole on the course, this brief par 3 offers the best scoring opportunity on the back nine. A straightforward short-iron or wedge shot to a relatively open green makes this a welcome breather before the final stretch.
A strong par 4 and sixth-hardest hole that presents a genuine test with likely hazards positioned to punish both tee and approach shots. The length and consistent difficulty across tee boxes indicate a well-defended hole with limited margin for error.
A dramatic finishing par 4 that plays significantly longer than its marked yardage, providing a suitably challenging conclusion to the round. Hazards likely positioned around the green and possibly along the fairway create a memorable finishing hole that demands a solid finish.
Scorecard
| Hole | 1 | 2 | 3 | 4 | 5 | 6 | 7 | 8 | 9 | Out | 10 | 11 | 12 | 13 | 14 | 15 | 16 | 17 | 18 | In | Tot |
|---|---|---|---|---|---|---|---|---|---|---|---|---|---|---|---|---|---|---|---|---|---|
| Par | 4 | 4 | 3 | 4 | 3 | 5 | 4 | 4 | 5 | 36 | 4 | 4 | 4 | 5 | 3 | 5 | 3 | 4 | 4 | 36 | 72 |
| HCP | 11 | 3 | 15 | 5 | 17 | 1 | 13 | 9 | 7 | 8 | 12 | 14 | 2 | 16 | 4 | 18 | 6 | 10 | |||
| i | 408 | 438 | 192 | 414 | 180 | 568 | 344 | 431 | 556 | 3531 | 414 | 376 | 358 | 563 | 204 | 558 | 191 | 434 | 475 | 3573 | 7104 |
| i/ii | 408 | 398 | 164 | 391 | 180 | 568 | 344 | 388 | 499 | 3340 | 414 | 376 | 358 | 540 | 177 | 558 | 150 | 395 | 368 | 3336 | 6676 |
| ii | 373 | 398 | 164 | 391 | 174 | 499 | 317 | 388 | 499 | 3203 | 389 | 345 | 340 | 540 | 177 | 517 | 150 | 395 | 368 | 3221 | 6424 |
| ii/iii | 373 | 370 | 164 | 358 | 174 | 446 | 317 | 353 | 488 | 3043 | 389 | 345 | 340 | 467 | 151 | 468 | 150 | 366 | 357 | 3033 | 6076 |
| iii | 342 | 370 | 149 | 358 | 125 | 446 | 282 | 353 | 488 | 2913 | 333 | 311 | 322 | 467 | 151 | 468 | 134 | 366 | 357 | 2909 | 5822 |
| iii/iv | 342 | 337 | 131 | 310 | 125 | 409 | 282 | 353 | 448 | 2737 | 333 | 262 | 302 | 419 | 151 | 432 | 134 | 315 | 324 | 2672 | 5409 |
| iv | 306 | 337 | 131 | 310 | 113 | 409 | 222 | 300 | 448 | 2576 | 269 | 262 | 302 | 419 | 118 | 432 | 101 | 315 | 324 | 2542 | 5118 |
| iv/v | 277 | 226 | 123 | 233 | 113 | 334 | 222 | 300 | 382 | 2210 | 269 | 262 | 237 | 417 | 118 | 379 | 101 | 315 | 324 | 2422 | 4632 |
| v | 277 | 226 | 123 | 233 | 93 | 334 | 191 | 271 | 382 | 2130 | 249 | 189 | 237 | 417 | 111 | 379 | 92 | 315 | 324 | 2313 | 4443 |