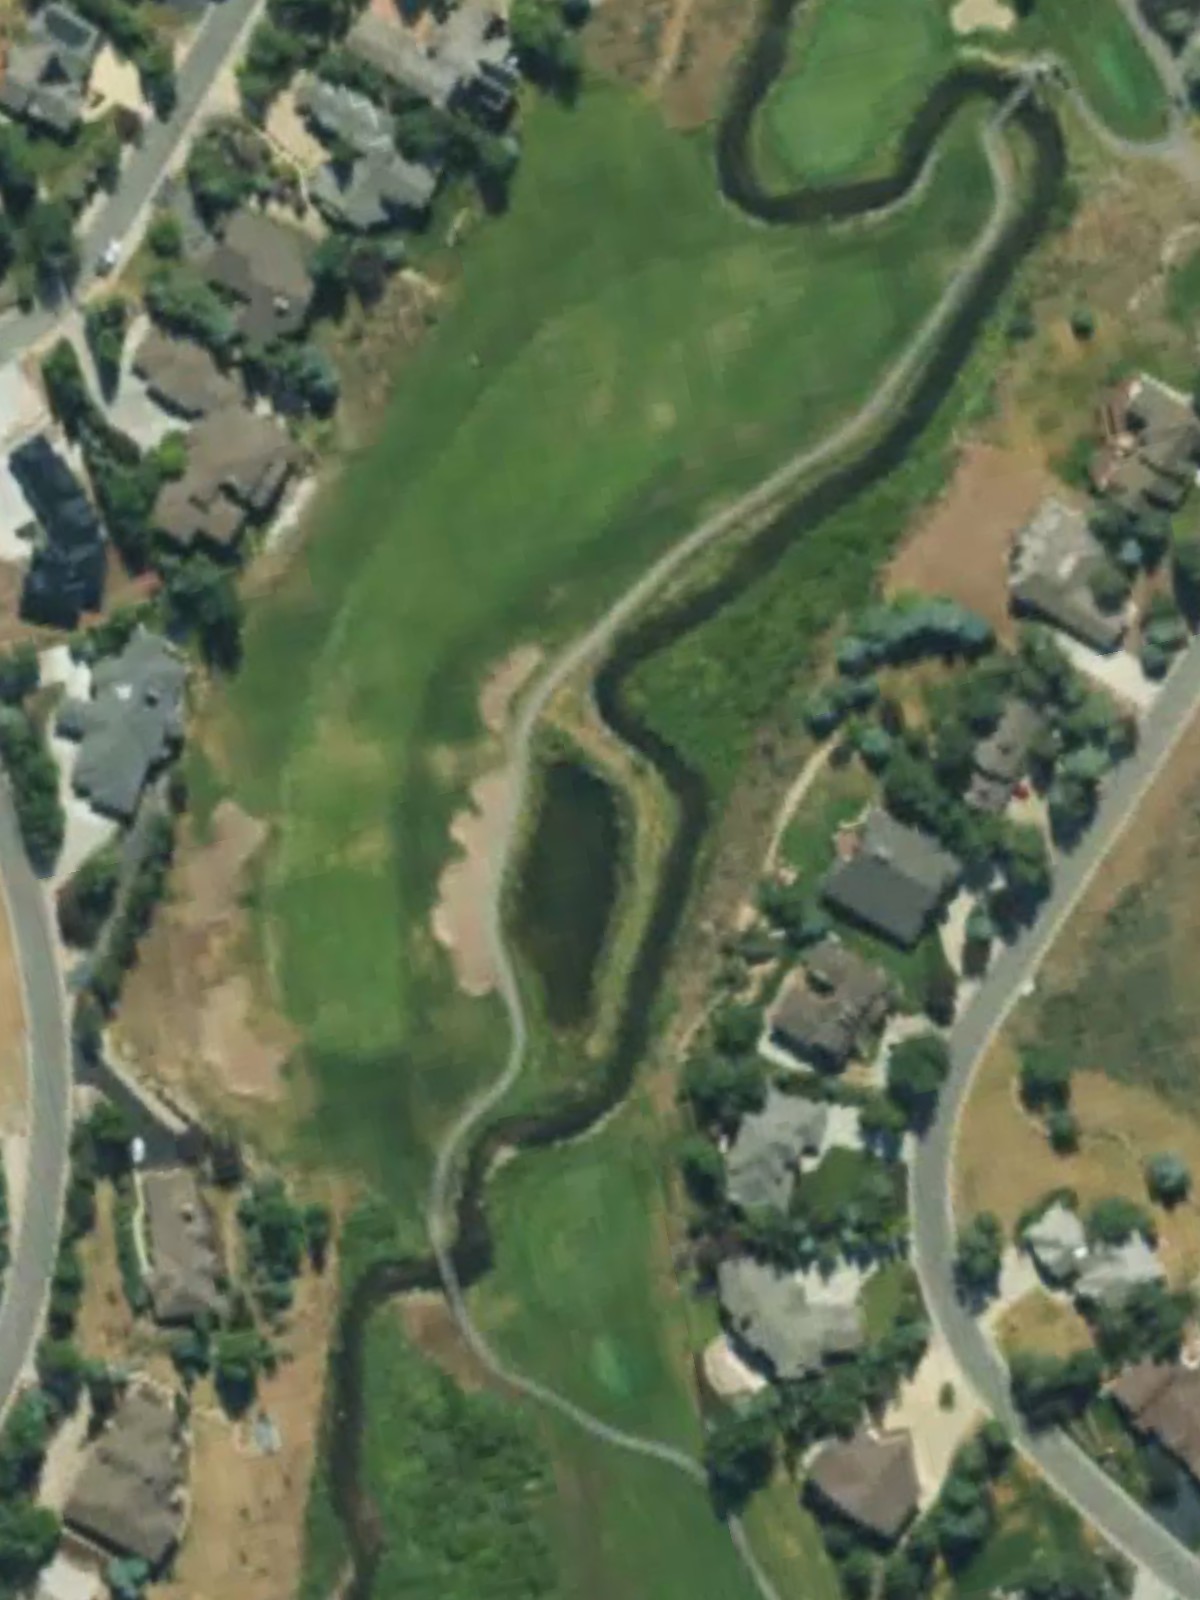
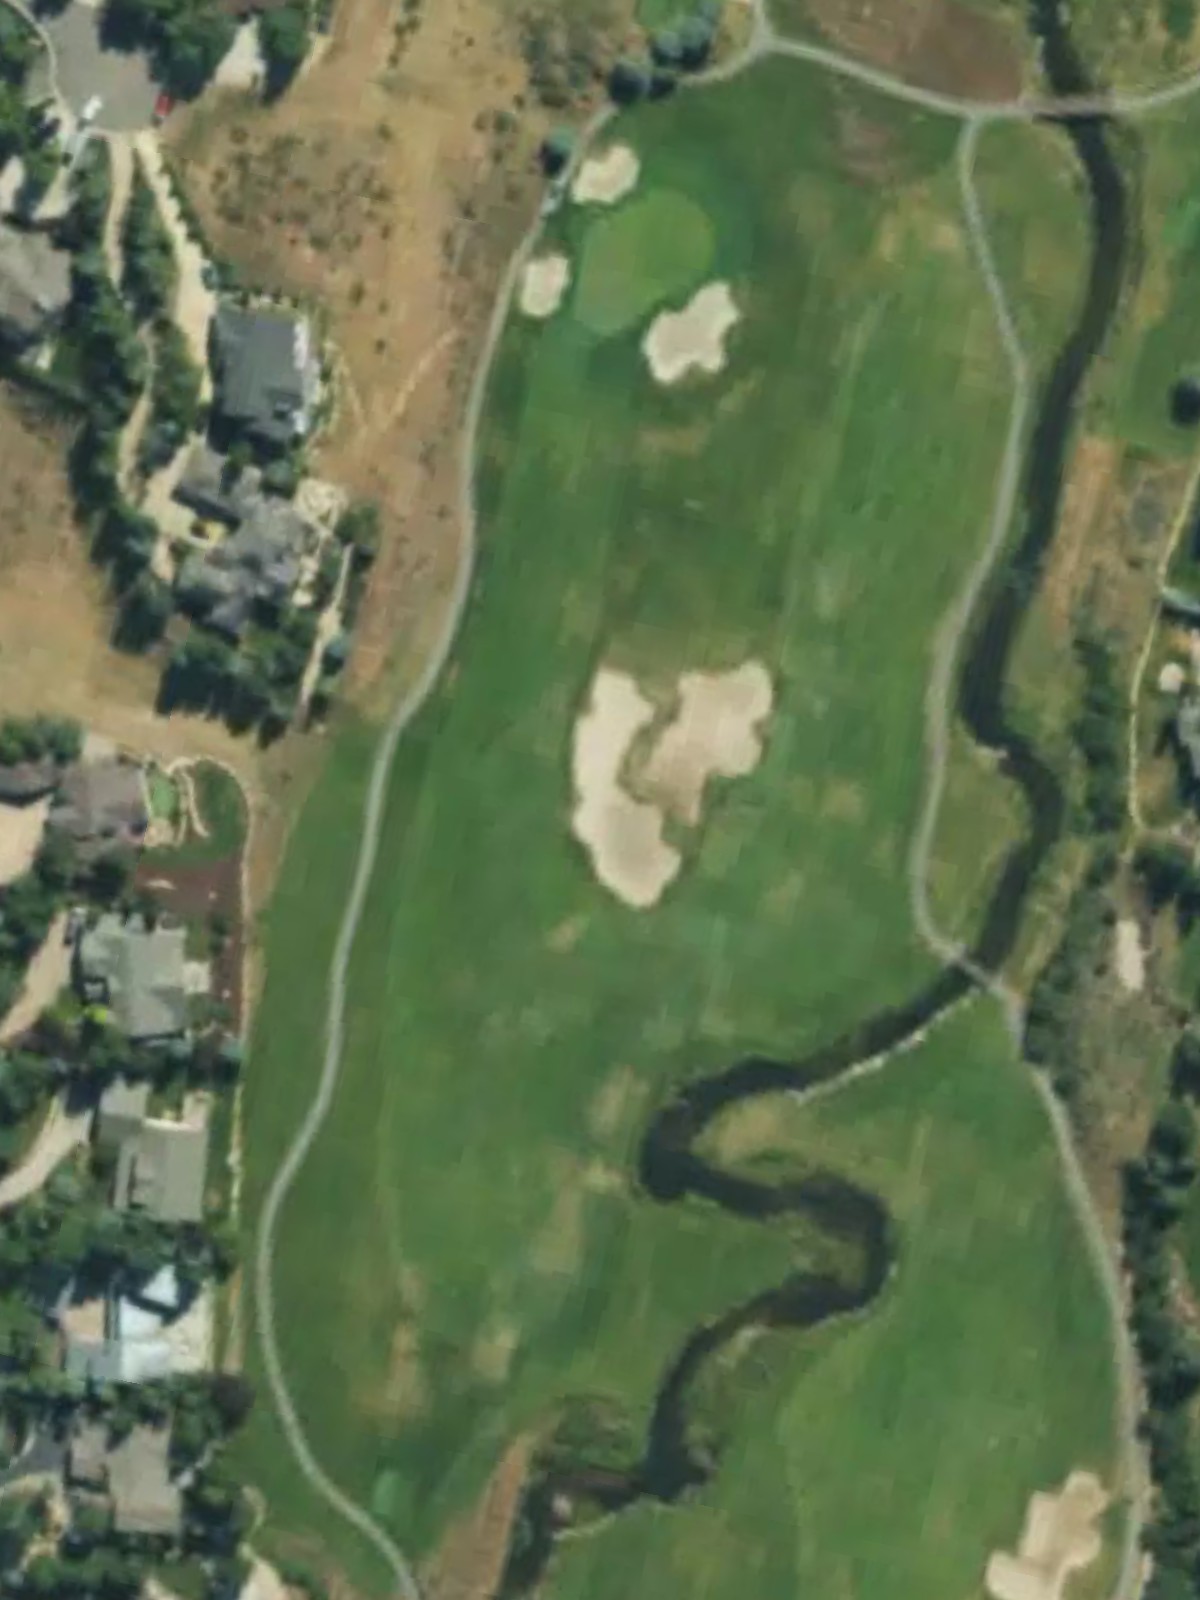
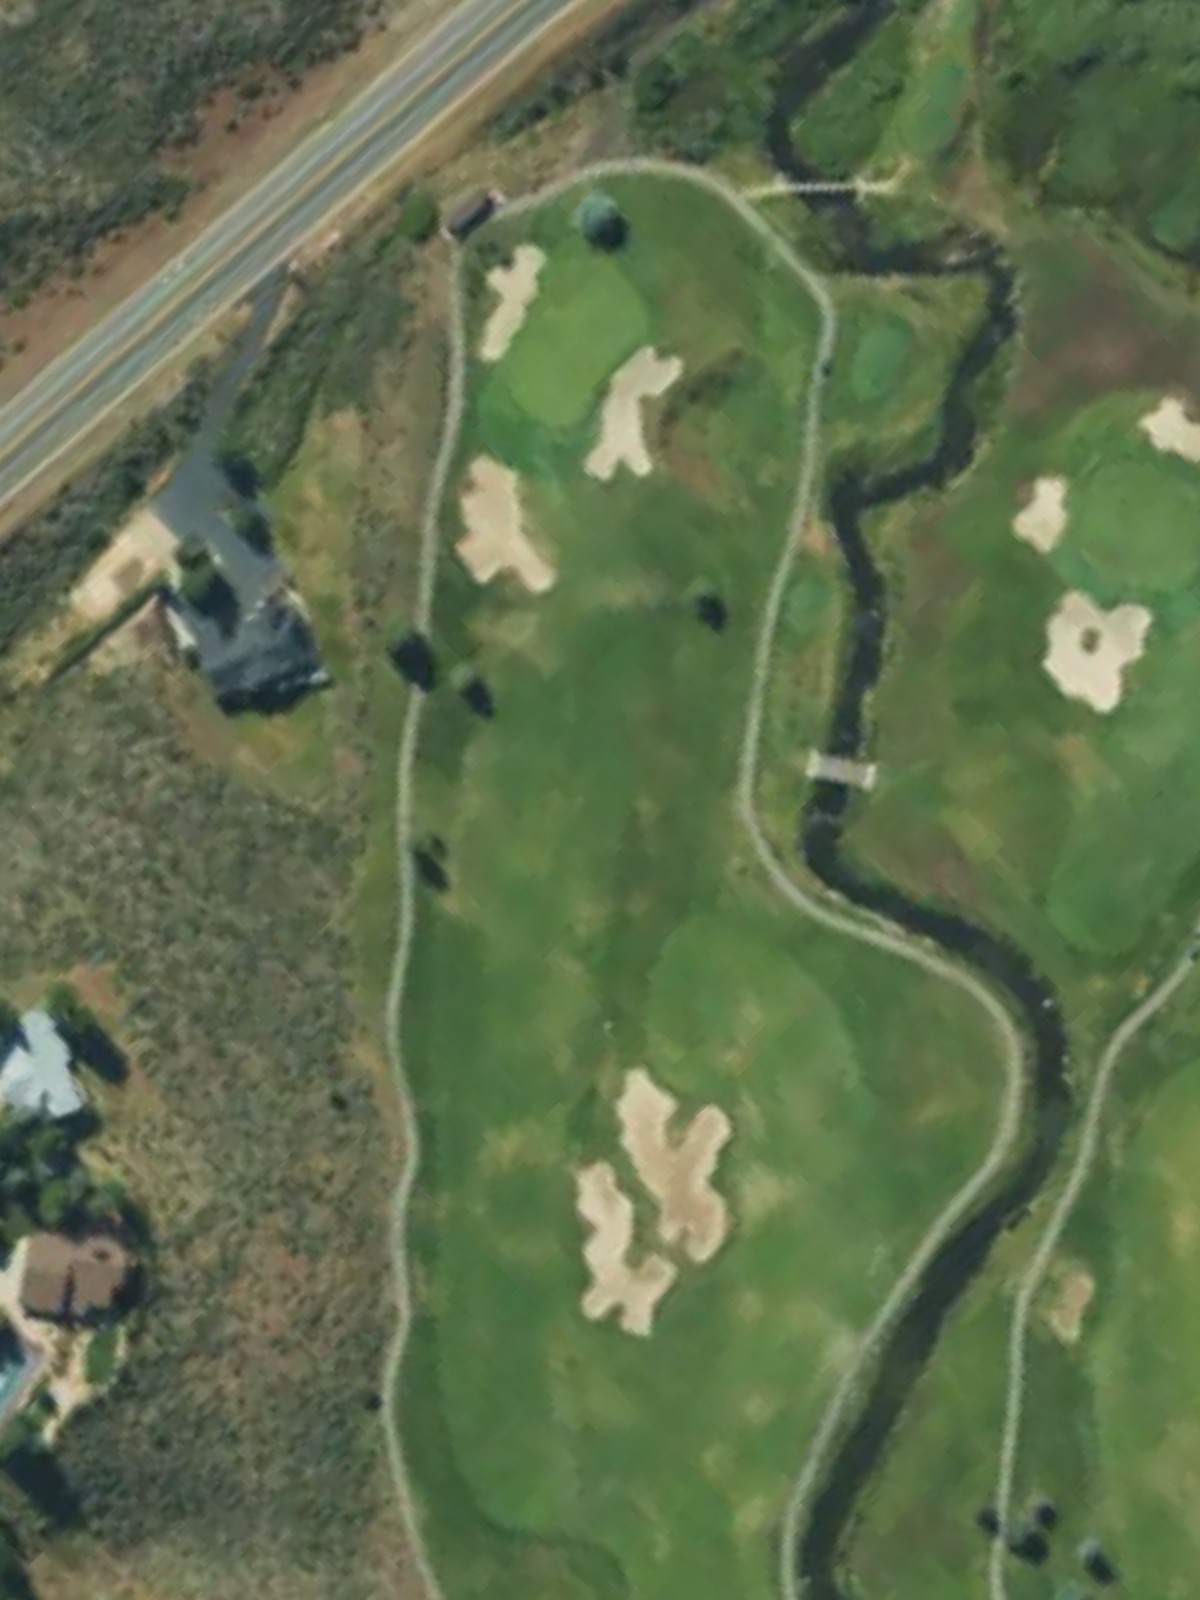
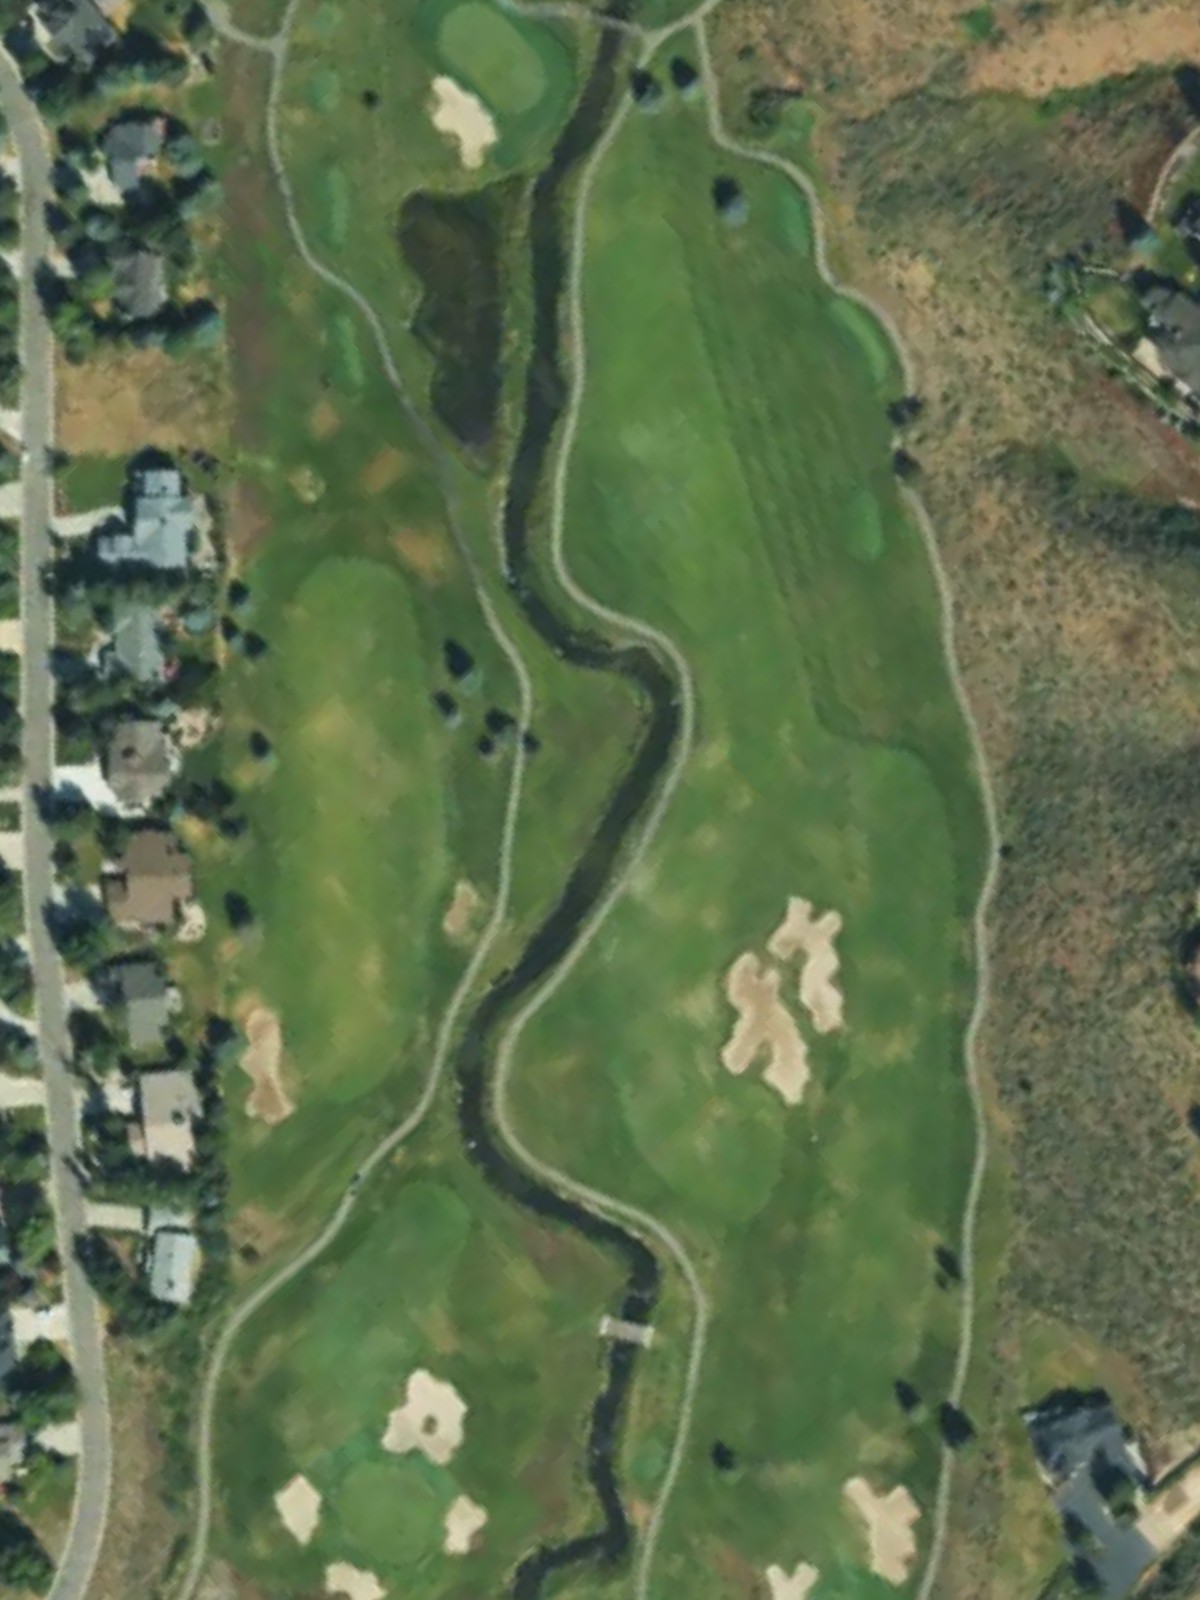
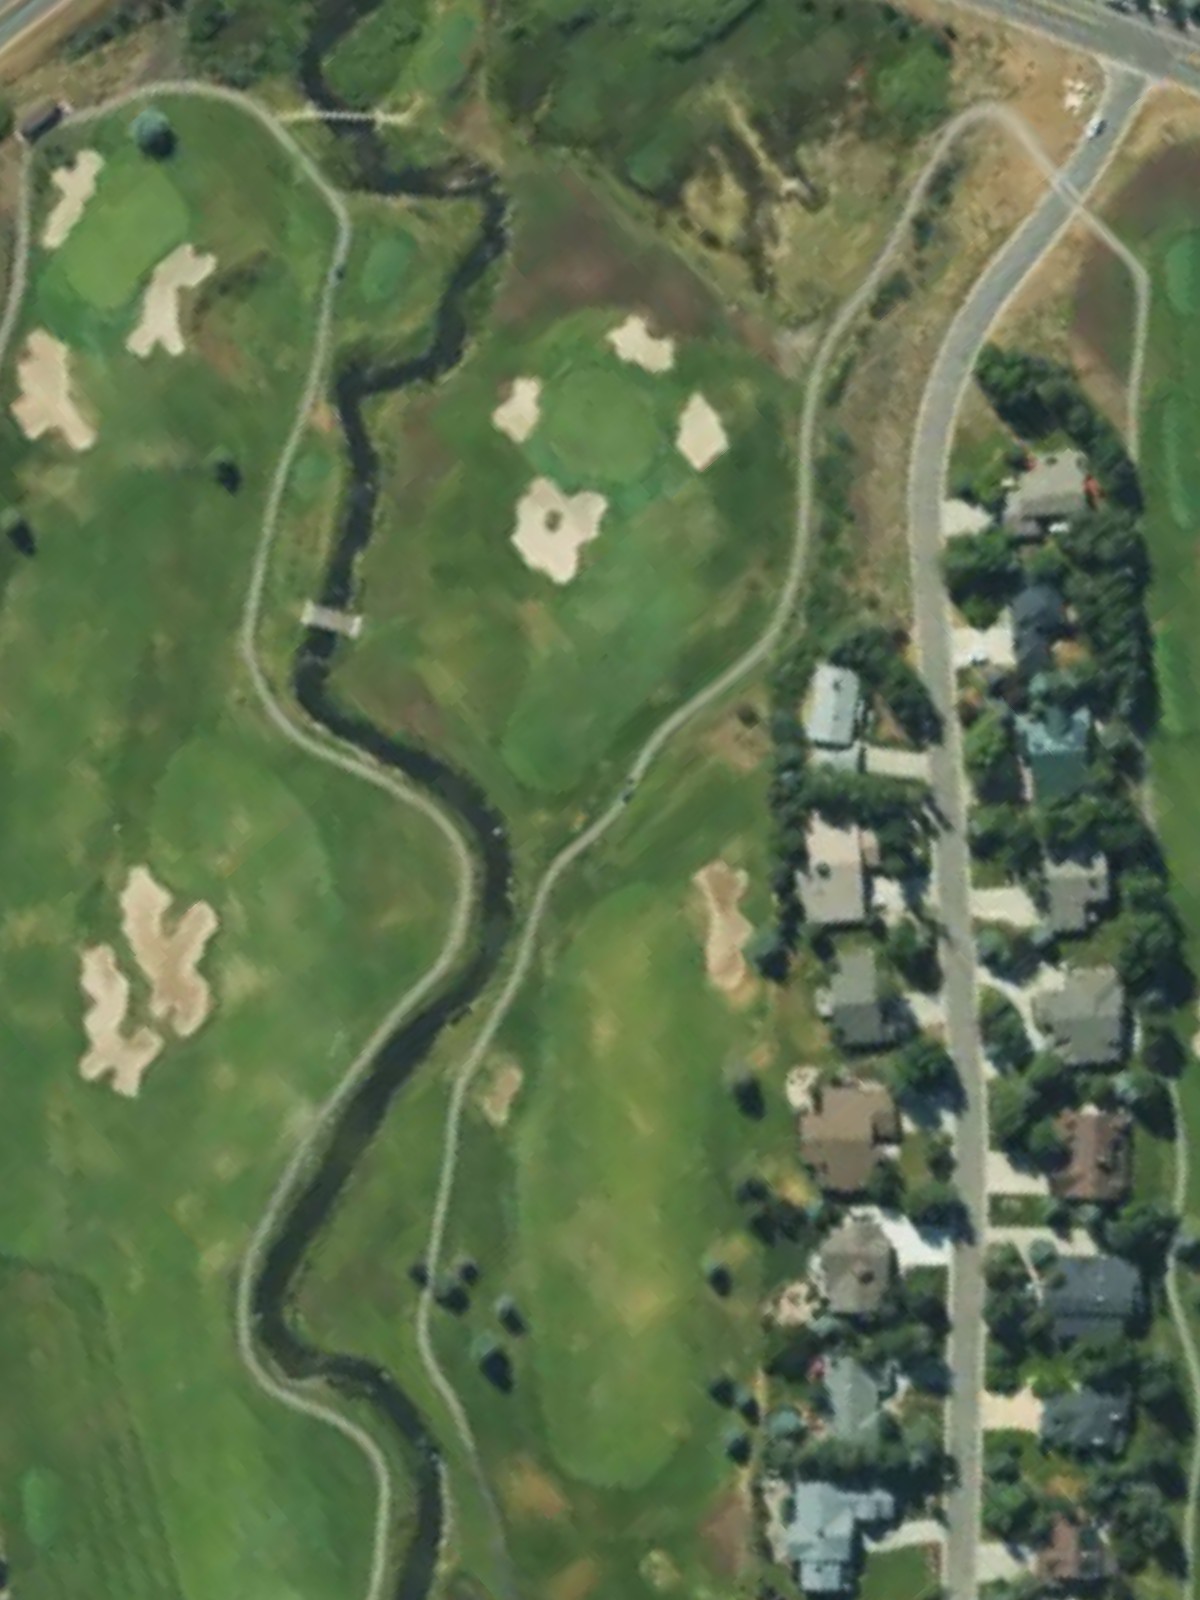
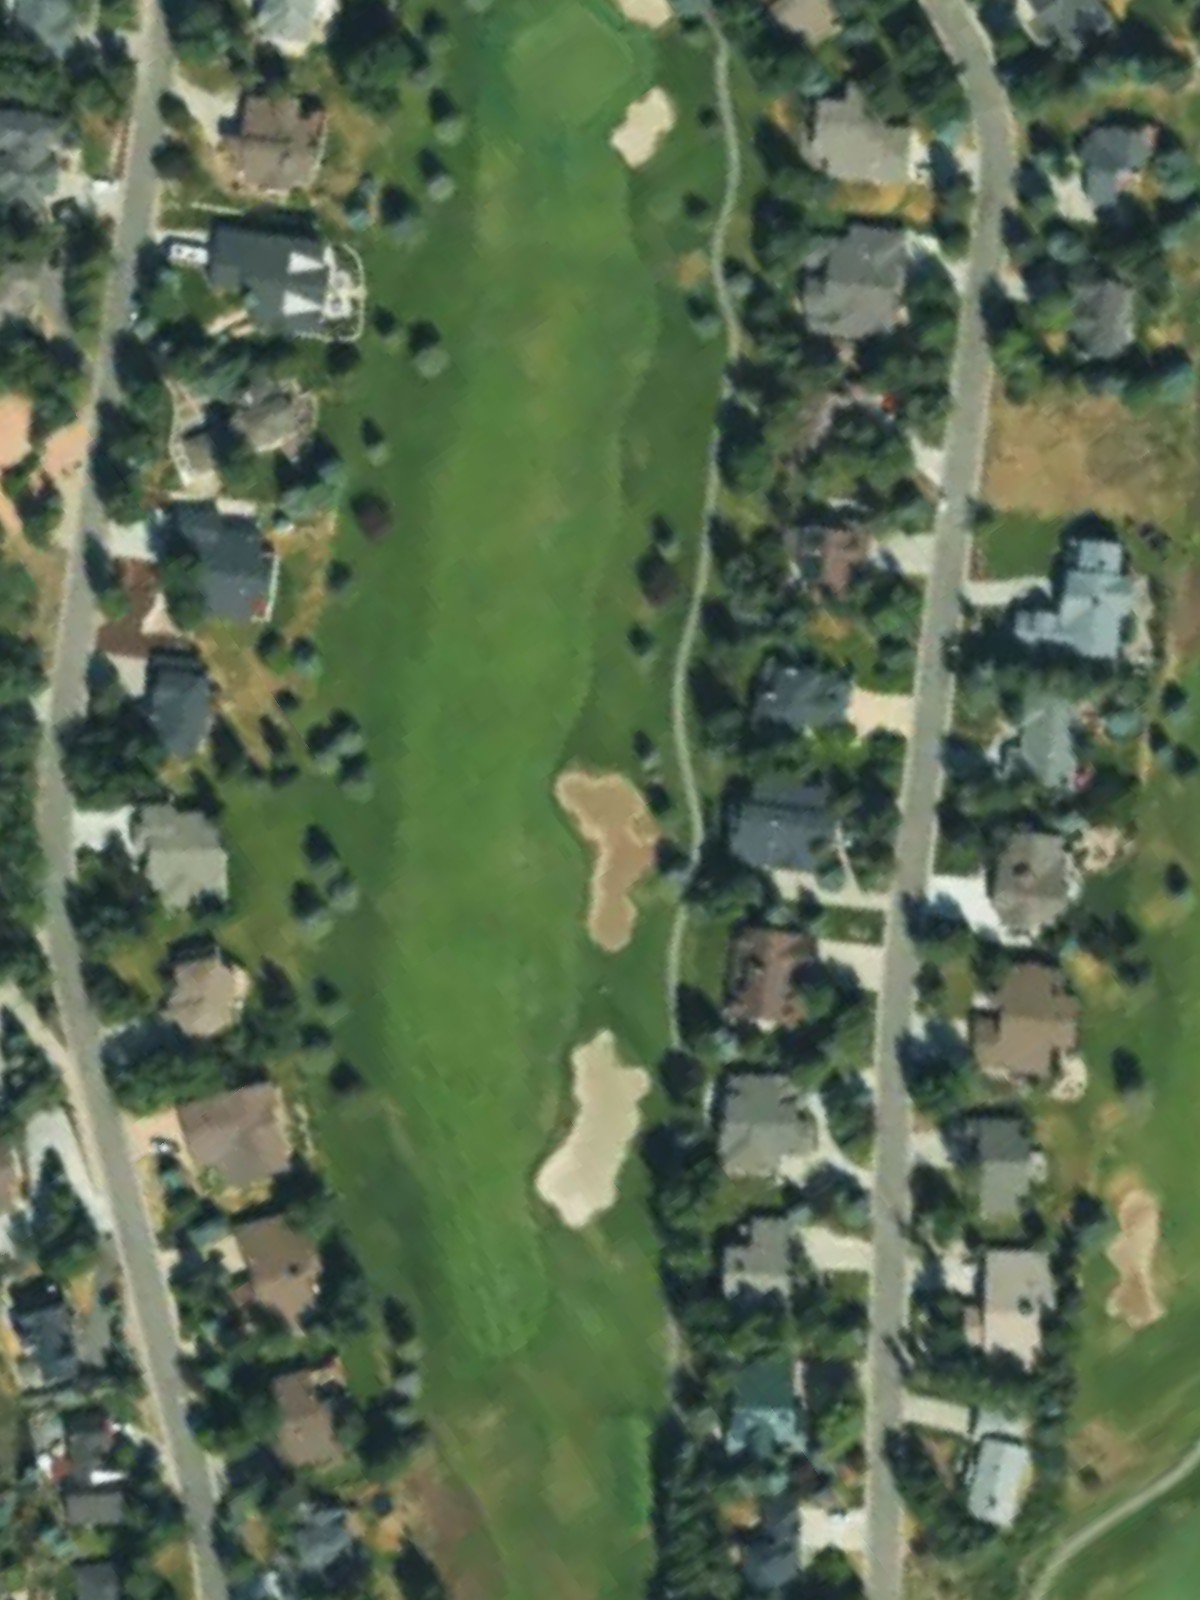
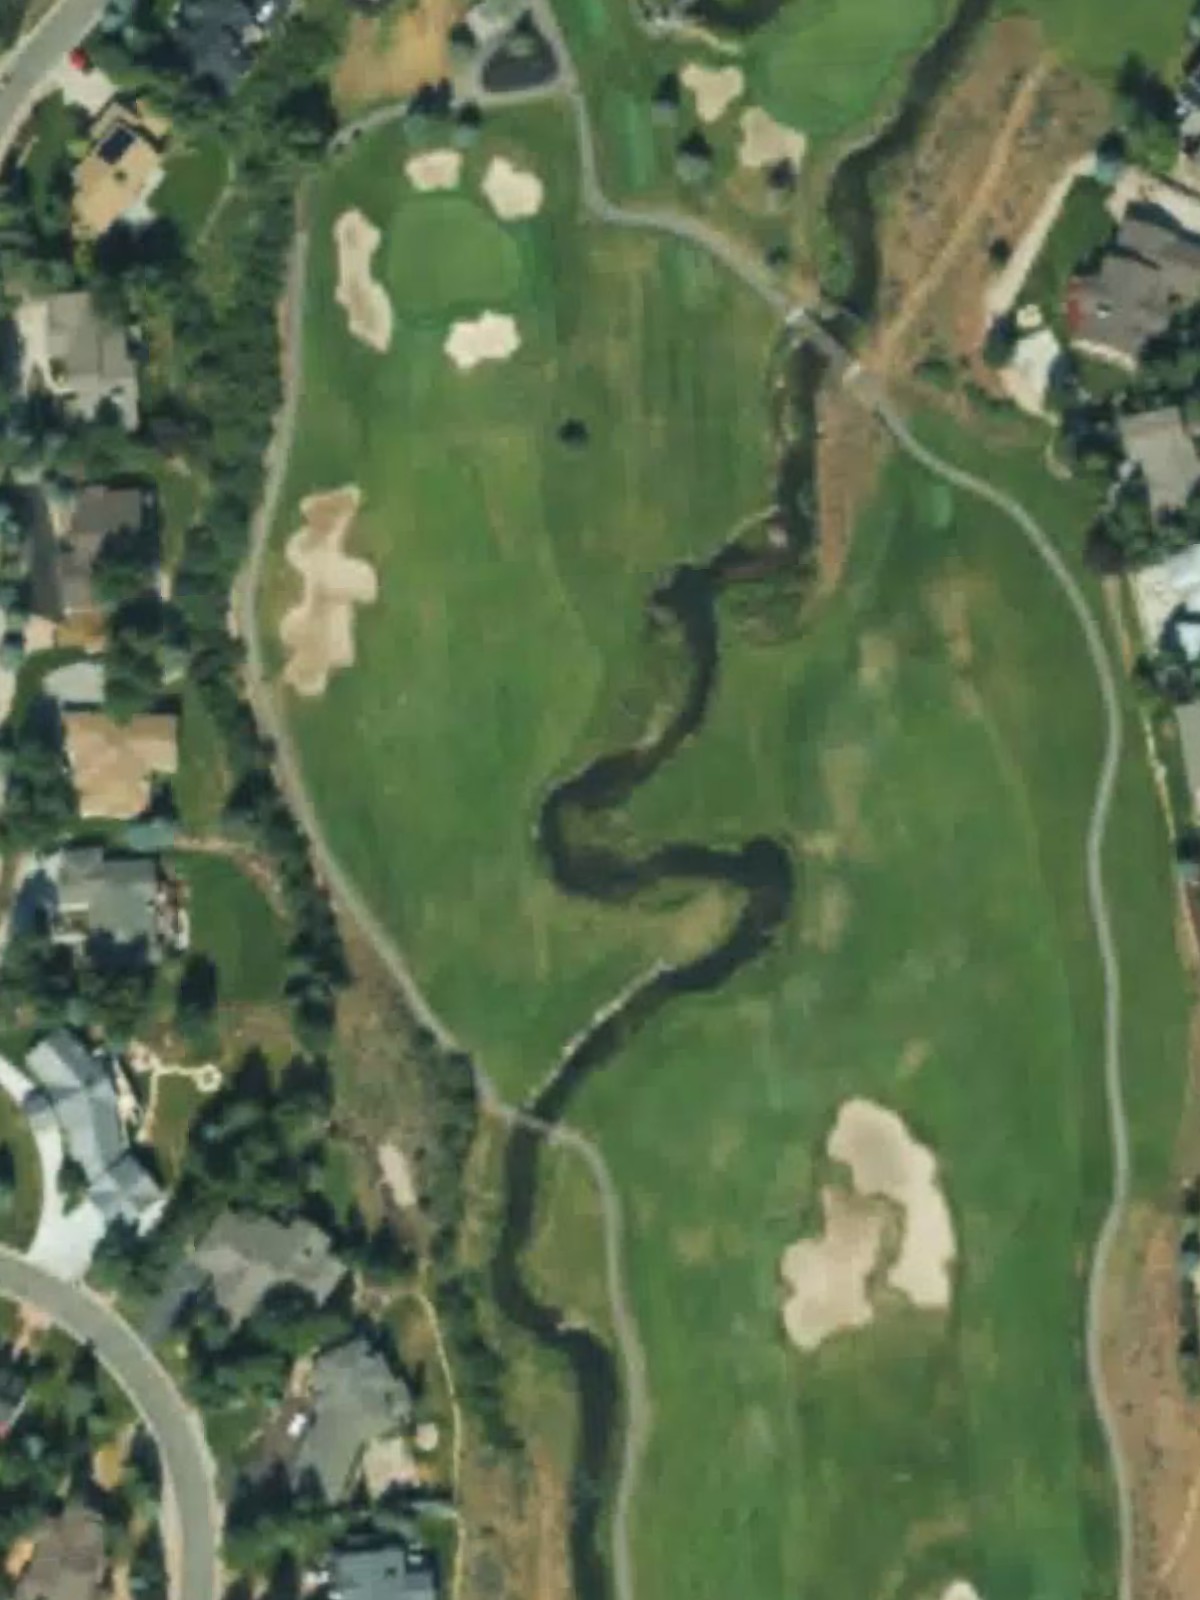
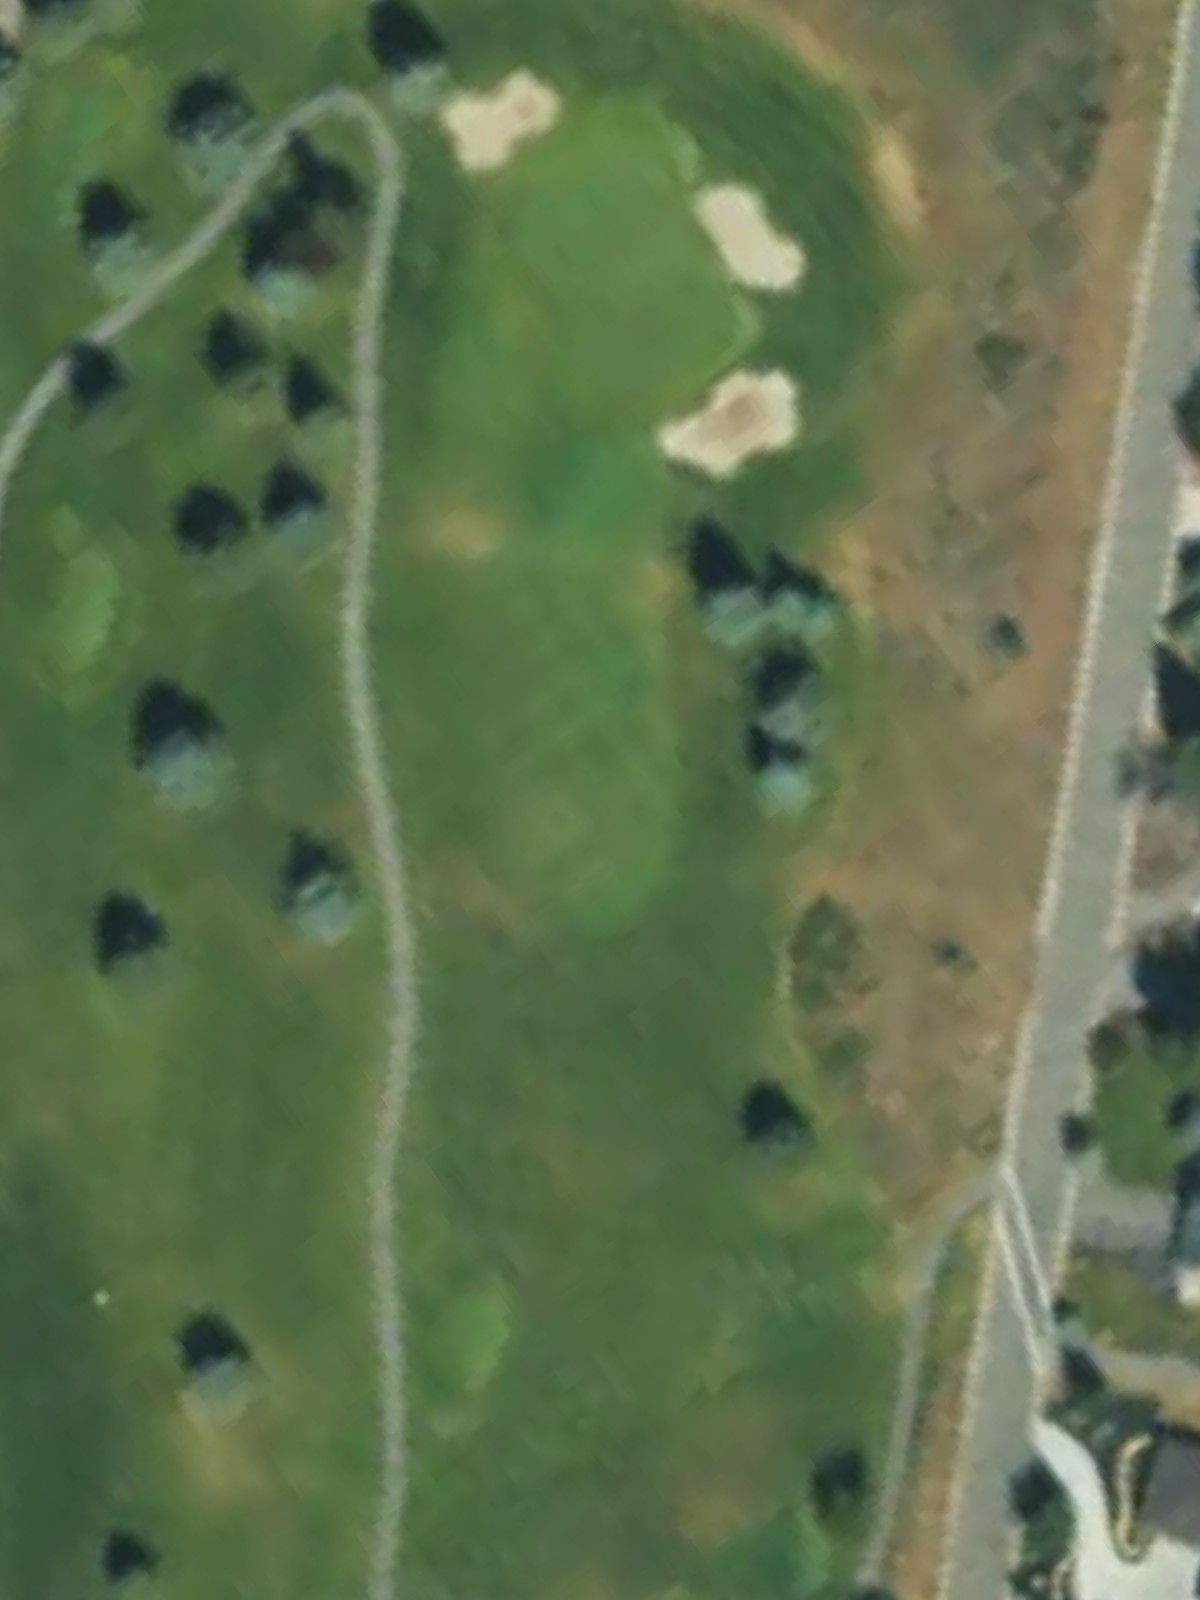
Jeremy Ranch Cc is an 18-hole golf course in Park City, UT with a par of 72. It offers 6 tee sets: blue (7,092 yards, slope 137, rating 74), blue/green combo (6,755 yards, slope 136, rating 72.3), green (6,540 yards, slope 135, rating 71.6), green/silver combo (6,205 yards, slope 133, rating 70.3), silver (5,995 yards, slope 132, rating 69.1), yellow (5,433 yards, slope 123, rating 65.9). The hardest hole is #6, a par 4 playing 428 yards from the first tee.
Jeremy Ranch Cc
Park City, UT
Get PDF Yardage Book
We'll email you the PDF link. No spam, ever.
Create Your Game Plan
Pick your tees, enter your bag, and get a personalized shot-by-shot strategy for every hole.
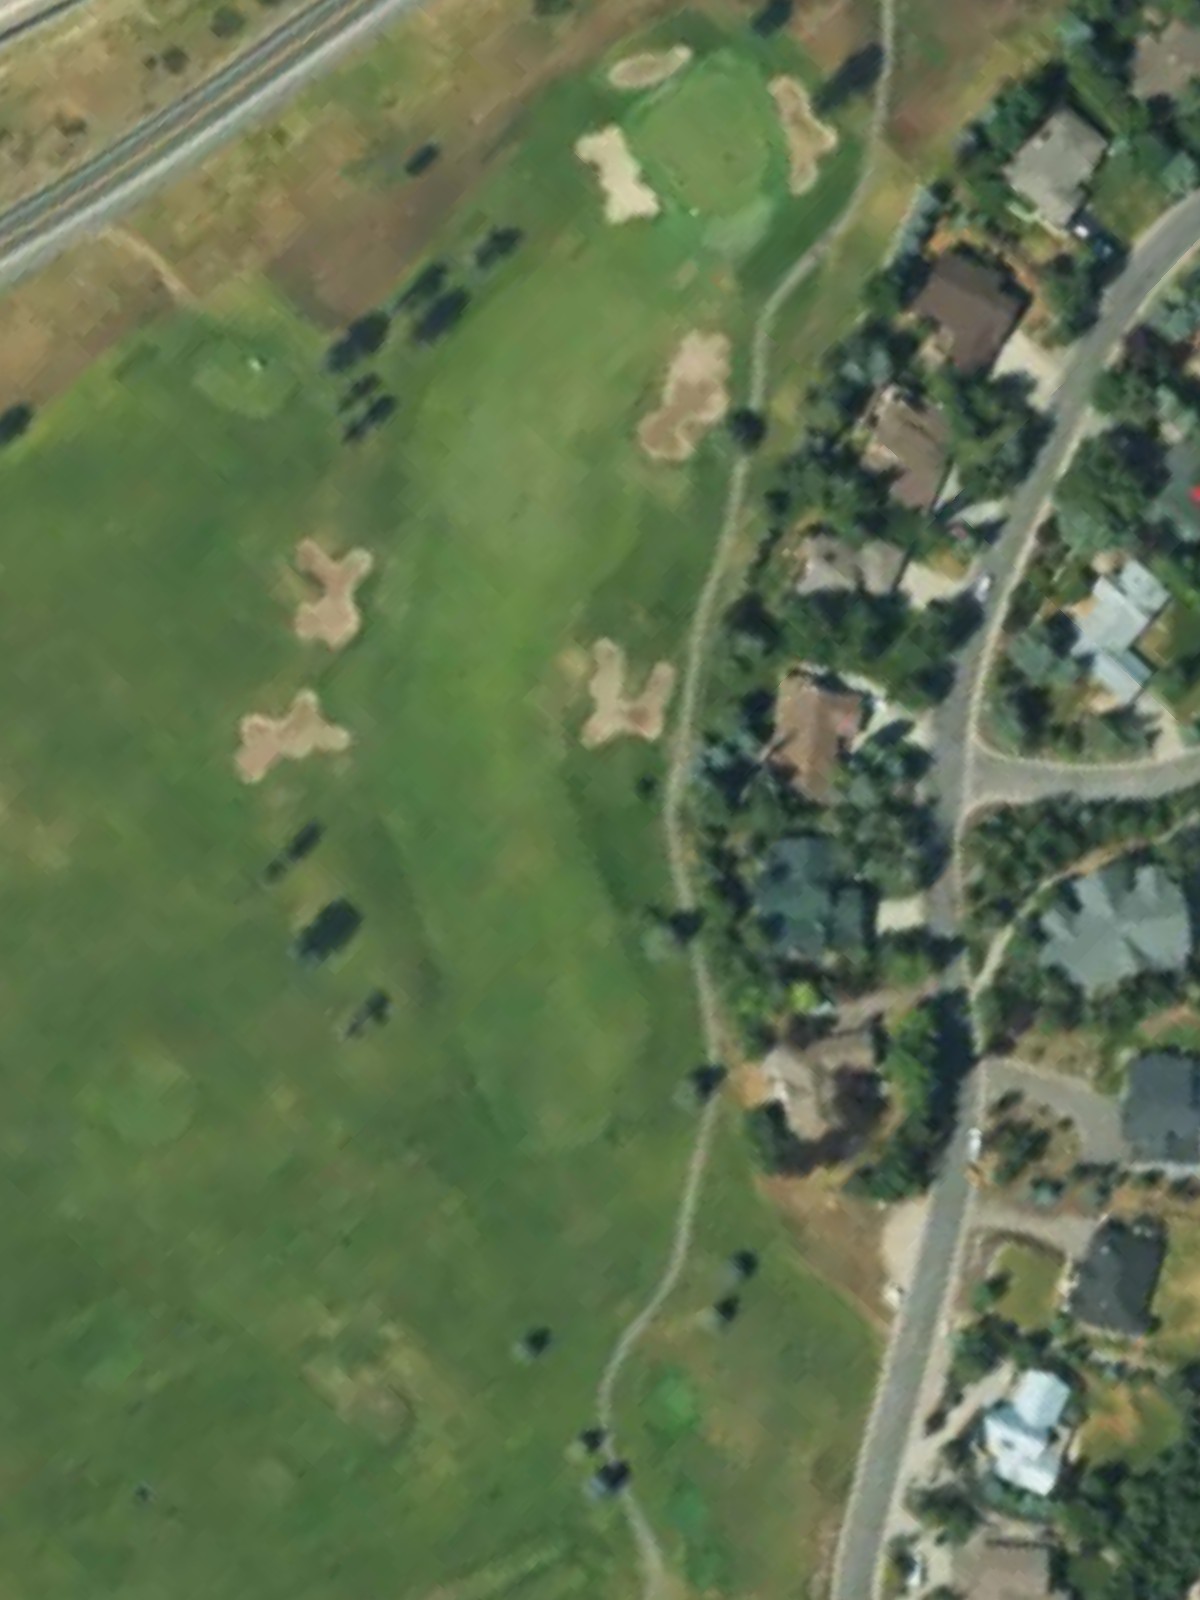
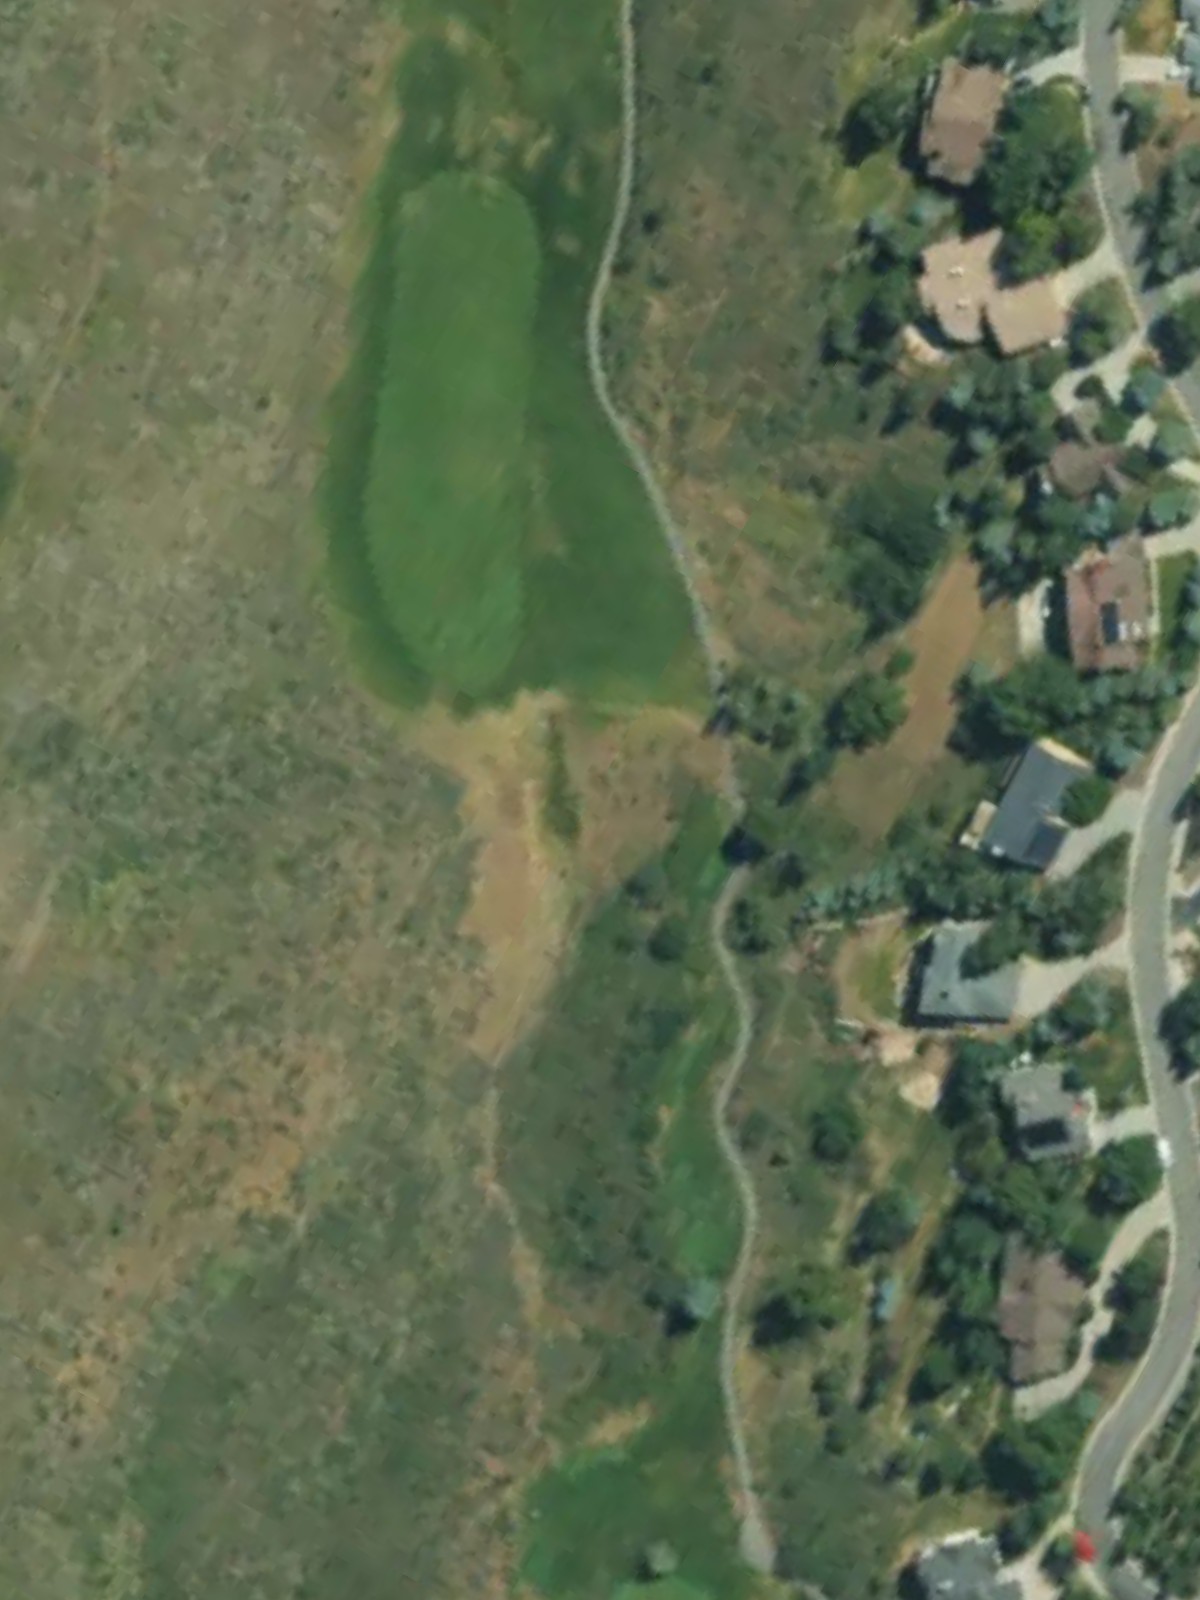
A welcoming opening par 4 with a relatively straight layout and forgiving fairway. The green is fronted by bunkers on the right, requiring accuracy on the approach shot to avoid sand.
The course's hardest hole, this par 4 demands precision from tee to green with little room for error. Strategic bunkering frames the fairway and guards the green complex on both sides.
A substantial par 5 that offers a genuine birdie opportunity for longer hitters who can navigate the fairway. Hazards lurk along the sides, rewarding those who find the center of the fairway on both shots.
A mid-length par 3 over relatively open terrain with a well-defined green. Bunkers frame the target, making precise distance control essential for a safe tee shot.
A demanding par 4 that stretches nearly 460 yards from the blue tees, requiring two strong shots to reach the green. The narrow approach leaves little margin for error into a protected green.
The second-most difficult hole on the course, this par 4 presents a stern test with a tight driving corridor and strategic bunkering around the green. Length and placement are equally important here.
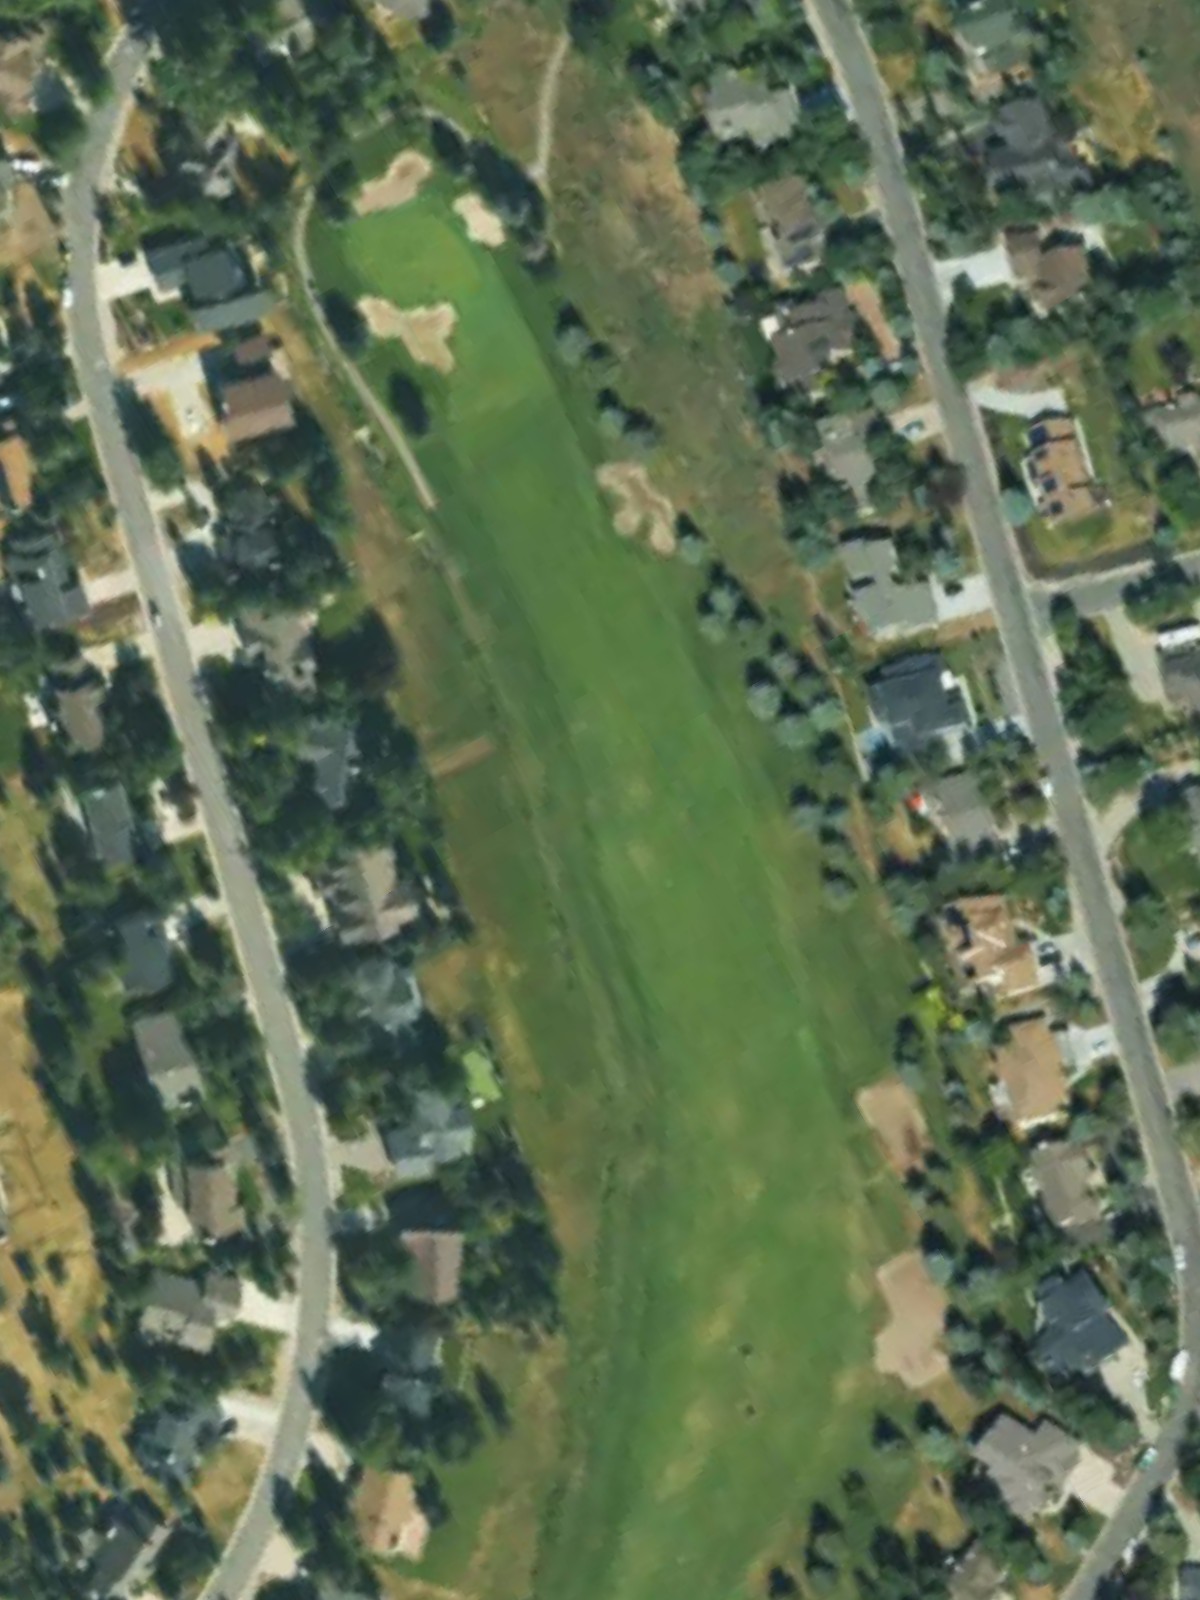
A mid-length par 4 that plays shorter than its yardage suggests, offering scoring opportunities for accurate play. The straightforward design rewards solid fundamentals without excessive hazard intimidation.
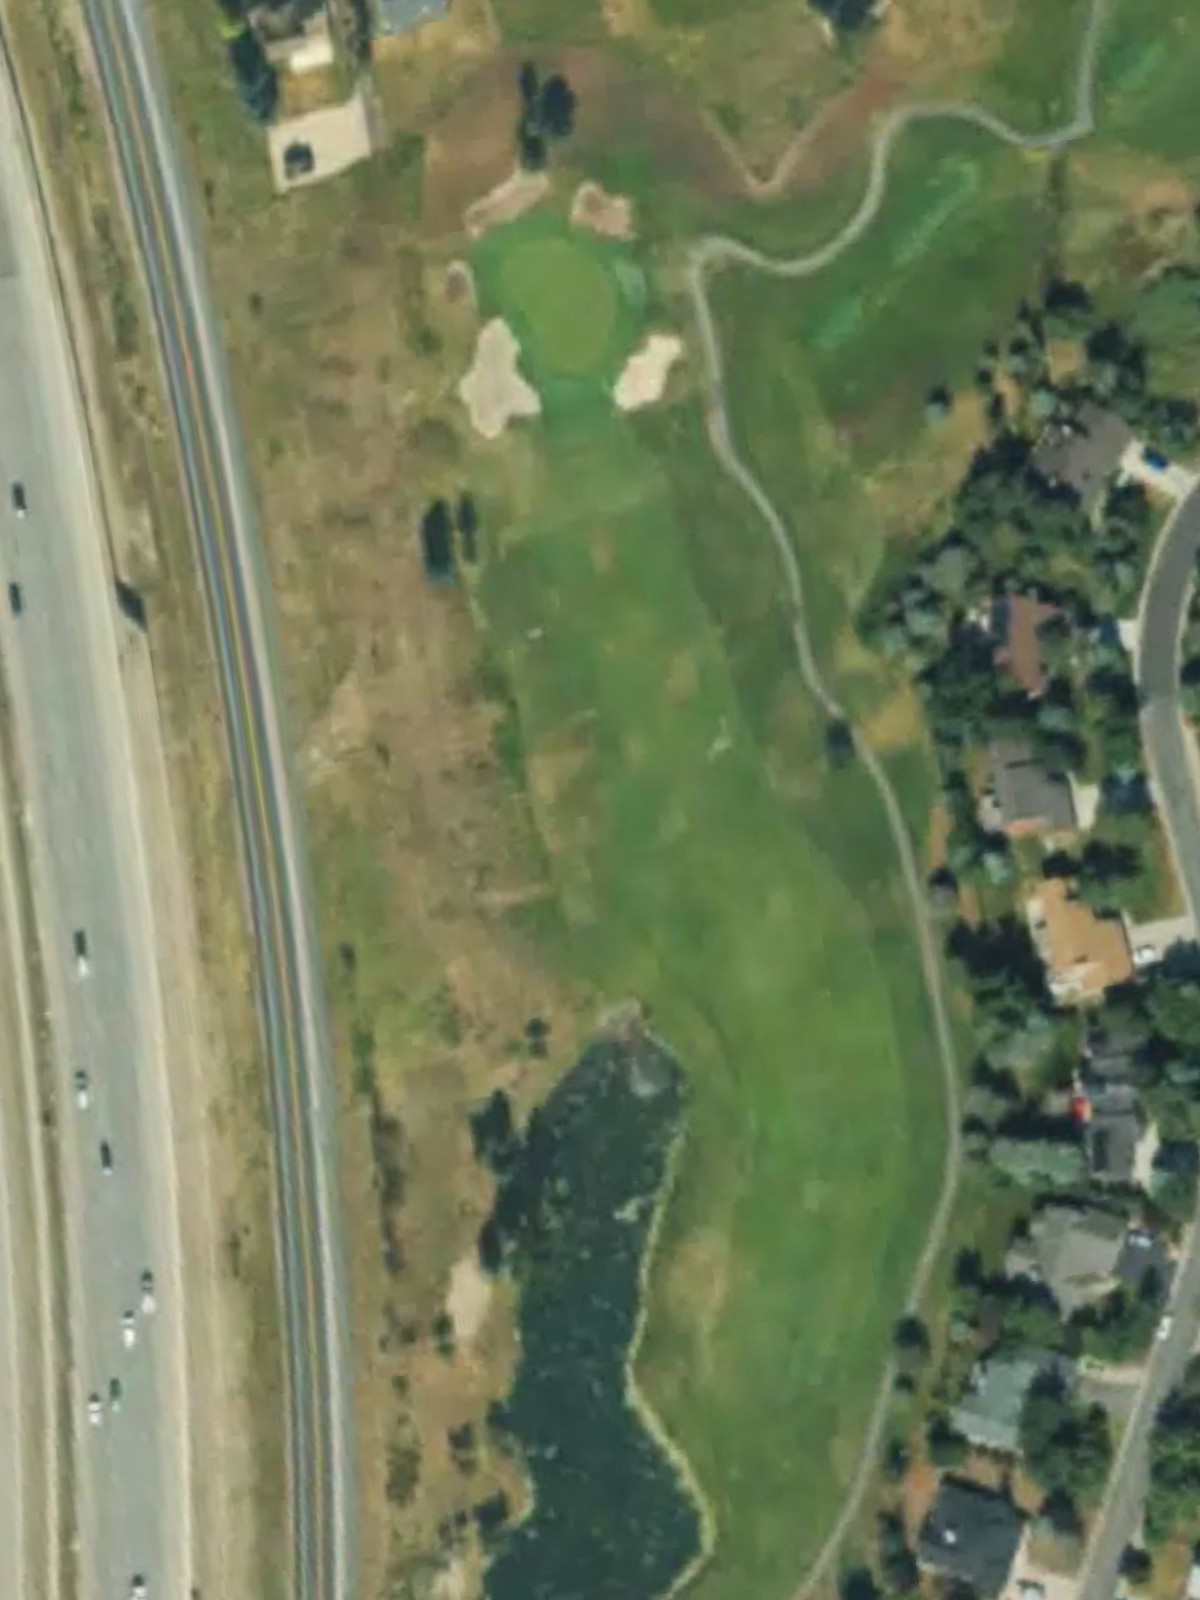
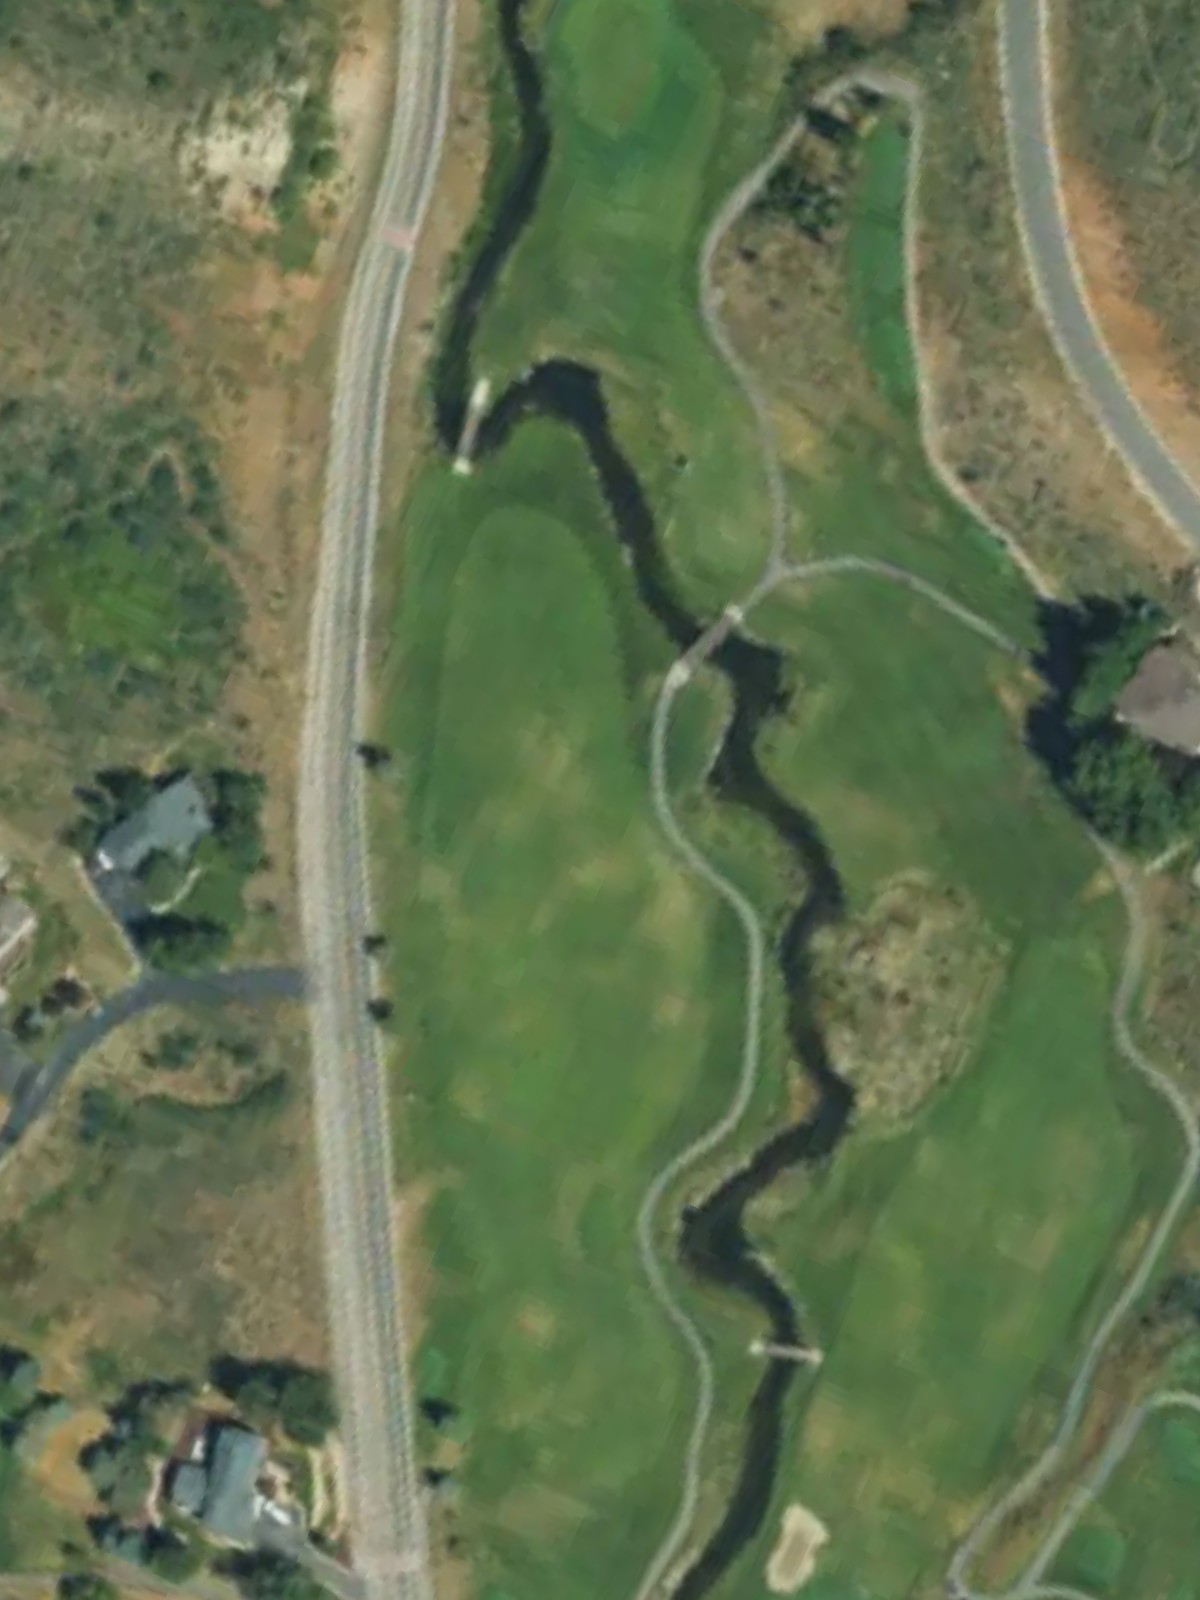
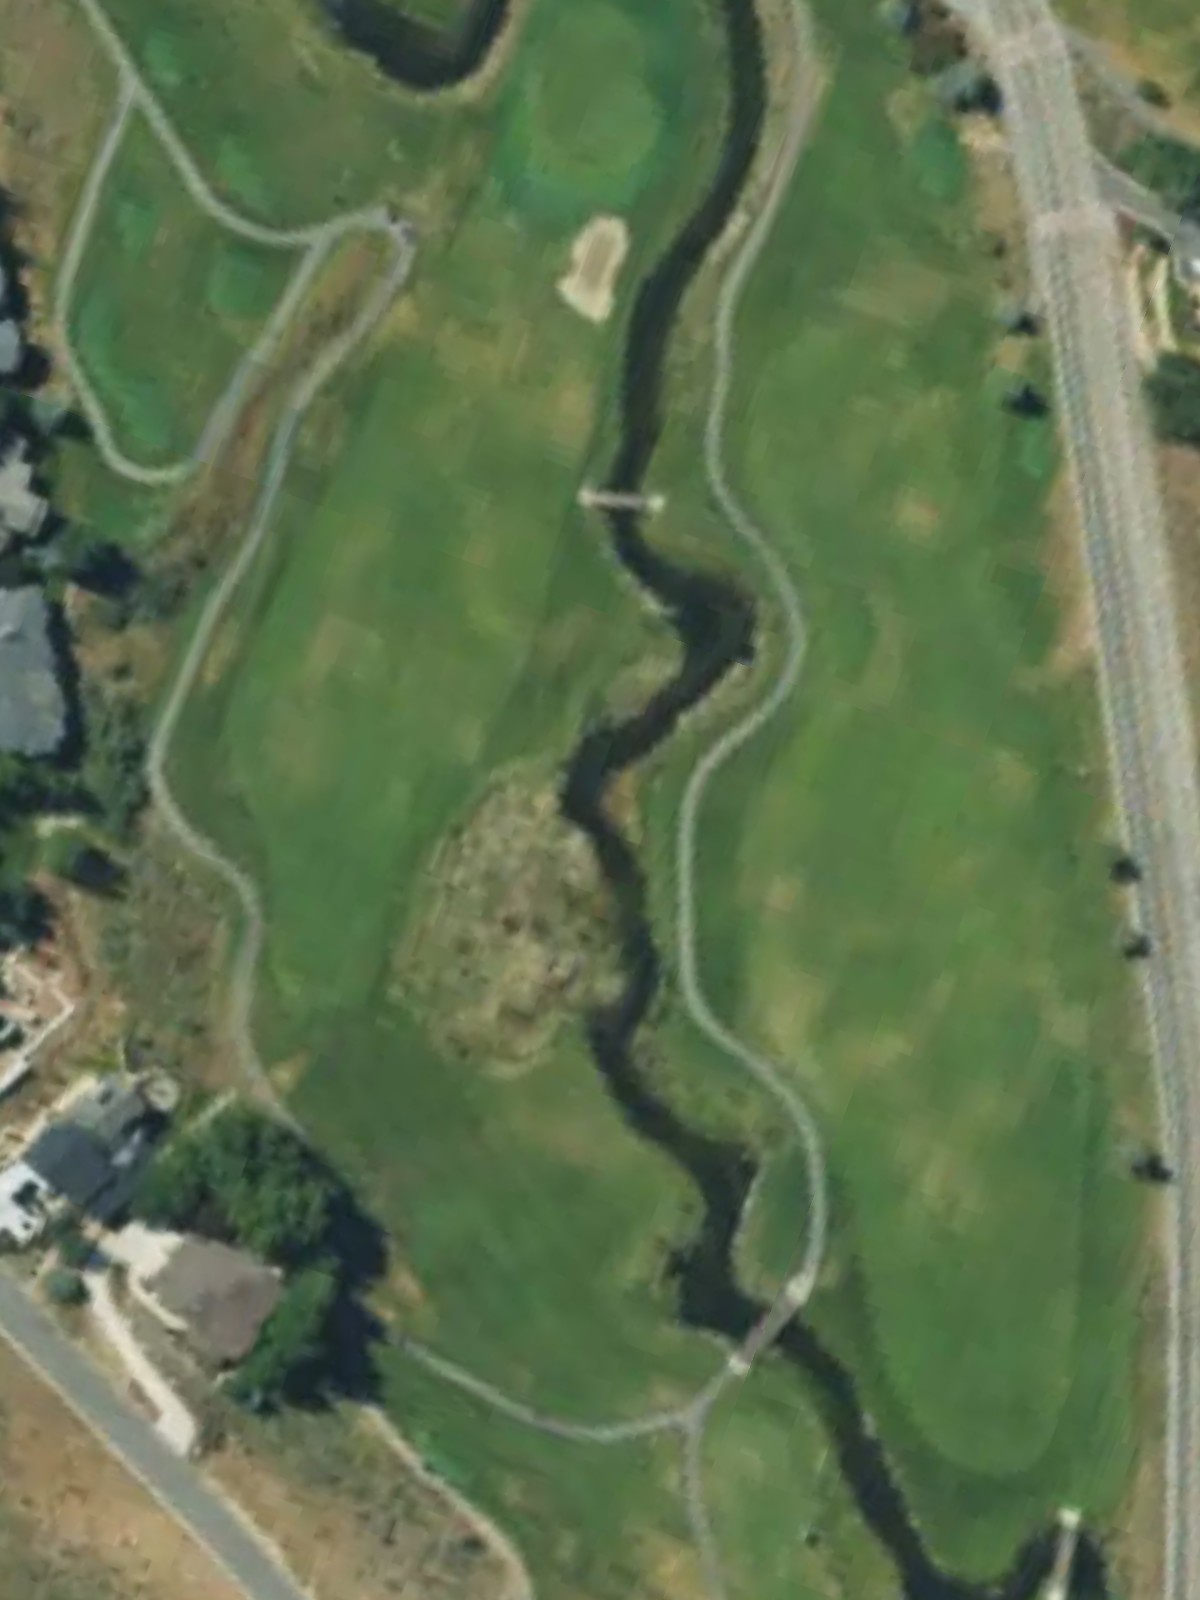
A challenging par 3 featuring water as the primary hazard around the green, particularly threatening shots that come up short. The elevated green requires confidence in both distance and direction.
A reachable par 5 with a generous fairway that invites aggressive play from longer hitters. Hazards tighten around the green, making the final approach the most demanding part of the hole.
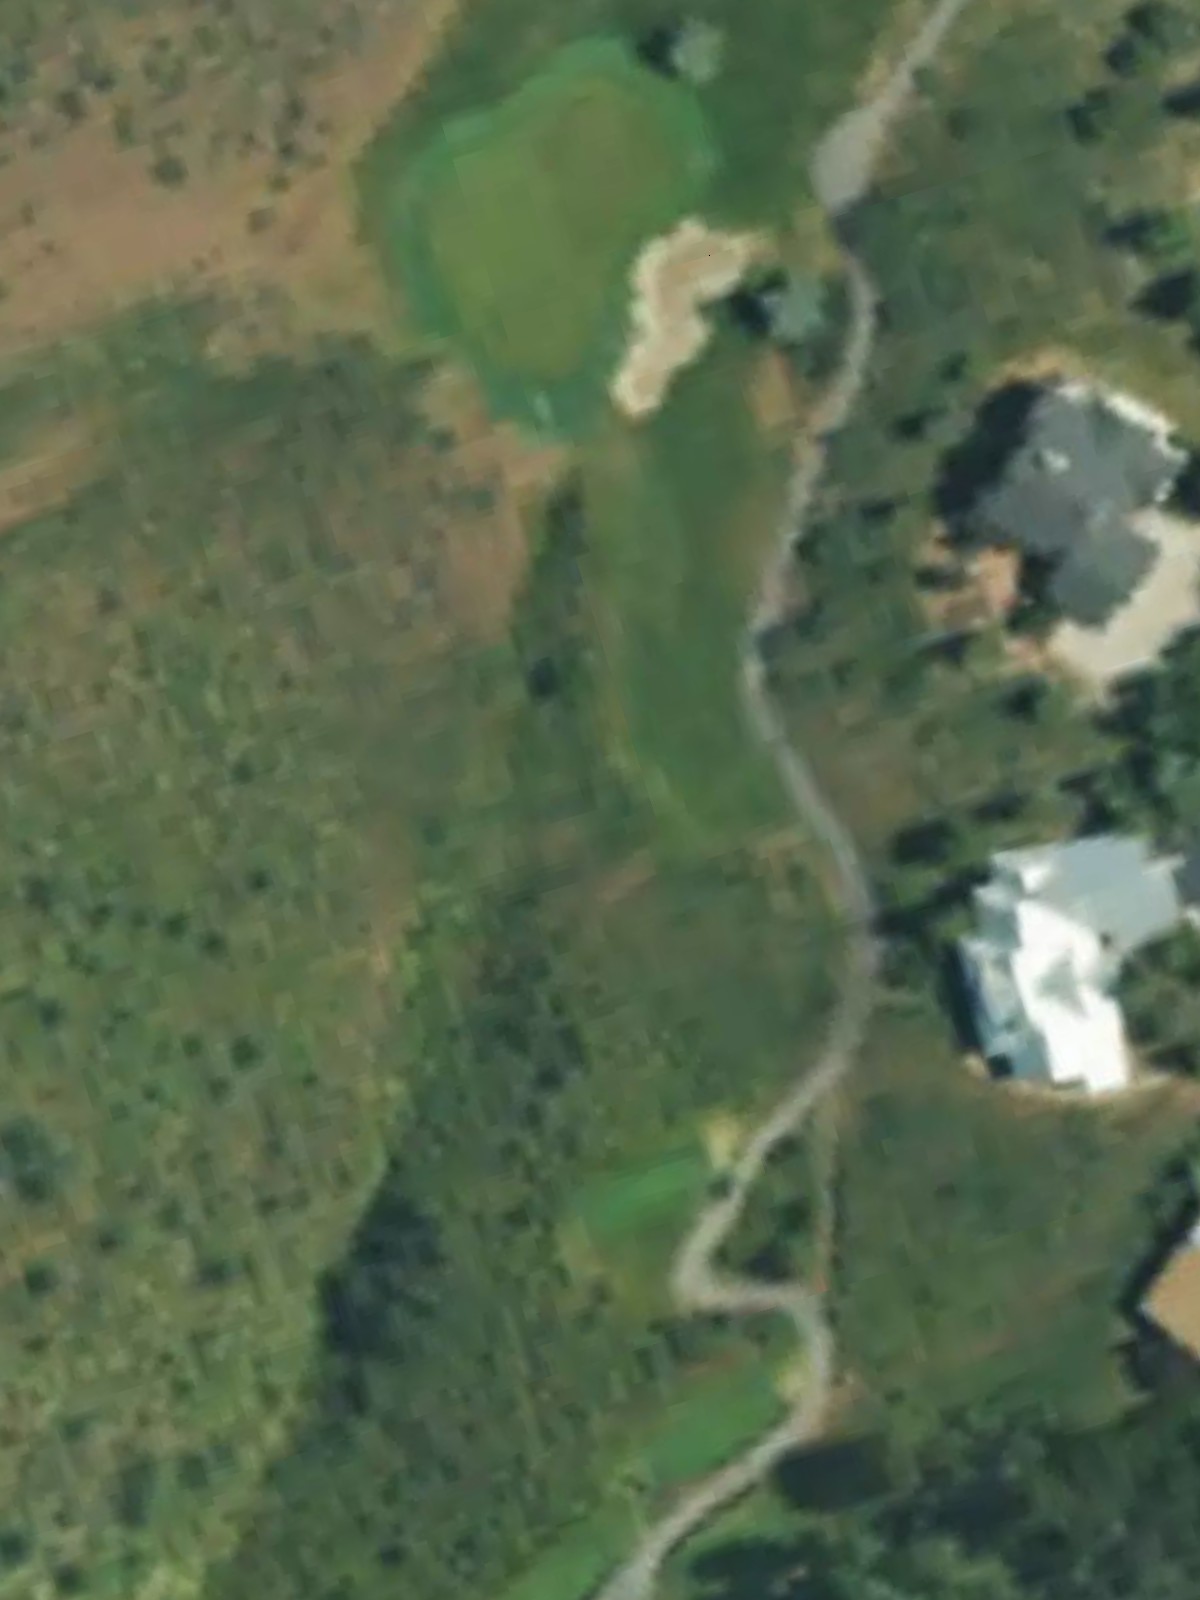
A relatively short par 4 with a manageable driving zone and straightforward green complex. The hole offers a good scoring opportunity without significant hazard complications.
A short par 3 that plays downhill to a well-bunkered green, making it more challenging than the yardage suggests. Proper club selection and a smooth swing are key to avoiding the surrounding sand.
The second-hardest hole on the course, this lengthy par 4 demands power and precision through a demanding fairway corridor. Bunkers and other hazards are positioned to penalize anything short of excellent execution.
A long par 5 that rewards strategic positioning over brute force, with hazards positioned to influence the routing through the hole. A well-placed layup on the second shot opens up scoring possibilities.
A strong par 4 testing both distance and accuracy, with a fairway that narrows in the landing zone. Greenside bunkers demand a precise approach to avoid difficult sand shots.
A formidable par 4 that plays longer than many par 5s, requiring two well-struck shots to reach the green safely. Strategic hazards frame the fairway and surround the putting surface.
The course's most forgiving par 5, this hole offers multiple options for reaching the green and provides genuine birdie opportunities. A wider fairway allows for a more comfortable route to the green.
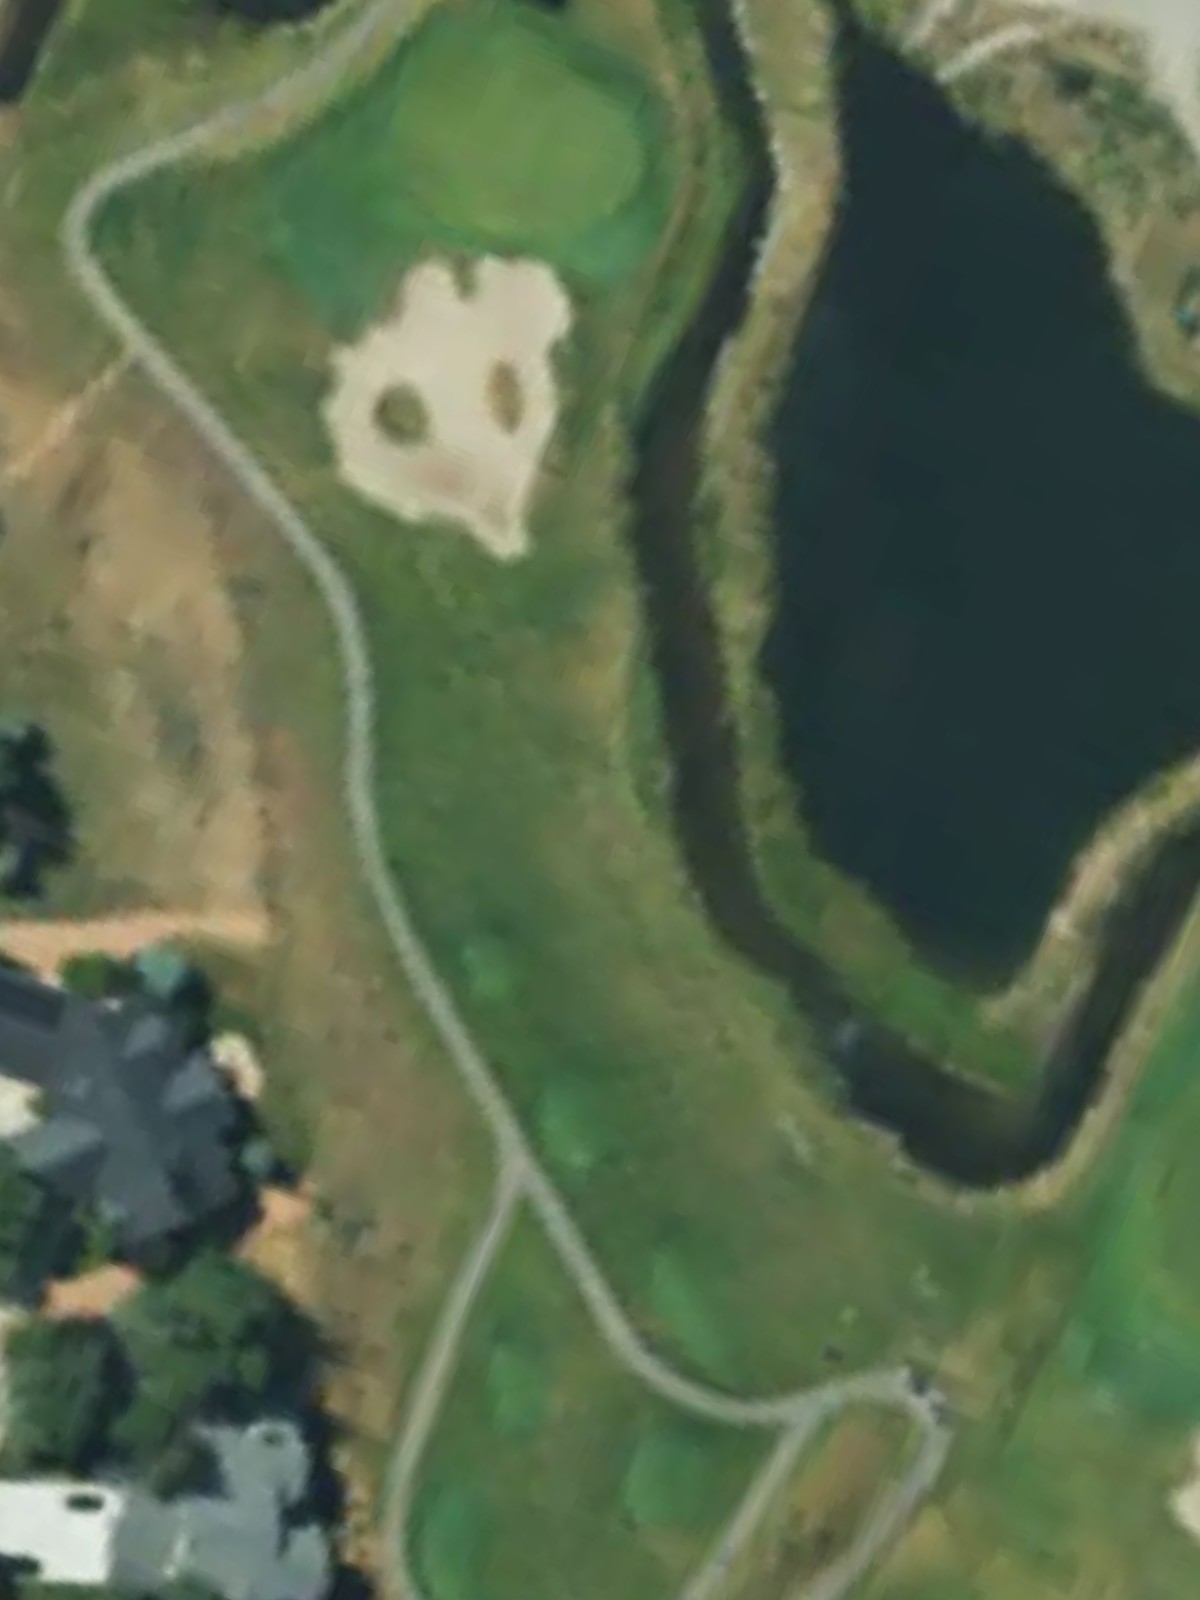
A picturesque par 3 playing over water to an island green, combining visual drama with tactical demands. The isolated green makes club selection and commitment critical to success.

A fitting finisher, this strong par 4 features a dramatic closing hole with strategic bunkering and a firm green complex. The hole rewards bold play but punishes anything less than precision.
Scorecard
| Hole | 1 | 2 | 3 | 4 | 5 | 6 | 7 | 8 | 9 | Out | 10 | 11 | 12 | 13 | 14 | 15 | 16 | 17 | 18 | In | Tot |
|---|---|---|---|---|---|---|---|---|---|---|---|---|---|---|---|---|---|---|---|---|---|
| Par | 4 | 4 | 5 | 3 | 4 | 4 | 4 | 3 | 5 | 36 | 4 | 3 | 4 | 5 | 4 | 4 | 5 | 3 | 4 | 36 | 72 |
| HCP | 17 | 3 | 7 | 13 | 5 | 1 | 15 | 11 | 9 | 16 | 14 | 2 | 12 | 6 | 8 | 18 | 10 | 4 | |||
| blue | 370 | 427 | 529 | 191 | 458 | 428 | 362 | 212 | 500 | 3477 | 384 | 179 | 453 | 563 | 432 | 450 | 521 | 200 | 433 | 3615 | 7092 |
| blue/green combo | 370 | 387 | 529 | 171 | 458 | 408 | 362 | 167 | 454 | 3306 | 384 | 154 | 425 | 531 | 432 | 412 | 521 | 200 | 390 | 3449 | 6755 |
| green | 356 | 387 | 505 | 171 | 434 | 408 | 342 | 167 | 454 | 3224 | 361 | 154 | 425 | 531 | 414 | 412 | 441 | 188 | 390 | 3316 | 6540 |
| green/silver combo | 356 | 367 | 491 | 171 | 375 | 358 | 342 | 167 | 411 | 3038 | 361 | 154 | 388 | 483 | 380 | 394 | 441 | 188 | 378 | 3167 | 6205 |
| silver | 321 | 367 | 491 | 149 | 375 | 358 | 320 | 147 | 411 | 2939 | 335 | 143 | 388 | 483 | 380 | 394 | 382 | 173 | 378 | 3056 | 5995 |
| yellow | 297 | 344 | 442 | 148 | 370 | 352 | 263 | 122 | 337 | 2675 | 328 | 124 | 334 | 427 | 338 | 349 | 382 | 134 | 342 | 2758 | 5433 |