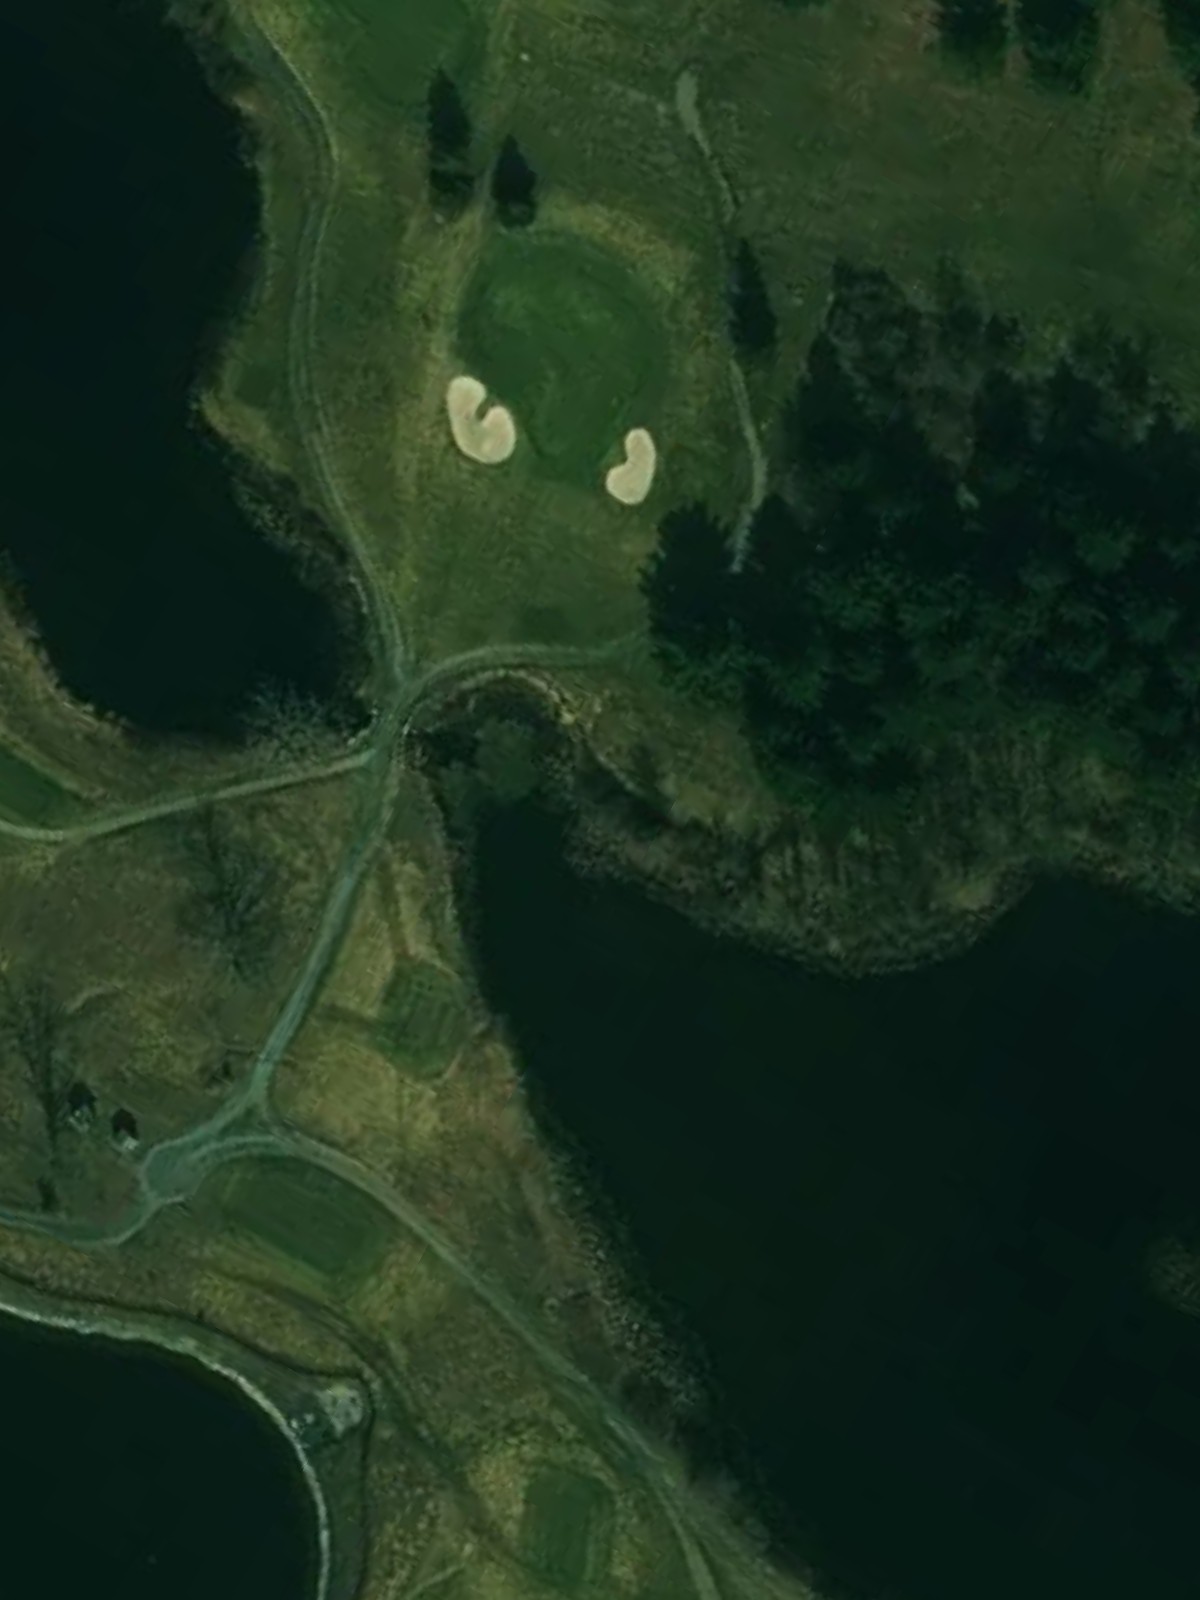
James Baird State Park Gc is an 18-hole golf course in Pleasant Valley, NY with a par of 71. It offers 3 tee sets: blue (6,749 yards, slope 124, rating 72.7), white (6,305 yards, slope 122, rating 70.8), gold (5,446 yards, slope 113, rating 66.4). The hardest hole is #13, a par 5 playing 560 yards from the first tee.
James Baird State Park Gc
Pleasant Valley, NY
Get PDF Yardage Book
We'll email you the PDF link. No spam, ever.
Create Your Game Plan
Pick your tees, enter your bag, and get a personalized shot-by-shot strategy for every hole.

A relatively straightforward opening par 4 with a moderately wide fairway. The green is defended by bunkers on the right side, making precision approach play important for a solid start.
A demanding par 4 that plays longer than the scorecard suggests, presenting one of the course's most difficult opening holes. Tight fairway corridors and greenside hazards demand accuracy off the tee and into the green.
A short par 3 playing under 130 yards from the blue tees, offering the course's most forgiving scoring opportunity. The small target green and minimal hazards make this a genuine birdie chance.
The course's first par 5 and ranked as the second-hardest hole, this lengthy four-shotter features a narrow corridor with strategic bunkering throughout. The three-shot layout demands patience and positional play to reach the green in regulation.
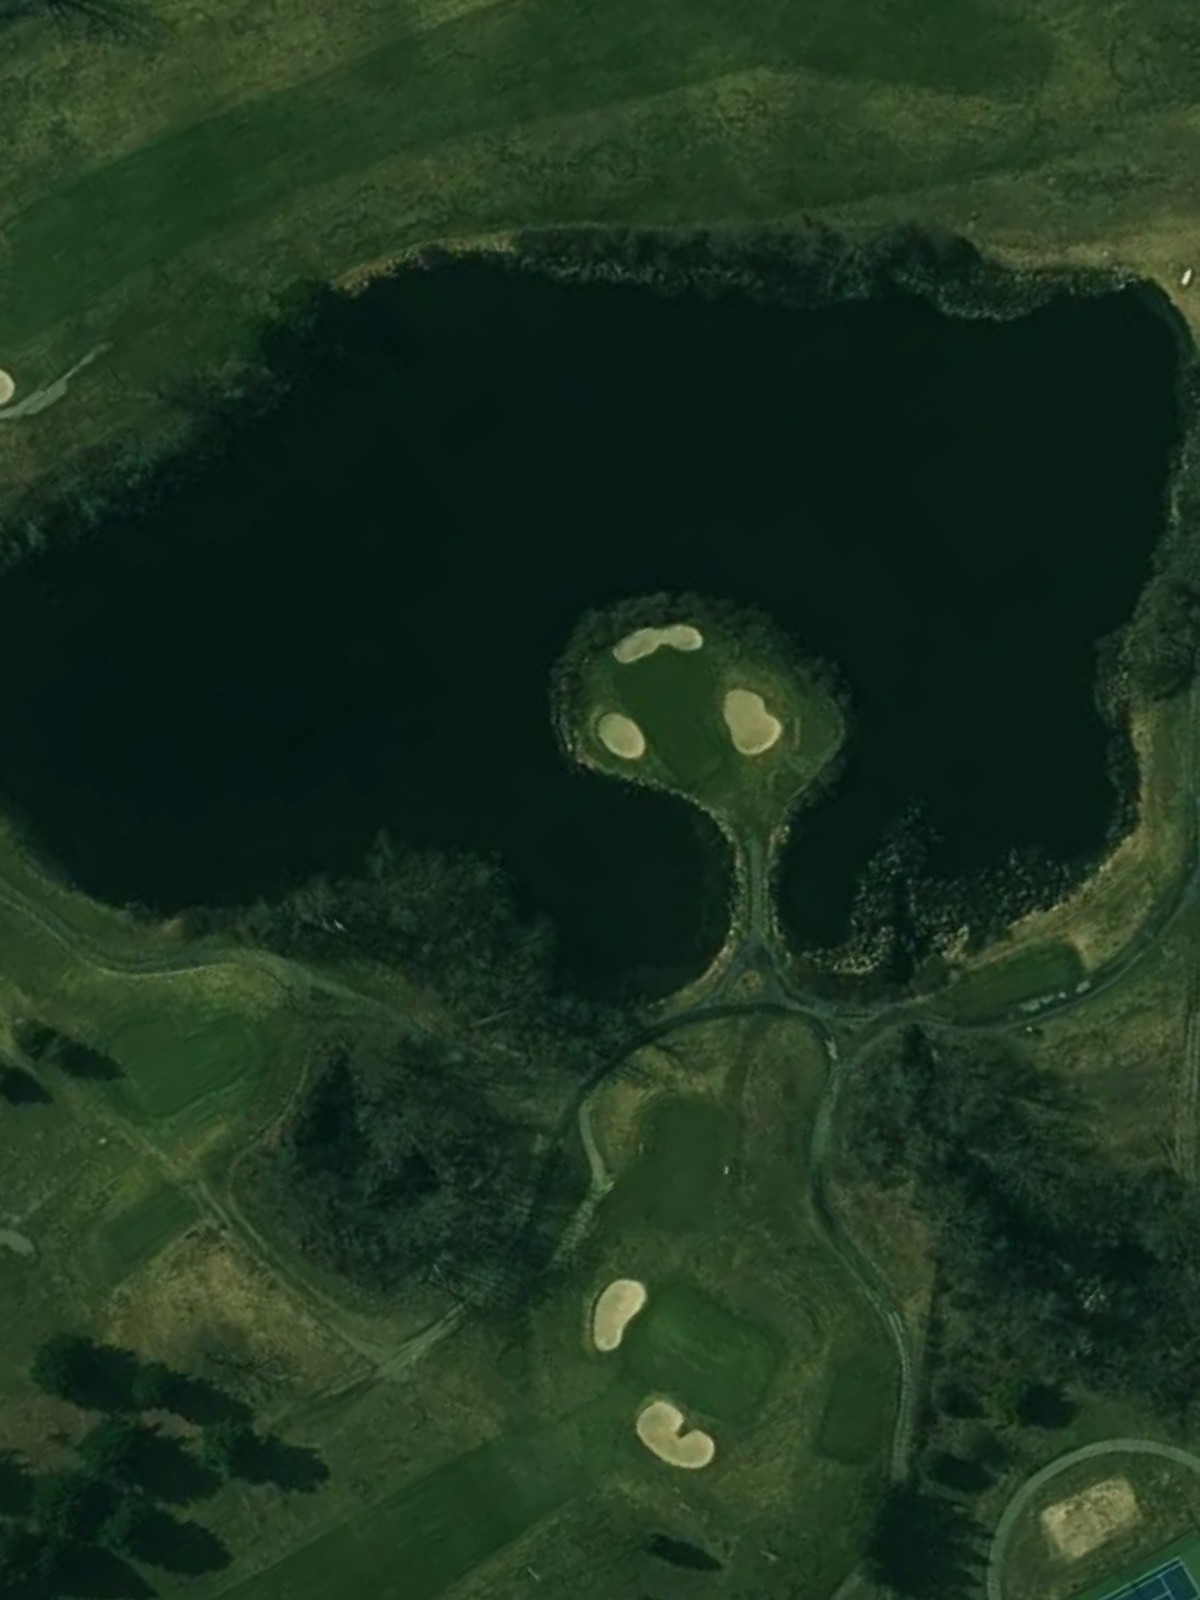
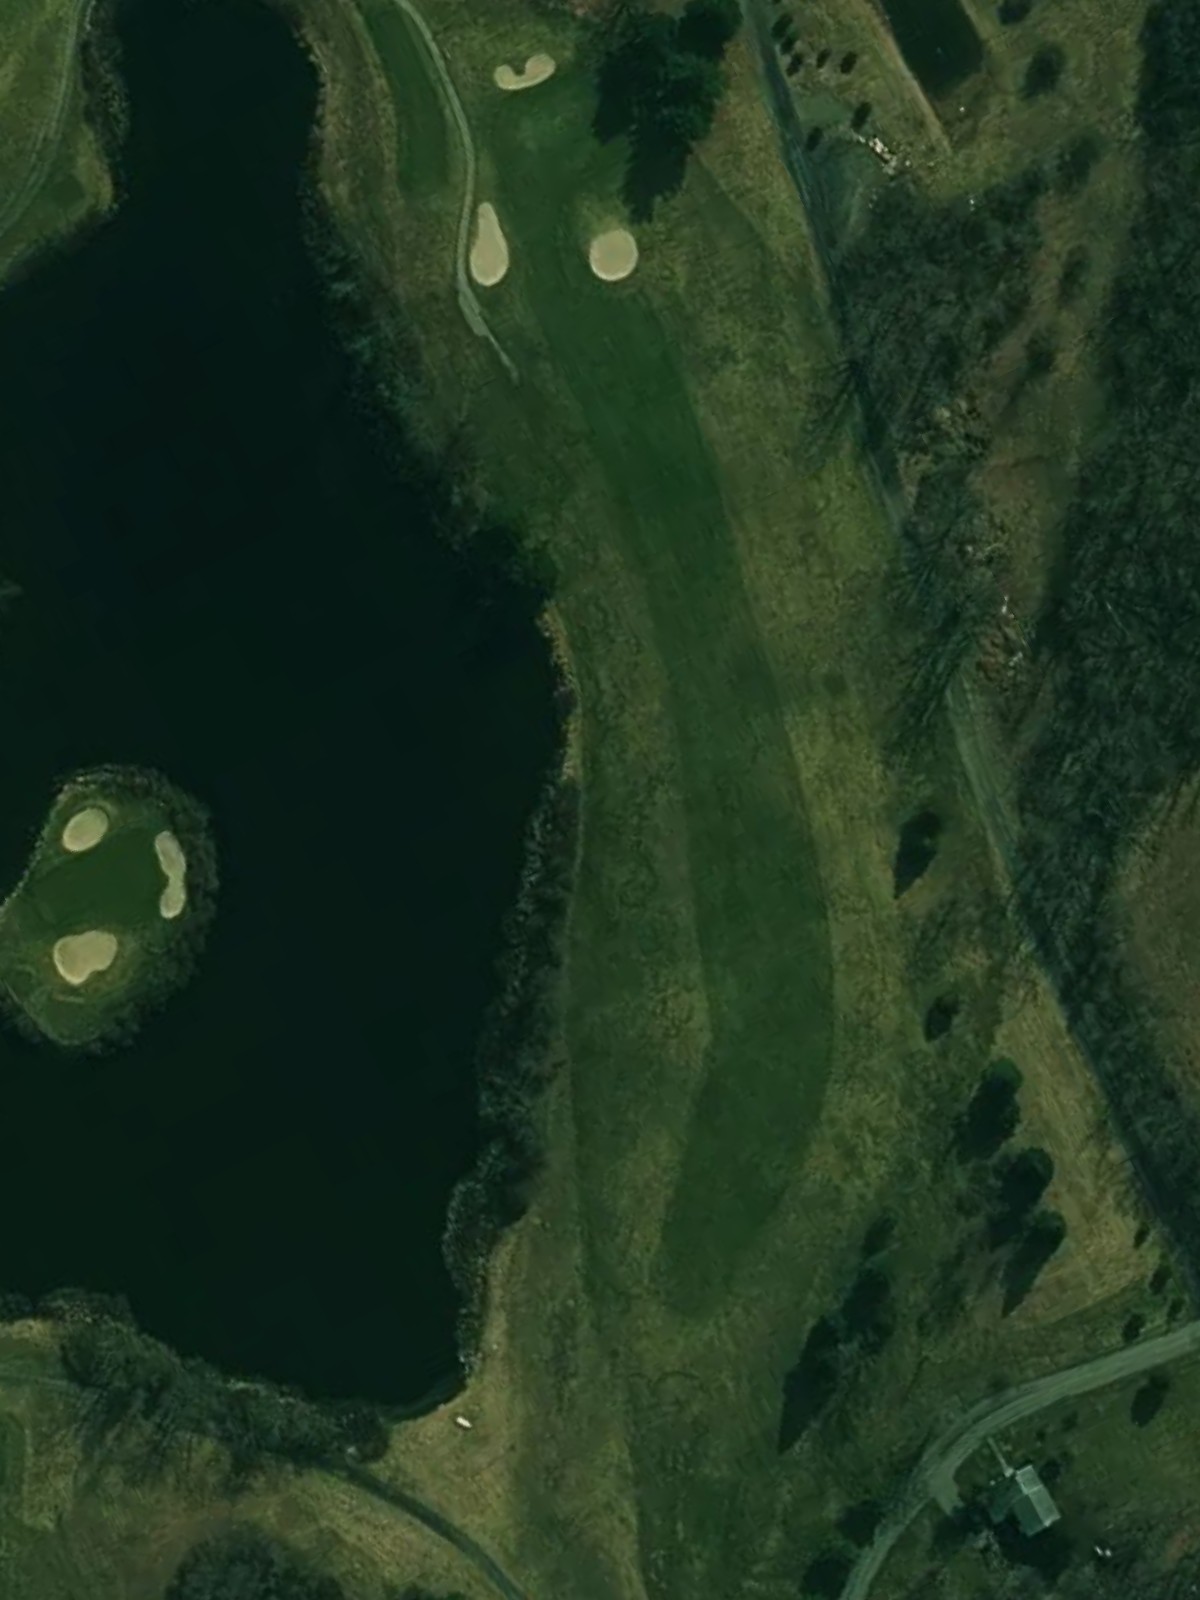
A mid-length par 3 requiring a solid intermediate iron to a well-defined green. Water or significant hazards frame the target, making accuracy from the tee essential.
A challenging par 4 ranked among the course's toughest holes, with a tight fairway that demands a controlled drive. Bunkers and hazards guard the approach, rewarding only the most precise second shots.
The course's most difficult hole, this imposing par 4 stretches nearly 470 yards from the back and features severe bunkering and narrow fairway corridors. Only the most powerful and accurate players will find scoring opportunities here.
A short, scenic par 3 at 159 yards playing consistently from all tee boxes with minimal strategic variation. The hole offers relative relief in difficulty despite its straightforward challenge to the green.
A relatively short closing par 4 for the front side with a manageable length and moderate difficulty. The fairway is reasonably open, though greenside bunkers punish errant approach shots.
A long par 5 that presents genuine three-shot character with strategic bunkering placement. The hole rewards controlled distance and positional play over aggressive attempts to reach in two.

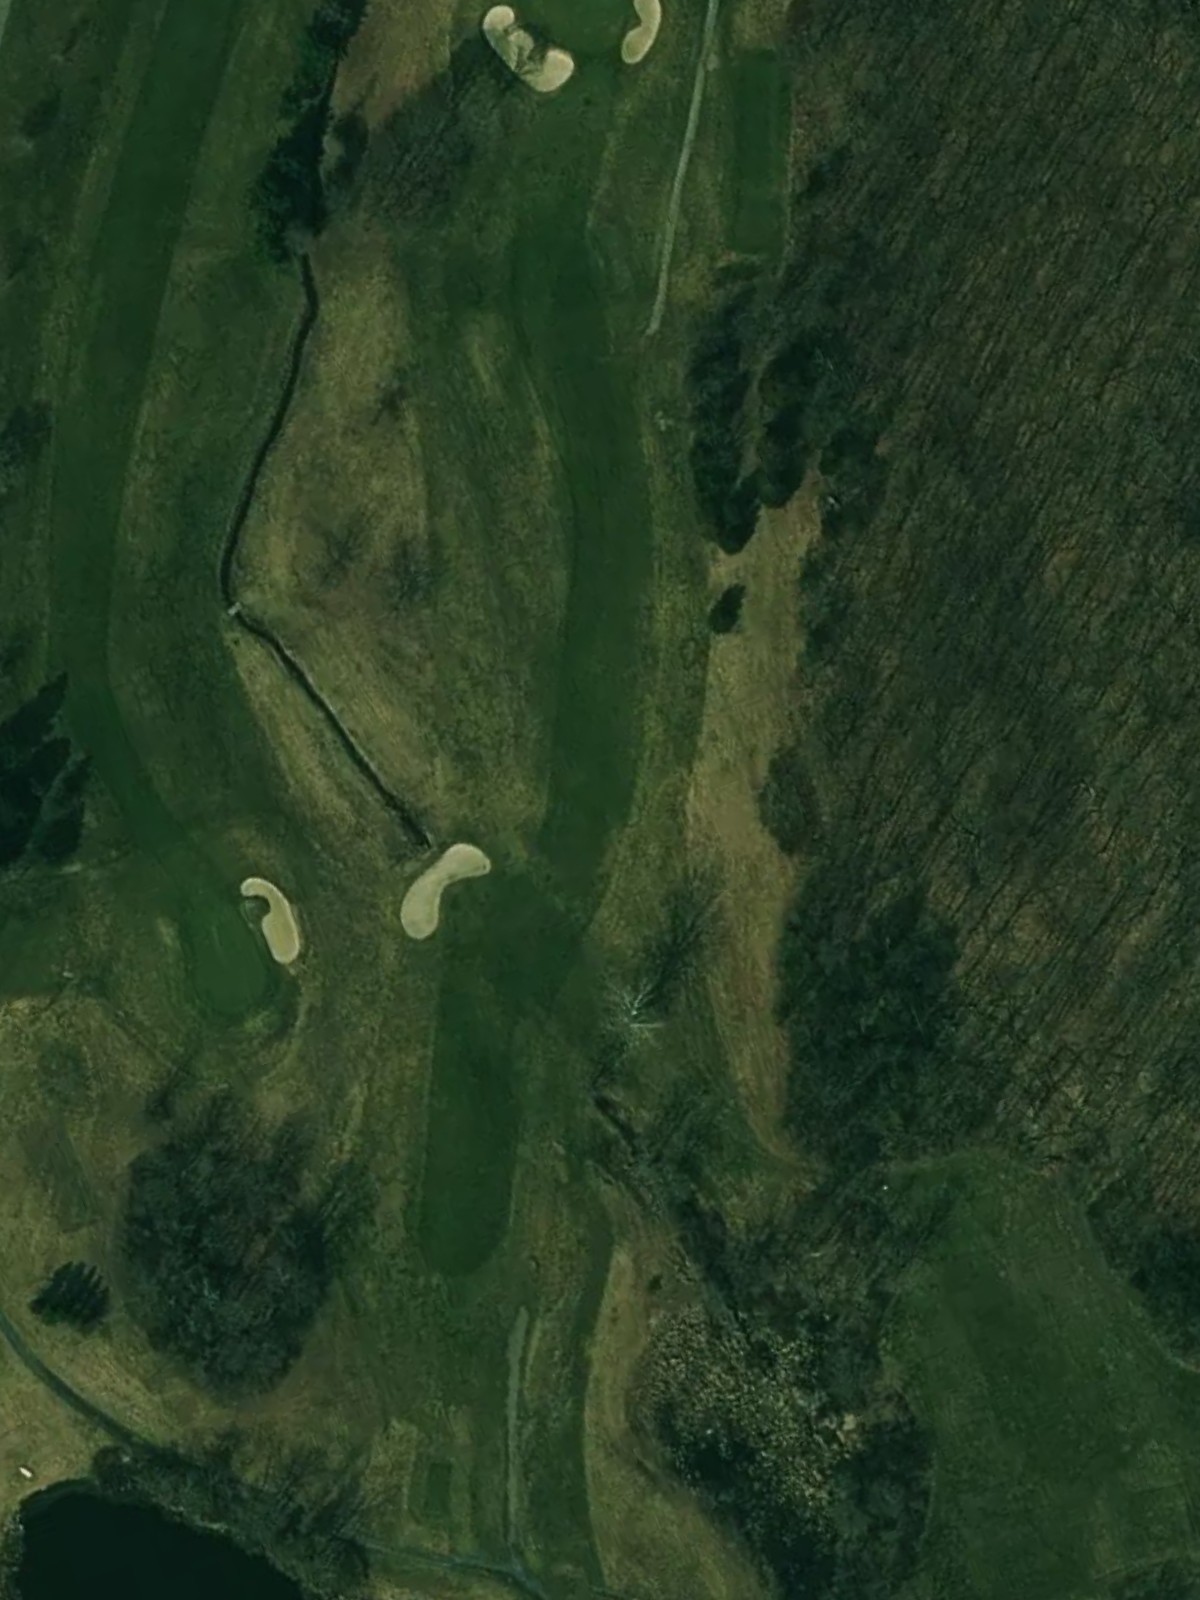
A mid-length par 4 with steady difficulty, featuring a fairway that maintains consistent width. Strategic hazards frame the approach zone, requiring an honest second shot to the green.
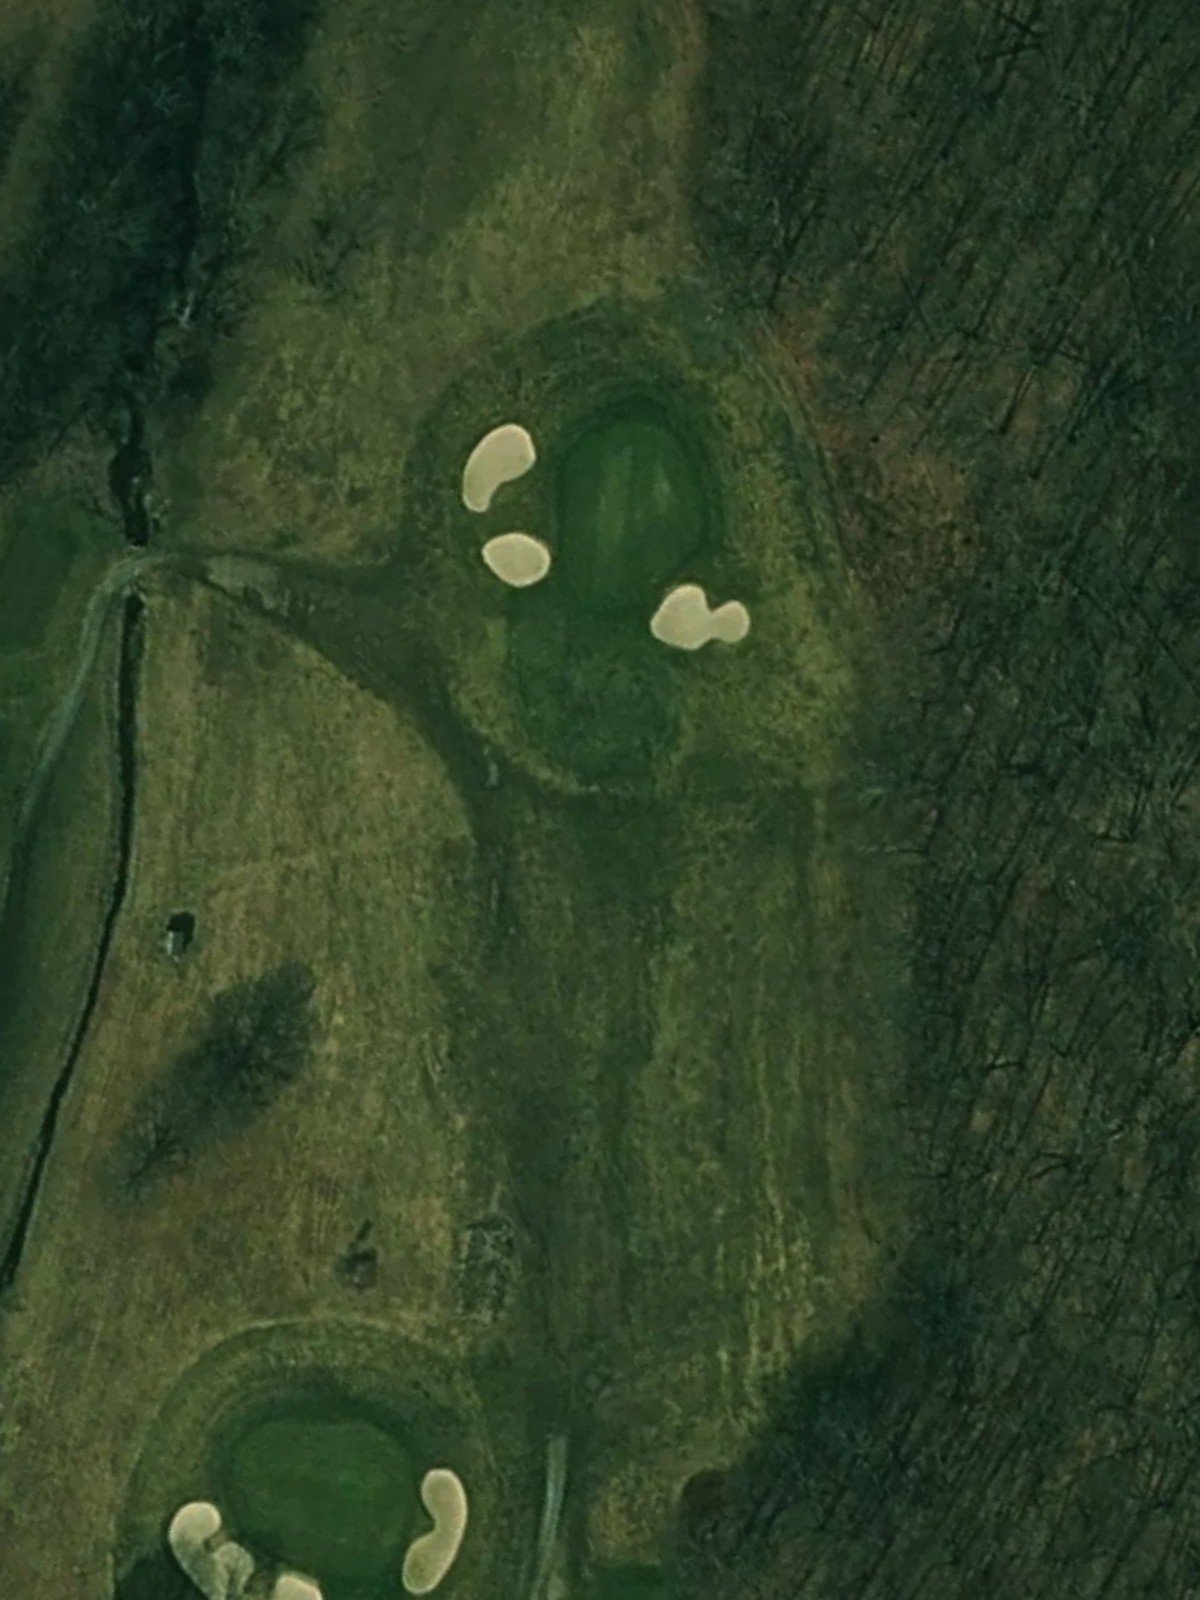
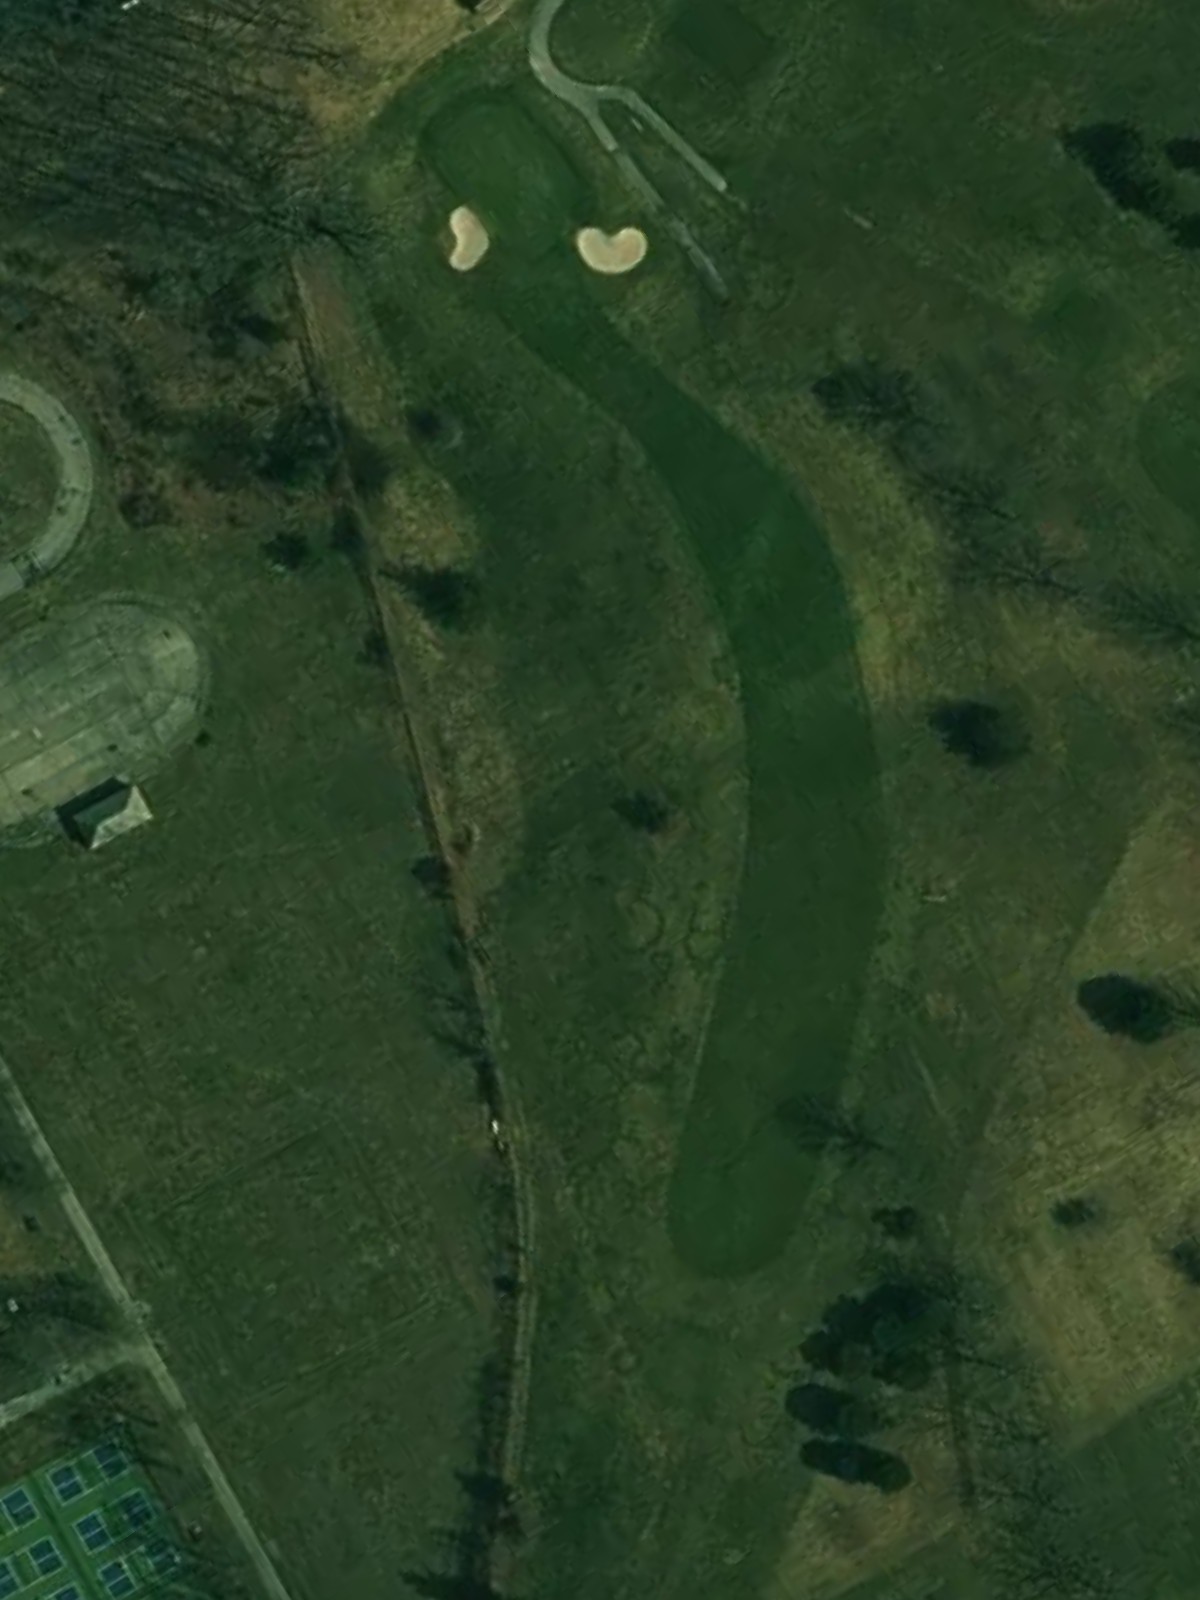
A challenging mid-range par 3 playing 216 yards from the blue tees with a significant length gap across the tee boxes. The green is well-protected and demands a confident, accurate iron shot.
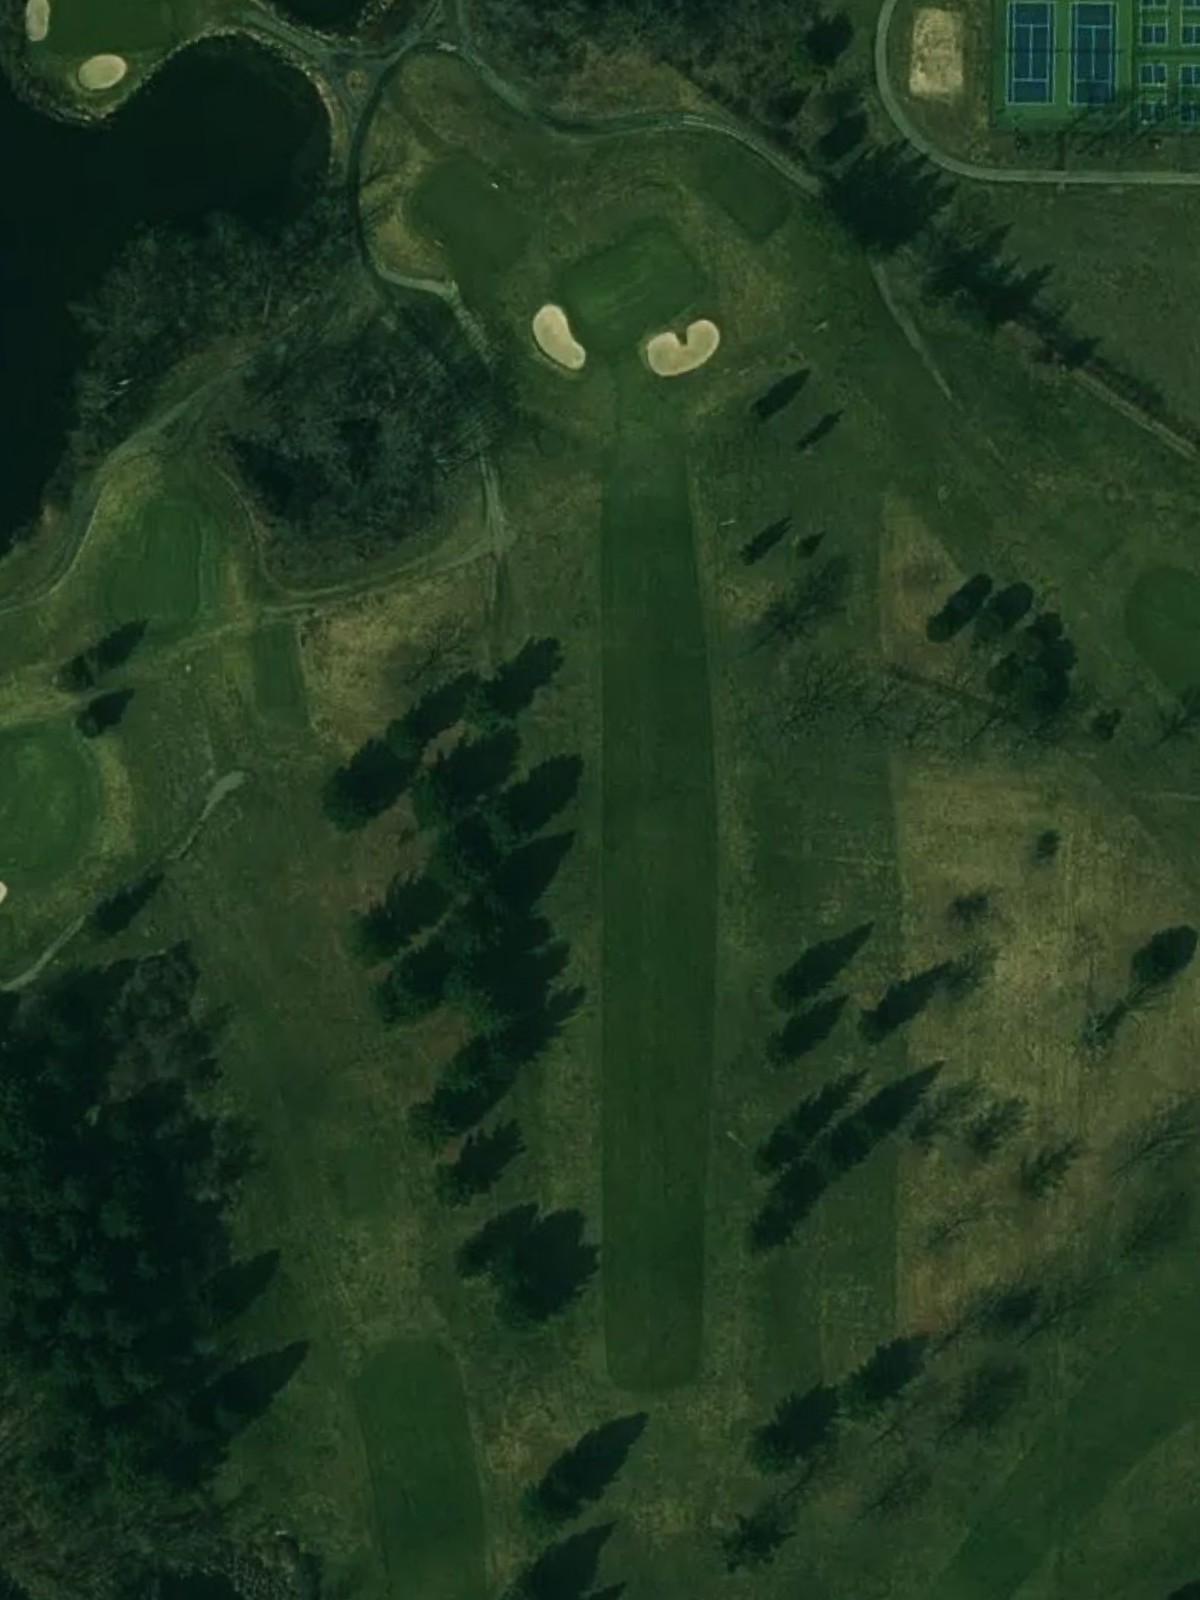
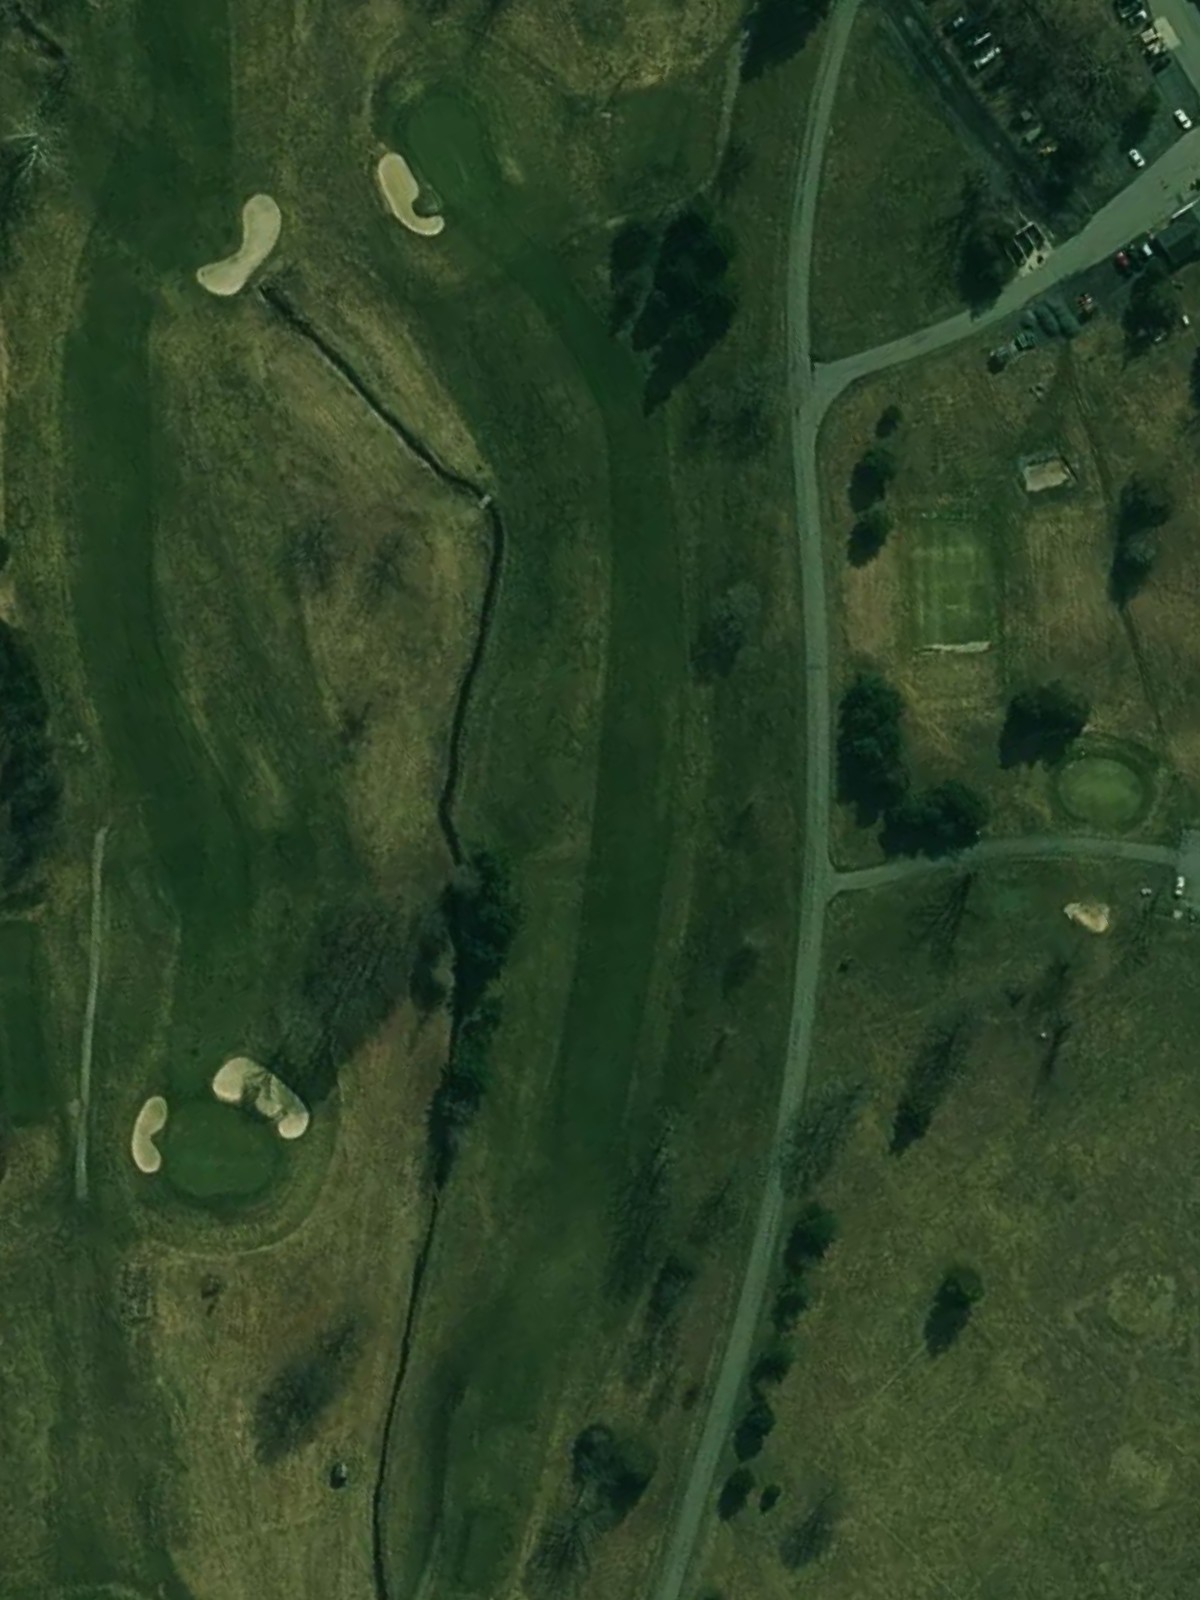
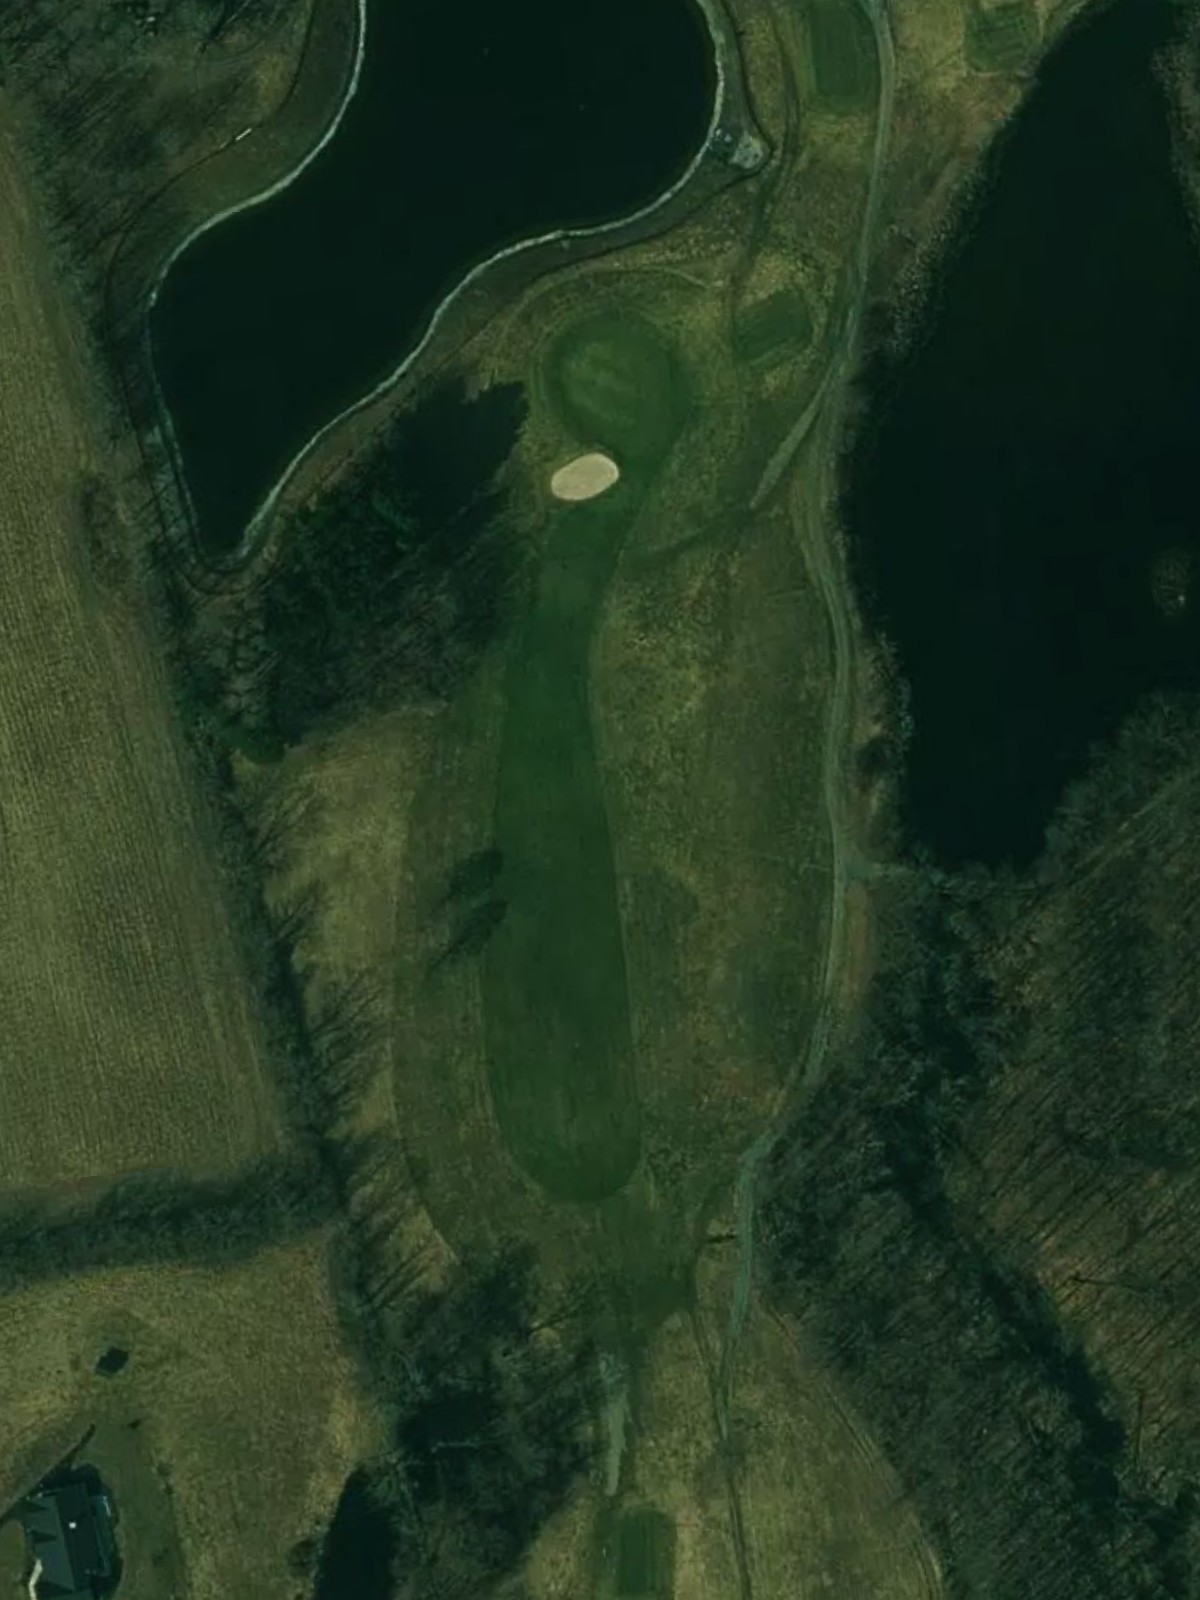
The course's most difficult par 5 and its hardest hole overall, stretching 560 yards with relentless bunkering and tight fairway corridors. This three-shot test punishes both poor drives and overambitious approach play.
A shorter par 4 that plays deceptively difficult despite its modest length, featuring significant hazards and a tight fairway. The hole's compact design creates a premium on accuracy over distance.
A mid-length par 3 with meaningful distance variance across tee boxes, demanding the correct club selection for conditions. Water or bunkers frame the green, making this a true one-shot test.
A generous par 5 that offers the course's most birdie-friendly longer hole despite its substantial length. The wide fairway and accessible green provide realistic three-shot scoring opportunities.
A fairly straightforward par 4 that plays at modest difficulty, with a balanced fairway and approachable green. This hole offers a reasonable scoring chance before the demanding closing stretch.
The course's third-toughest finishing hole, this strong par 4 demands both length and accuracy to close the round. Strategic bunkering and a well-defended green provide a challenging final test.
Scorecard
| Hole | 1 | 2 | 3 | 4 | 5 | 6 | 7 | 8 | 9 | Out | 10 | 11 | 12 | 13 | 14 | 15 | 16 | 17 | 18 | In | Tot |
|---|---|---|---|---|---|---|---|---|---|---|---|---|---|---|---|---|---|---|---|---|---|
| Par | 4 | 4 | 3 | 5 | 3 | 4 | 4 | 3 | 4 | 34 | 5 | 4 | 3 | 5 | 4 | 3 | 5 | 4 | 4 | 37 | 71 |
| HCP | 12 | 8 | 18 | 4 | 10 | 6 | 2 | 16 | 14 | 7 | 11 | 5 | 1 | 15 | 9 | 17 | 13 | 3 | |||
| blue | 402 | 433 | 126 | 552 | 229 | 430 | 461 | 159 | 361 | 3153 | 575 | 398 | 216 | 560 | 360 | 214 | 487 | 397 | 389 | 3596 | 6749 |
| white | 345 | 486 | 109 | 503 | 202 | 388 | 381 | 159 | 355 | 2928 | 515 | 387 | 204 | 526 | 353 | 170 | 480 | 386 | 356 | 3377 | 6305 |
| gold | 245 | 380 | 98 | 430 | 190 | 340 | 340 | 159 | 348 | 2530 | 412 | 368 | 127 | 406 | 297 | 127 | 473 | 375 | 331 | 2916 | 5446 |