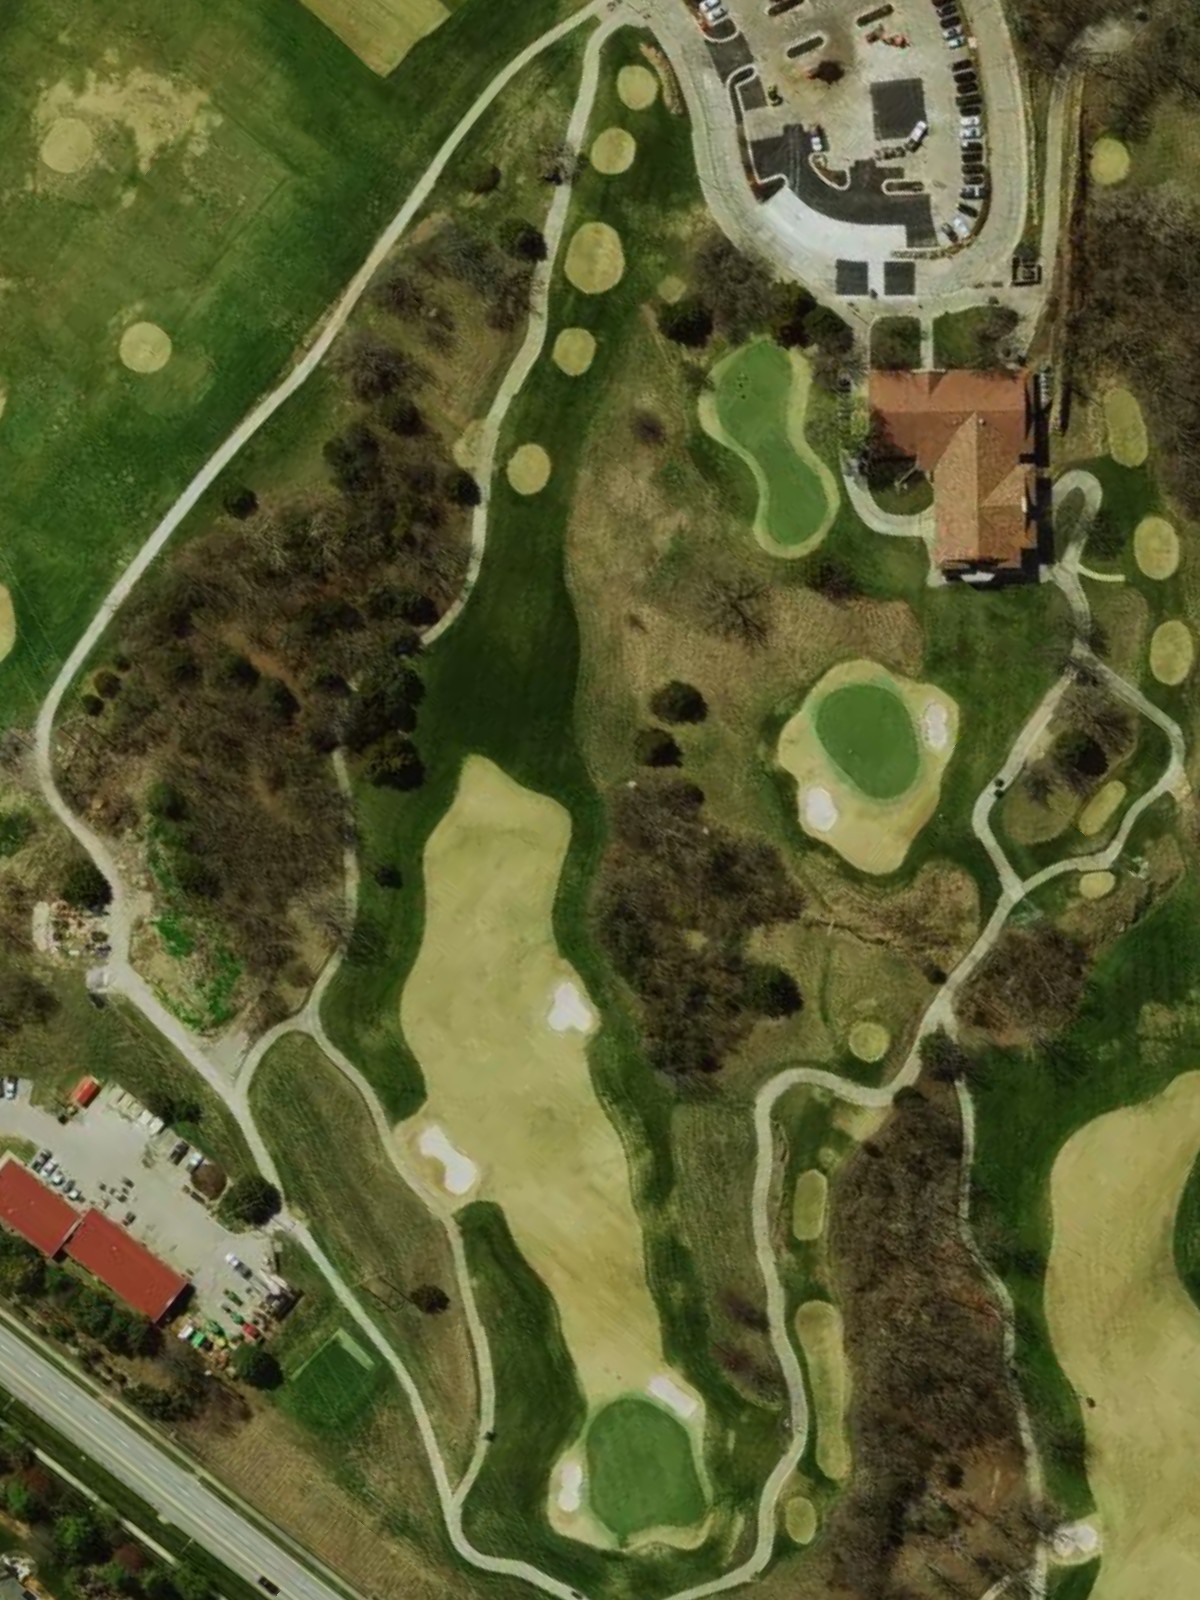
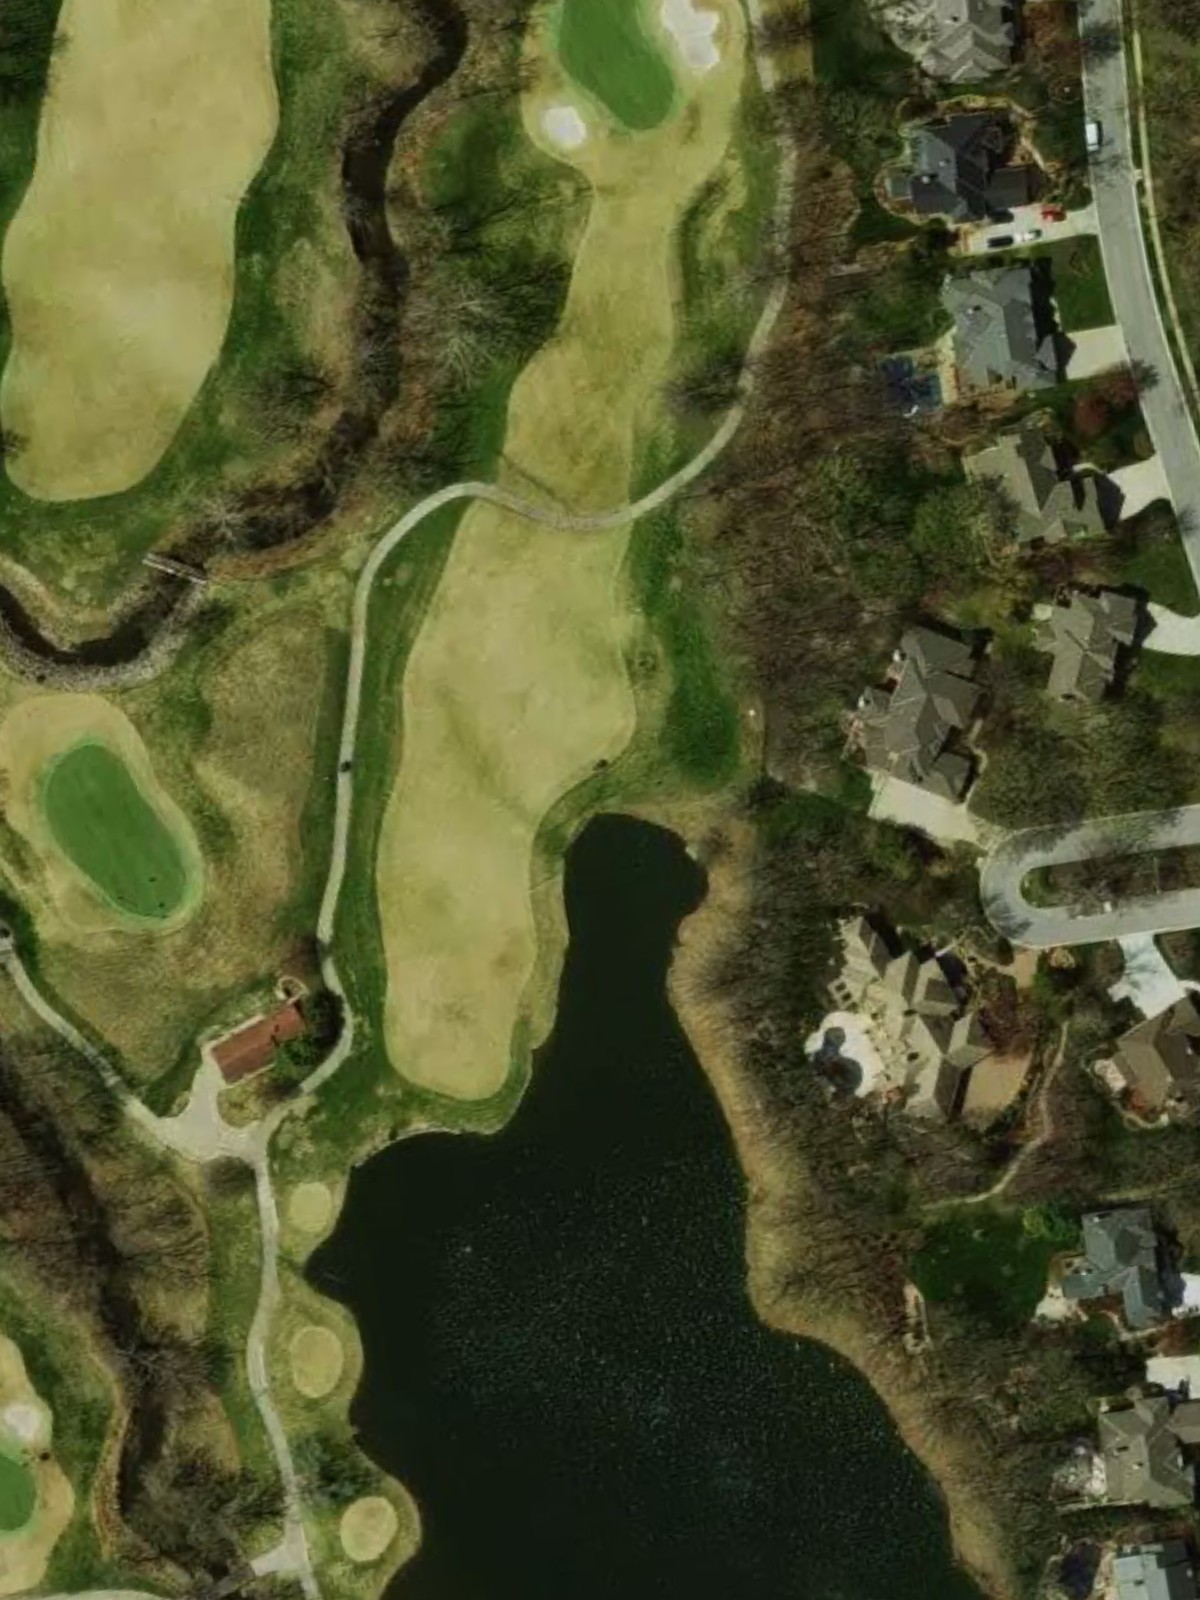
Ironhorse Golf Club is an 18-hole golf course in Leawood, KS with a par of 72. It offers 8 tee sets: black (6,799 yards, slope 144, rating 73.5), black/blue combo (6,538 yards, slope 144, rating 72), blue (6,300 yards, slope 141, rating 70.9), blue/white combo (6,103 yards, slope 135, rating 69.8), white (5,760 yards, slope 127, rating 68.5), white/gold (5,608 yards, slope 124, rating 67.4), gold (5,131 yards, slope 111, rating 65.8), red (4,643 yards, slope 109, rating 63.5). The hardest hole is #3, a par 4 playing 297 yards from the first tee.
Ironhorse Golf Club
Leawood, KS
Get PDF Yardage Book
We'll email you the PDF link. No spam, ever.
Create Your Game Plan
Pick your tees, enter your bag, and get a personalized shot-by-shot strategy for every hole.
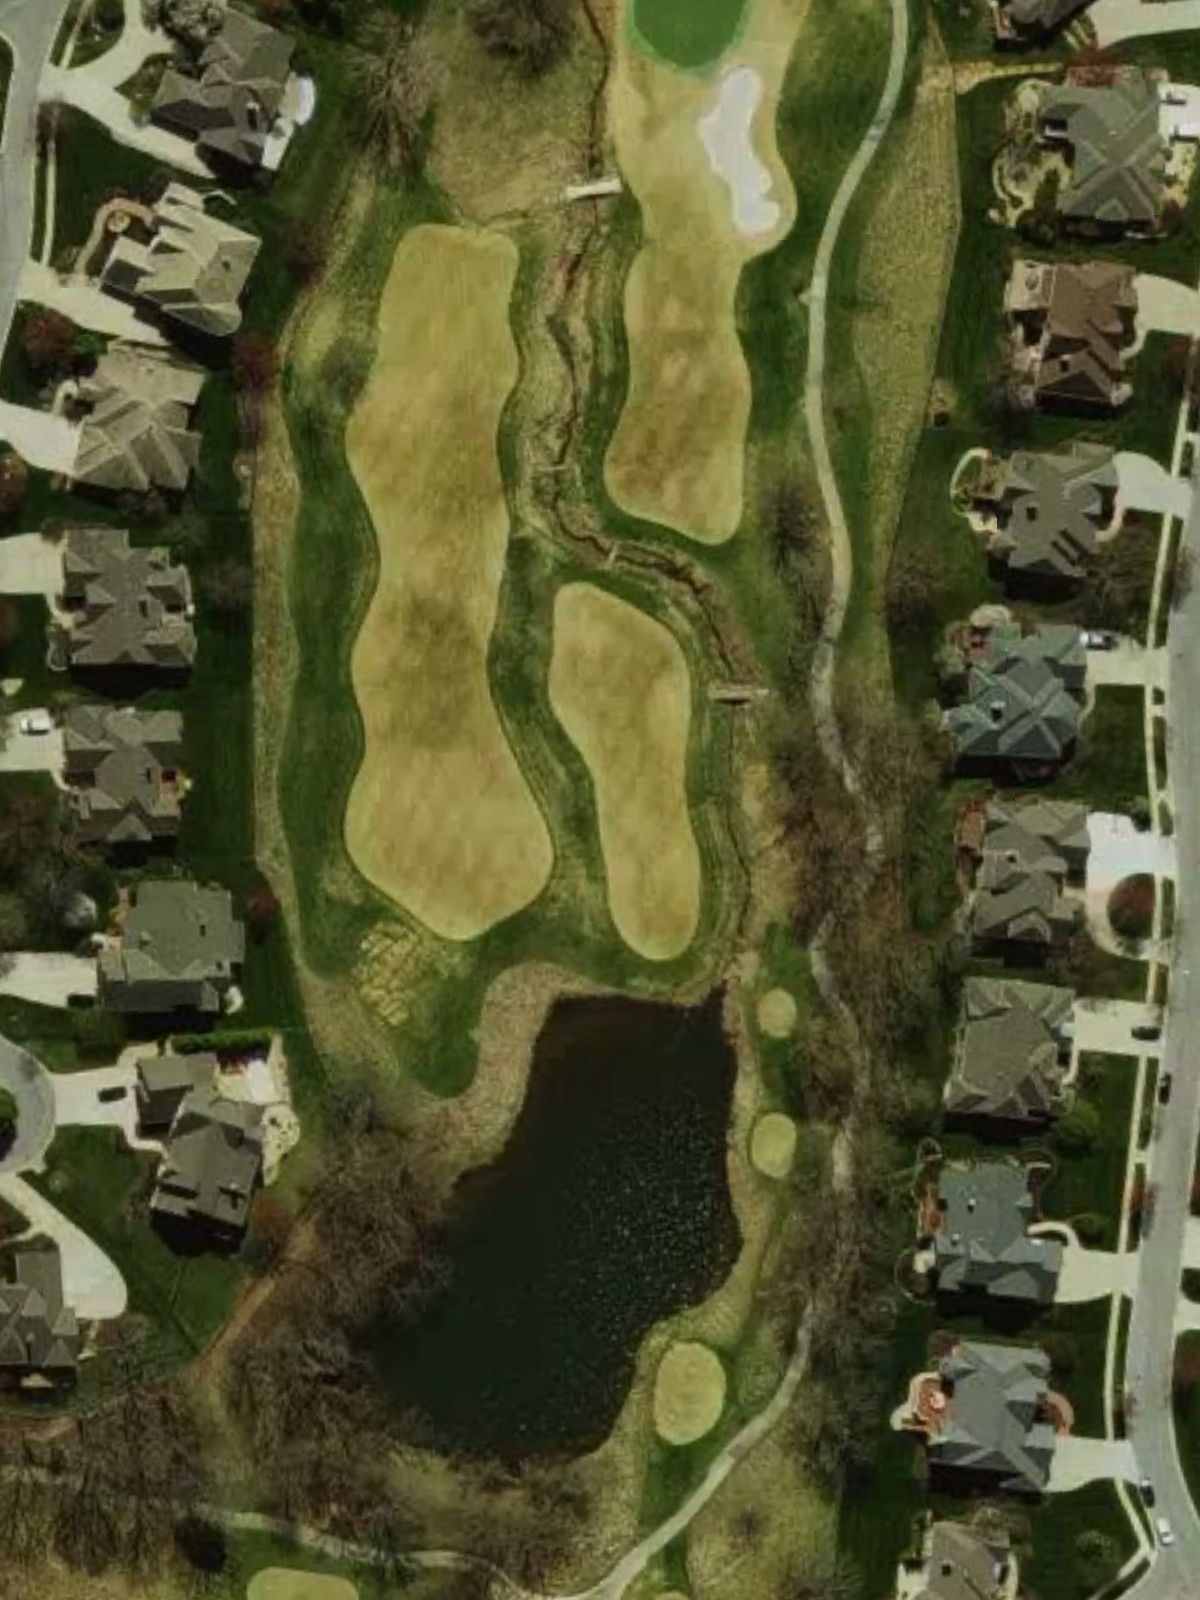
A straightforward par 4 with a welcoming fairway that provides room off the tee. The green is fronted by a pair of bunkers on the right, making accuracy important on the approach shot.
A short par 3 that demands precision over distance. Water guards the left side of the green, while bunkers protect the right, creating a narrow target for the tee shot.
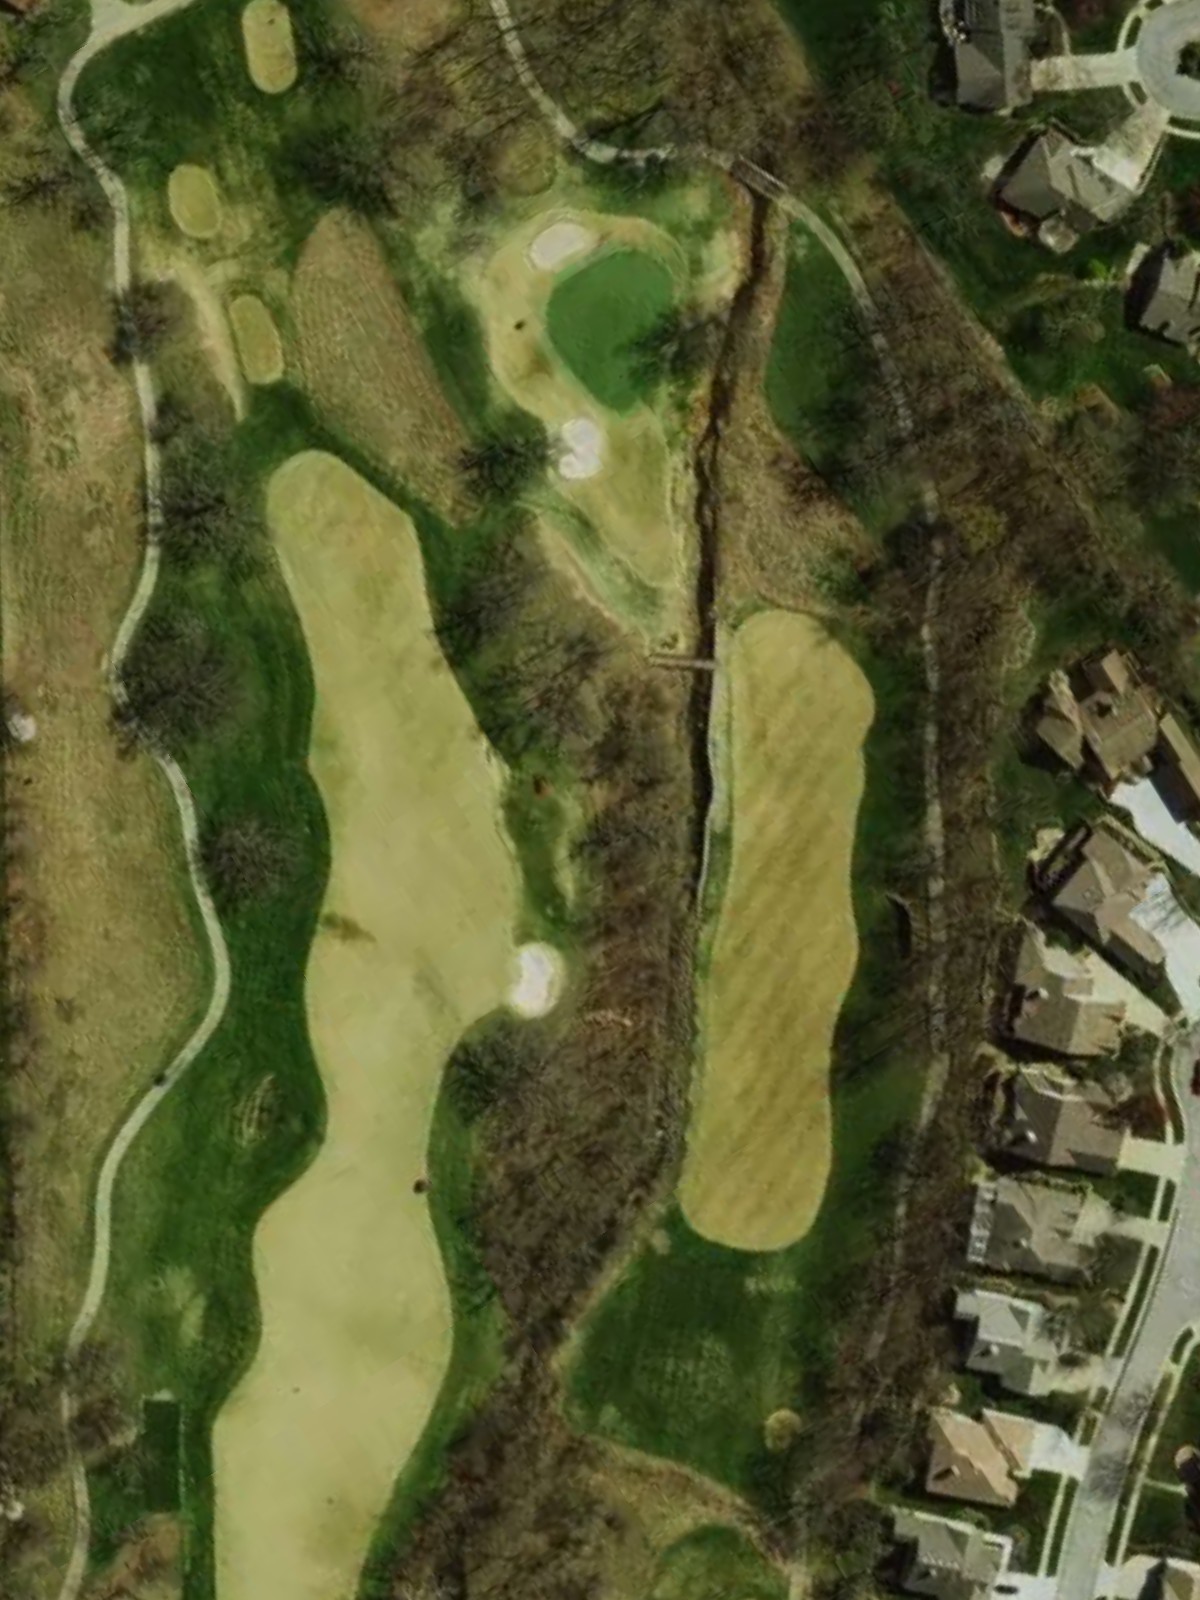
The #1 handicap hole, this par 4 is a genuine test that requires two solid shots to reach the green in regulation. Tight fairways and strategic bunkering throughout demand accuracy off the tee and a controlled approach.
A forgiving par 5 that allows aggressive players to make a birdie run. The fairway is relatively open with minimal hazards, rewarding those who can execute solid strikes.
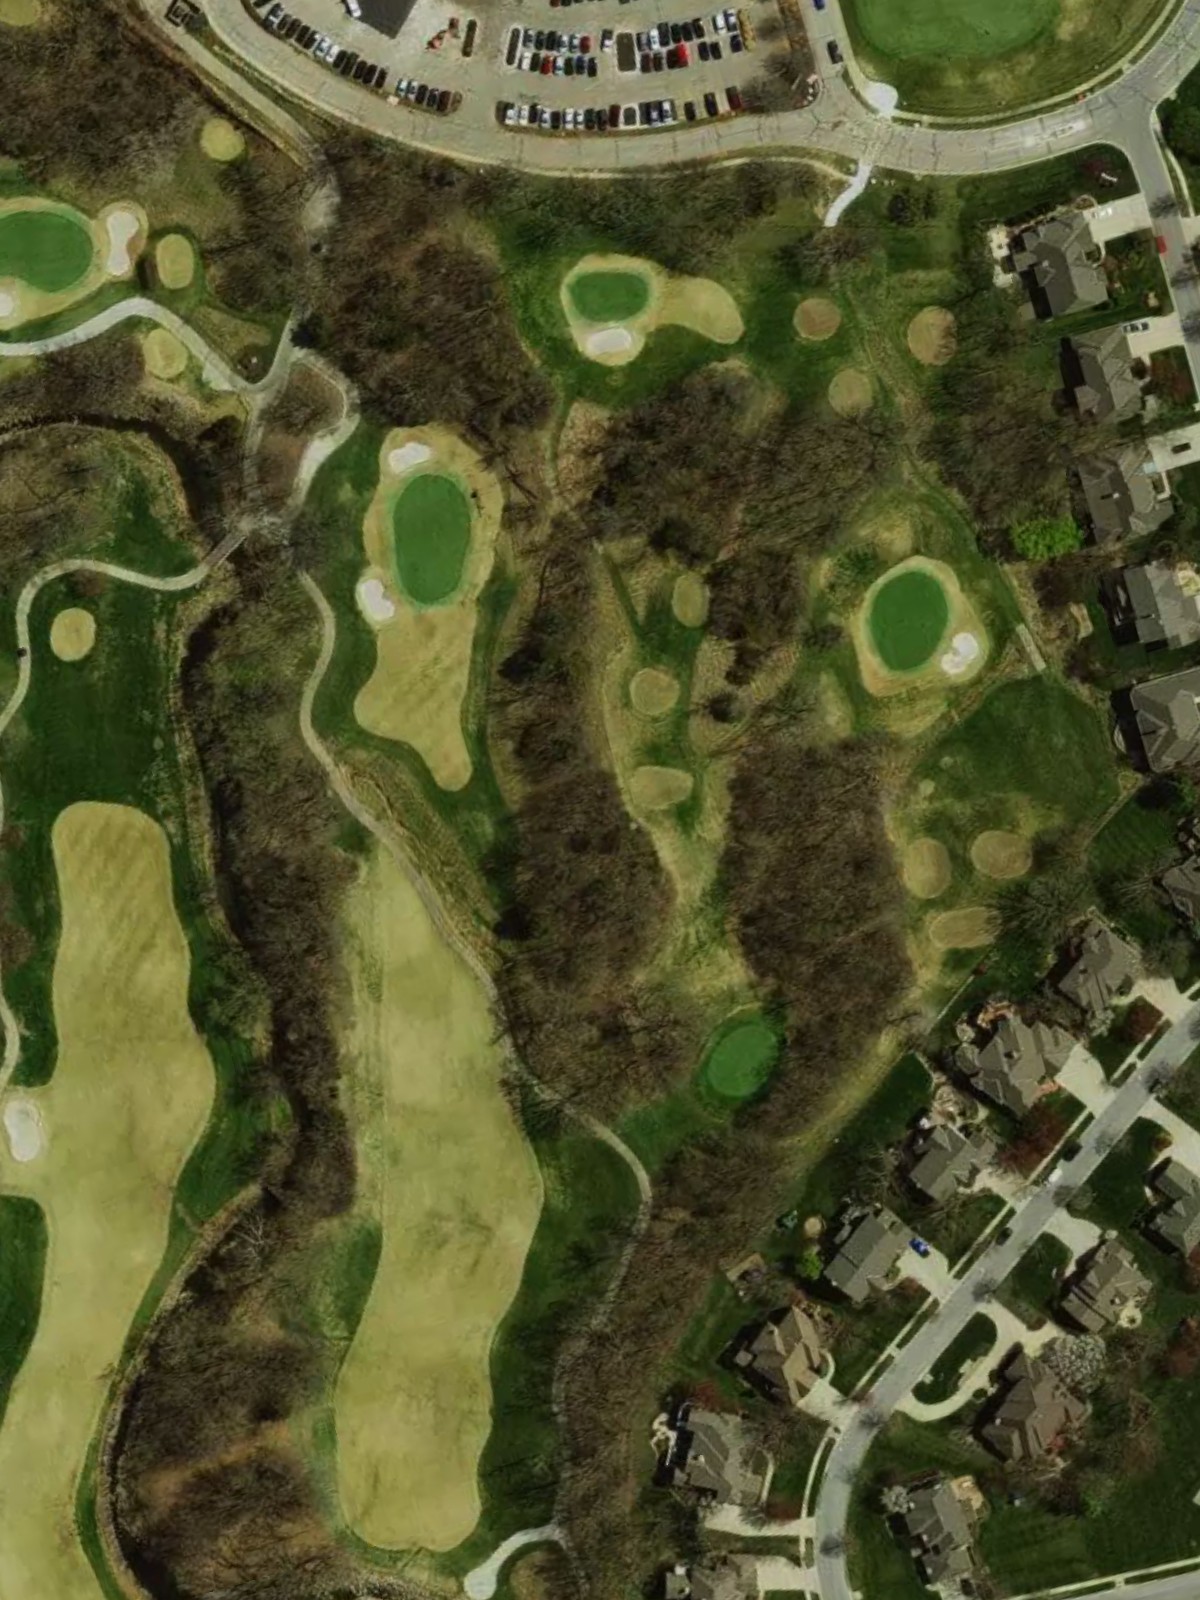
A mid-length par 3 with a well-bunkered green complex. The elevated putting surface requires a precise tee shot to avoid the surrounding sand.
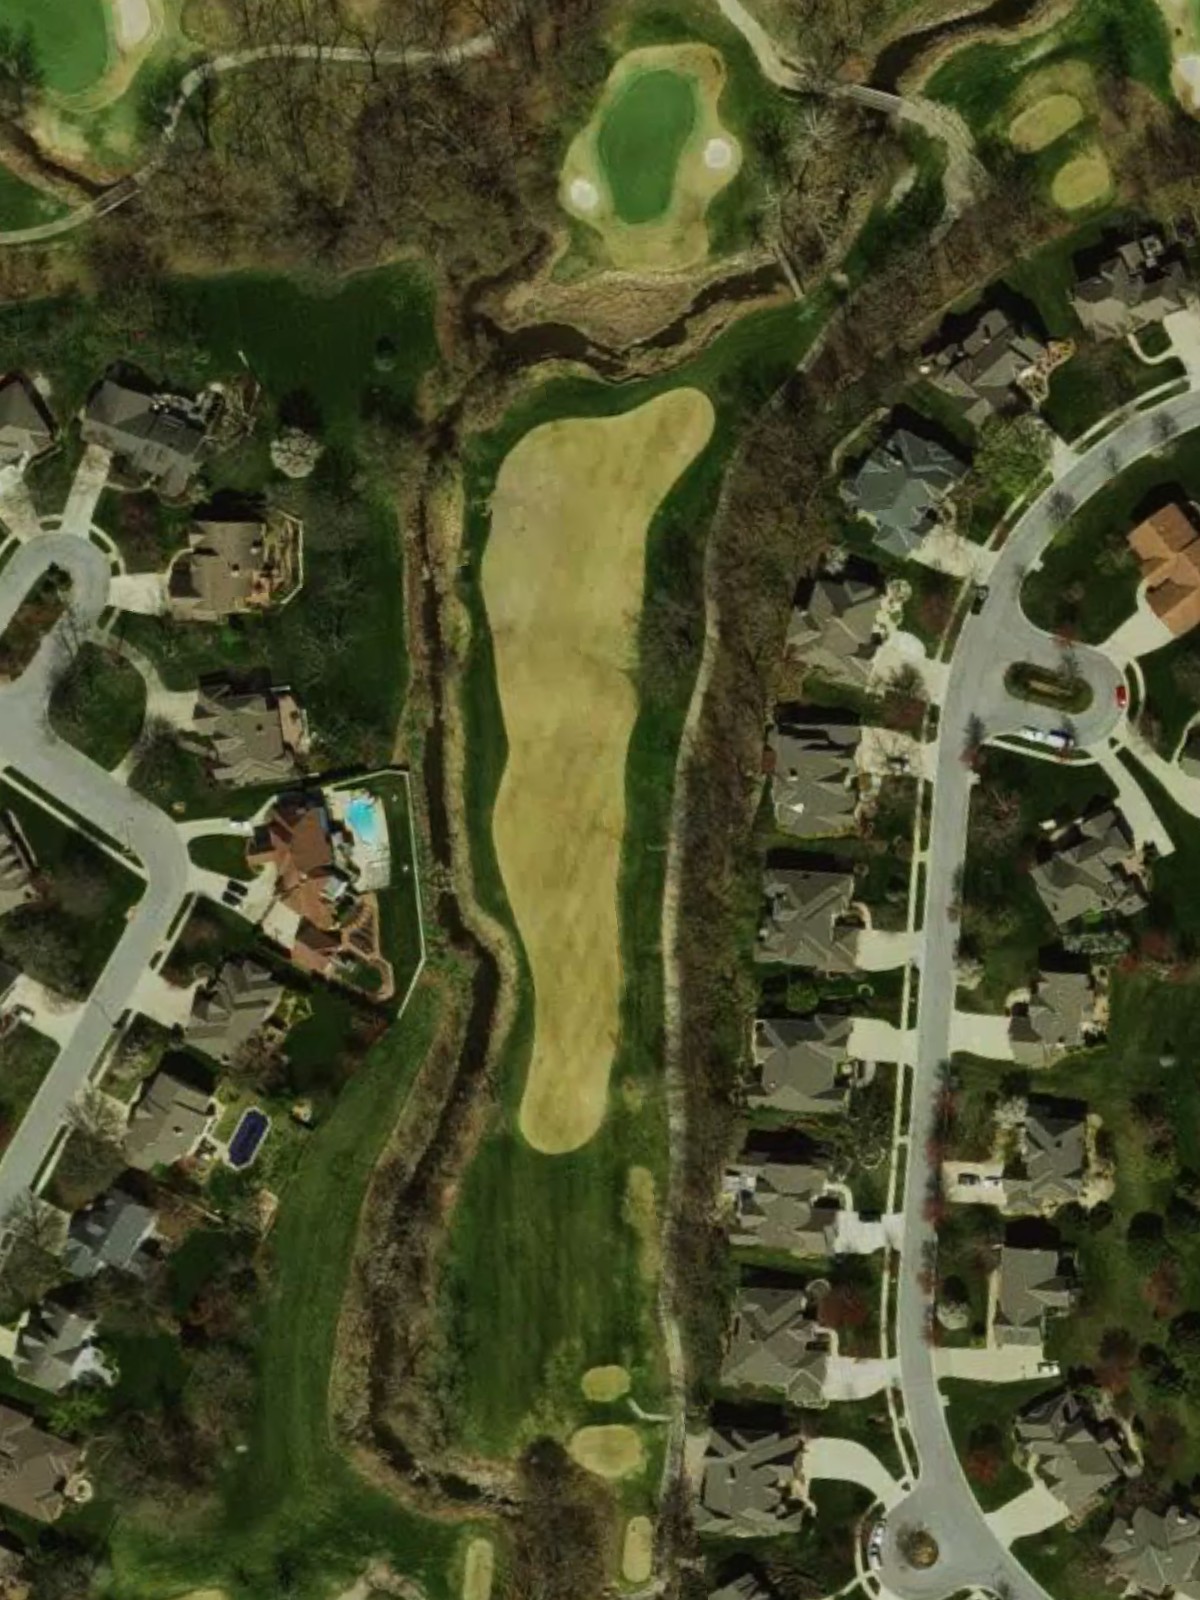
A strong par 4 with water hazards in play along the left side throughout the hole. The fairway tightens as it approaches the green, and bunkers left and right frame the final approach.
A relatively short par 4 that plays deceptively difficult due to its narrow fairway and strategic bunkering. The green sits elevated and is well-protected, making club selection critical.
This par 4 ranks third in difficulty and features a dramatic dogleg configuration with significant hazards in the turn. Bunkers are positioned to penalize both the aggressive and conservative approaches.
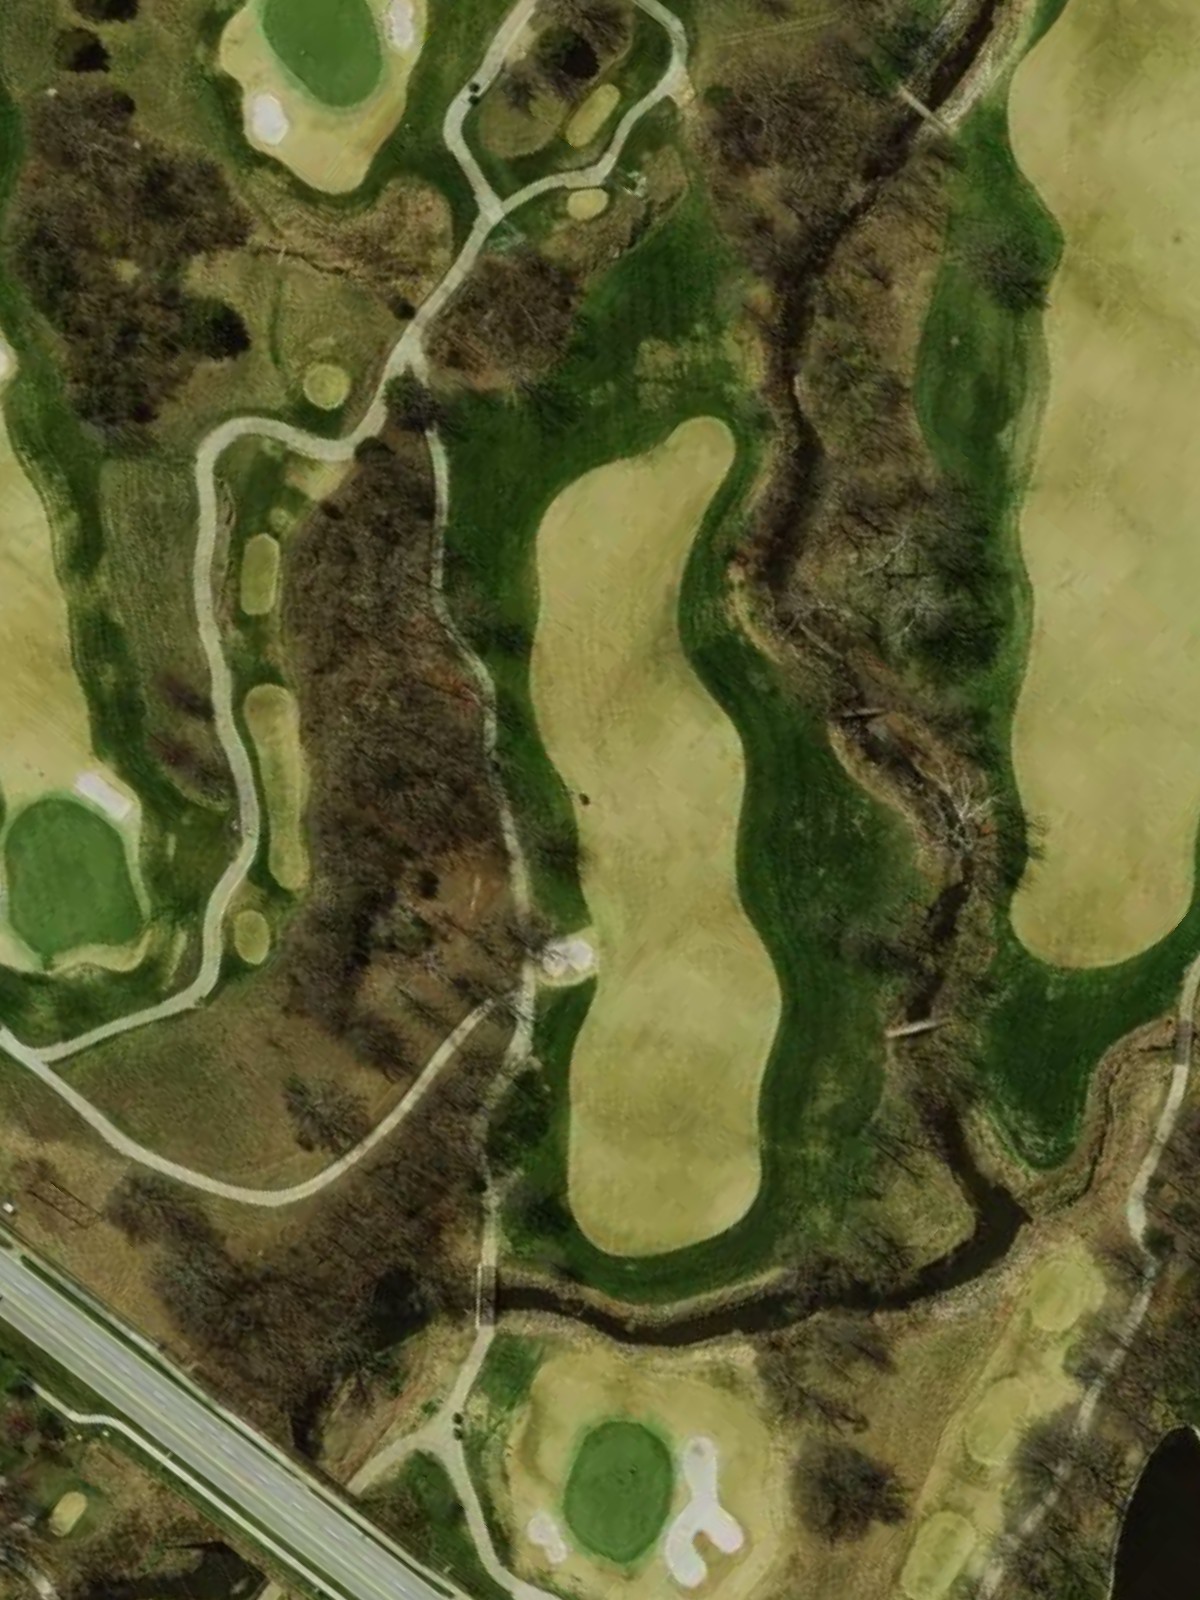
A demanding par 5 that features water hazards and out-of-bounds along one side, making positioning crucial for the layup and final approach. The green is well-defended and requires a quality third shot.

A lengthy par 5 with water in play and strategic bunkering throughout. The fairway opens up enough to give players options, but poor positioning leads to difficult approaches to a well-guarded green.
A short par 4 that presents a risk-reward opportunity with water or hazards in strategic locations. The green is narrow and well-bunkered, demanding a precise approach despite the hole's modest length.
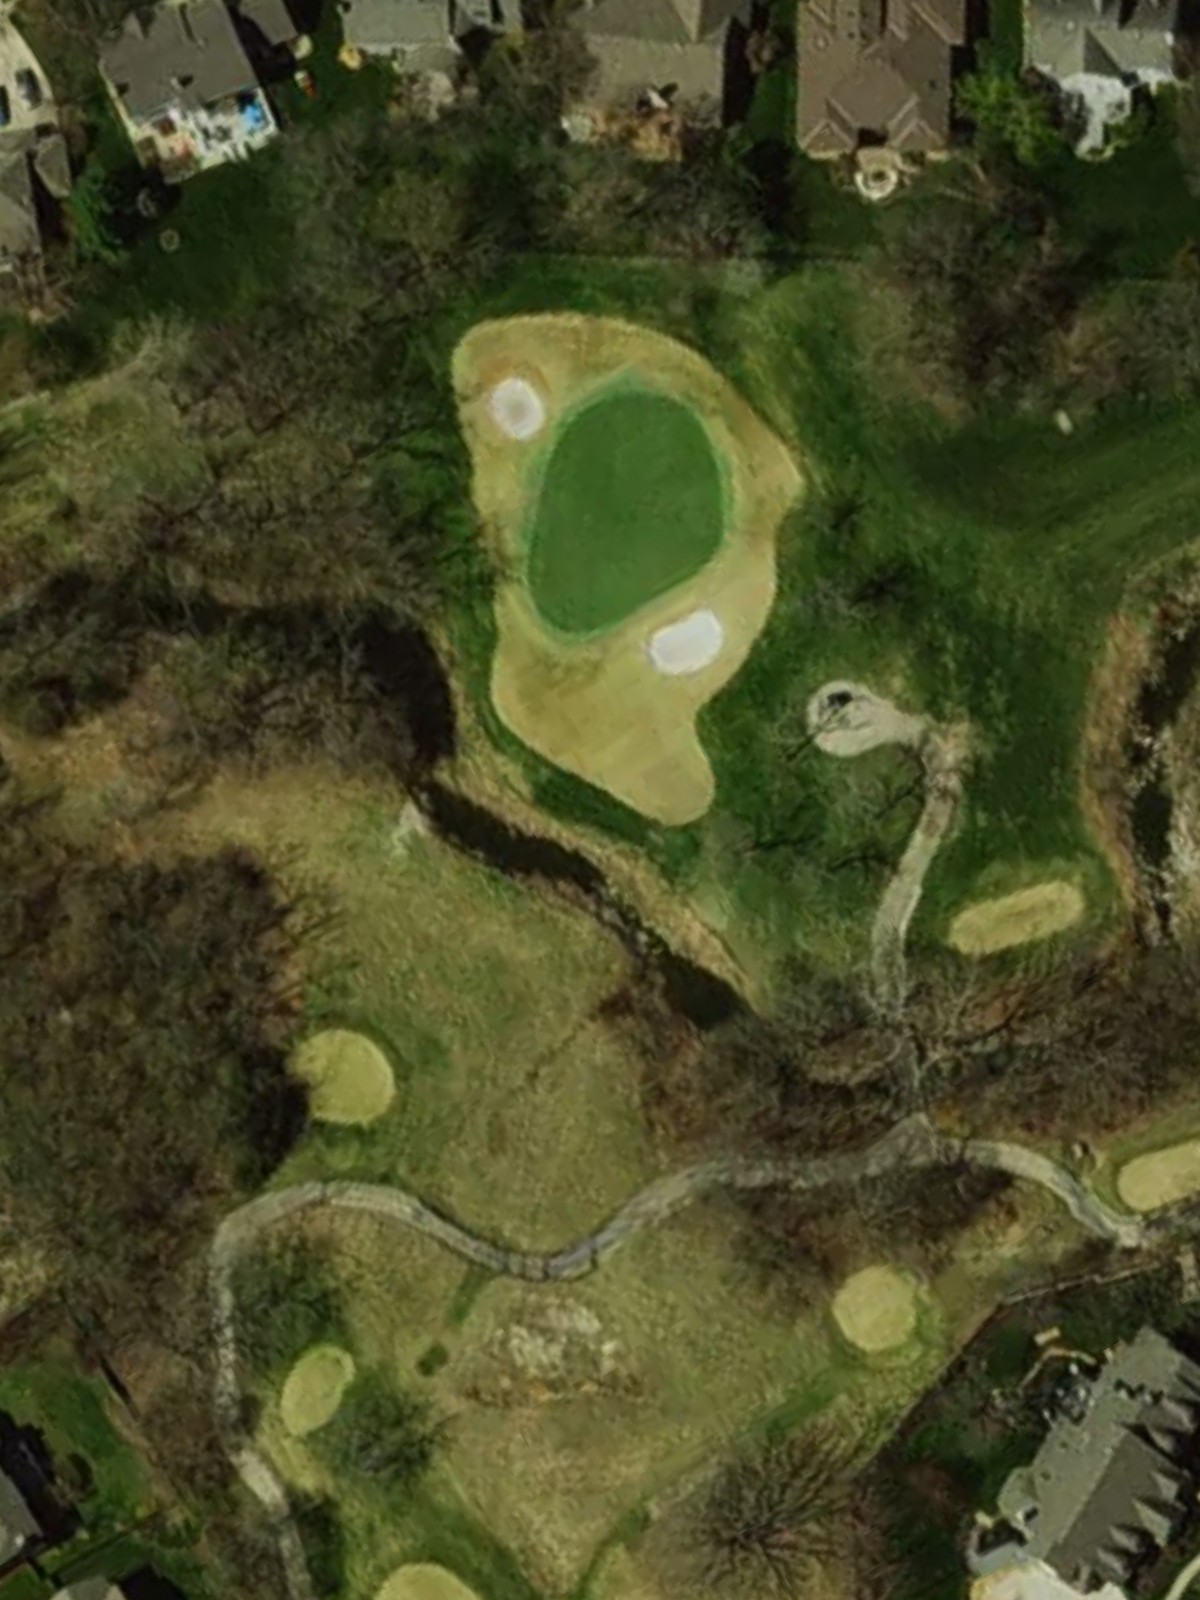
A very short par 3 that is nonetheless tricky due to its shallow green and surrounding bunkers. Wind and green contours make this deceptively challenging despite the minimal yardage.
A mid-length par 4 with a dogleg shape and strategic hazards guarding the fairway turn. Bunkers frame both sides of the green, punishing inaccurate approaches.
The easiest hole on the course, this par 5 provides genuine birdie opportunity with a relatively open fairway and fewer hazards. Players who can avoid trouble have a chance to take advantage of the straightforward layout.
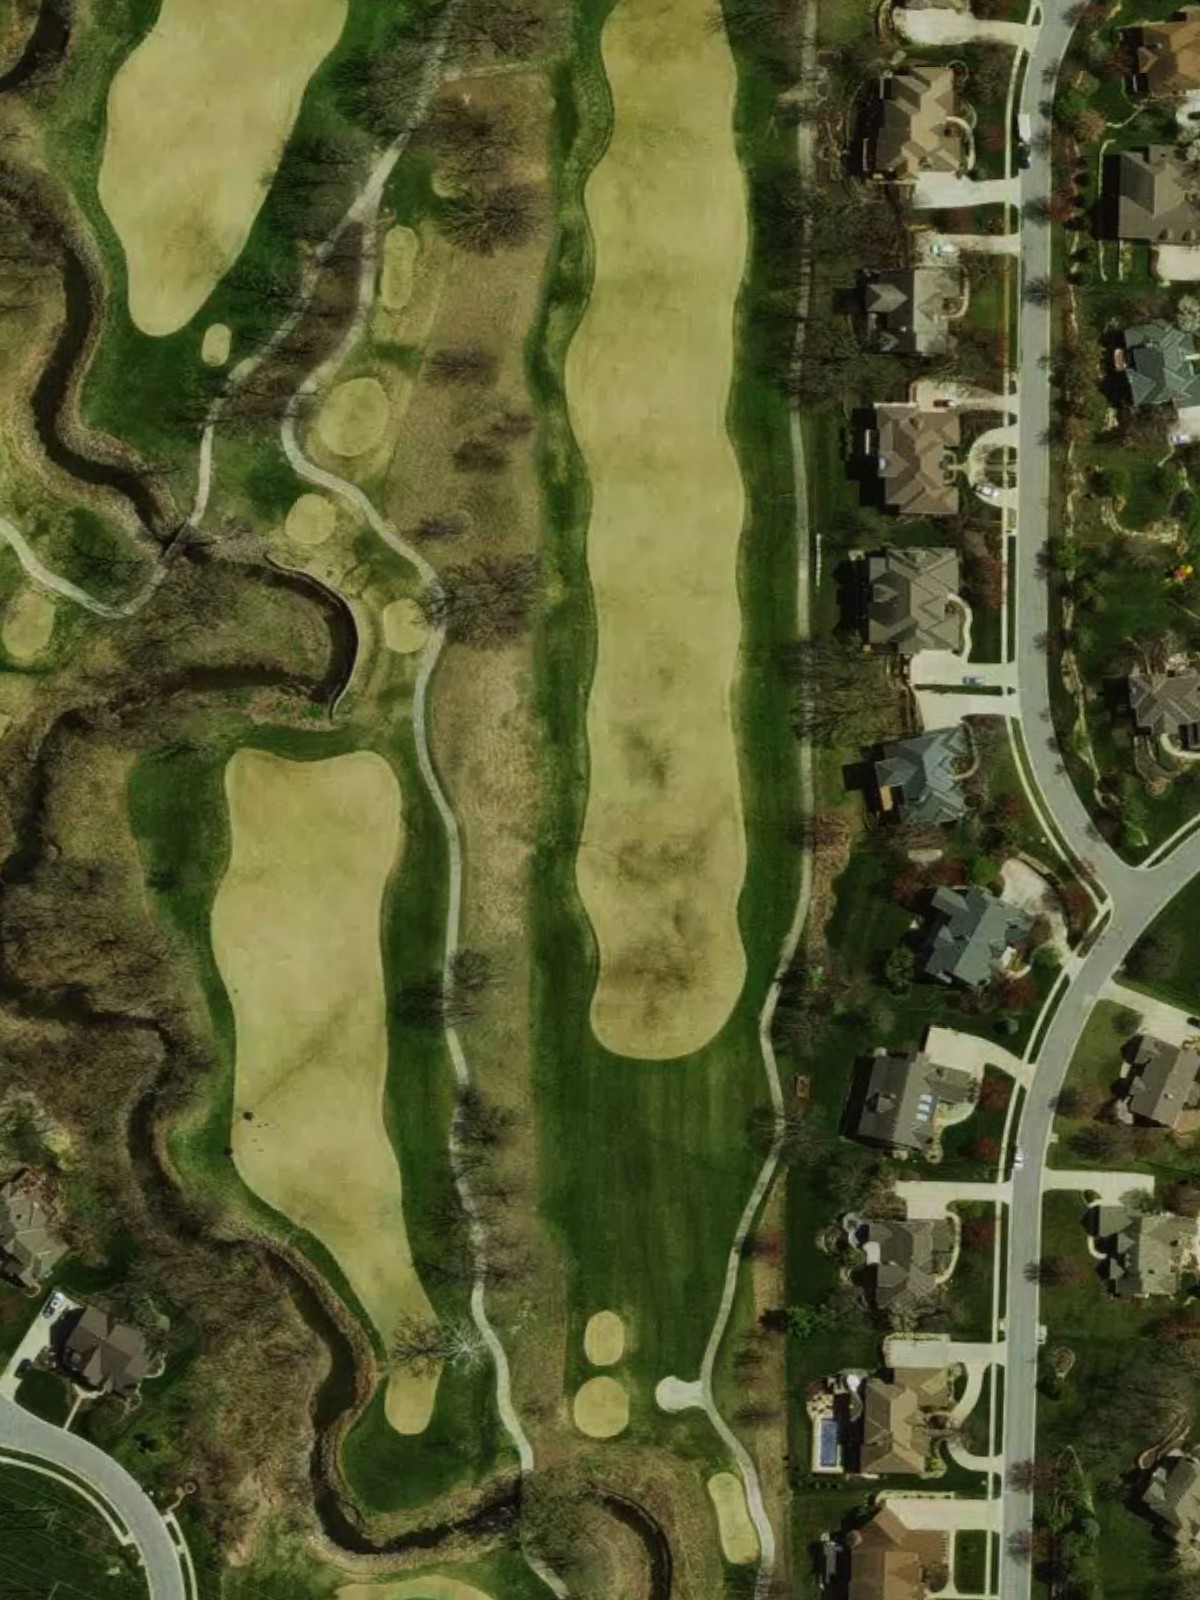
A mid-length par 4 with water or out-of-bounds concerns on at least one side. The fairway narrows considerably near the green, and bunkers frame the approach area.
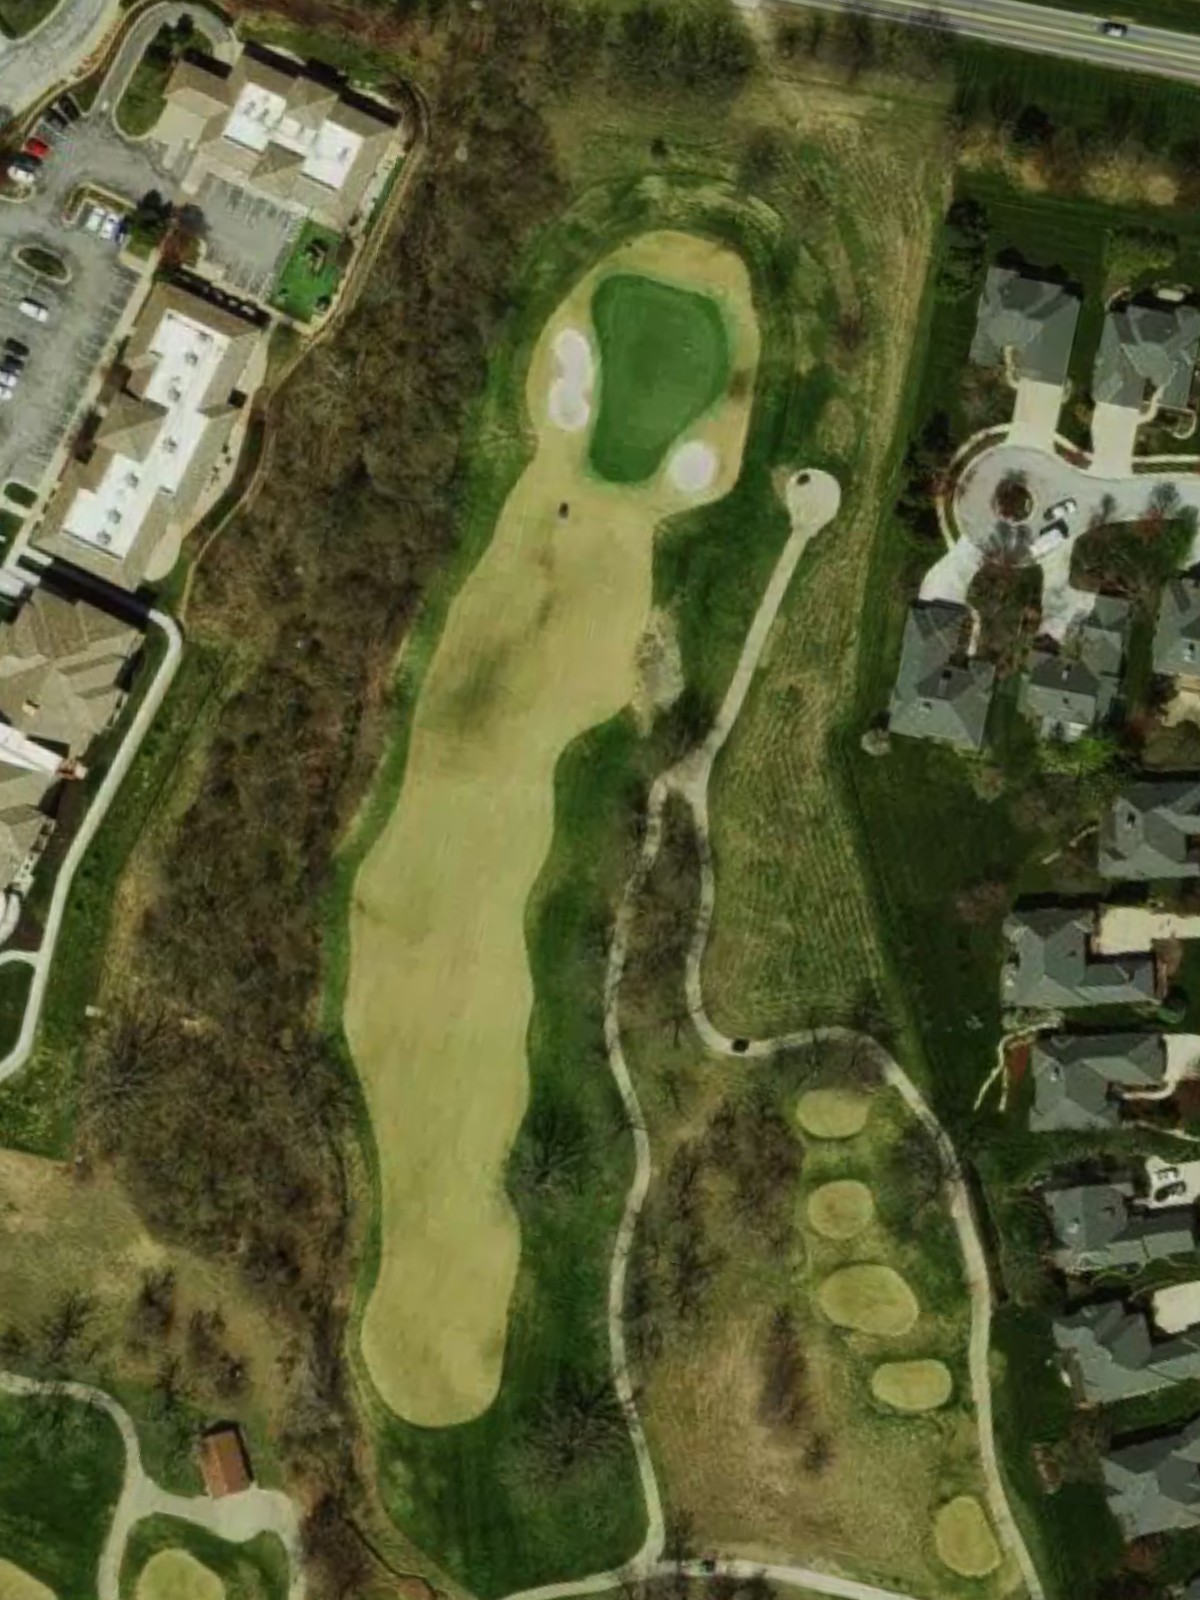
The #2 handicap hole, this par 4 is one of the course's most demanding tests with tight fairways and multiple hazards from tee to green. Strategic bunkering and out-of-bounds create a punishing layout that allows little margin for error.

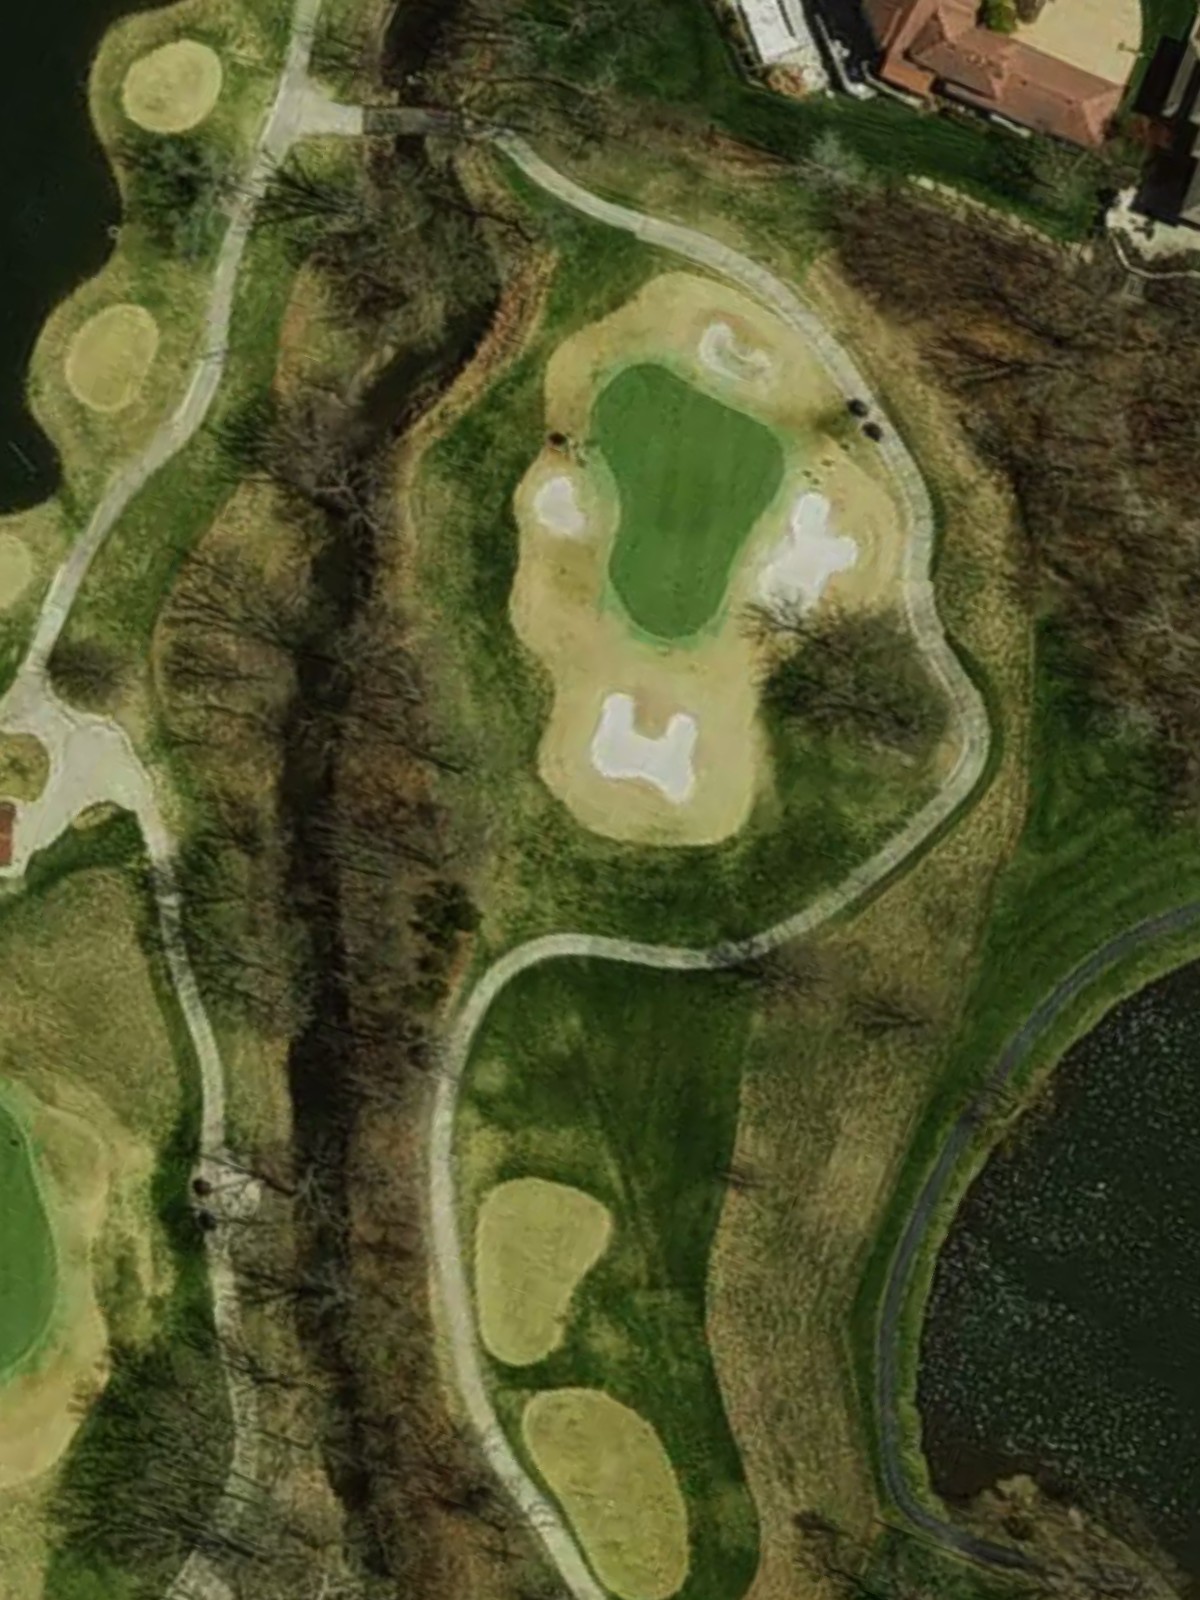
A mid-length par 3 with water and bunkers protecting a relatively small green. The tee shot must be both accurate and properly distanced to find the putting surface.
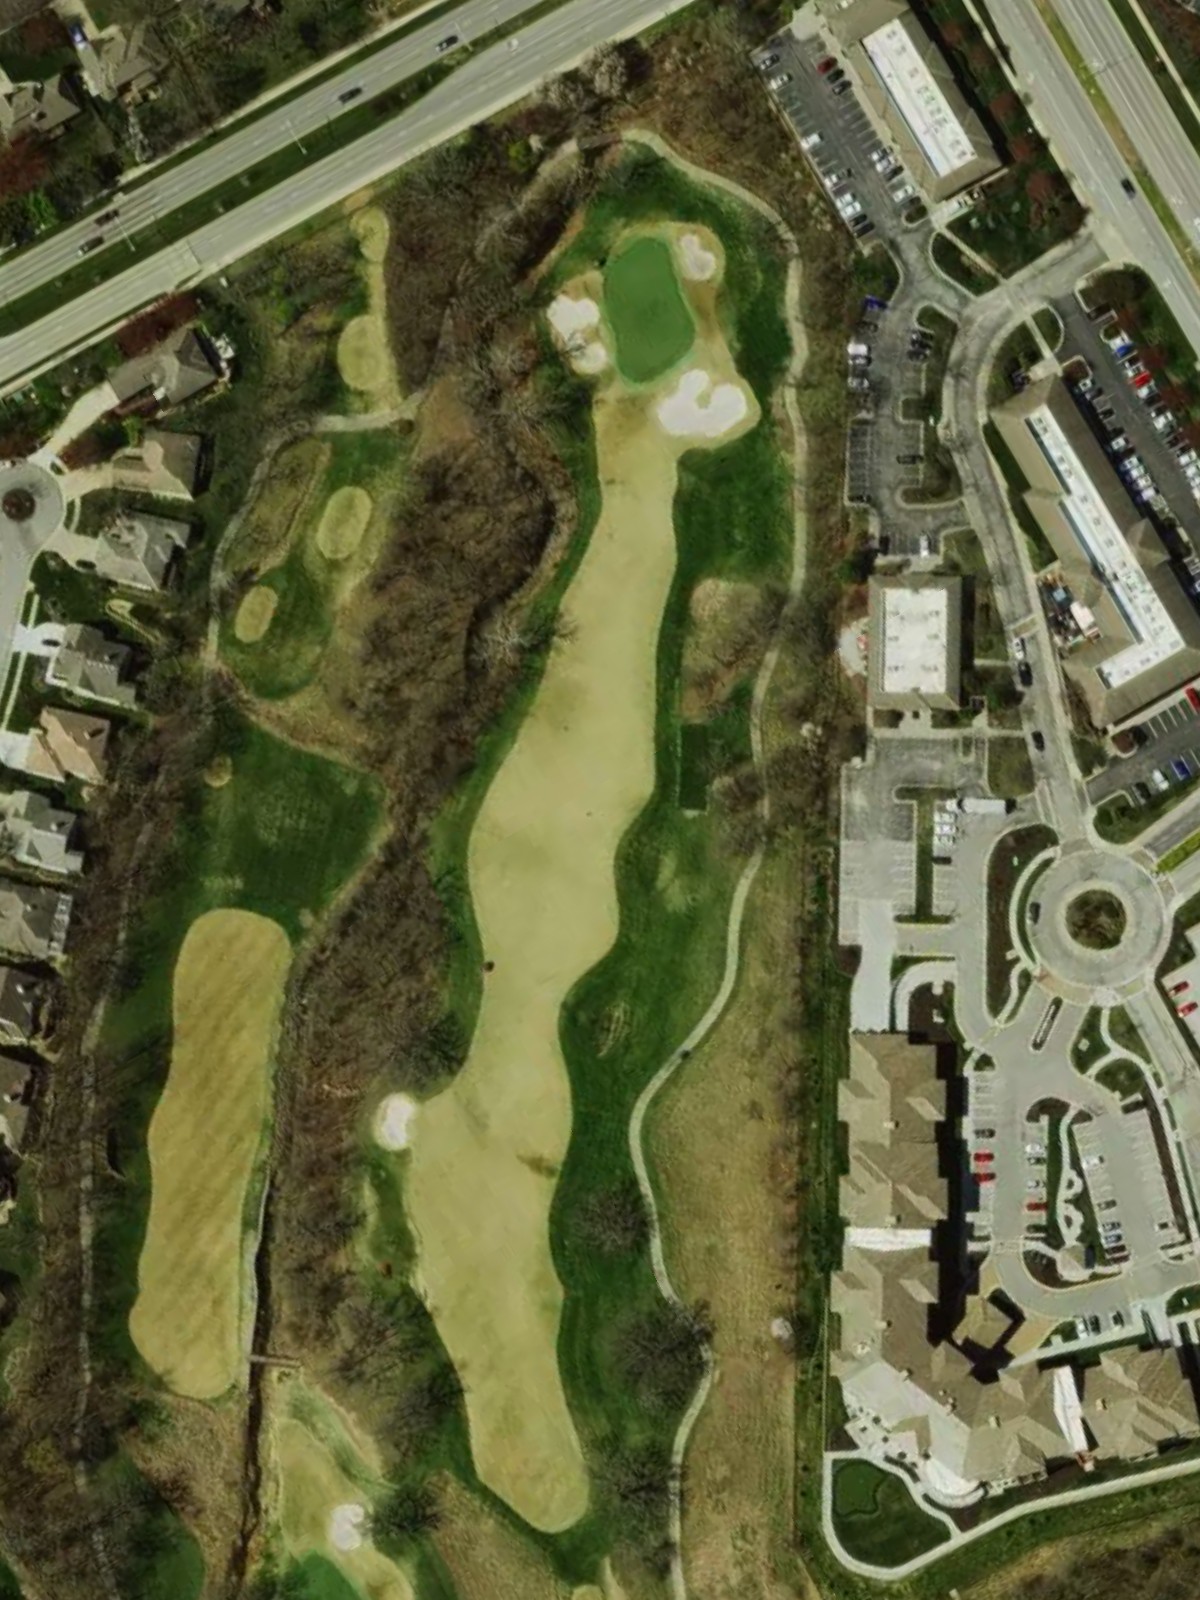
A fitting closer, this challenging par 4 features a dramatic finish with significant hazards guarding the approaches and a well-bunkered green. Out-of-bounds and water create a dramatic risk-reward scenario for the final hole.
Scorecard
| Hole | 1 | 2 | 3 | 4 | 5 | 6 | 7 | 8 | 9 | Out | 10 | 11 | 12 | 13 | 14 | 15 | 16 | 17 | 18 | In | Tot |
|---|---|---|---|---|---|---|---|---|---|---|---|---|---|---|---|---|---|---|---|---|---|
| Par | 4 | 3 | 4 | 5 | 3 | 4 | 4 | 4 | 5 | 36 | 5 | 4 | 3 | 4 | 5 | 4 | 4 | 3 | 4 | 36 | 72 |
| HCP | 9 | 7 | 1 | 17 | 13 | 5 | 15 | 3 | 11 | 14 | 6 | 16 | 8 | 18 | 12 | 2 | 10 | 4 | |||
| black | 374 | 211 | 416 | 518 | 212 | 405 | 340 | 408 | 555 | 3439 | 555 | 351 | 184 | 379 | 475 | 372 | 380 | 199 | 465 | 3360 | 6799 |
| black/blue combo | 374 | 185 | 385 | 518 | 179 | 405 | 340 | 380 | 555 | 3321 | 555 | 315 | 153 | 379 | 475 | 344 | 380 | 182 | 434 | 3217 | 6538 |
| blue | 354 | 185 | 385 | 486 | 179 | 369 | 306 | 380 | 530 | 3174 | 537 | 315 | 153 | 347 | 442 | 344 | 372 | 182 | 434 | 3126 | 6300 |
| blue/white combo | 354 | 185 | 358 | 486 | 179 | 369 | 306 | 339 | 501 | 3077 | 518 | 315 | 153 | 347 | 442 | 301 | 372 | 182 | 396 | 3026 | 6103 |
| white | 326 | 165 | 358 | 458 | 148 | 328 | 303 | 339 | 501 | 2926 | 518 | 271 | 140 | 335 | 414 | 301 | 297 | 162 | 396 | 2834 | 5760 |
| white/gold | 326 | 165 | 316 | 458 | 148 | 328 | 303 | 314 | 501 | 2859 | 518 | 271 | 140 | 312 | 414 | 301 | 297 | 162 | 334 | 2749 | 5608 |
| gold | 301 | 125 | 316 | 422 | 123 | 296 | 272 | 314 | 465 | 2634 | 424 | 235 | 120 | 312 | 386 | 273 | 270 | 143 | 334 | 2497 | 5131 |
| red | 268 | 81 | 297 | 404 | 110 | 260 | 218 | 290 | 434 | 2362 | 419 | 204 | 80 | 295 | 356 | 233 | 270 | 116 | 308 | 2281 | 4643 |