Hilton Head National Golf Club is an 18-hole golf course in Bluffton, SC with a par of 71. It offers 3 tee sets: black (6,549 yards, slope 130, rating 72.1), blue (6,109 yards, slope 123, rating 70), white (5,583 yards, slope 116, rating 67.7). The hardest hole is #8, a par 5 playing 518 yards from the first tee.
Hilton Head National Golf Club
Bluffton, SC
Get PDF Yardage Book
We'll email you the PDF link. No spam, ever.
Create Your Game Plan
Pick your tees, enter your bag, and get a personalized shot-by-shot strategy for every hole.
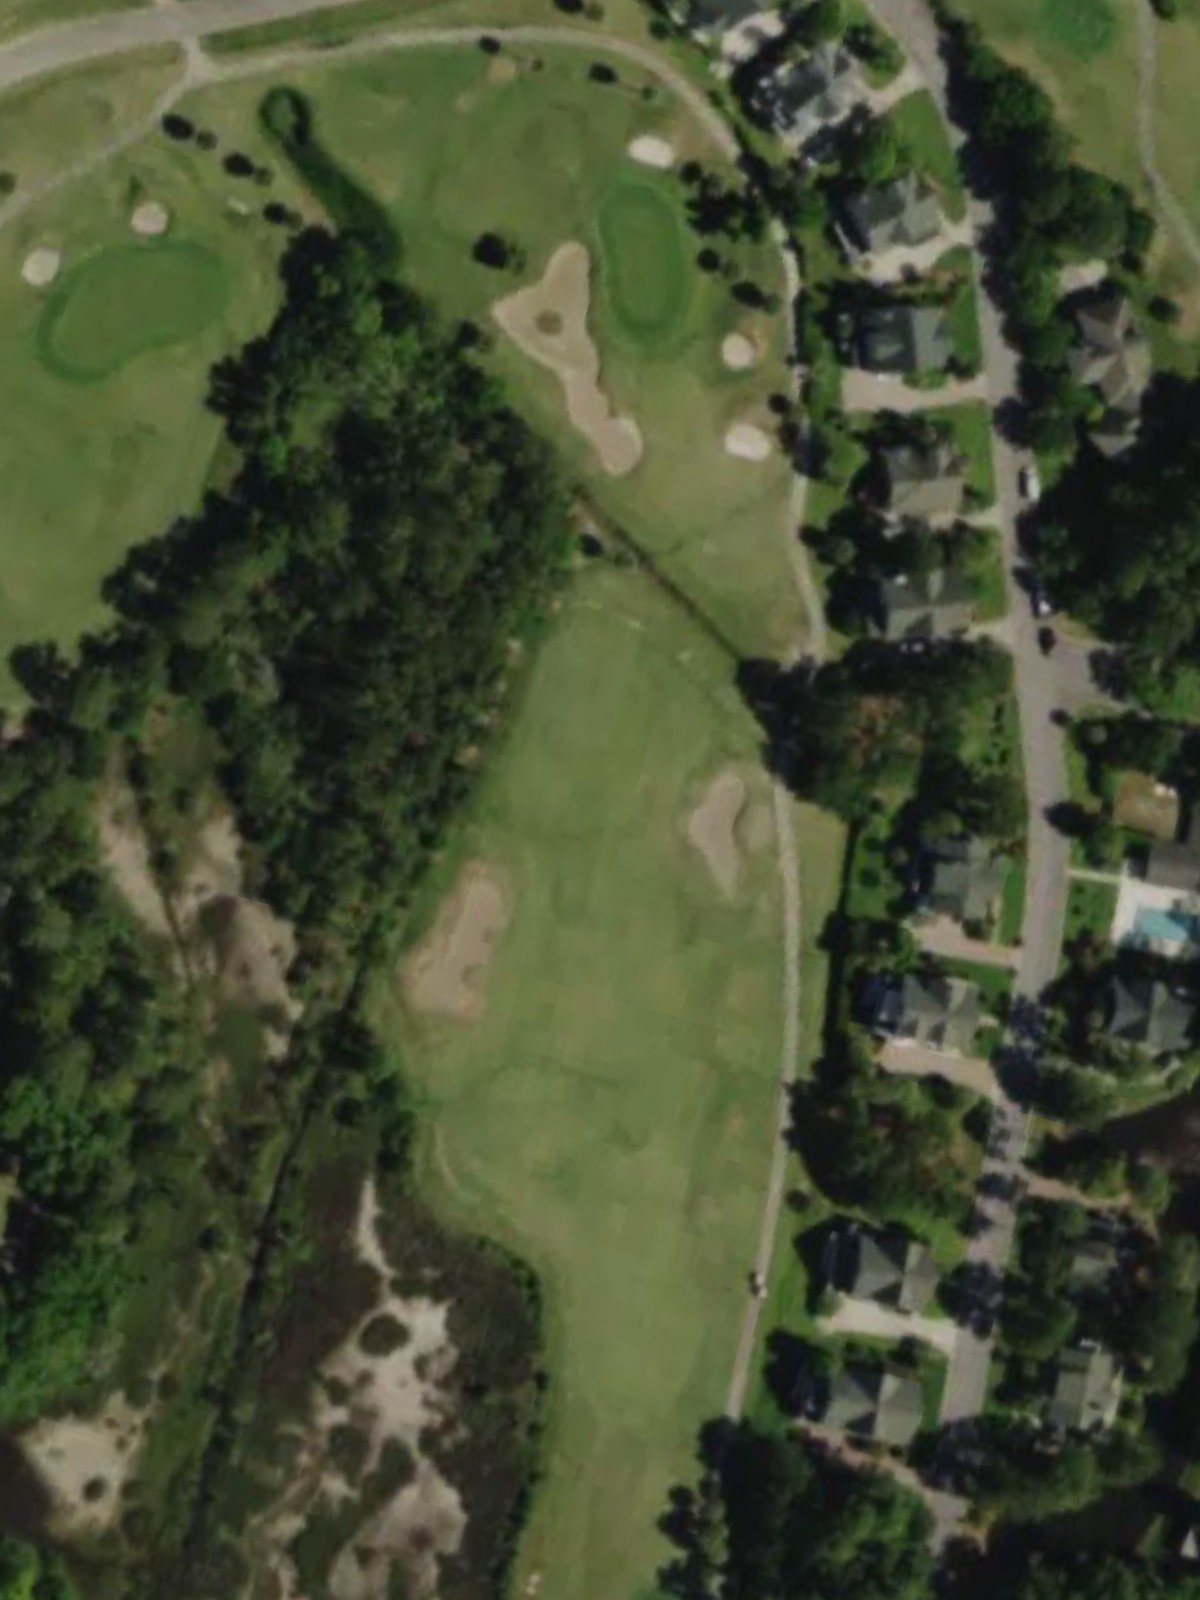
A straightforward par 4 that opens with a wide fairway before narrowing as it approaches the green. Bunkers guard the right side of the landing area and green, while the left offers a safer route for placement.
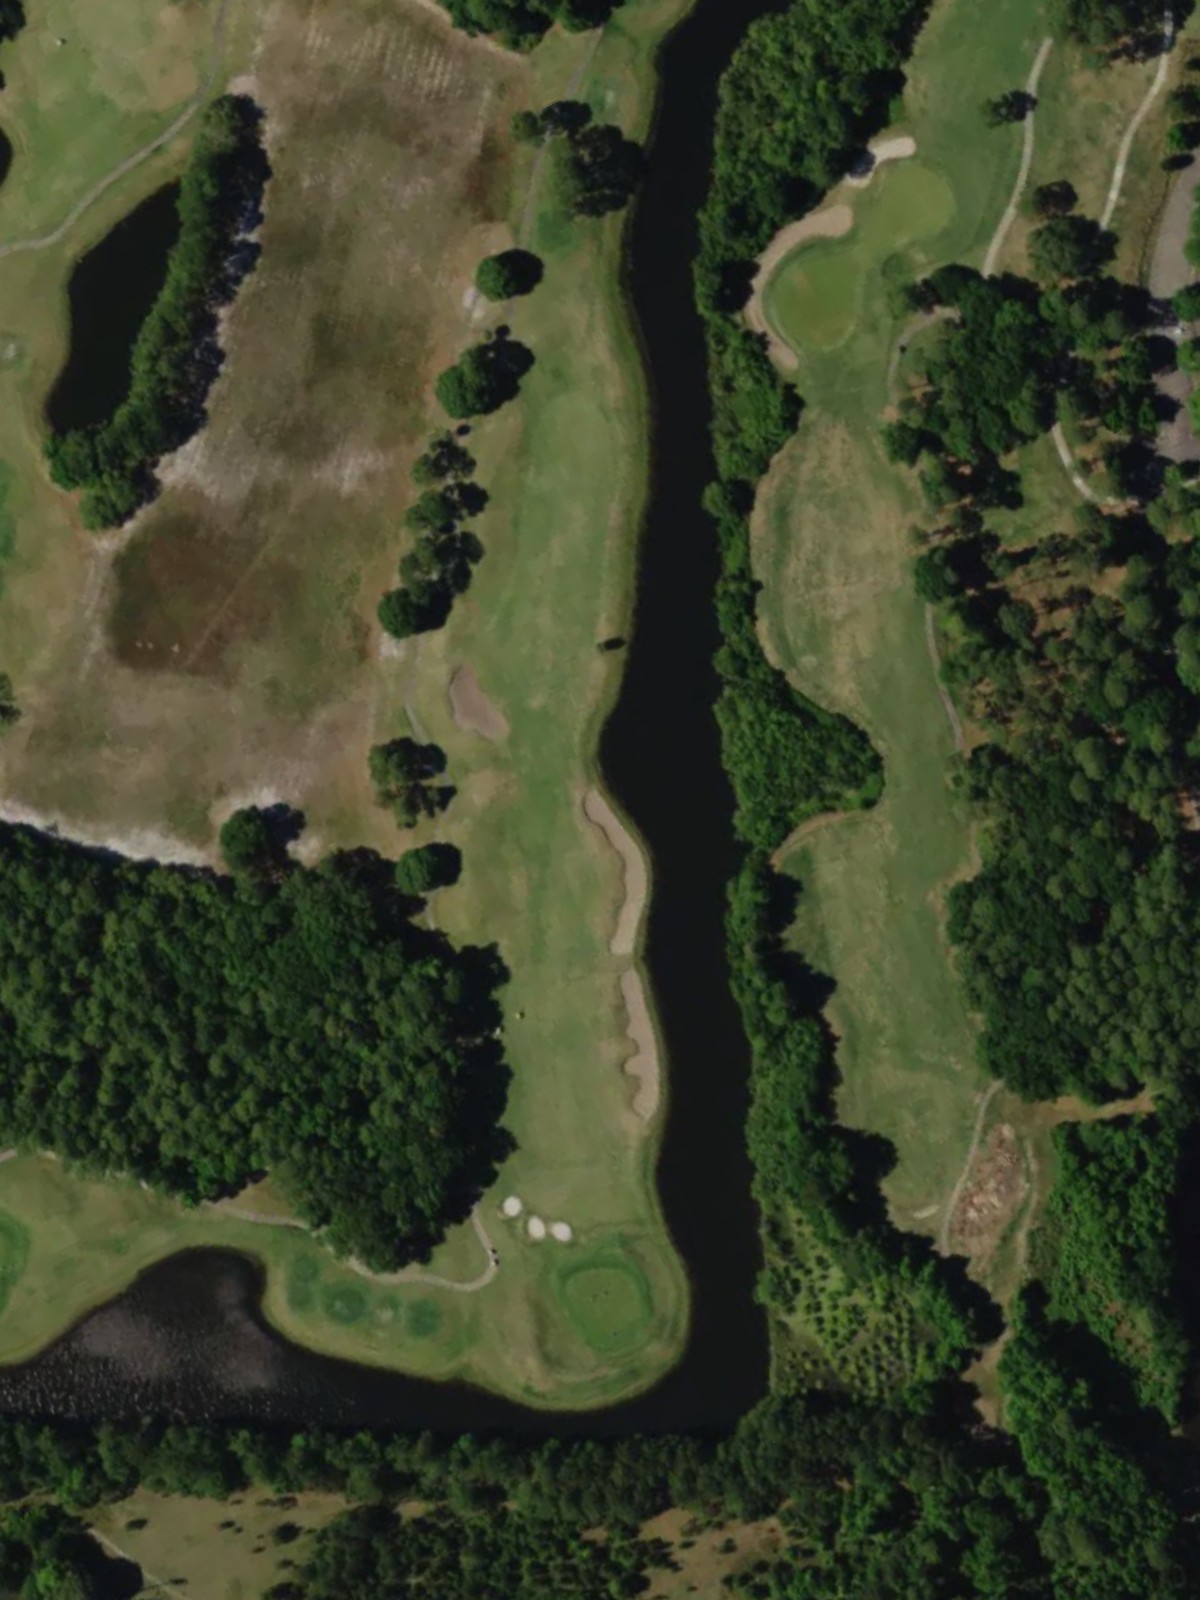
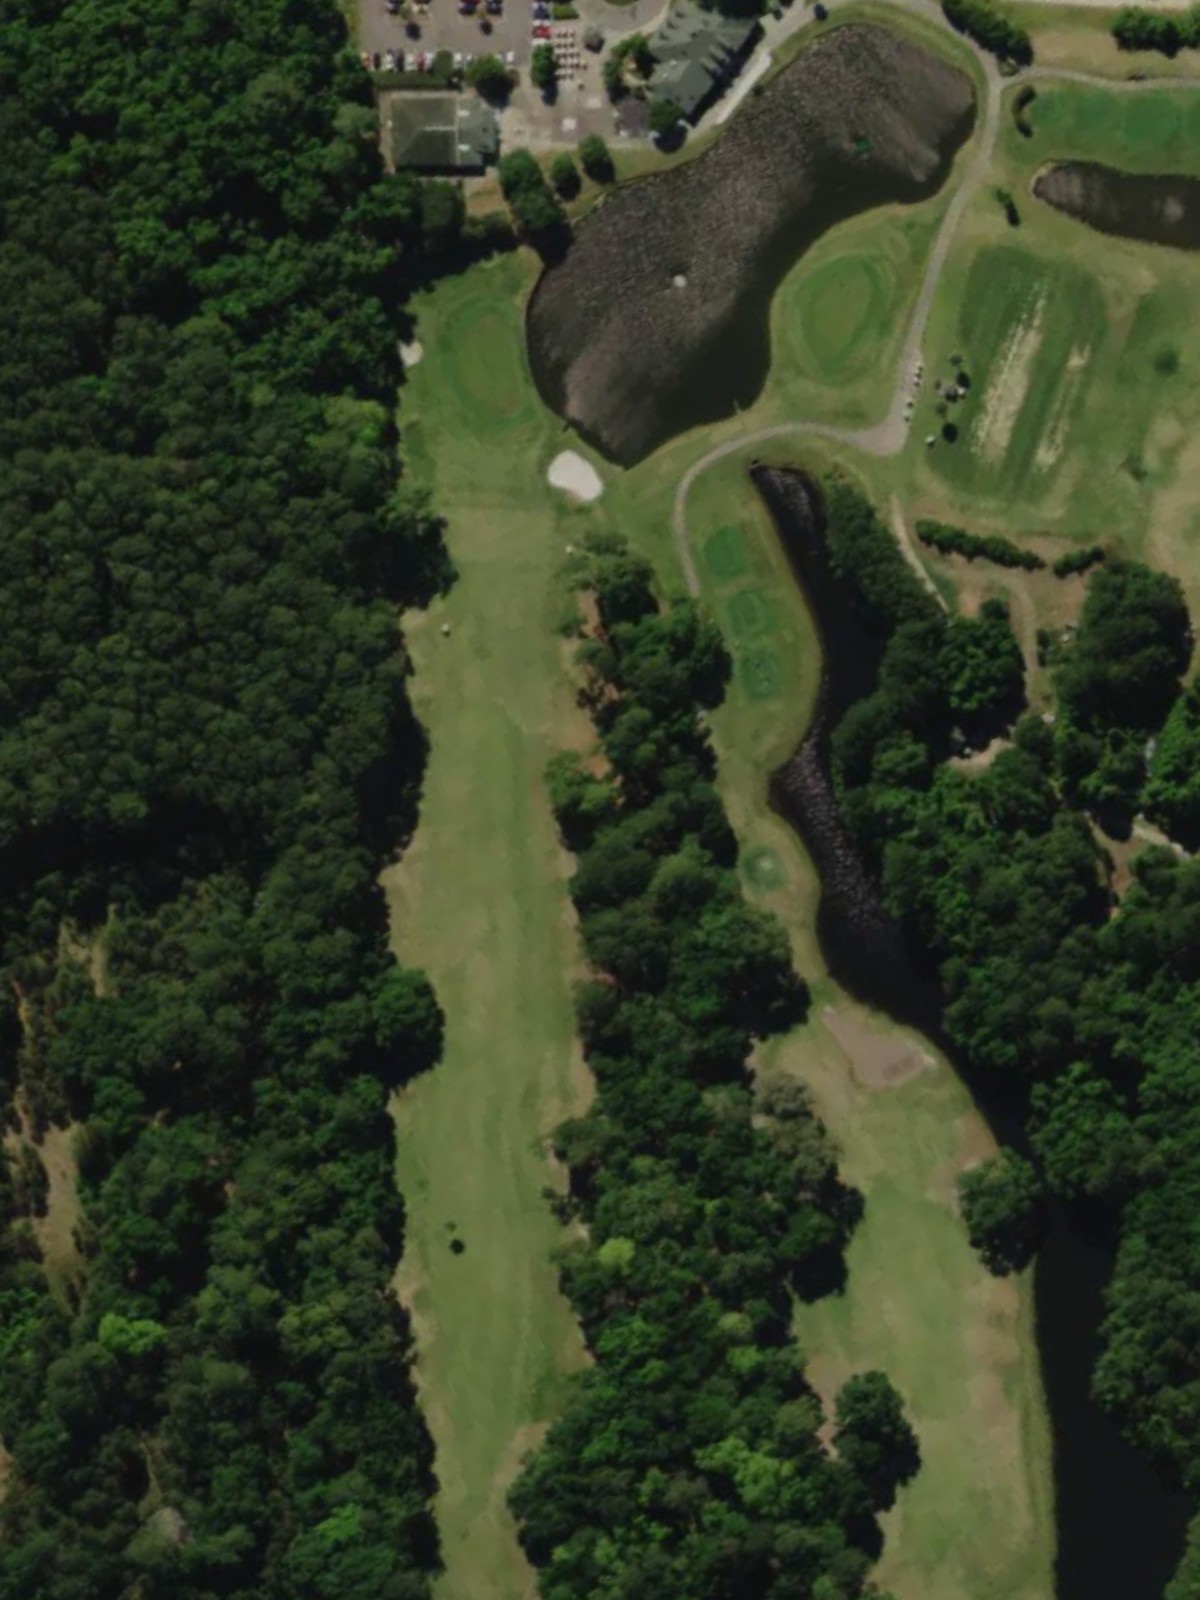
A demanding par 4 that ranks among the course's most difficult holes, requiring accuracy off the tee into a fairway lined with hazards. Water and bunkers threaten both sides, making this a strategic test of ball control.
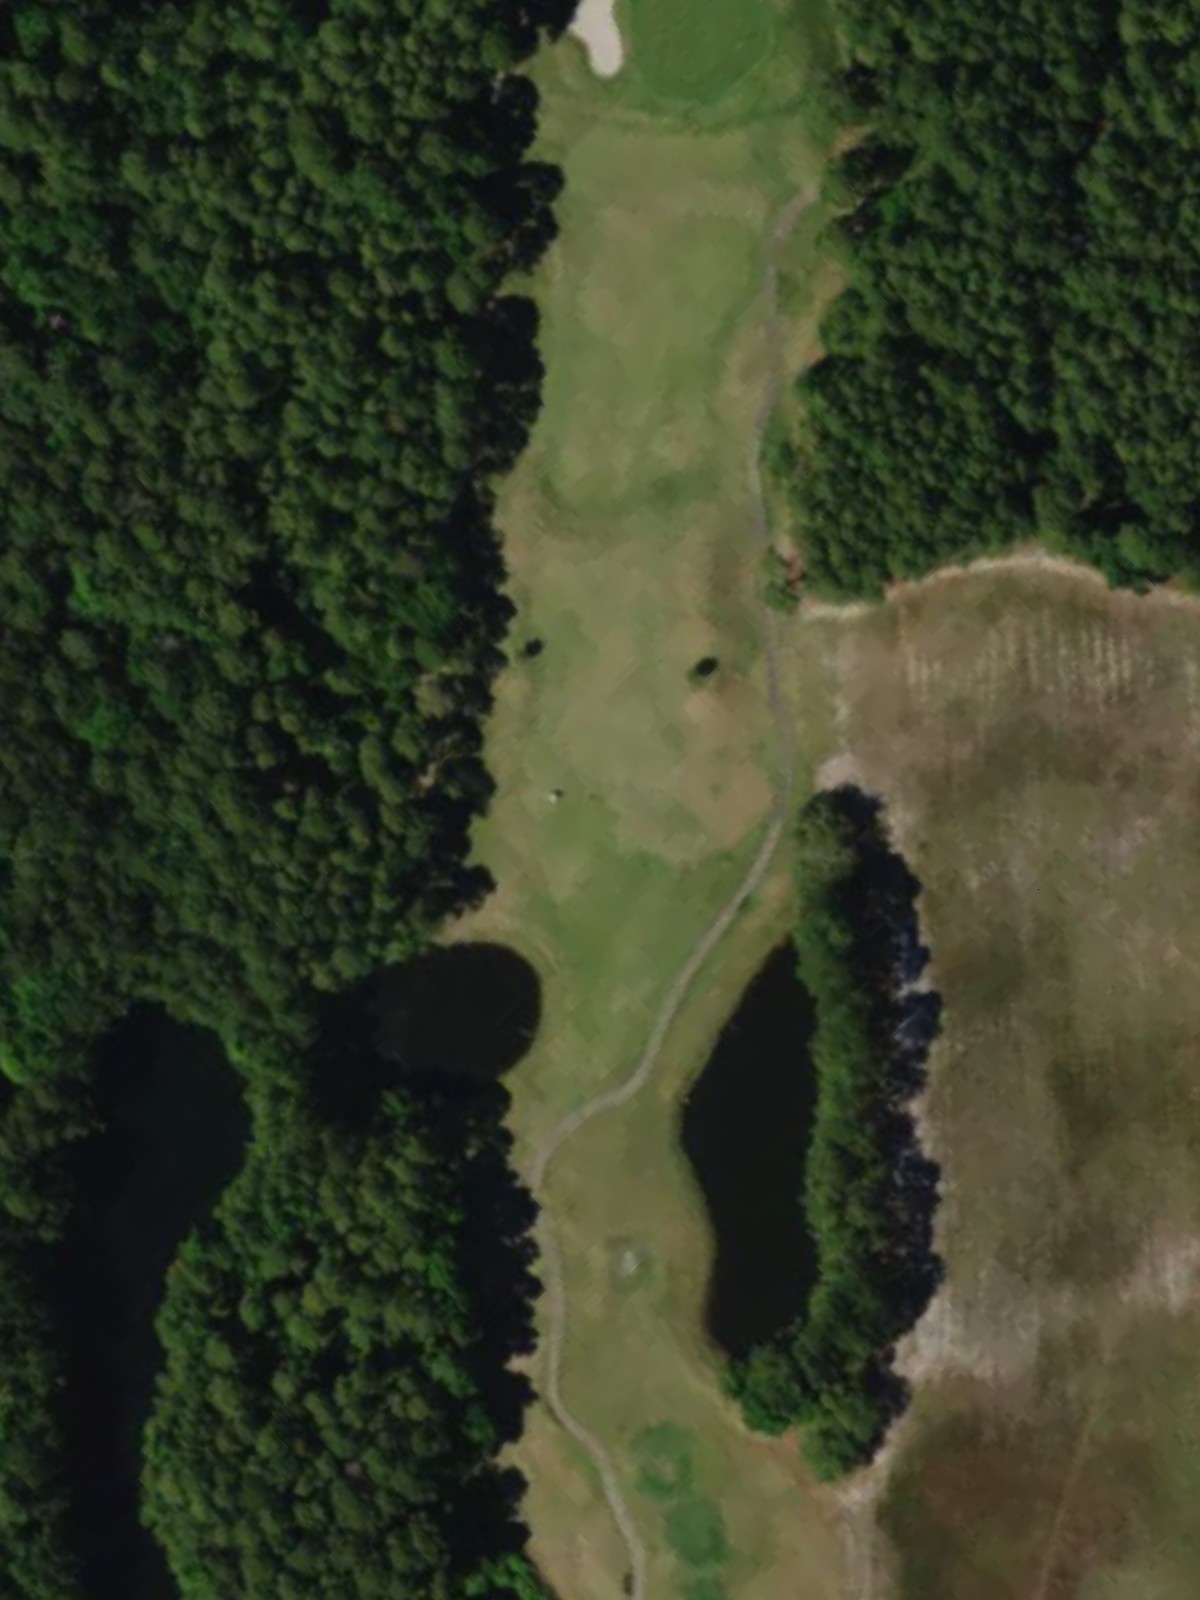
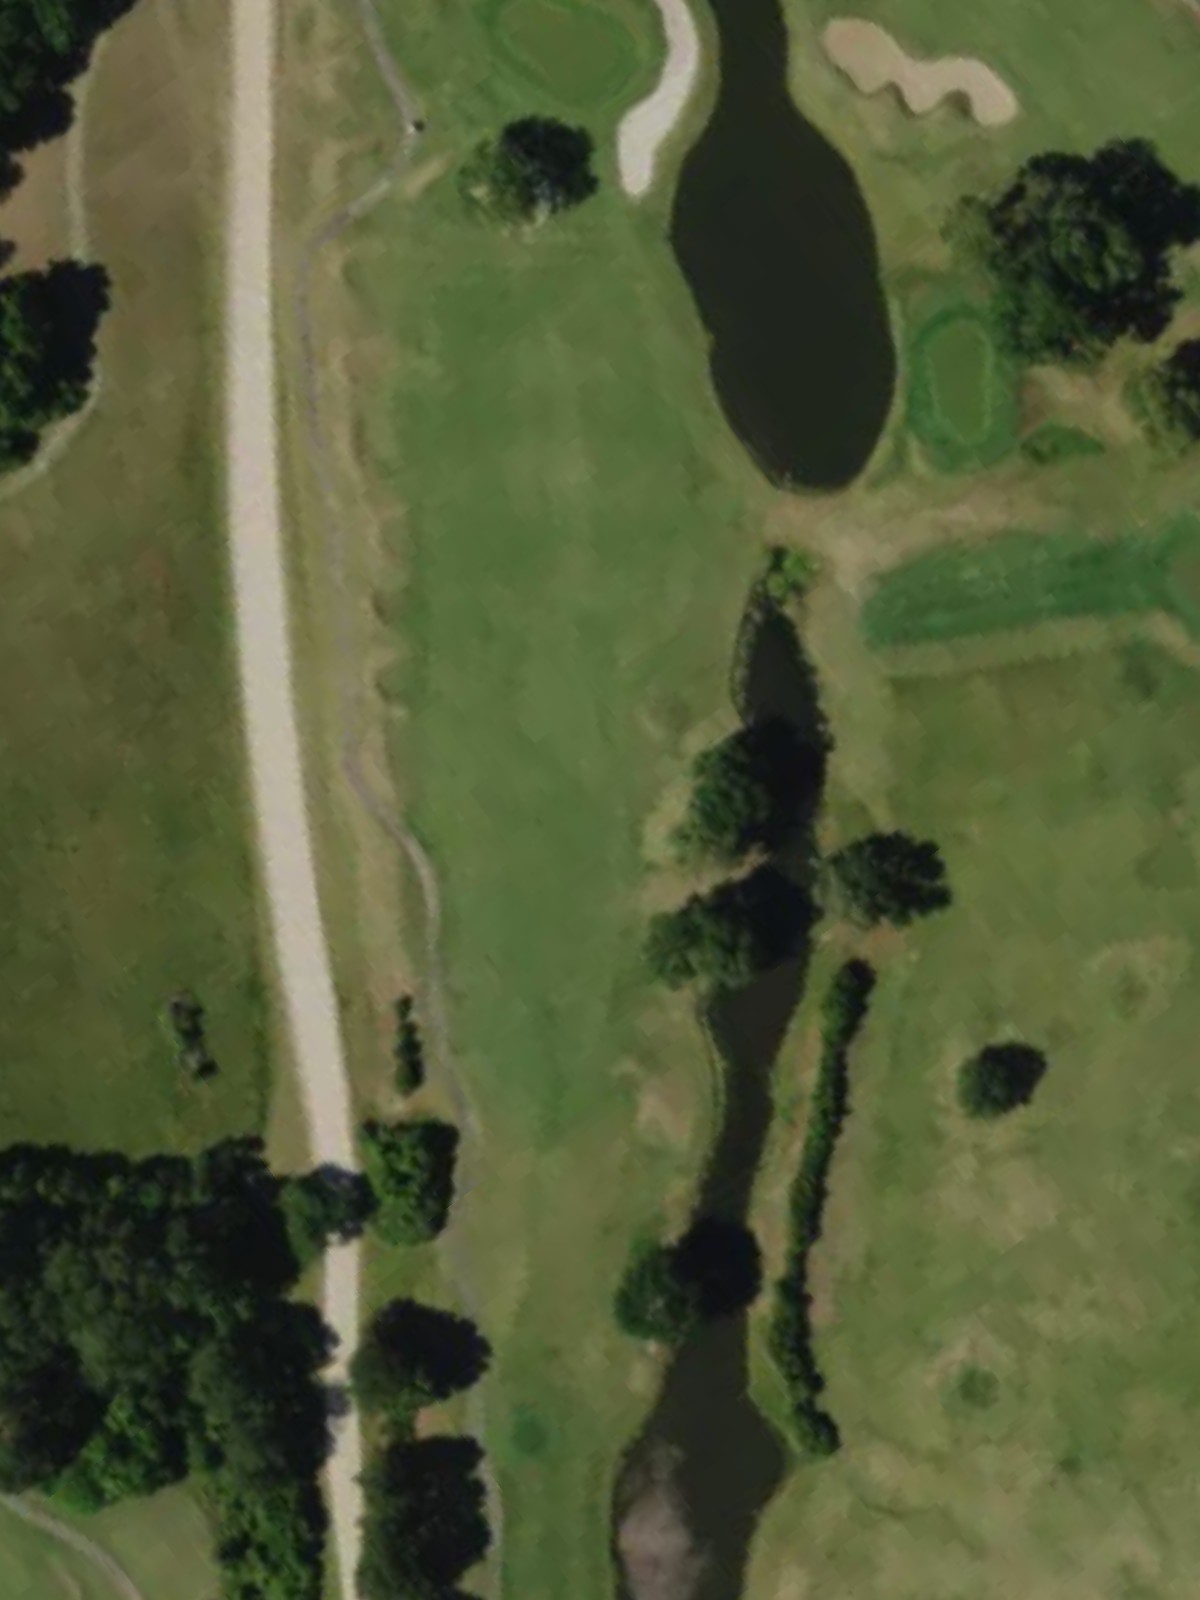
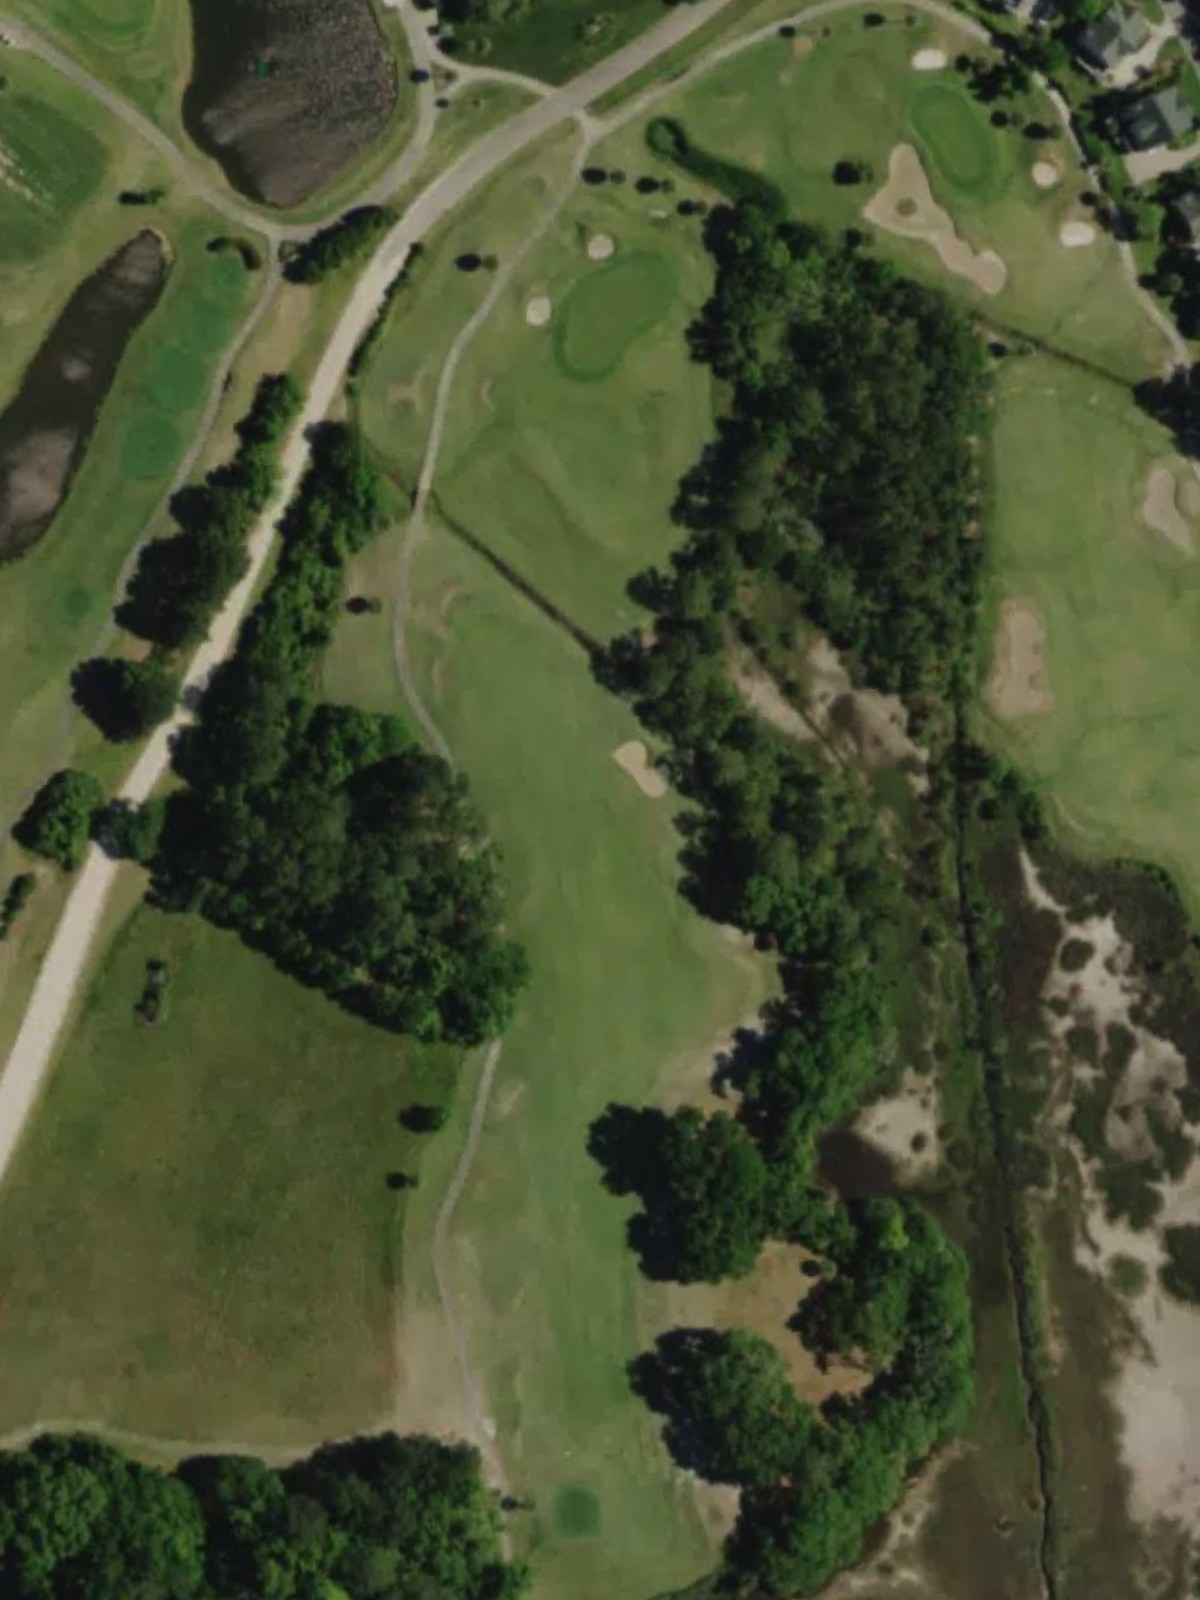
A long, challenging par 5 that demands two solid shots to set up a manageable approach. Hazards frame both sides of the fairway, requiring players to find the center while building toward the distant green.
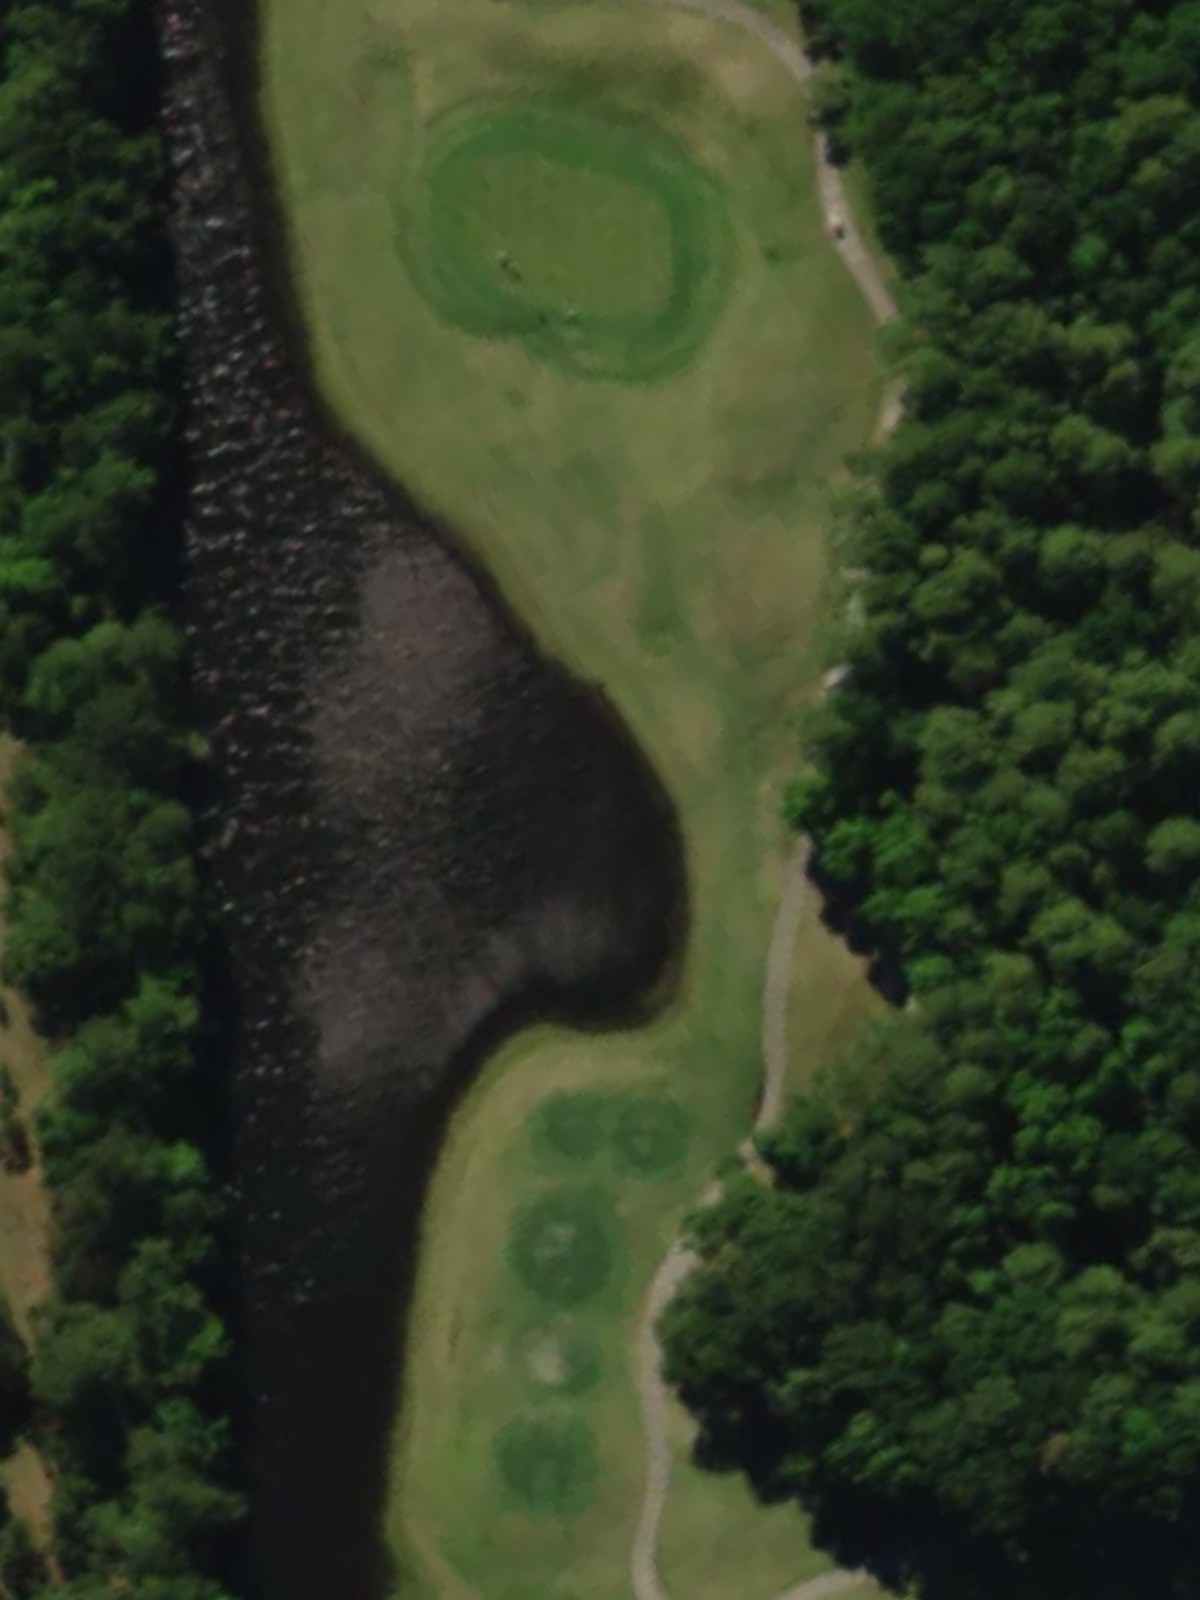
A short par 3 with a modest green that provides relative relief on the scorecard. The primary challenge is finding the narrow putting surface, with trouble surrounding the perimeter.
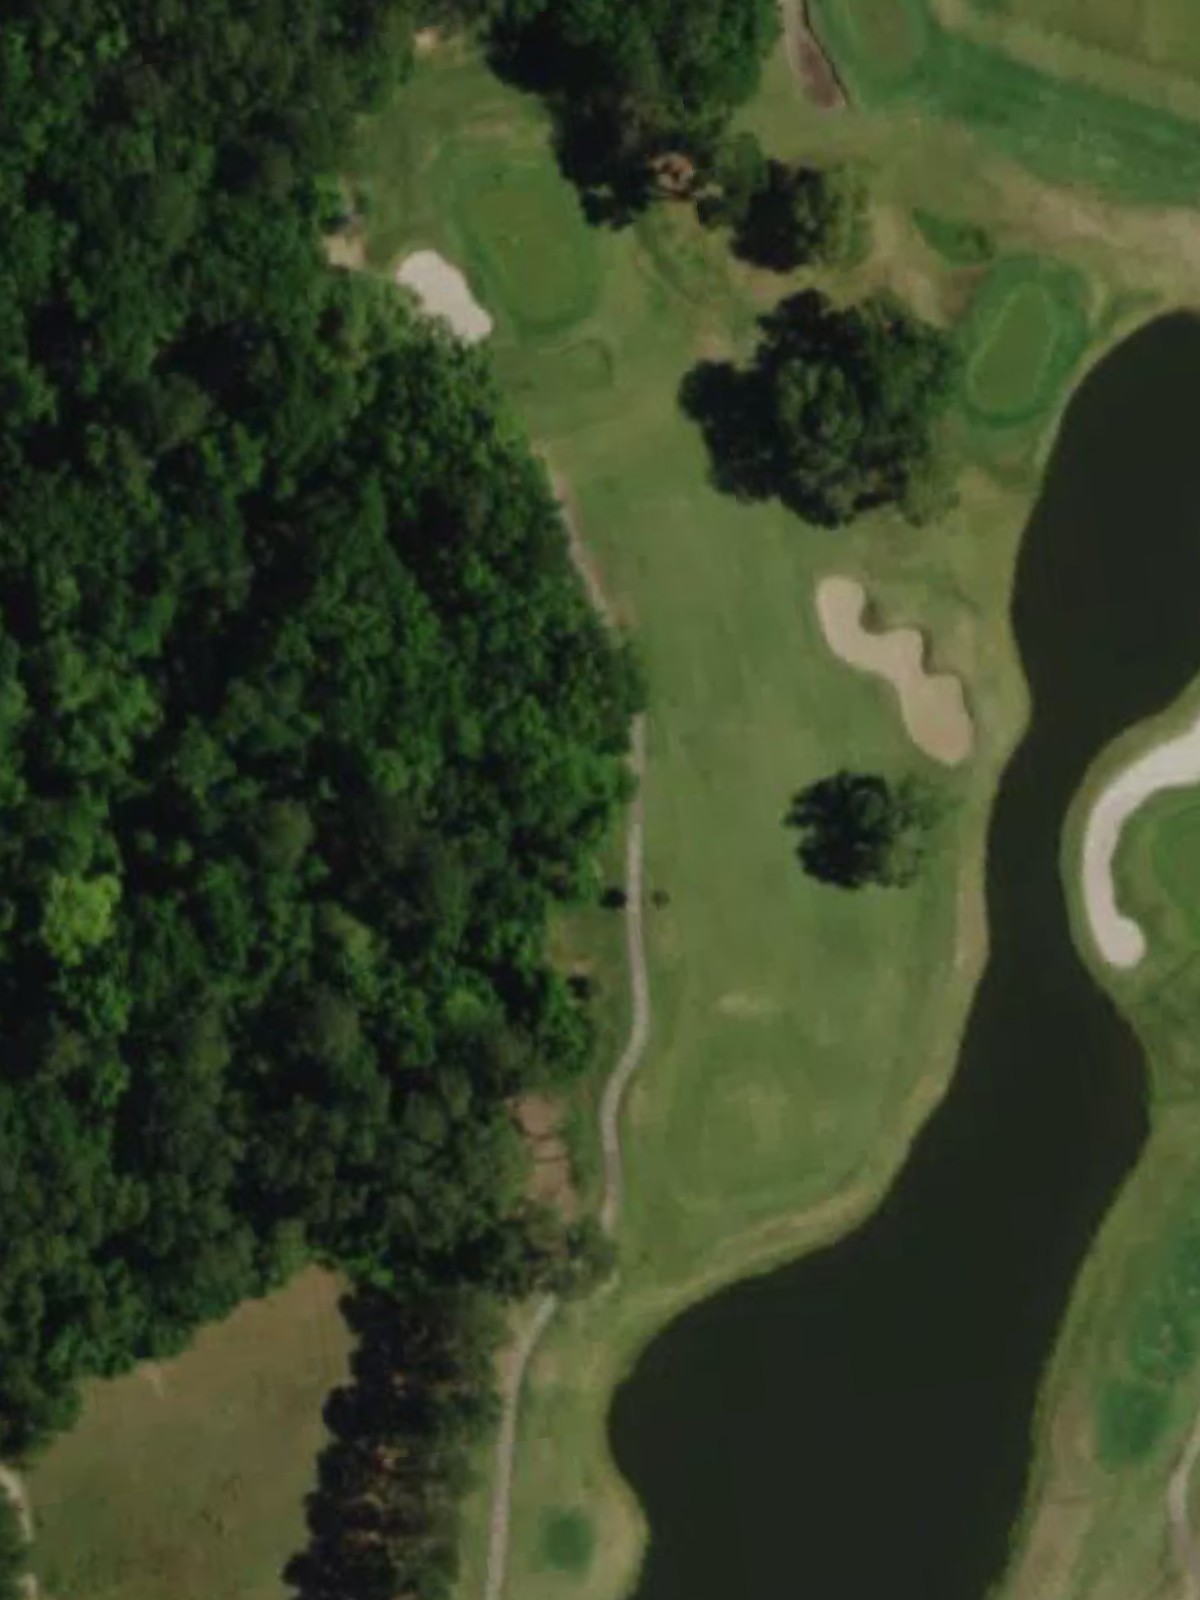
A mid-length par 4 with a well-defined fairway that bends slightly through its course. Strategic bunkering and water hazards demand precise positioning, making club selection critical for accessing the green.
A short, straightforward par 4 that appears deceptively simple at under 300 yards from the blues. The compact design and tight greens complex reward accuracy over distance, offering a birdie opportunity.
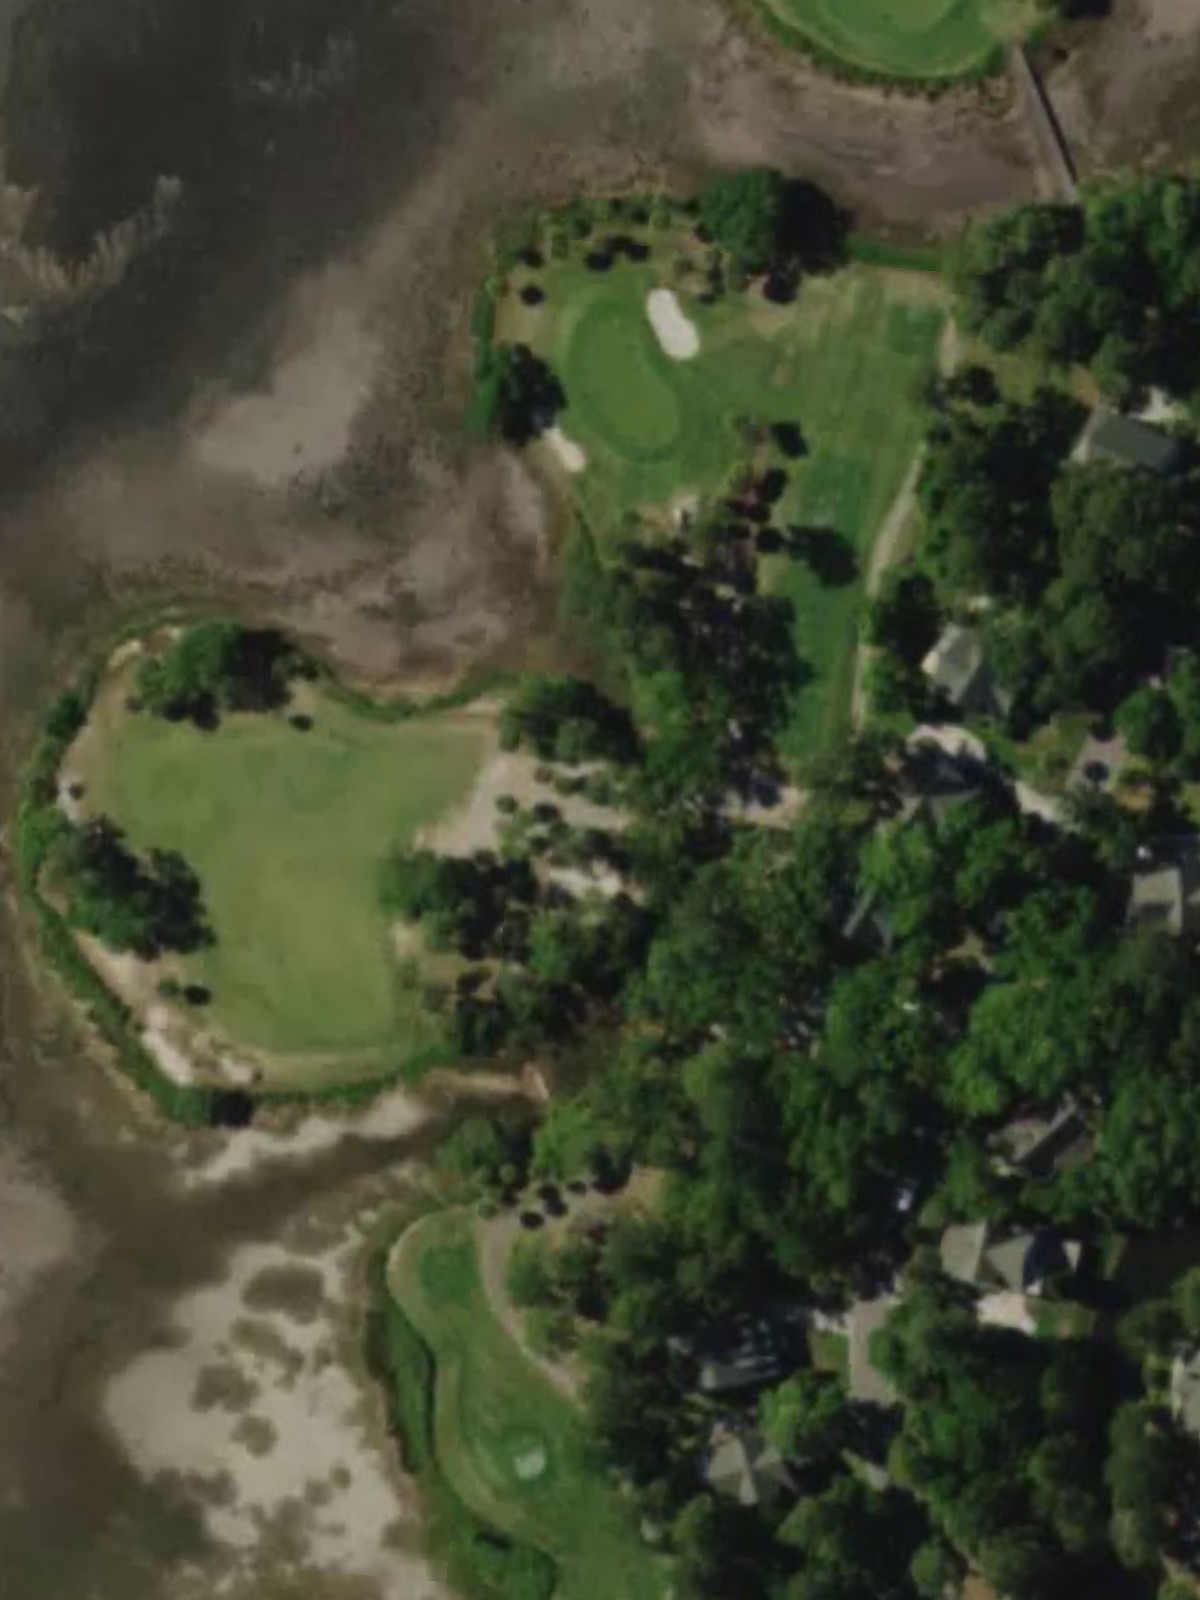
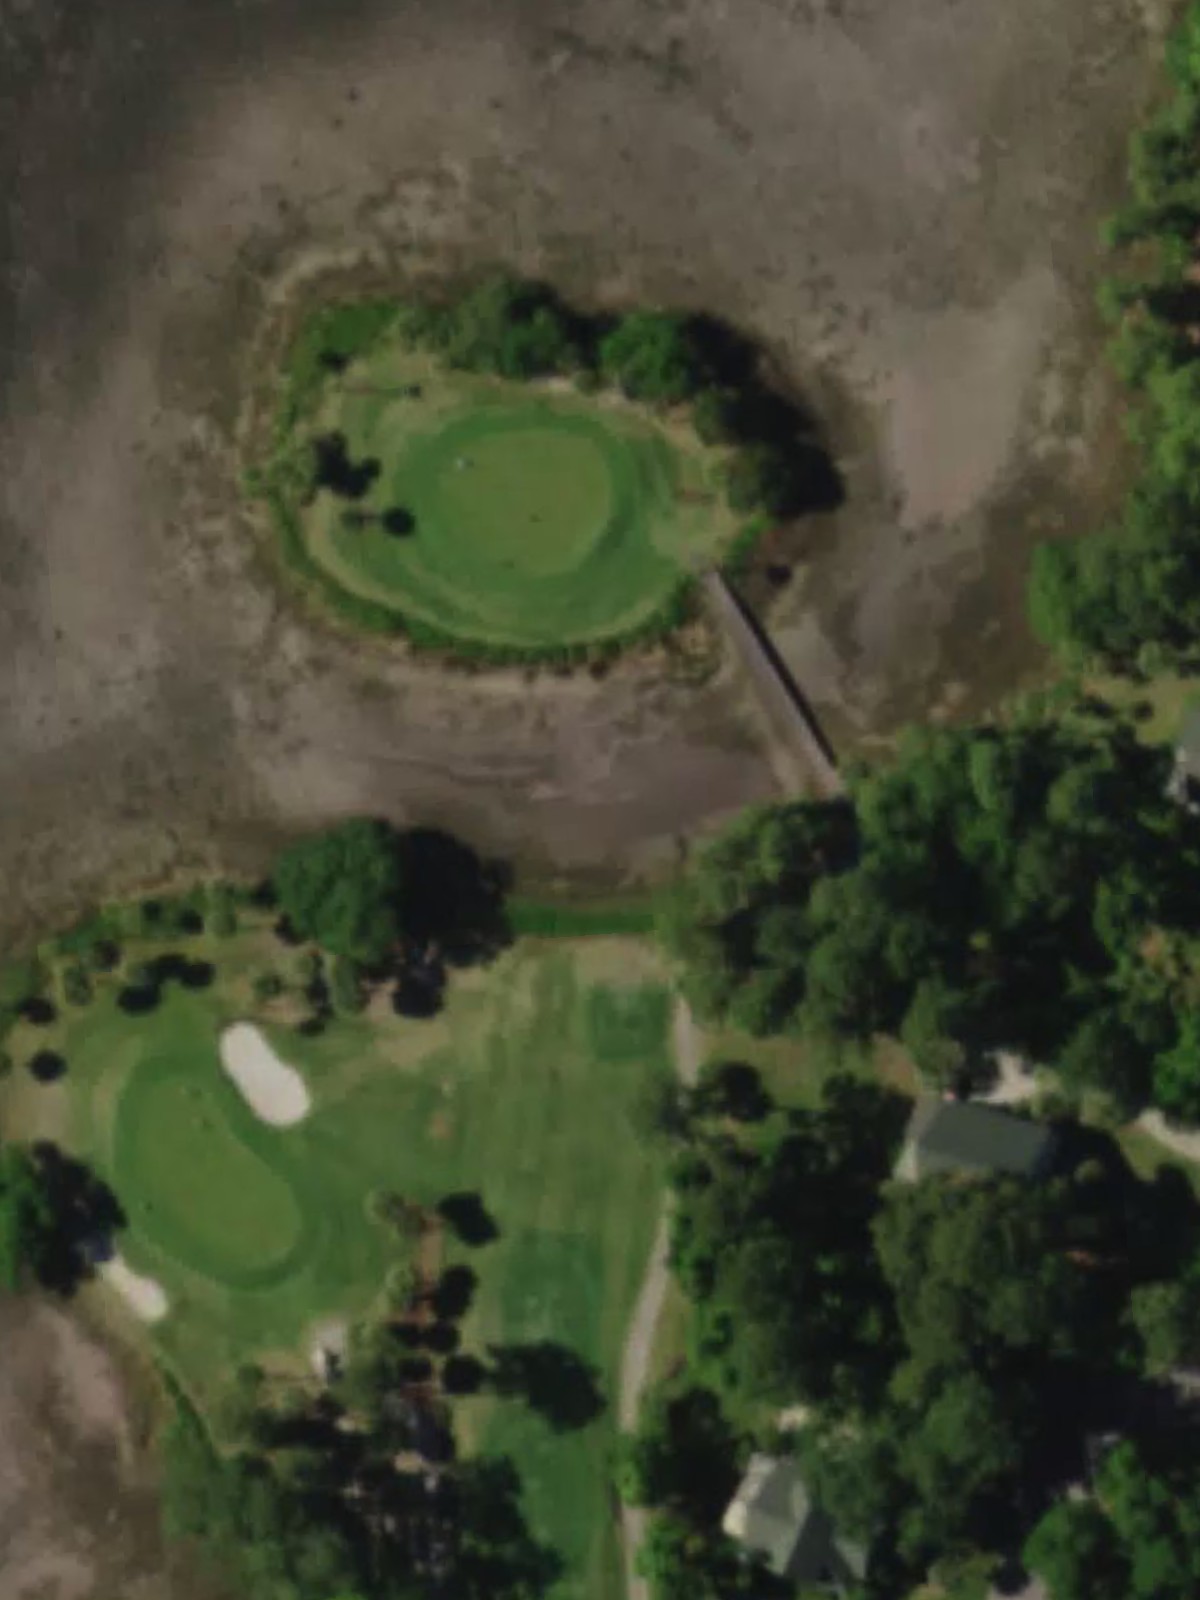
A brief par 3 playing under 140 yards, offering an excellent scoring chance despite its diminutive length. The small green and surrounding hazards demand precise distance control over sheer yardage.
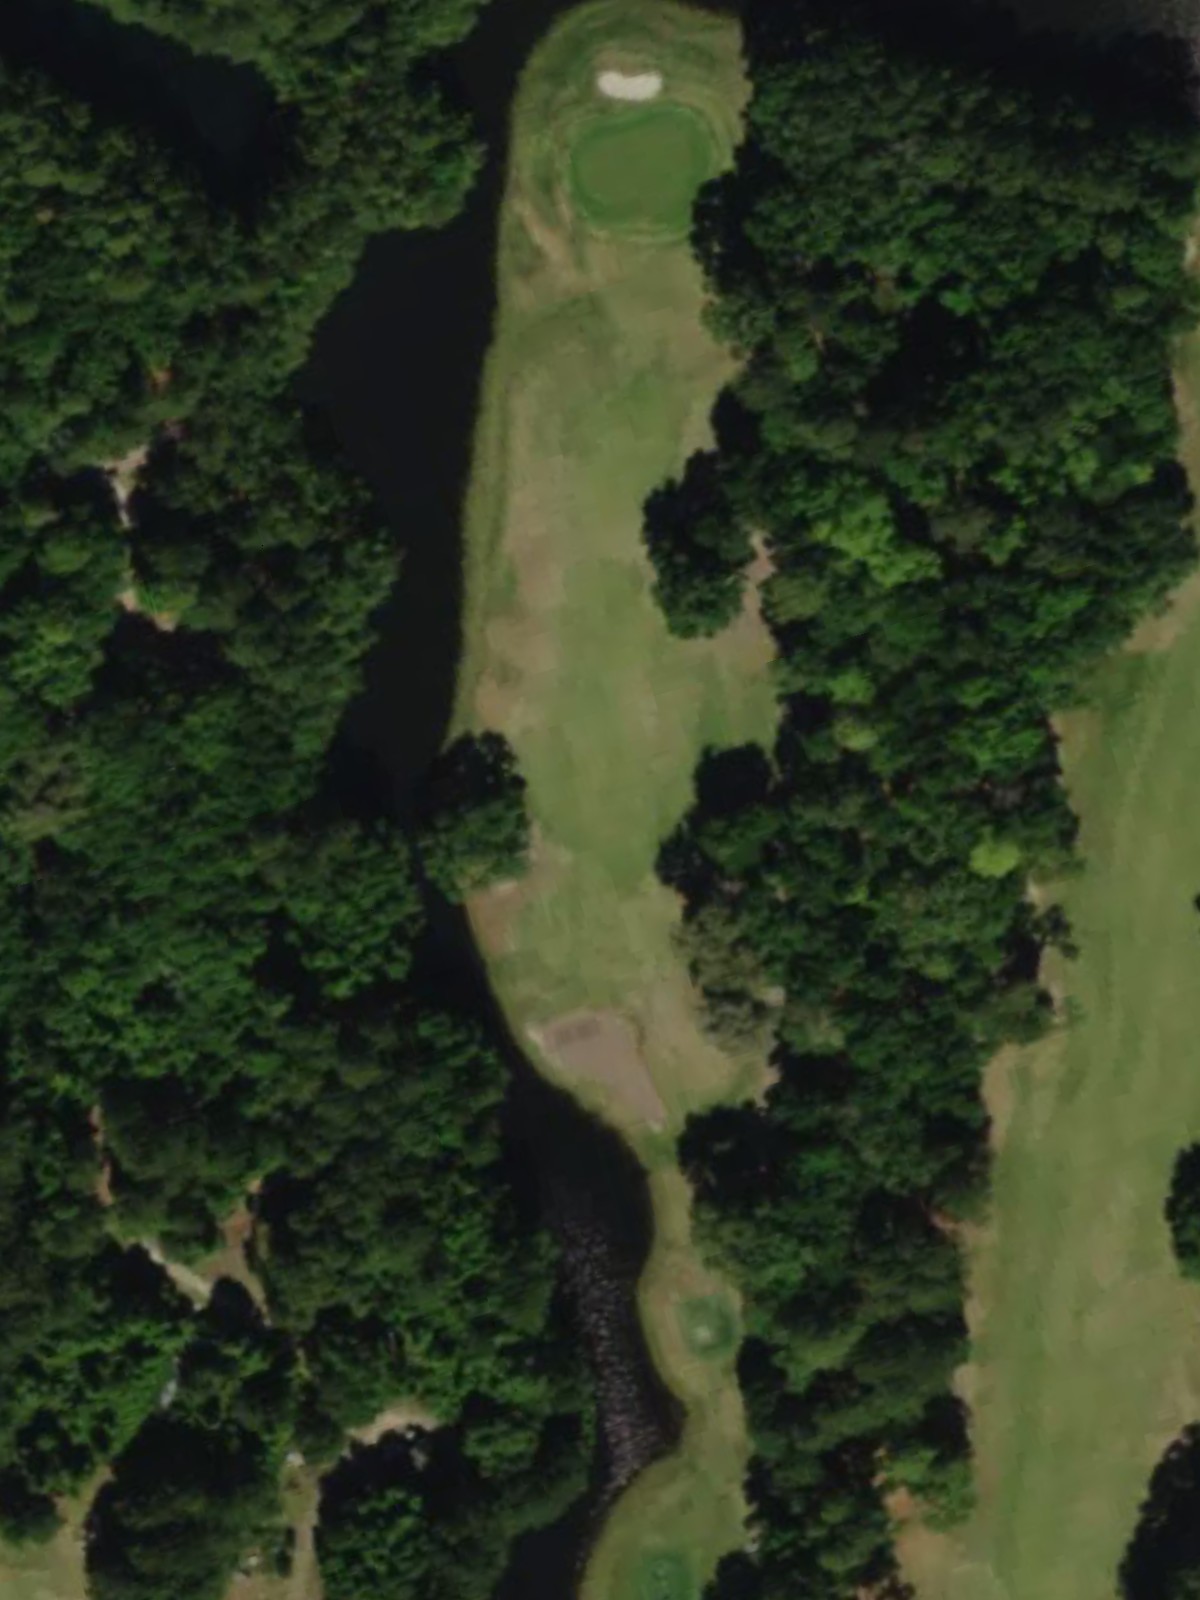
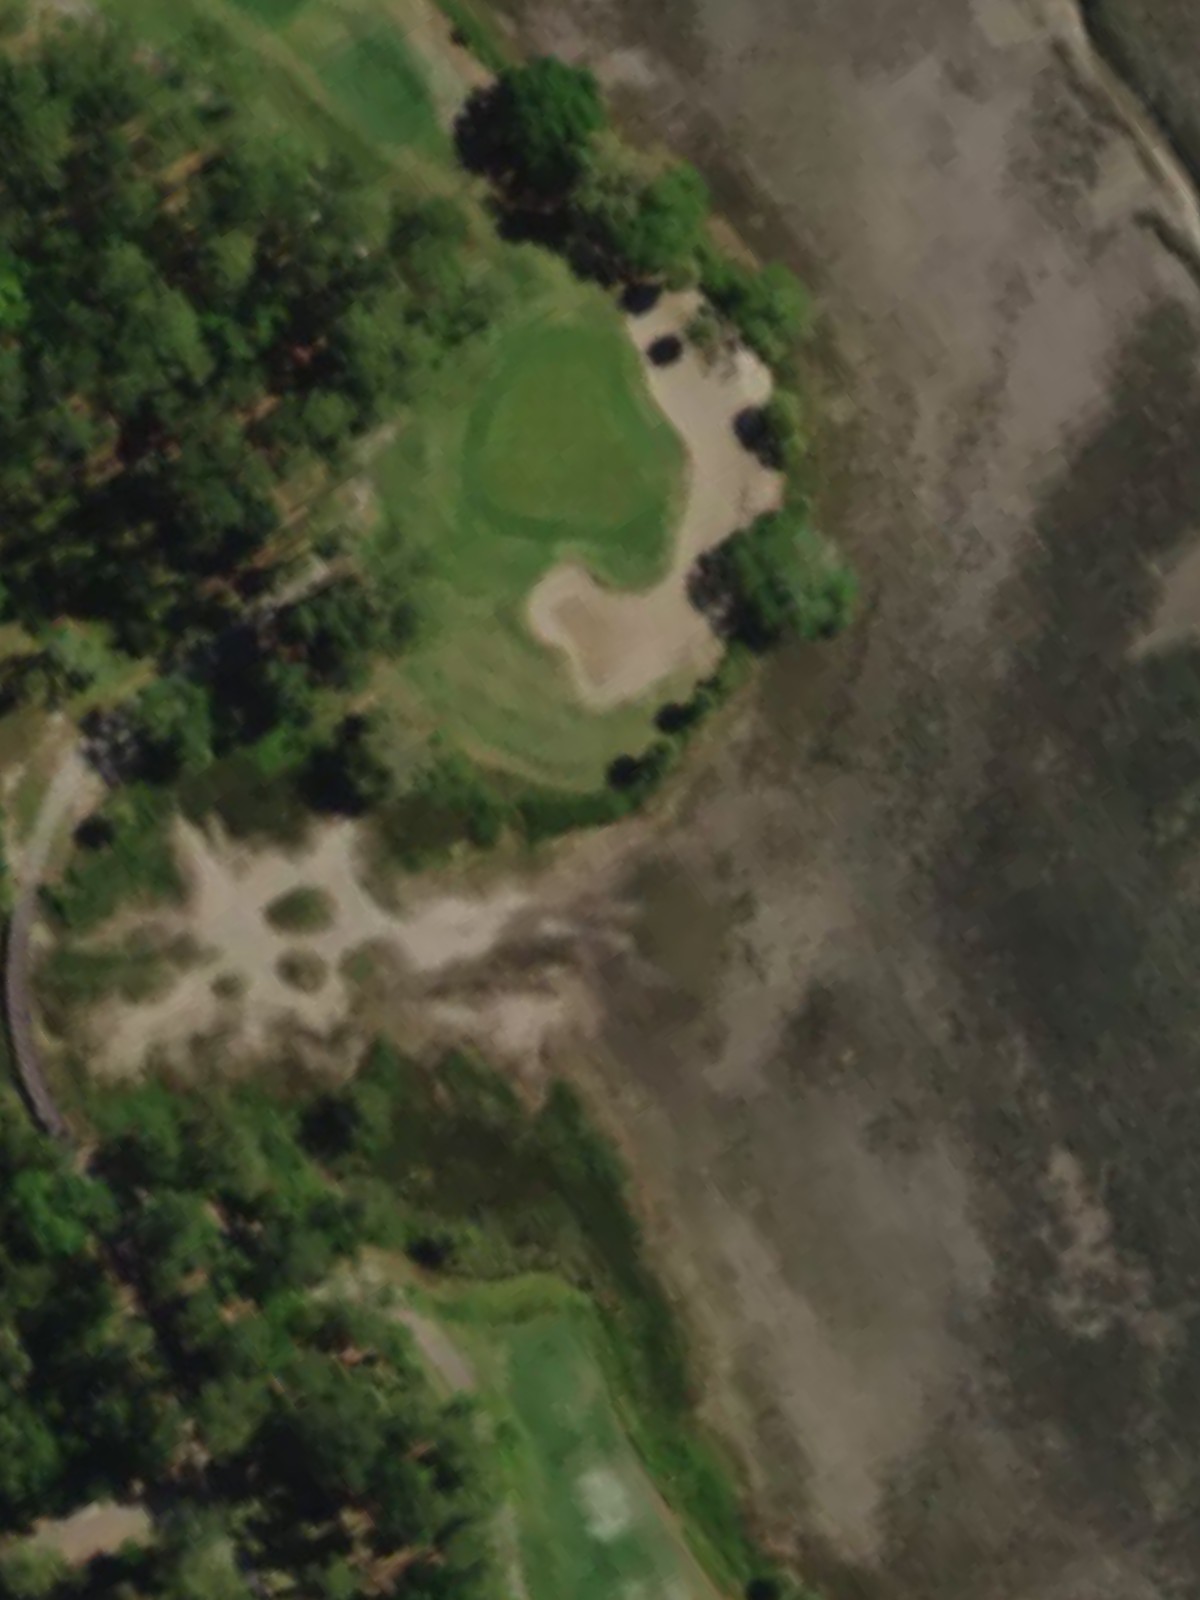
The course's signature par 5 and its most difficult hole, stretching over 500 yards with formidable hazards throughout. Water and bunkers dictate the entire routing, requiring three well-executed shots to reach this fiercely protected green.
A mid-length par 4 with a fairway that offers reasonable width for the opening drive. Bunkers frame the approach zone, and the green complex demands careful positioning to avoid penalty shots.
A short par 4 with an inviting fairway that plays to under 350 yards from the blues, presenting a birdie opportunity. The relatively straightforward design still requires solid contact to capitalize on the favorable yardage.
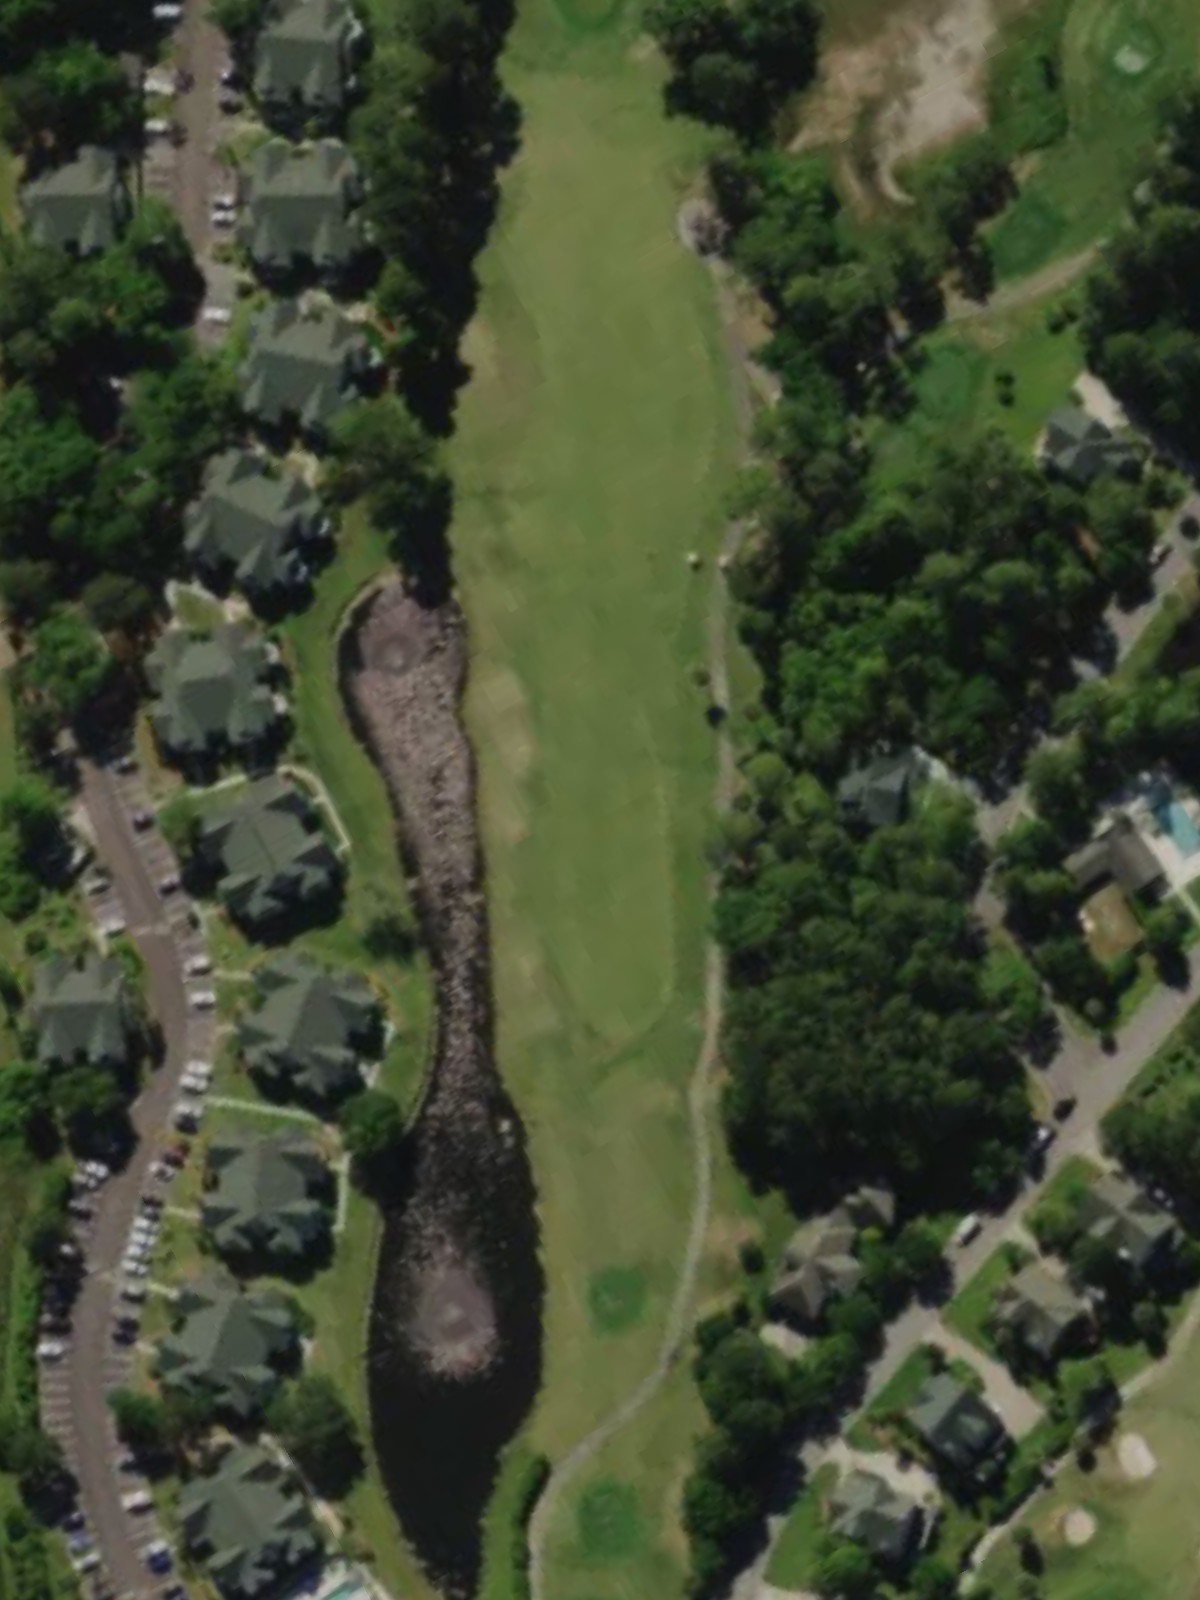
A substantial par 4 that demands a powerful tee shot into a fairly open fairway with moderate hazards. The approach shot into the green requires precision, as bunkers and water guard the immediate landing zone.
One of the course's most formidable par 4s, ranking fourth in difficulty and stretching over 410 yards from the blues. Water and bunkers present persistent threats throughout, making this a pivotal hole in the round.
A short par 3 under 170 yards that offers another scoring opportunity with its modest length. Greenside bunkers provide the primary defense around a narrow putting surface.
A straightforward par 4 of moderate length with a fairway that allows comfortable positioning for the approach. Bunkers frame the green complex, requiring the second shot to find the correct angle and distance.
The course's shortest par 3 at under 150 yards, presenting an ideal birdie hole despite its diminutive yardage. The tight green demands precision over power, with hazards penalizing any deviation from the target.
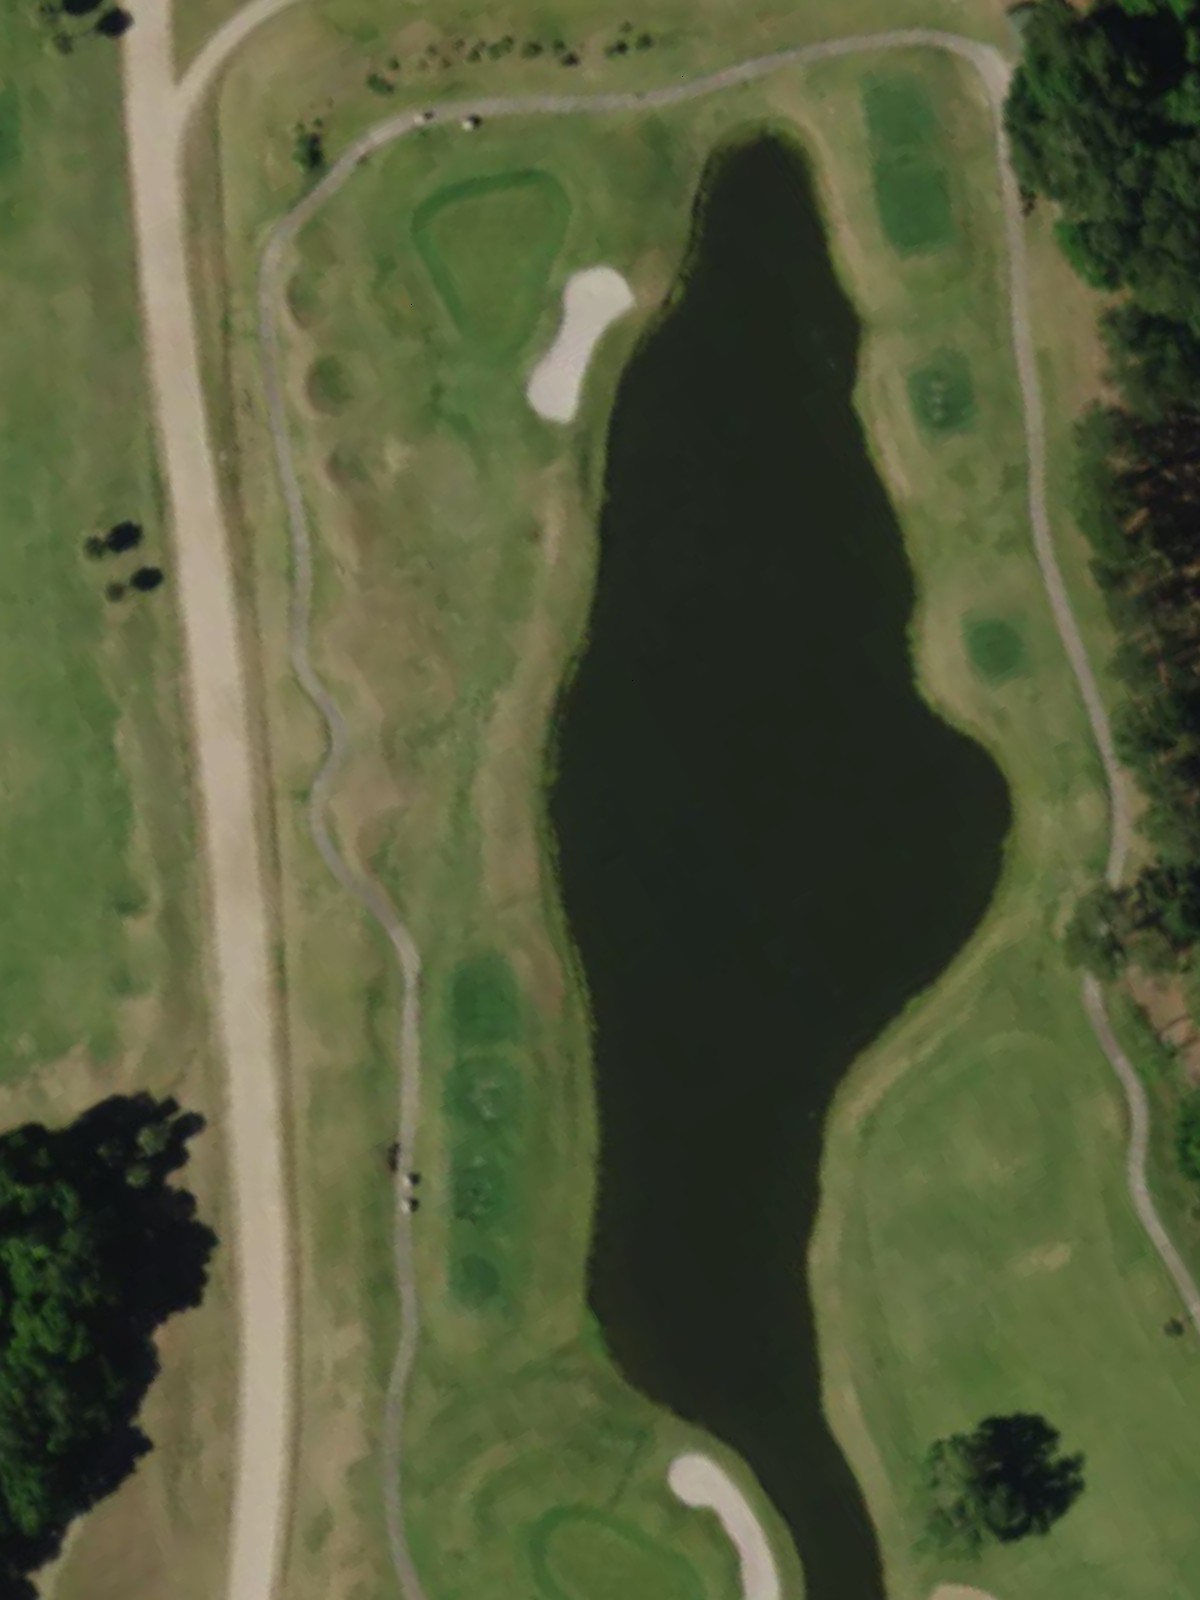
A long, challenging par 5 that ranks second in difficulty and requires substantial length to attack effectively. Water and strategic bunkering throughout the hole demand careful course management over all three shots.
A solid par 4 of nearly 400 yards that tests both distance and accuracy off the tee and into the approach. Hazards frame the fairway and green, requiring disciplined shot-making to avoid costly penalties.
A strong finishing par 4 that stretches over 390 yards and ranks sixth in difficulty, leaving a memorable closing impression. Bunkers and water hazards around the green demand a precise approach shot to secure a successful round.
Scorecard
| Hole | 1 | 2 | 3 | 4 | 5 | 6 | 7 | 8 | 9 | Out | 10 | 11 | 12 | 13 | 14 | 15 | 16 | 17 | 18 | In | Tot |
|---|---|---|---|---|---|---|---|---|---|---|---|---|---|---|---|---|---|---|---|---|---|
| Par | 4 | 4 | 5 | 3 | 4 | 4 | 3 | 5 | 4 | 36 | 4 | 4 | 4 | 3 | 4 | 3 | 5 | 4 | 4 | 35 | 71 |
| HCP | 13 | 5 | 3 | 17 | 7 | 11 | 15 | 1 | 9 | 14 | 8 | 4 | 16 | 12 | 18 | 2 | 10 | 6 | |||
| black | 387 | 417 | 507 | 181 | 412 | 290 | 138 | 562 | 370 | 3264 | 344 | 422 | 434 | 166 | 377 | 165 | 537 | 400 | 440 | 3285 | 6549 |
| blue | 367 | 391 | 489 | 166 | 361 | 270 | 124 | 518 | 352 | 3038 | 321 | 396 | 414 | 146 | 369 | 145 | 501 | 388 | 391 | 3071 | 6109 |
| white | 347 | 366 | 473 | 151 | 348 | 256 | 110 | 471 | 313 | 2835 | 310 | 357 | 364 | 129 | 330 | 126 | 463 | 326 | 343 | 2748 | 5583 |