Hillandale Gc is an 18-hole golf course in Durham, NC with a par of 71. It offers 5 tee sets: blue tees (6,156 yards, slope 126, rating 69.7), white tees (5,826 yards, slope 123, rating 68.2), yellow tees (5,101 yards, slope 112, rating 64.4), red tees (4,729 yards, slope 107, rating 62.8), light blue tees (3,695 yards, slope 88, rating 60). The hardest hole is #3, a par 4 playing 302 yards from the first tee.
Hillandale Gc
Durham, NC
Get PDF Yardage Book
We'll email you the PDF link. No spam, ever.
Create Your Game Plan
Pick your tees, enter your bag, and get a personalized shot-by-shot strategy for every hole.
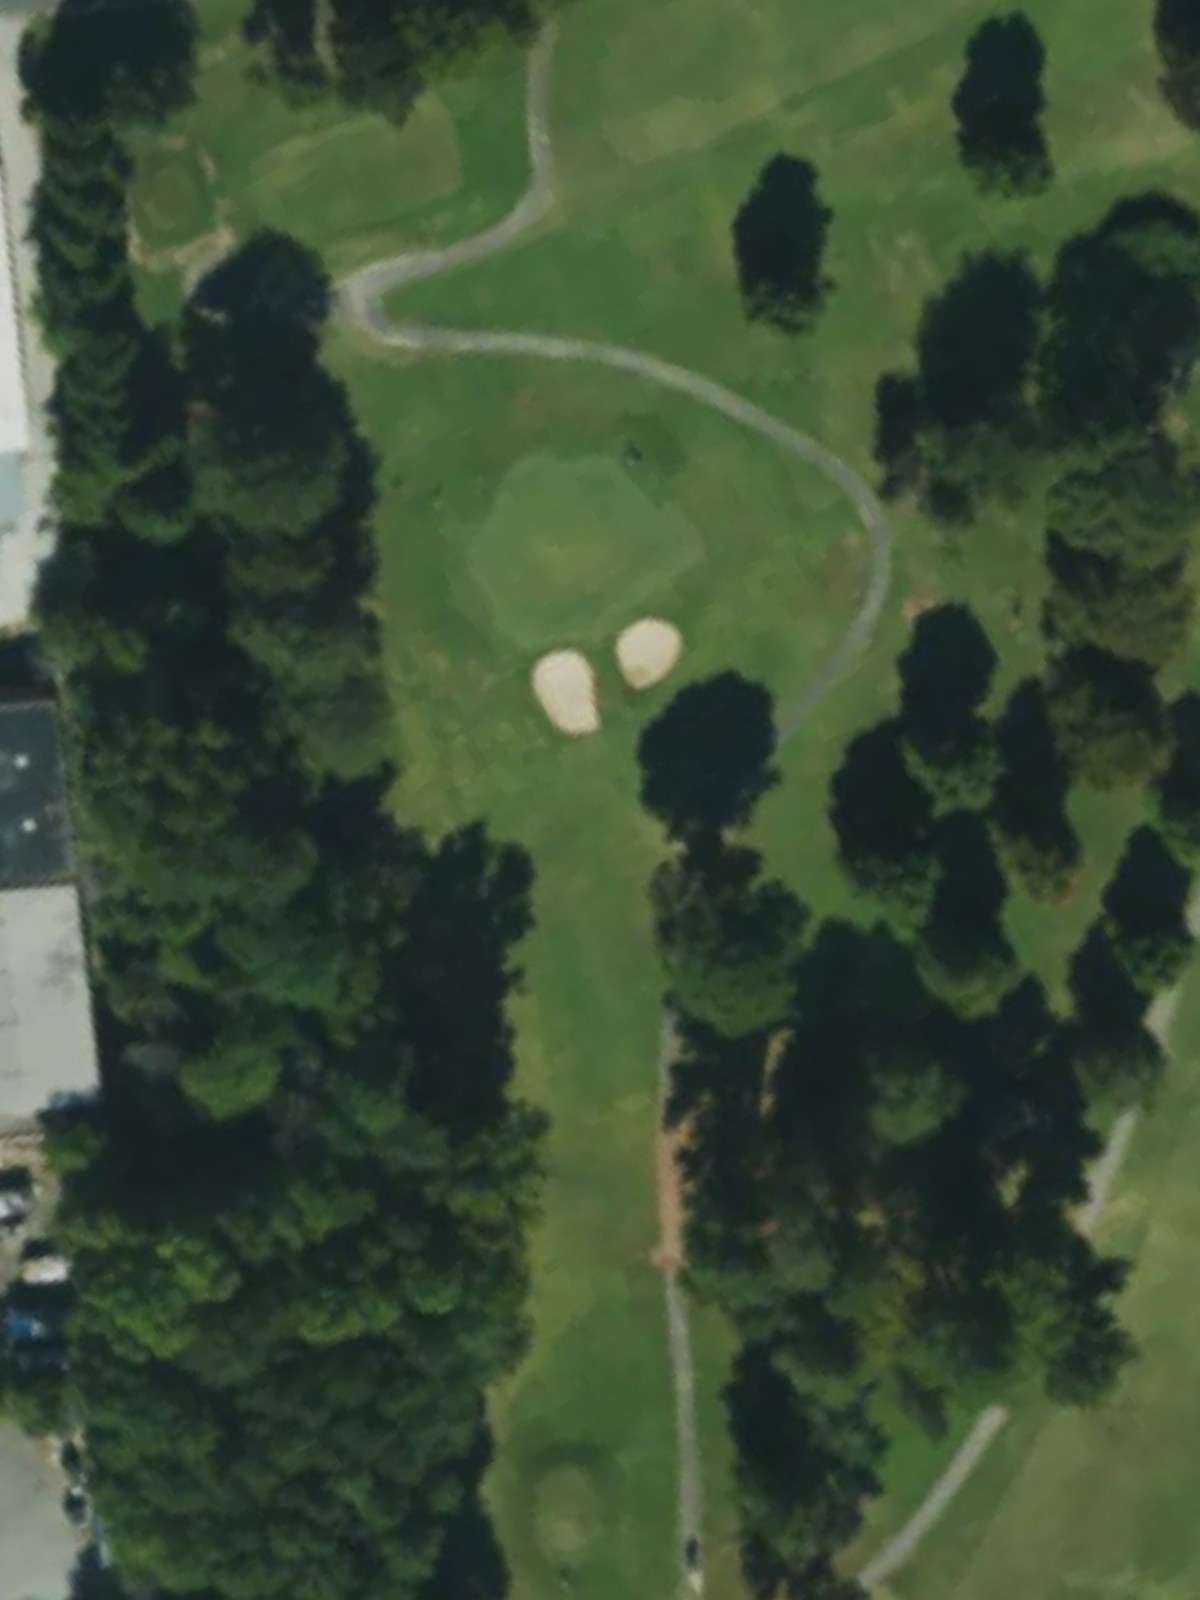
A straightforward par 4 that opens with a generous fairway before narrowing as it approaches the green. Bunkers protect the right side of the putting surface, while the left offers a safer bailout area for approach shots.

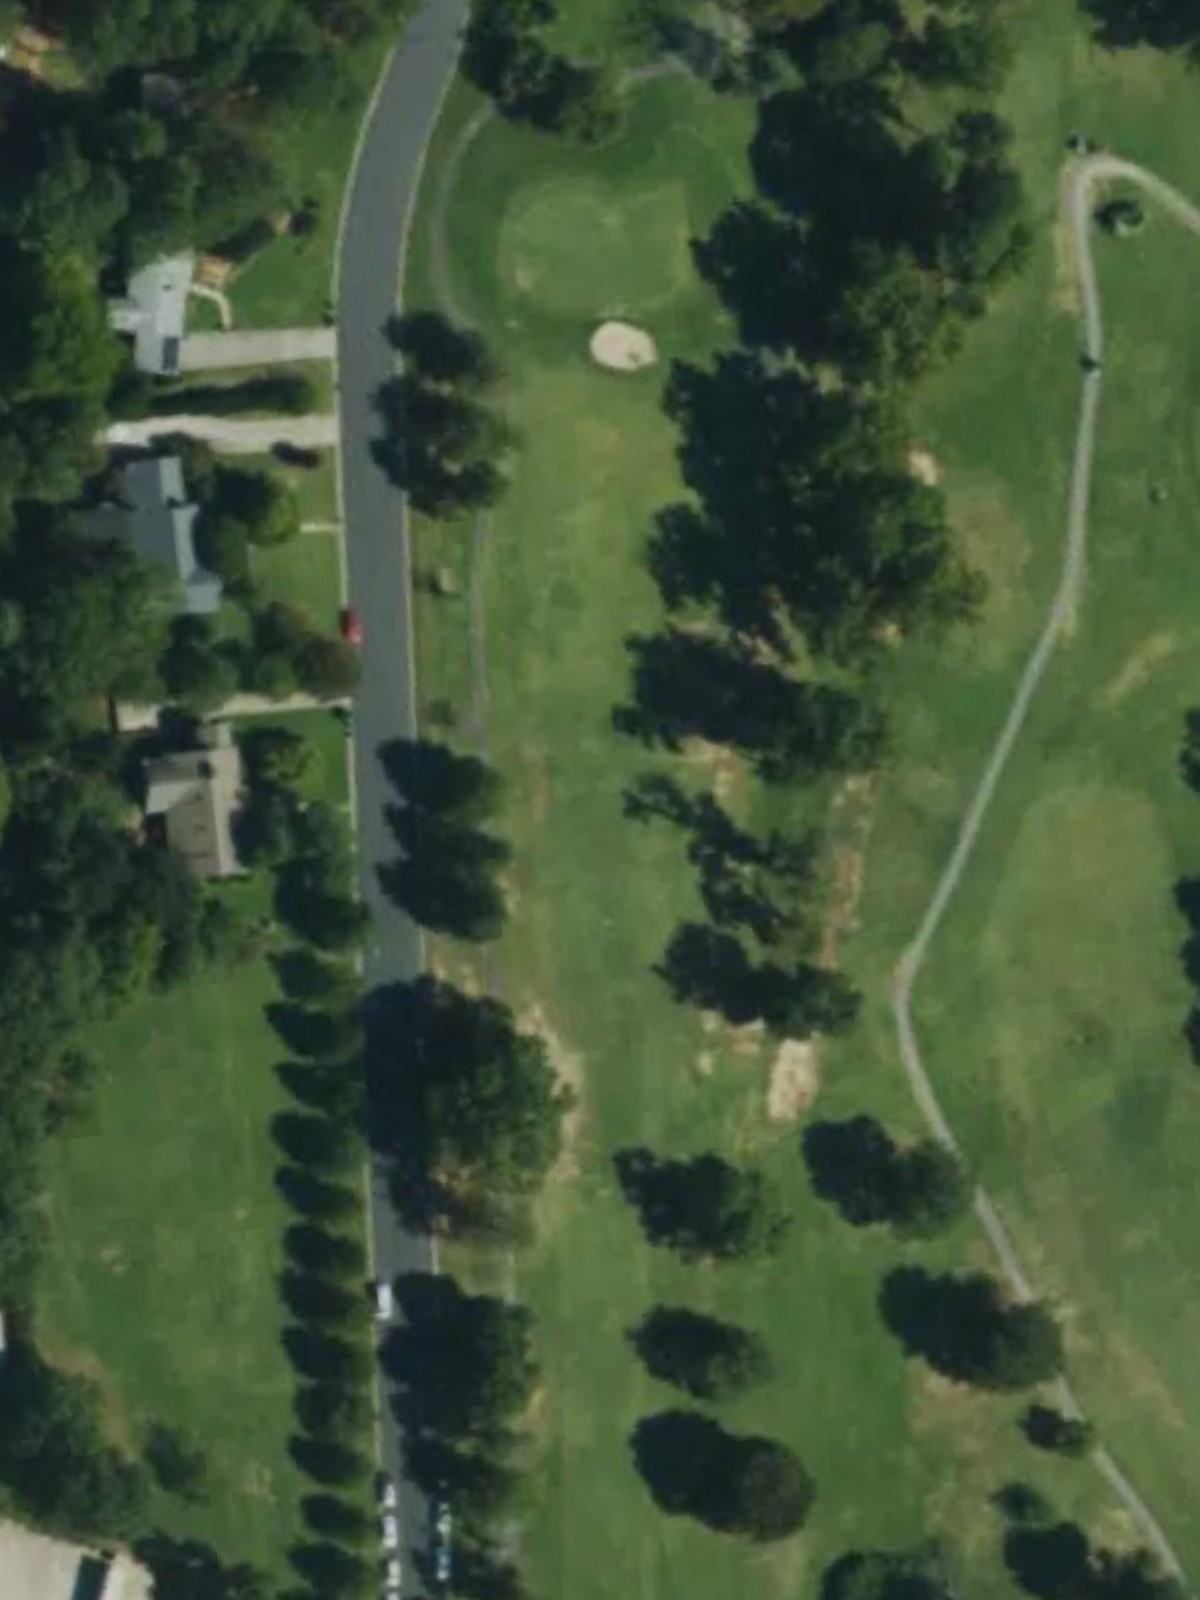
A long par 5 that invites aggressive play for those looking to reach in two. Water hazards frame the hole's left side, while bunkers guard the green complex on the right, making accuracy paramount on the final approach.
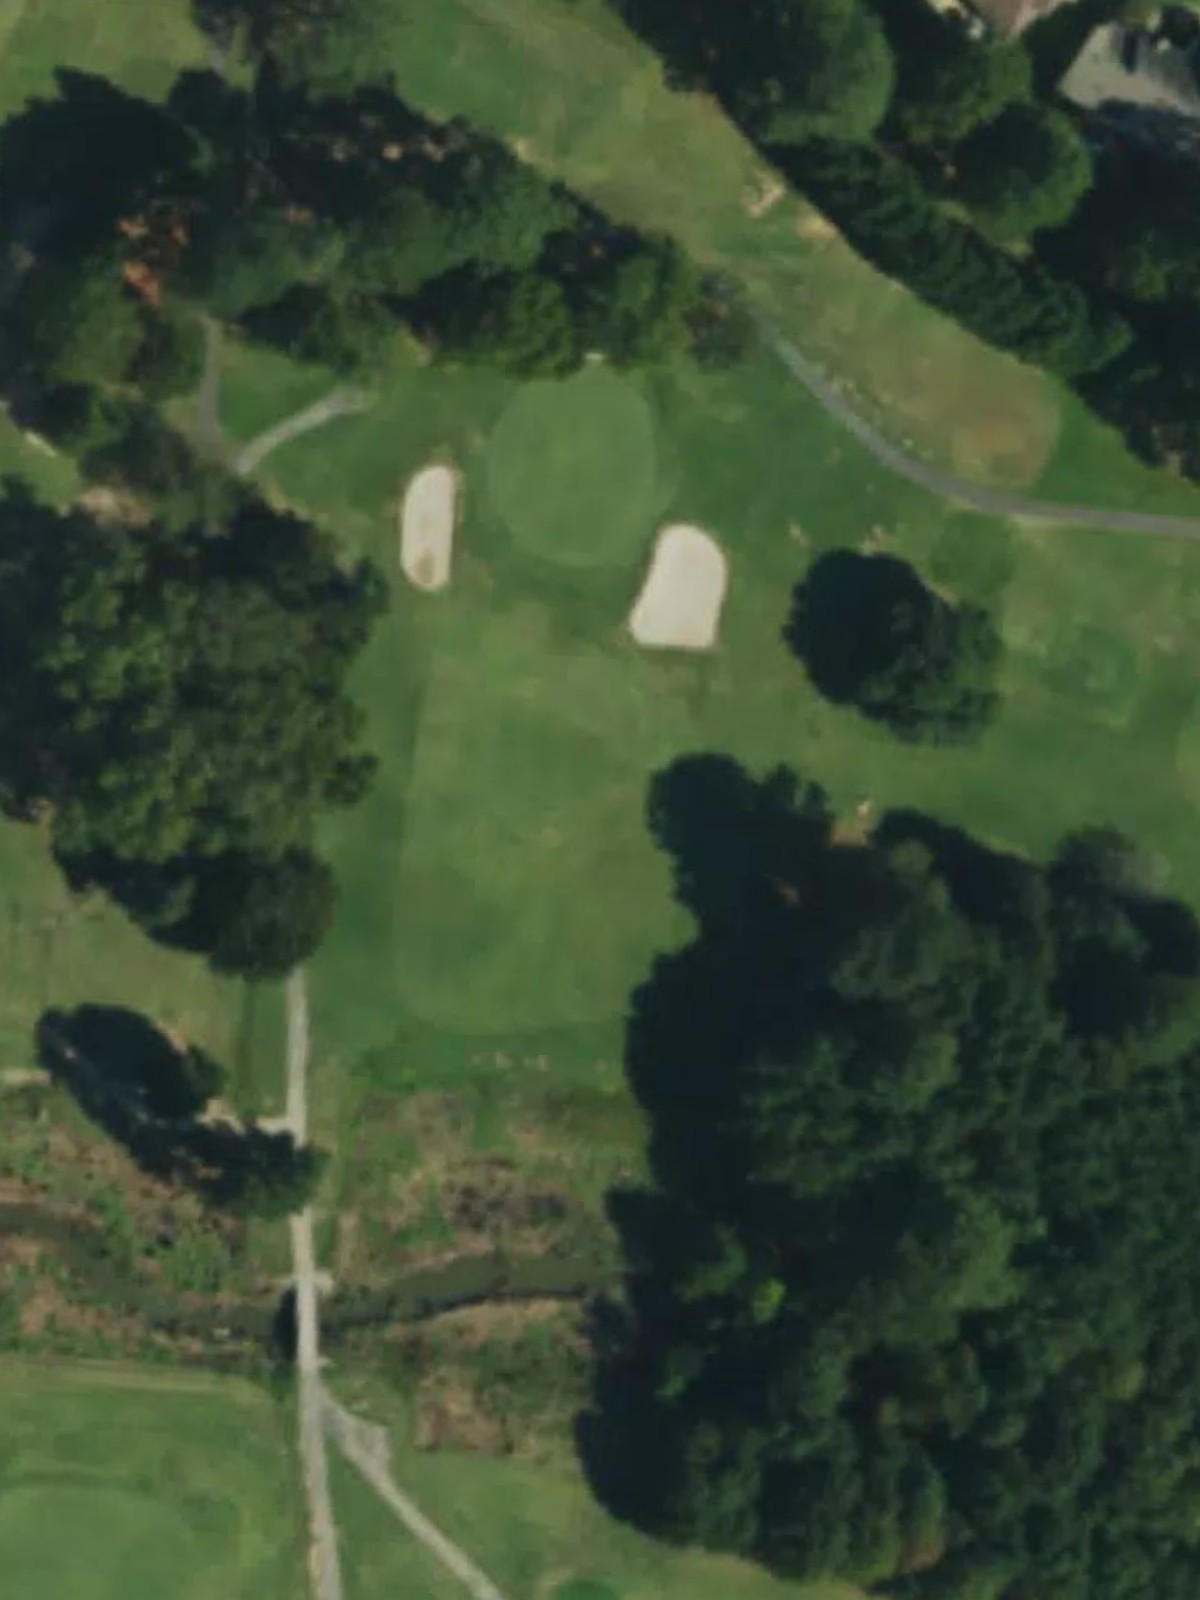
The course's most difficult hole, this par 4 demands precision from tee to green with a tight, well-bunkered layout. Strategic positioning off the tee is essential, as the green is heavily defended and leaves little room for error on the approach.
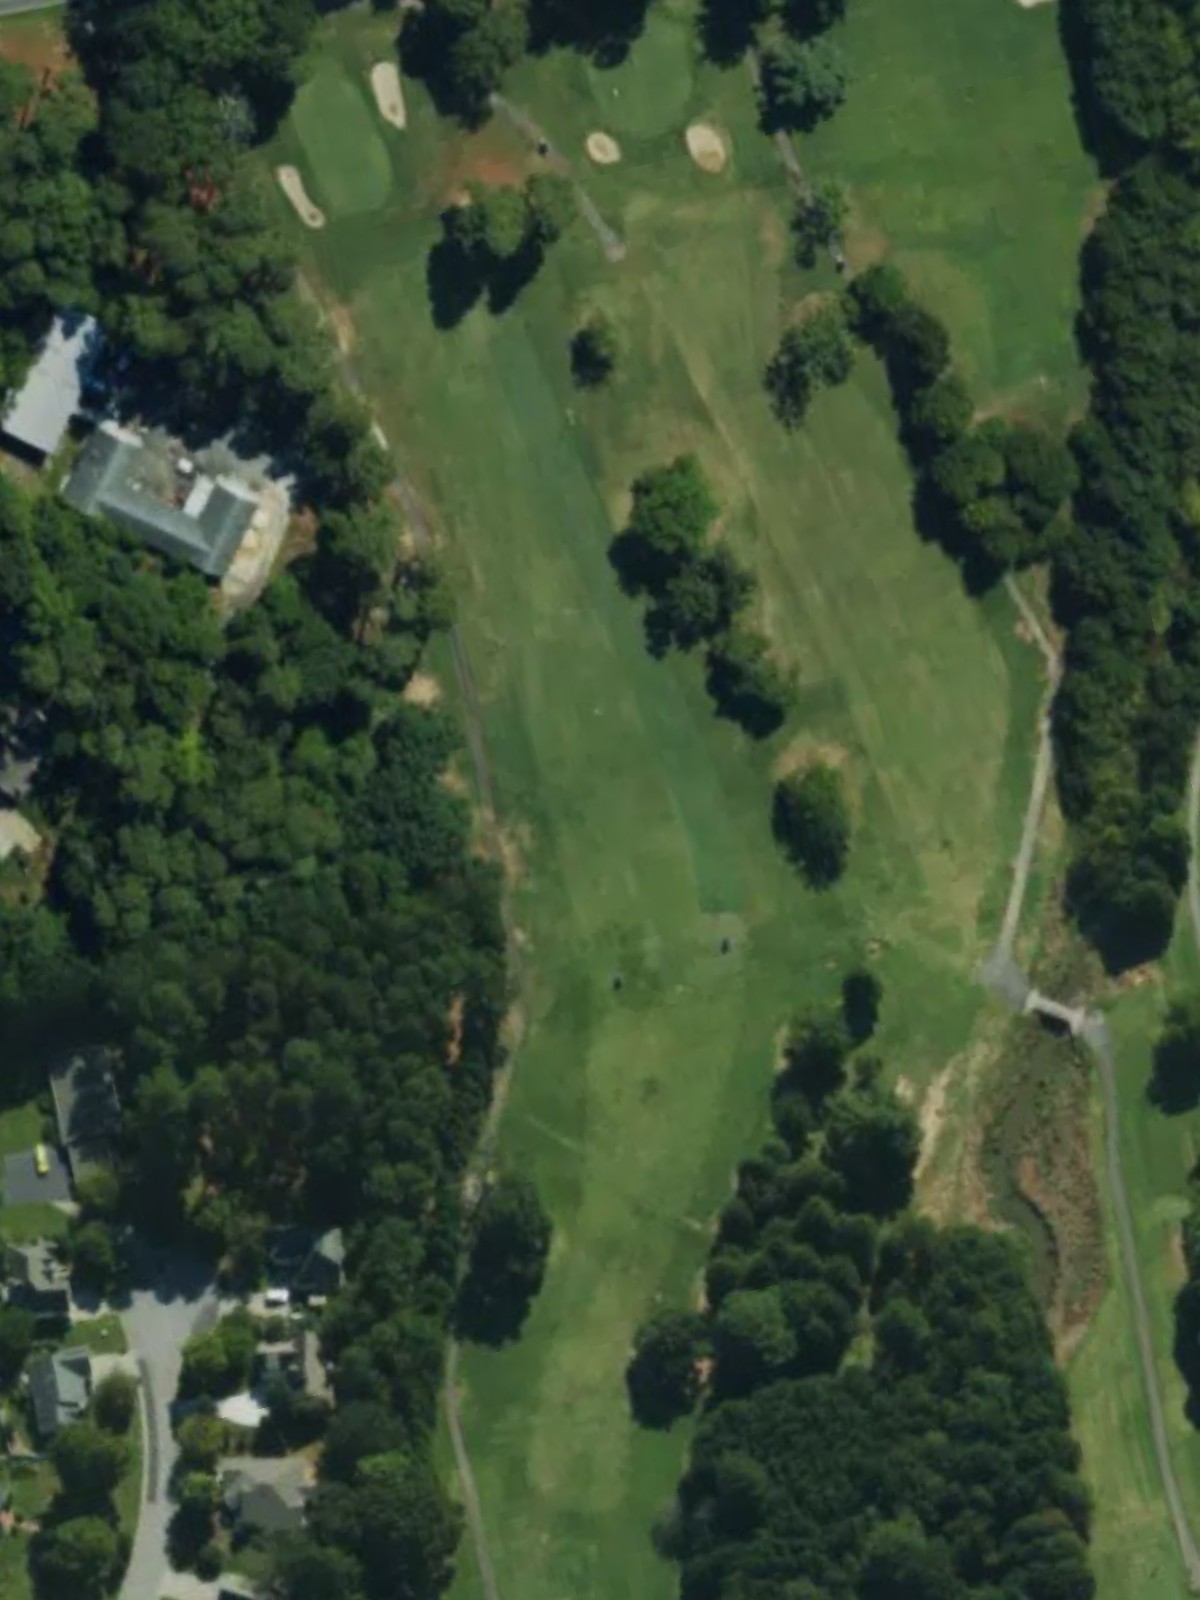
A short par 3 with a relatively straightforward green complex that provides a welcome change of pace. Limited hazards make this hole a chance to build confidence, though accuracy to the small green still demands a solid strike.

An approachable par 4 with a wide fairway that allows for a comfortable setup to the green. The relatively open design and favorable handicap rating make this one of the course's more forgiving four-par holes.
A challenging par 4 with a narrow playing corridor that demands accuracy off the tee and into a well-protected green. Bunkers positioned strategically along both sides require careful navigation to find the putting surface.
A short par 3 with a modest green that plays downhill, providing a scenic and manageable intermediate hole. The direct approach and limited hazards make it an accessible scoring opportunity within the back nine.
A mid-length par 4 with a fairway that offers reasonable width for the tee shot, though the approach demands precision. Bunkers and natural contours frame the green, penalizing wayward shots on the final stroke.
The back nine's toughest hole, this par 4 features a narrow fairway with significant hazards and a well-fortified green. Strategic decision-making and solid execution are required to escape with a respectable score.
A dramatic par 4 with varying terrain that challenges players to control distance and direction from the tee. The green sits in a complex that demands precision, as hazards and bunkers surround the target area.
A well-designed par 4 with strategic bunkering that frames the fairway and protects the approach. The hole's layout rewards smart positioning while punishing drives that stray into trouble.
A shorter par 4 that offers a genuine birdie opportunity without compromising playability. The relatively open design and manageable length make this hole one of the more accessible scoring chances on the card.
One of the course's most demanding four-pars, this hole features a tight corridor with hazards that demand both length and accuracy. The green complex presents a severe test on the approach, leaving little margin for recovery.
A relatively forgiving par 5 that provides genuine birdie potential for solid ball-strikers, though length is still a factor. The fairway opens generously, allowing players to position themselves for a reasonable third shot to the green.
A short par 3 with a modest green and minimal surrounding hazards, offering a respite within the closing stretch. The straightforward nature of the hole makes it an opportunity to reset before the demanding finishing holes.
A solid par 4 with a generous fairway that sets up nicely for the approach shot into a well-guarded green. Bunkers frame the target, and strategic positioning off the tee is key to setting up a scoring opportunity.
A short par 3 with character and precision required to find the green reliably. Bunkers and natural features protect the putting surface, making this hole a demanding closer despite its modest length.
An excellent finishing par 5 that allows aggressive players to make a final birdie push if positioned well off the tee. Water and bunkers guard the approach to the green, requiring a well-executed final stroke to complete the round.
Scorecard
| Hole | 1 | 2 | 3 | 4 | 5 | 6 | 7 | 8 | 9 | Out | 10 | 11 | 12 | 13 | 14 | 15 | 16 | 17 | 18 | In | Tot |
|---|---|---|---|---|---|---|---|---|---|---|---|---|---|---|---|---|---|---|---|---|---|
| Par | 4 | 5 | 4 | 3 | 4 | 4 | 3 | 4 | 4 | 35 | 4 | 4 | 4 | 4 | 5 | 3 | 4 | 3 | 5 | 36 | 71 |
| HCP | 13 | 9 | 1 | 15 | 17 | 5 | 11 | 7 | 3 | 4 | 6 | 12 | 2 | 18 | 10 | 14 | 8 | 16 | |||
| blue tees | 333 | 481 | 402 | 162 | 332 | 375 | 184 | 383 | 387 | 3039 | 409 | 362 | 335 | 362 | 434 | 178 | 369 | 185 | 483 | 3117 | 6156 |
| white tees | 309 | 466 | 382 | 147 | 314 | 351 | 169 | 350 | 387 | 2875 | 361 | 341 | 330 | 351 | 419 | 160 | 355 | 168 | 466 | 2951 | 5826 |
| yellow tees | 302 | 430 | 335 | 126 | 303 | 348 | 154 | 283 | 350 | 2631 | 265 | 284 | 236 | 320 | 359 | 132 | 346 | 159 | 369 | 2470 | 5101 |
| red tees | 290 | 360 | 302 | 118 | 292 | 321 | 110 | 278 | 314 | 2385 | 259 | 279 | 231 | 290 | 311 | 125 | 337 | 151 | 361 | 2344 | 4729 |
| light blue tees | 219 | 268 | 244 | 109 | 228 | 255 | 110 | 215 | 197 | 1845 | 217 | 229 | 229 | 222 | 249 | 123 | 258 | 72 | 251 | 1850 | 3695 |