Highfields Golf & Country Club is an 18-hole golf course in Grafton, MA with a par of 72. It offers 5 tee sets: black (6,765 yards, slope 135, rating 73.6), gold (6,270 yards, slope 130, rating 71.4), white (5,753 yards, slope 126, rating 69.2), green (5,133 yards, slope 120, rating 66), red (4,567 yards, slope 110, rating 63.5). The hardest hole is #9, a par 5 playing 425 yards from the first tee.
Highfields Golf & Country Club
Grafton, MA
Get PDF Yardage Book
We'll email you the PDF link. No spam, ever.
Create Your Game Plan
Pick your tees, enter your bag, and get a personalized shot-by-shot strategy for every hole.
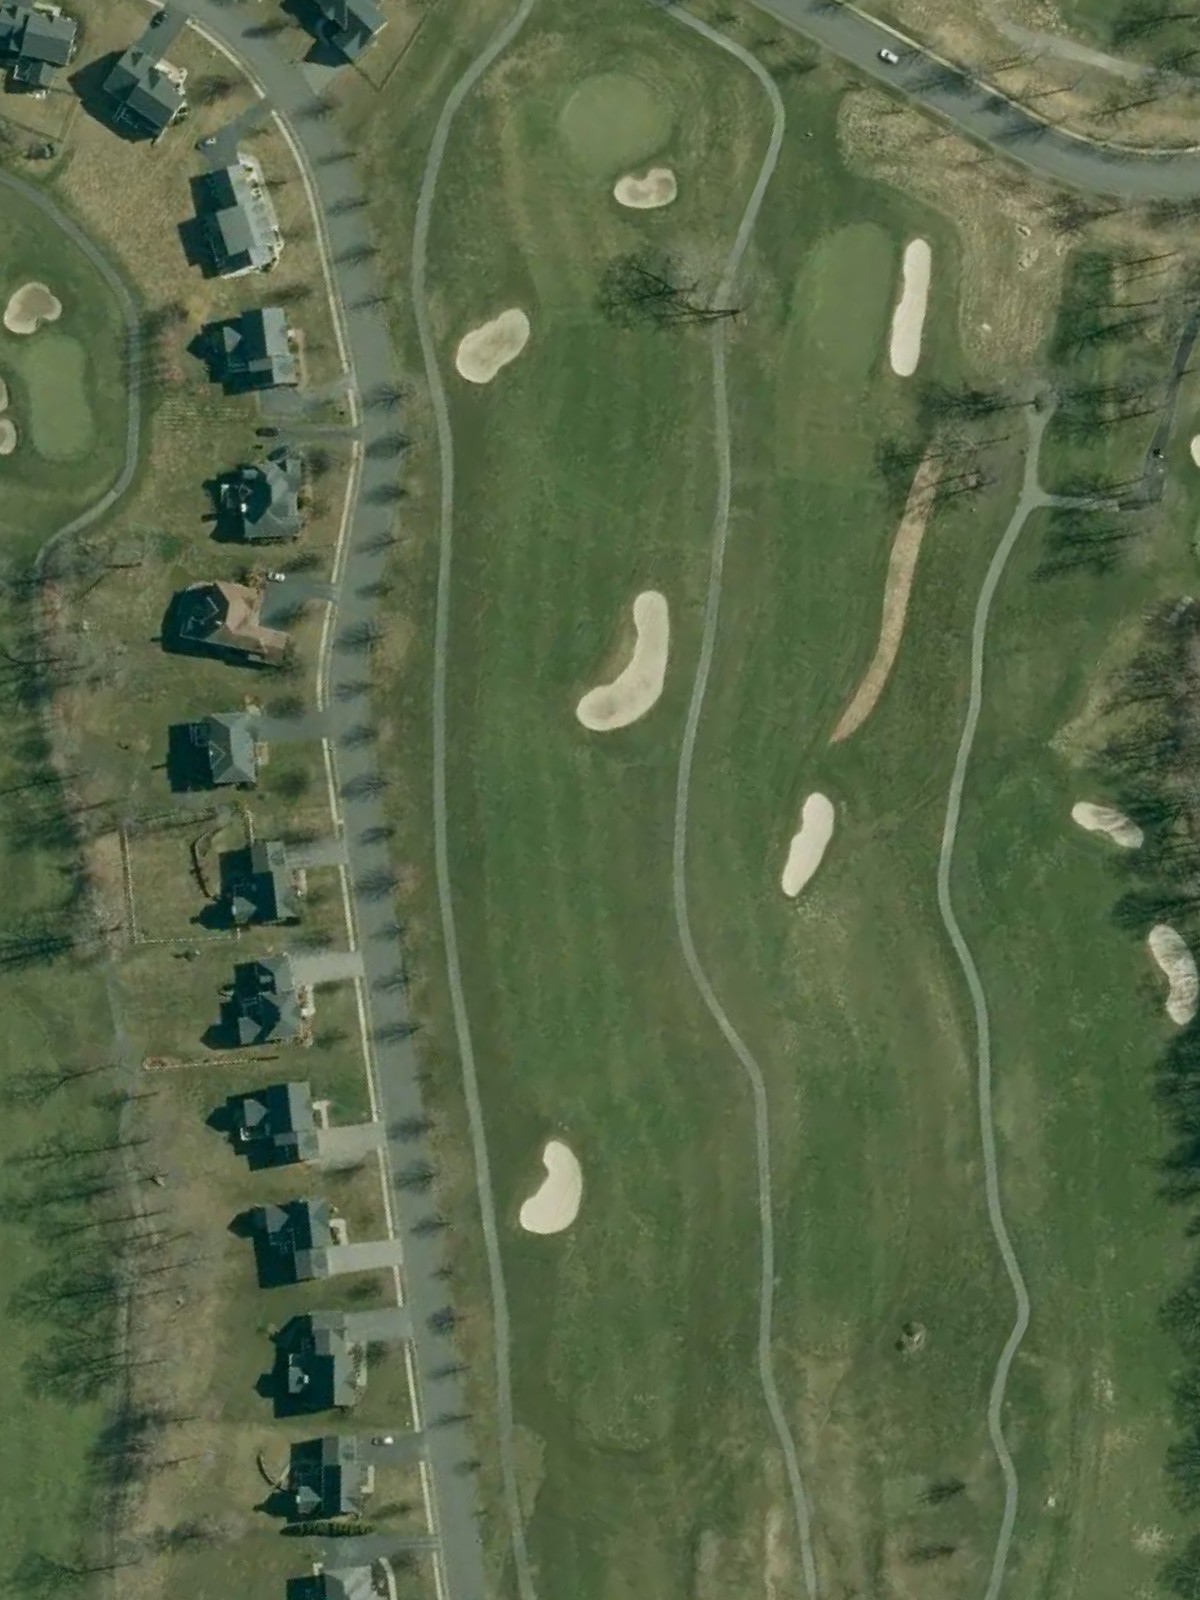
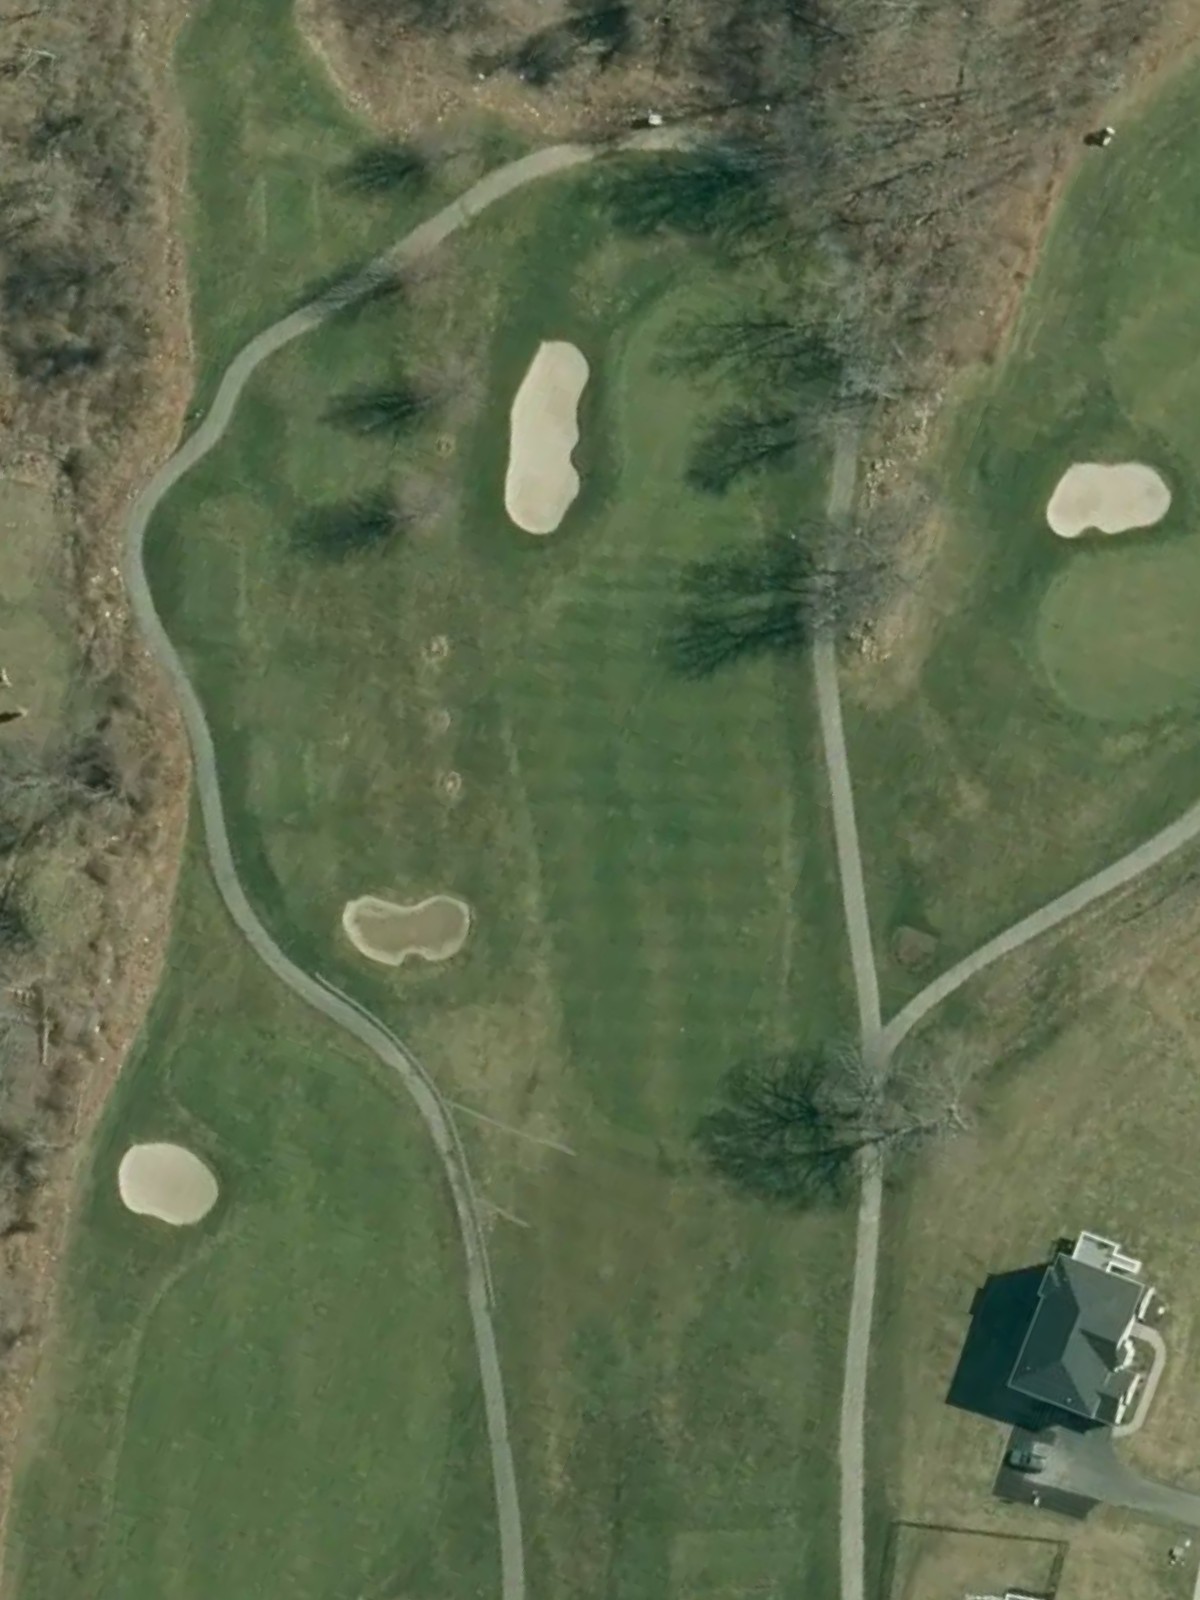
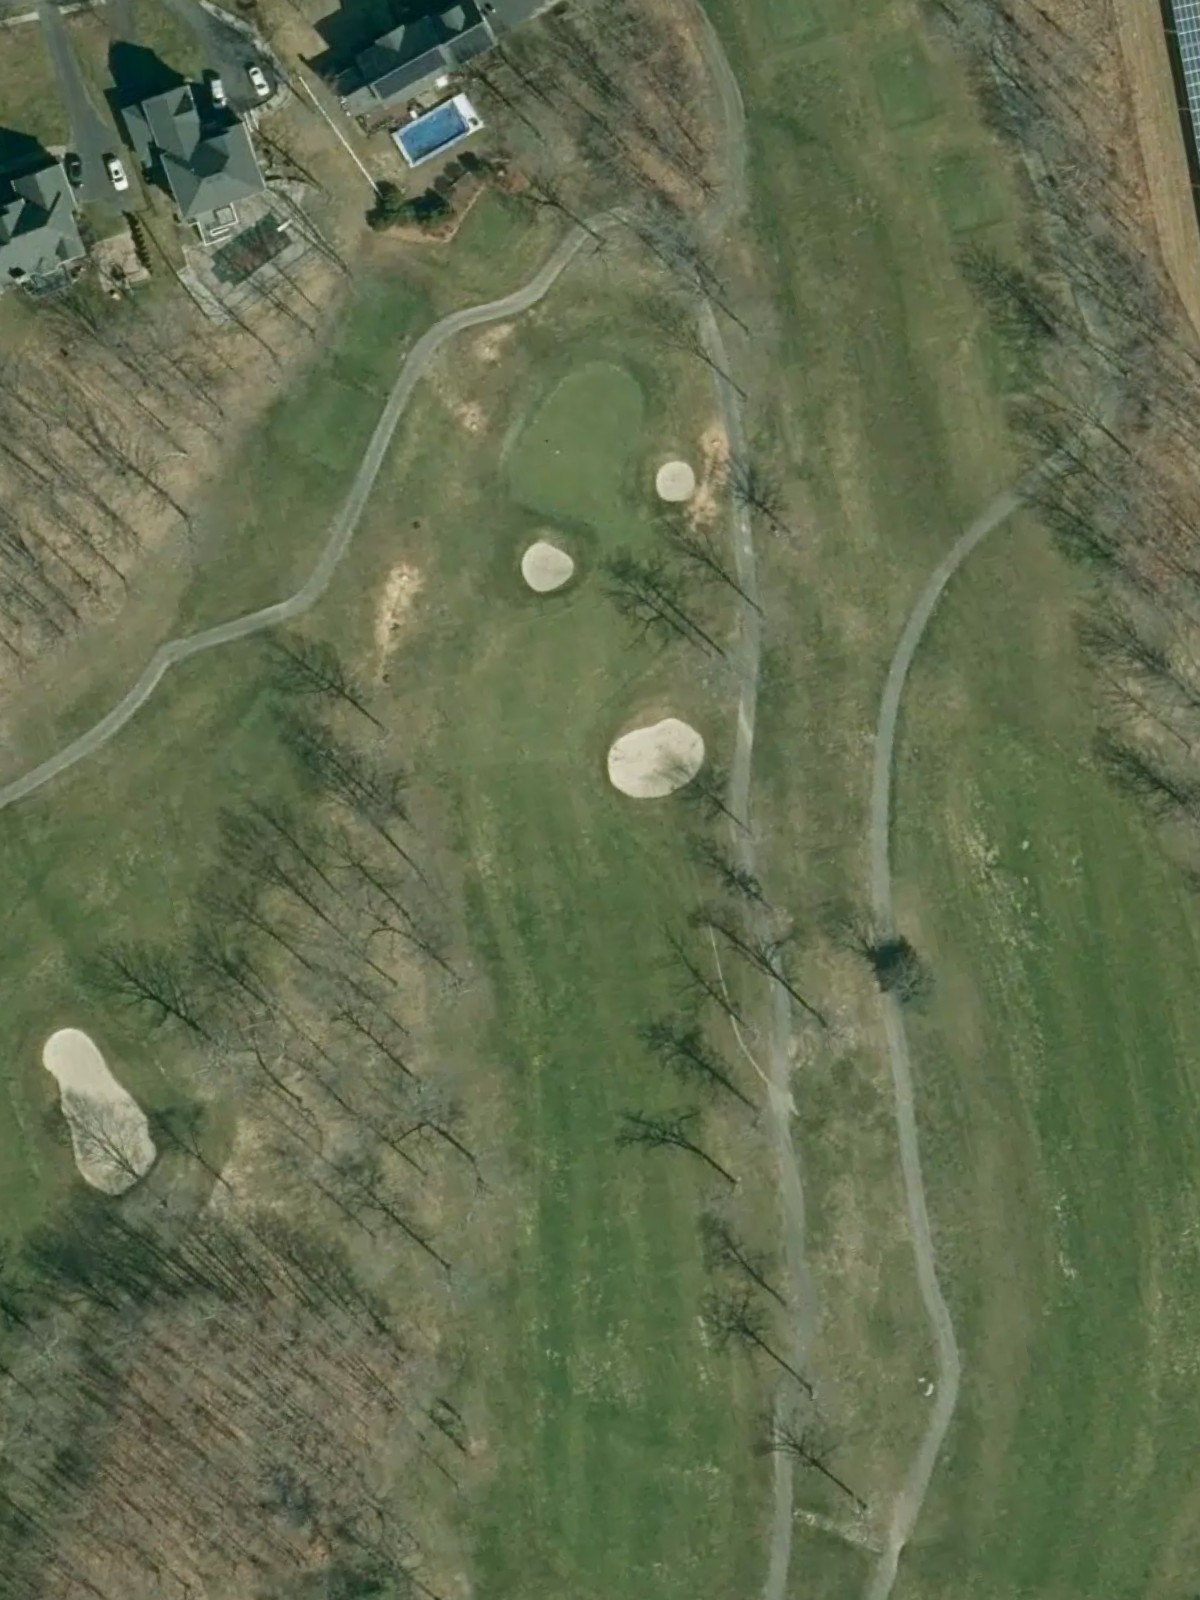
A welcoming par 5 that plays relatively straightforward with room in the fairway for the opening hole. The green is well-bunkered and slightly elevated, requiring a precise approach to avoid the hazards protecting this finishing target.
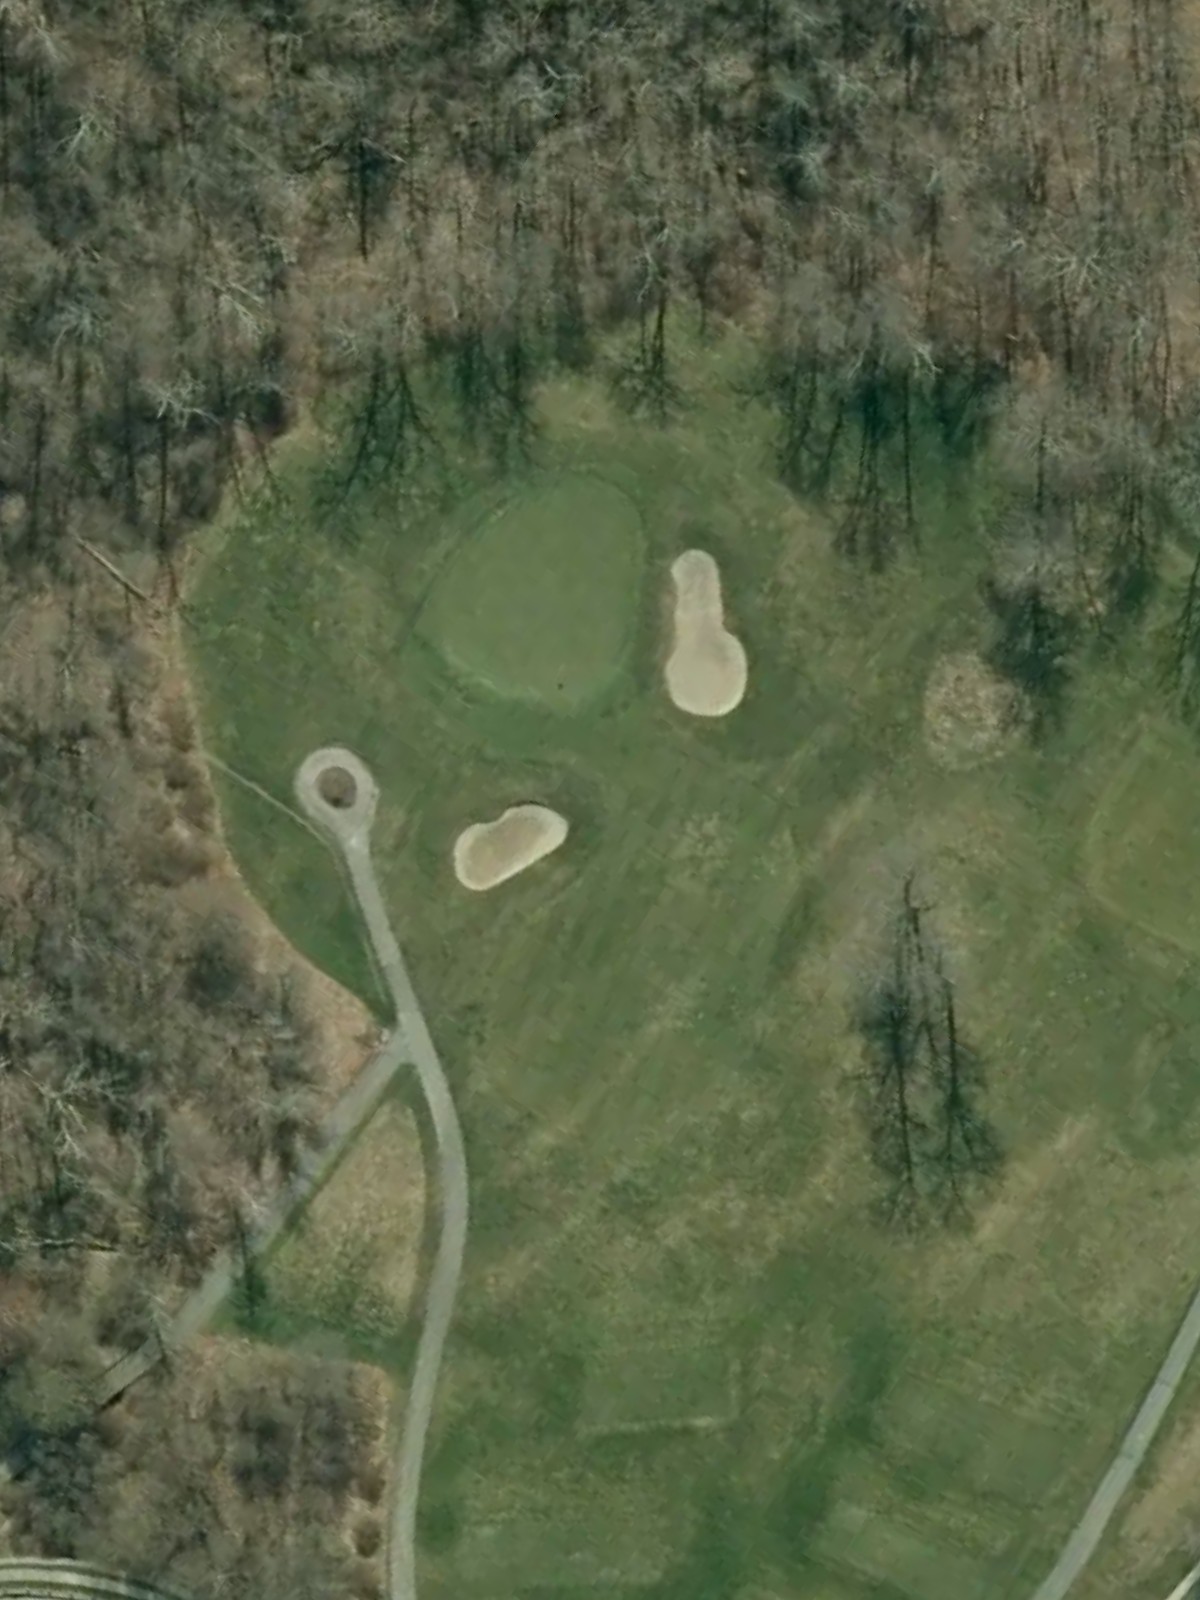
A short par 3 with minimal trouble, making it an excellent scoring opportunity early in the round. The small green is open in front, inviting a direct approach on this straightforward hole.
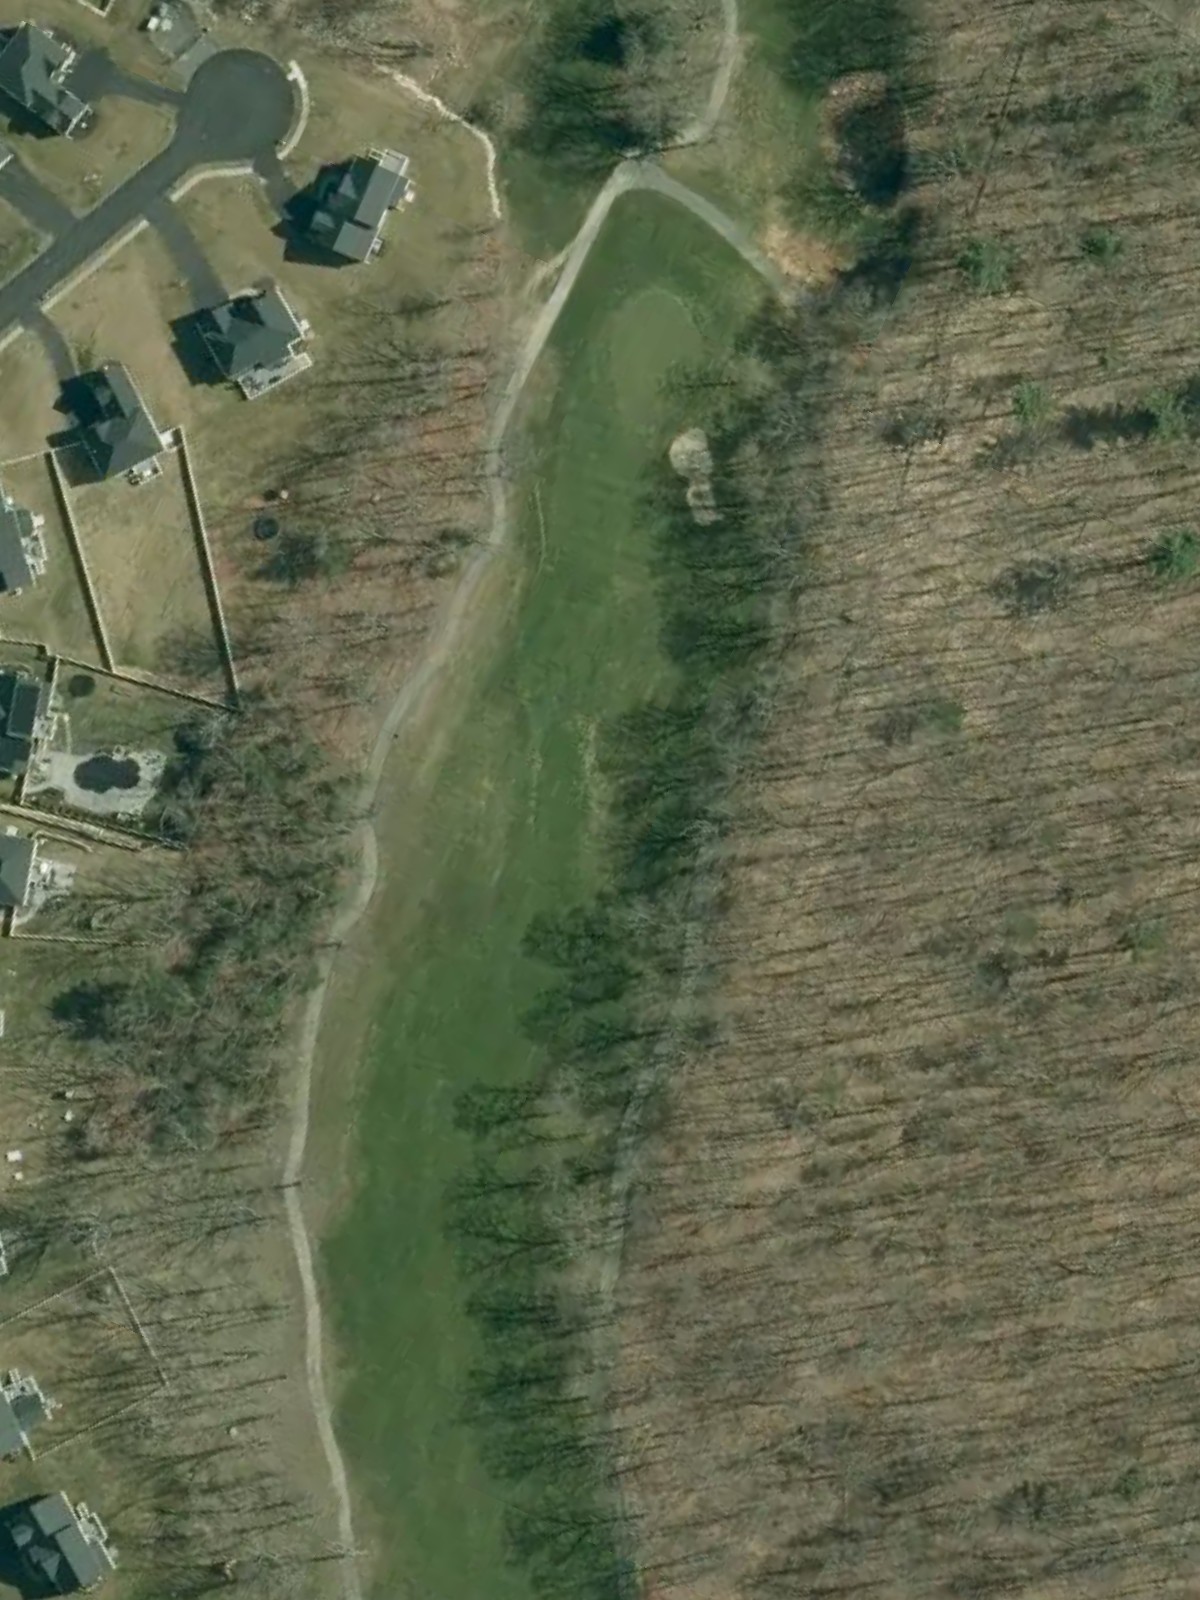
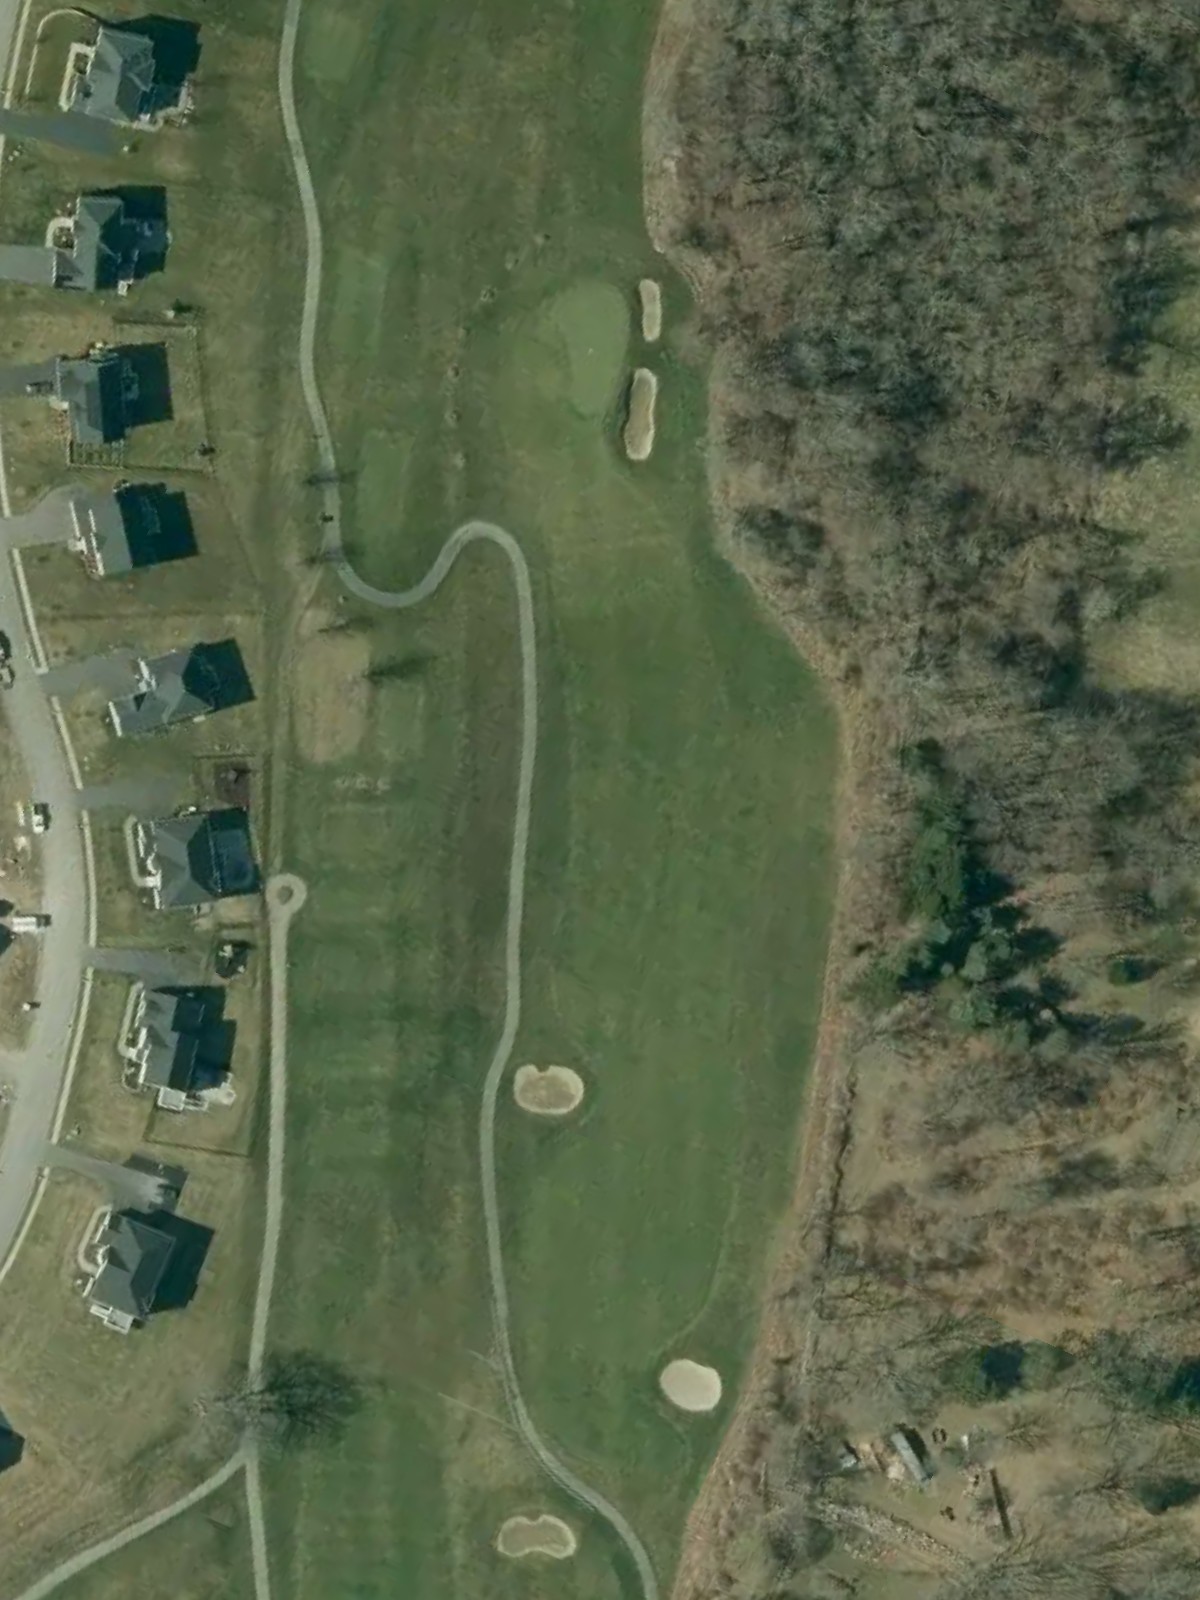
The course's most demanding par 4, this hole plays long and straight with a narrow fairway that demands accuracy off the tee. Bunkers and rough frame both sides of the approach, requiring a quality second shot to find the green.
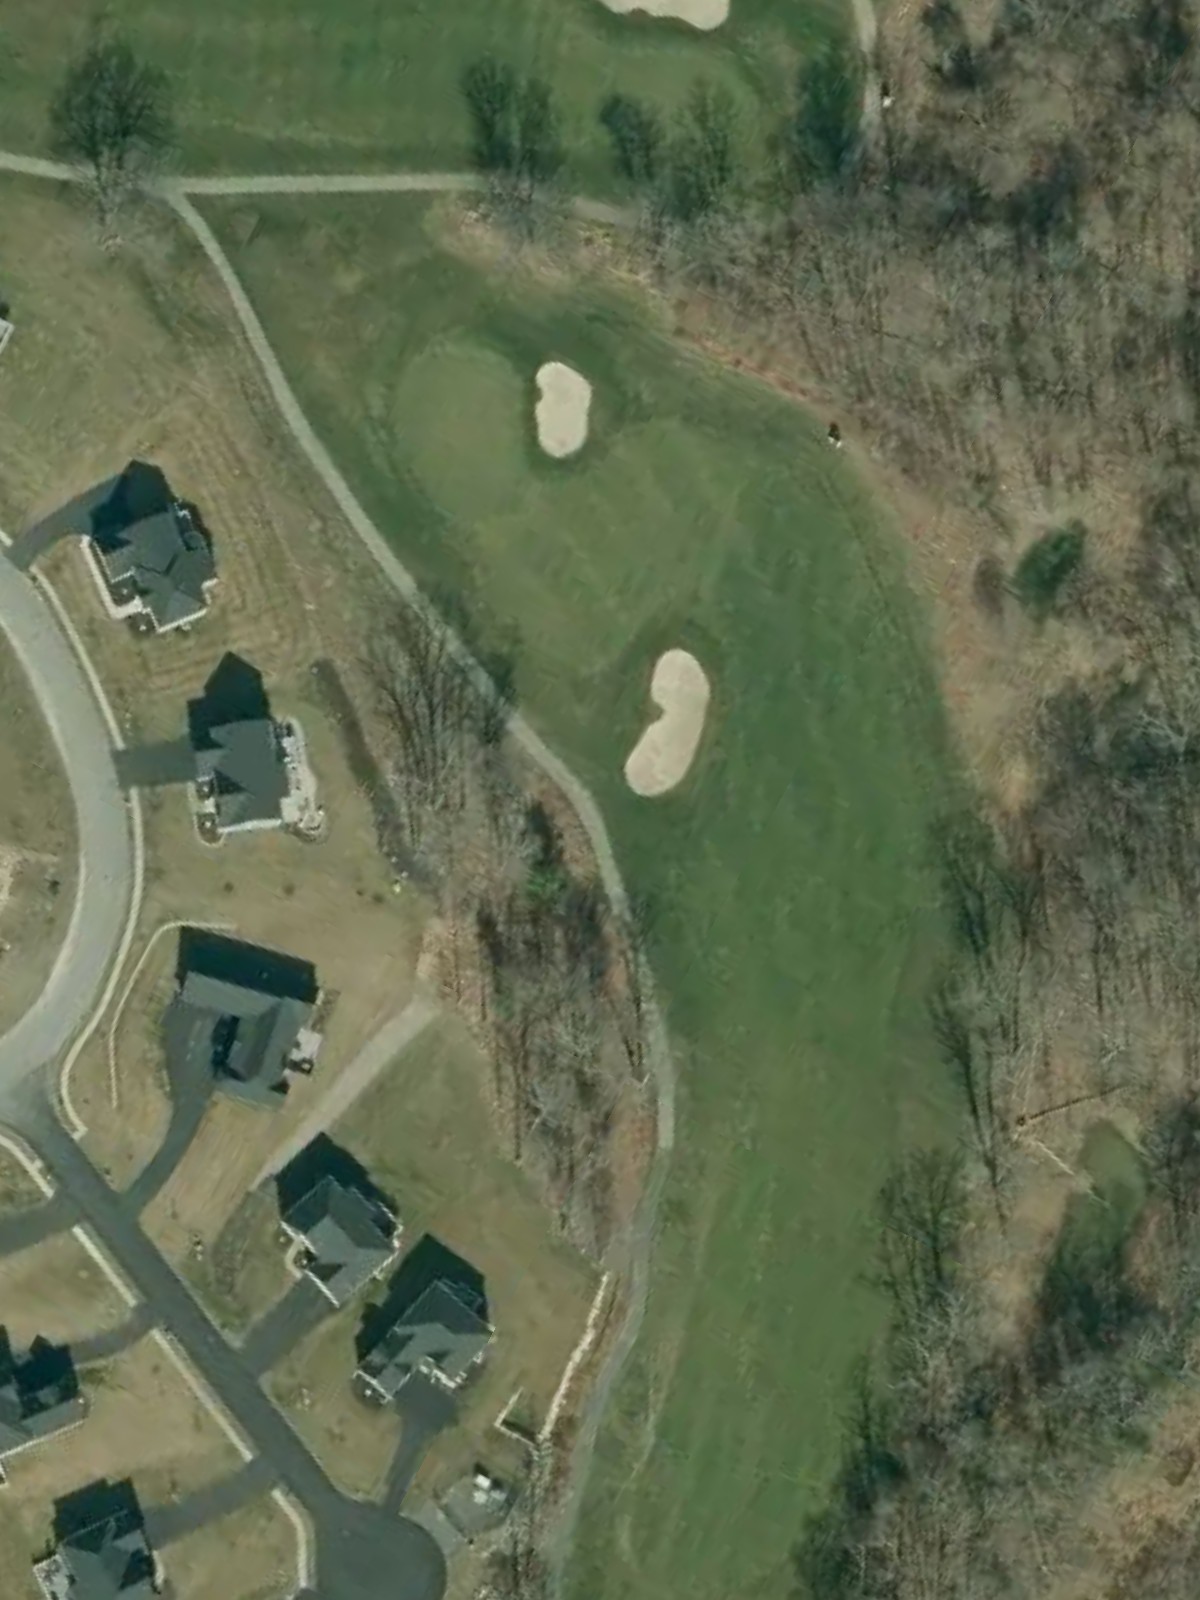
A moderate par 4 with a relatively open fairway that provides reasonable landing areas for the tee shot. The green sits in a neutral setting, offering a fair test without excessive hazards.
A mid-length par 3 that requires an accurate tee shot to a green with natural defenses surrounding it. The elevation and bunkering make club selection and precision critical on this intermediate one-shotter.
A short par 4 that tempts aggressive play off the tee but features strategic bunkering and rough around the green to penalize poor execution. The tight approach requires accuracy despite the hole's modest length.

A strong par 4 with length and character that plays as one of the course's most challenging holes. Bunkering and fairway constriction demand both power and placement to set up a manageable approach.
A forgiving par 4 with a generous fairway that allows for a comfortable tee shot and manageable second to the green. This hole provides a welcome respite with minimal hazard interference.
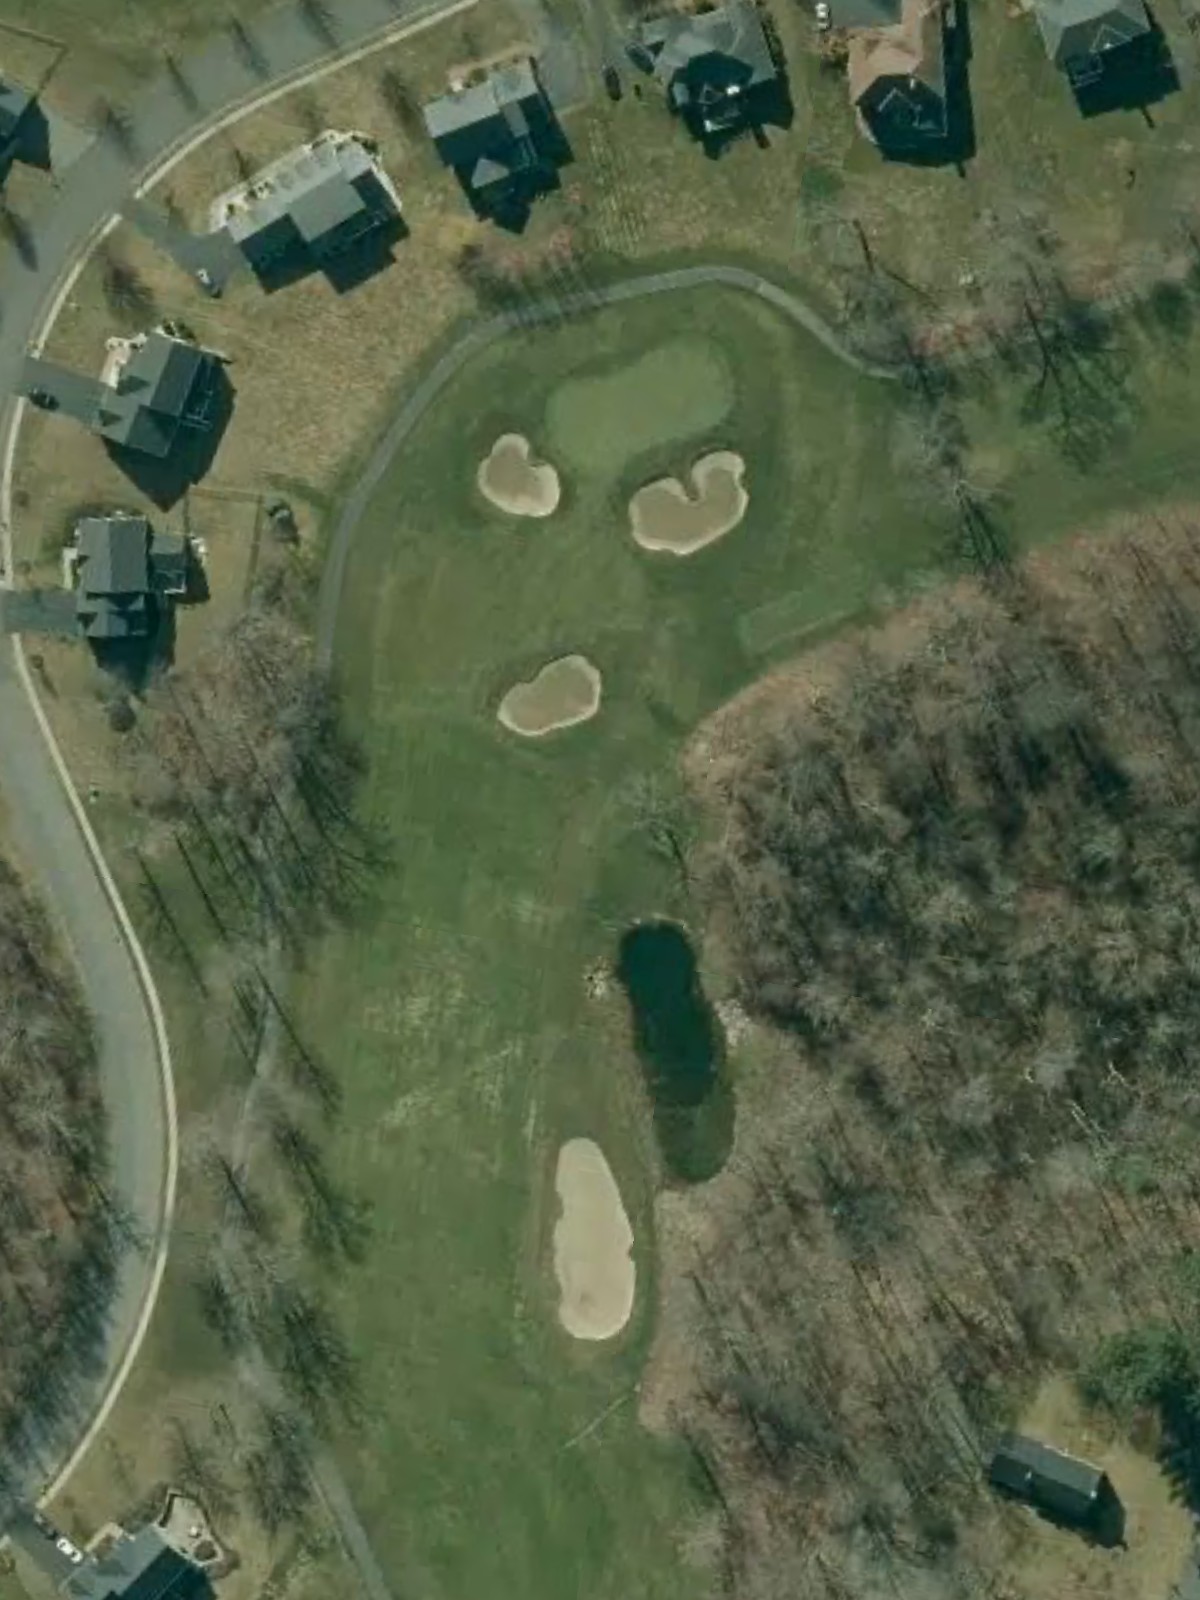
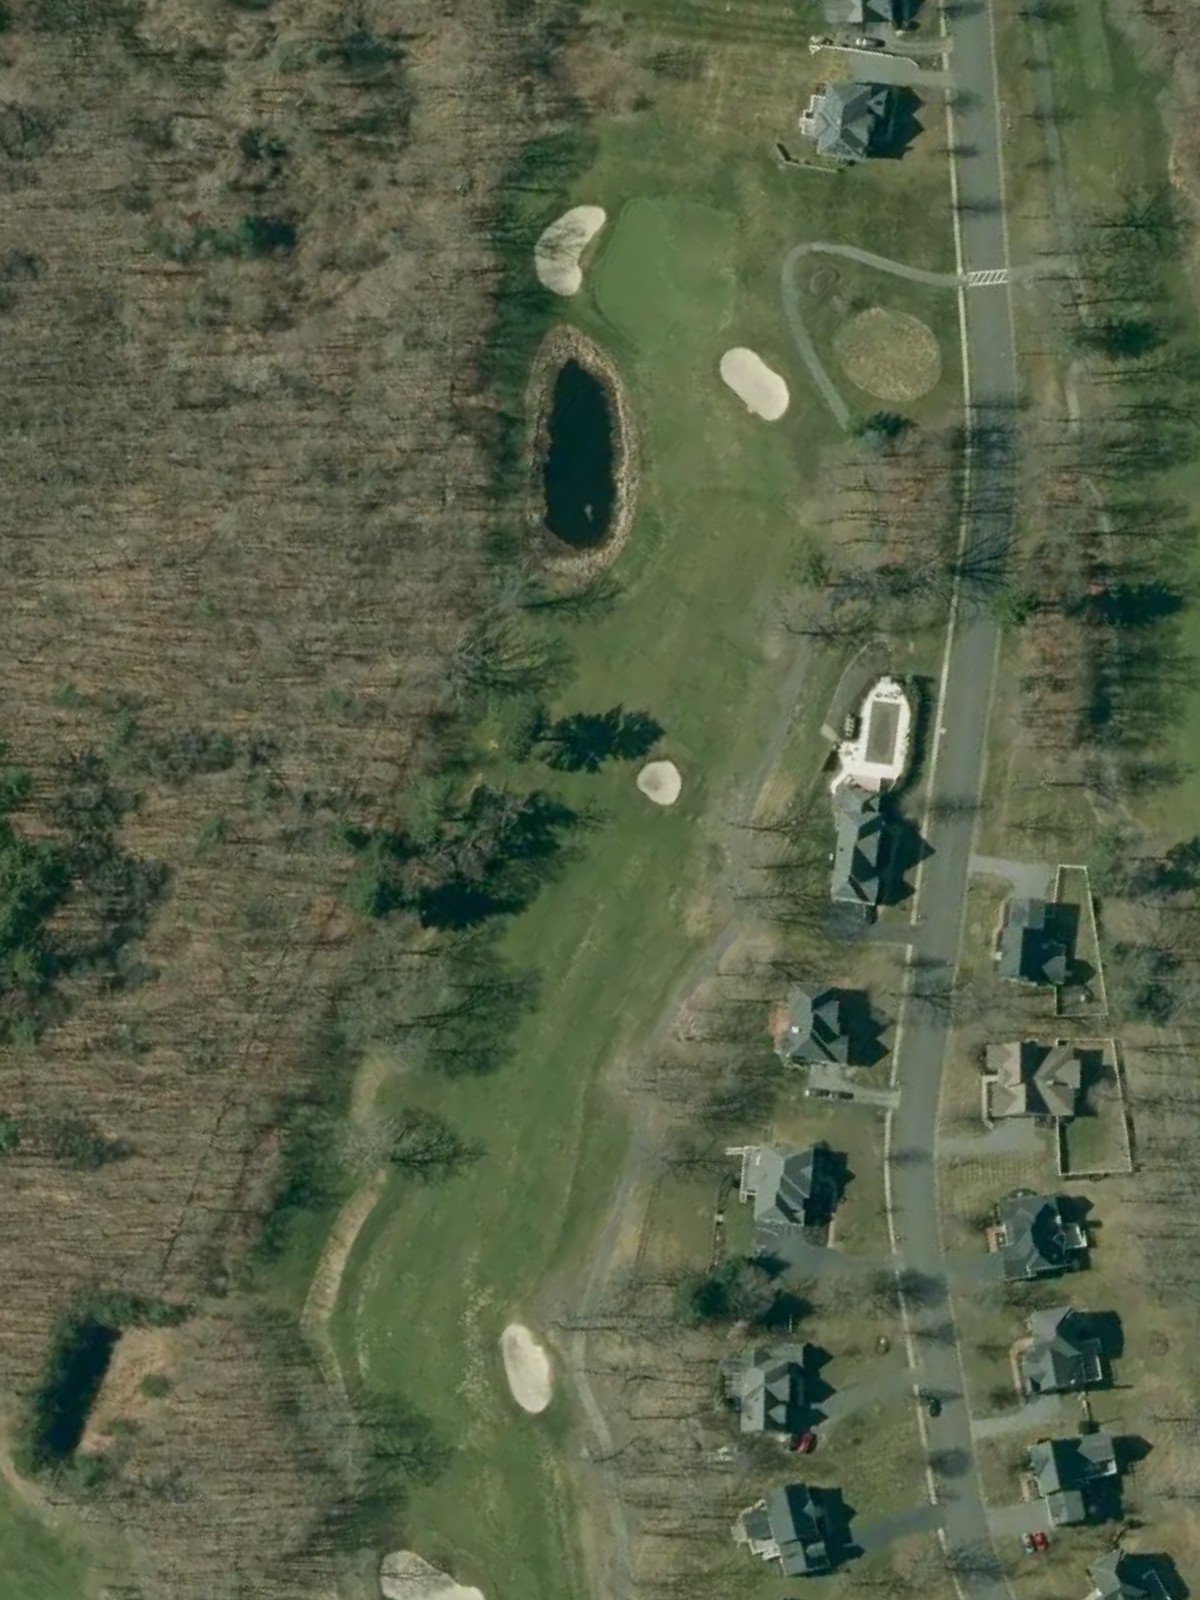
The most difficult hole on the course, this lengthy par 5 demands sustained accuracy and strategic positioning throughout. Water and/or bunker hazards come into play on the approach to a well-defended green requiring a precise finishing shot.
A strong par 4 that opens the back nine with a challenging layout featuring narrow fairways and strategic bunkering. The approach must navigate hazards guarding the green to reward solid execution.
A short par 3 with a benign layout that offers a confidence-building hole in the middle of the back side. The green is accessible with minimal hazards, making this a prime scoring opportunity.
A short par 4 that provides breathing room mid-round with a wide fairway and straightforward approach. The modest length and open green make this an ideal birdie hole with good execution.
A well-balanced par 4 with moderate length and strategic hazards positioned to challenge the golfer's decision-making. Bunkers and fairway contours frame both the tee shot and approach areas.
A relatively short par 4 offering an accessible scoring hole with reasonable fairway width and green access. The hole's modest demands provide an opportunity to post a good number before the closing stretch.
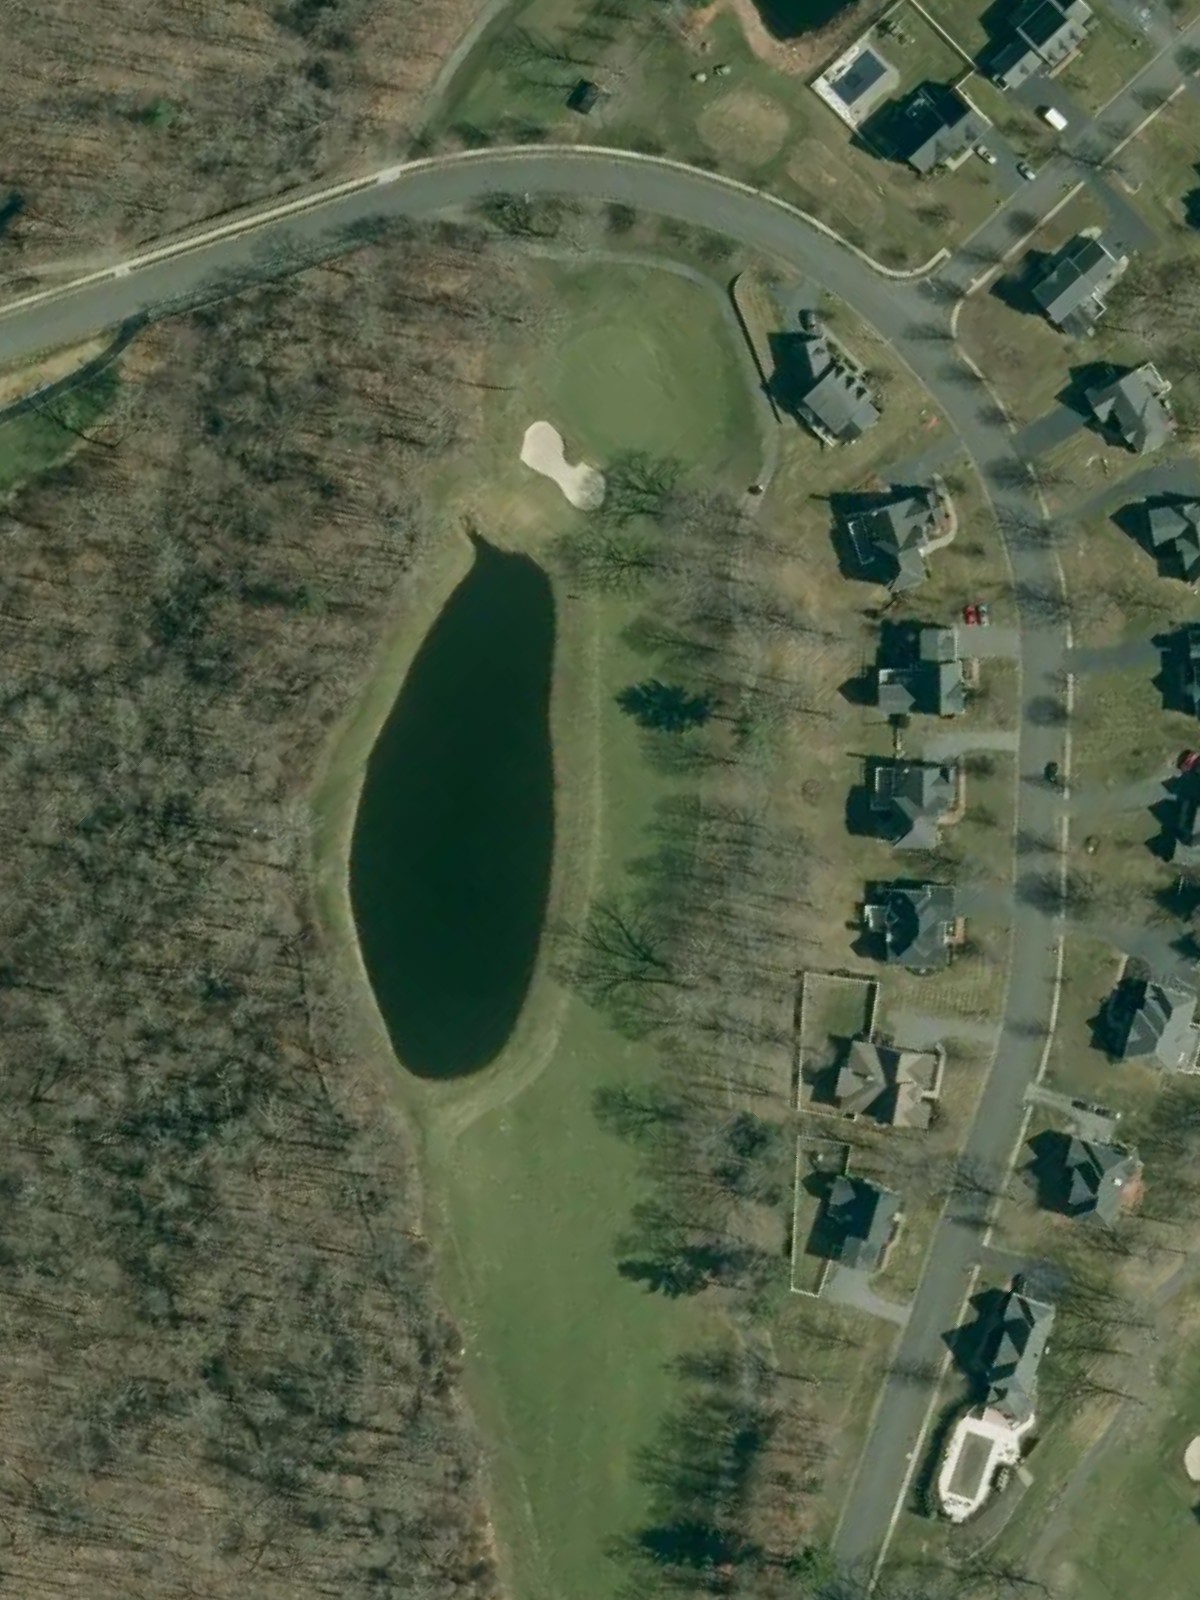
A long par 5 with length and complexity that ranks among the course's most demanding holes. Strategic positioning is critical throughout, with hazards guarding the approach to a well-protected green.
The second-most difficult hole on the course, this par 4 plays significantly longer than it appears and features tight fairways with severe penalties for wayward shots. Bunkers and hazards are strategically positioned to punish anything but precise execution.
The shortest par 3 on the course, this finishing hole provides a welcome reprieve before the final par 5. The small green is relatively accessible, offering a chance to build momentum into the home hole.
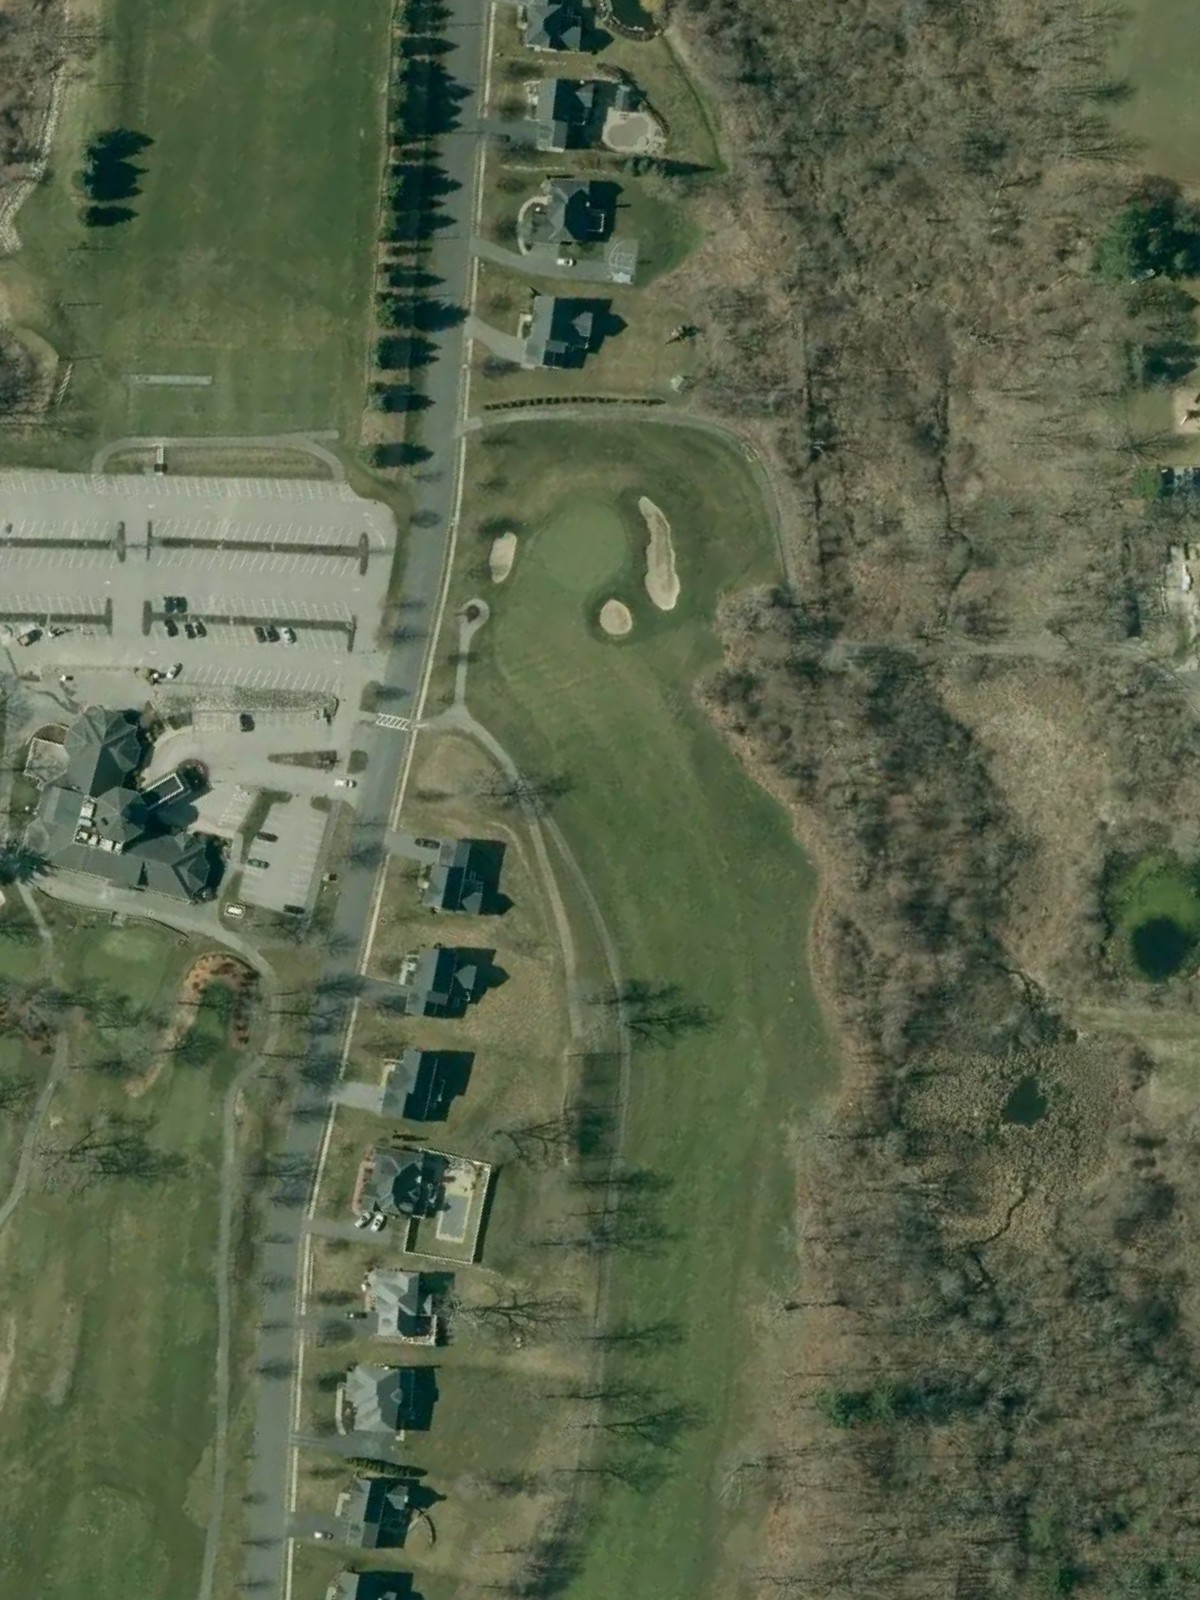
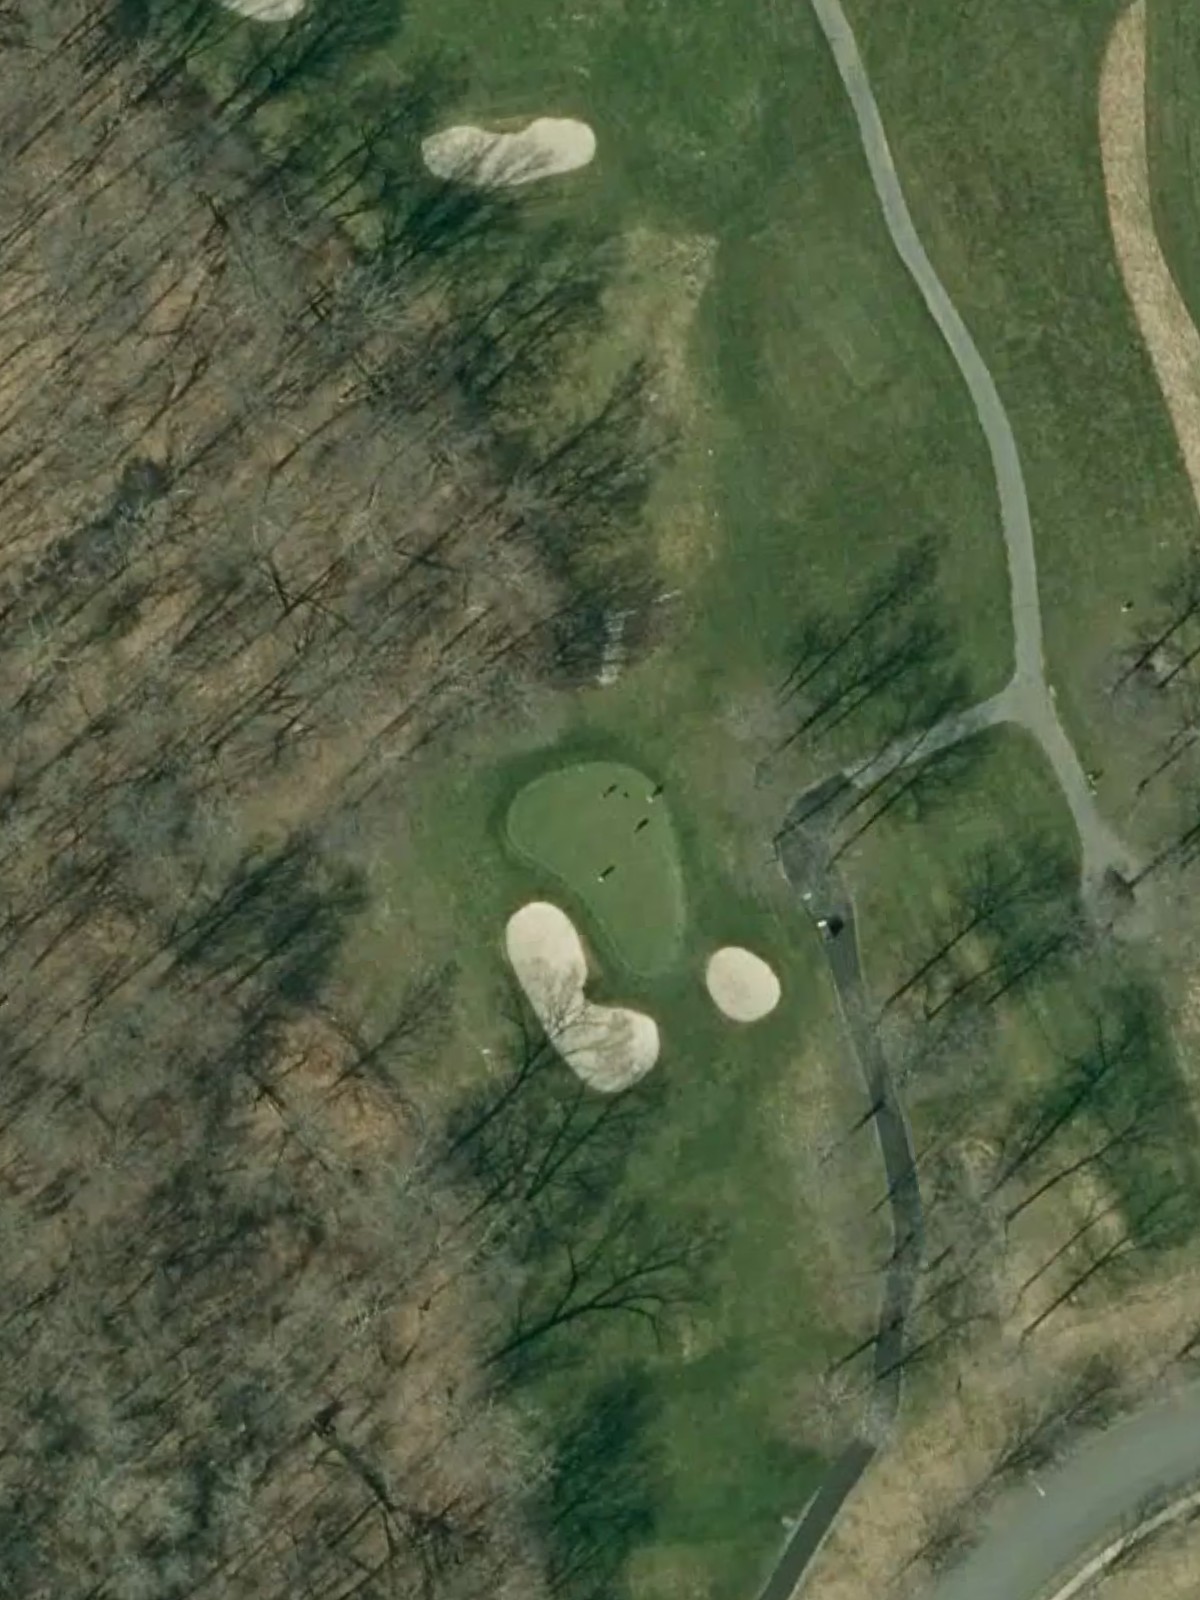
A fitting final par 5 with length and strategic complexity that demands accurate positioning on both the tee and second shot. The well-bunkered approach and green reward sustained accuracy with a closing birdie opportunity.
Scorecard
| Hole | 1 | 2 | 3 | 4 | 5 | 6 | 7 | 8 | 9 | Out | 10 | 11 | 12 | 13 | 14 | 15 | 16 | 17 | 18 | In | Tot |
|---|---|---|---|---|---|---|---|---|---|---|---|---|---|---|---|---|---|---|---|---|---|
| Par | 5 | 3 | 4 | 4 | 3 | 4 | 4 | 4 | 5 | 36 | 4 | 3 | 4 | 4 | 4 | 5 | 4 | 3 | 5 | 36 | 72 |
| HCP | 9 | 17 | 3 | 11 | 13 | 7 | 5 | 15 | 1 | 6 | 10 | 16 | 8 | 12 | 4 | 2 | 18 | 14 | |||
| black | 530 | 158 | 425 | 380 | 235 | 400 | 425 | 340 | 595 | 3488 | 430 | 160 | 330 | 395 | 326 | 500 | 486 | 140 | 510 | 3277 | 6765 |
| gold | 485 | 138 | 385 | 345 | 218 | 374 | 370 | 319 | 545 | 3179 | 395 | 145 | 300 | 375 | 301 | 476 | 481 | 140 | 478 | 3091 | 6270 |
| white | 483 | 120 | 350 | 328 | 184 | 319 | 332 | 283 | 525 | 2924 | 388 | 129 | 285 | 356 | 262 | 459 | 376 | 105 | 469 | 2829 | 5753 |
| green | 418 | 100 | 309 | 303 | 165 | 290 | 328 | 261 | 475 | 2649 | 333 | 108 | 246 | 302 | 251 | 417 | 327 | 90 | 410 | 2484 | 5133 |
| red | 350 | 97 | 300 | 297 | 160 | 215 | 222 | 210 | 425 | 2276 | 280 | 114 | 215 | 298 | 240 | 413 | 285 | 86 | 360 | 2291 | 4567 |