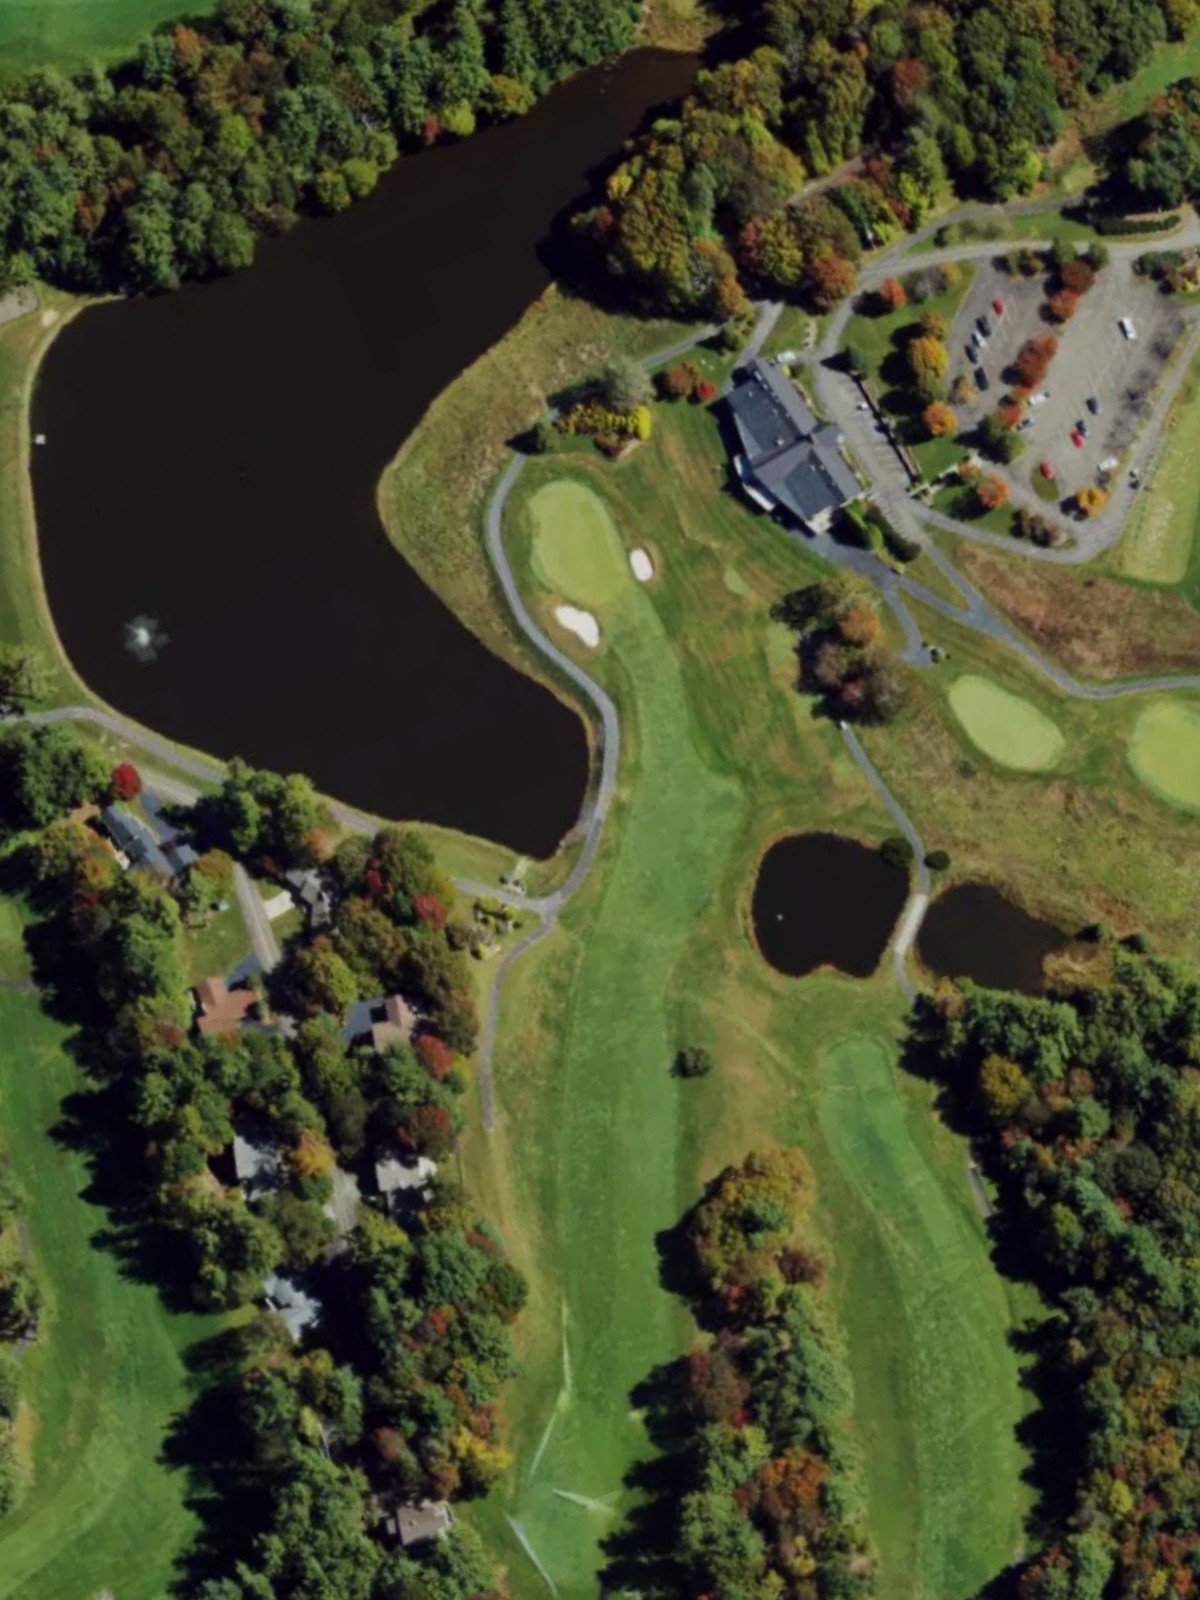
High Meadows Cc (Nc) is an 18-hole golf course in Roaring Gap, NC with a par of 72. It offers 7 tee sets: blue tees (6,698 yards, slope 130, rating 72.1), white tees (6,274 yards, slope 126, rating 70.2), gold tees (5,831 yards, slope 119, rating 68.2), gold/green hybrid (5,519 yards, slope 115, rating 67), green tees (5,267 yards, slope 111, rating 65.8), red tees (4,691 yards, slope 107, rating 63.8), orange tees (3,970 yards, slope 103, rating 61). The hardest hole is #3, a par 4 playing 267 yards from the first tee.
High Meadows Cc (Nc)
Roaring Gap, NC
Get PDF Yardage Book
We'll email you the PDF link. No spam, ever.
Create Your Game Plan
Pick your tees, enter your bag, and get a personalized shot-by-shot strategy for every hole.
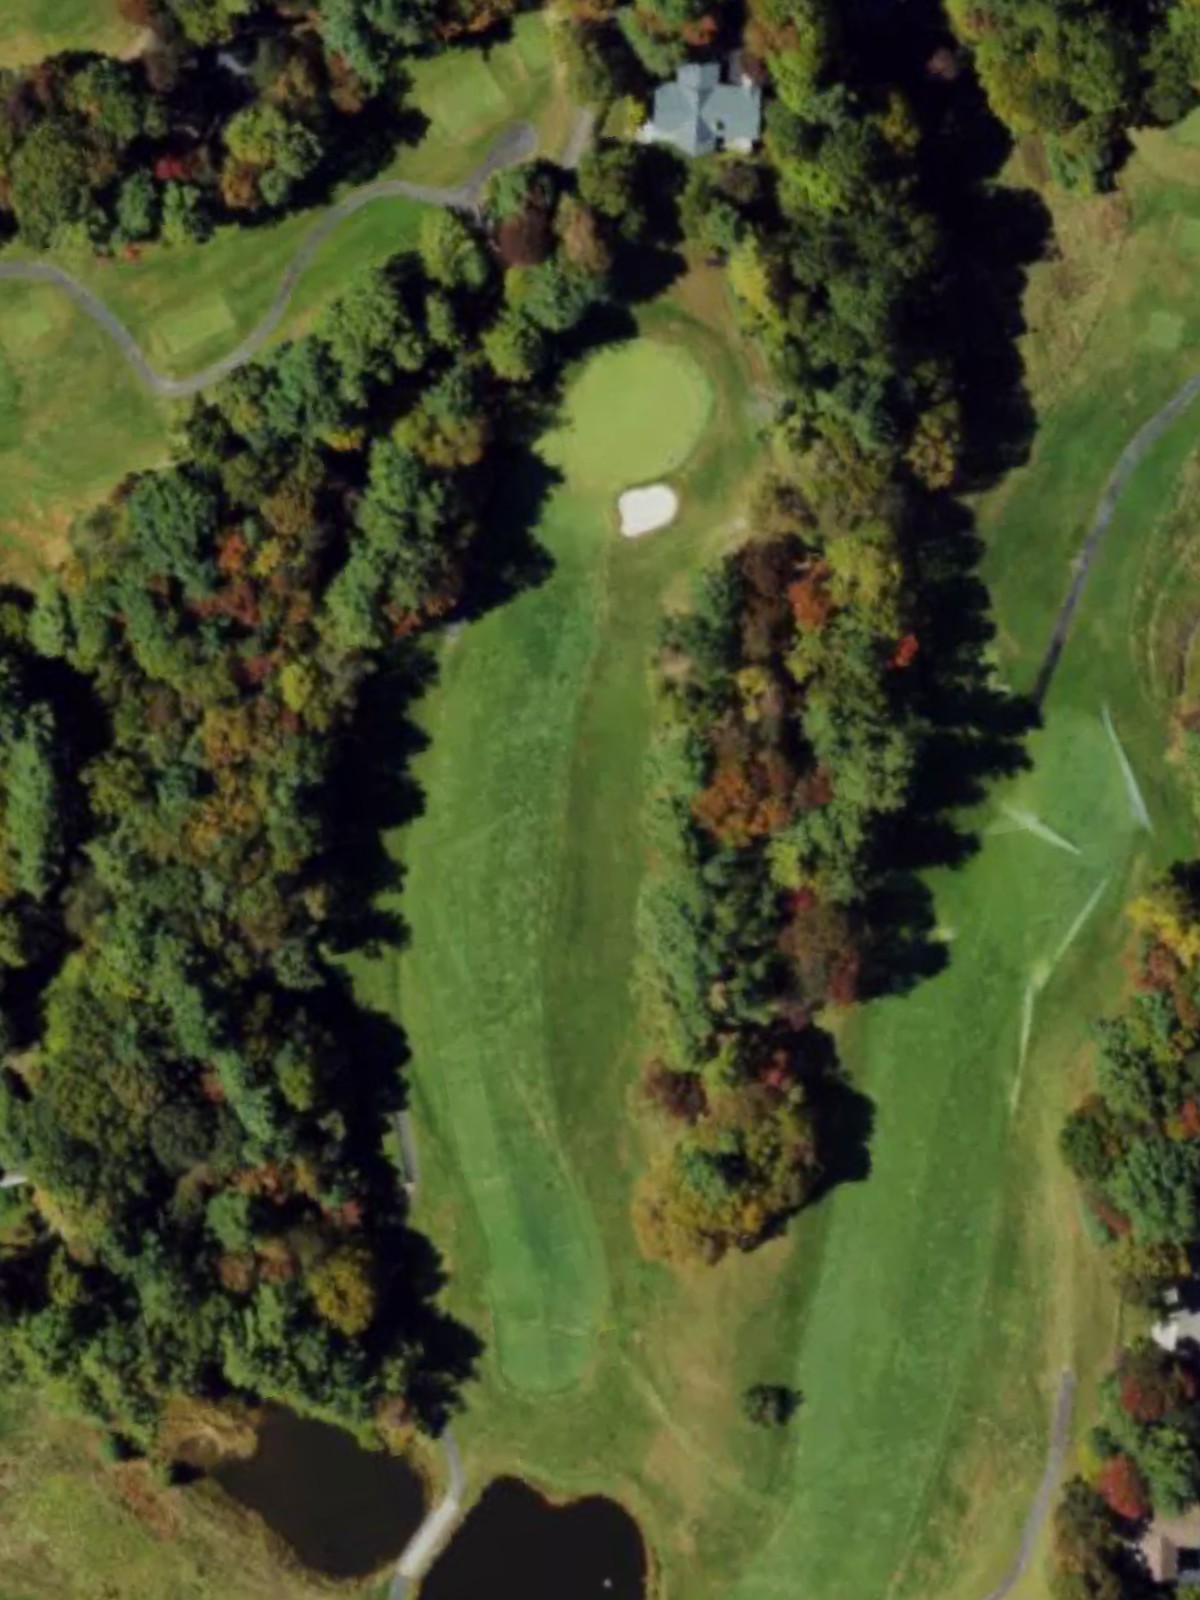
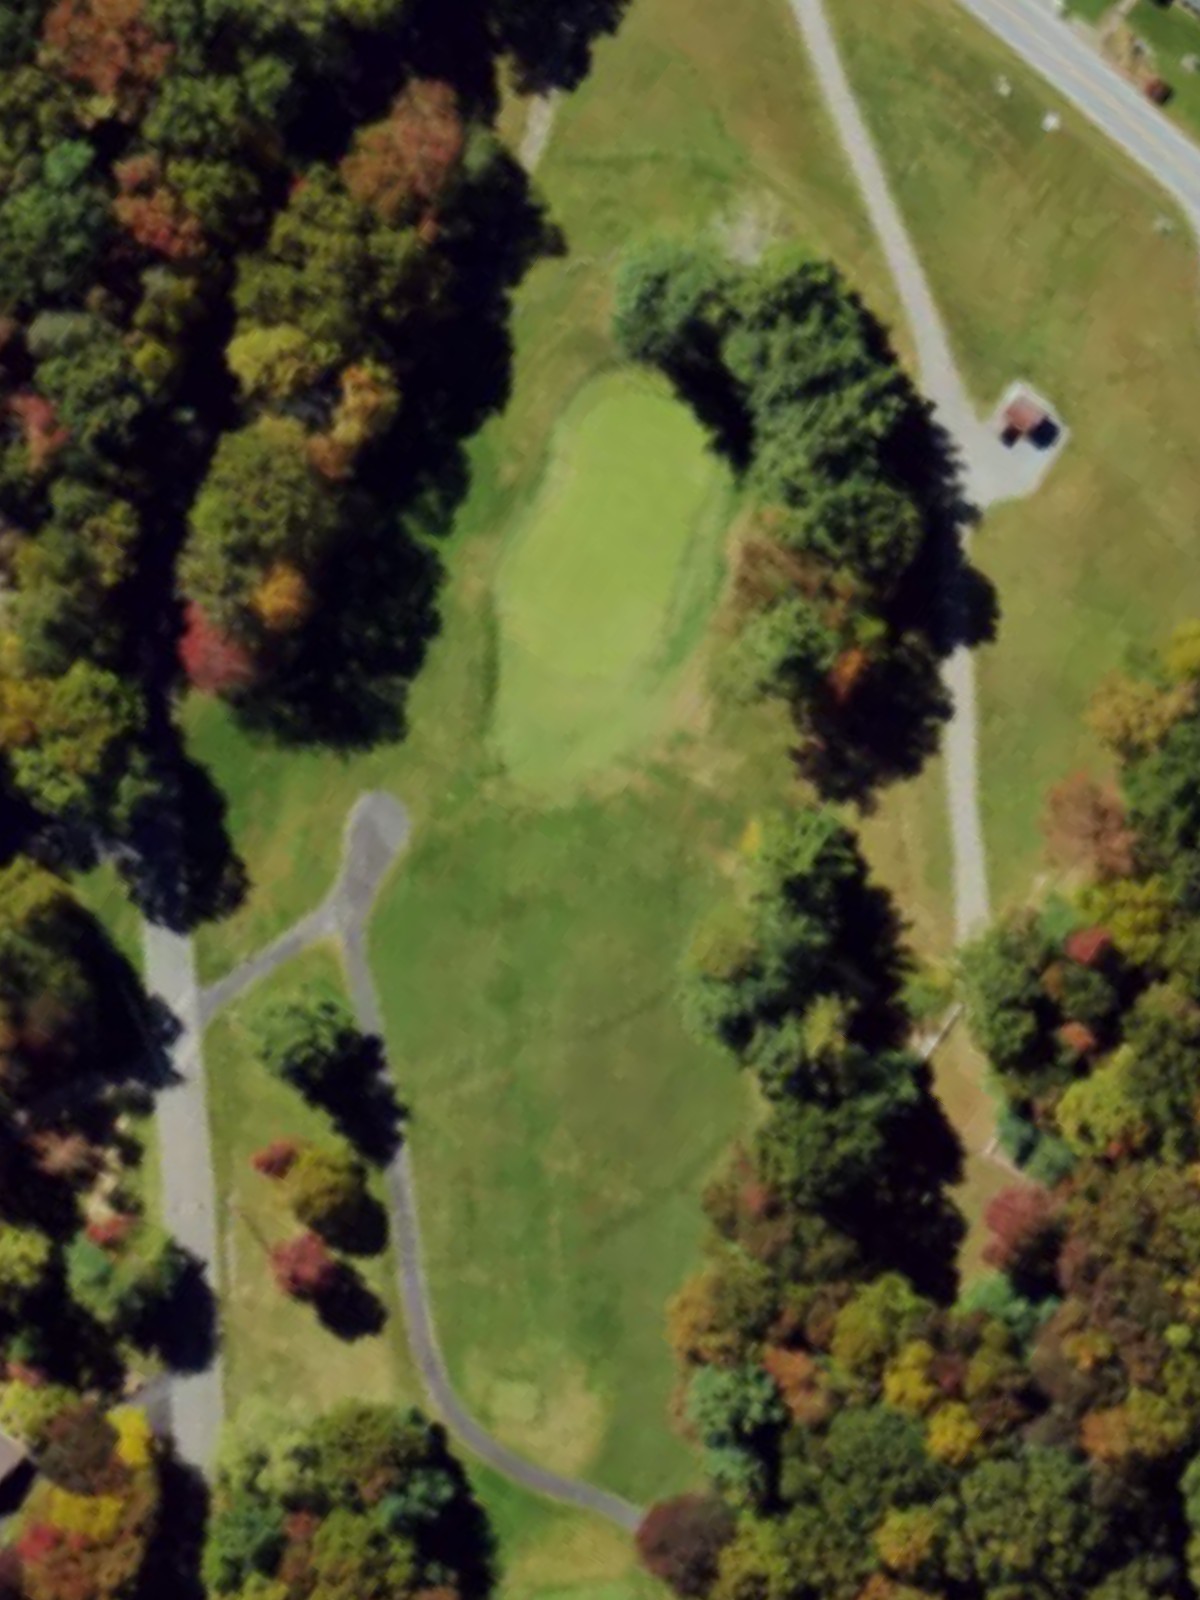
A relatively short and straightforward opening par 4 with a wide fairway that provides a forgiving first impression. The green is protected by bunkers on the right, requiring accuracy on the approach shot to avoid sand.
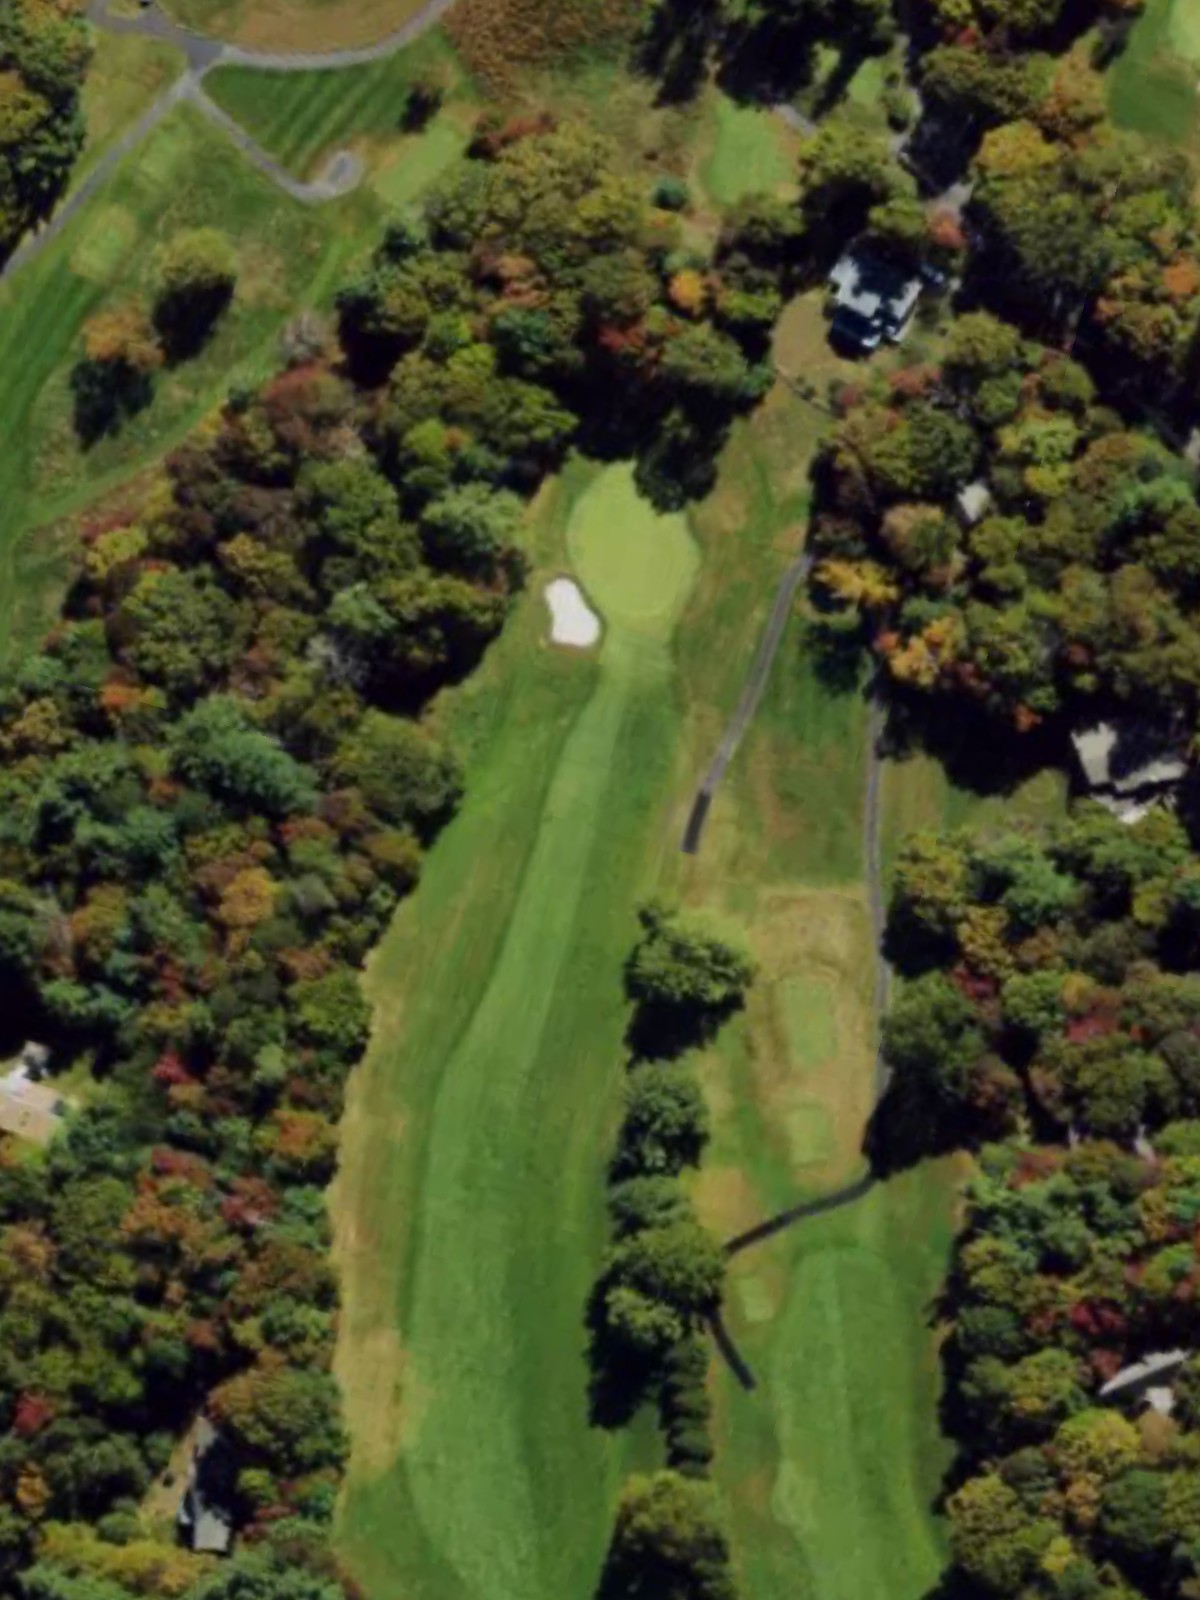
A moderate par 4 that plays as a gentle dogleg with room to work off the tee. The fairway opens toward the green, though bunkers frame the putting surface and demand precision with the approach.
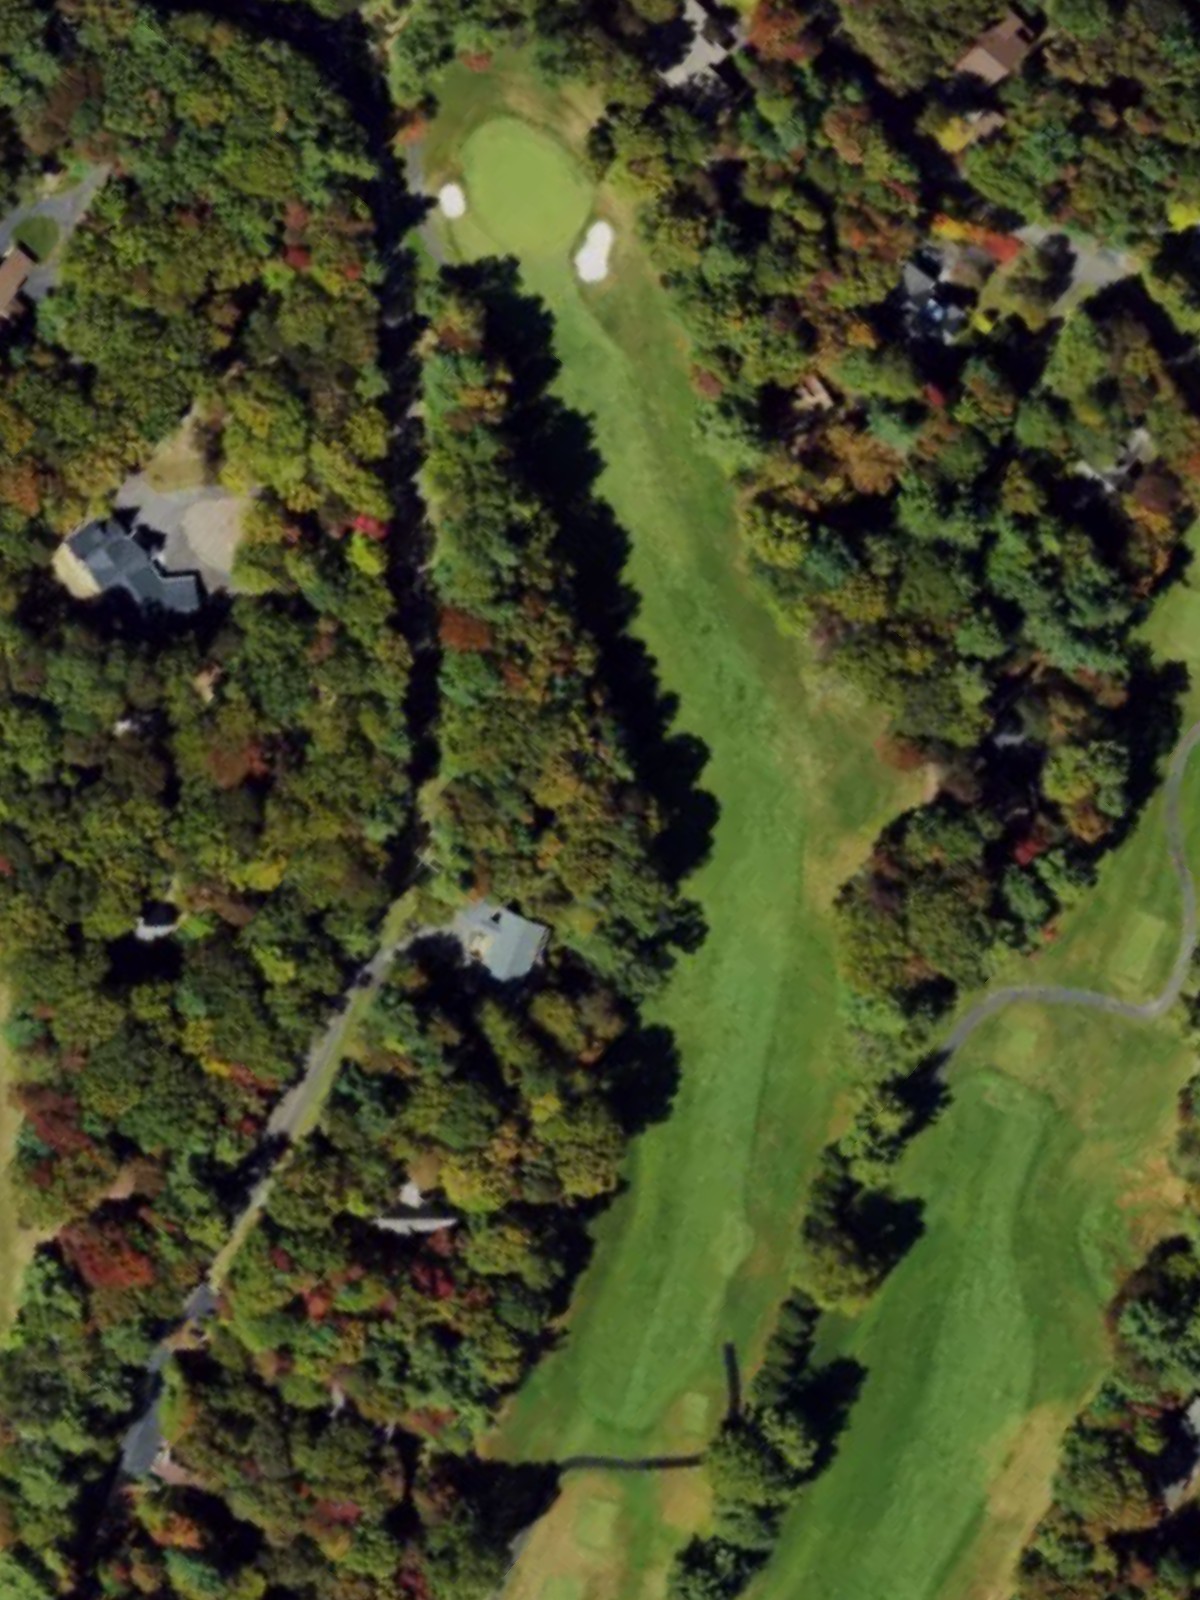
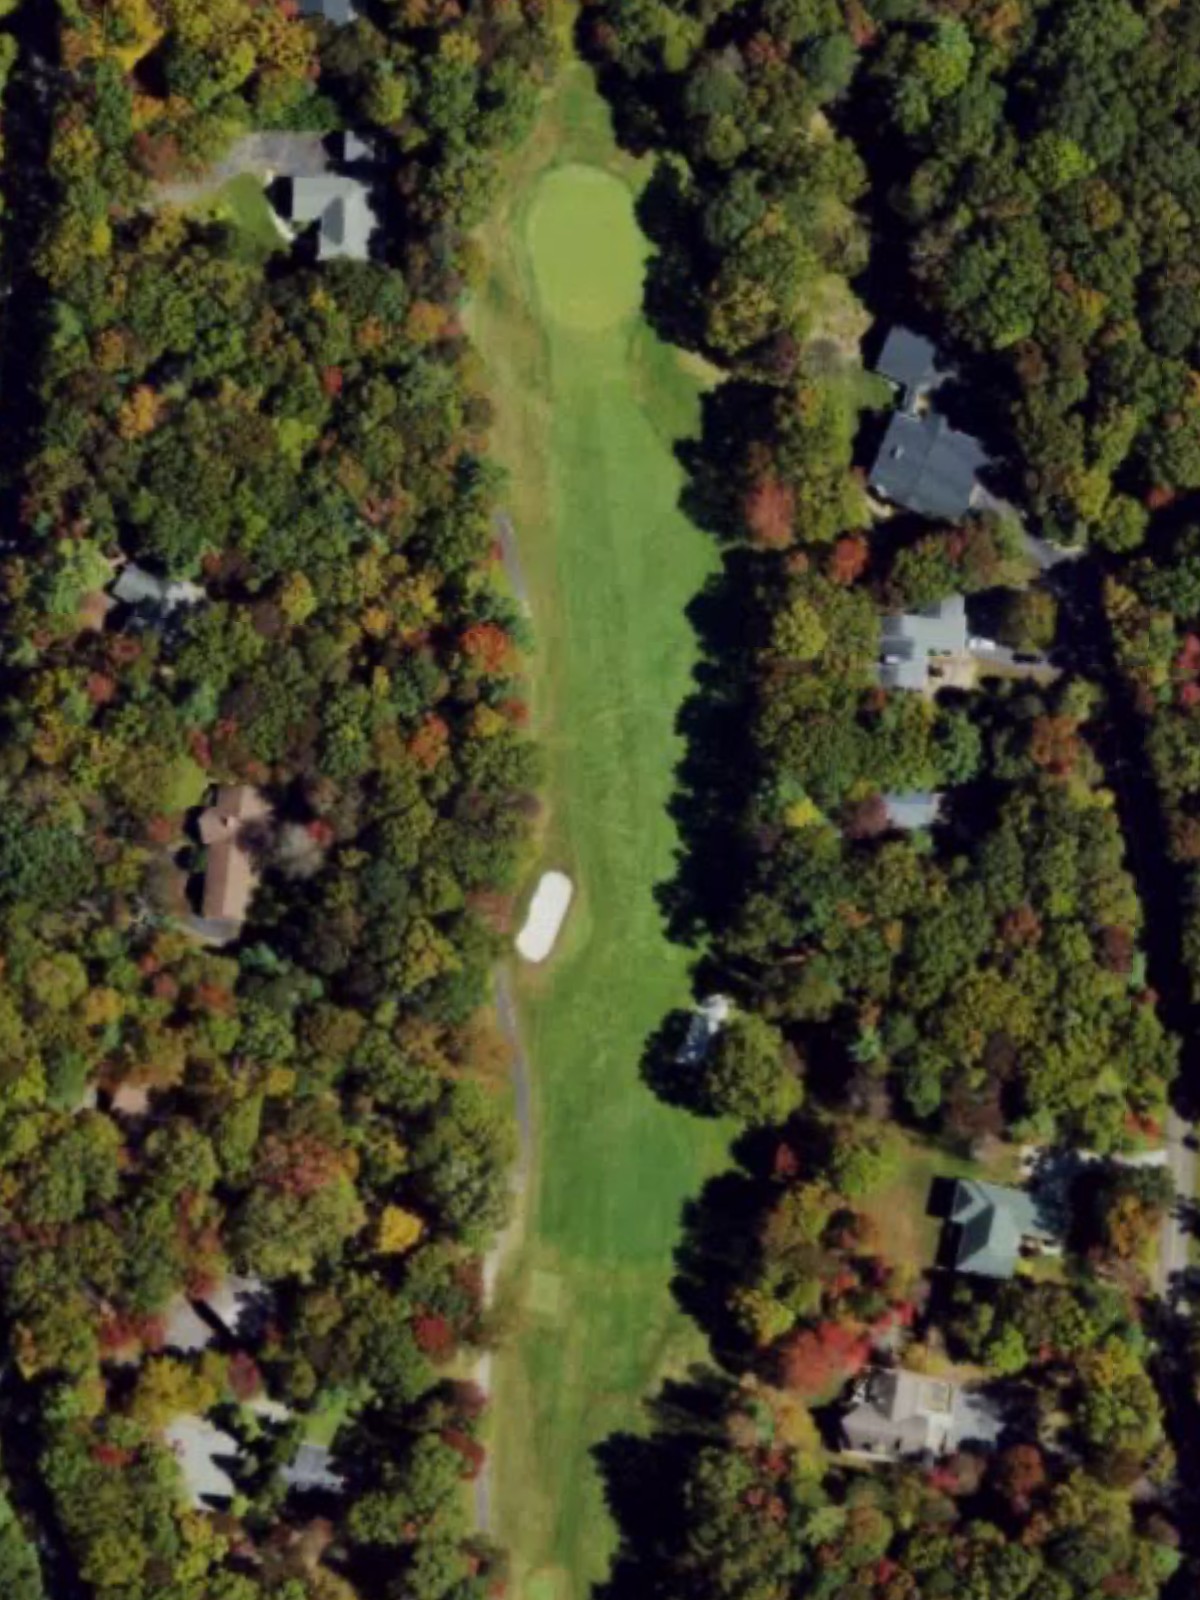
The number-one handicap hole plays as a challenging par 4 with length and a demanding approach into the green. Hazards guard the green complex, making this a significant test that punishes loose play.
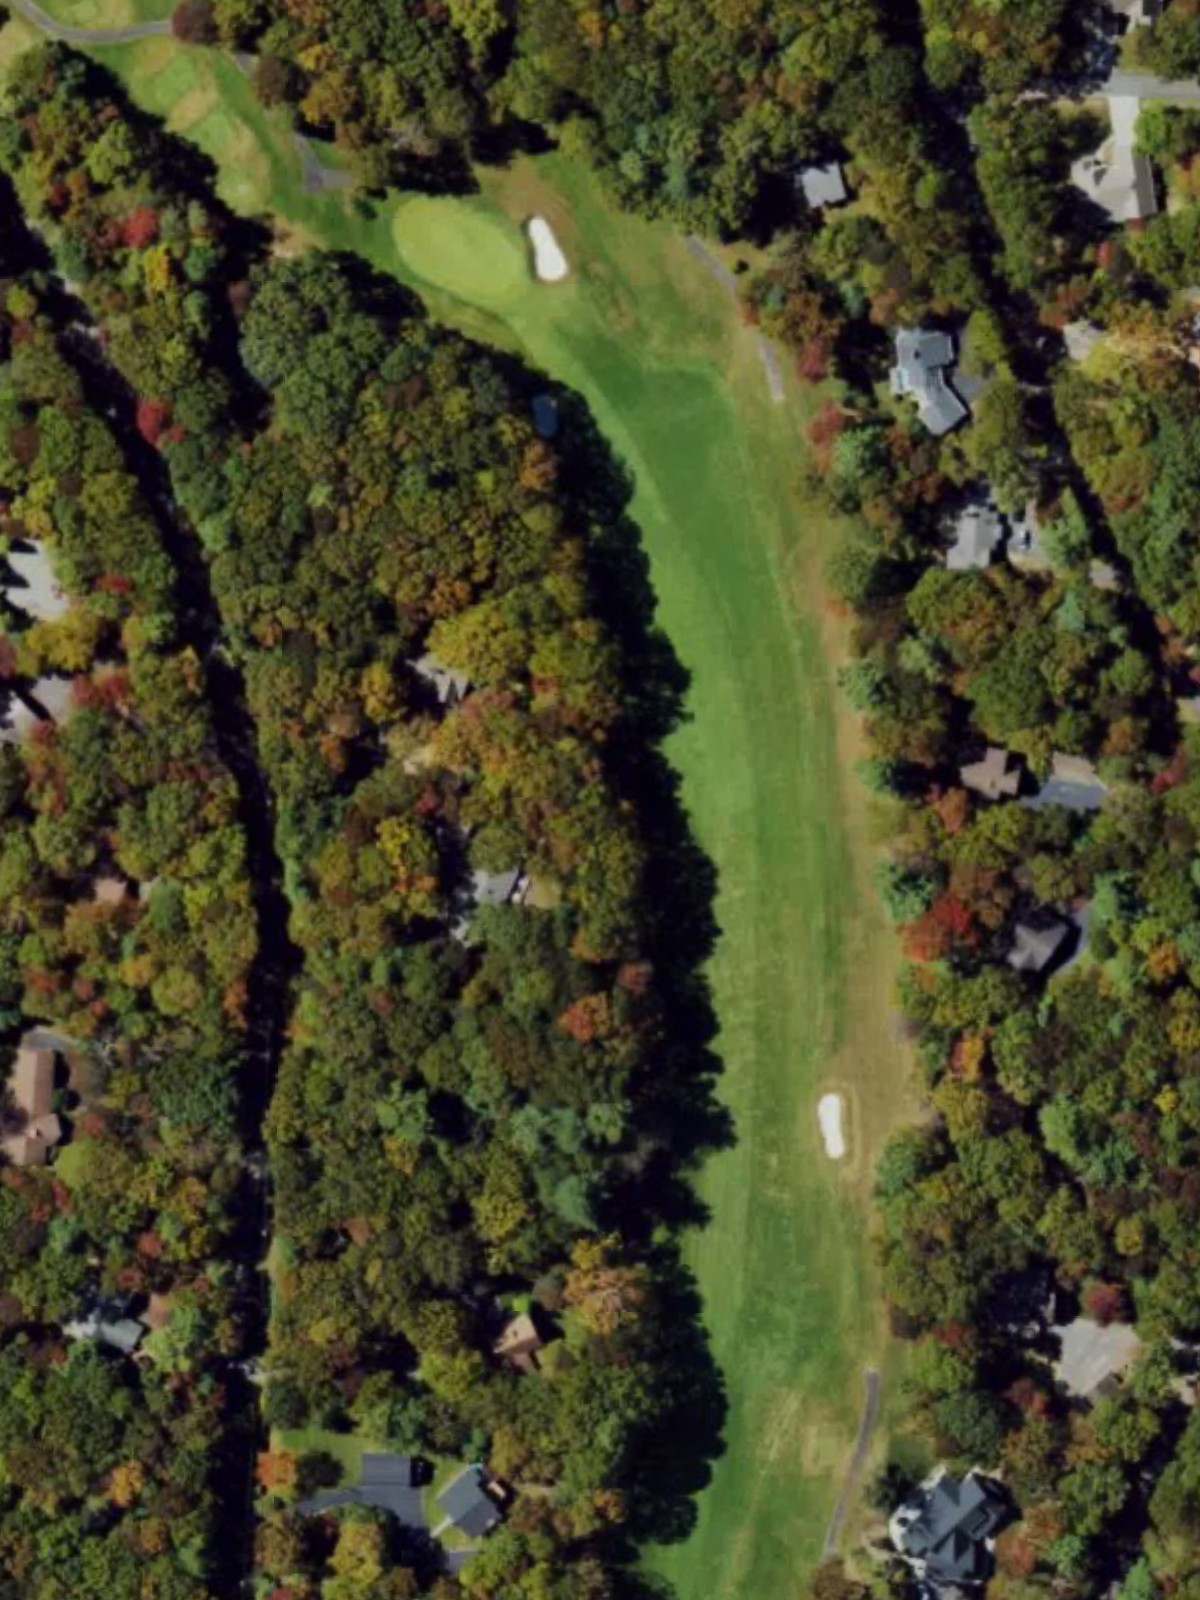
A reachable par 5 that offers scoring opportunity for longer hitters willing to commit to aggressive play. The fairway is relatively open, though accuracy is required to set up a manageable approach to the green.
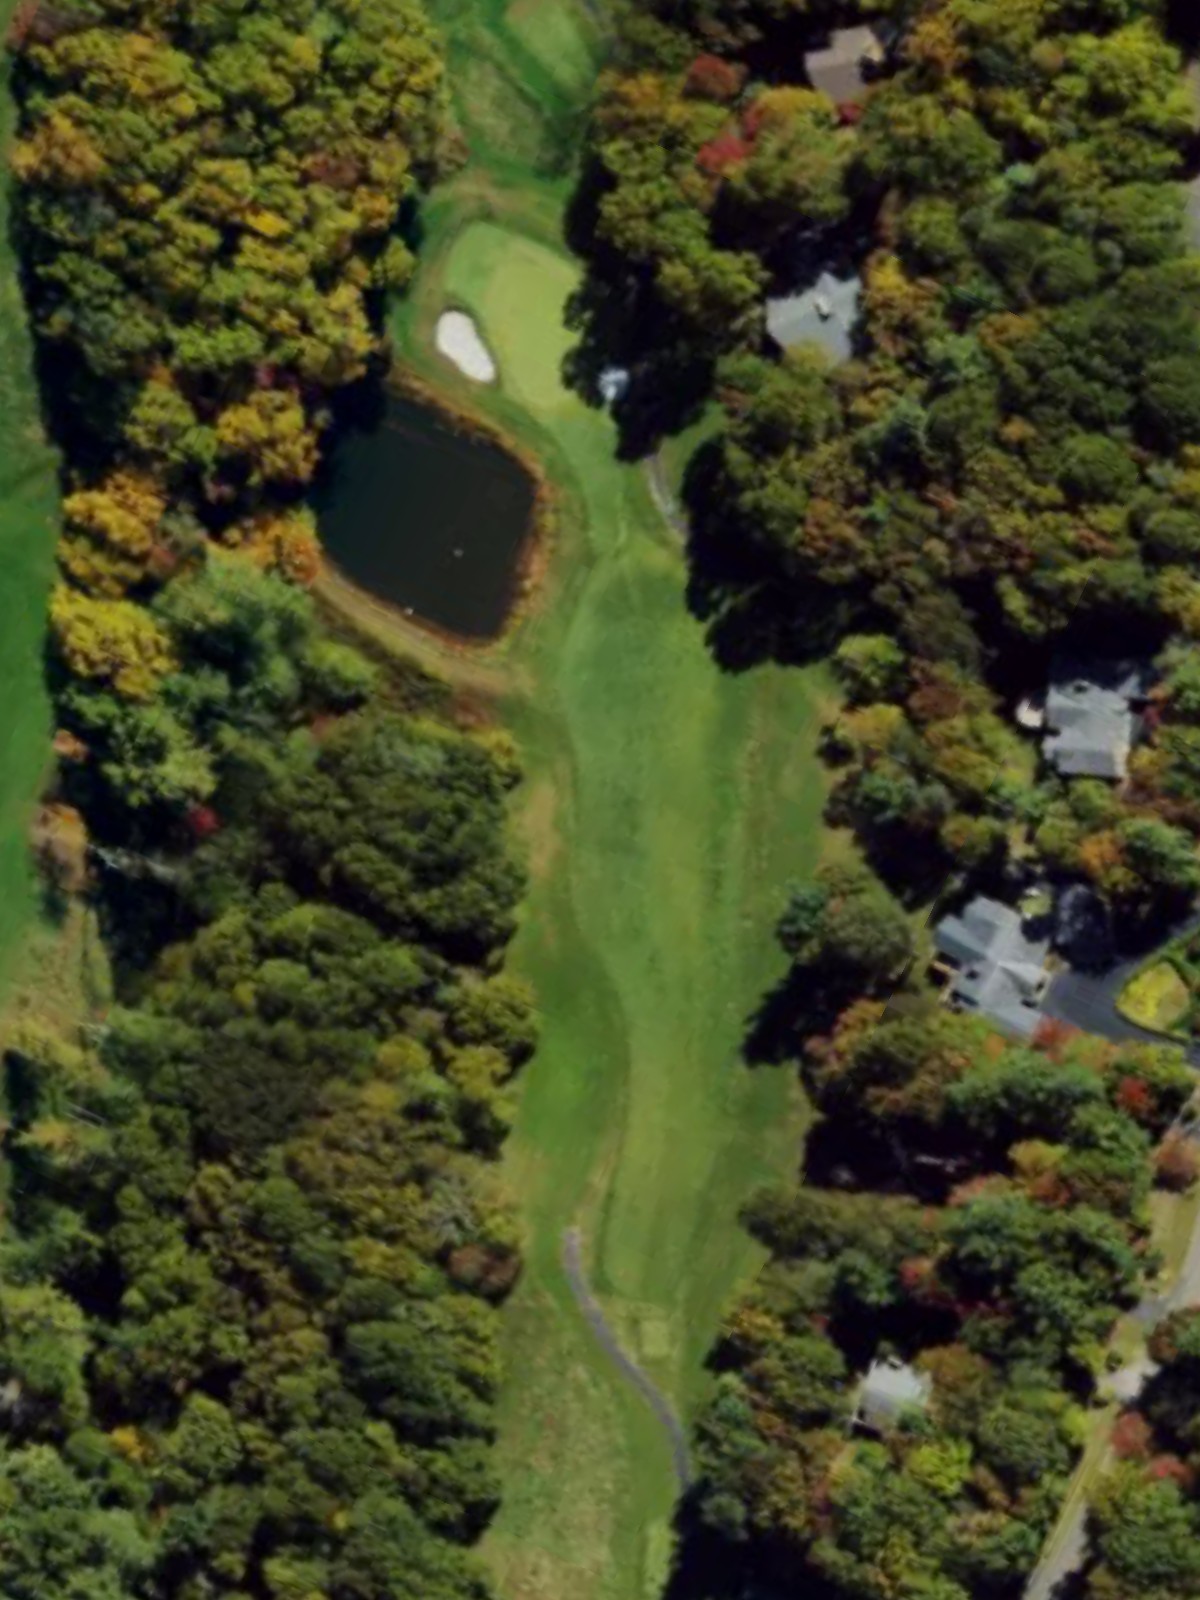
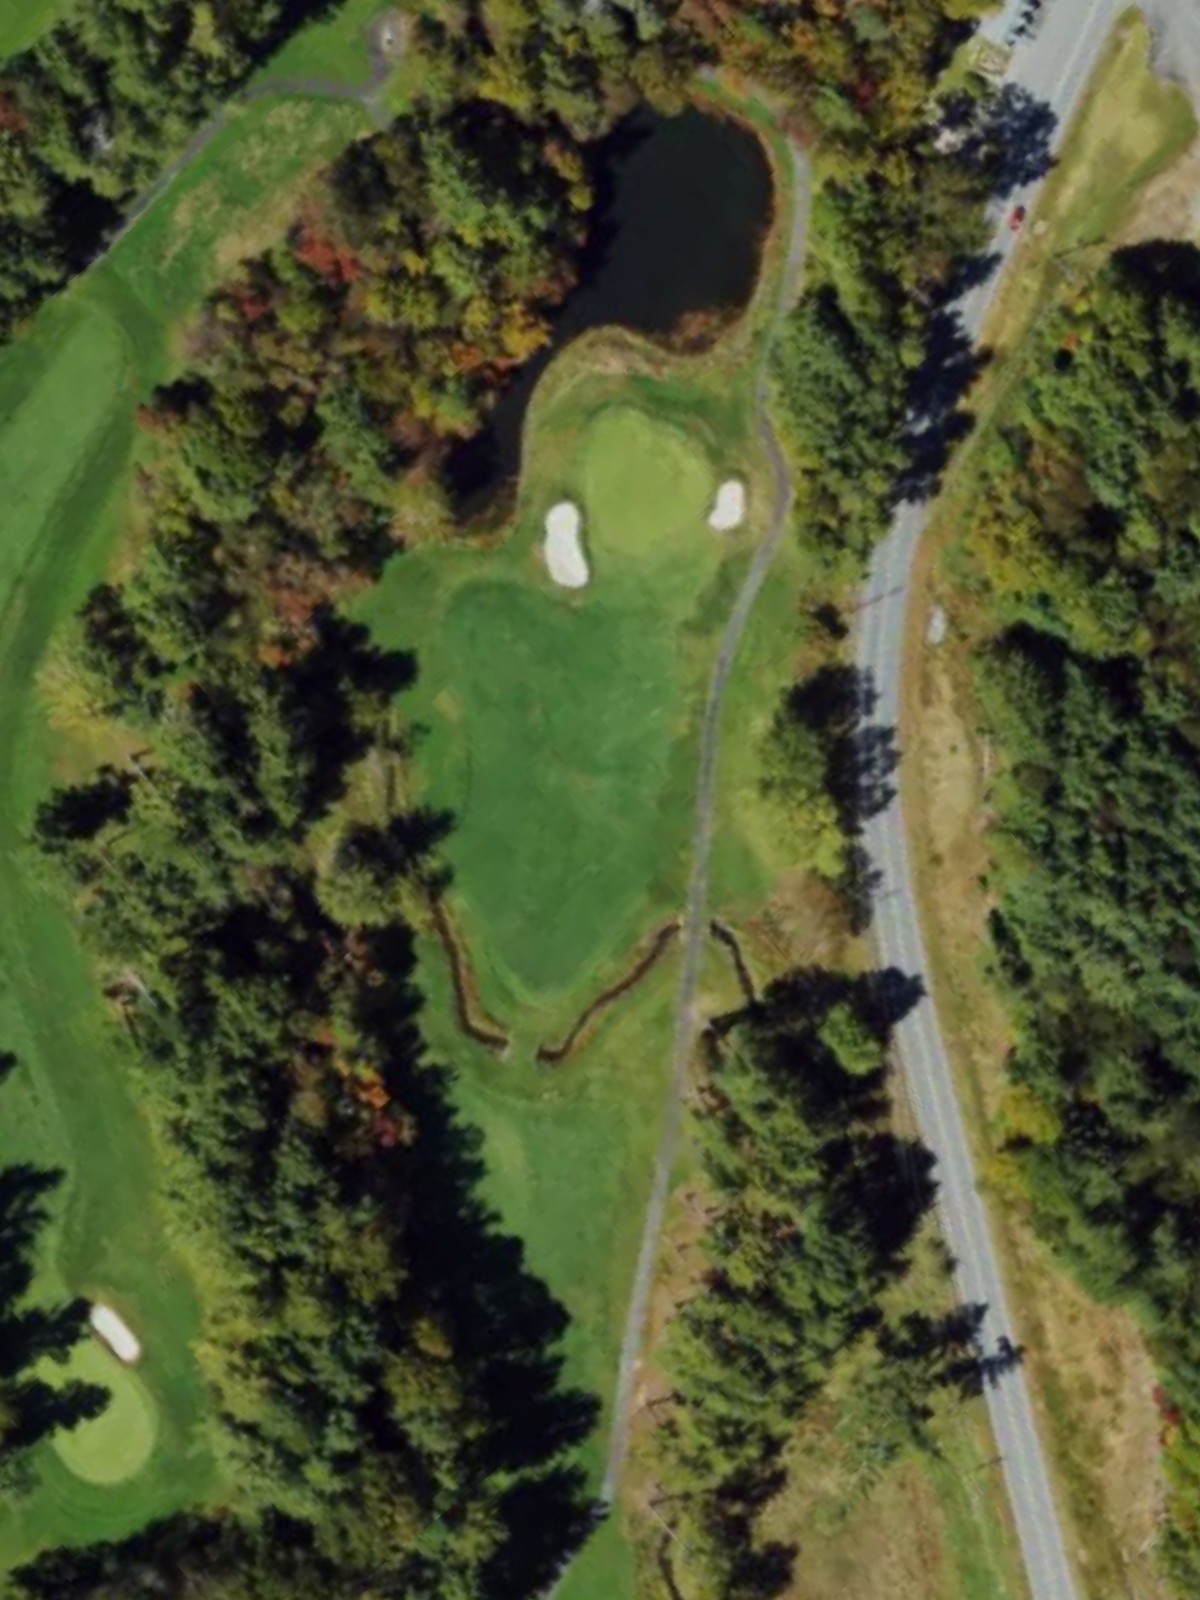
A short par 3 that demands accuracy over distance, with water and bunkers positioned to catch wayward shots. The compact green complex requires a precise tee shot to secure par or better.
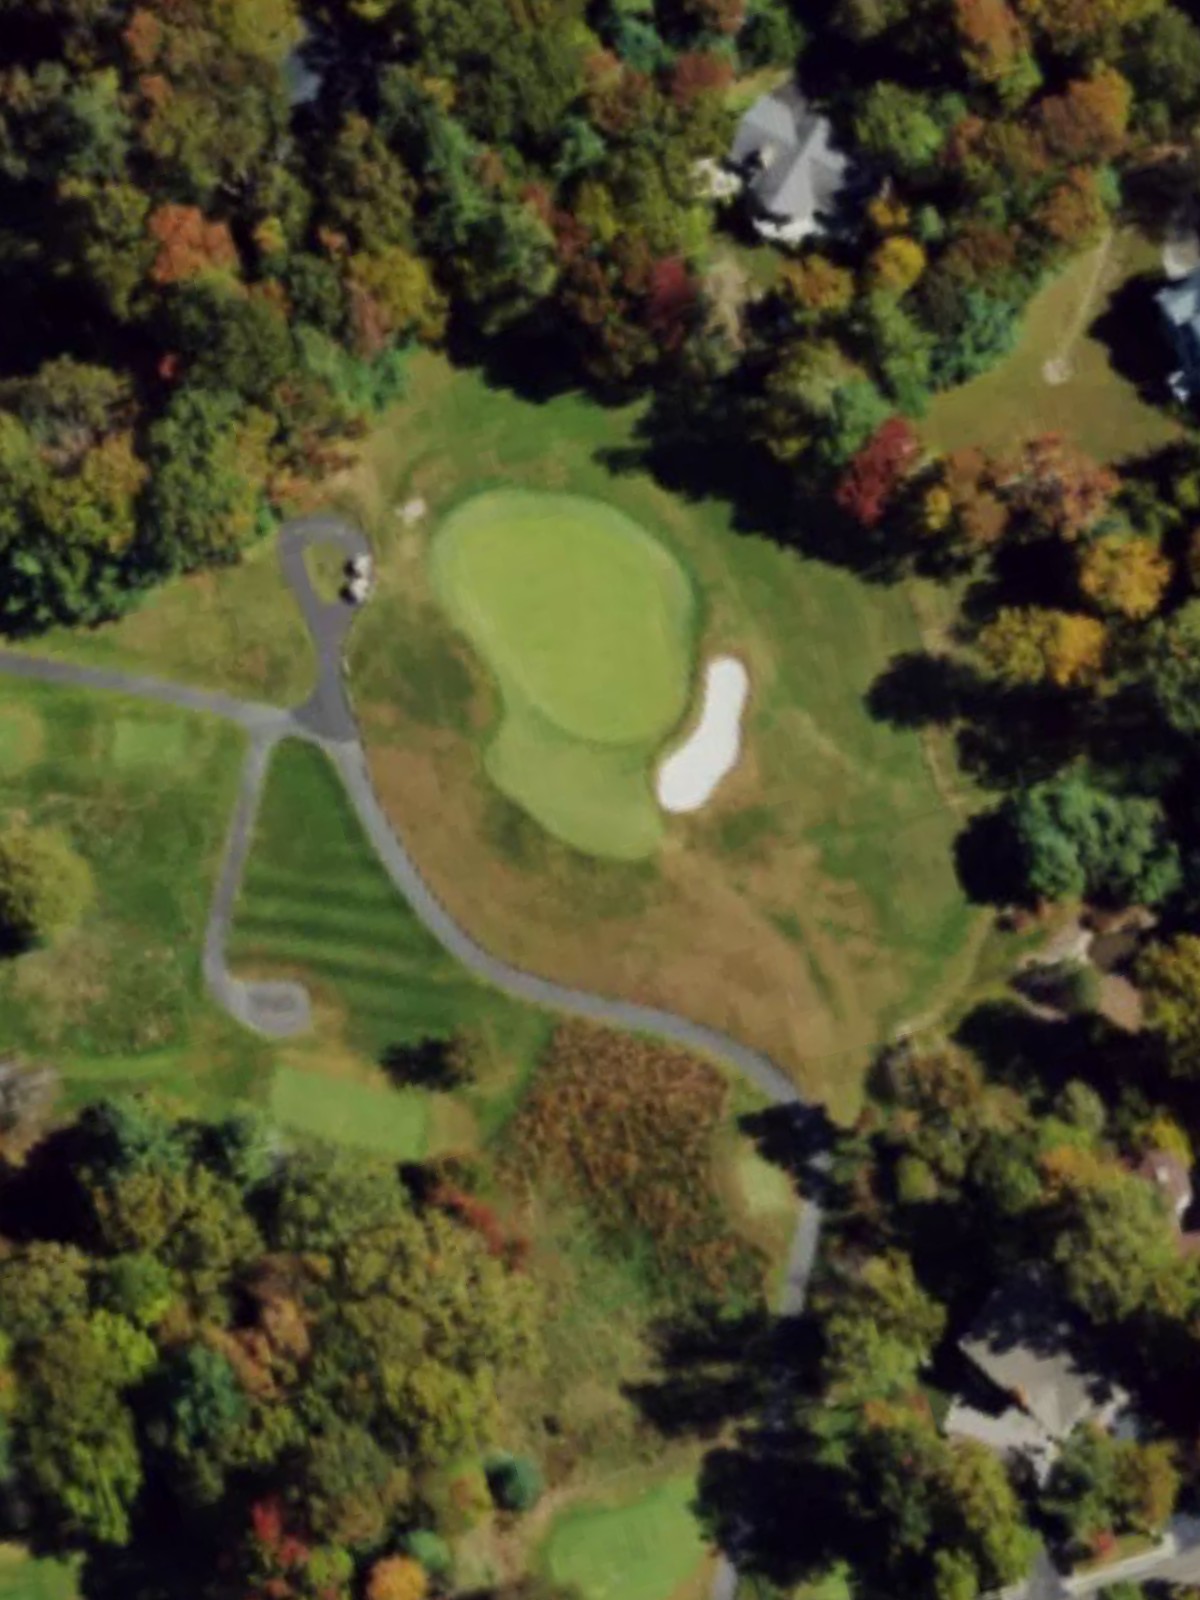
A strong par 4 with a defined shape and narrow approach into a well-bunkered green. The hazard placement rewards placement off the tee and punishes inaccuracy with the approach shot.

A longer par 5 that offers birdie potential for solid players but requires two quality shots to position for a manageable approach. The fairway configuration tests both distance and accuracy throughout the hole.
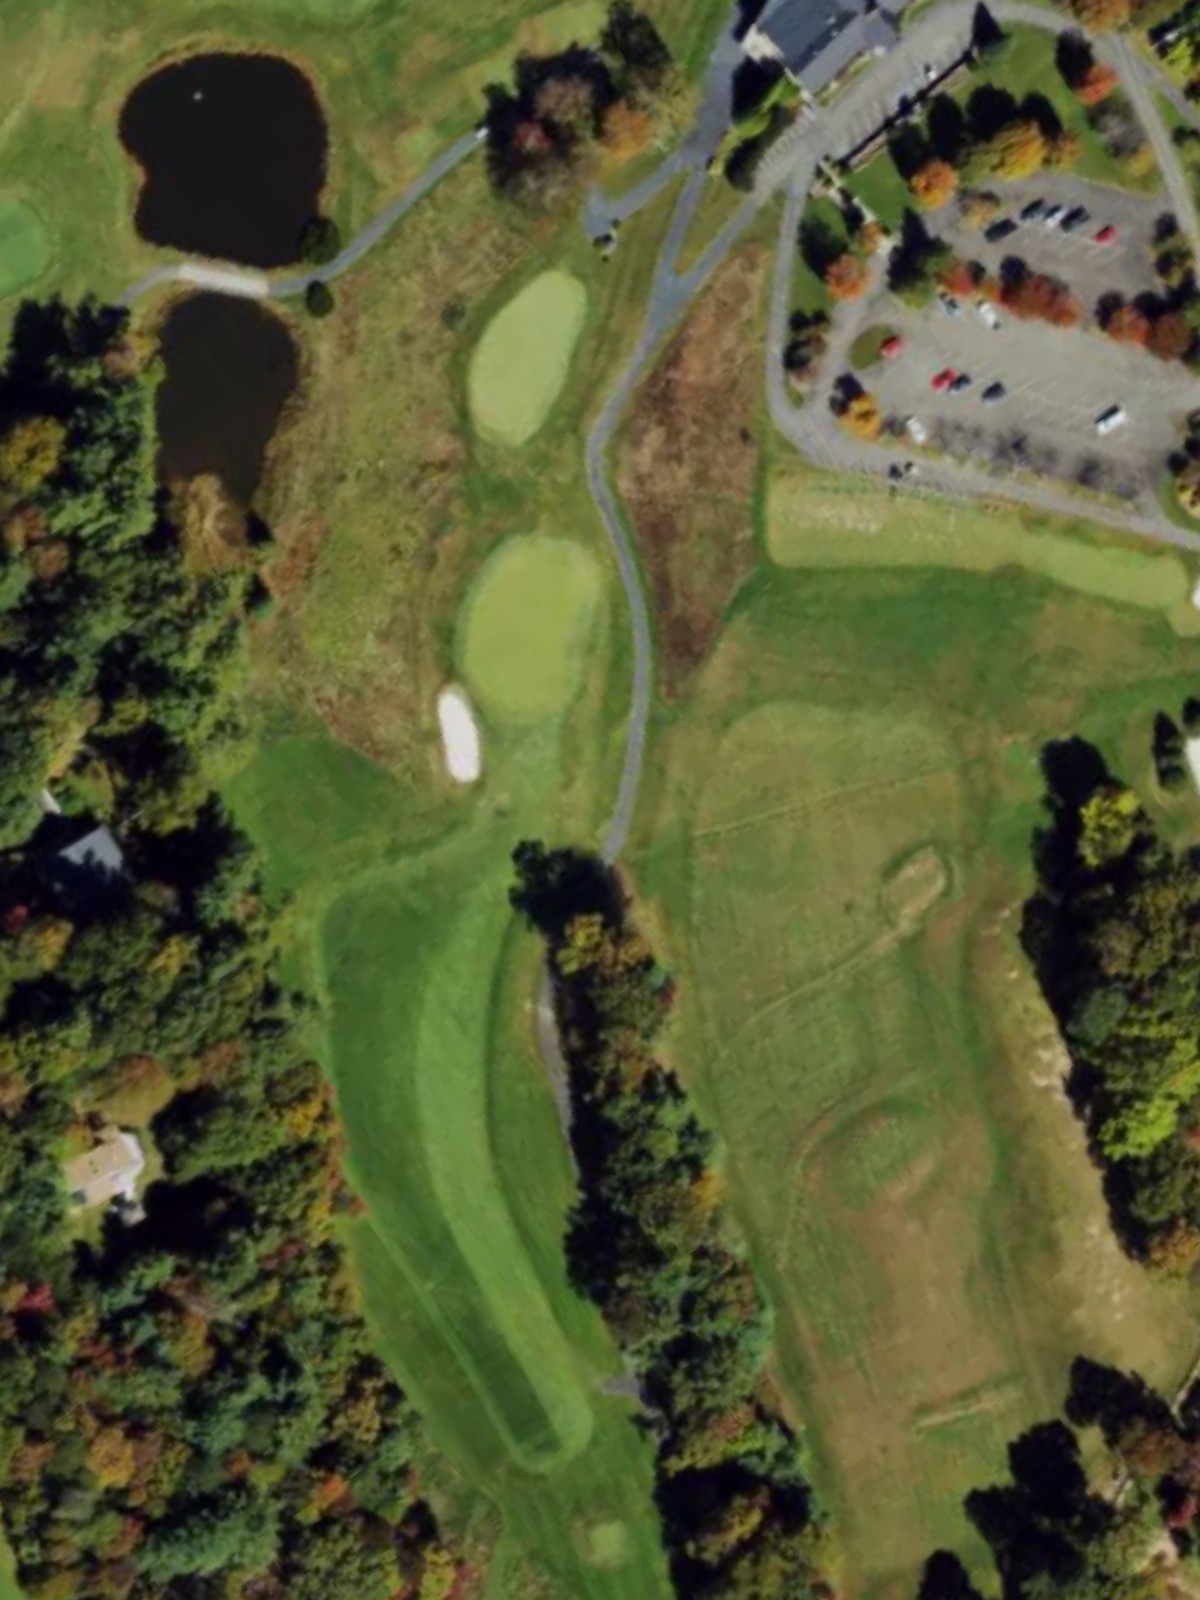
A very short par 3 that plays to a compact green with minimal margin for error. The hazards surrounding the green make this a deceptively challenging one-shot hole.
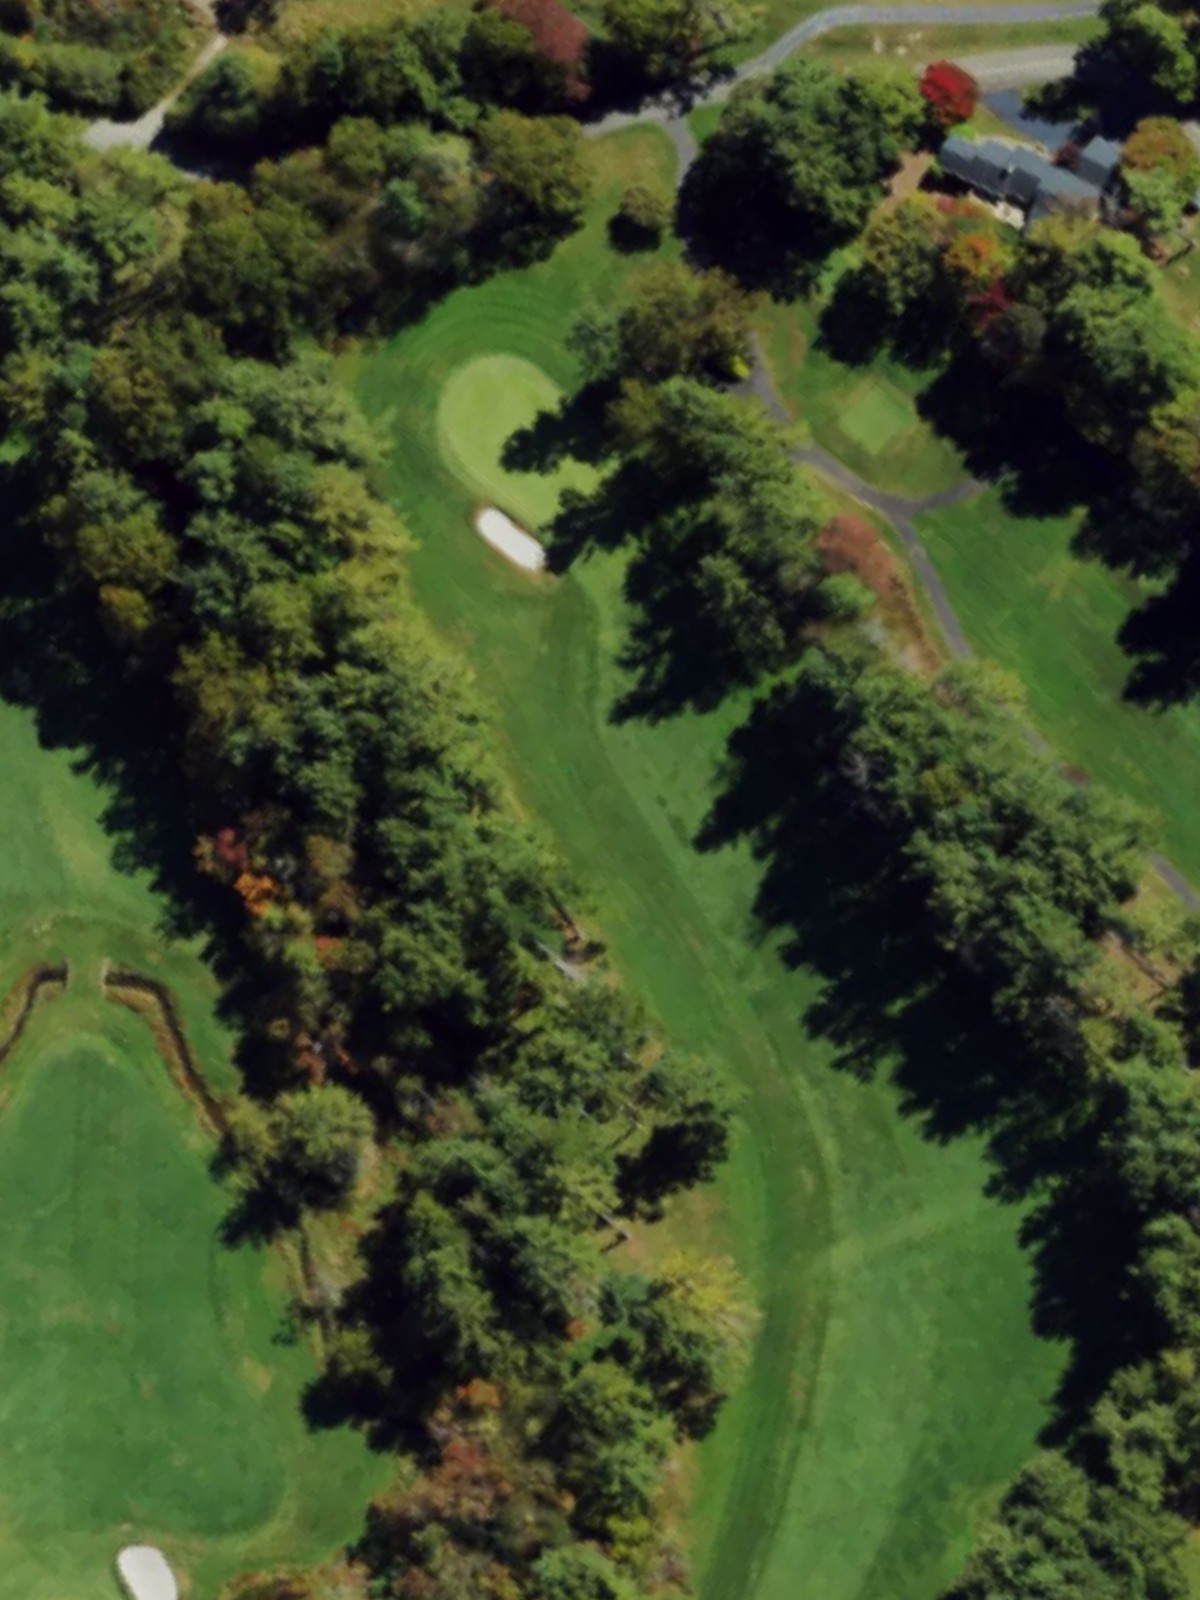
A moderately challenging par 4 that balances length and positioning with bunker and hazard placement around the green. Strategic positioning off the tee sets up the approach shot to a tightly guarded putting surface.
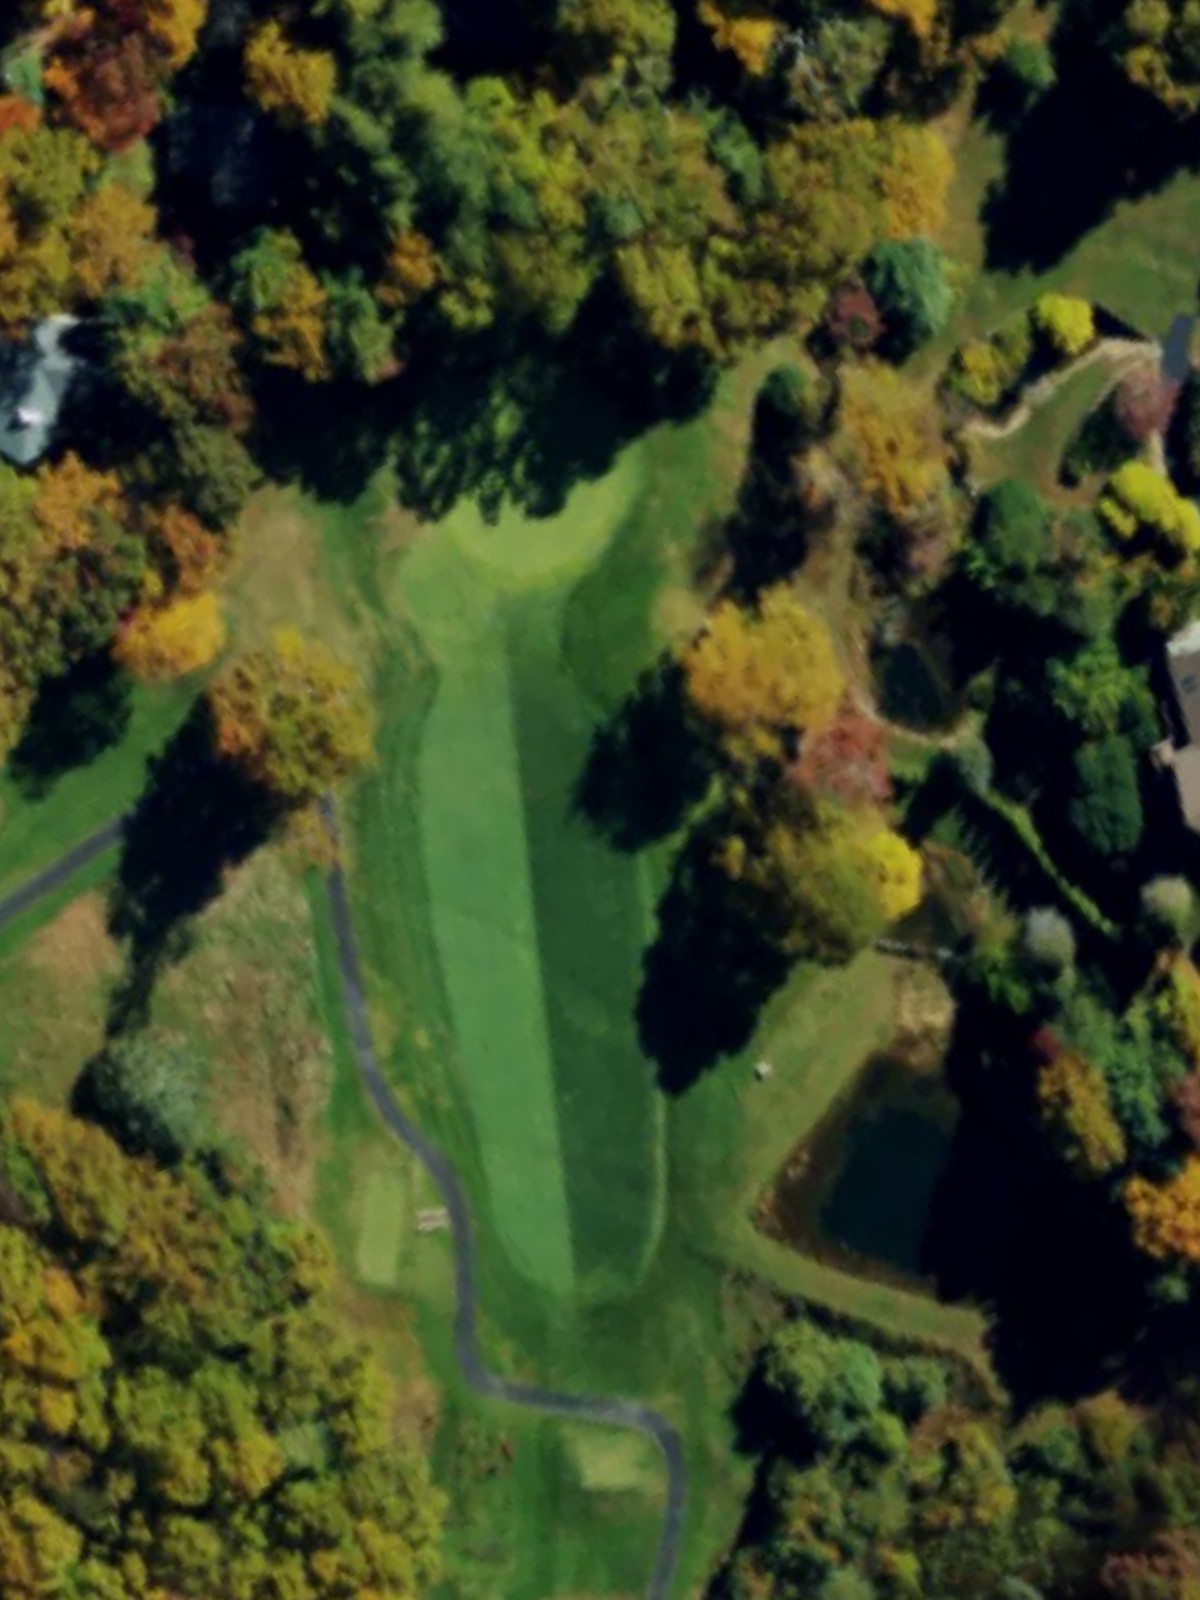
A mid-length par 4 with a relatively straightforward layout that rewards accurate tee shots and solid approach play. The green is well-protected, making accurate ballstriking essential for scoring.
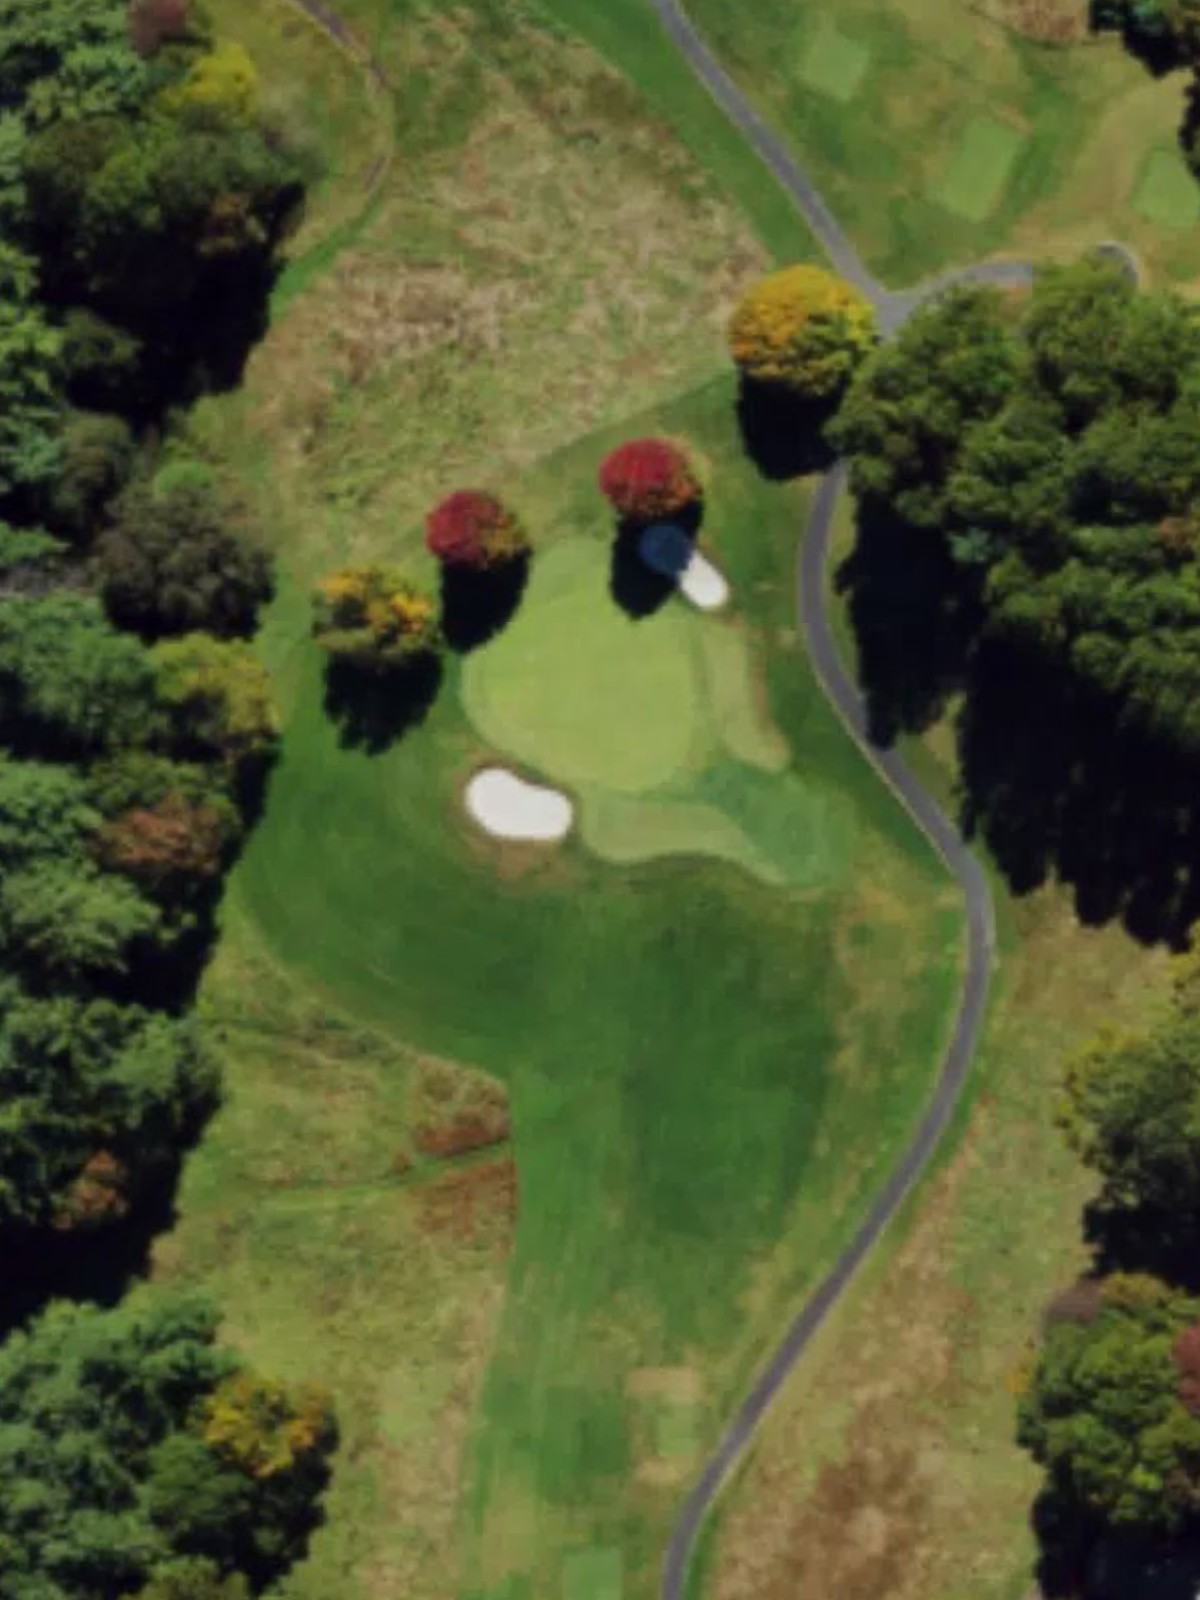
A very short par 3 that emphasizes placement and accuracy over distance, with hazards punishing shots outside the small green complex. The minimal yardage belies the precision required to secure par.
The fourth-hardest hole on the course plays as a substantial par 4 with length and a demanding finishing approach. Strategic hazards frame both the fairway and green, requiring two quality shots to score well.
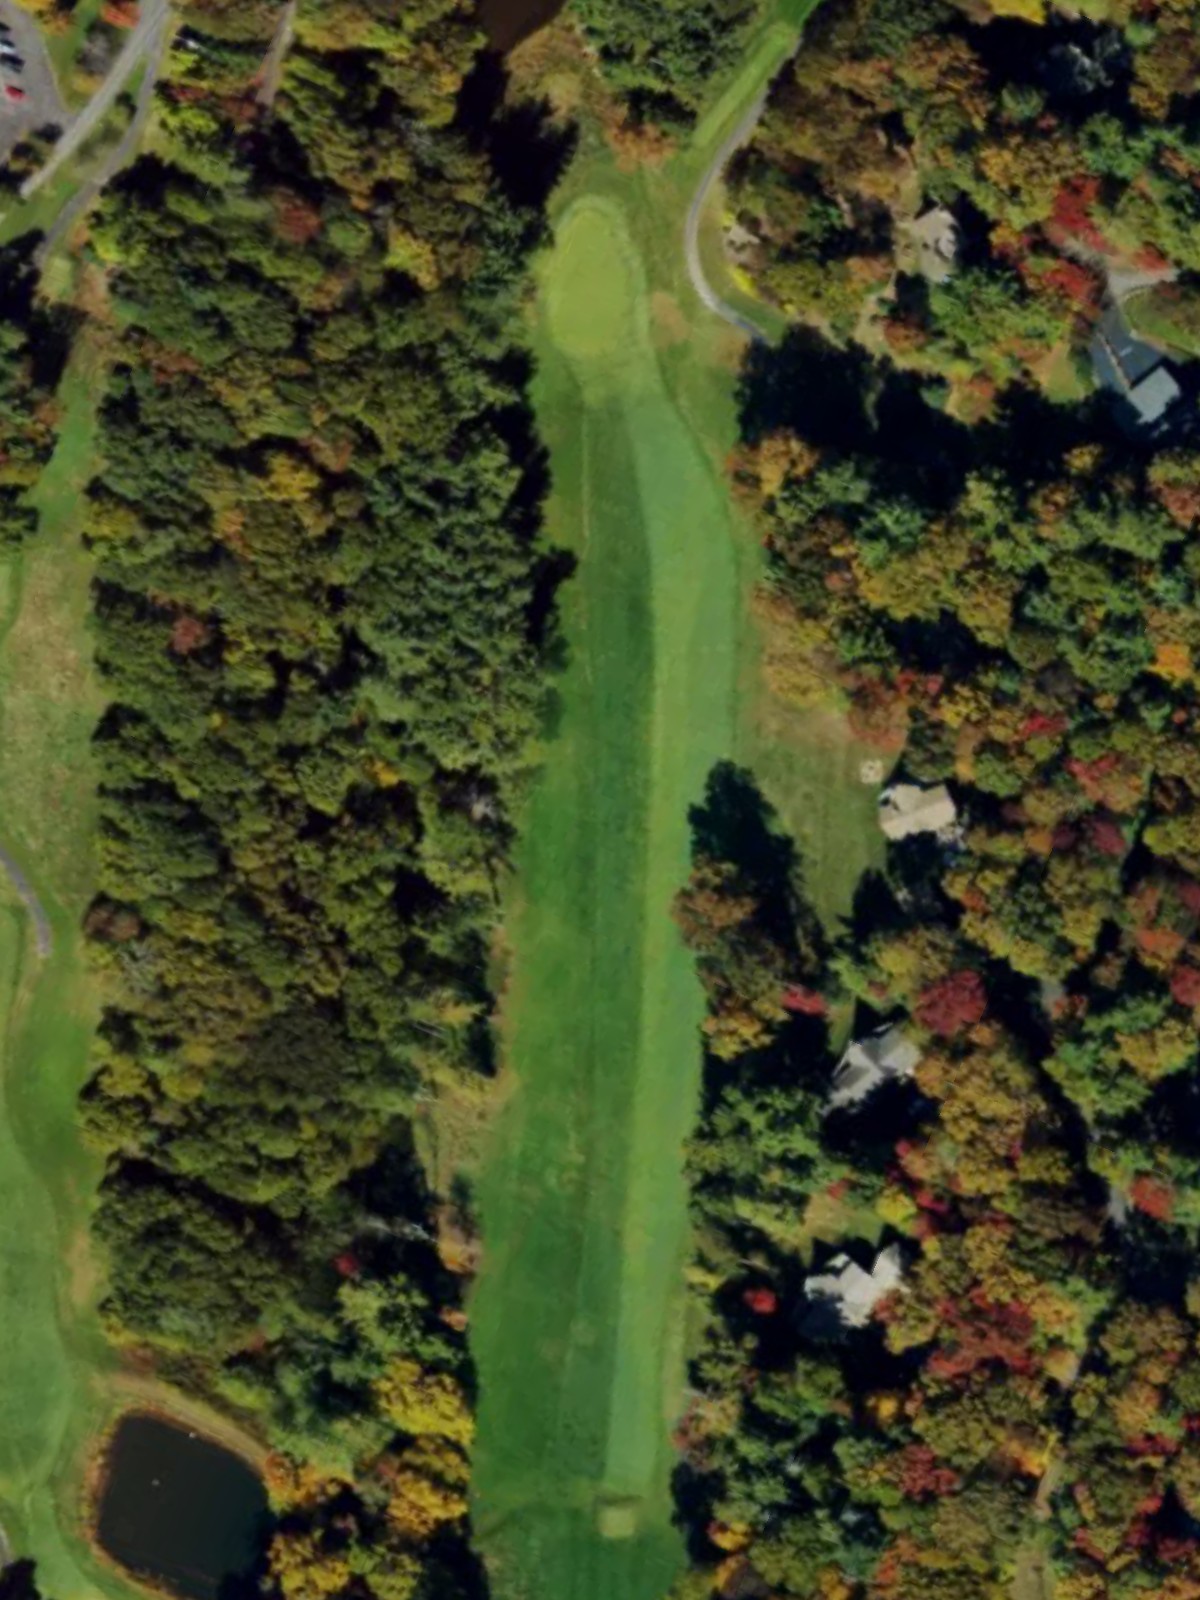
A solid mid-length par 4 with a balanced challenge that tests both driving accuracy and approach play. The green is defended by bunkers and hazards that punish imprecise shots from the fairway.
The second-hardest hole on the course plays deceptively short but demands precision throughout, with hazards positioned to catch mistakes off the tee and into the green. The green complex is tightly bunkered and requires an accurate approach.
A par 4 that offers a fair challenge with a well-defined shape and strategic hazard placement along the hole. The approach into the green is the critical shot, with bunkers and water guarding the putting surface.
A strong par 5 that presents scoring opportunity for those who can navigate the fairway and reach the green in two quality shots. The length and hazard placement reward both power and placement from the tee.
The easiest hole on the course plays as a short par 3 with a straightforward tee shot to a relatively open green. Even at its shortest, accuracy remains important to avoid the surrounding hazards and secure a stress-free par.
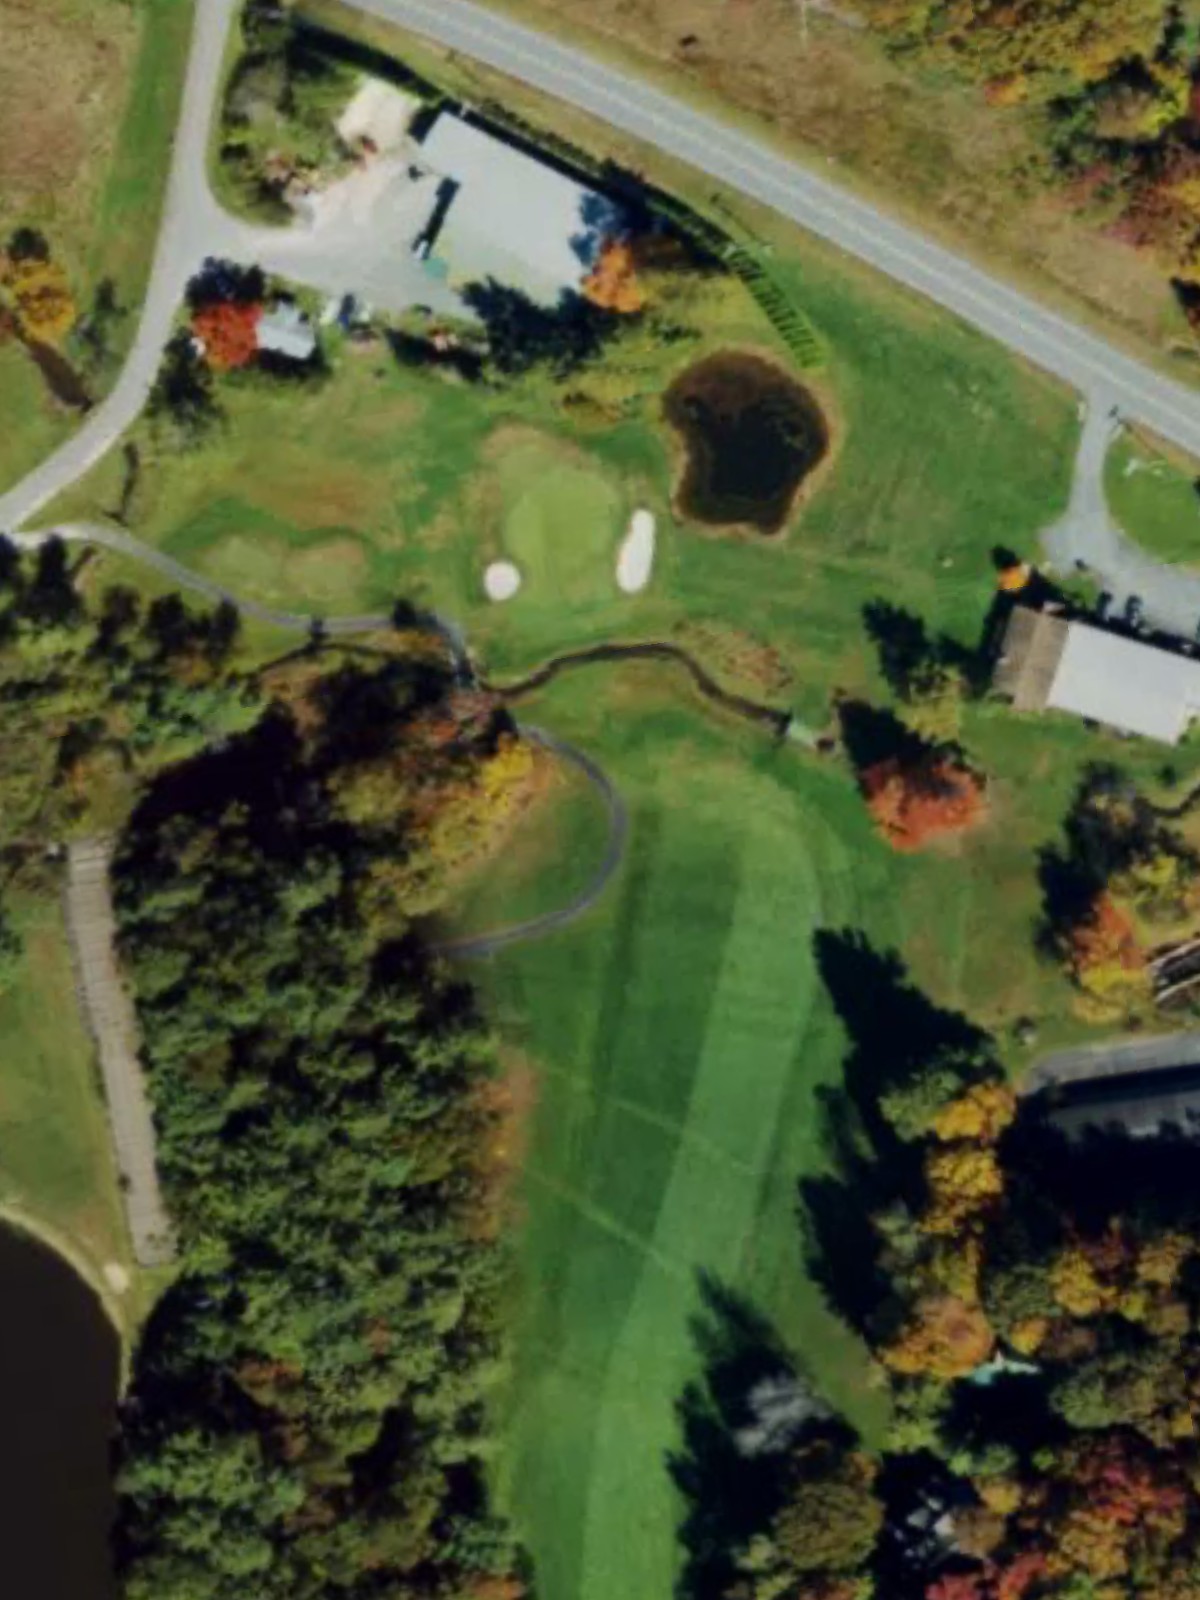
A dramatic closing par 5 that demands two solid shots to set up an approach to a well-bunkered green complex. The hole's length and strategic hazard placement provide a fitting final test to complete the round.
Scorecard
| Hole | 1 | 2 | 3 | 4 | 5 | 6 | 7 | 8 | 9 | Out | 10 | 11 | 12 | 13 | 14 | 15 | 16 | 17 | 18 | In | Tot |
|---|---|---|---|---|---|---|---|---|---|---|---|---|---|---|---|---|---|---|---|---|---|
| Par | 4 | 4 | 4 | 5 | 3 | 4 | 5 | 3 | 4 | 36 | 4 | 3 | 4 | 4 | 4 | 4 | 5 | 3 | 5 | 36 | 72 |
| HCP | 3 | 11 | 1 | 7 | 13 | 5 | 15 | 17 | 9 | 8 | 16 | 4 | 6 | 2 | 10 | 12 | 18 | 14 | |||
| blue tees | 386 | 409 | 456 | 541 | 190 | 427 | 502 | 142 | 333 | 3386 | 364 | 186 | 495 | 365 | 361 | 381 | 486 | 177 | 497 | 3312 | 6698 |
| white tees | 362 | 390 | 365 | 517 | 176 | 381 | 482 | 135 | 326 | 3134 | 341 | 168 | 453 | 354 | 358 | 373 | 461 | 150 | 482 | 3140 | 6274 |
| gold tees | 342 | 314 | 342 | 486 | 161 | 344 | 422 | 133 | 319 | 2863 | 333 | 158 | 416 | 342 | 345 | 323 | 453 | 141 | 457 | 2968 | 5831 |
| gold/green hybrid | 317 | 314 | 342 | 486 | 161 | 315 | 422 | 133 | 295 | 2785 | 256 | 130 | 362 | 287 | 345 | 323 | 433 | 141 | 457 | 2734 | 5519 |
| green tees | 317 | 307 | 311 | 454 | 145 | 315 | 383 | 126 | 295 | 2653 | 256 | 130 | 362 | 287 | 273 | 318 | 433 | 121 | 434 | 2614 | 5267 |
| red tees | 204 | 279 | 267 | 395 | 141 | 306 | 378 | 119 | 273 | 2362 | 249 | 104 | 326 | 265 | 244 | 289 | 387 | 116 | 349 | 2329 | 4691 |
| orange tees | 204 | 237 | 263 | 343 | 115 | 238 | 282 | 97 | 223 | 2002 | 207 | 98 | 285 | 235 | 210 | 217 | 275 | 99 | 342 | 1968 | 3970 |