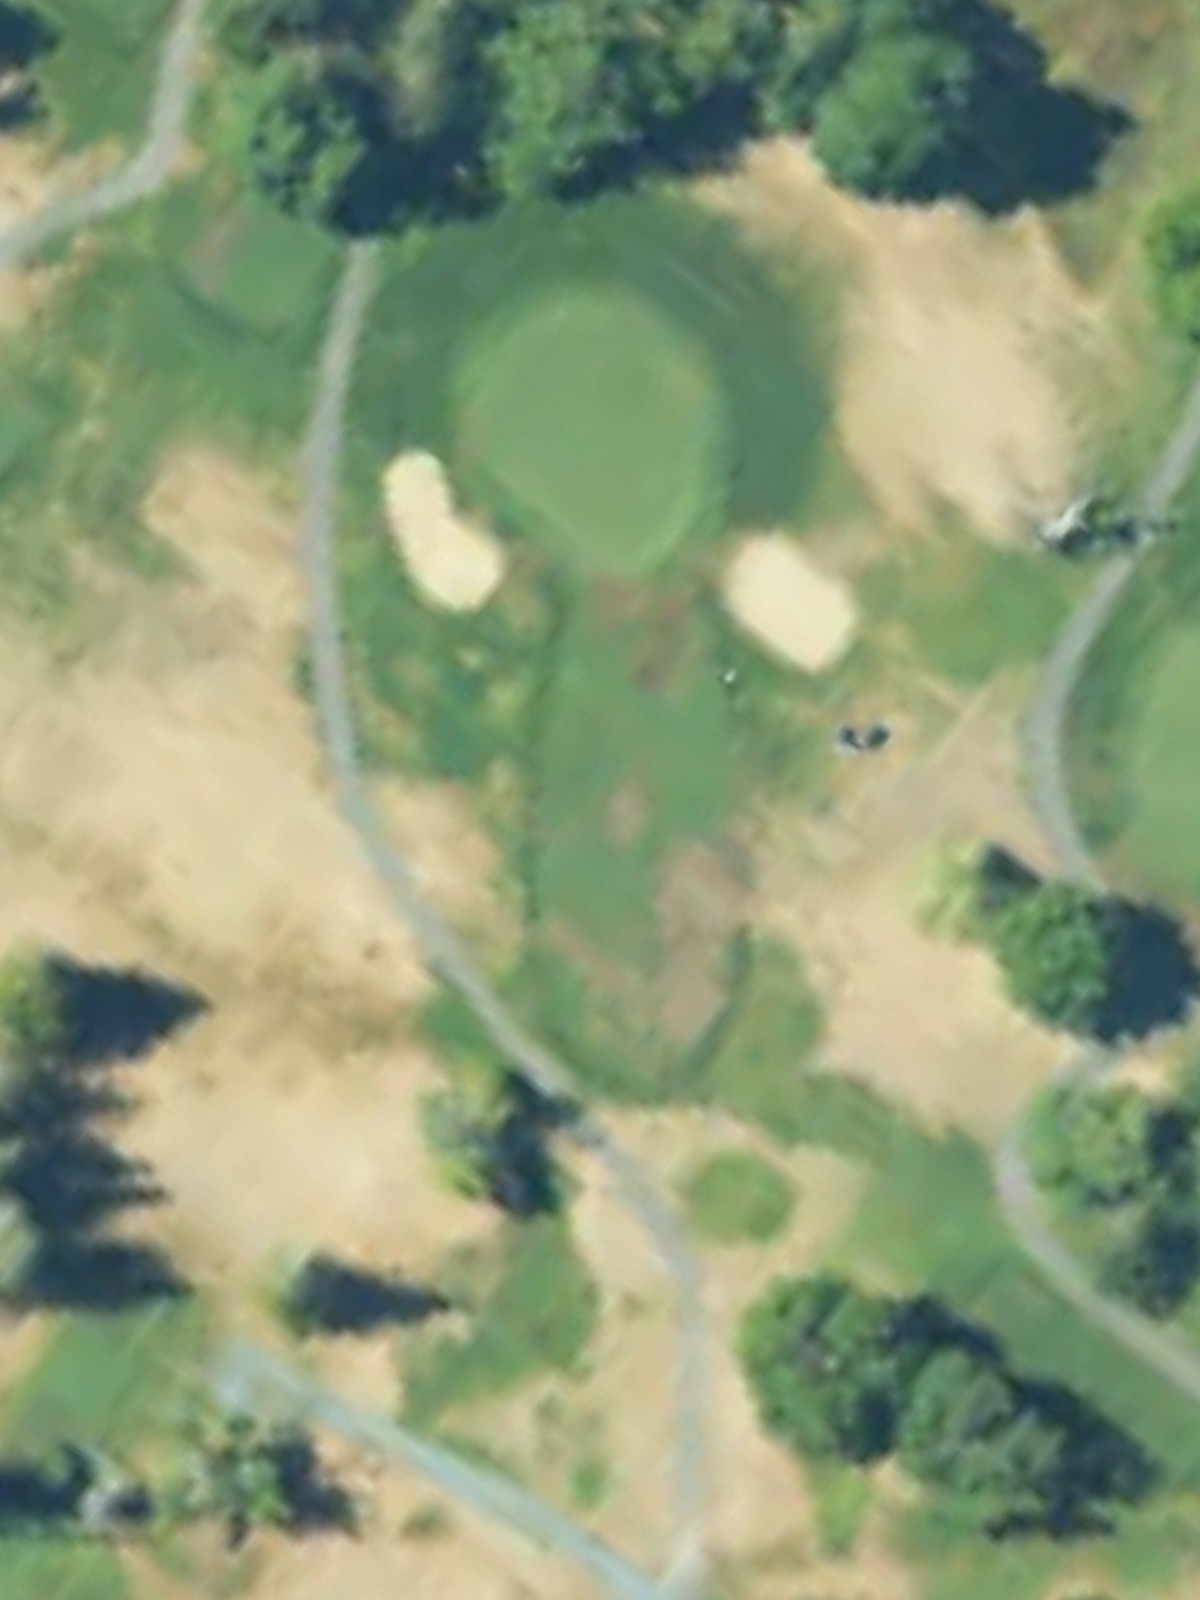
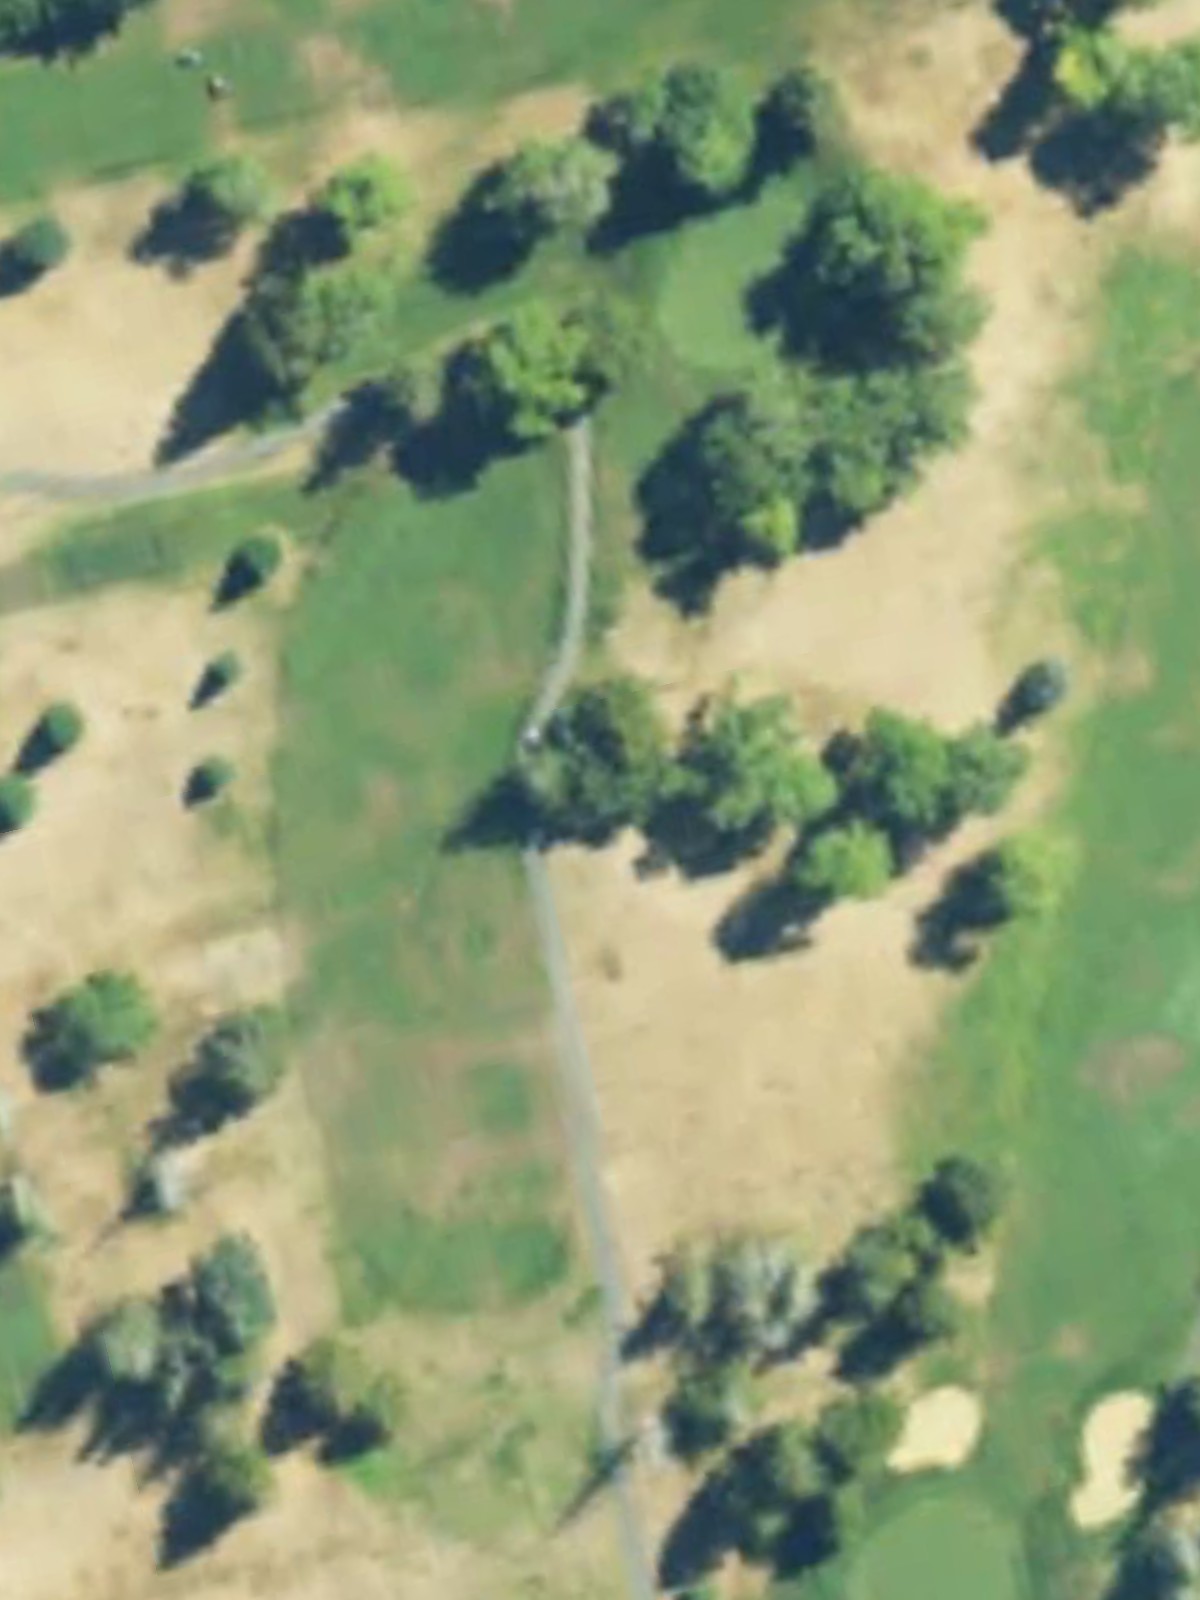
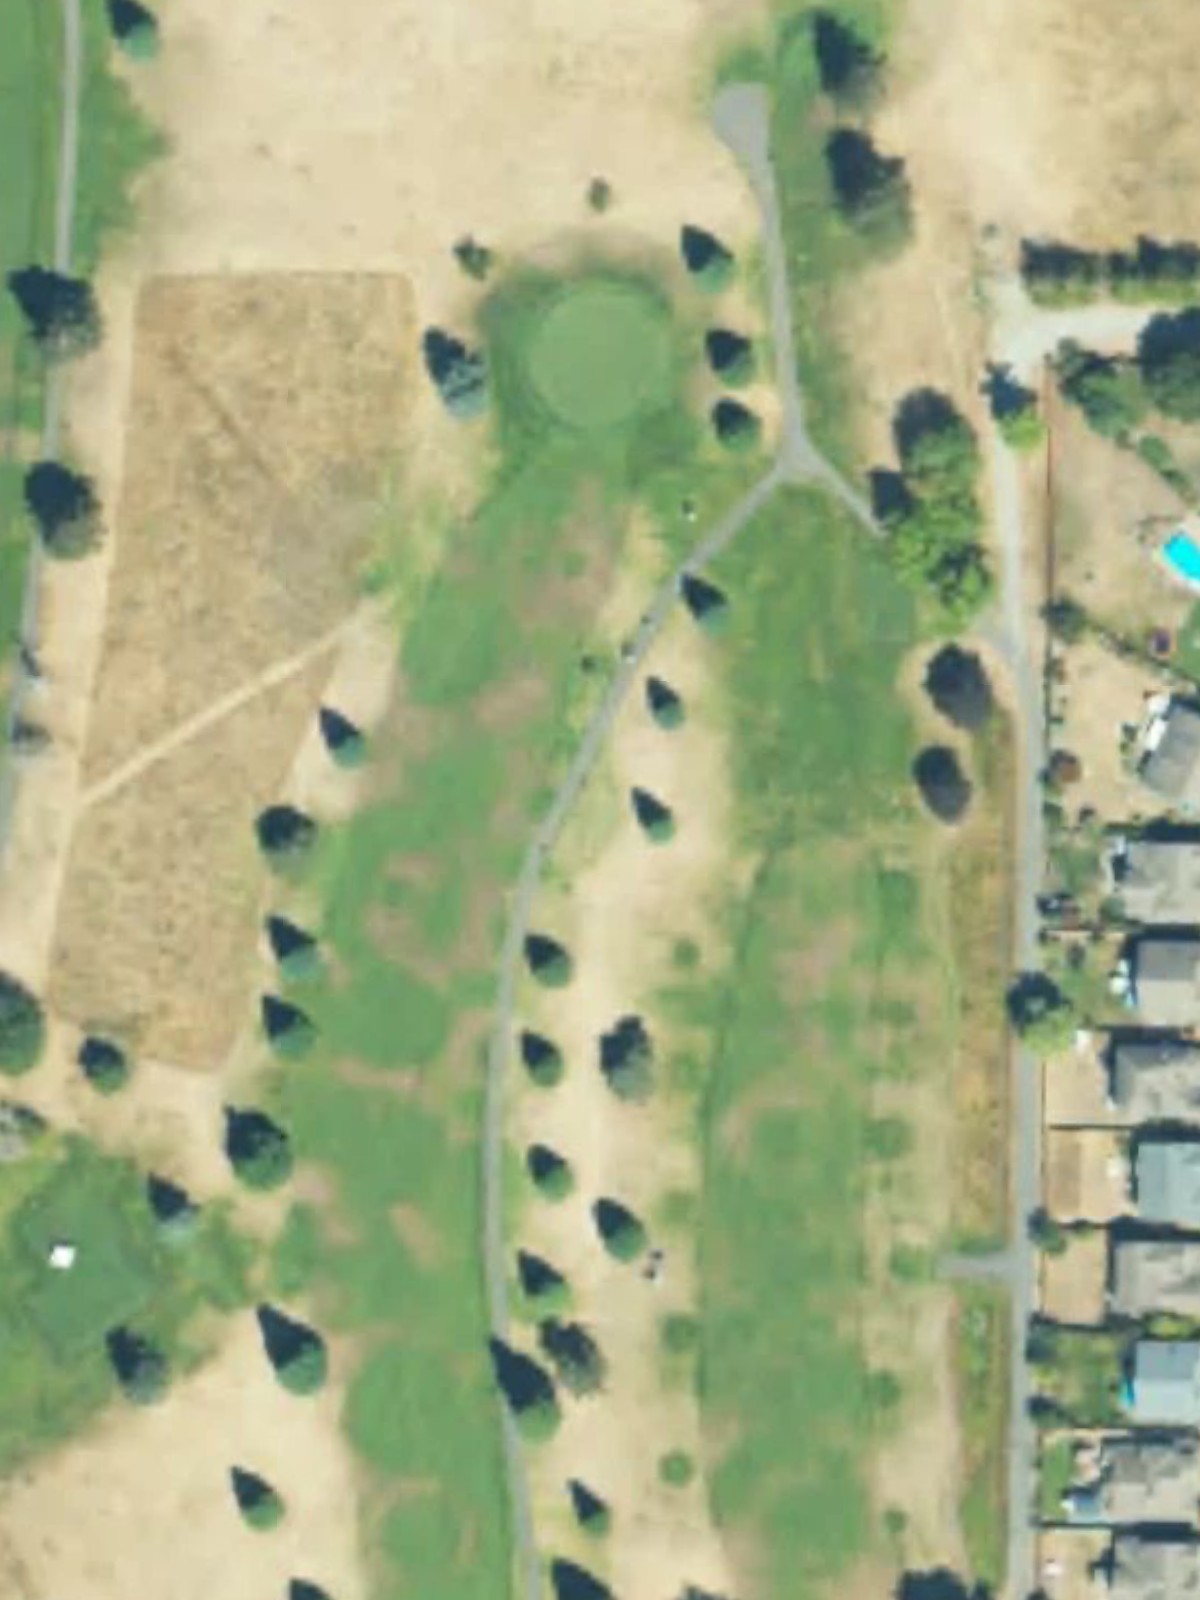
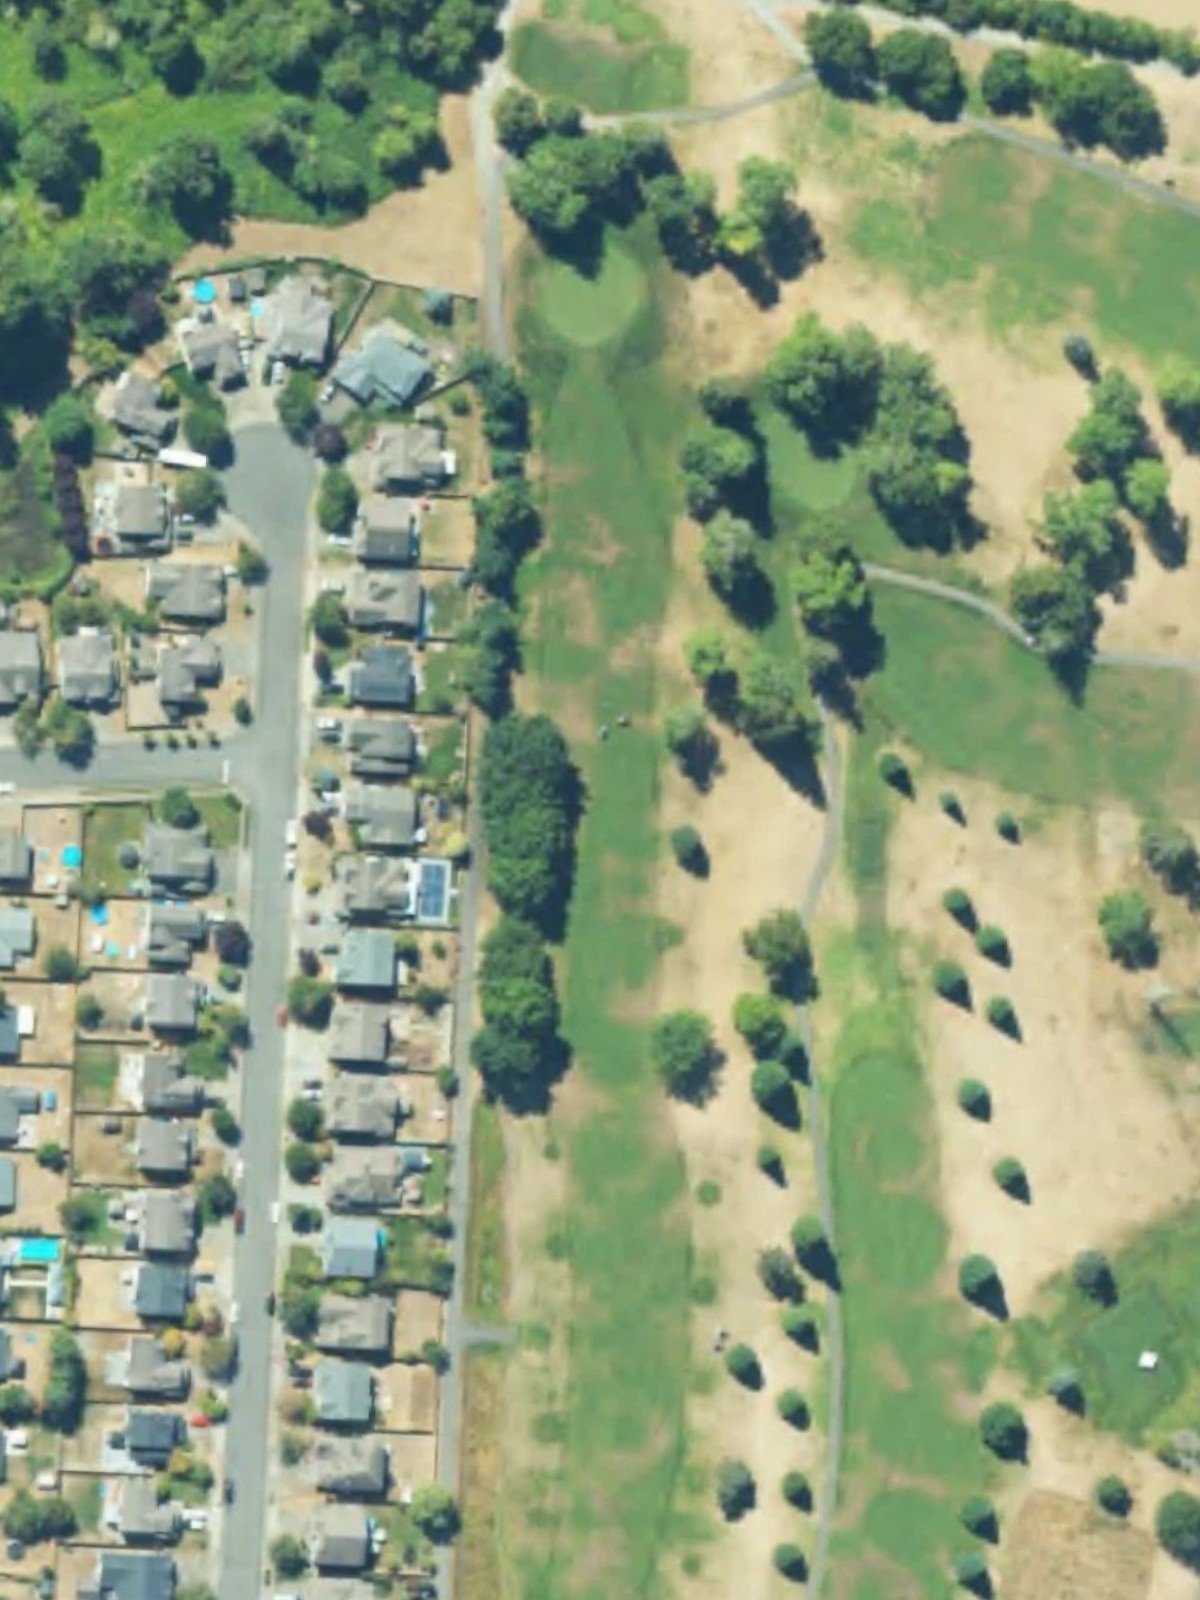
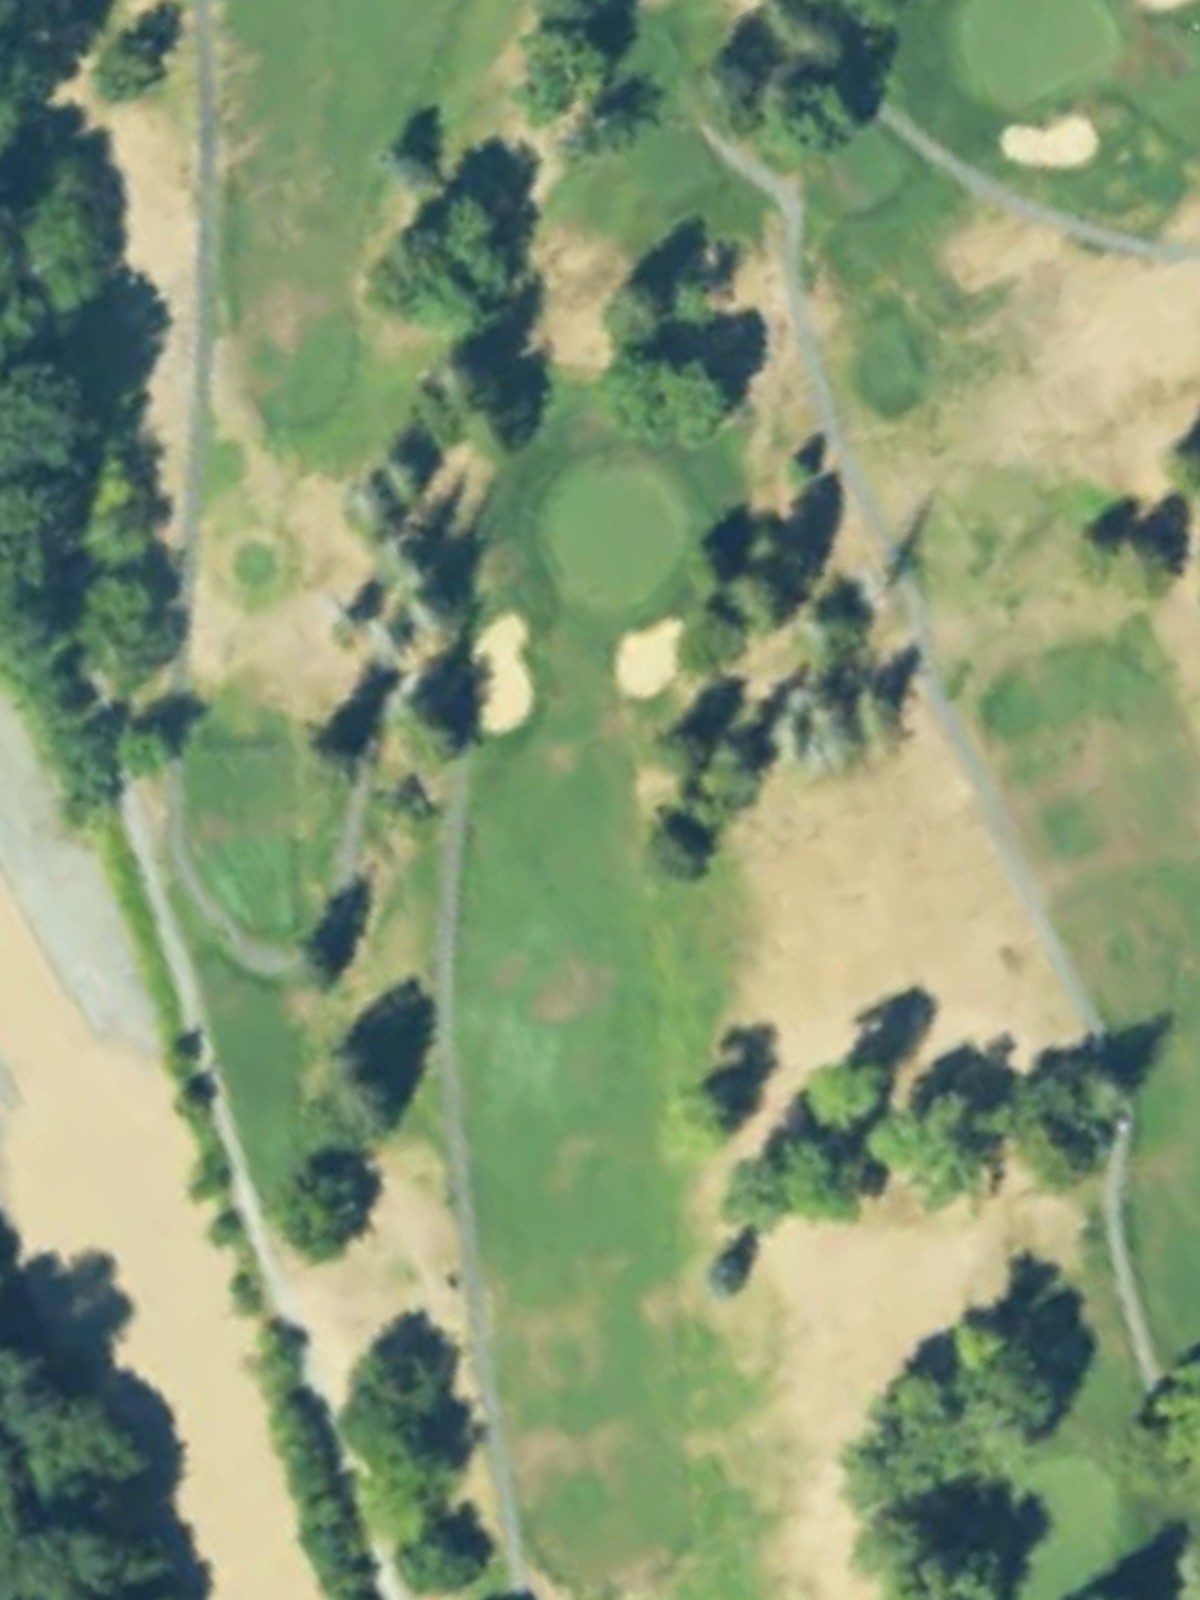
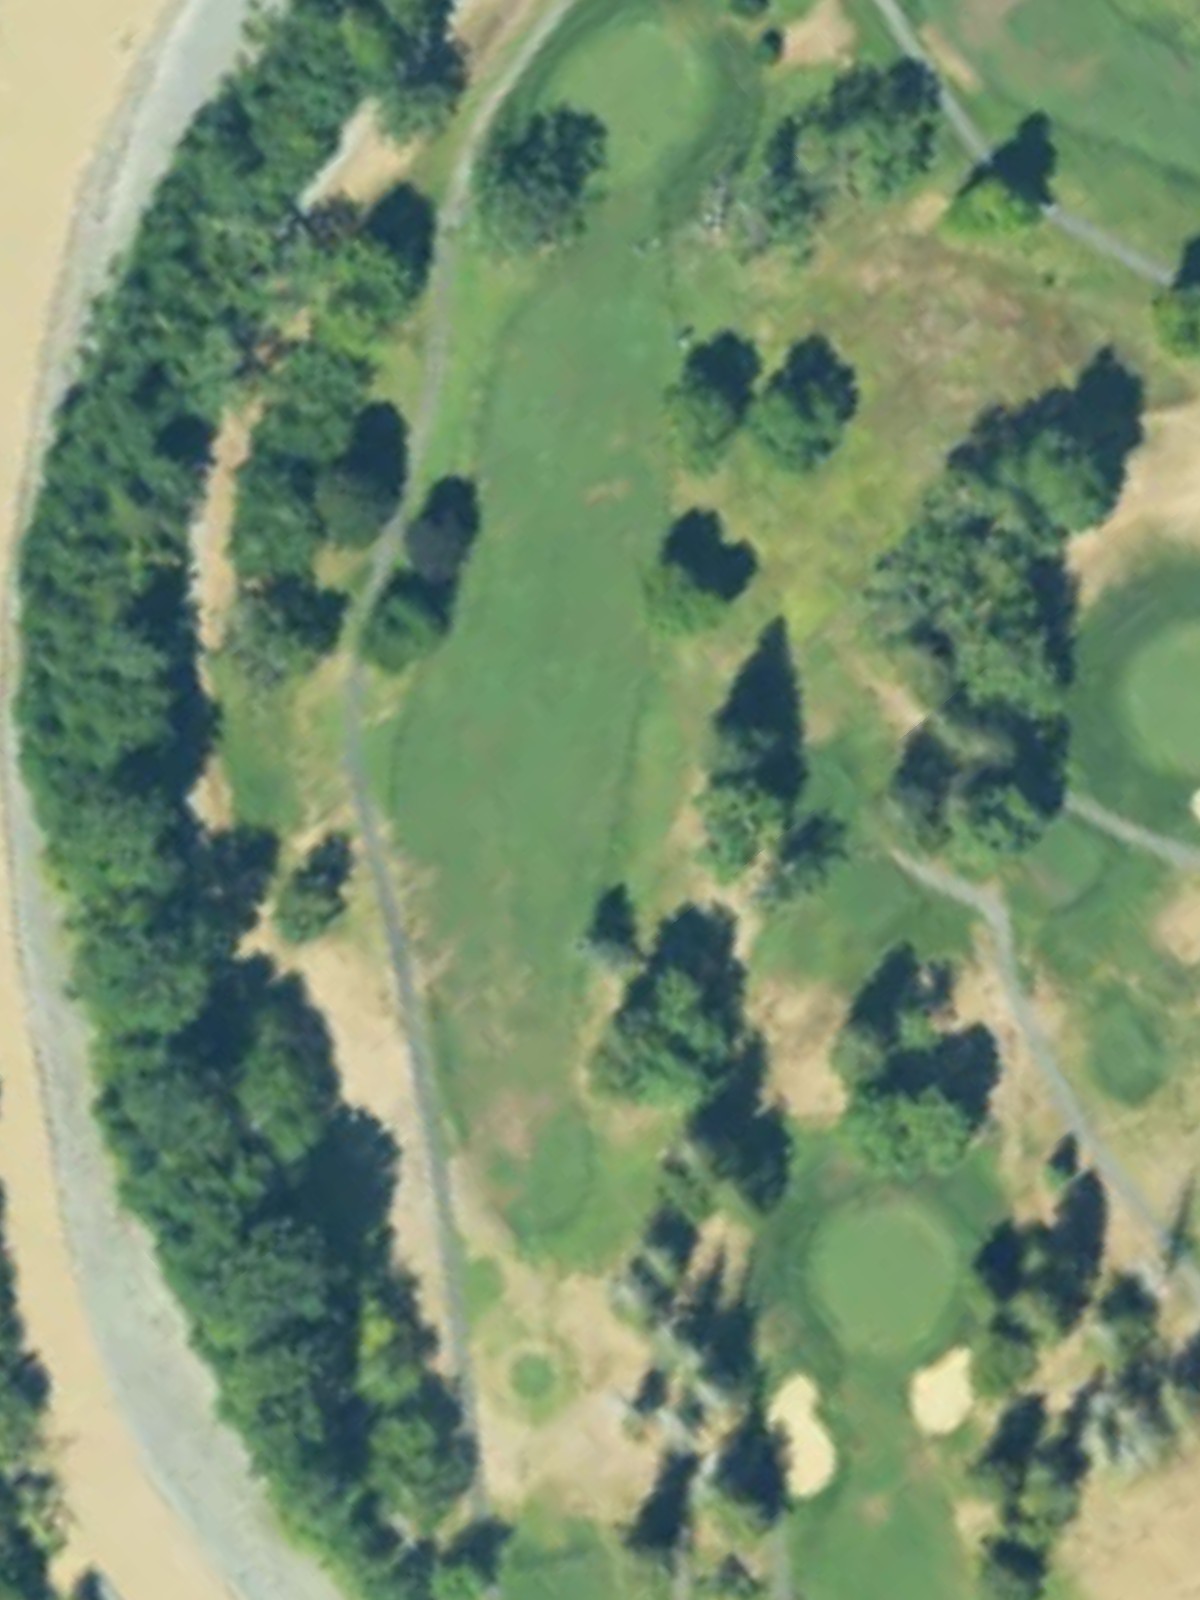
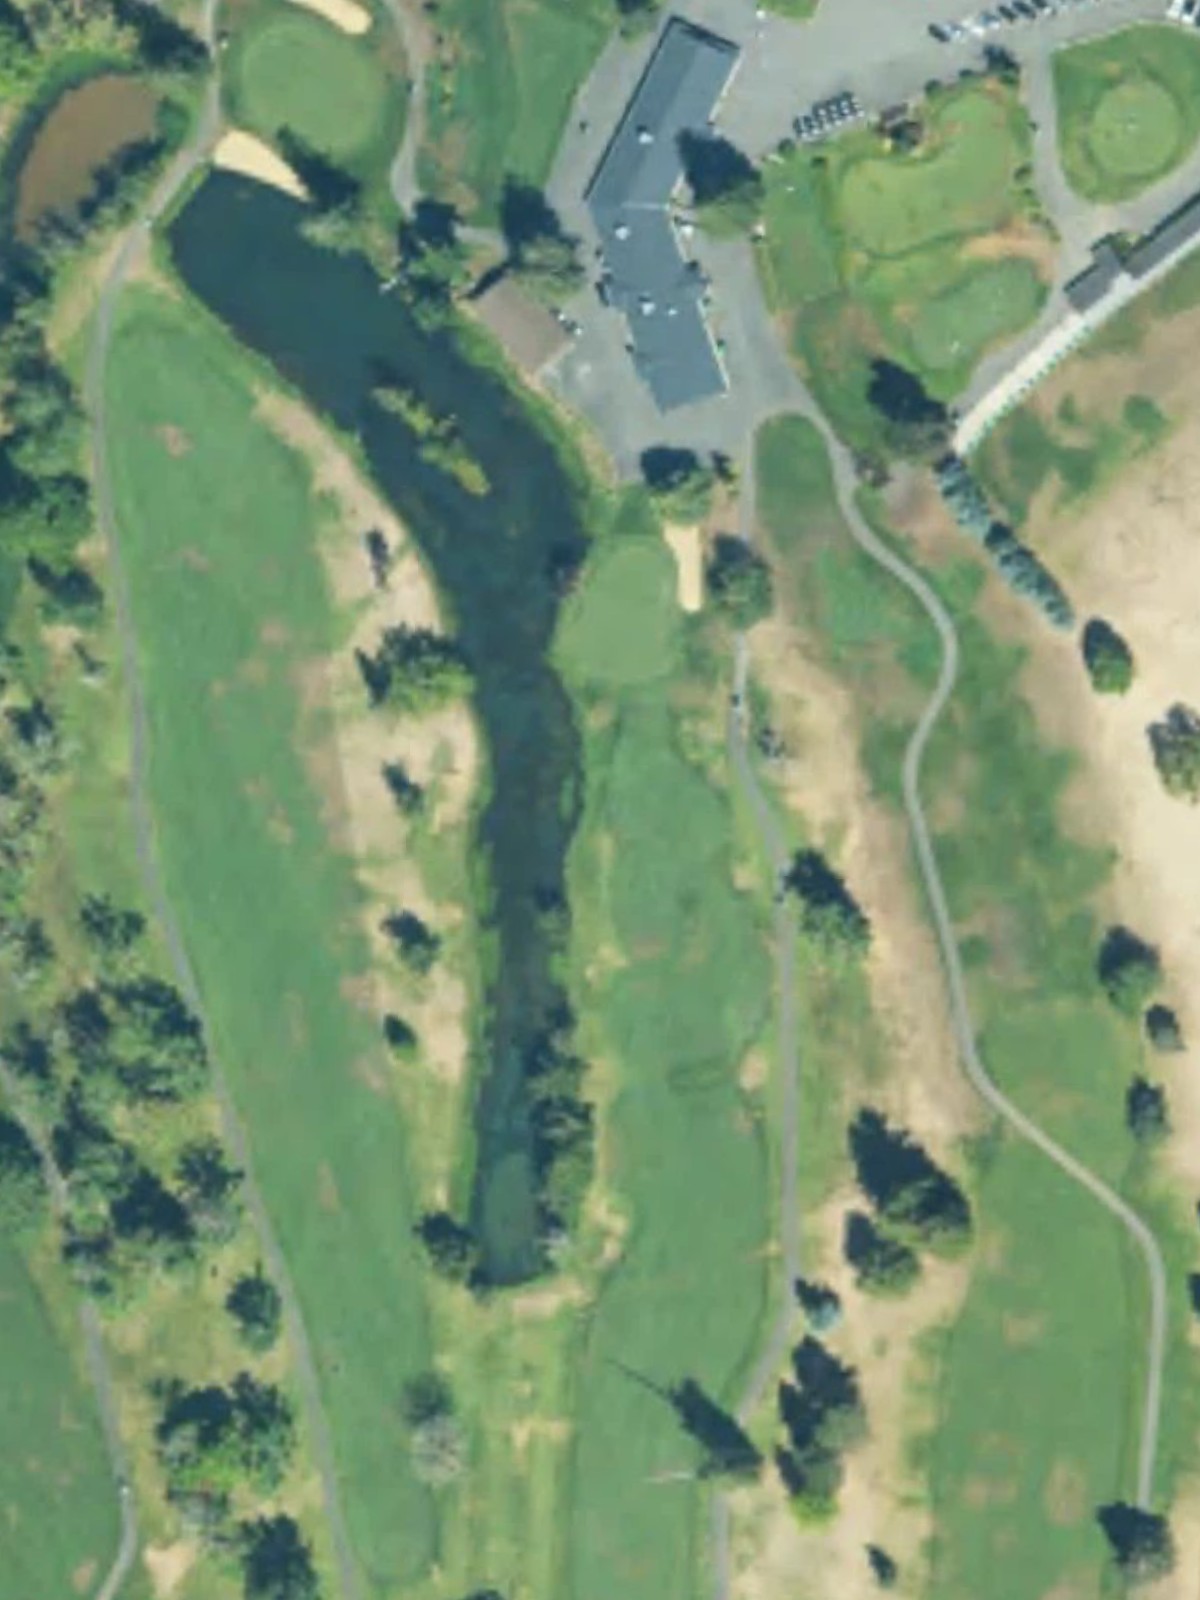
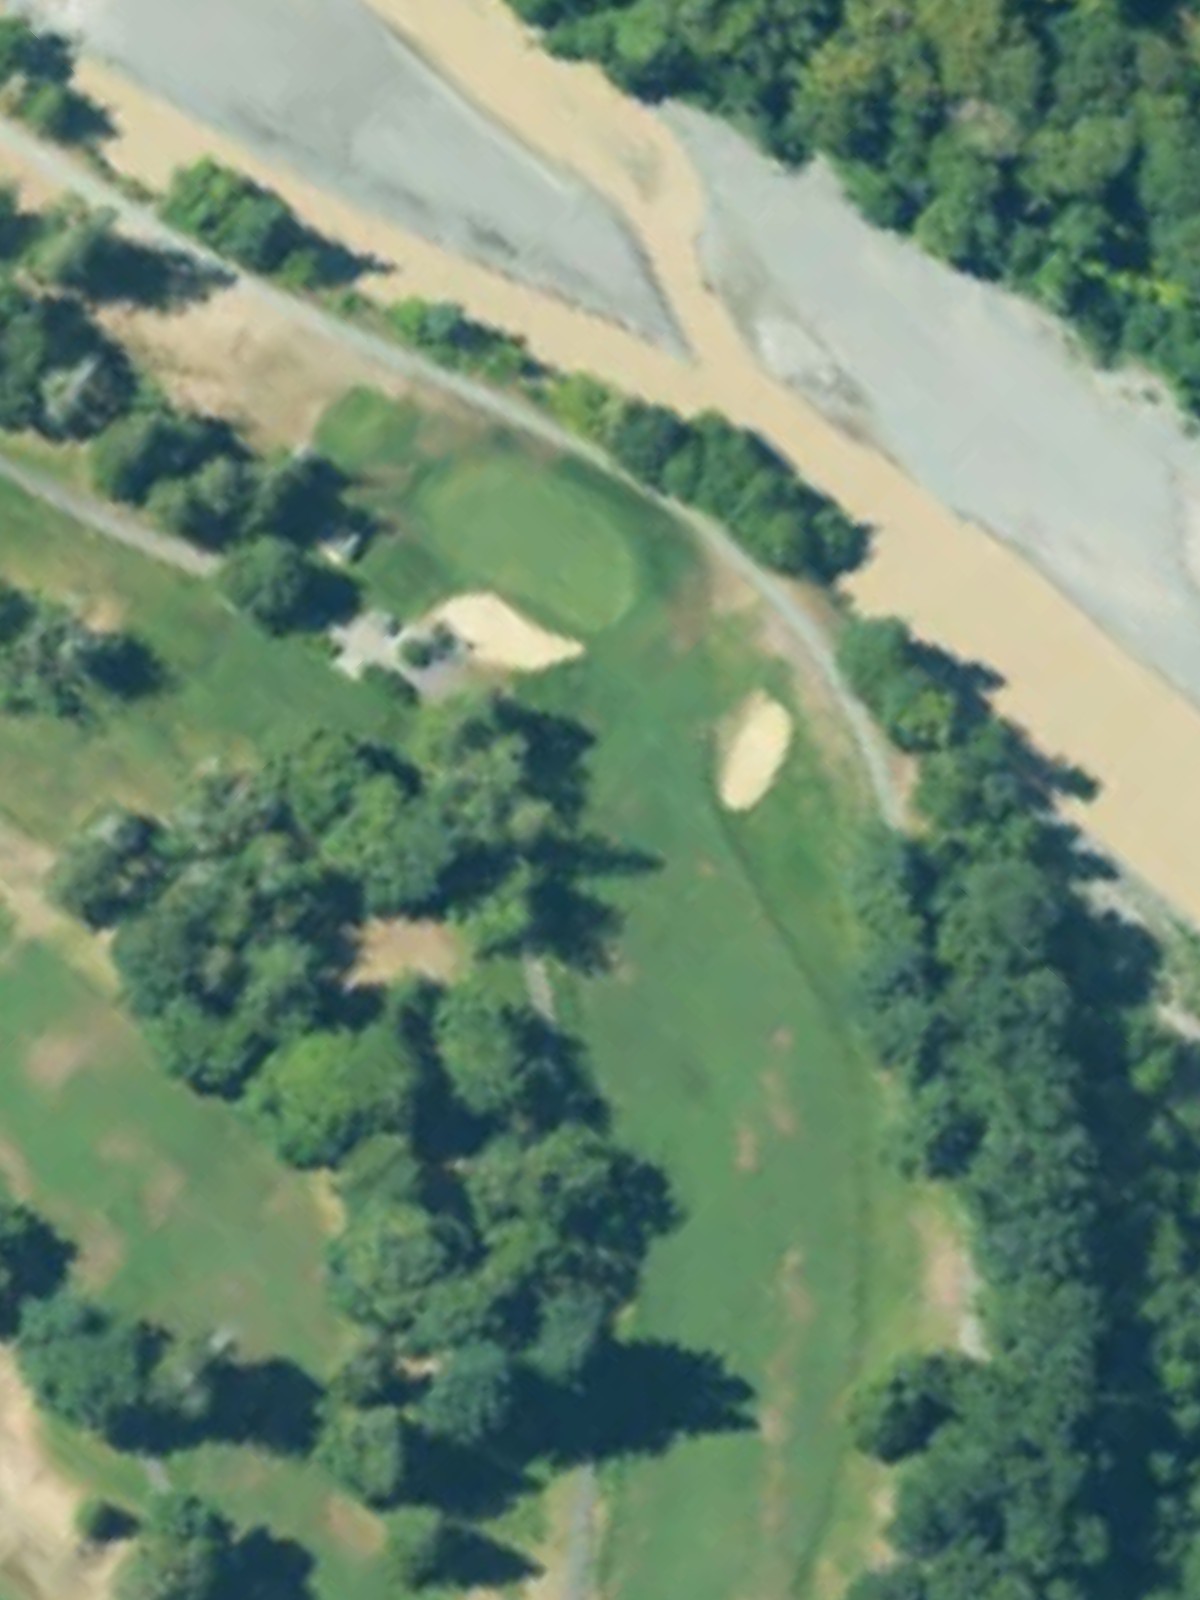
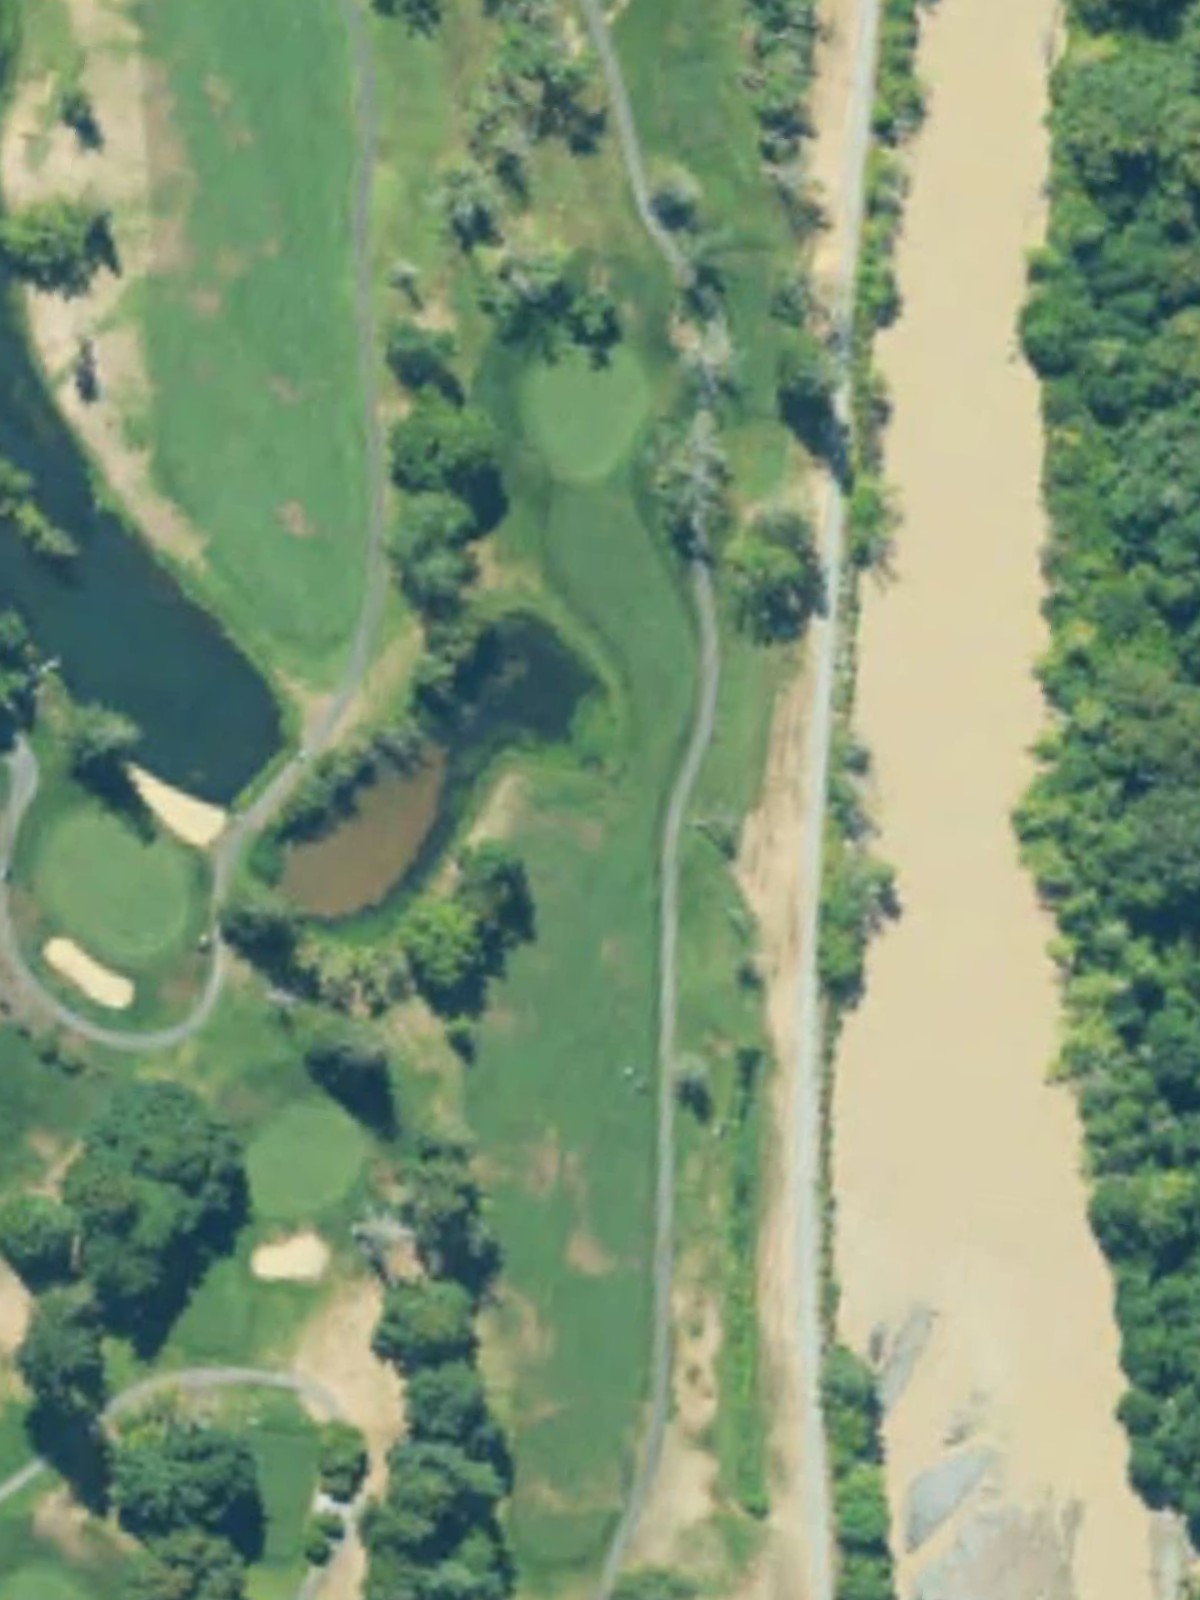
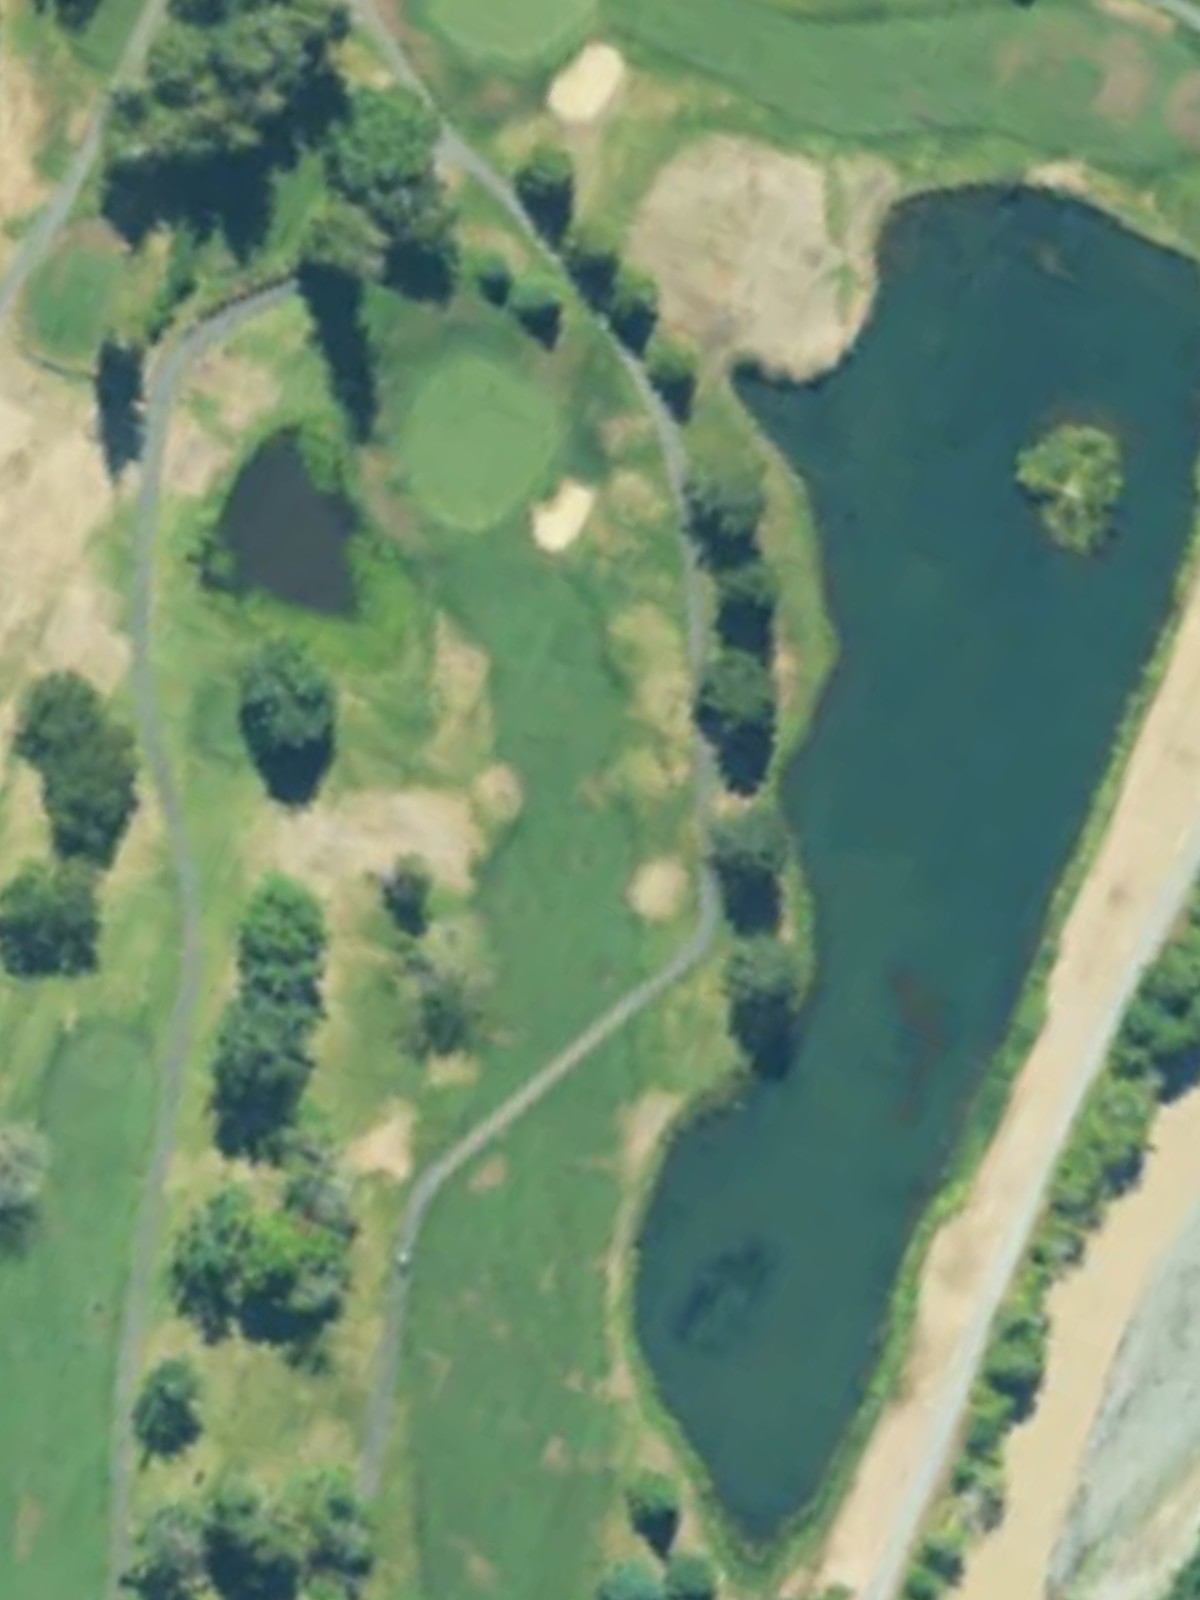
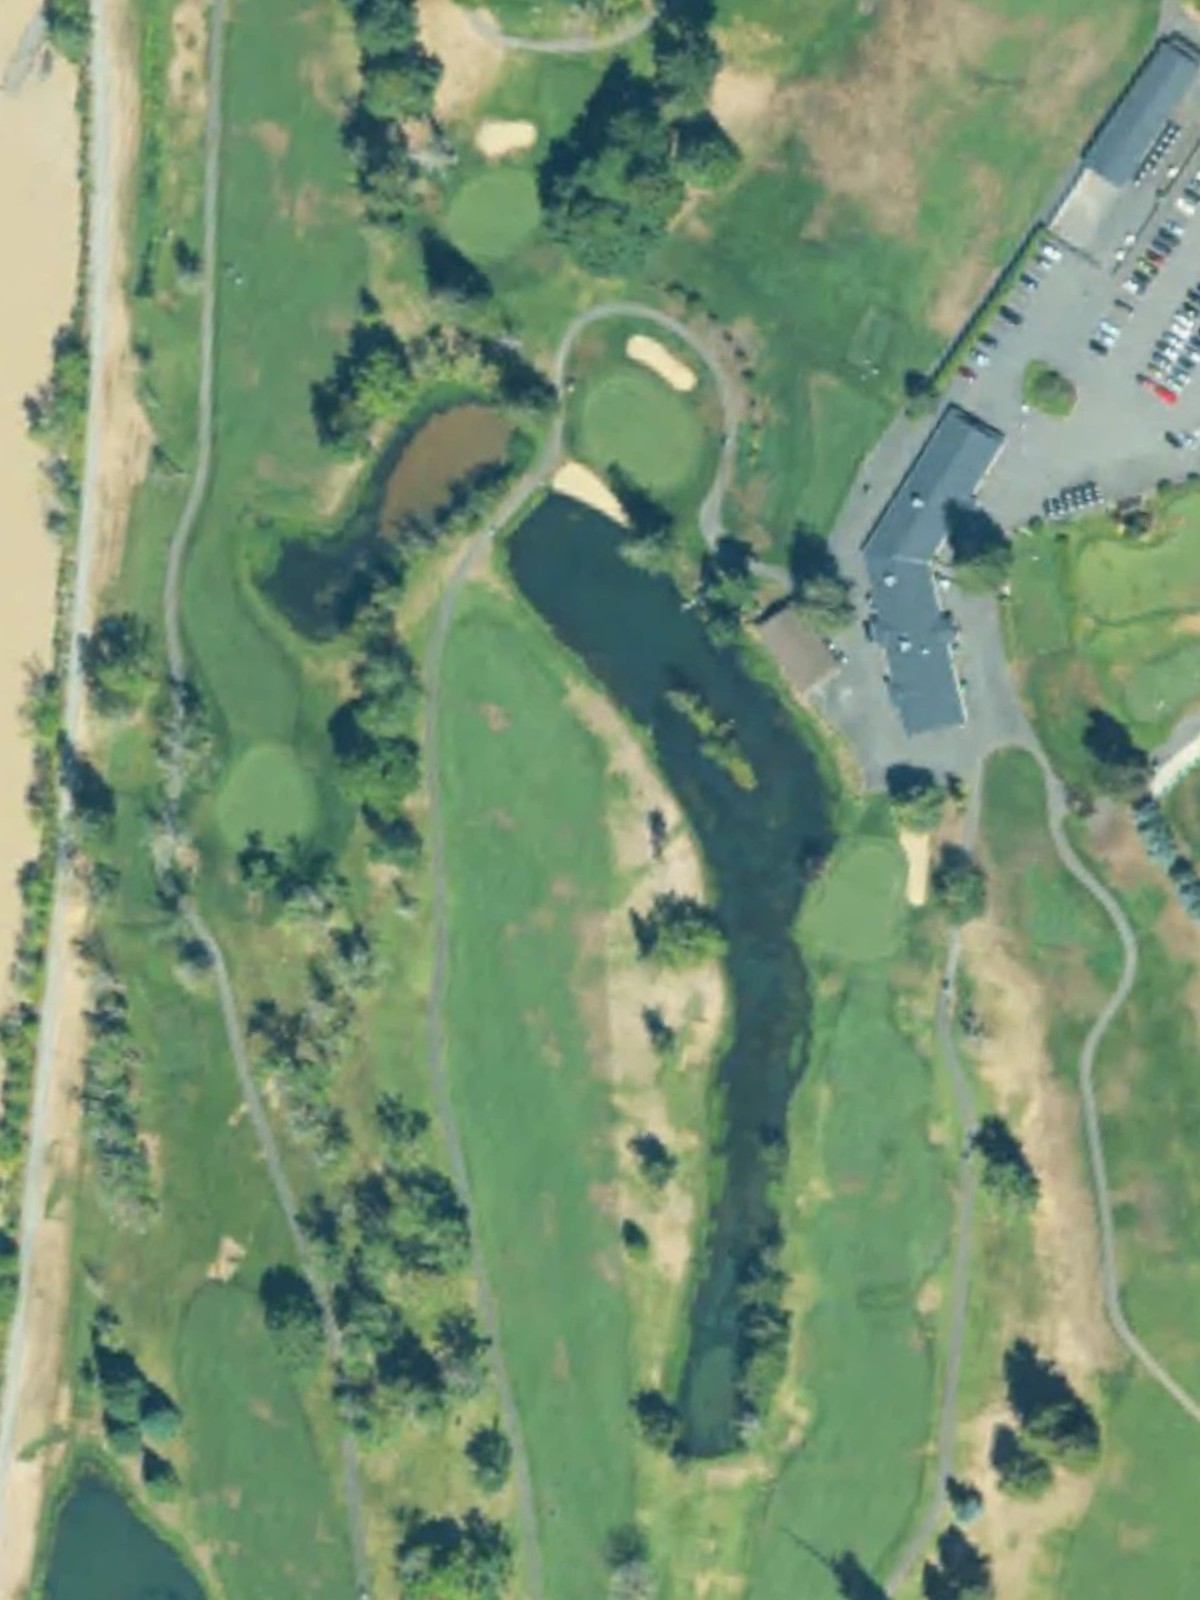
High Cedars Golf Club is an 18-hole golf course in Orting, WA with a par of 72. It offers 4 tee sets: blue (6,594 yards, slope 120, rating 71.5), white (6,253 yards, slope 115, rating 70.1), gold (5,525 yards, slope 110, rating 66.3), red (5,336 yards, slope 107, rating 64.8). The hardest hole is #9, a par 4 playing 355 yards from the first tee.
High Cedars Golf Club
Orting, WA
Get PDF Yardage Book
We'll email you the PDF link. No spam, ever.
Create Your Game Plan
Pick your tees, enter your bag, and get a personalized shot-by-shot strategy for every hole.

A long par 5 that opens with a wide fairway before narrowing as it approaches the green. The hole's length and shape demand precision on the approach shot, with bunkers likely guarding the putting surface.
A mid-length par 3 requiring an accurate tee shot to a well-defined green. Water or bunkers protect the green, making club selection and distance control critical to finding the putting surface.
A short, straightforward par 4 that plays as one of the easier holes on the course. The modest length allows for a comfortable approach, though out-of-bounds or lateral hazards may frame the fairway.
The course's most difficult hole, this par 4 presents a significant challenge with its length and hazard placement. Strategic bunkering and narrow corridors demand accurate driving and a precise approach to score well.
A substantial par 5 that rewards length while penalizing wayward shots. Fairway hazards or doglegs create strategic decisions on the drive, and the green approach requires careful consideration of water or bunker placements.
A mid-length par 4 with a character that tests consistency and accuracy. Hazards frame the fairway or guard the green, making placement more important than distance off the tee.
A manageable par 4 that provides a good scoring opportunity for accurate players. The fairway offers reasonable width, though bunkers or water may tighten near the green to defend par.

The course's easiest hole, this short par 3 requires only a mid-range tee shot to reach the green. Minimal hazards make this a straightforward scoring chance, though a well-placed bunker may still require careful play.
The second-most difficult hole on the course, this par 4 combines length with strategic hazards that demand precise execution. Fairway trouble or a well-bunkered green makes this a true test of shotmaking ability.
A long par 5 presenting both length and complexity in its design. Strategic layup areas and hazard placement create meaningful decisions on each shot, with the green well-protected.
A short par 3 that plays straightforward but with enough hazards to demand respect. The modest yardage allows for good scoring if the tee shot finds the green.
A solid par 4 with moderate length and a balanced design. Fairway definition and greenside bunkering provide a typical challenge requiring both distance and accuracy.
The course's shortest hole, this par 3 offers an excellent birdie opportunity with minimal length to carry. A single well-placed hazard or small green may be the only defense required.
A relatively short par 4 that can play deceptively difficult depending on hazard placement. The compact yardage invites aggressive play, but out-of-bounds or water may punish poor execution.
A mid-length par 4 with a balanced design that tests both accuracy and distance control. Fairway or greenside hazards create a fair challenge without overwhelming difficulty.
One of the course's two hardest holes, this par 4 combines length with strategic hazards that demand precision. The hole's difficulty is amplified by challenging angles or doglegs that limit aggressive approaches.
A solid par 4 that plays moderately difficult with consistent demands for accuracy. Strategic hazard placement rewards good positioning while penalizing errant shots.
A fitting par 5 finish that combines length with strategic play to close the round. Fairway hazards and a well-defended green create a climactic challenge, with scoring opportunities available for those who execute well.
Scorecard
| Hole | 1 | 2 | 3 | 4 | 5 | 6 | 7 | 8 | 9 | Out | 10 | 11 | 12 | 13 | 14 | 15 | 16 | 17 | 18 | In | Tot |
|---|---|---|---|---|---|---|---|---|---|---|---|---|---|---|---|---|---|---|---|---|---|
| Par | 5 | 3 | 4 | 4 | 5 | 4 | 4 | 3 | 4 | 36 | 5 | 3 | 4 | 3 | 4 | 4 | 4 | 4 | 5 | 36 | 72 |
| HCP | 7 | 9 | 15 | 3 | 5 | 11 | 13 | 17 | 1 | 4 | 16 | 8 | 18 | 12 | 14 | 2 | 10 | 6 | |||
| blue | 499 | 200 | 314 | 407 | 535 | 367 | 361 | 176 | 427 | 3286 | 527 | 187 | 386 | 157 | 350 | 379 | 402 | 383 | 537 | 3308 | 6594 |
| white | 481 | 190 | 296 | 380 | 513 | 352 | 337 | 173 | 410 | 3132 | 497 | 174 | 371 | 137 | 335 | 346 | 383 | 361 | 517 | 3121 | 6253 |
| gold | 405 | 172 | 279 | 329 | 427 | 316 | 303 | 172 | 365 | 2768 | 477 | 160 | 342 | 126 | 271 | 332 | 310 | 318 | 421 | 2757 | 5525 |
| red | 394 | 165 | 272 | 321 | 421 | 303 | 291 | 165 | 355 | 2687 | 469 | 148 | 328 | 119 | 246 | 303 | 301 | 313 | 422 | 2649 | 5336 |