Hidden Pines Country Club is an 18-hole golf course in Warrensburg, MO with a par of 71. It offers 3 tee sets: blue (6,308 yards, slope 127, rating 71), white (5,620 yards, slope 120, rating 67.7), gold (5,010 yards, slope 115, rating 64.7). The hardest hole is #8, a par 4 playing 392 yards from the first tee.
Hidden Pines Country Club
Warrensburg, MO
Get PDF Yardage Book
We'll email you the PDF link. No spam, ever.
Create Your Game Plan
Pick your tees, enter your bag, and get a personalized shot-by-shot strategy for every hole.
A straightforward par 4 that opens with a wide fairway before narrowing as it approaches the green. Bunkers protect the right side of the putting surface, demanding accuracy on the approach shot.
A short par 3 requiring a precise tee shot to a well-bunkered green. Water hazards frame the left side, making the right-center approach the preferred landing area.
A lengthy par 5 that bends slightly left with strategic bunkering along the fairway. The expansive green provides multiple routes for reaching it in regulation, though distance and positioning are essential for a scoring opportunity.
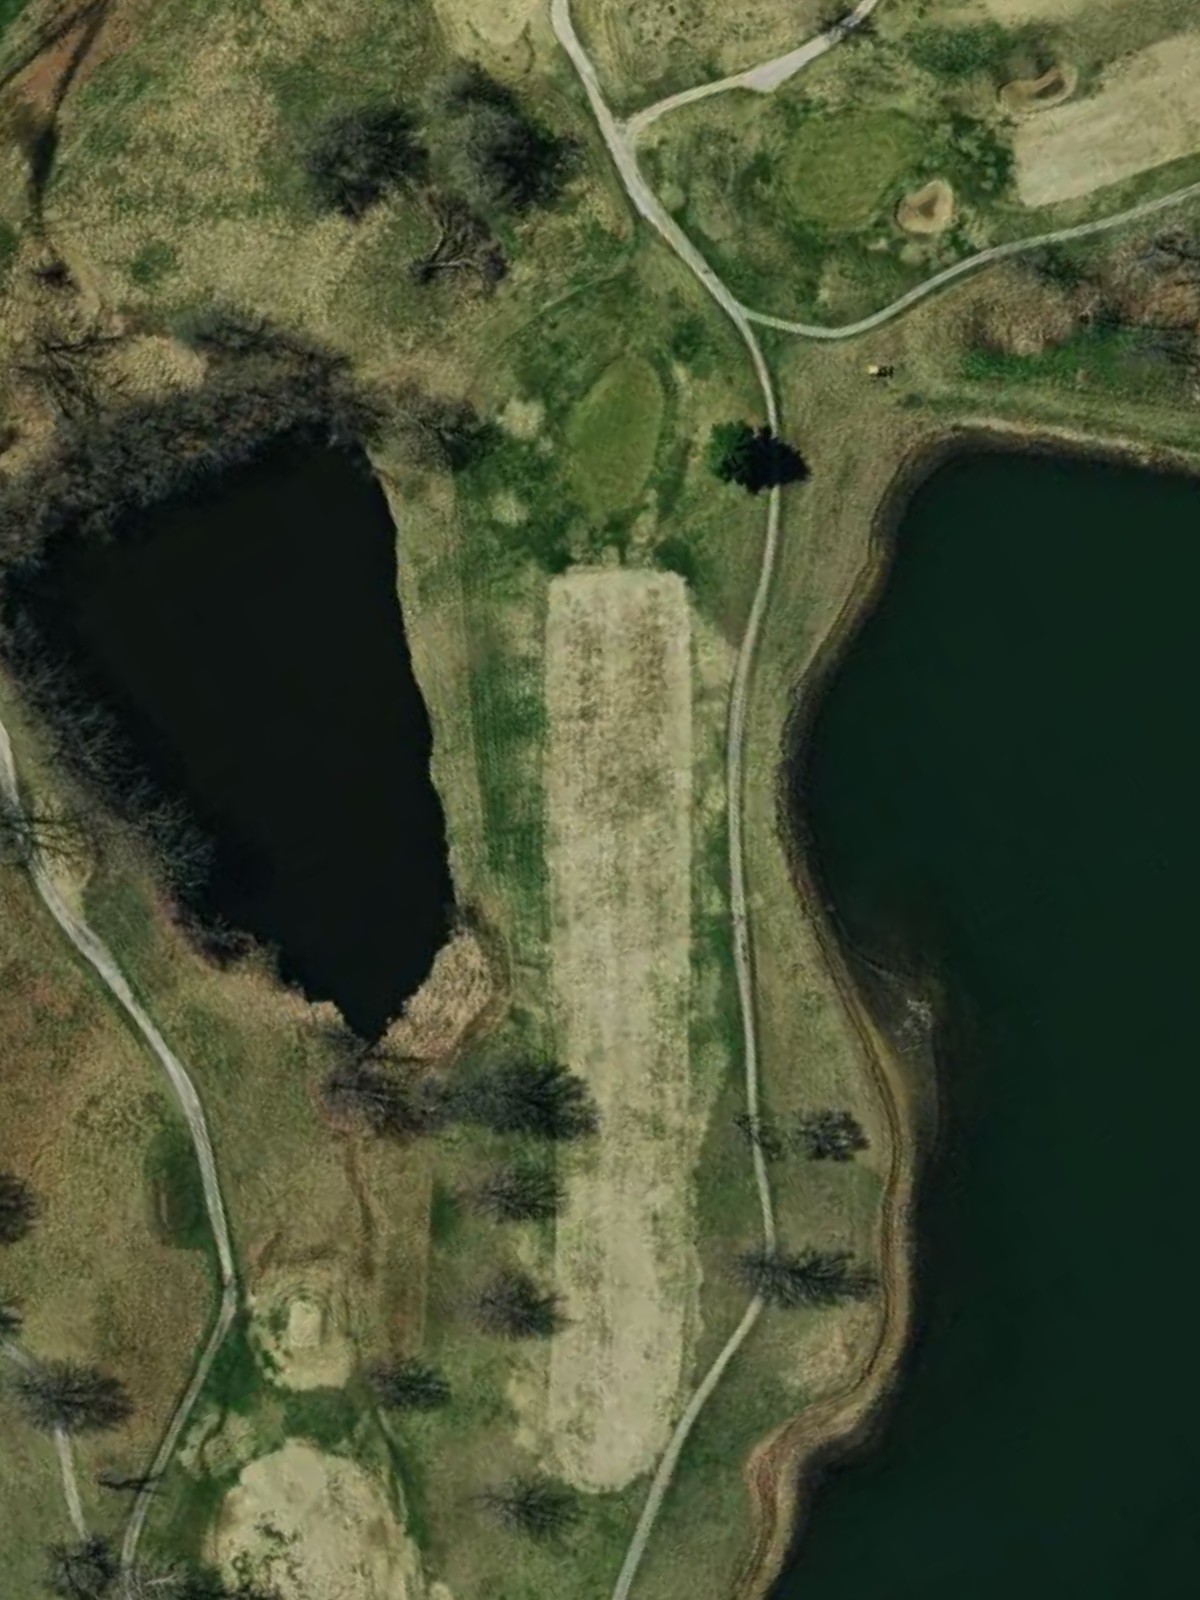
A deceptively difficult par 3 featuring Hidden Pines' most prominent water hazard directly in front of the green. Bunkers flank both sides of the putting surface, making this the course's most demanding short hole.
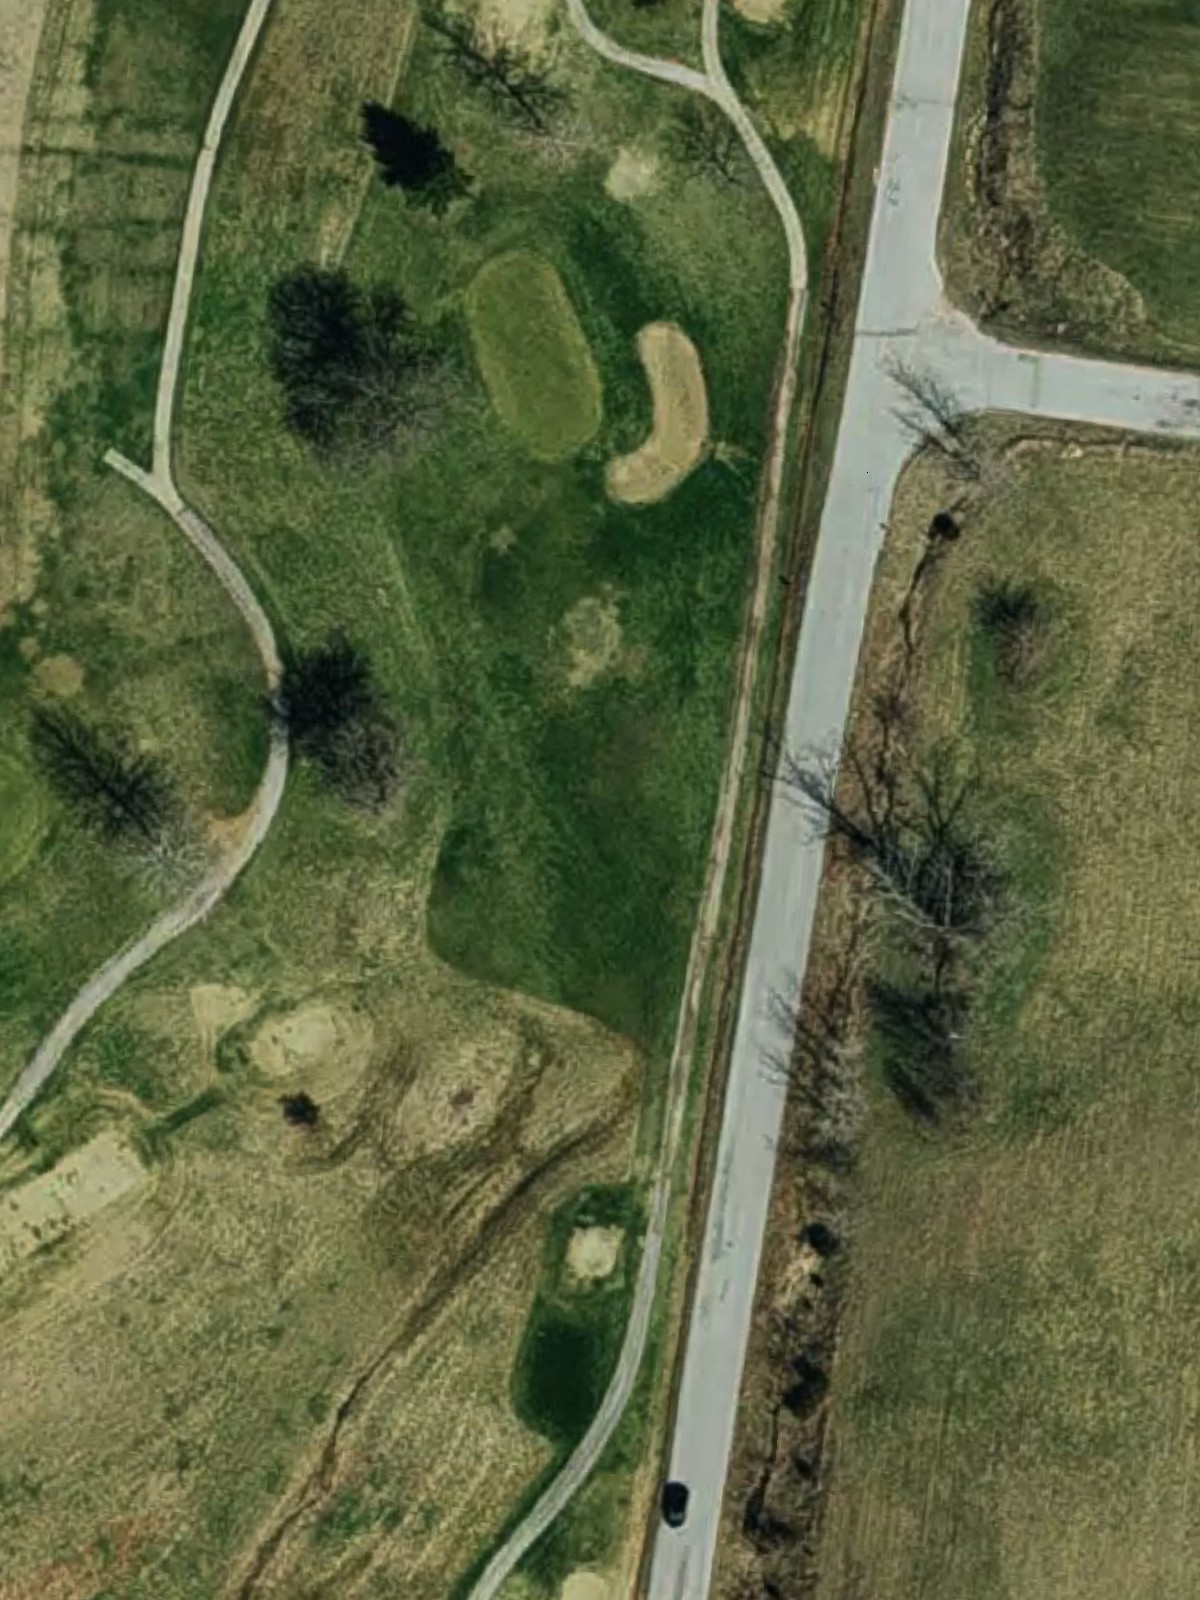
A short, straightforward par 4 that plays downhill from the tee with an open fairway. The modest length belies the precision required, as the narrow green sits elevated and is protected by bunkers on both sides.
A stout par 4 with a fairway that tightens considerably at the 300-yard mark, creating a bottleneck for longer hitters. Out-of-bounds threatens the right side throughout, while bunkers frame the left approach to the green.
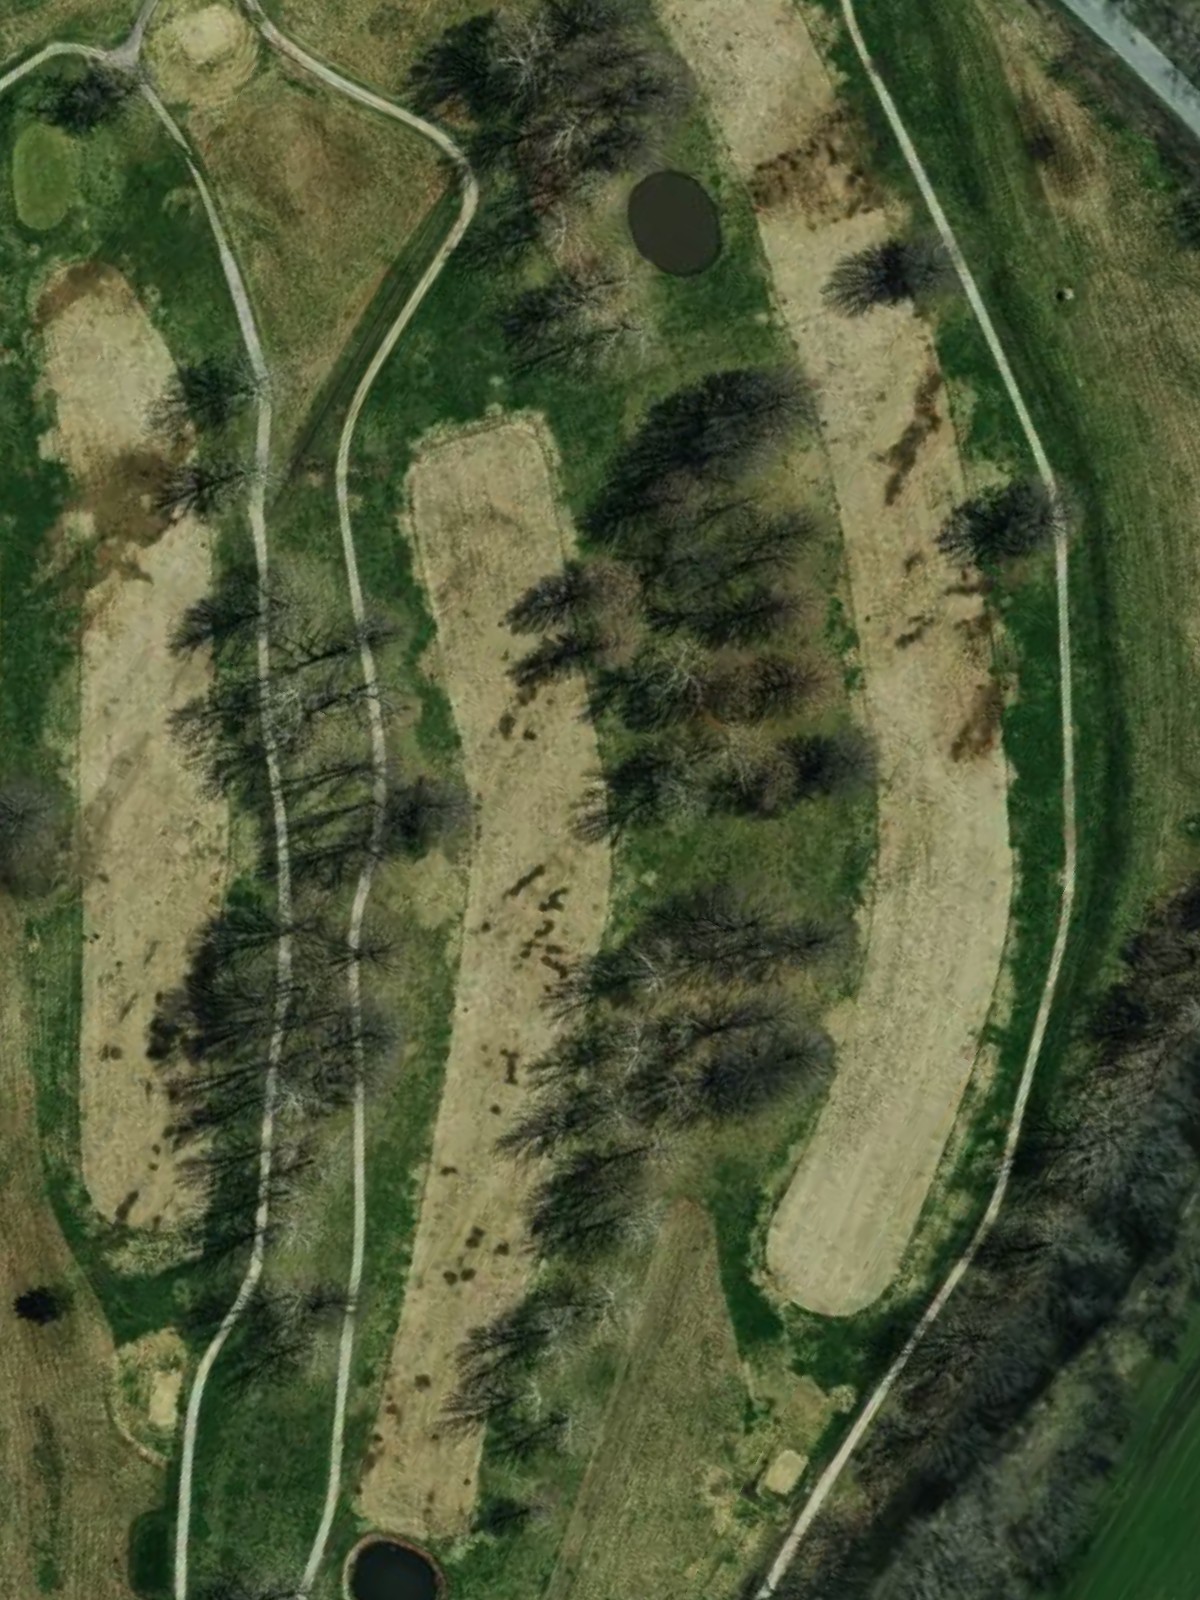
A generous par 5 that doglegs slightly right with wide fairways encouraging aggressive play. Bunkers scattered along the right side reward straighter tee shots, and the relatively open green welcomes multiple approaches.
The course's most challenging hole, this par 4 features a dramatic dogleg right with water protecting the inside of the turn. The narrow landing area demands precision, and the elevated green is guarded by deep bunkers on both sides.
A solid par 4 that plays uphill toward a crowned green protected by bunkers left and right. The fairway remains fairly open, but the rising terrain makes the approach more difficult than the yardage suggests.
A par 5 that offers multiple routes to the green with strategic bunkering along the right fairway. The relatively modest length for a five-par makes this a birdie opportunity for those who avoid the hazards and position their shots wisely.
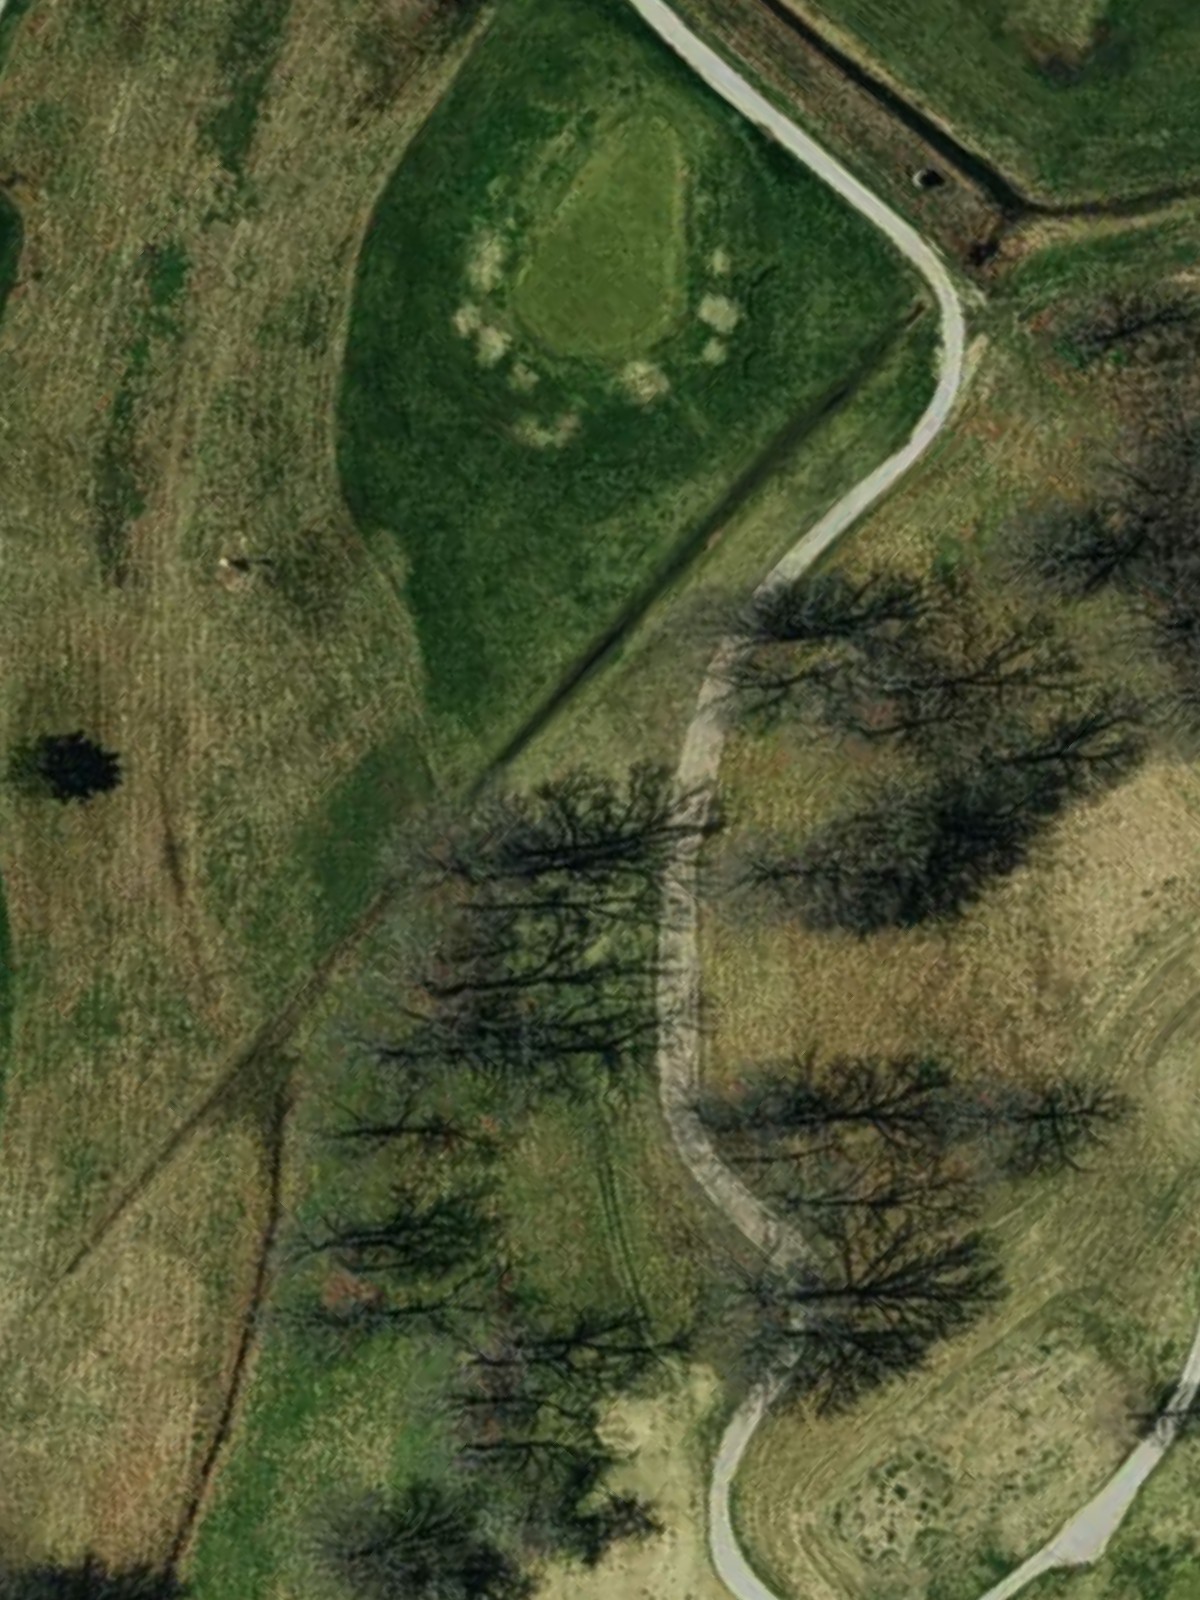
A short, straightforward par 3 with minimal hazard complexity. The small, shallow green demands a well-struck tee shot, and its lack of bunker protection places emphasis on accuracy rather than recovery.
The second most challenging hole on the course, this par 4 features a fairway that narrows significantly at 250 yards. Water hazards menace the left side throughout, while out-of-bounds on the right creates a claustrophobic corridor to a heavily bunkered green.
A mid-length par 4 with a relatively open fairway that tightens near the green. Bunkers guard the right side of the approach, while the putting surface slopes from back to front, making the angle of attack important.
A par 5 that plays longer than its yardage due to significant elevation changes throughout. Bunkers strategically placed along the right fairway encourage left-side positioning, and the expansive green accommodates various approaches.
A short par 3 that appears deceptively simple but features subtle green contours and bunker placement that demand precision. The modest length is offset by a well-defended putting surface that punishes wayward tee shots.
A strategic par 4 characterized by a dramatic dogleg right with fairway bunkering at the turn. The fairway narrows considerably beyond the bunkers, requiring players to balance aggression with positioning for the approach shot.
Hidden Pines' shortest hole, this par 3 is a reachable birdie opportunity with a straightforward tee shot. Minimal hazards make this a confidence builder, though the small green demands solid contact.
A finishing par 4 that plays uphill throughout with a fairway that gradually narrows toward an elevated green. Bunkers frame both sides of the approach, and the rising terrain makes the final shot more demanding than the distance alone would indicate.
Scorecard
| Hole | 1 | 2 | 3 | 4 | 5 | 6 | 7 | 8 | 9 | Out | 10 | 11 | 12 | 13 | 14 | 15 | 16 | 17 | 18 | In | Tot |
|---|---|---|---|---|---|---|---|---|---|---|---|---|---|---|---|---|---|---|---|---|---|
| Par | 4 | 3 | 5 | 3 | 4 | 4 | 5 | 4 | 4 | 36 | 5 | 3 | 4 | 4 | 5 | 3 | 4 | 3 | 4 | 35 | 71 |
| HCP | 9 | 11 | 5 | 3 | 17 | 15 | 13 | 1 | 7 | 12 | 10 | 2 | 8 | 6 | 16 | 14 | 18 | 4 | |||
| blue | 407 | 178 | 540 | 182 | 318 | 444 | 526 | 392 | 402 | 3389 | 457 | 146 | 409 | 394 | 480 | 163 | 344 | 126 | 400 | 2919 | 6308 |
| white | 392 | 165 | 450 | 162 | 303 | 350 | 496 | 245 | 370 | 2933 | 421 | 129 | 391 | 377 | 456 | 142 | 322 | 111 | 338 | 2687 | 5620 |
| gold | 330 | 155 | 405 | 120 | 275 | 330 | 460 | 300 | 270 | 2645 | 390 | 110 | 305 | 330 | 410 | 130 | 300 | 110 | 280 | 2365 | 5010 |