Hidden Greens Golf Course is an 18-hole golf course in Hastings, MN with a par of 72. It offers 3 tee sets: blue (6,289 yards, slope 123, rating 70.2), white (5,954 yards, slope 120, rating 68.7), gold (5,440 yards, slope 115, rating 66.4). The hardest hole is #16, a par 4 playing 413 yards from the first tee.
Hidden Greens Golf Course
Hastings, MN
Get PDF Yardage Book
We'll email you the PDF link. No spam, ever.
Create Your Game Plan
Pick your tees, enter your bag, and get a personalized shot-by-shot strategy for every hole.
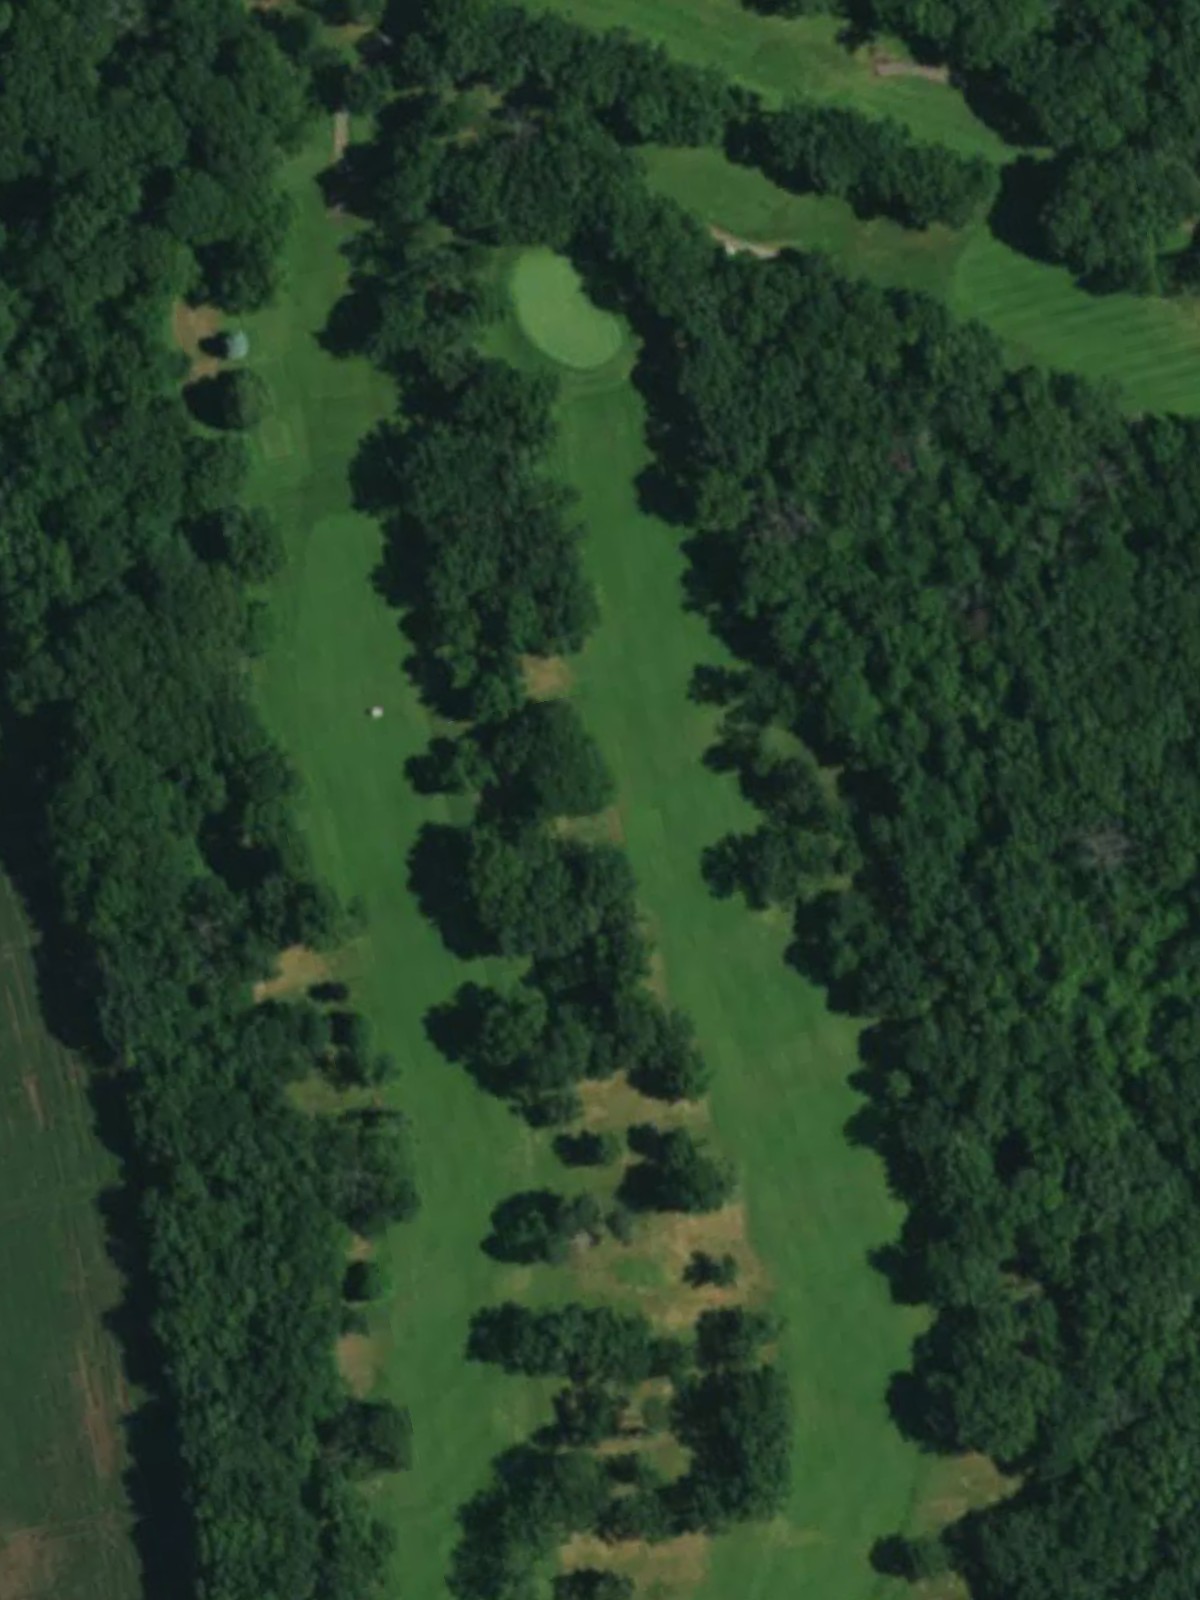
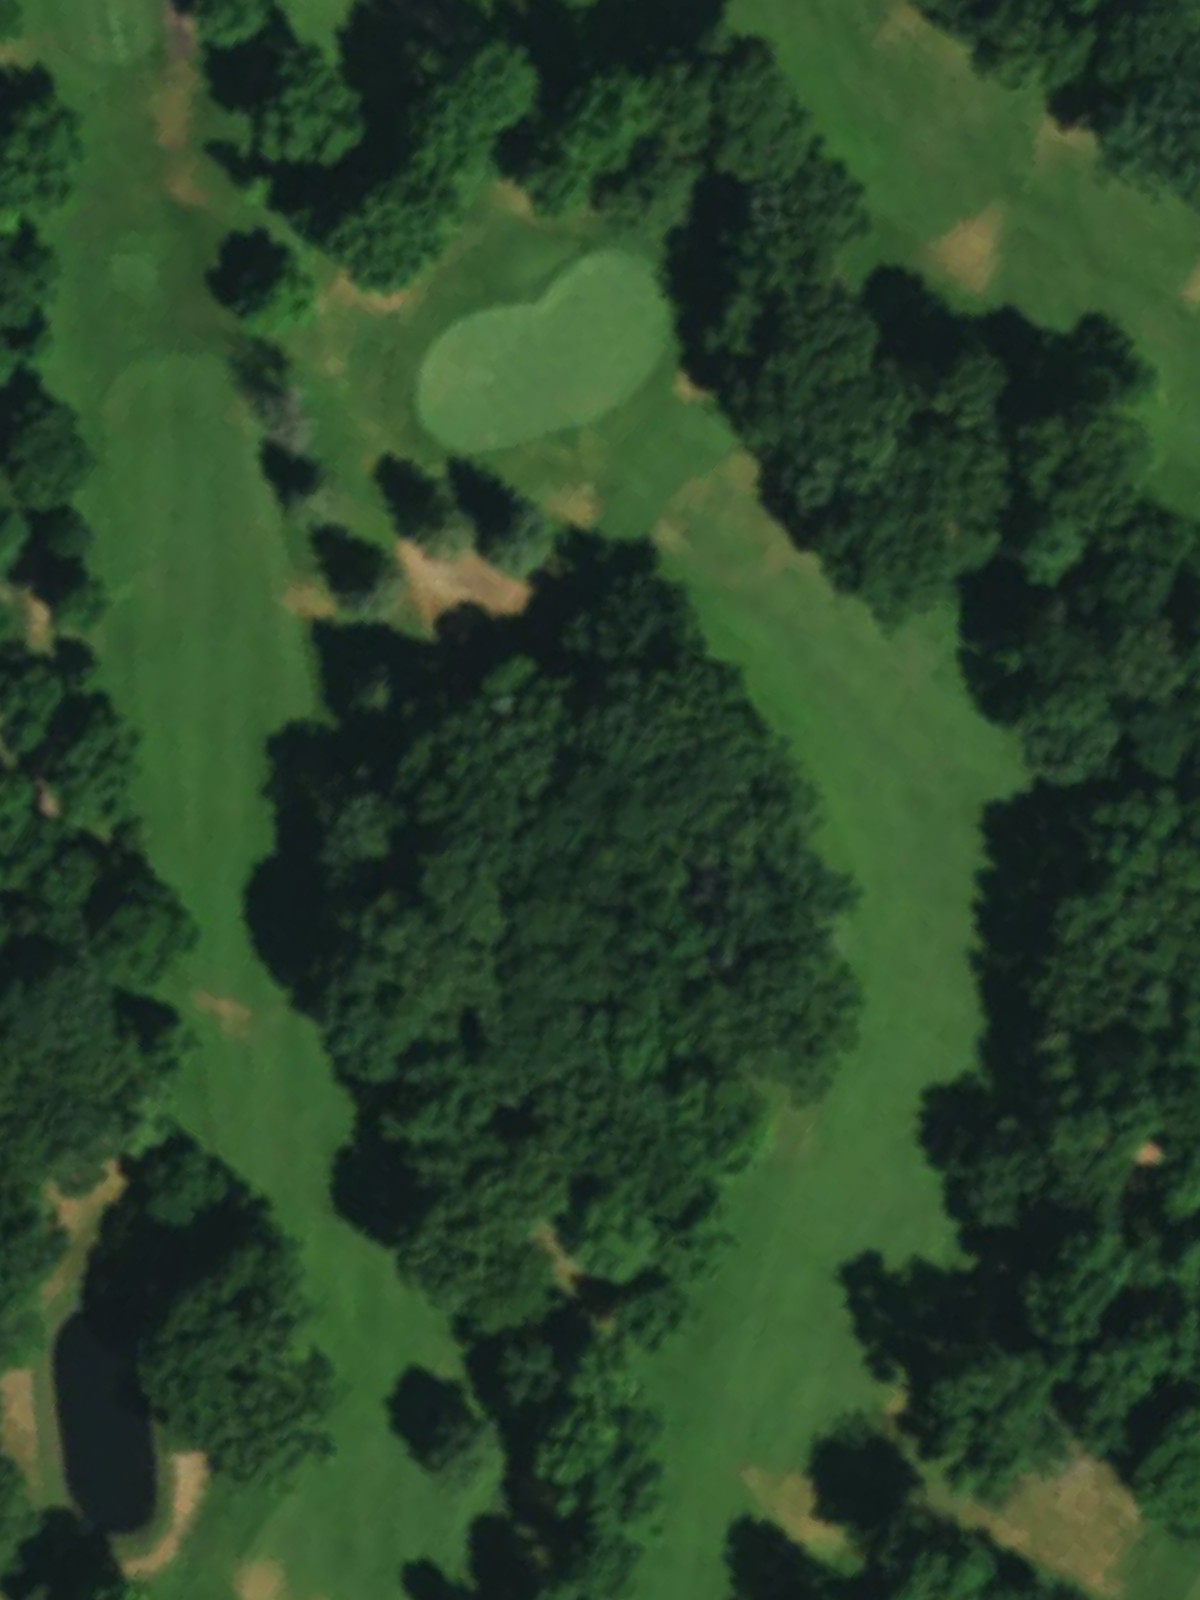
A straightforward par 4 with a generous landing area that gradually narrows as it approaches the green. Bunkers guard both sides of the green, requiring accuracy on the approach shot to find the putting surface.
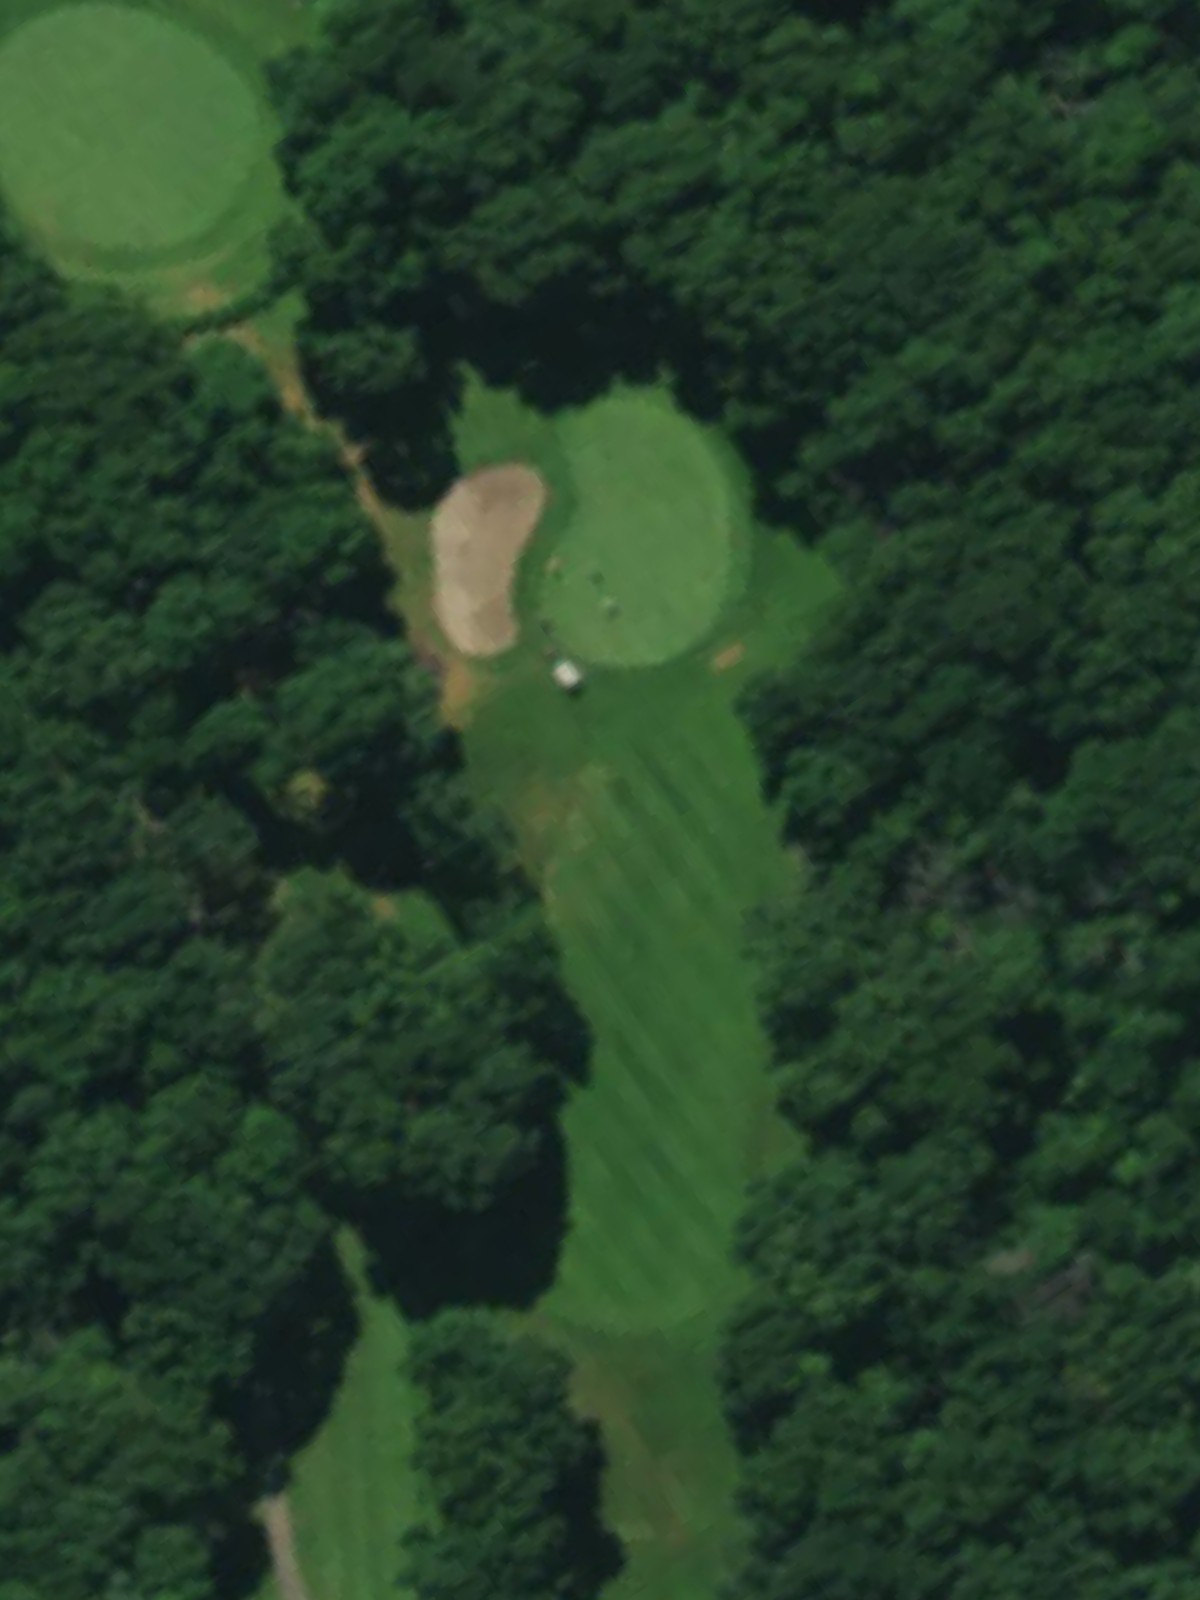
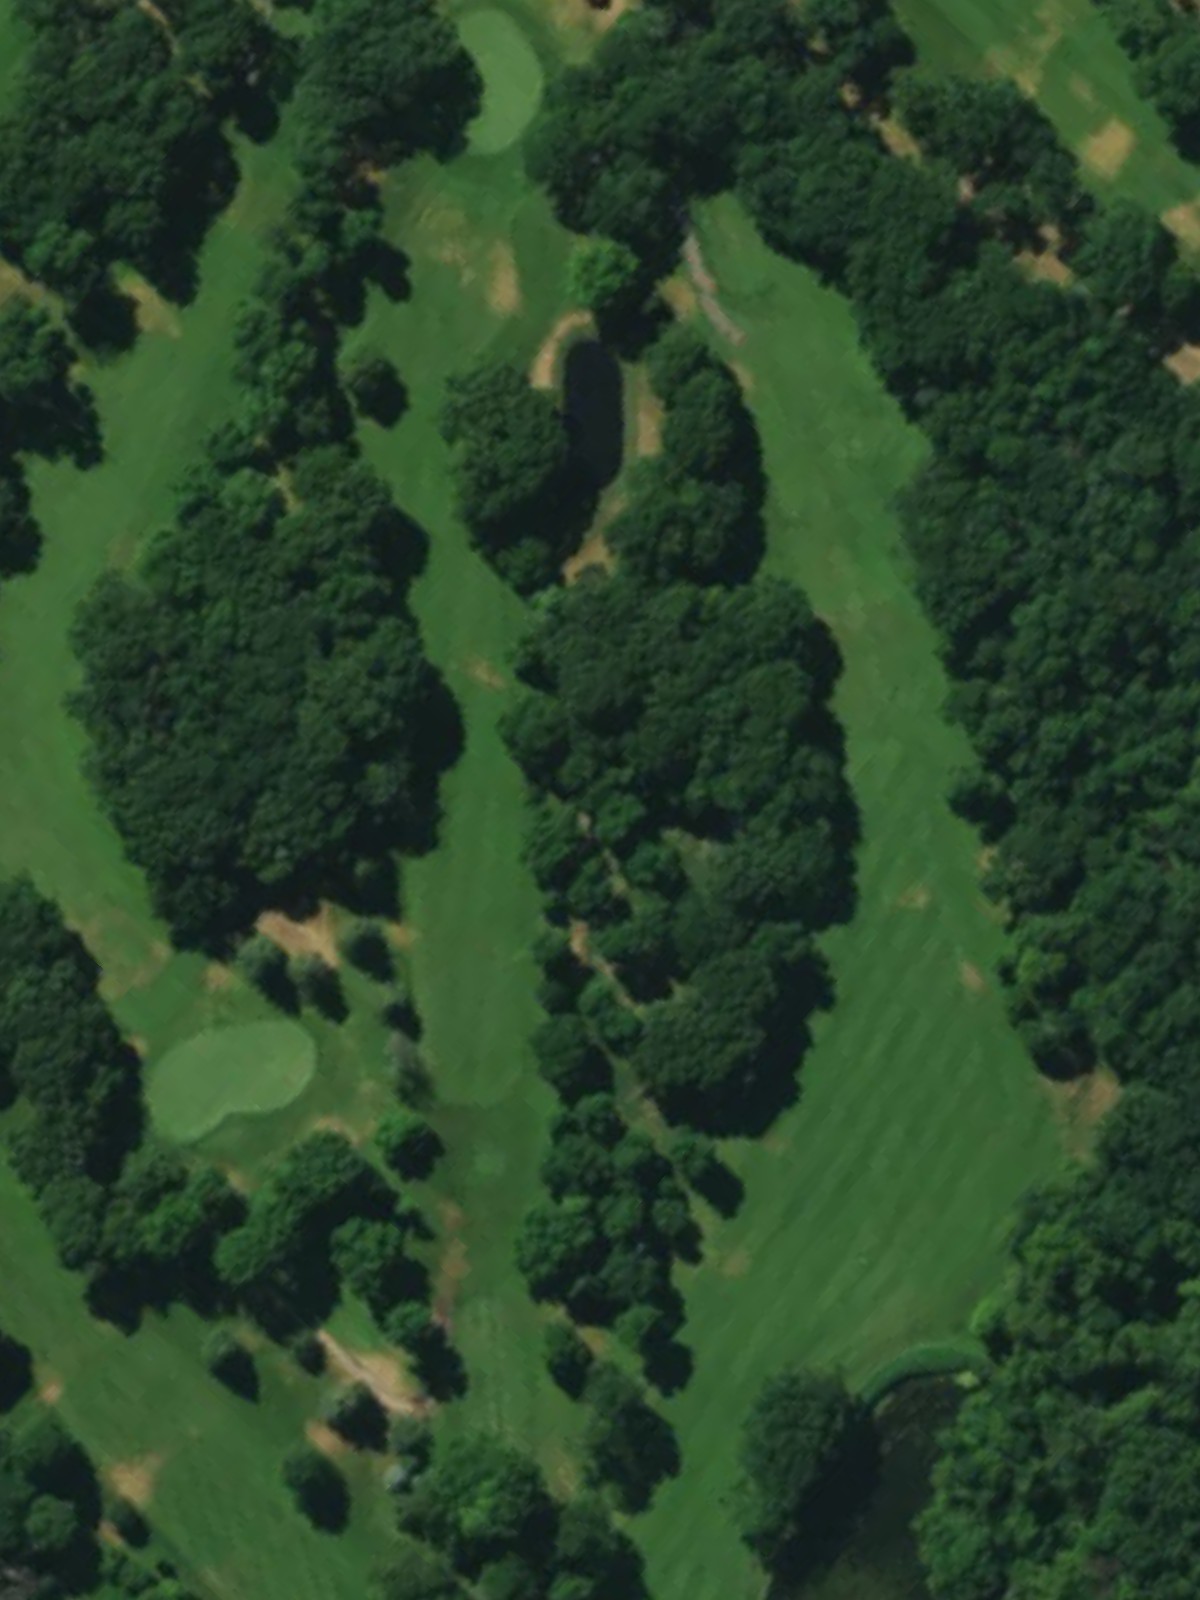
A short par 4 that plays downhill toward the green, making it reachable but deceptive in length. Water hazards flank the left side of the fairway and left of the green, punishing any wayward shots in that direction.
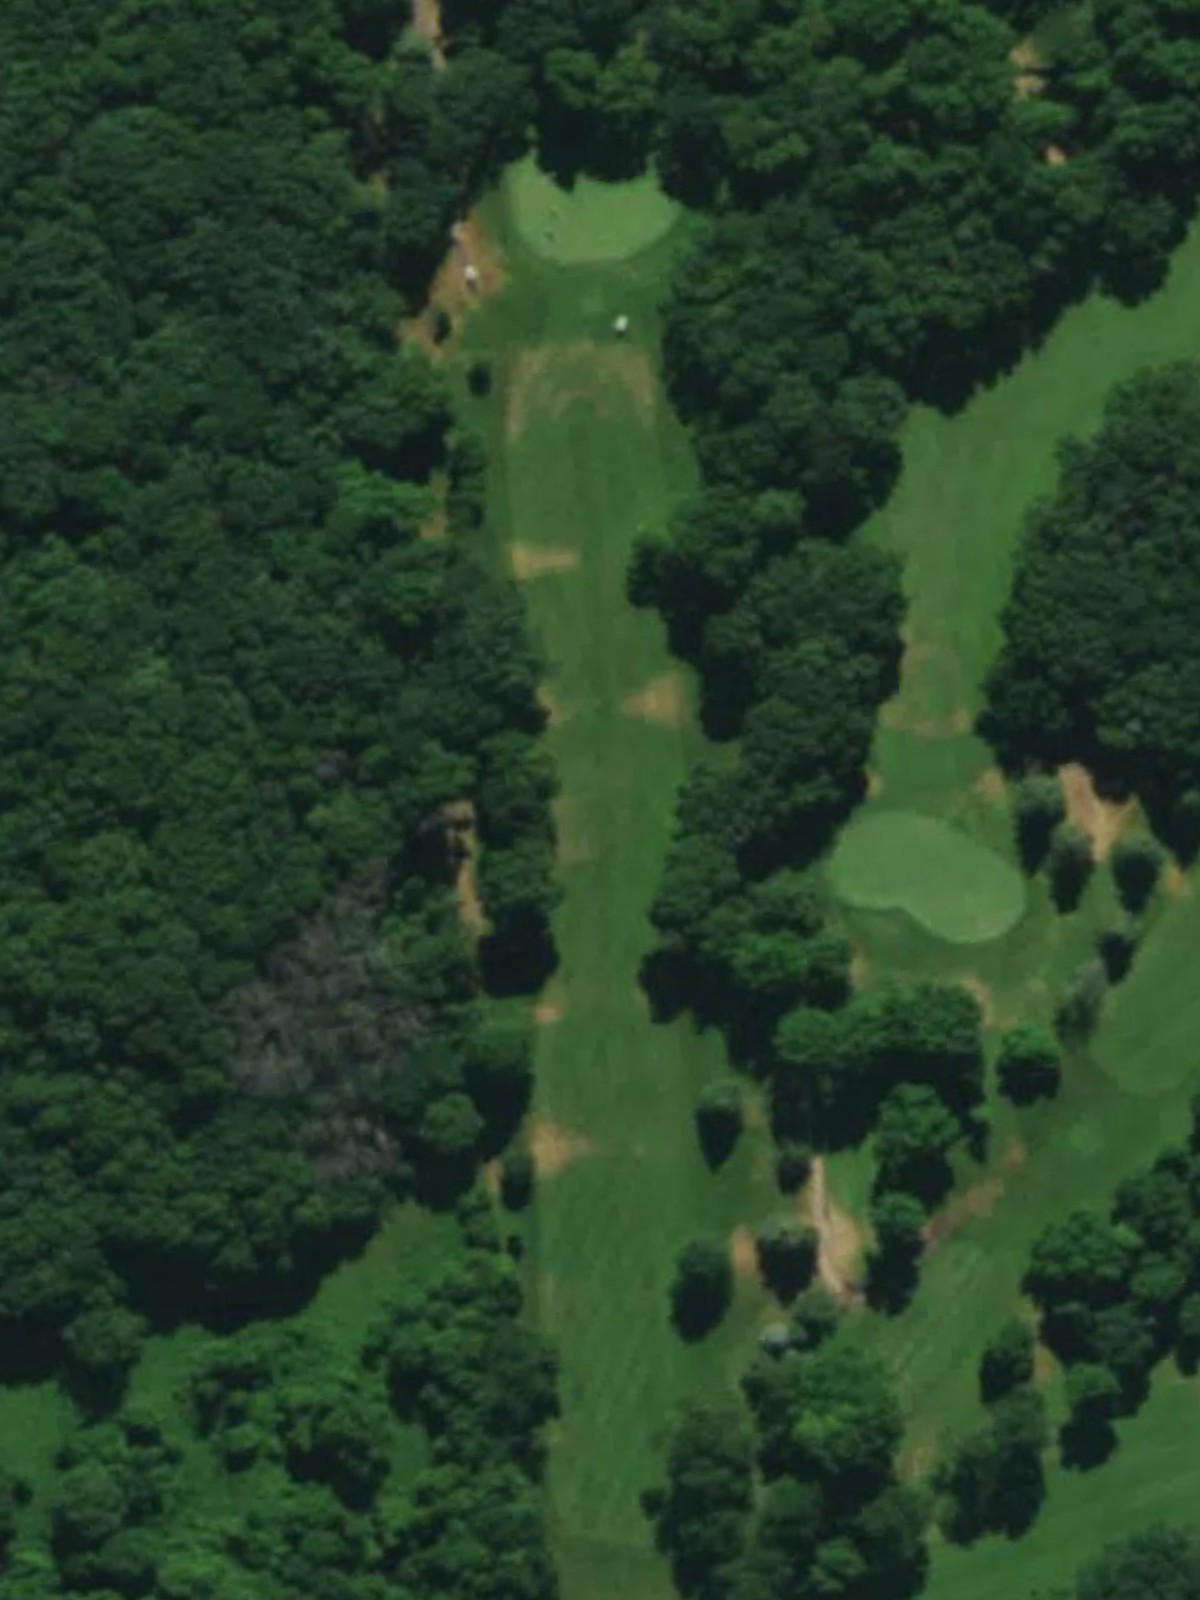
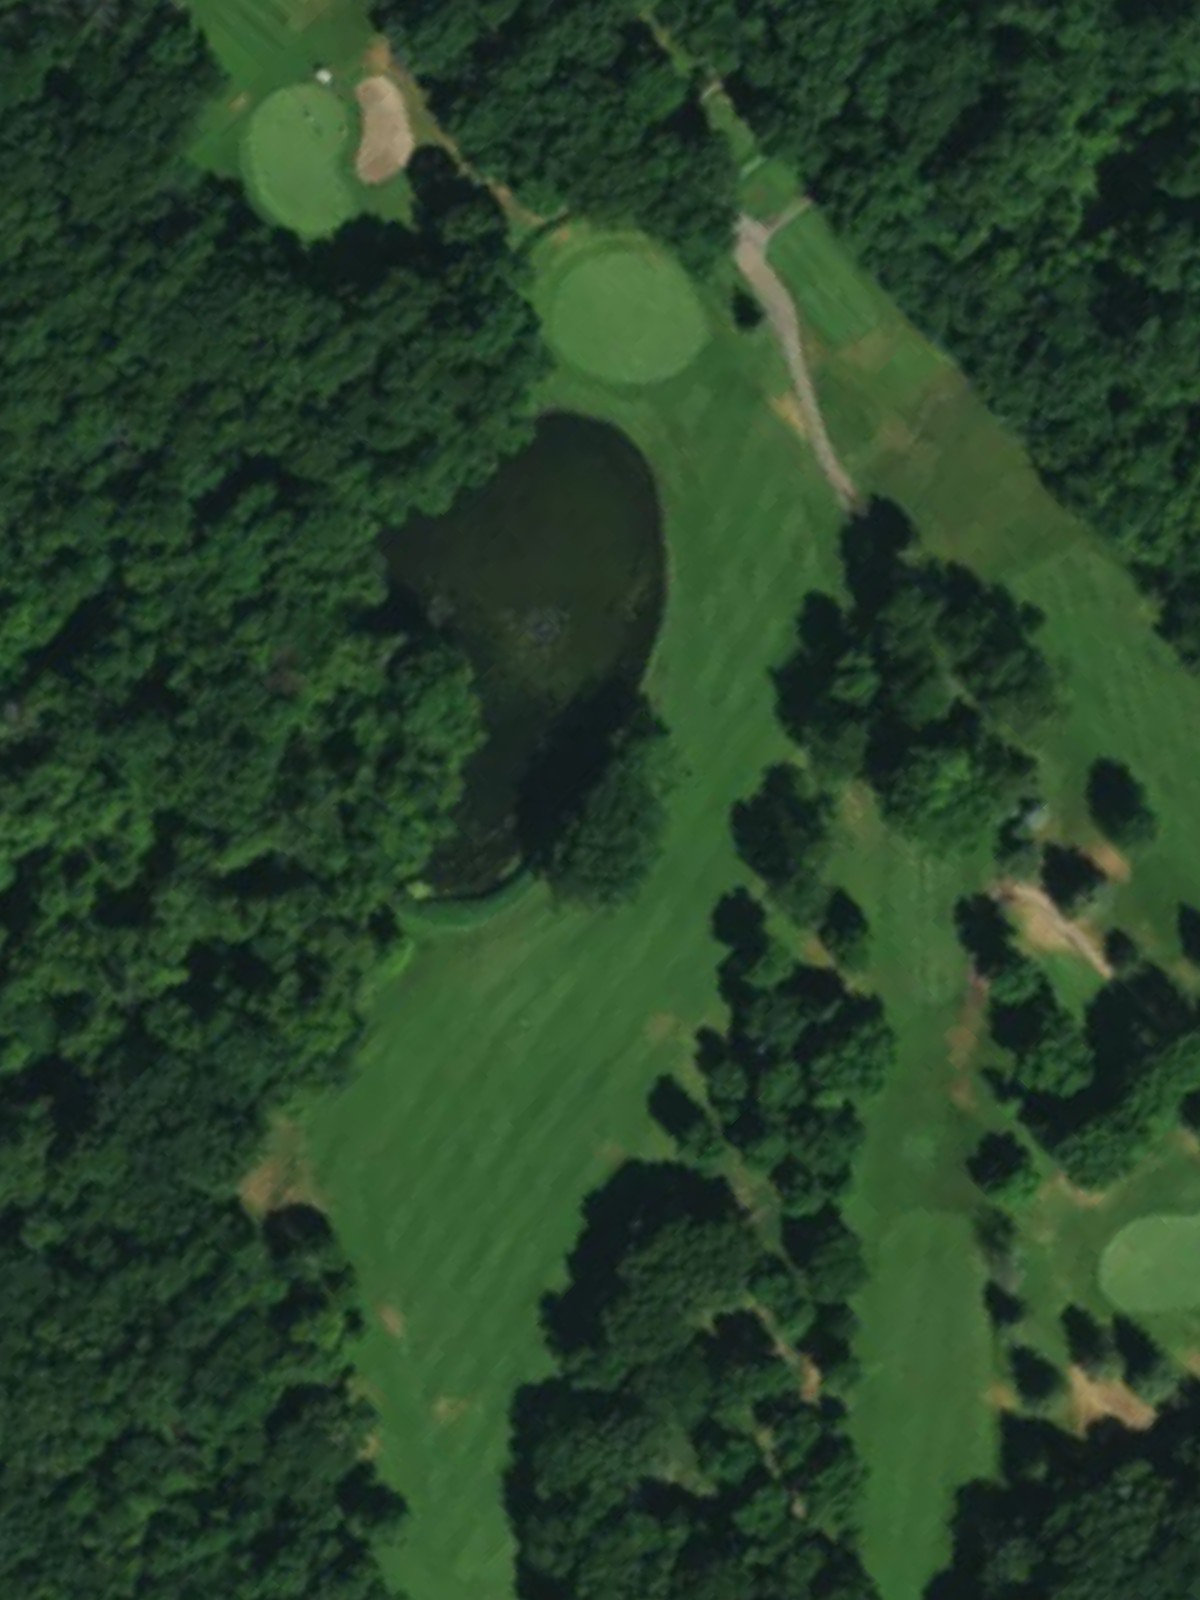
A lengthy par 5 that doglegs slightly left with a well-bunkered green complex. The hole's length and strategic bunker placement reward good positioning on the second shot for a manageable approach.
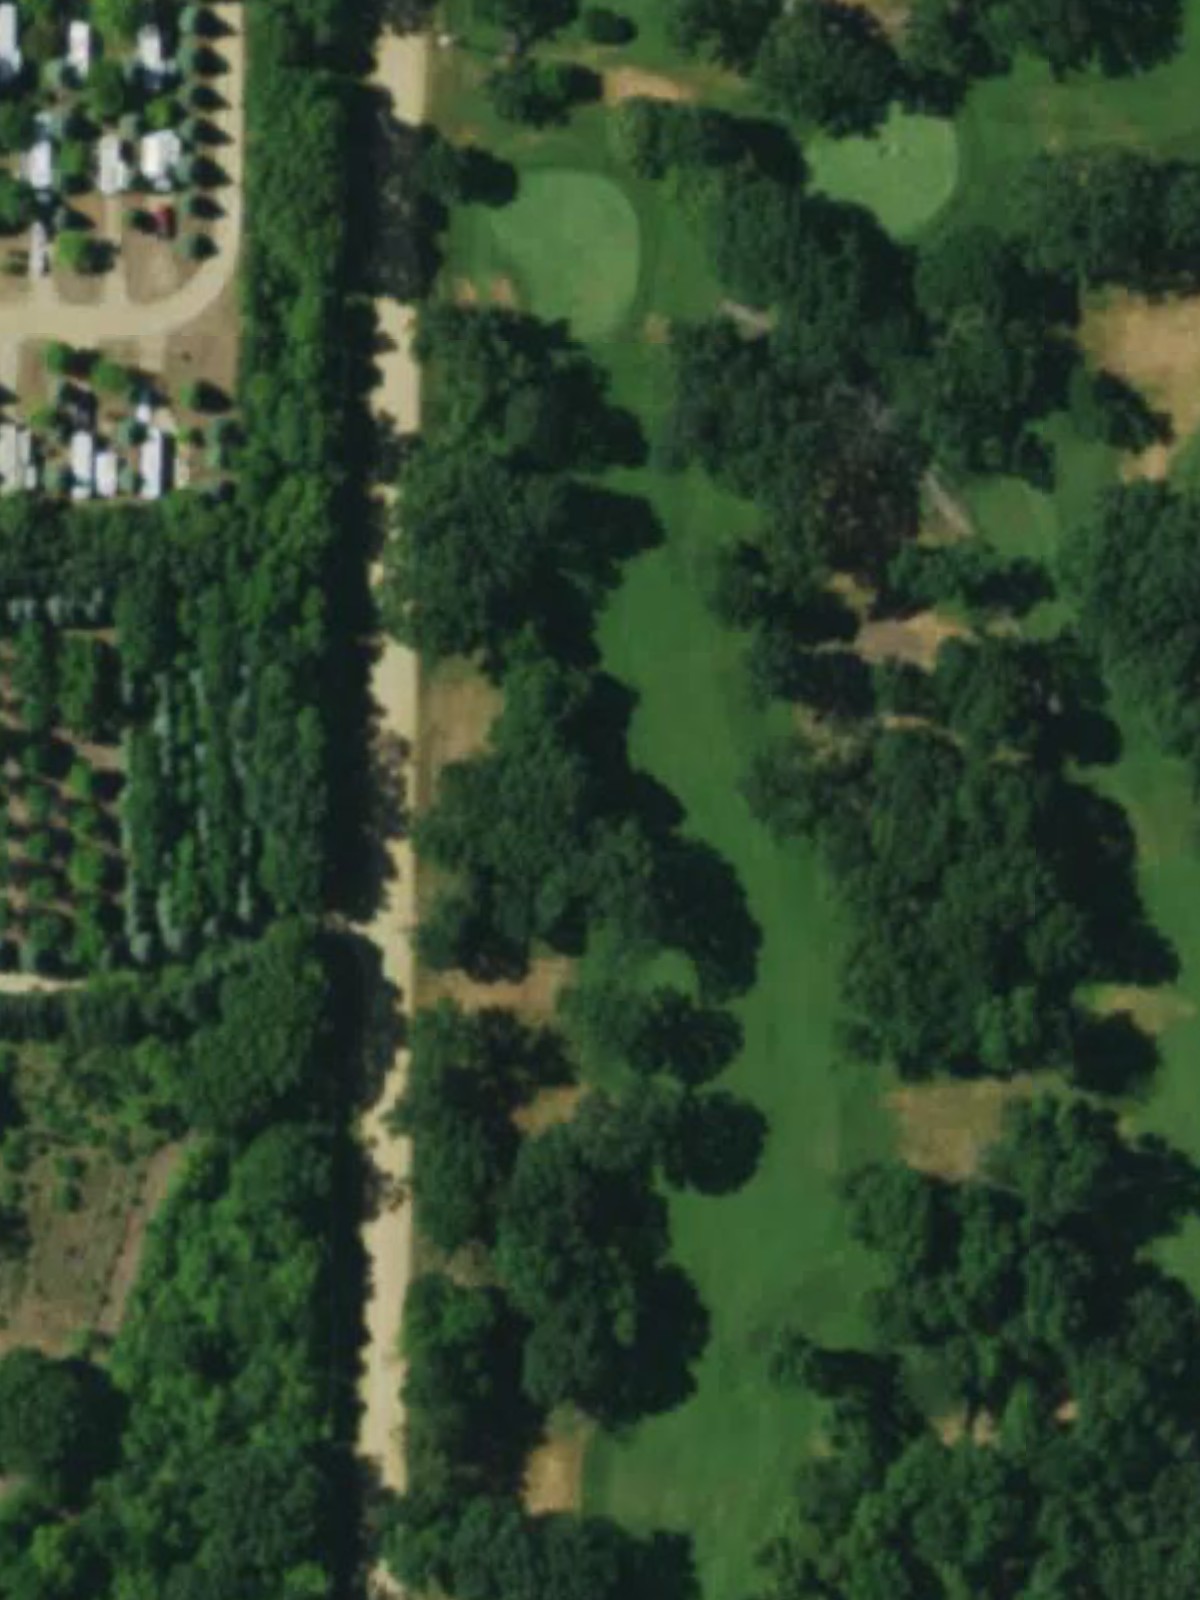
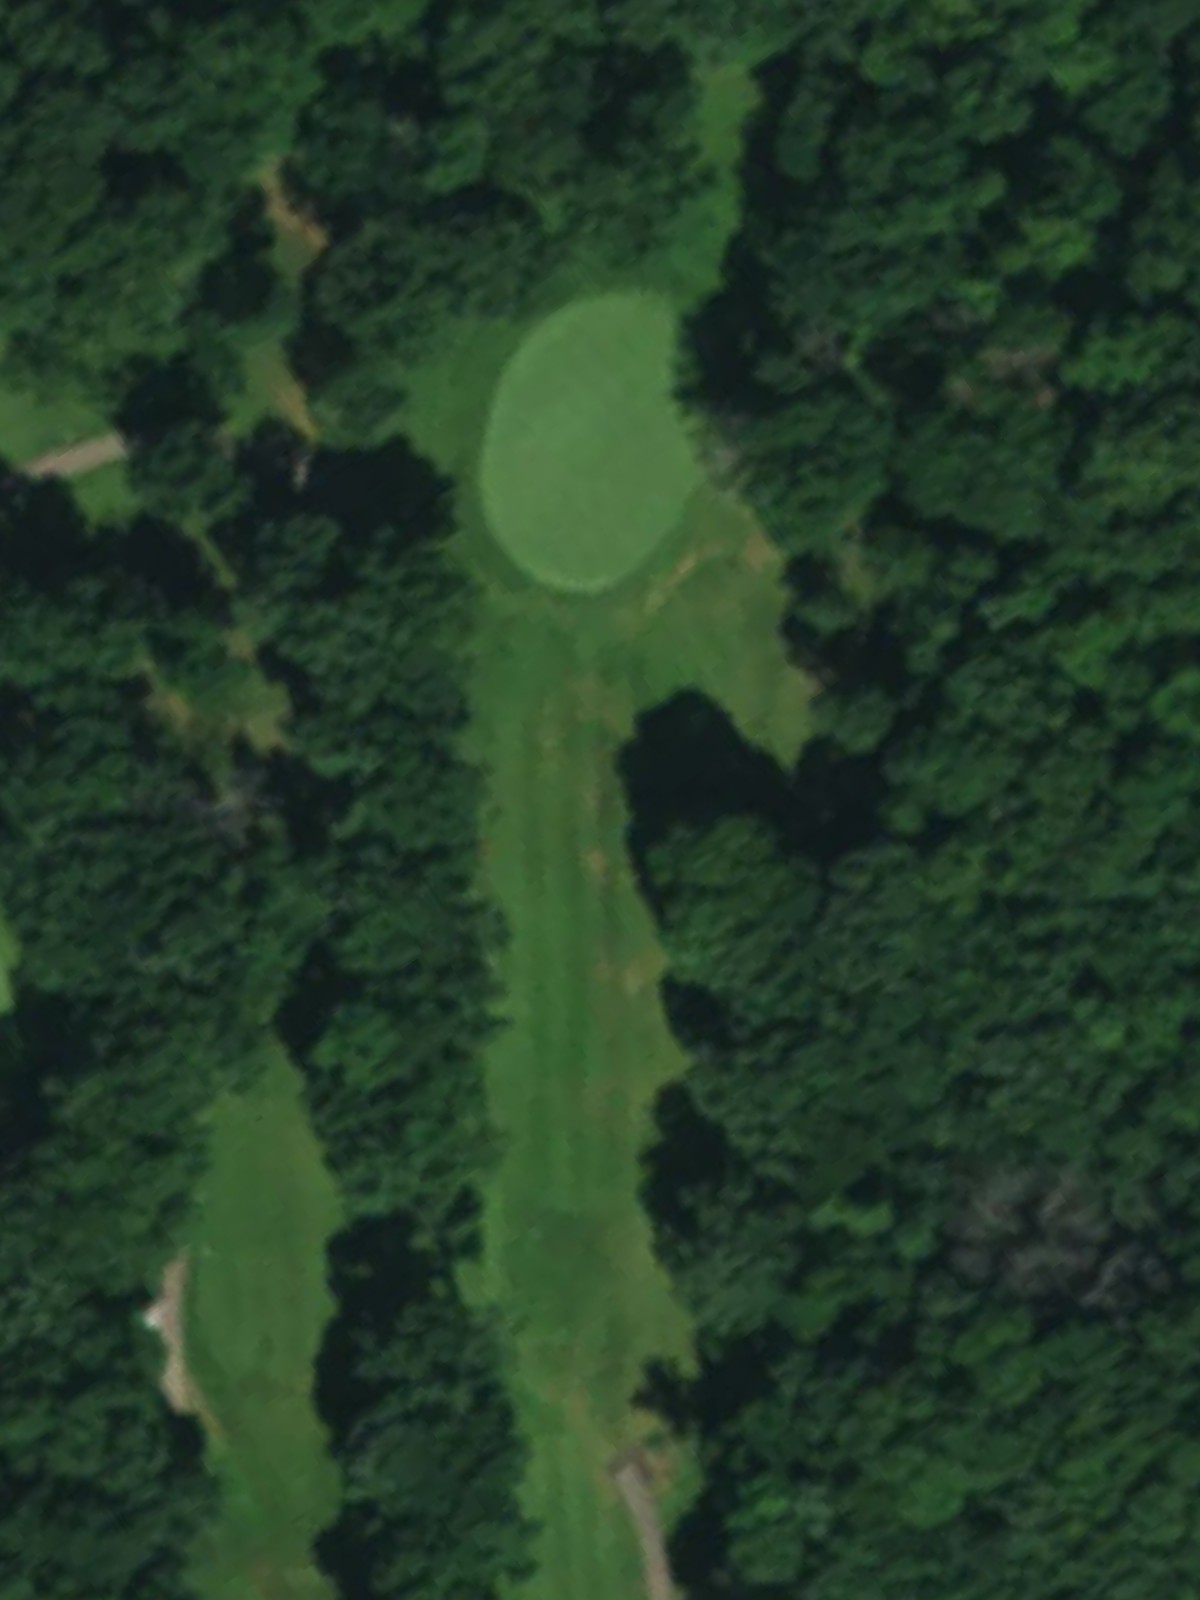
A par 4 that plays relatively straightforward with a wide fairway that tightens considerably near the green. Trees line both sides of the fairway, and bunkers frame the green's entrance, demanding precision on the final approach.
A moderate par 4 with a fairway that opens up invitingly before narrowing near the green. Light bunkering protects the left side of the green, while the right side is relatively open, offering some forgiveness for longer approaches.
A strong par 5 that climbs uphill with bunkers strategically placed along the fairway's right side. The elevated green sits well-protected, making it a three-shot hole for most players despite the generous yardage.

A short par 3 with a receptive green that sits in an open setting with minimal hazards. The straightforward nature of this hole provides a welcome breather in the round before the back nine intensifies.
The course's signature par 4, a dramatic hole that plays shorter than its yardage suggests with significant elevation changes and strategic bunkering throughout. A narrow, elevated green demands an accurate approach to score well on this challenging one-shotter.
A mid-length par 3 over a valley to a well-bunkered green surrounded by hazards on multiple sides. The exposed green offers little margin for error, making club selection and distance control critical to finding the putting surface.
A par 5 that doglegs right with a fairway that widens at the landing areas before narrowing again near the green. Strategic bunkering along the right side guides play, while the multi-tiered green rewards accurate positioning.
A moderate-length par 3 to an island green surrounded by water on all sides, creating a dramatic and exposed target. The hole's risk-reward nature makes club selection paramount, as the green offers limited bail-out areas.
A strong par 4 that doglegs left with the fairway tightening significantly in the landing zone and near the green. Multiple bunkers protect both sides of the green entrance, making this one of the course's most demanding shorter par 4s.
A compact par 4 with a fairway that slopes subtly toward the left and narrows as it approaches the green. Bunkers guard the left side of the green, while the right offers slightly more bail-out space for less-precise approaches.
A short par 4 with a narrow, tree-lined fairway that requires controlled driving to set up a manageable approach. The green is relatively modest in size with light bunker protection, making accuracy off the tee essential for birdie opportunities.
A tight par 4 with a pinched fairway and out-of-bounds stakes close along the left side throughout the hole. The small, well-bunkered green demands a precise approach shot, punishing any play toward the hazardous left side.
A demanding par 4 that plays uphill with trees lining both sides and strategic bunker placement throughout the hole. The elevated, protected green represents a fitting test of skill, rewarding only the most accurate tee and approach shots on this signature hole.
A picturesque par 3 played across a natural hazard to a green nestled among trees and light bunkering. The hole's length and exposed green position make it a vulnerable finishing par 3 that can swing momentum down the stretch.
A strong finishing par 5 that doglegs right with fairway bunkers guarding the outside of the turn and additional hazards near the green. The two-tiered green rewards strategic positioning, providing a climactic conclusion that can decide the day's outcome.
Scorecard
| Hole | 1 | 2 | 3 | 4 | 5 | 6 | 7 | 8 | 9 | Out | 10 | 11 | 12 | 13 | 14 | 15 | 16 | 17 | 18 | In | Tot |
|---|---|---|---|---|---|---|---|---|---|---|---|---|---|---|---|---|---|---|---|---|---|
| Par | 4 | 4 | 5 | 4 | 4 | 5 | 3 | 4 | 3 | 36 | 5 | 3 | 4 | 4 | 4 | 4 | 4 | 3 | 5 | 36 | 72 |
| HCP | 8 | 10 | 4 | 12 | 14 | 6 | 18 | 2 | 16 | 5 | 17 | 3 | 11 | 9 | 13 | 1 | 15 | 7 | |||
| blue | 388 | 313 | 537 | 388 | 371 | 521 | 152 | 291 | 194 | 3155 | 486 | 180 | 413 | 351 | 315 | 310 | 413 | 174 | 492 | 3134 | 6289 |
| white | 369 | 290 | 527 | 372 | 331 | 501 | 142 | 281 | 164 | 2977 | 476 | 158 | 391 | 336 | 295 | 293 | 395 | 153 | 480 | 2977 | 5954 |
| gold | 349 | 263 | 473 | 346 | 319 | 441 | 135 | 265 | 154 | 2745 | 410 | 154 | 365 | 323 | 268 | 279 | 343 | 143 | 410 | 2695 | 5440 |