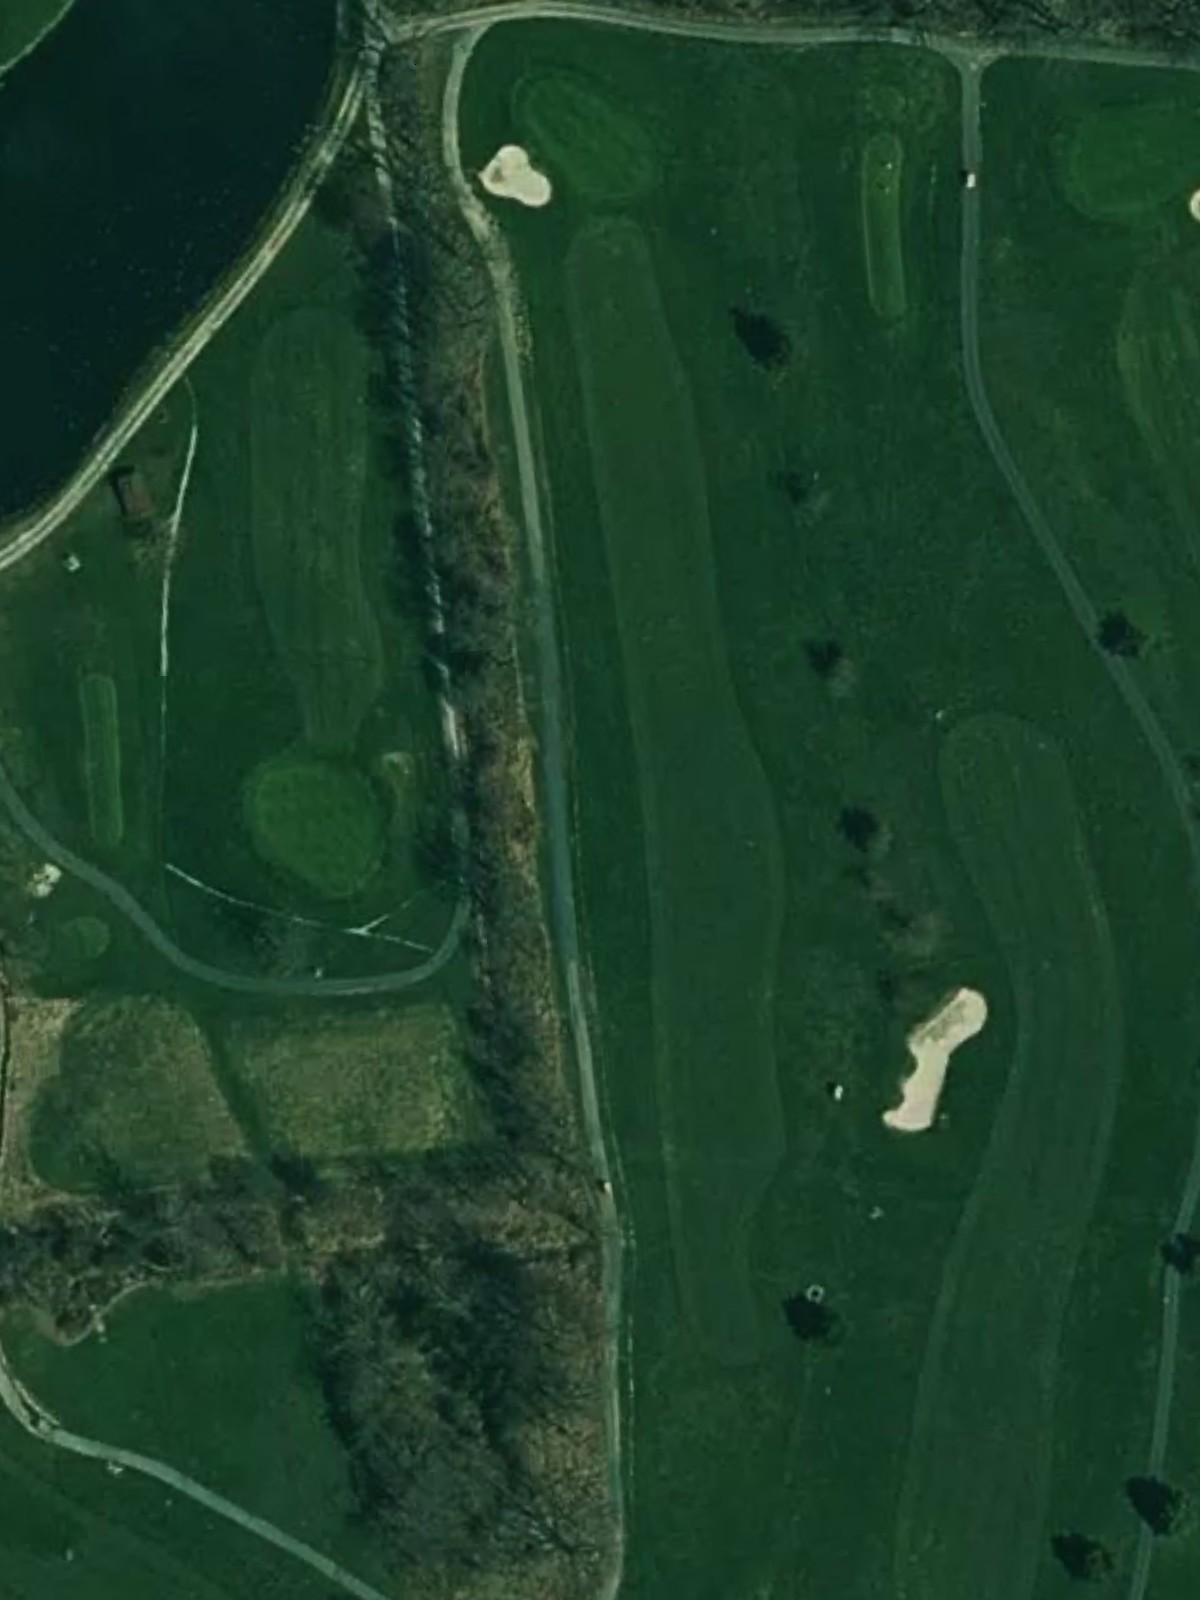
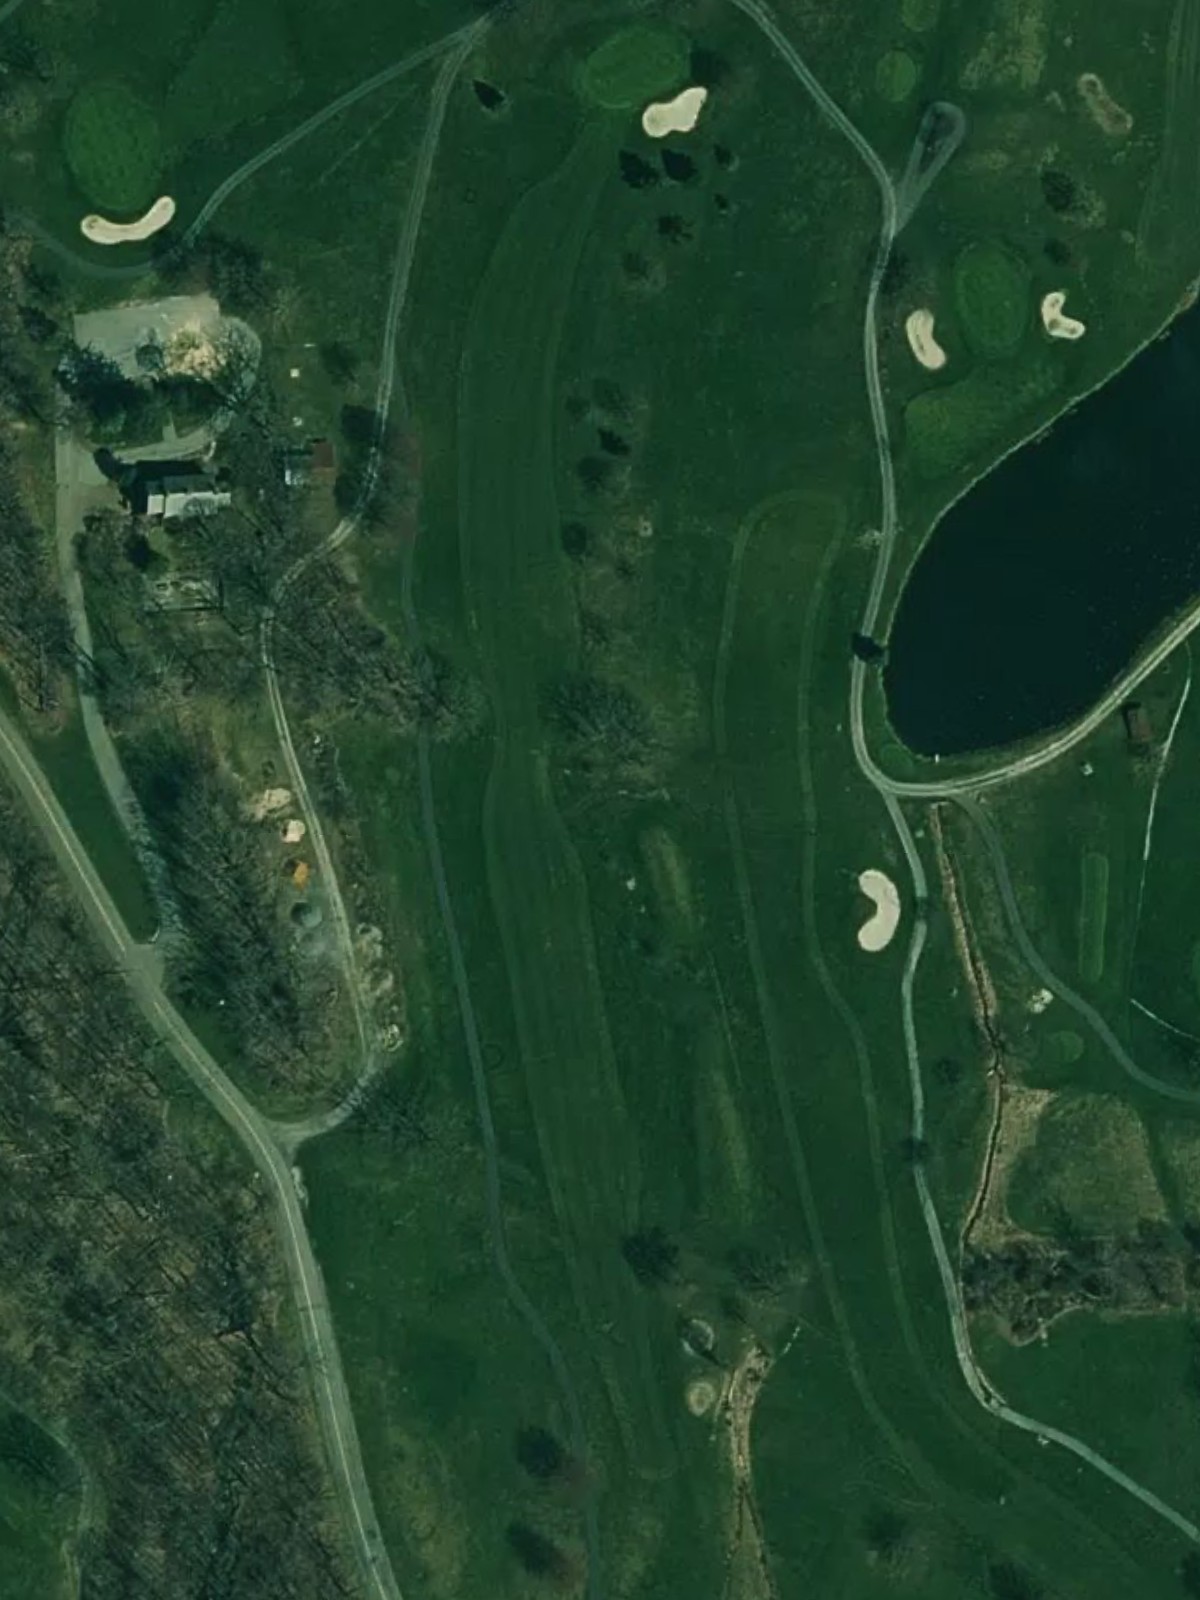
Hickory Hill Golf Club is an 18-hole golf course in Warwick, NY with a par of 72. It offers 2 tee sets: blue (6,866 yards, slope 128, rating 73.6), white (6,369 yards, slope 127, rating 71.2). The hardest hole is #16, a par 4 playing 460 yards from the first tee.
Hickory Hill Golf Club
Warwick, NY
Get PDF Yardage Book
We'll email you the PDF link. No spam, ever.
Create Your Game Plan
Pick your tees, enter your bag, and get a personalized shot-by-shot strategy for every hole.
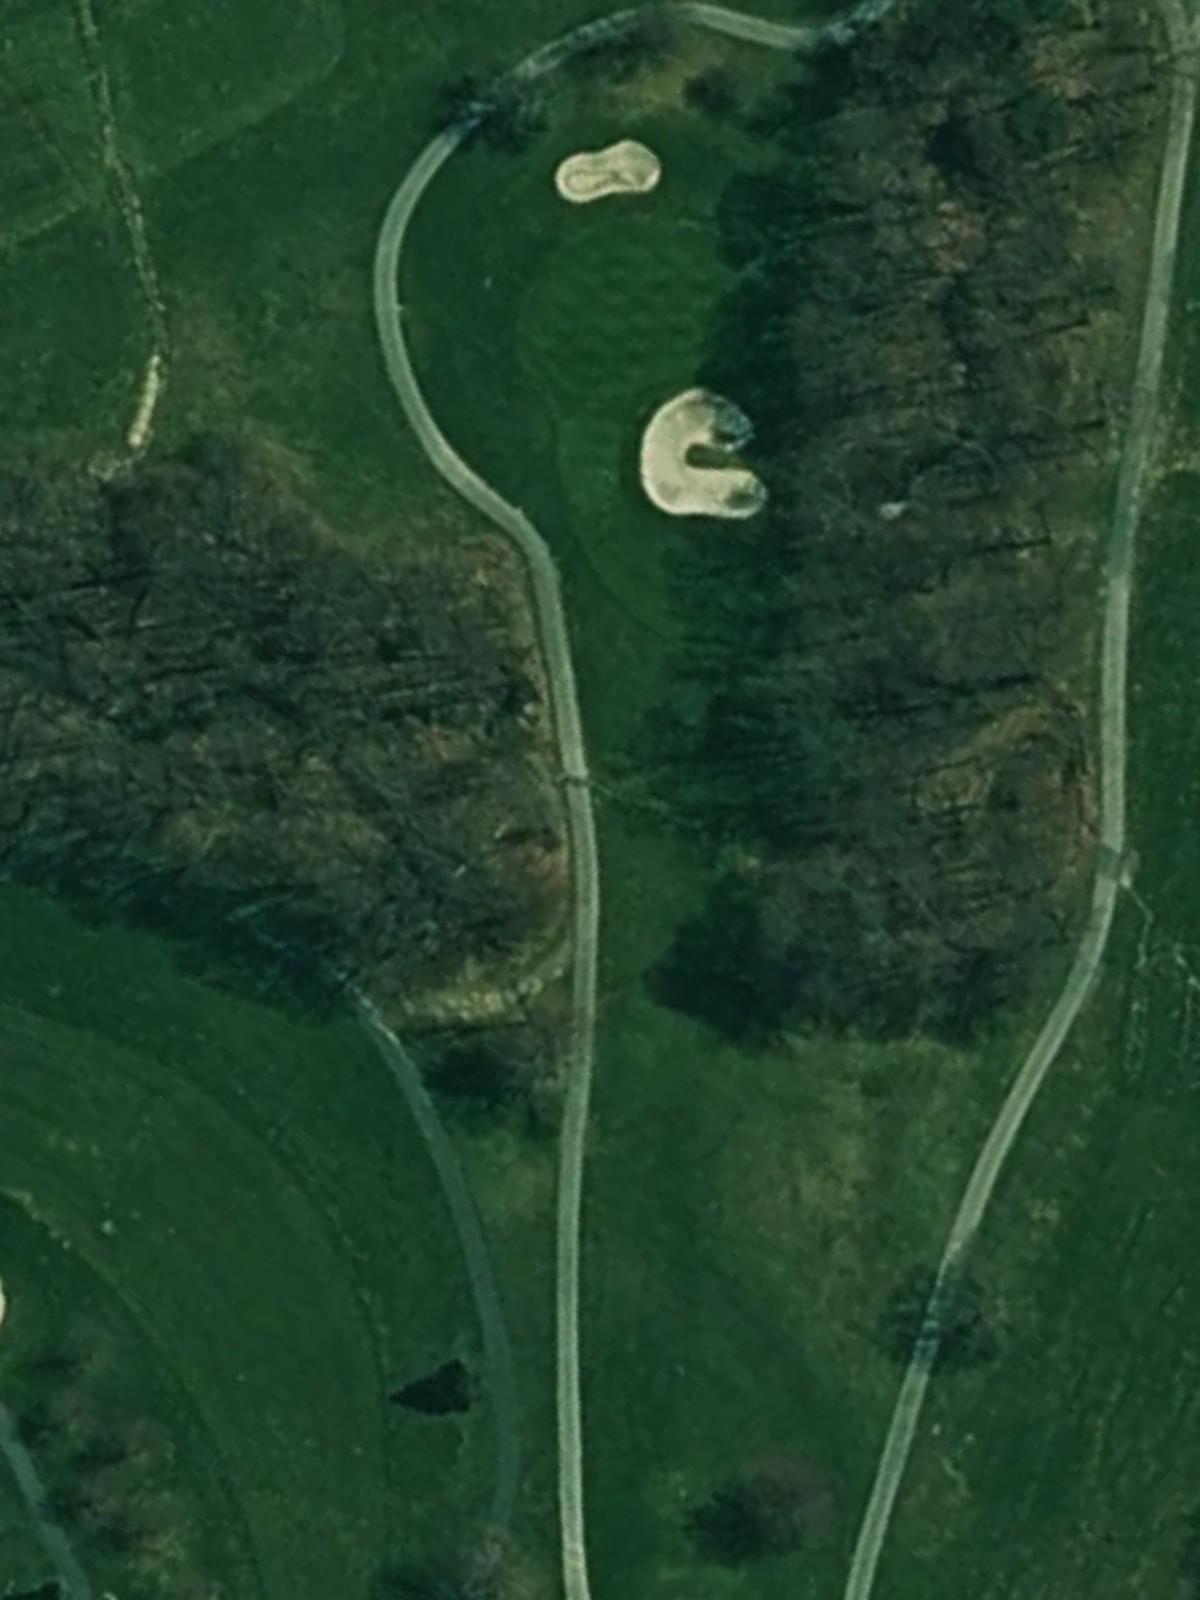
A welcoming opening par 4 that plays relatively straight with a fairway that gradually narrows as it approaches the green. Bunkers guard both sides of the putting surface, requiring accuracy on the approach shot.
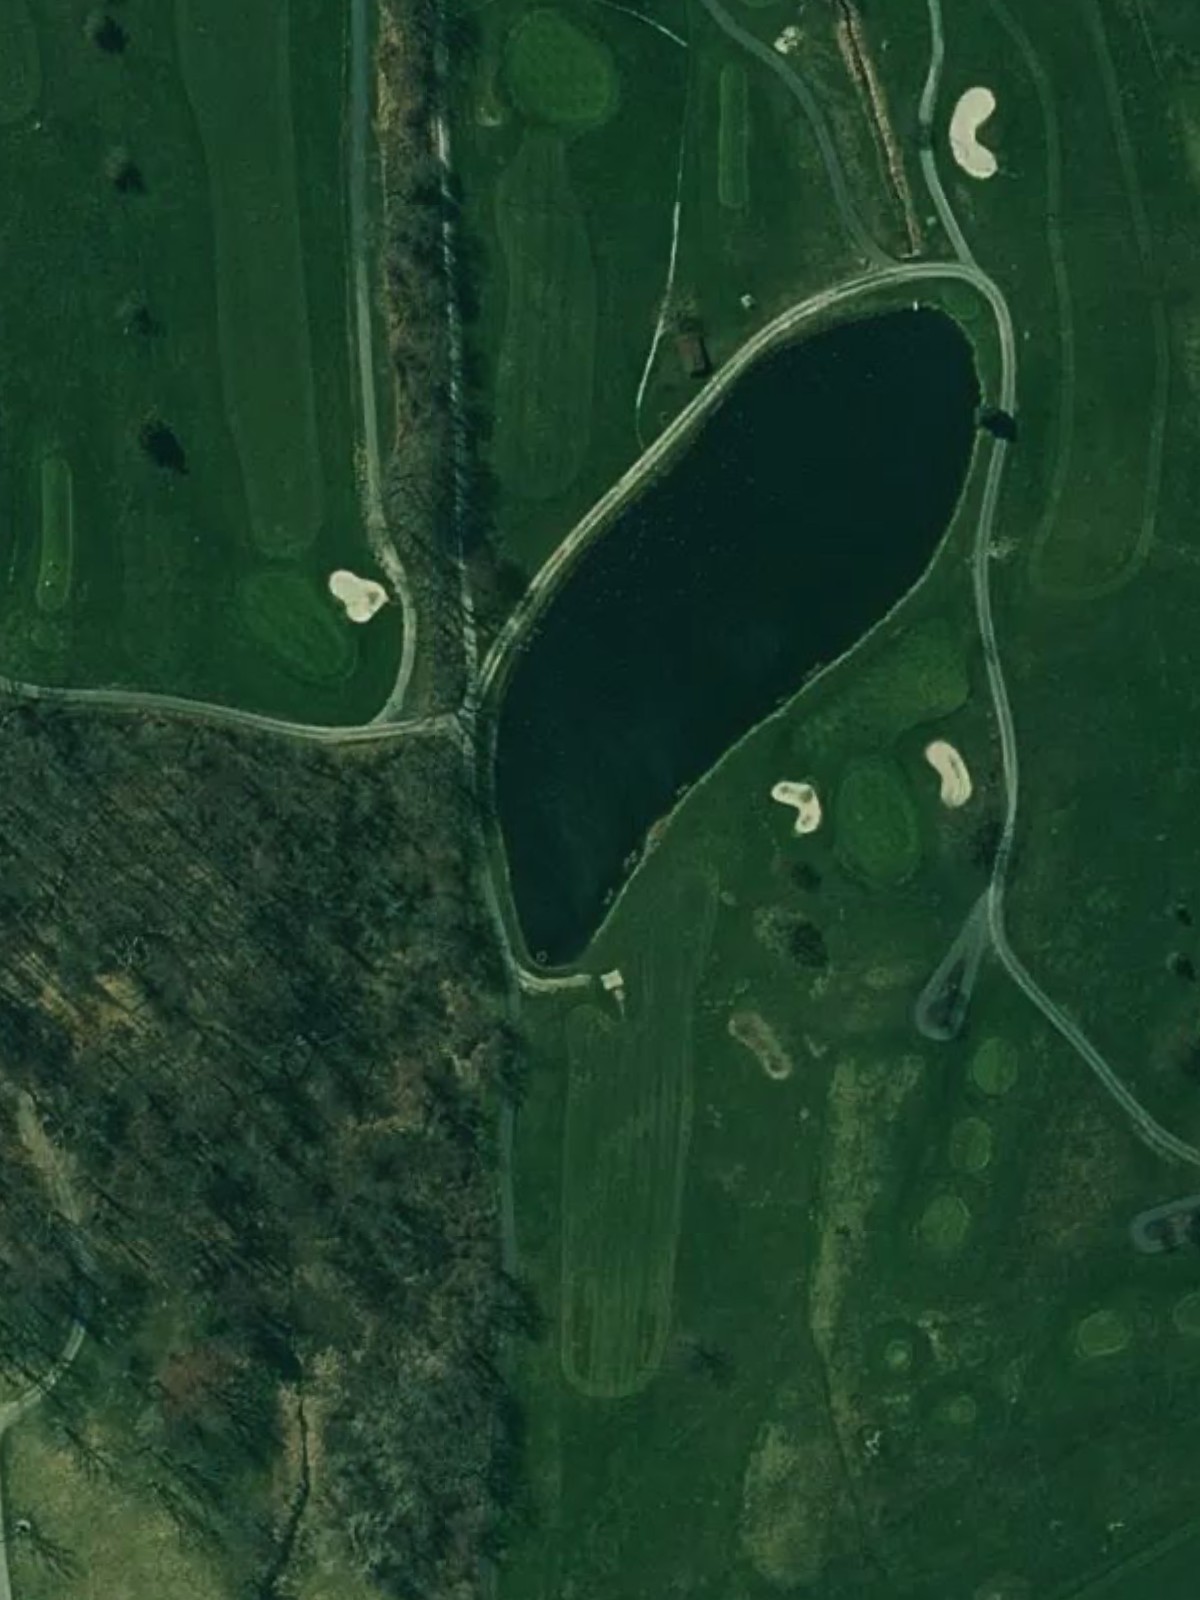
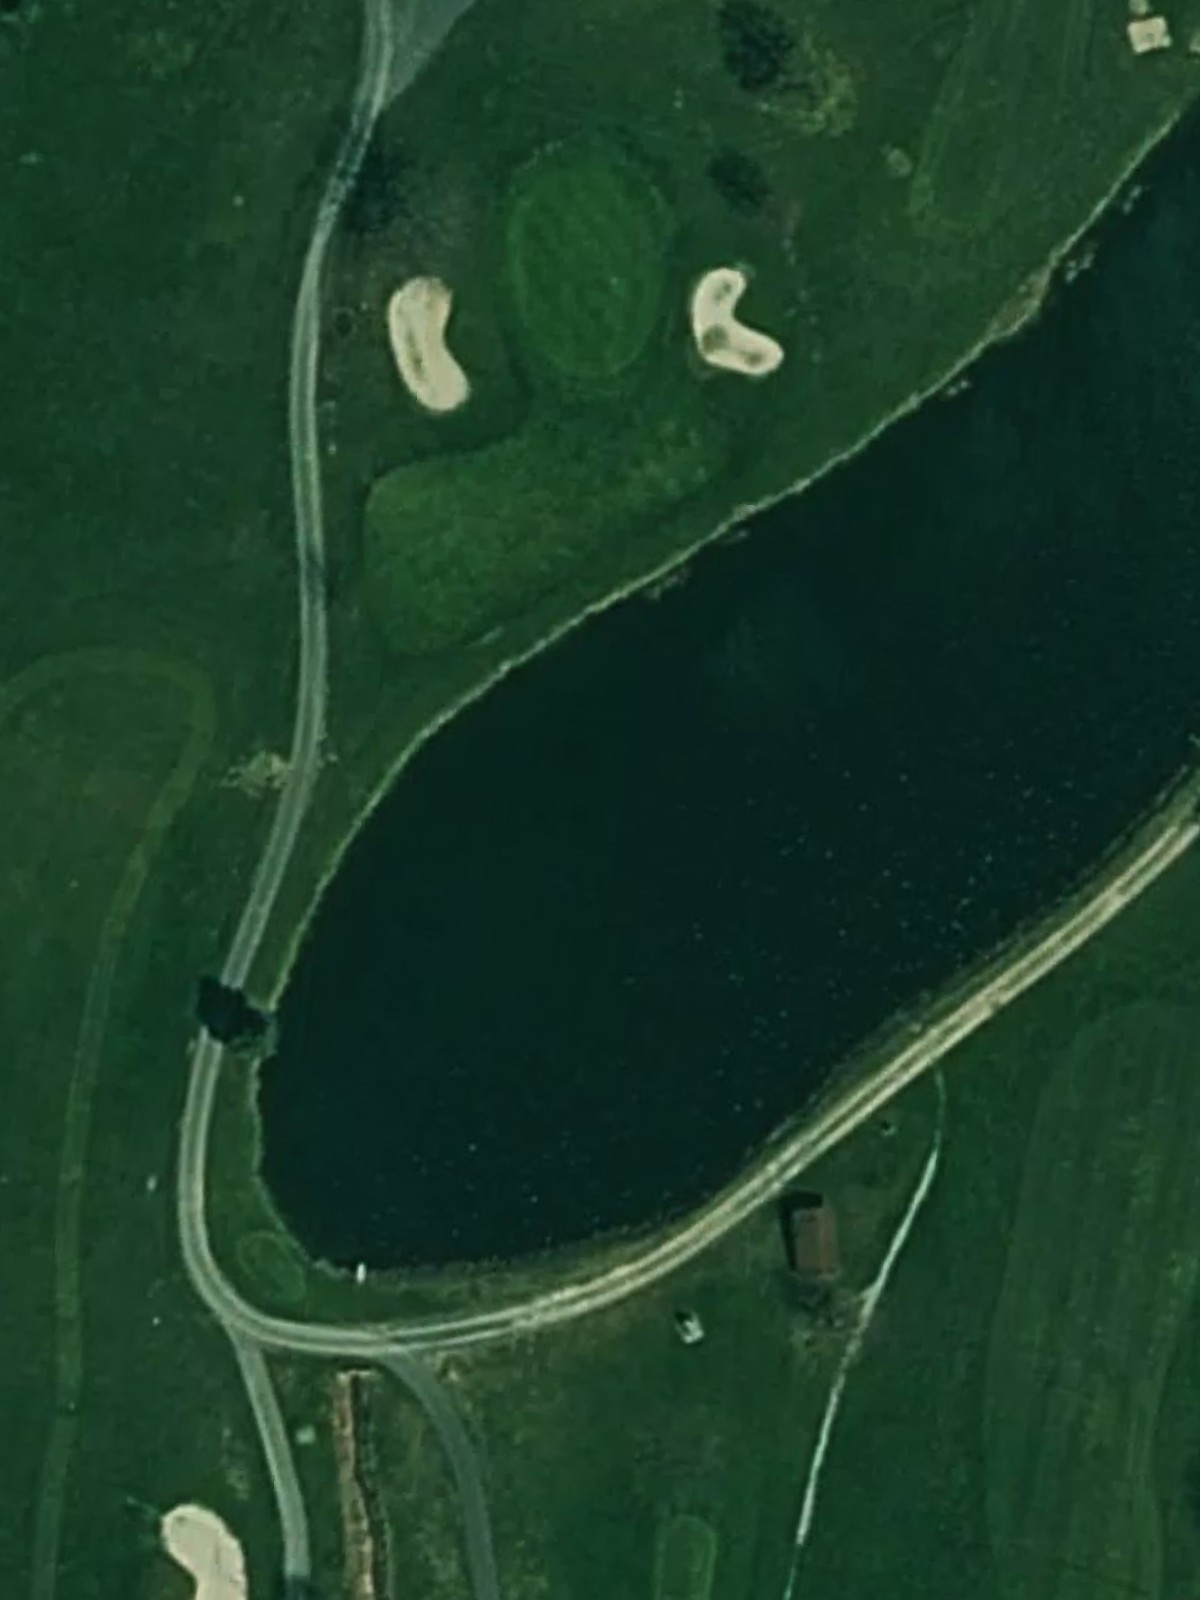
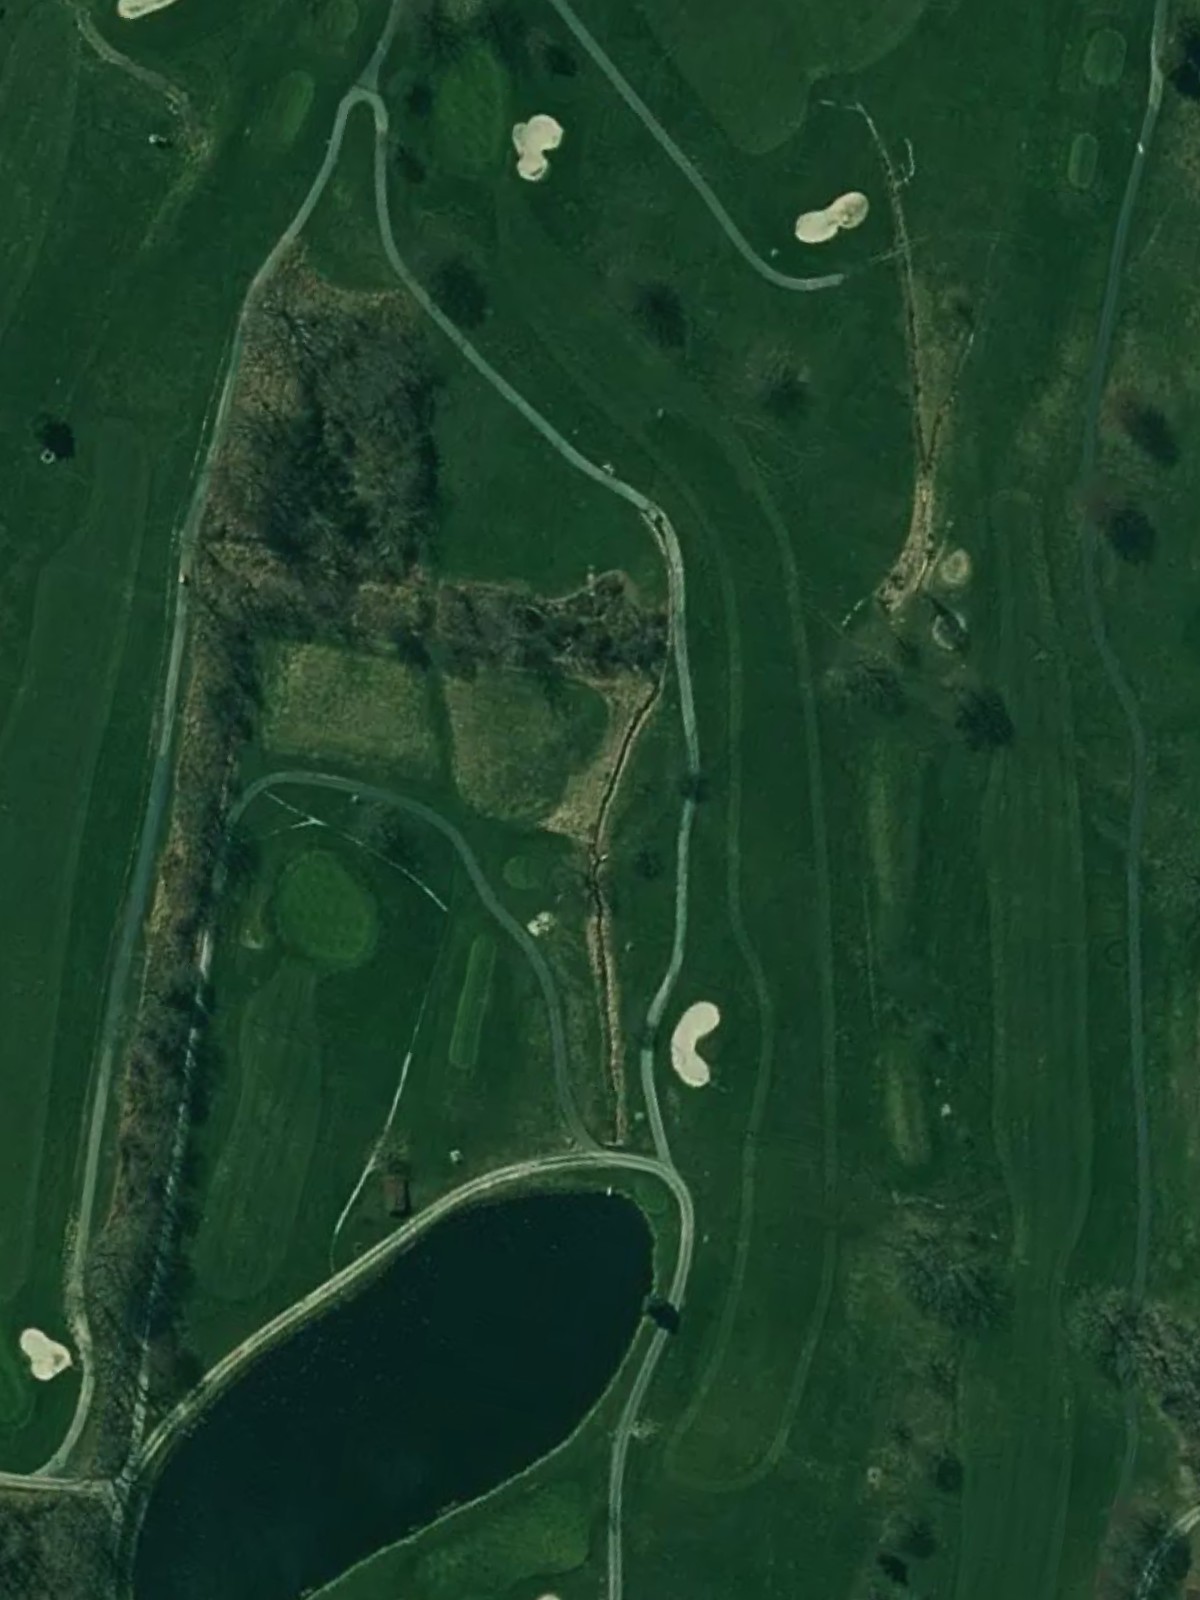
A demanding par 4 that ranks among the course's toughest tests, with water hazards threatening the left side of the fairway throughout. The green is well-bunkered, making this hole a stern examination of shotmaking.
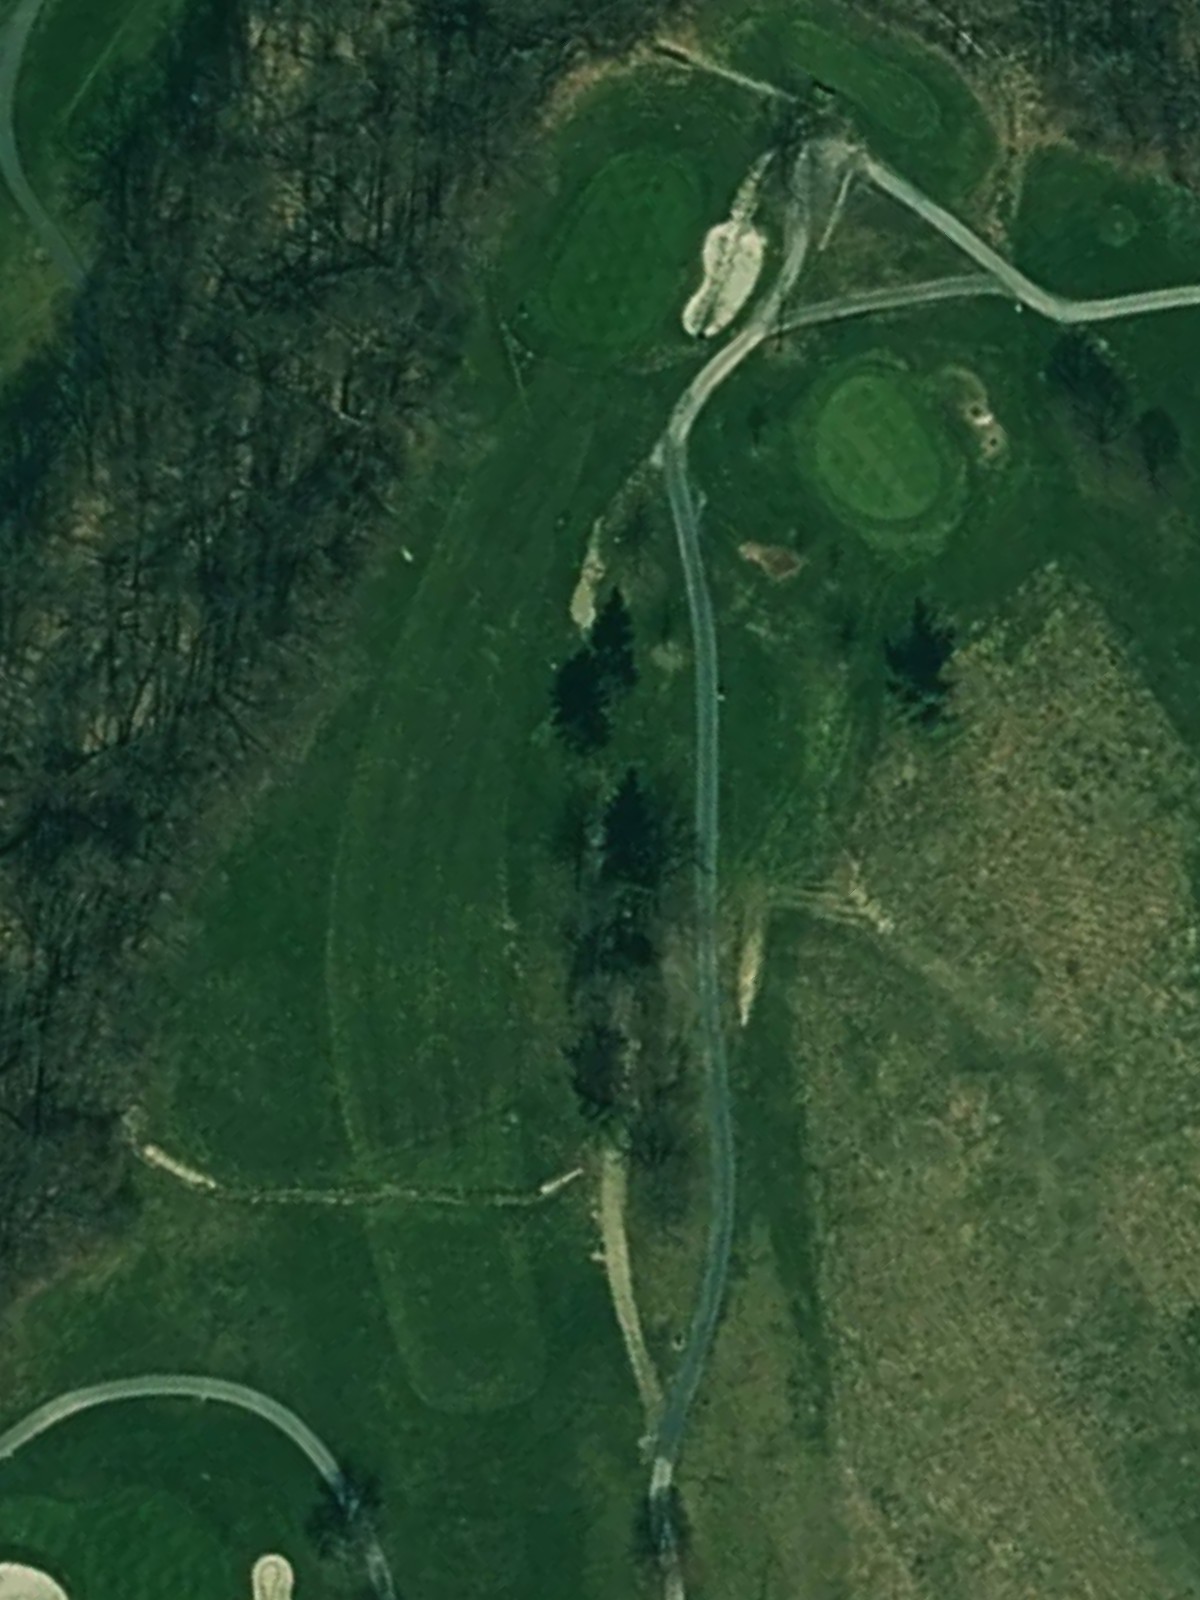
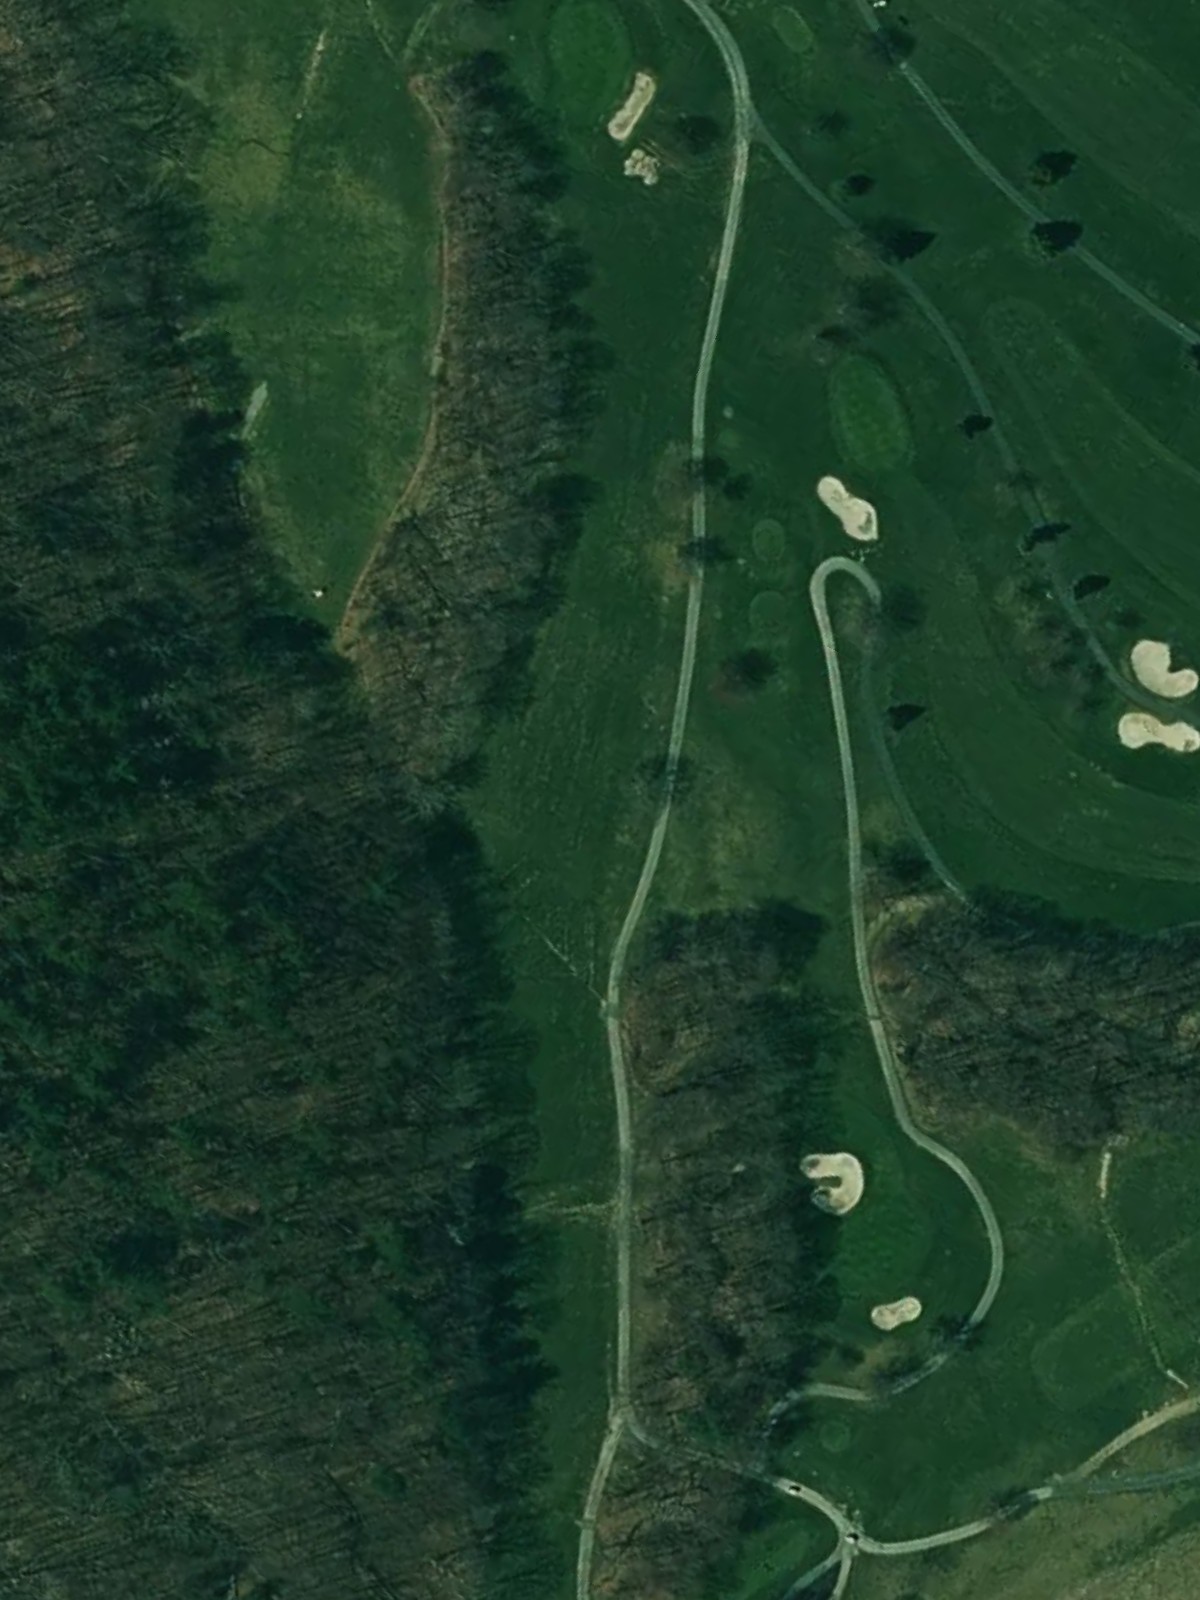
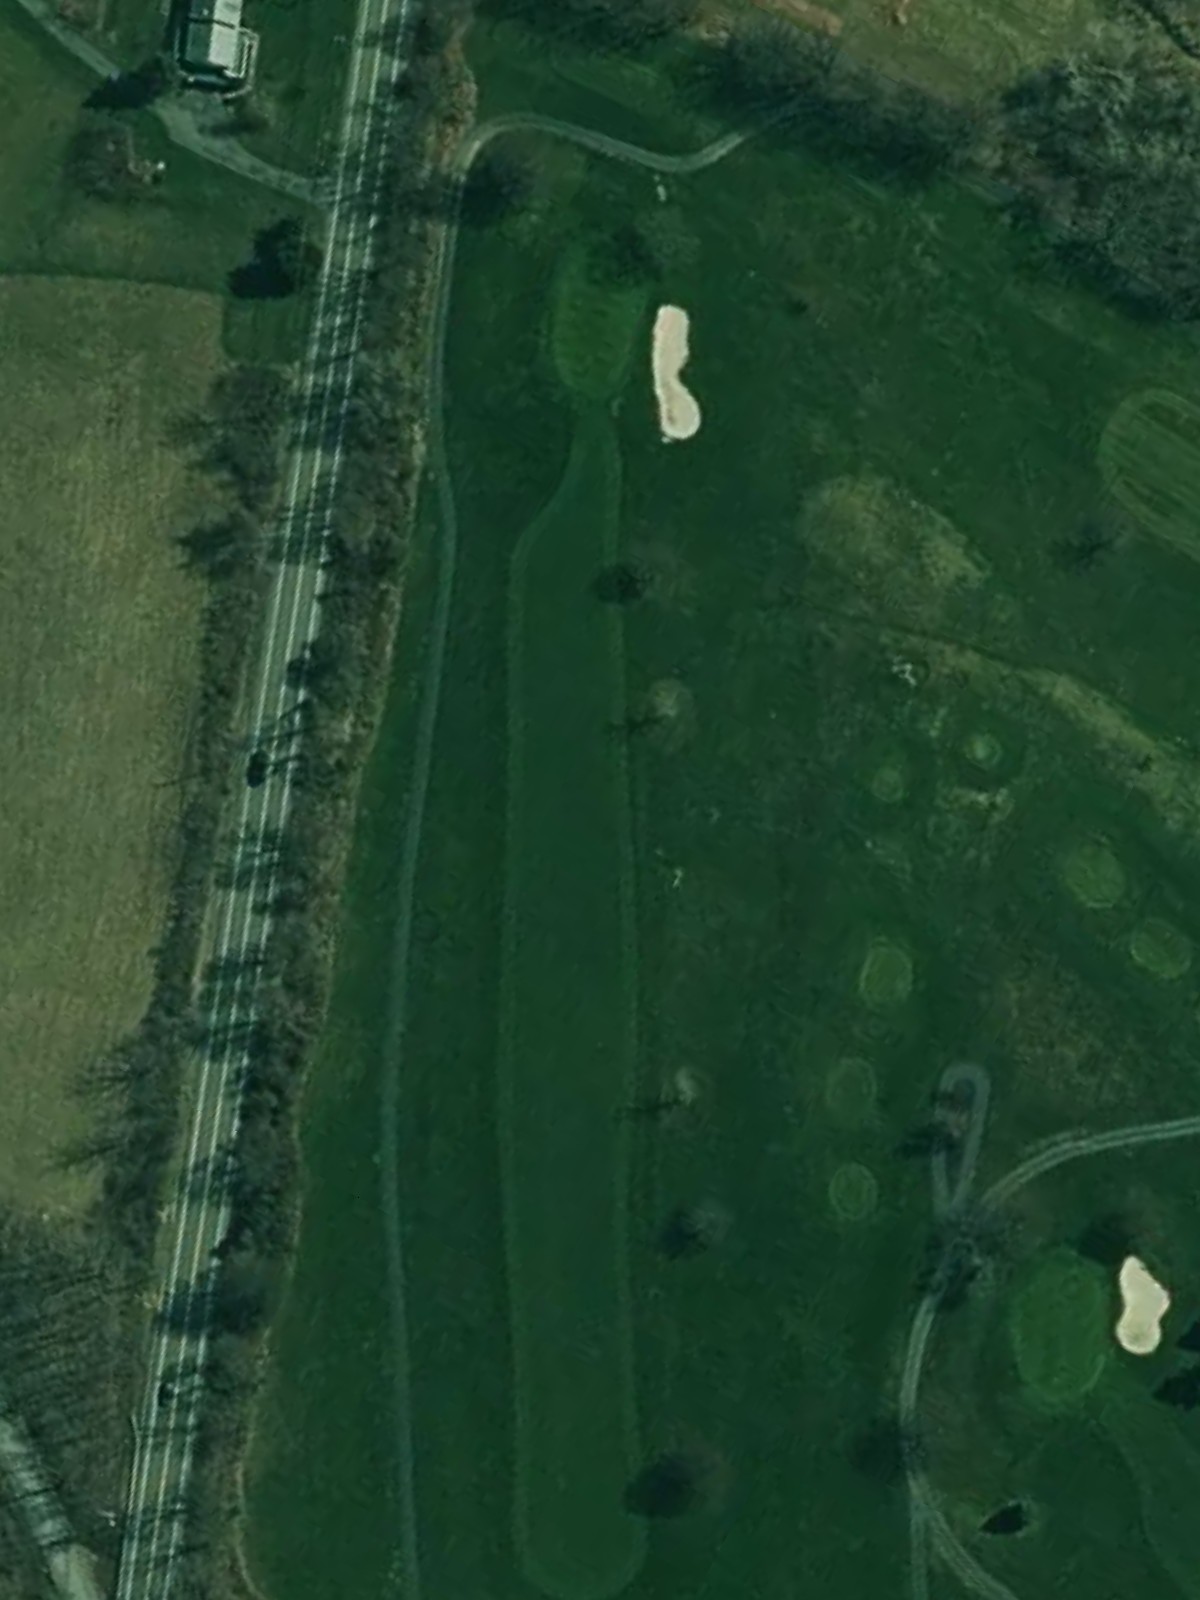
A lengthy par 4 that demands distance and accuracy off the tee, with out-of-bounds lurking down the right side. The elevated green is protected by bunkers on the approach, punishing anything short or right.
A short par 4 that belies its modest length with tight bunkering around the green and limited room in the landing area. Strategic positioning off the tee is essential to set up an accessible approach shot.
A mid-length par 3 where accuracy from the tee is paramount to find the narrow green. Bunkers surround the putting surface, leaving little margin for error on this island-green challenge.
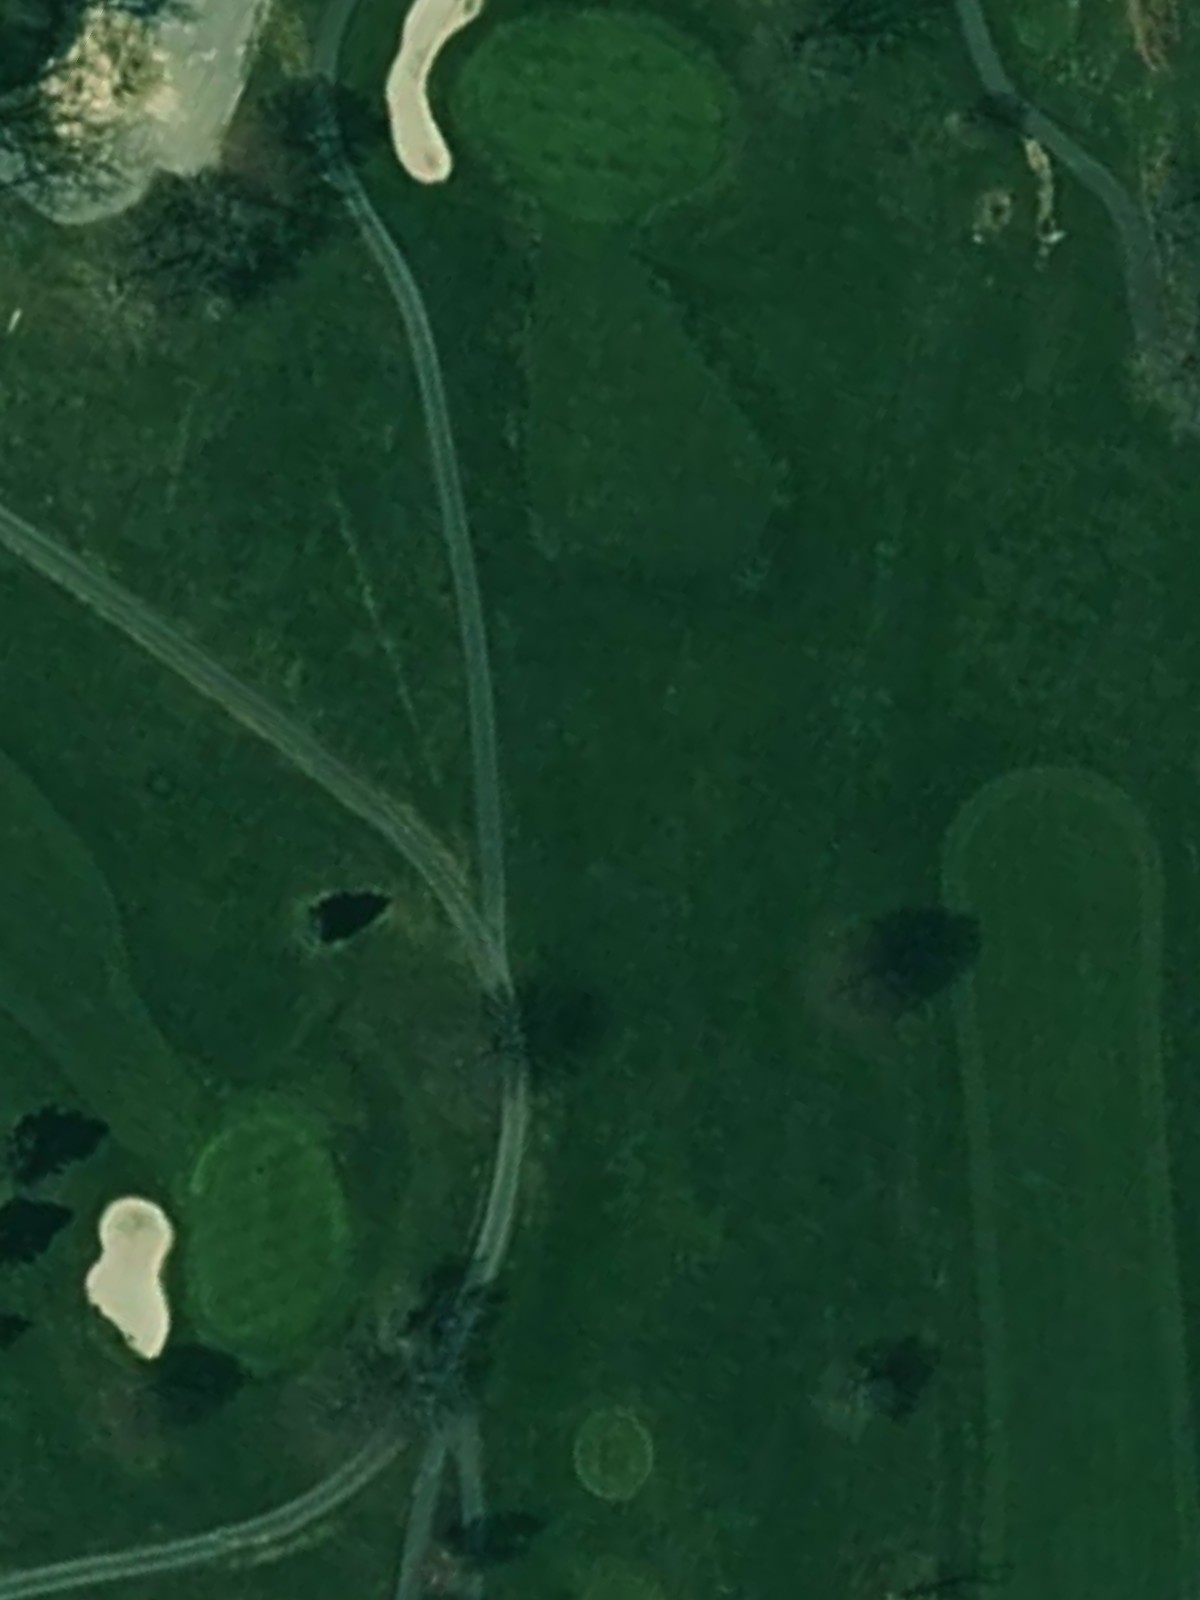
A deceptively tricky par 4 with a dogleg that plays shorter than its yardage suggests, but requires precision to avoid bunkers flanking both sides of the fairway. The approach demands a delicate touch to reach a well-protected green.
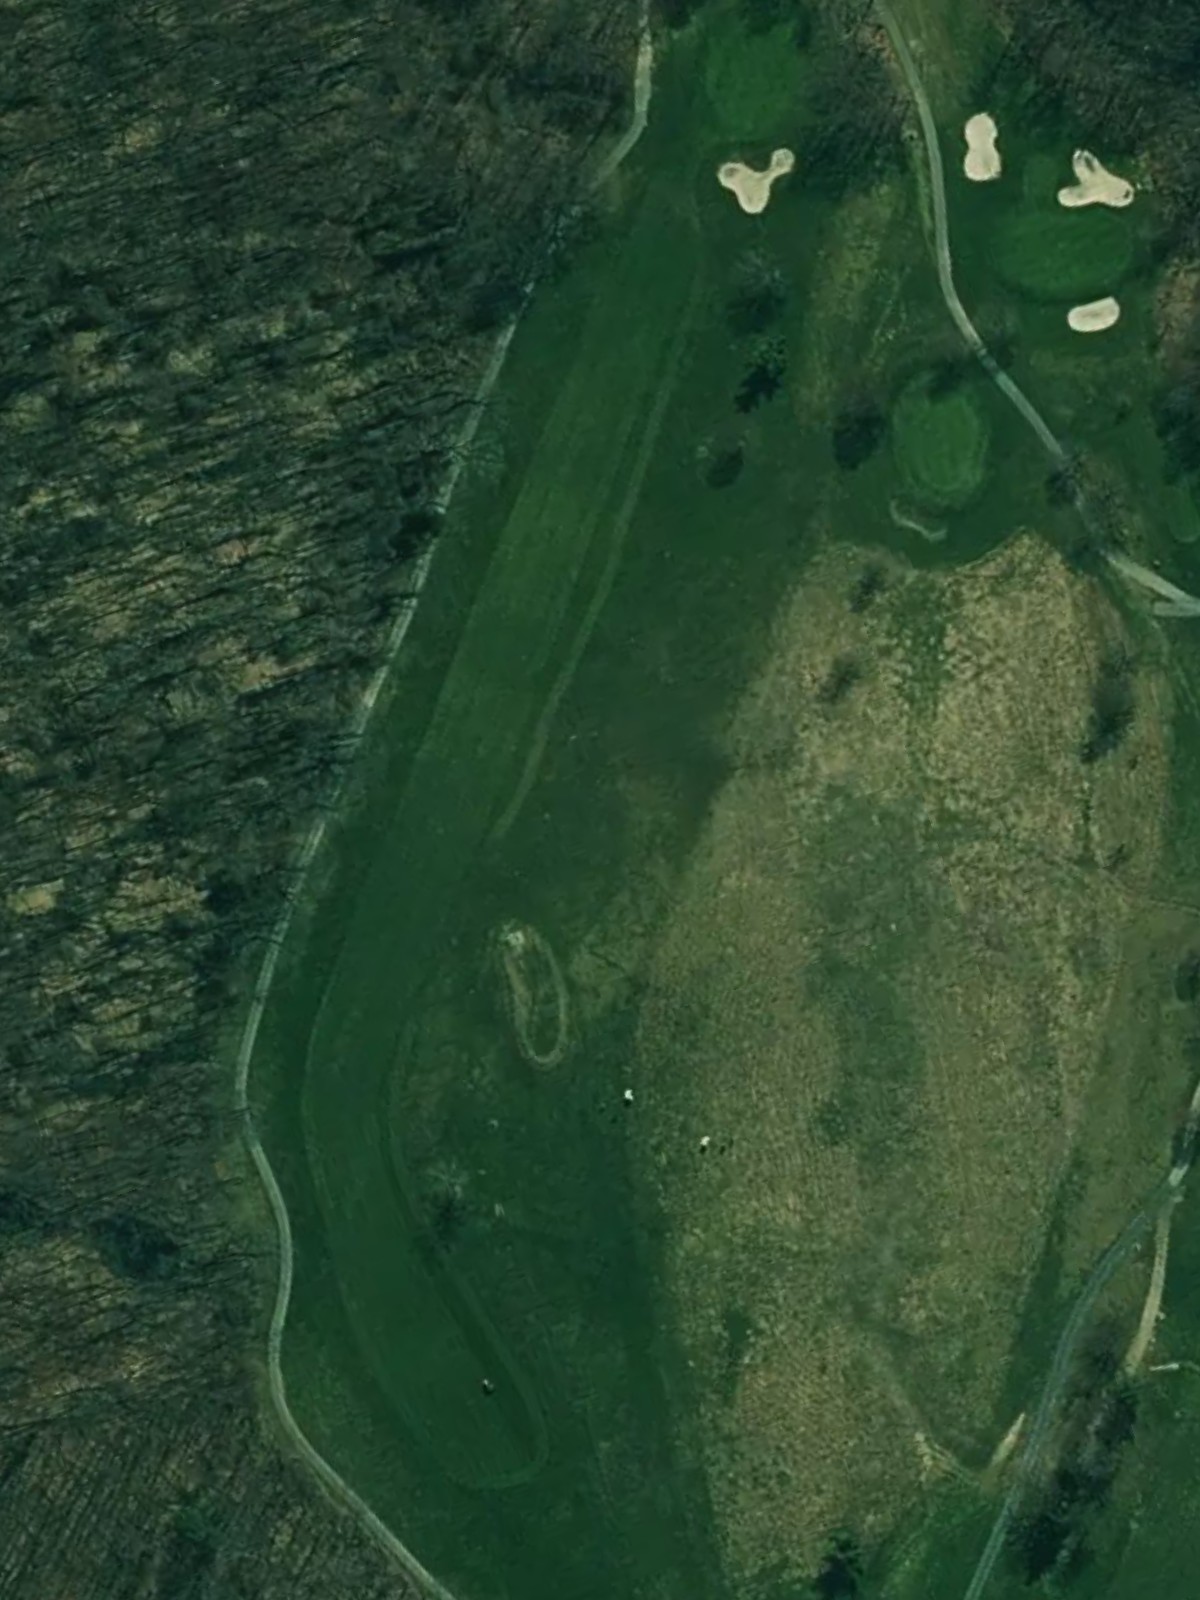
A strategic par 5 that curves gently through the course with bunkers positioned to challenge aggressive play in the landing areas. The three-shot nature of this hole rewards smart course management and positioning.
The course's most forgiving par 3, playing downhill to a generous green with minimal hazard threat. A refreshing breather before the back-nine intensity ramps up.
The signature challenge—a lengthy par 5 that demands two solid strokes to reach scoring position, with water and bunkers threatening both sides of the fairway throughout. The elevated green sits well-defended, making this a true examination of sustained power and control.
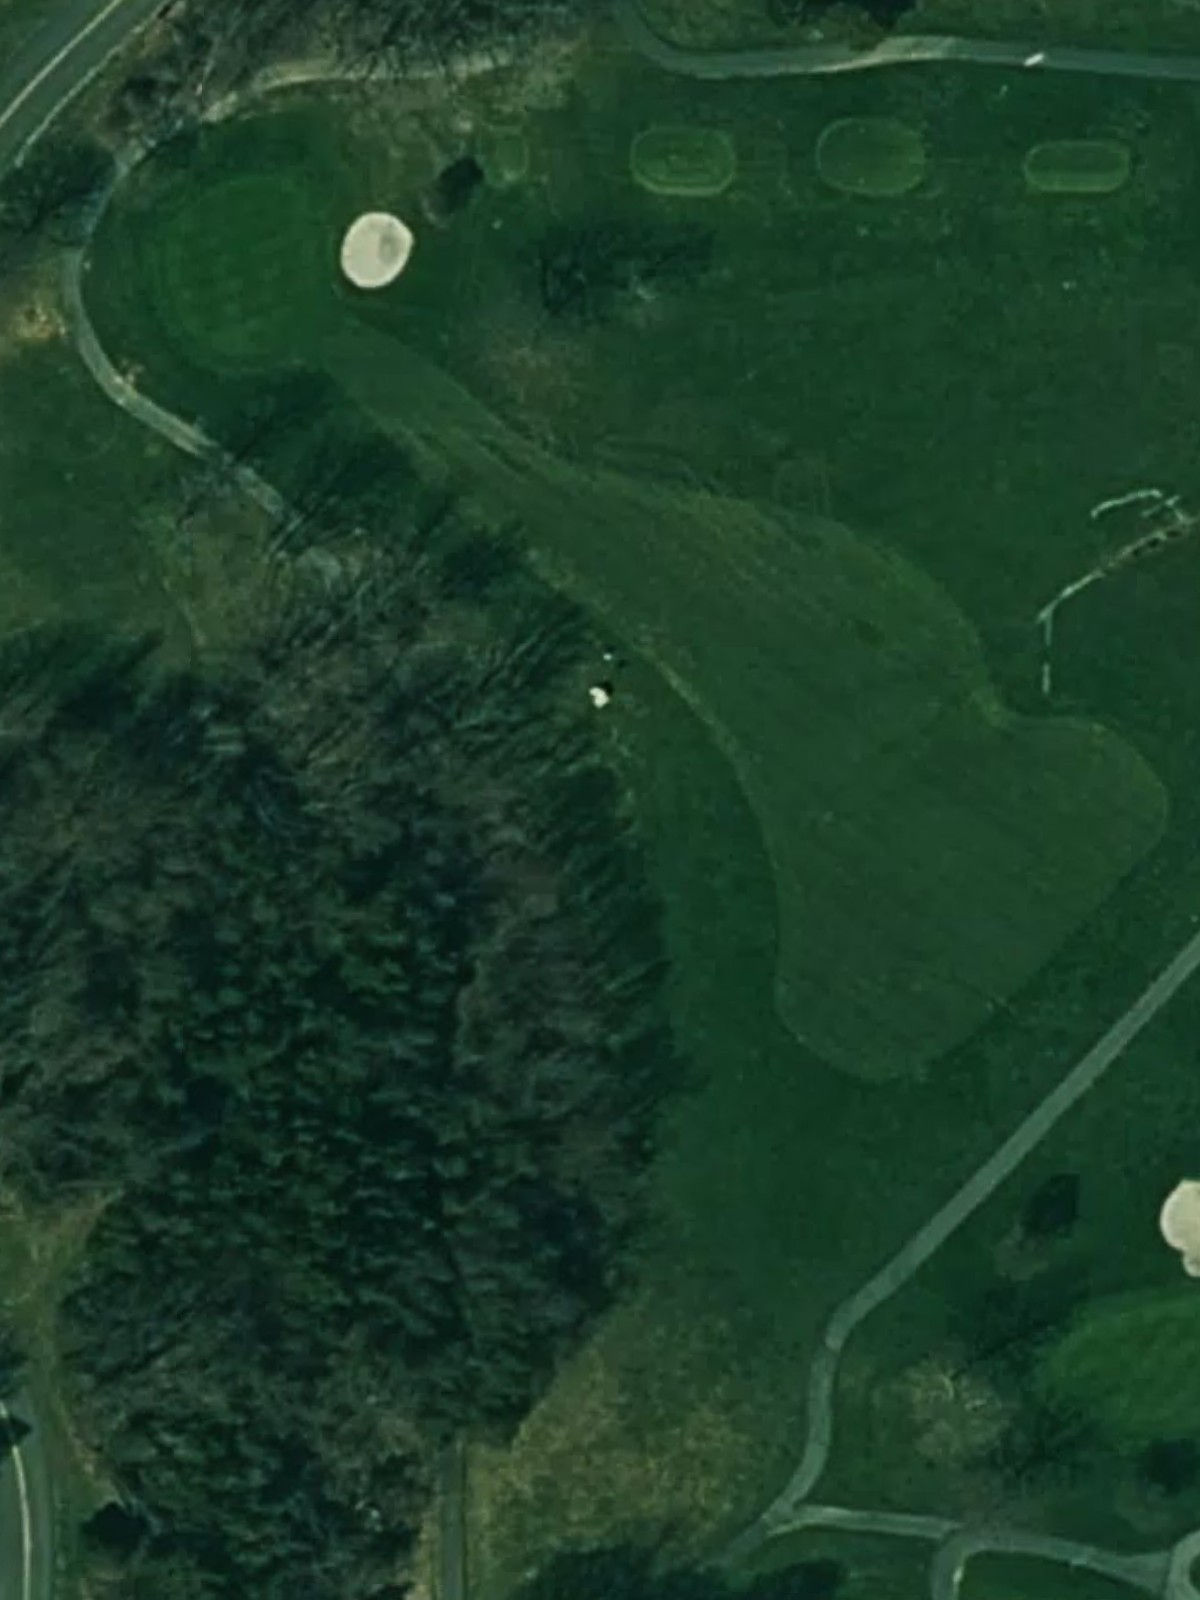
A short but perilous par 4 with out-of-bounds immediately right and water left, leaving a narrow corridor for the tee shot. The green is elevated and bunker-guarded, making position crucial.
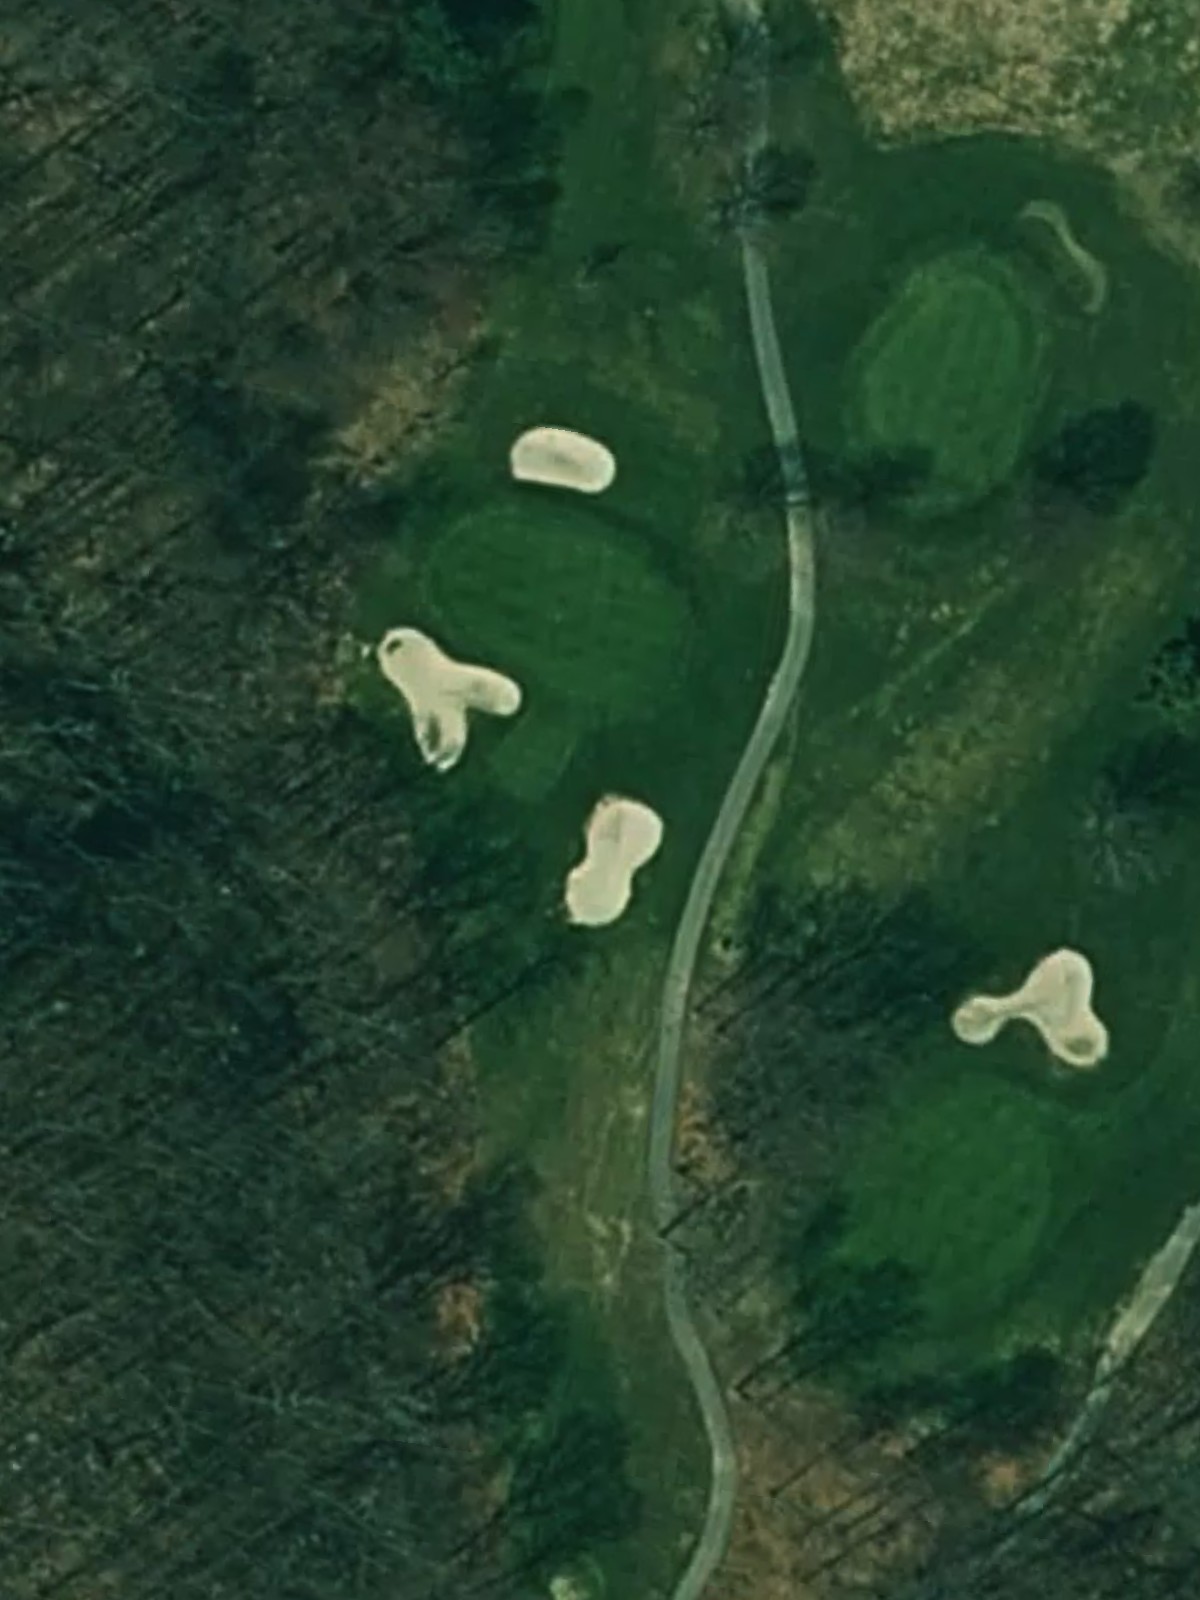
A strong par 4 that plays longer than its yardage with bunkers pinching the fairway at the critical 250-yard mark. The approach to a narrow, well-bunkered green requires precision and commitment.
A short, birdie-prone par 4 with a relatively open fairway but bunkers tightening around the green on both sides. The lack of length invites aggressive play, though accuracy is rewarded.
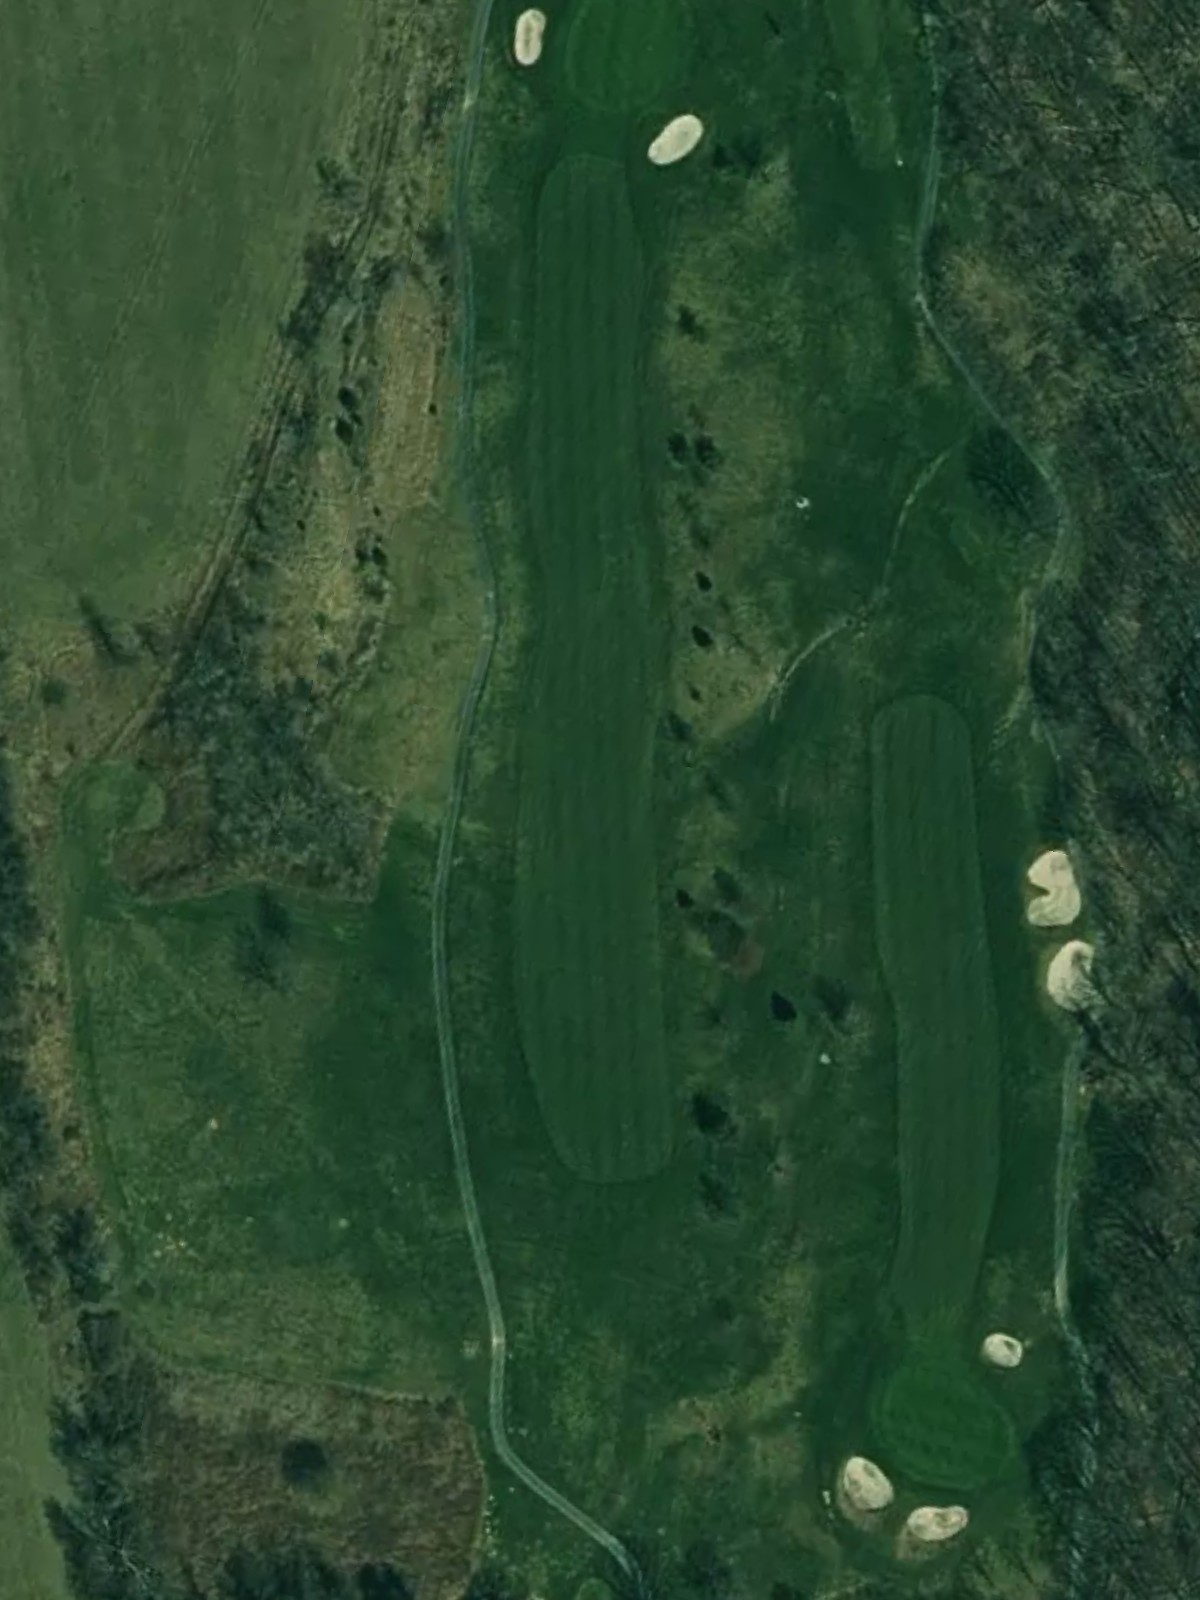
A lengthy par 5 that bends slightly right with strategic bunkering in the landing areas designed to challenge three-shot play. The distant green offers scoring opportunity for those who navigate the hazards effectively.
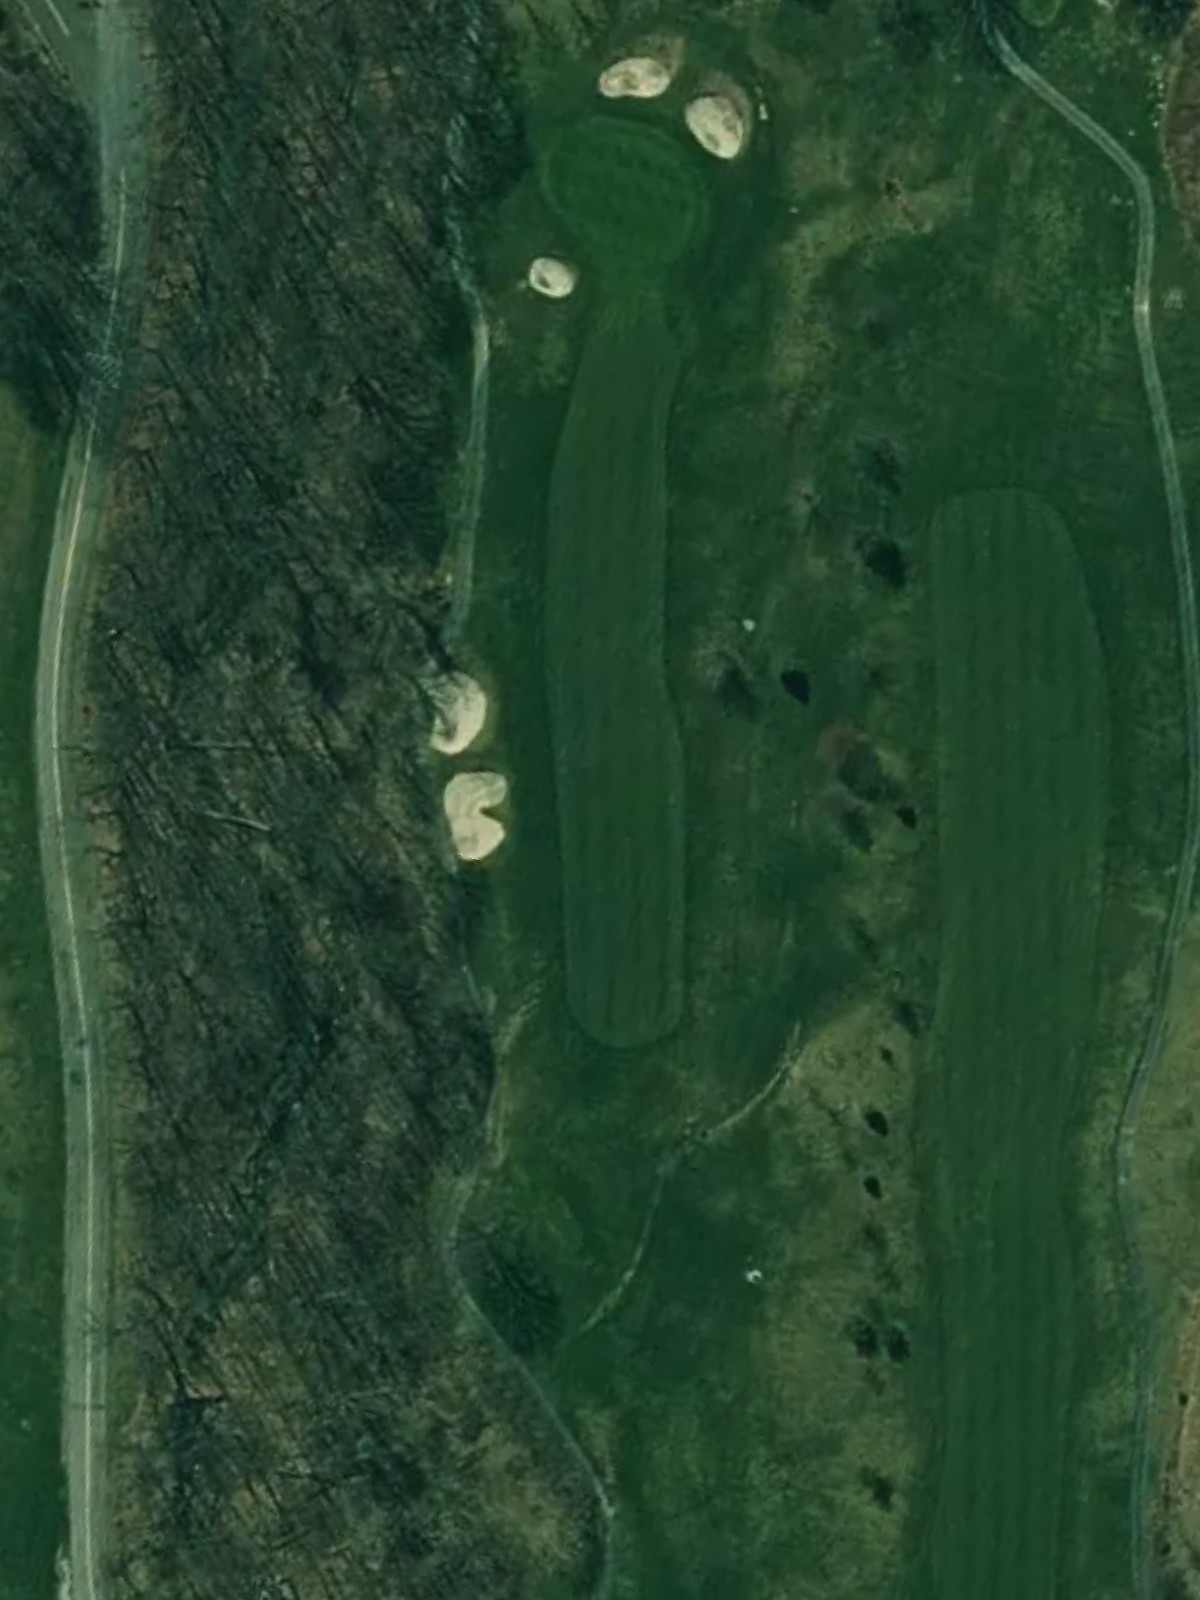
A demanding par 3 with significant length from the back tees, requiring a well-struck long iron or fairway wood to reach a modest green. Bunkers left and right provide little forgiveness off the tee.
The course's signature par 4 and one of its sternest tests, playing uphill with out-of-bounds right throughout and water left guarding much of the hole. The sloped green demands precision to hold, making this a memorable challenge.
A long, formidable par 4 that represents the ultimate test, with water and bunkers left and out-of-bounds right creating a narrow target corridor. The elevated green behind a moat-like hazard setup demands two immaculate strokes.
A picturesque par 3 of moderate length with water fronting the green and bunkers behind, requiring a committed swing to a well-guarded putting surface. The scenic setting belies the precision needed here.
A dramatic closing par 5 that curves right toward water with bunkers positioned throughout the landing areas to shape play. The final green sits elevated and well-bunkered, providing a climactic finish that demands flawless execution.
Scorecard
| Hole | 1 | 2 | 3 | 4 | 5 | 6 | 7 | 8 | 9 | Out | 10 | 11 | 12 | 13 | 14 | 15 | 16 | 17 | 18 | In | Tot |
|---|---|---|---|---|---|---|---|---|---|---|---|---|---|---|---|---|---|---|---|---|---|
| Par | 4 | 4 | 4 | 4 | 3 | 4 | 5 | 3 | 5 | 36 | 4 | 4 | 4 | 5 | 3 | 4 | 4 | 3 | 5 | 36 | 72 |
| HCP | 14 | 8 | 10 | 12 | 6 | 16 | 4 | 18 | 2 | 17 | 7 | 13 | 15 | 11 | 3 | 1 | 5 | 9 | |||
| blue | 409 | 401 | 432 | 320 | 218 | 340 | 529 | 143 | 537 | 3329 | 351 | 417 | 320 | 560 | 250 | 386 | 460 | 206 | 587 | 3537 | 6866 |
| white | 369 | 379 | 416 | 308 | 193 | 304 | 515 | 133 | 504 | 3121 | 305 | 355 | 300 | 530 | 196 | 372 | 452 | 187 | 551 | 3248 | 6369 |