Heather Hill Country Club is an 18-hole golf course in Plainville, MA with a par of 71. It offers 2 tee sets: blue (6,369 yards, slope 120, rating 69.4), white (6,084 yards, slope 116, rating 68.3). The hardest hole is #5, a par 4 playing 465 yards from the first tee.
Heather Hill Country Club
Plainville, MA
Get PDF Yardage Book
We'll email you the PDF link. No spam, ever.
Create Your Game Plan
Pick your tees, enter your bag, and get a personalized shot-by-shot strategy for every hole.
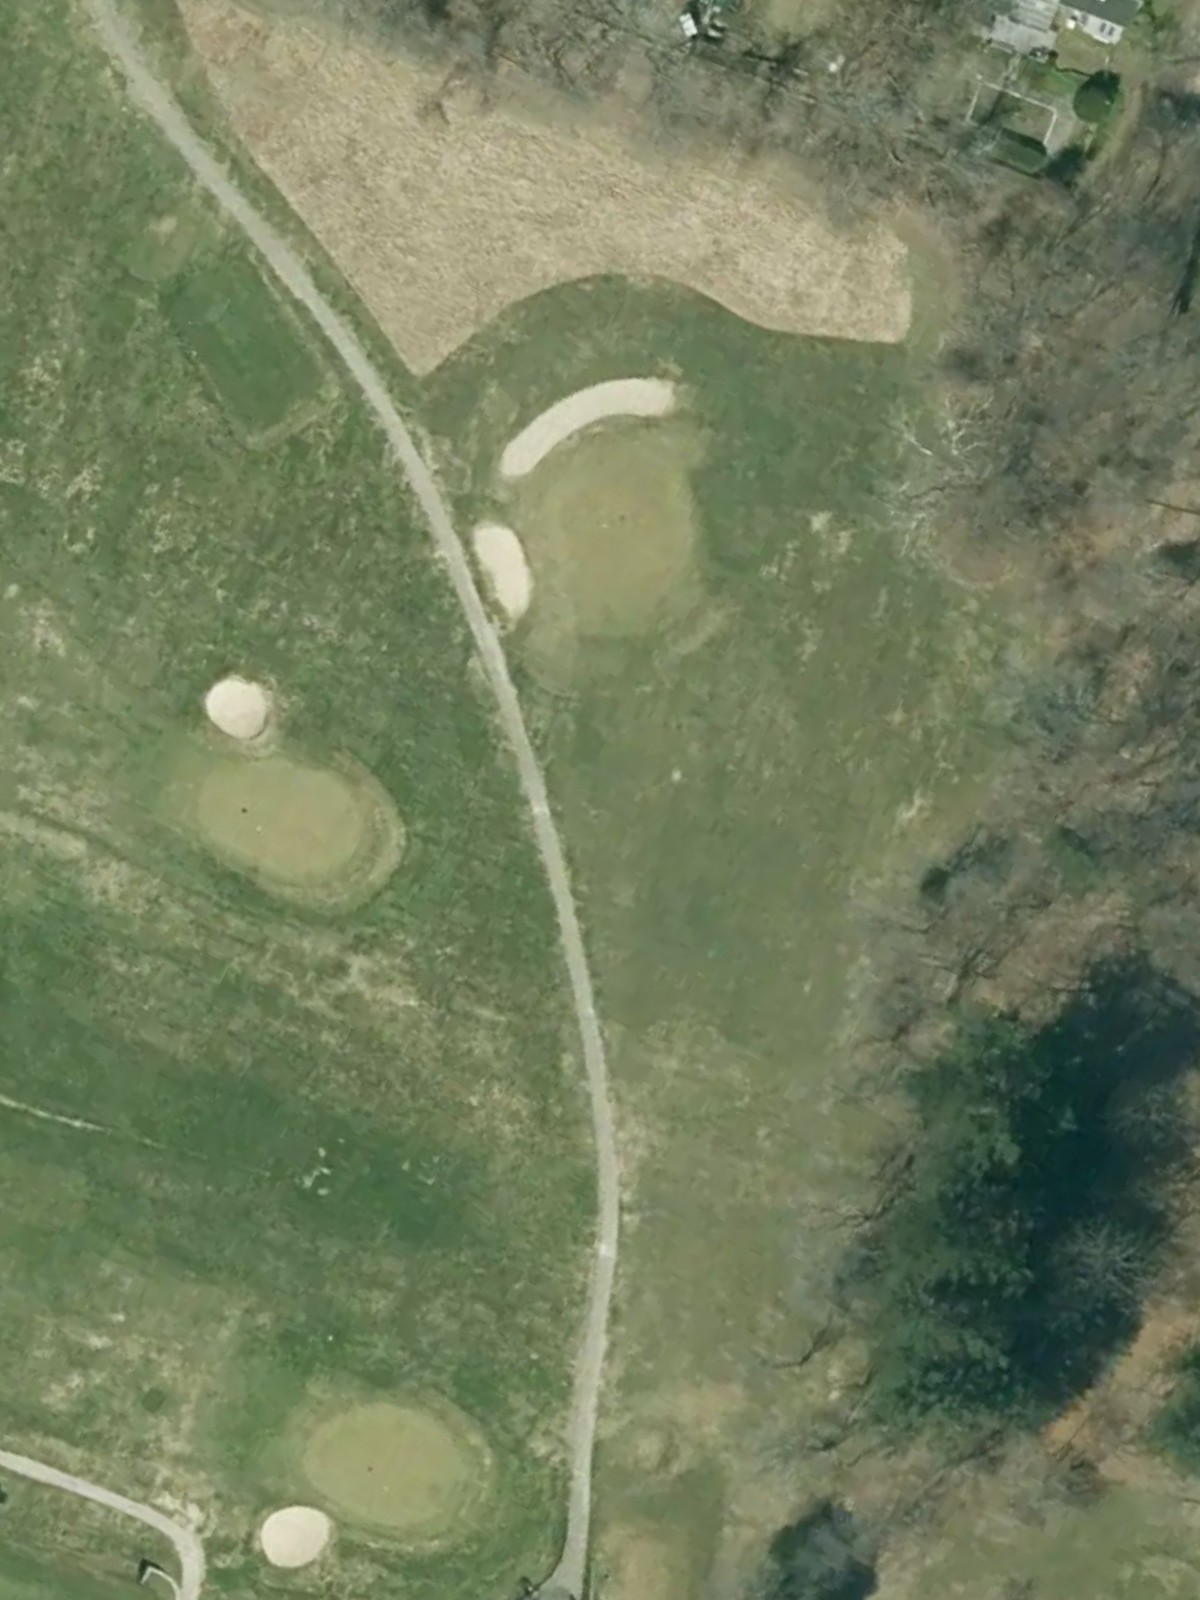
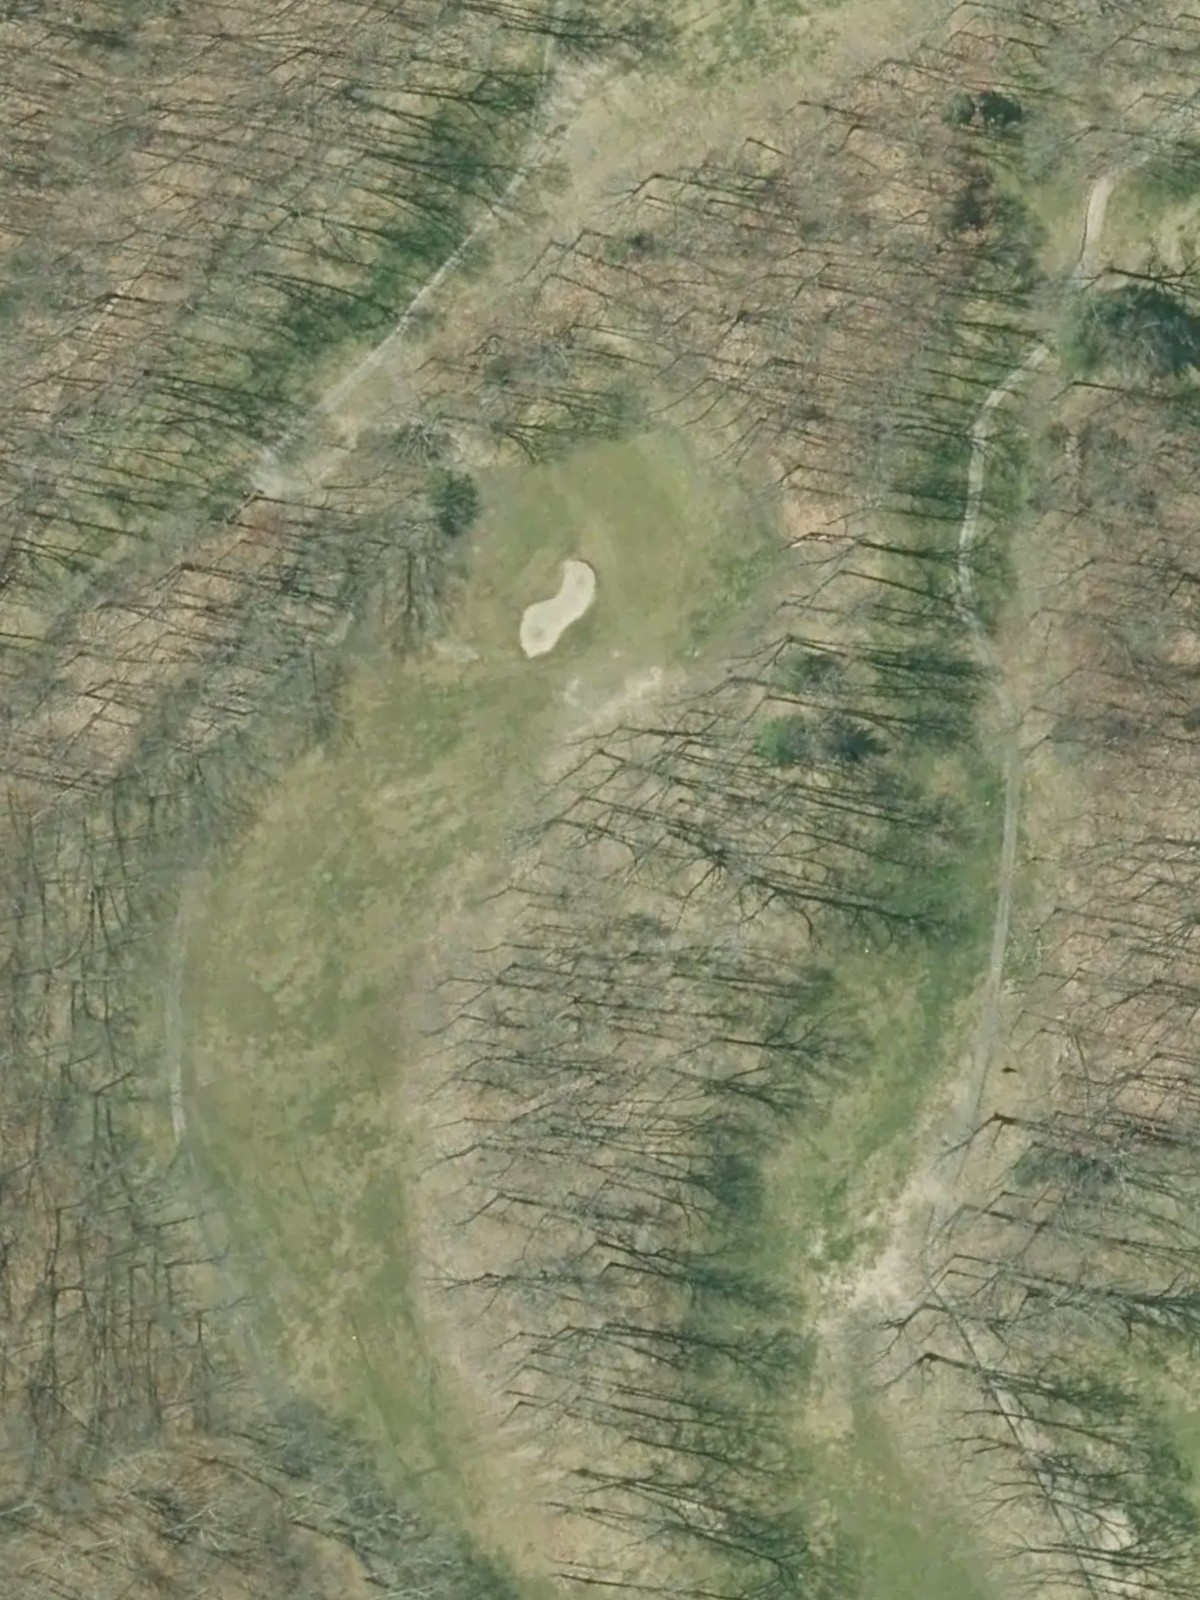
A short par 3 played to an elevated green with bunkers protecting the left side. The green's depth allows for various pin positions, making club selection critical on this opening hole.
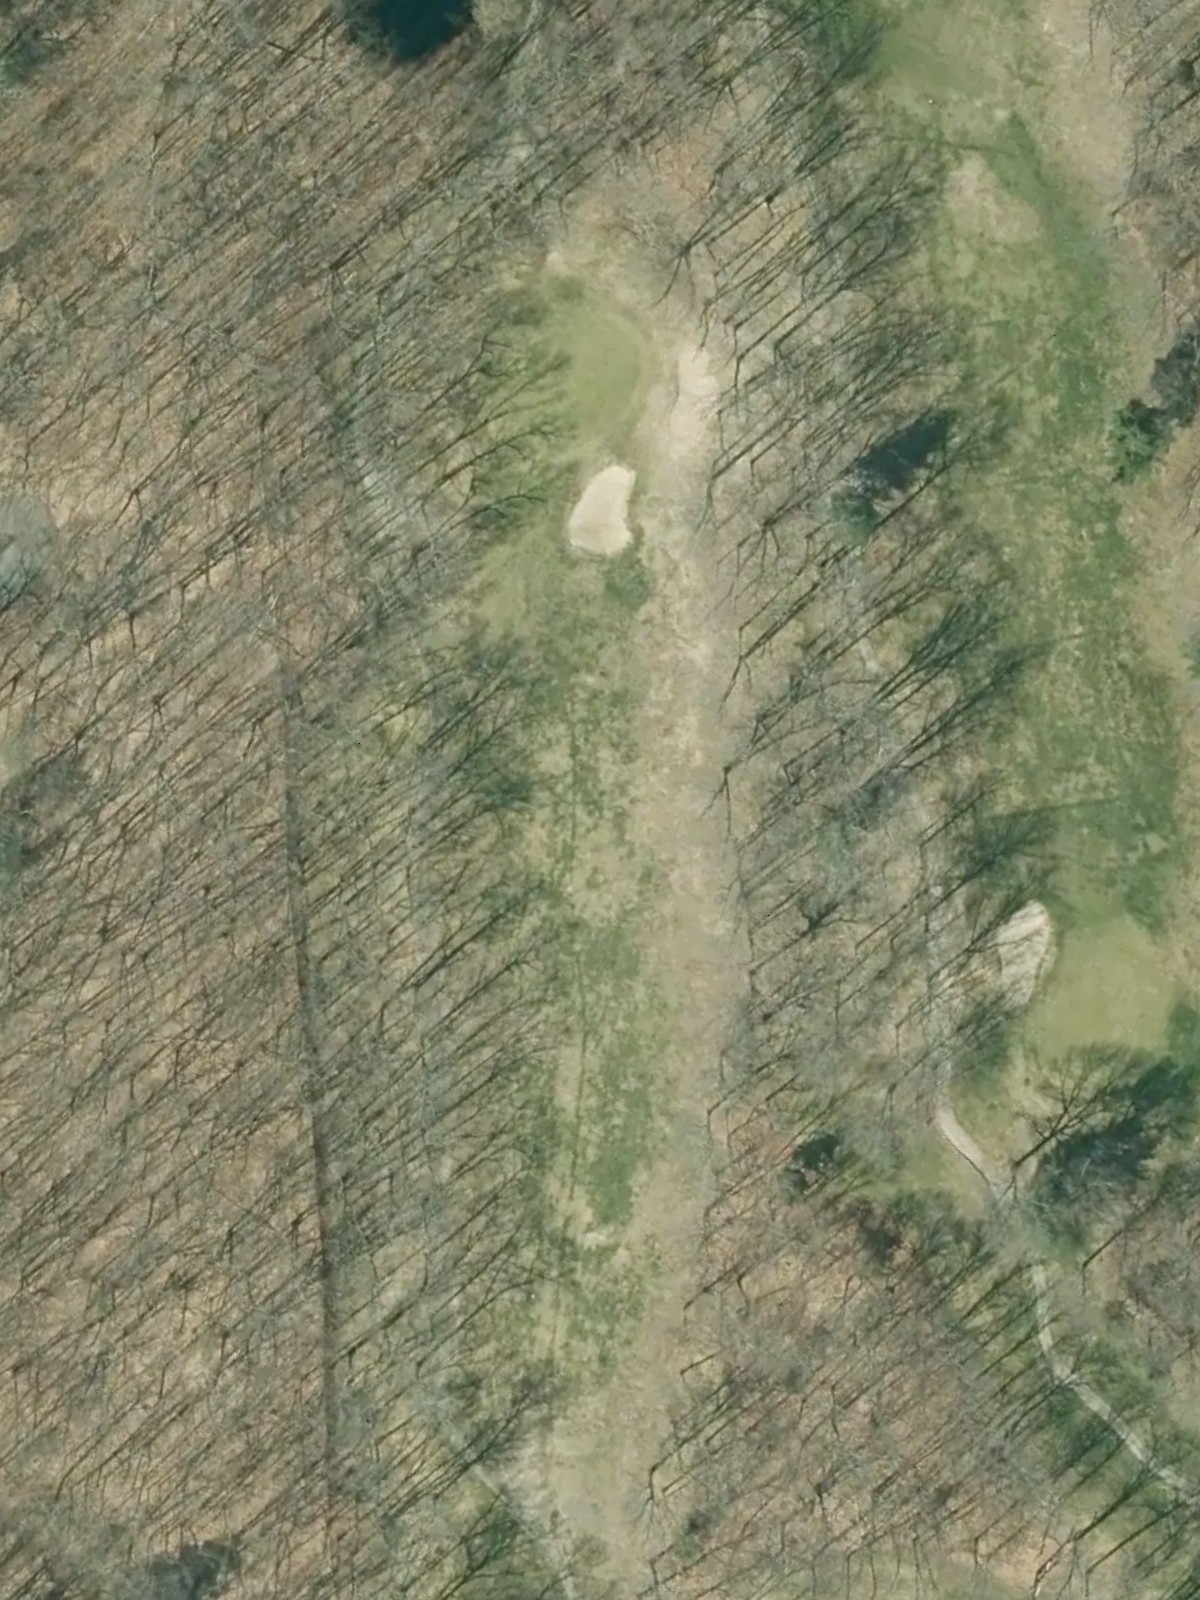
A short par 4 that plays downhill to a narrow, well-bunkered green. The fairway is relatively open off the tee, but accuracy on the approach is essential due to bunkers flanking both sides of the putting surface.
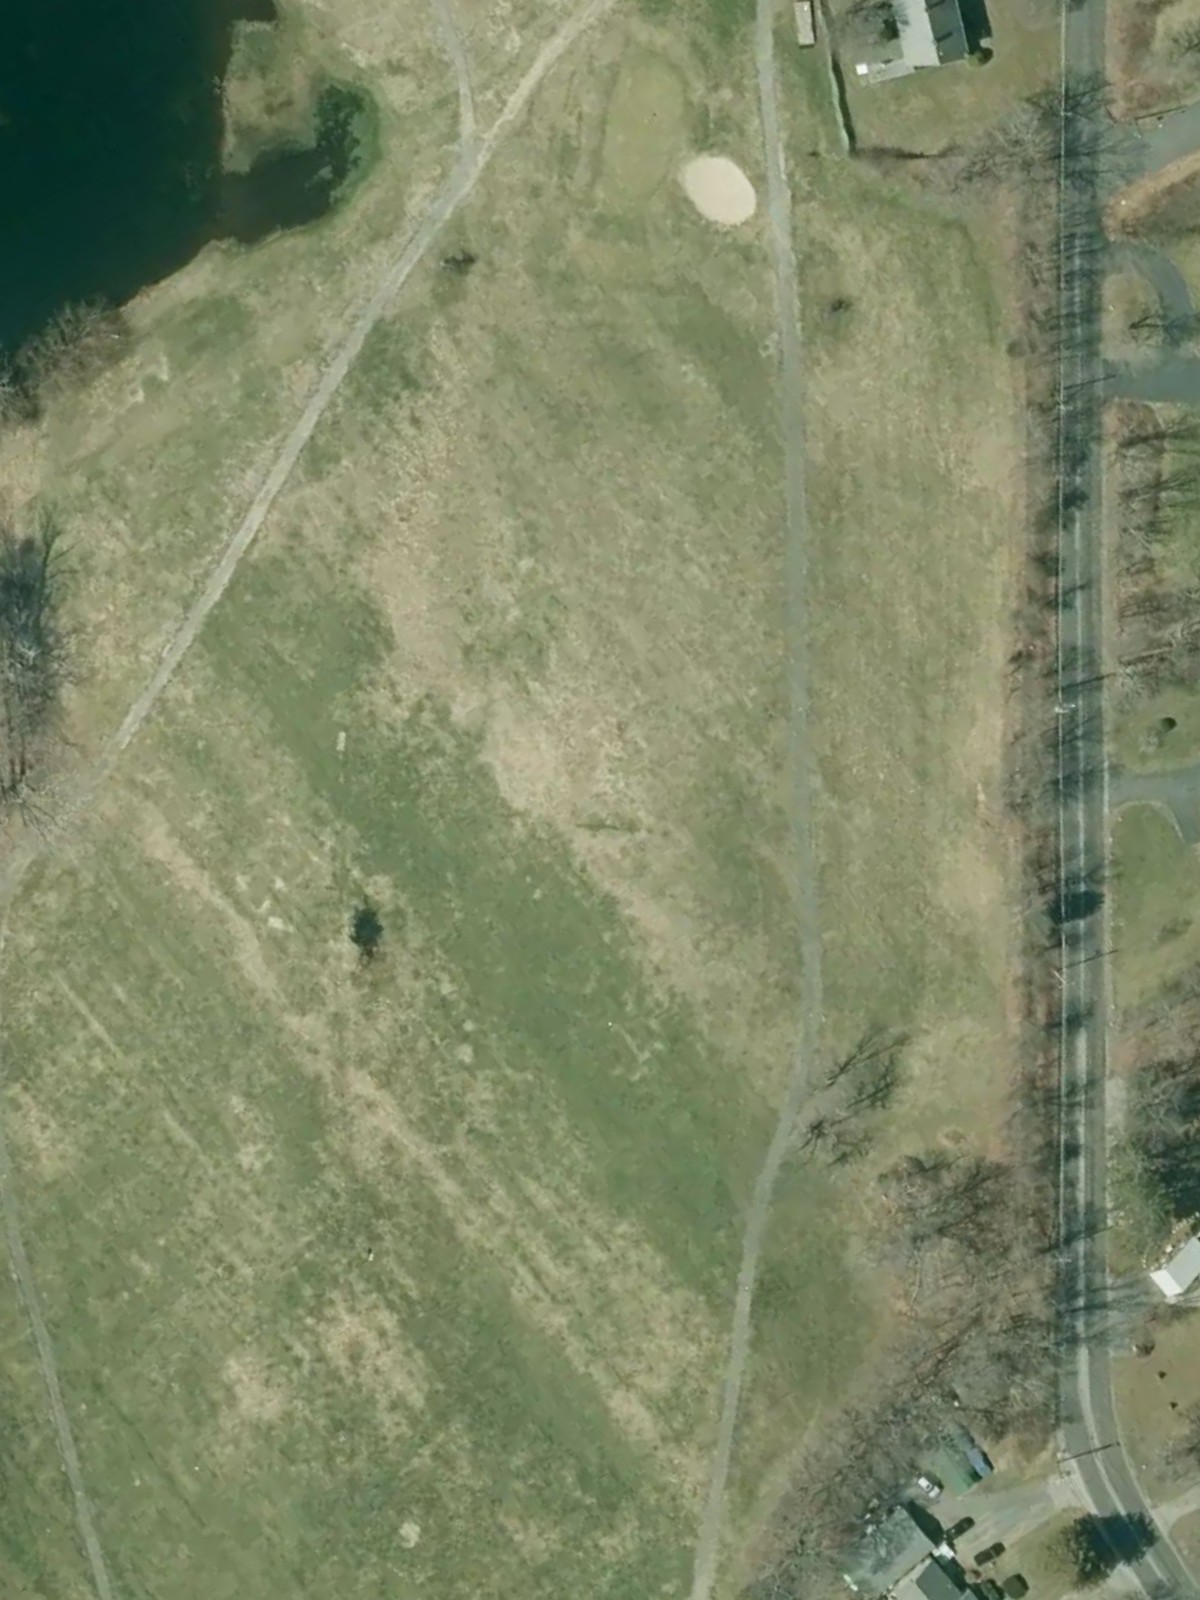
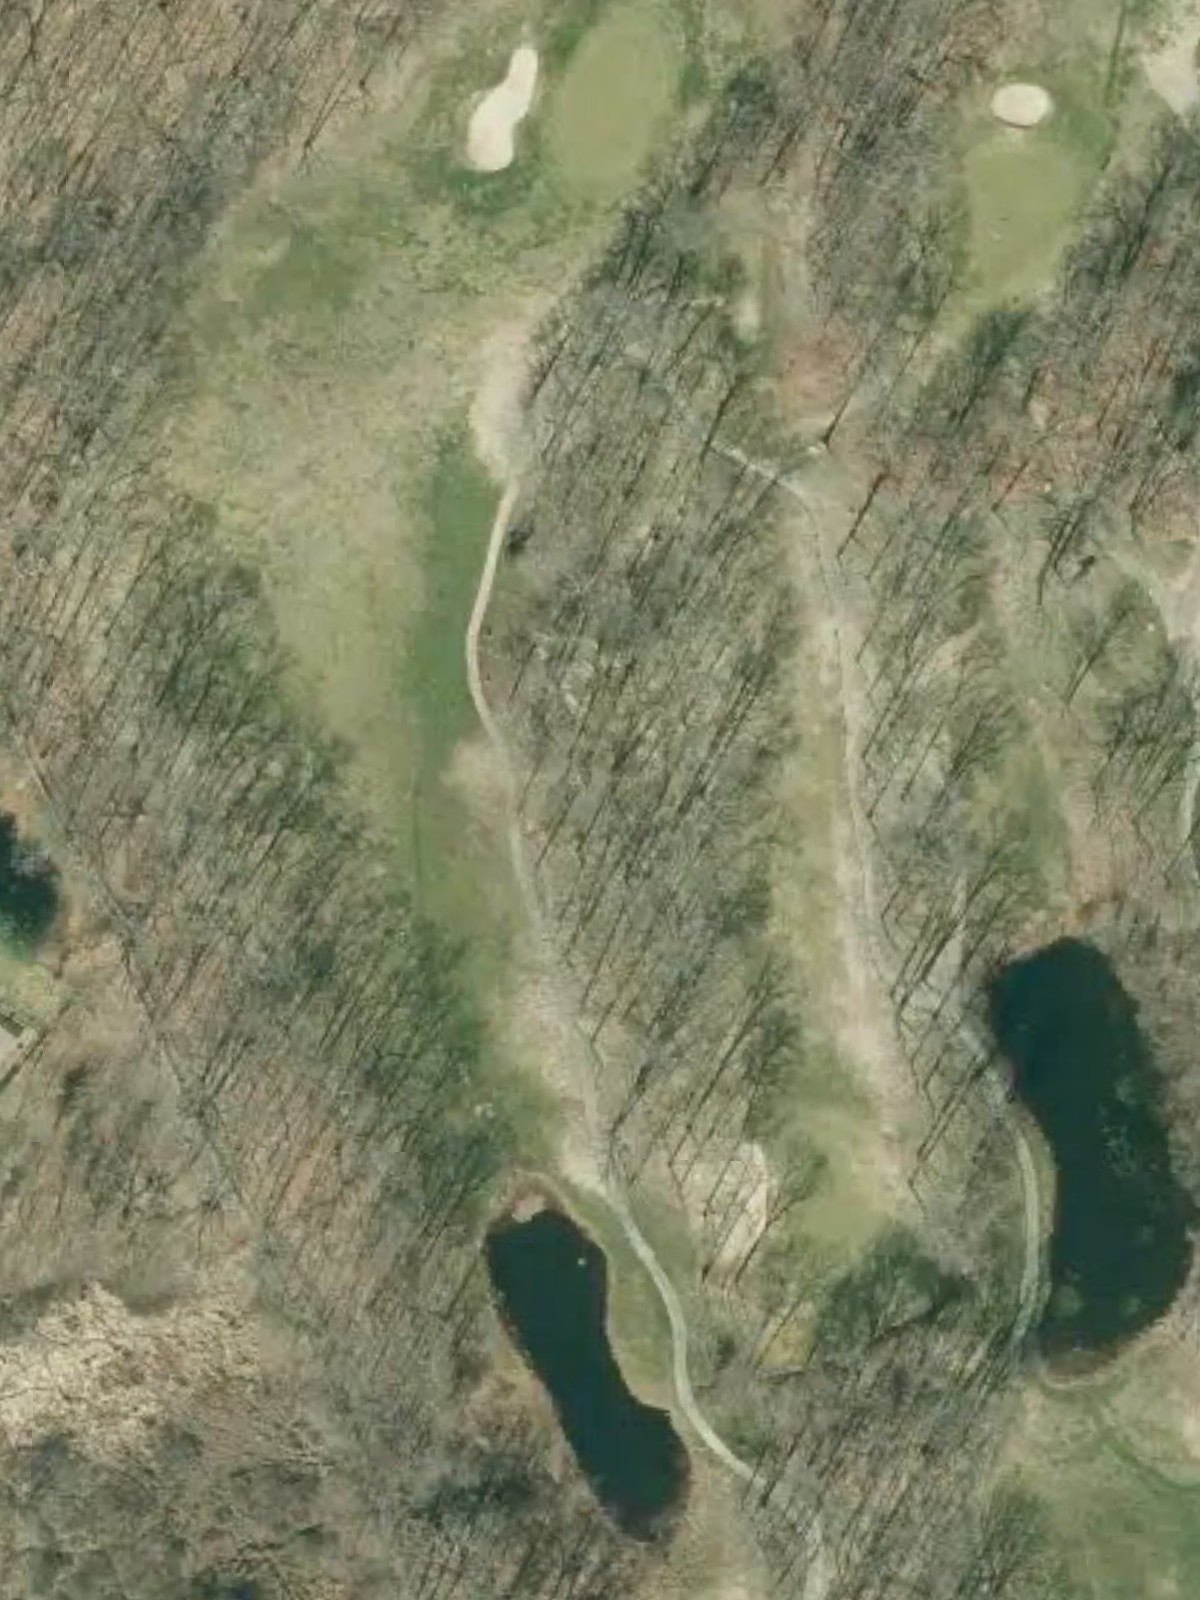
A demanding par 4 and the course's second-toughest hole, featuring a tight fairway that requires precision off the tee. Water hazards line the left side throughout, while bunkers guard the right of the green.
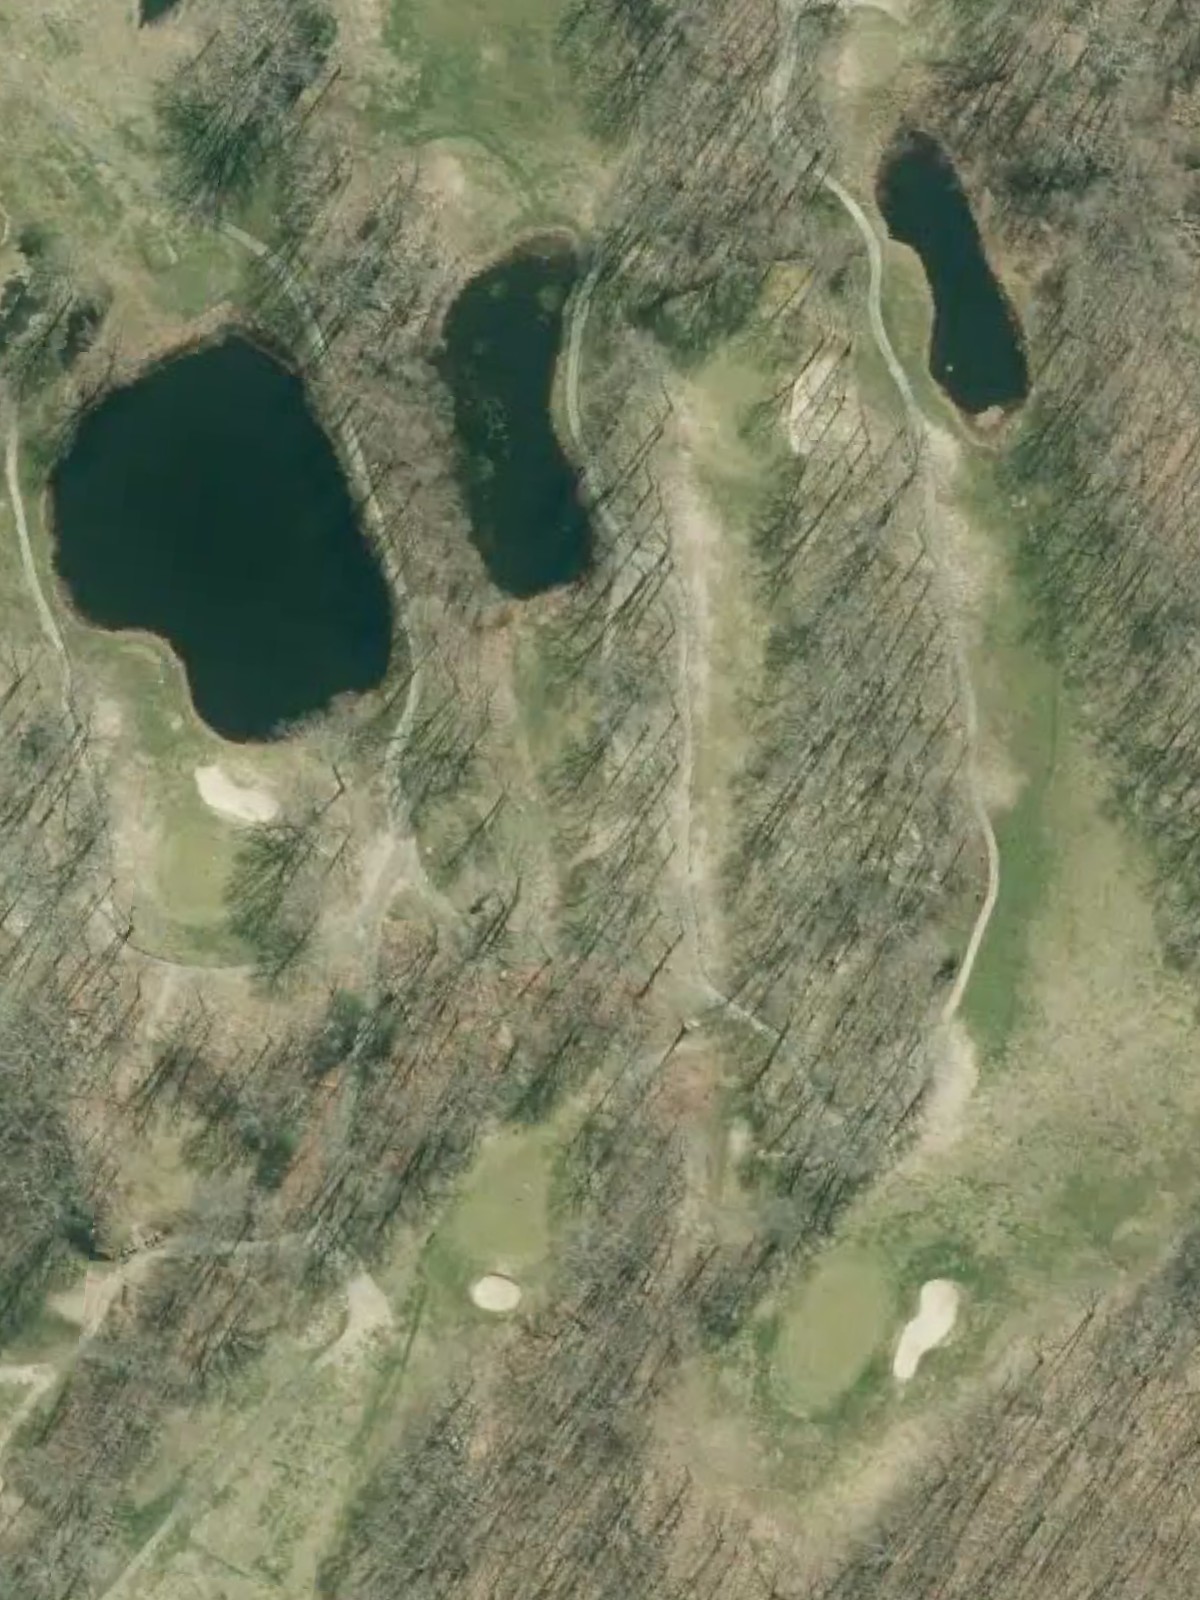
A reachable par 5 that doglegs right with a generous fairway offering scoring opportunities for longer hitters. Water guards the inside of the dogleg and continues along the right side, while bunkers protect the green's right flank.
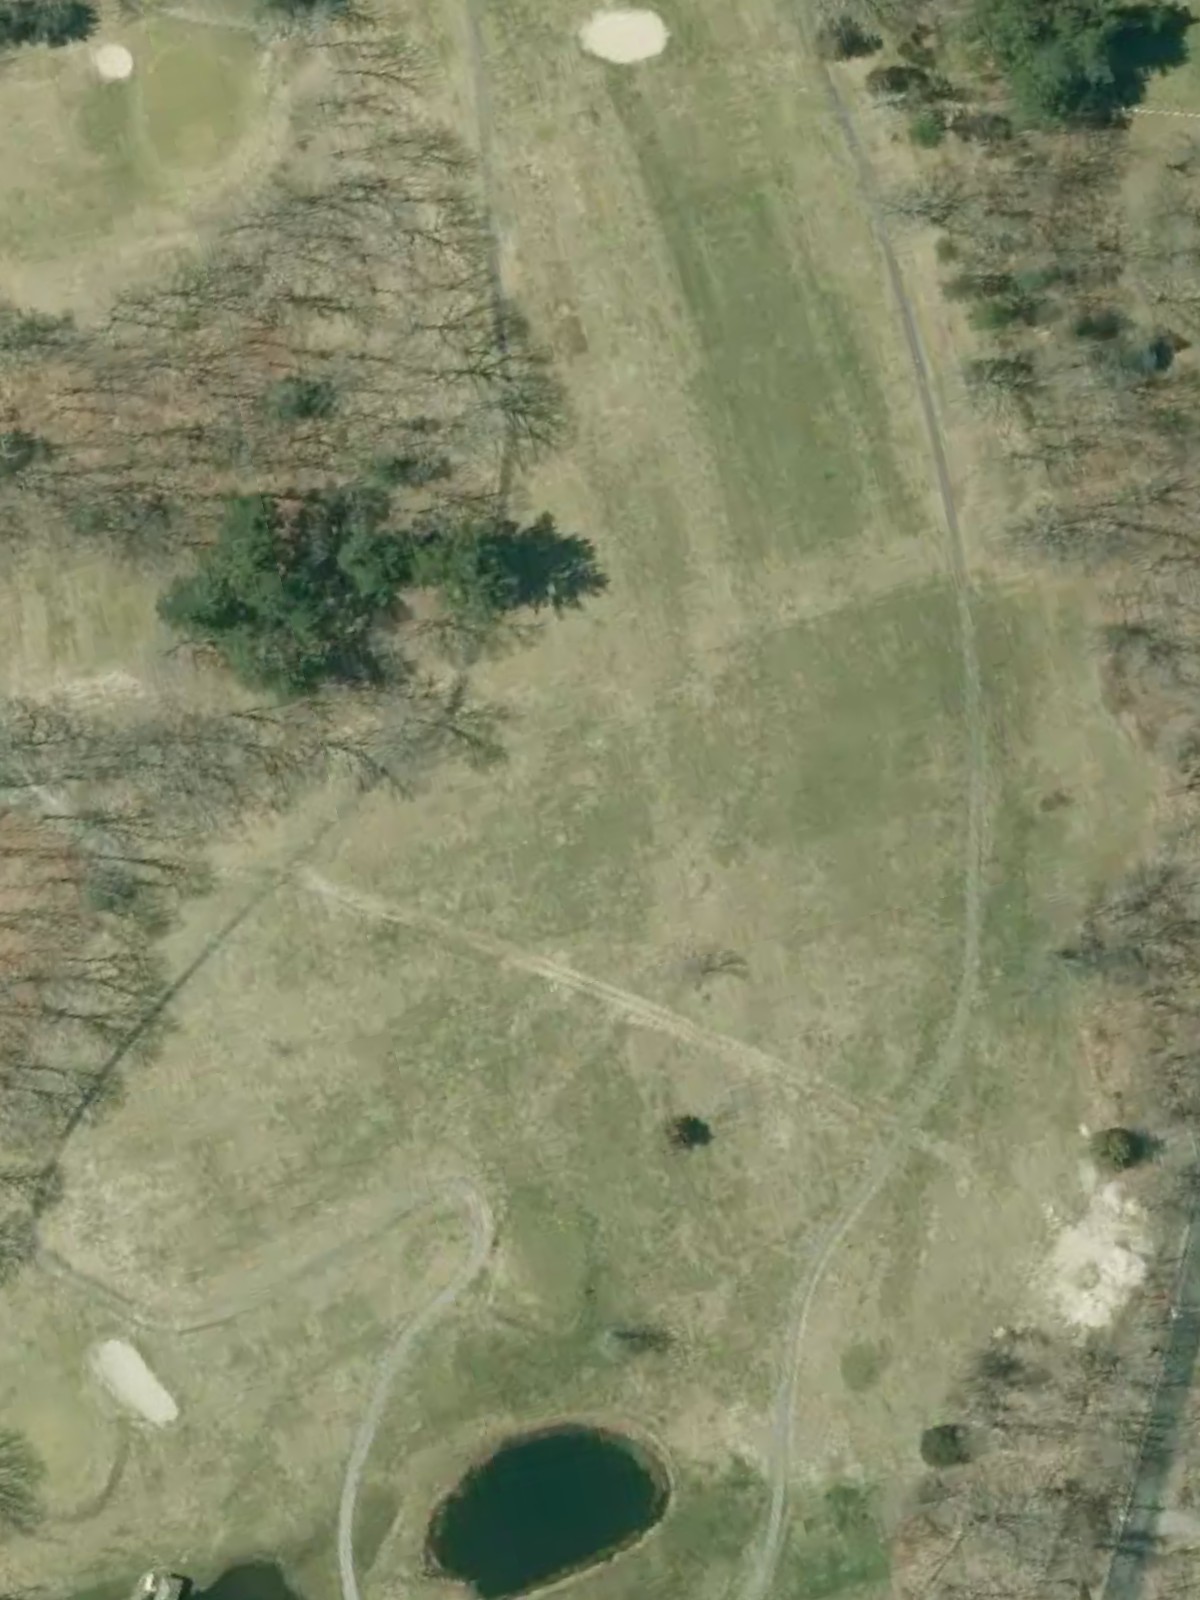
The course's most difficult hole, this lengthy par 4 demands two solid strikes to reach a well-defended green. Bunkers are strategically placed on both sides of the fairway and guard the approach, making this a true test of accuracy and distance.
A mid-length par 4 with a relatively straightforward layout and open fairway. Greenside bunkers on both sides frame the putting surface, requiring a precise approach shot to find the center of the green.
A long par 5 that doglegs left with a fairway that narrows at the turn. Bunkers guard the inside of the dogleg and protect the green, offering a challenging risk-reward scenario for aggressive players.
A mid-range par 3 with a green surrounded by bunkers and protected by water on the left. The elevated putting surface and strategic bunkering make this a tricky one-shot hole.
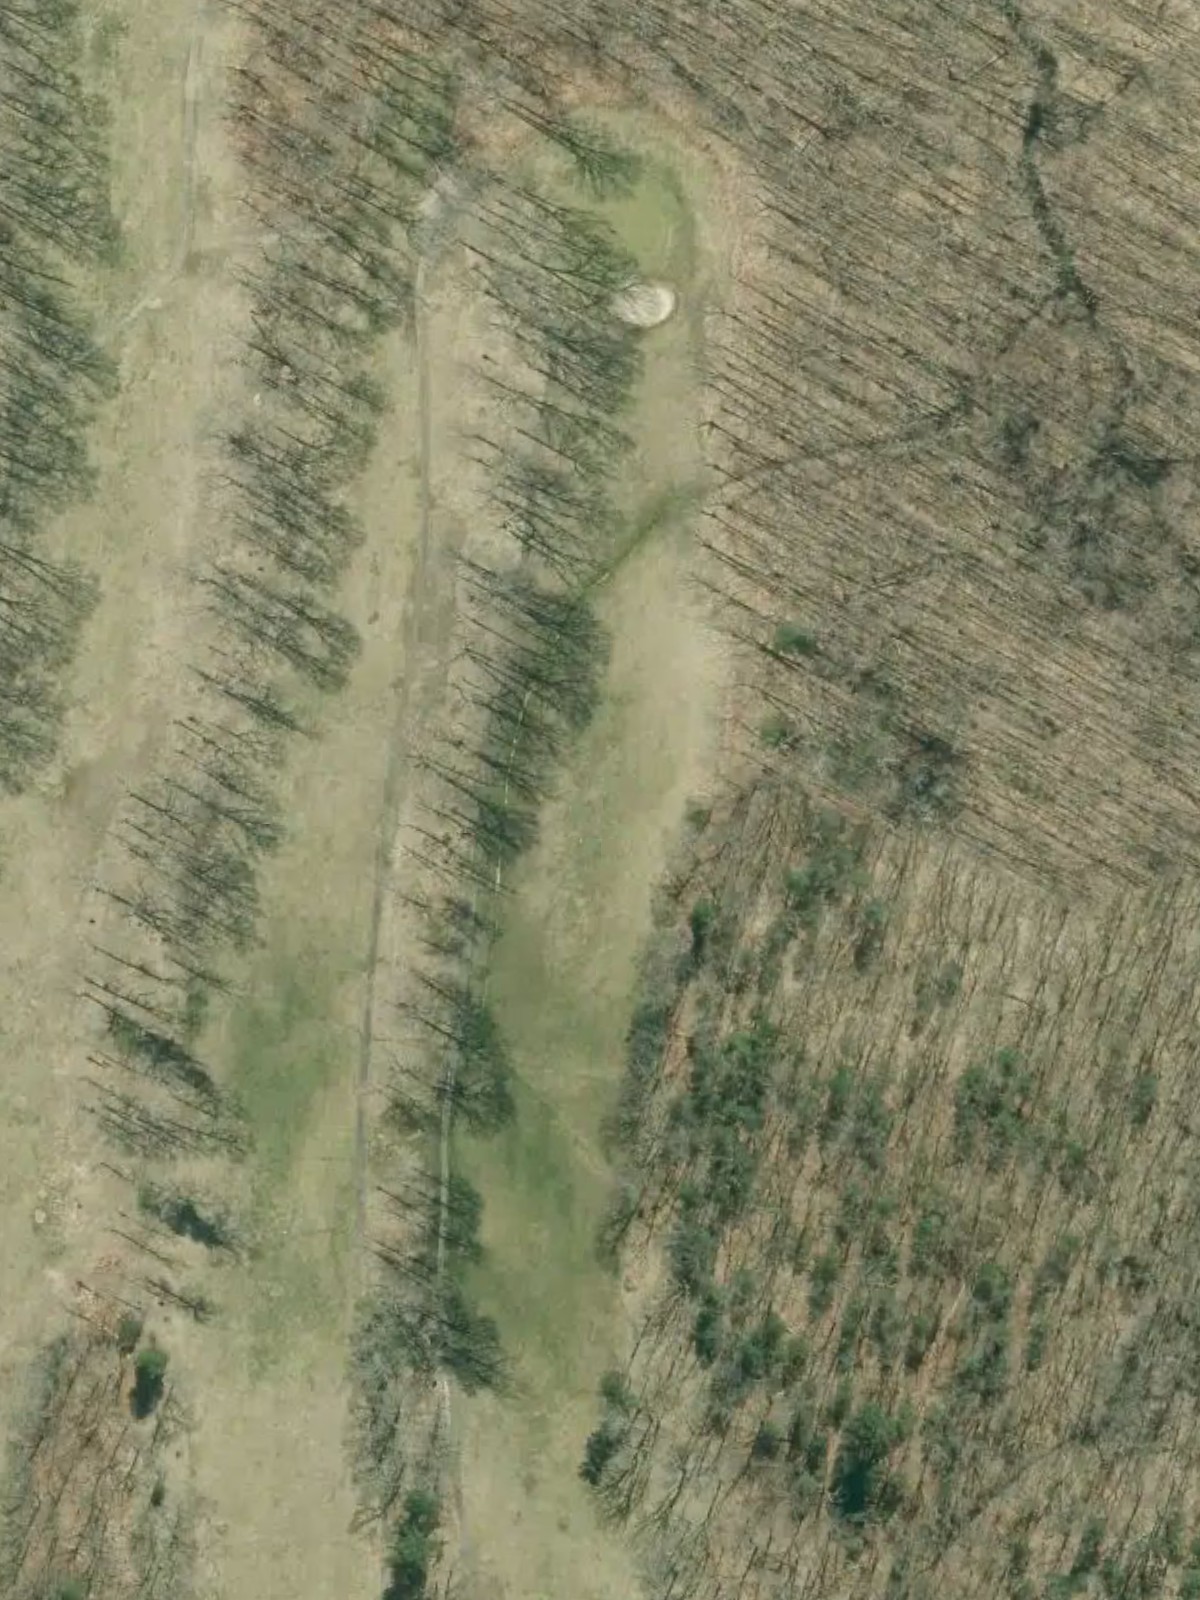
A tough par 4 with a narrow, tree-lined fairway that demands accuracy off the tee. The green sits behind a fronting bunker and slopes from back to front, making approach placement crucial.
A relatively short par 4 with a wide-open fairway that sets up opportunities for aggressive play. Bunkers guard the right side of the green, while the putting surface itself features interesting contours.
A challenging par 4 playing to a well-bunkered green with hazards on both sides of the fairway. The elevated green and strategic bunkering at the approach make this hole demanding despite its moderate length.
A generous par 5 with a relatively straightforward layout and open fairway that allows for three comfortable strokes to reach the green. Bunkers flanking both sides of the green provide the primary defense on this more forgiving hole.
A solid par 4 with a fairway that narrows in the landing area, requiring a well-placed tee shot. Bunkers protect the left and right sides of the green, and the putting surface slopes significantly from back to front.
A short par 4 that offers scoring potential with a wide fairway and relatively straightforward approach. Minimal bunkering makes this one of the course's more accessible holes, ideal for building momentum.
The course's hardest par 4, this lengthy hole features a narrow, tree-lined fairway that penalizes errant shots. Water hazards threaten the left side throughout, while bunkers guard the right of the green, creating a formidable finishing challenge.
A mid-length par 3 with a generous green and minimal bunkering, providing a reprieve from earlier pressure. The relatively open approach makes this an opportunity to settle into the closing stretch.
The shortest par 3 on the course, featuring a straightforward green with light bunkering. The simplicity of this hole offers a chance for a confident strike before the par 4 finale.
A finishing par 4 with a fairway that doglegs slightly and offers a balanced final test. Bunkers protect both sides of the green, and the putting surface's slope from right to left adds drama to closing moments.
Scorecard
| Hole | 1 | 2 | 3 | 4 | 5 | 6 | 7 | 8 | 9 | Out | 10 | 11 | 12 | 13 | 14 | 15 | 16 | 17 | 18 | In | Tot |
|---|---|---|---|---|---|---|---|---|---|---|---|---|---|---|---|---|---|---|---|---|---|
| Par | 3 | 4 | 4 | 5 | 4 | 4 | 5 | 3 | 4 | 36 | 4 | 4 | 5 | 4 | 4 | 4 | 3 | 3 | 4 | 35 | 71 |
| HCP | 9 | 6 | 2 | 7 | 1 | 4 | 5 | 8 | 3 | 7 | 3 | 11 | 5 | 13 | 1 | 15 | 17 | 9 | |||
| blue | 157 | 342 | 400 | 498 | 465 | 370 | 531 | 190 | 415 | 3368 | 340 | 397 | 489 | 373 | 274 | 419 | 197 | 173 | 339 | 3001 | 6369 |
| white | 145 | 318 | 374 | 468 | 442 | 360 | 511 | 180 | 405 | 3203 | 320 | 383 | 474 | 363 | 265 | 403 | 185 | 164 | 324 | 2881 | 6084 |