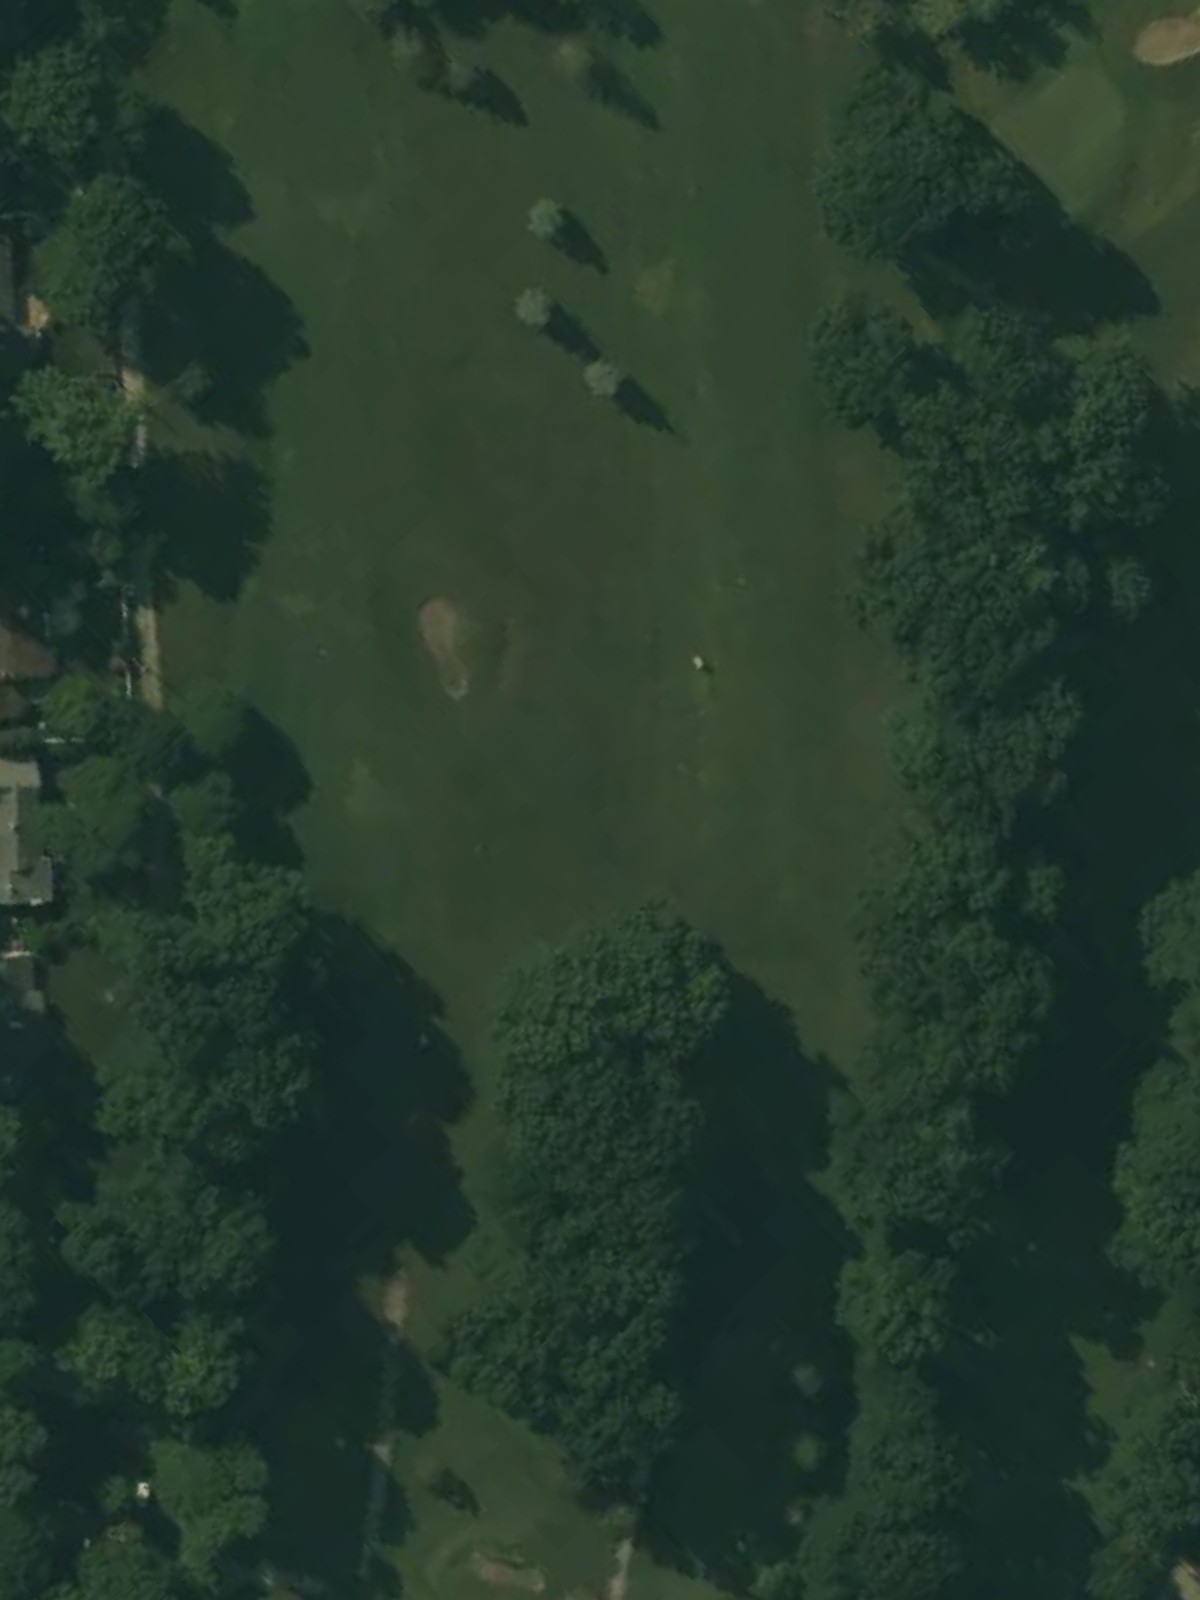
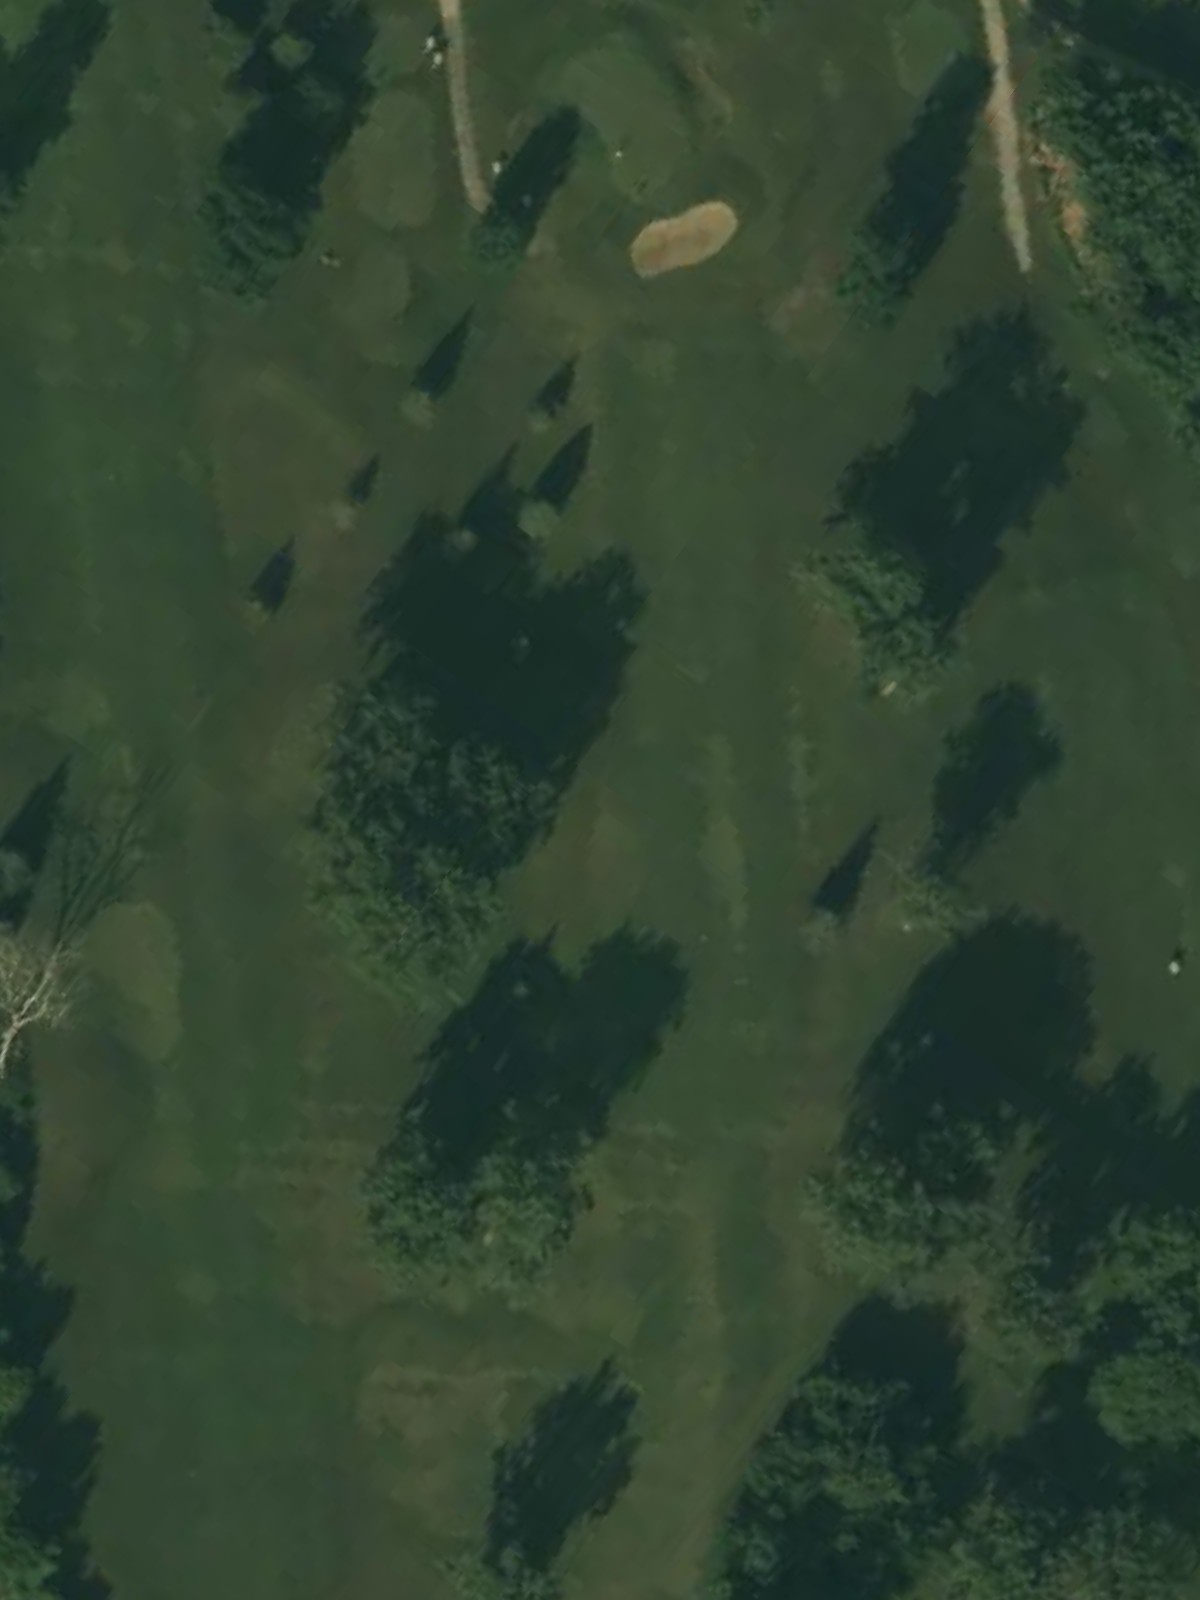
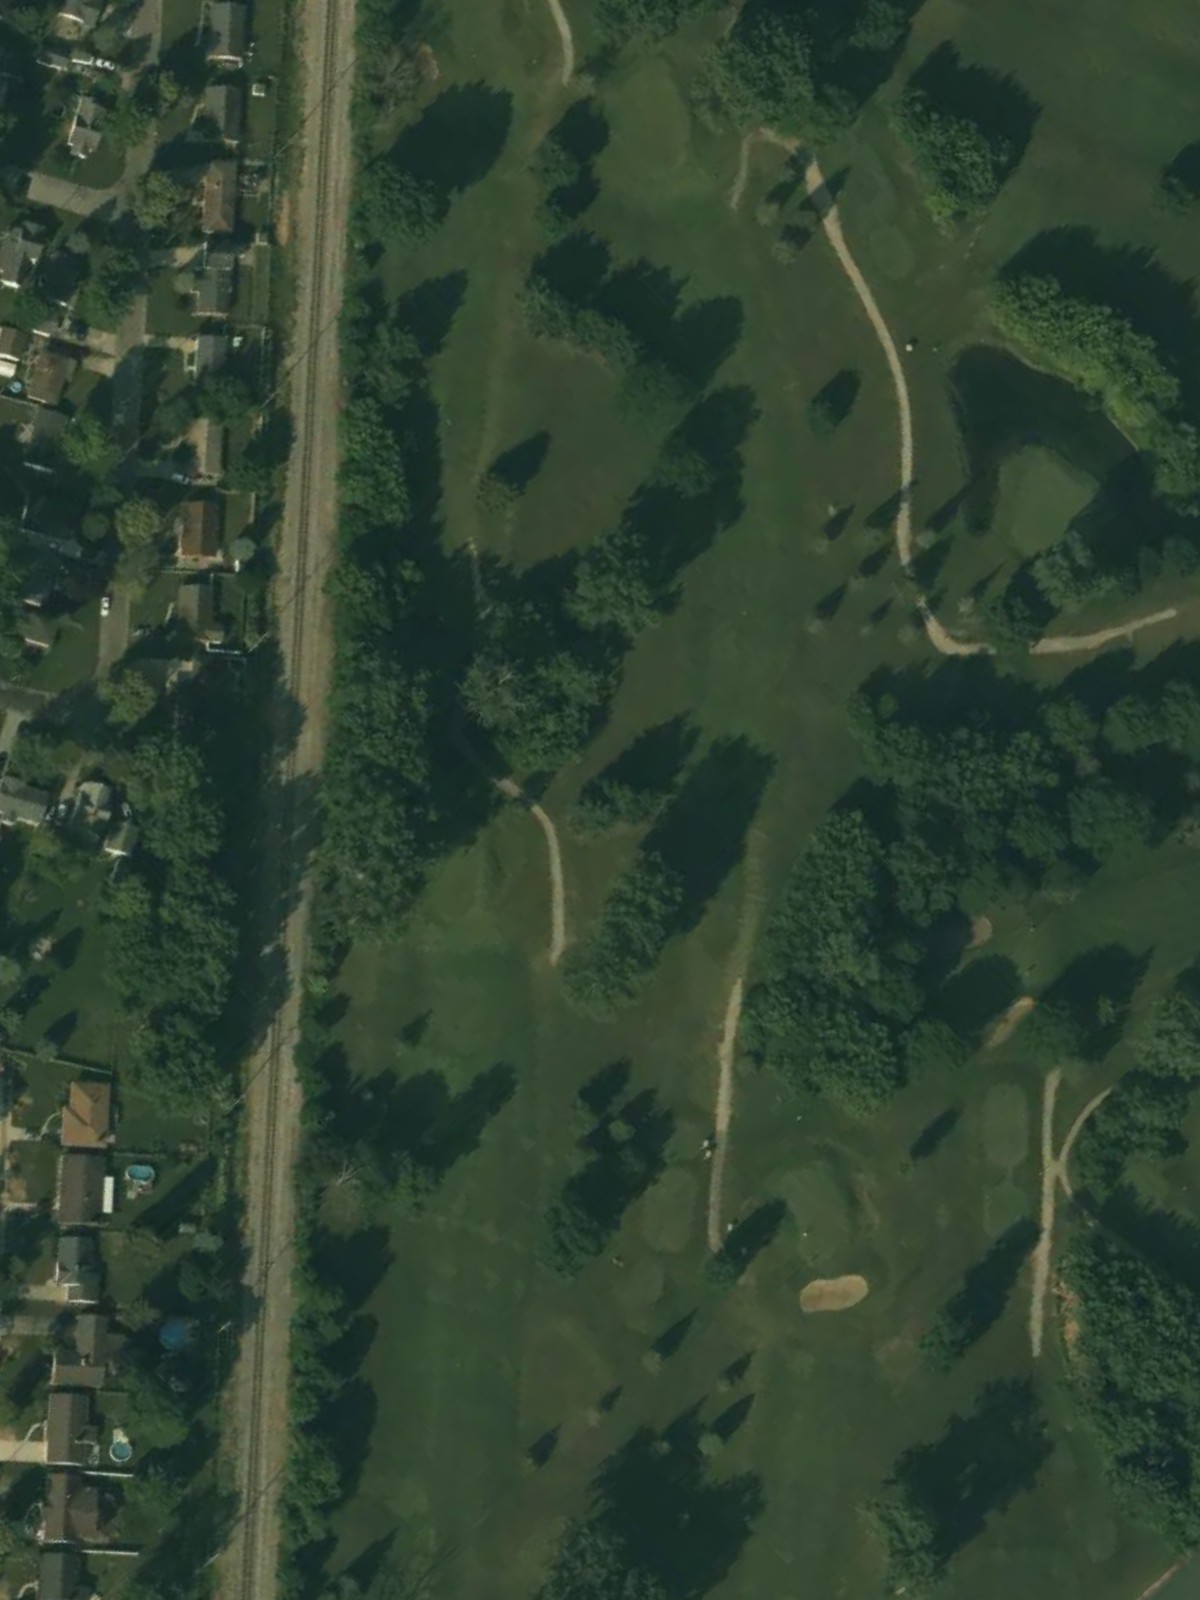
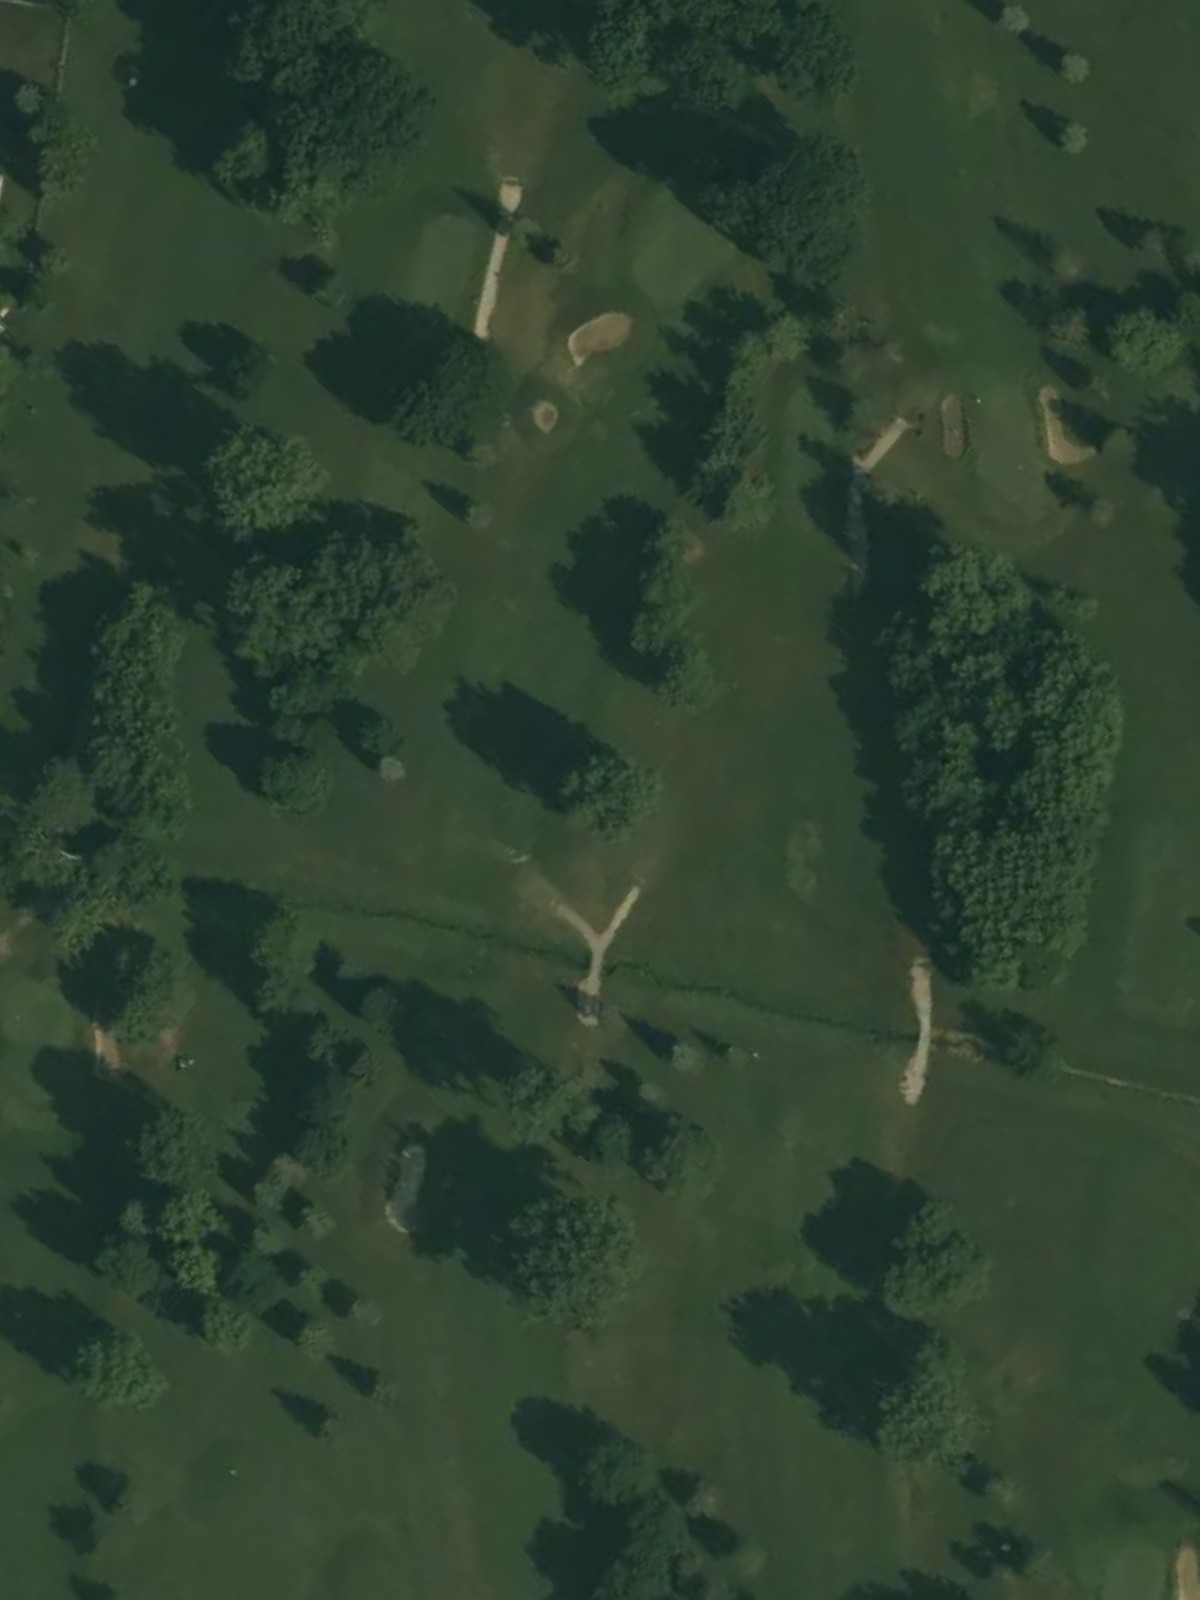
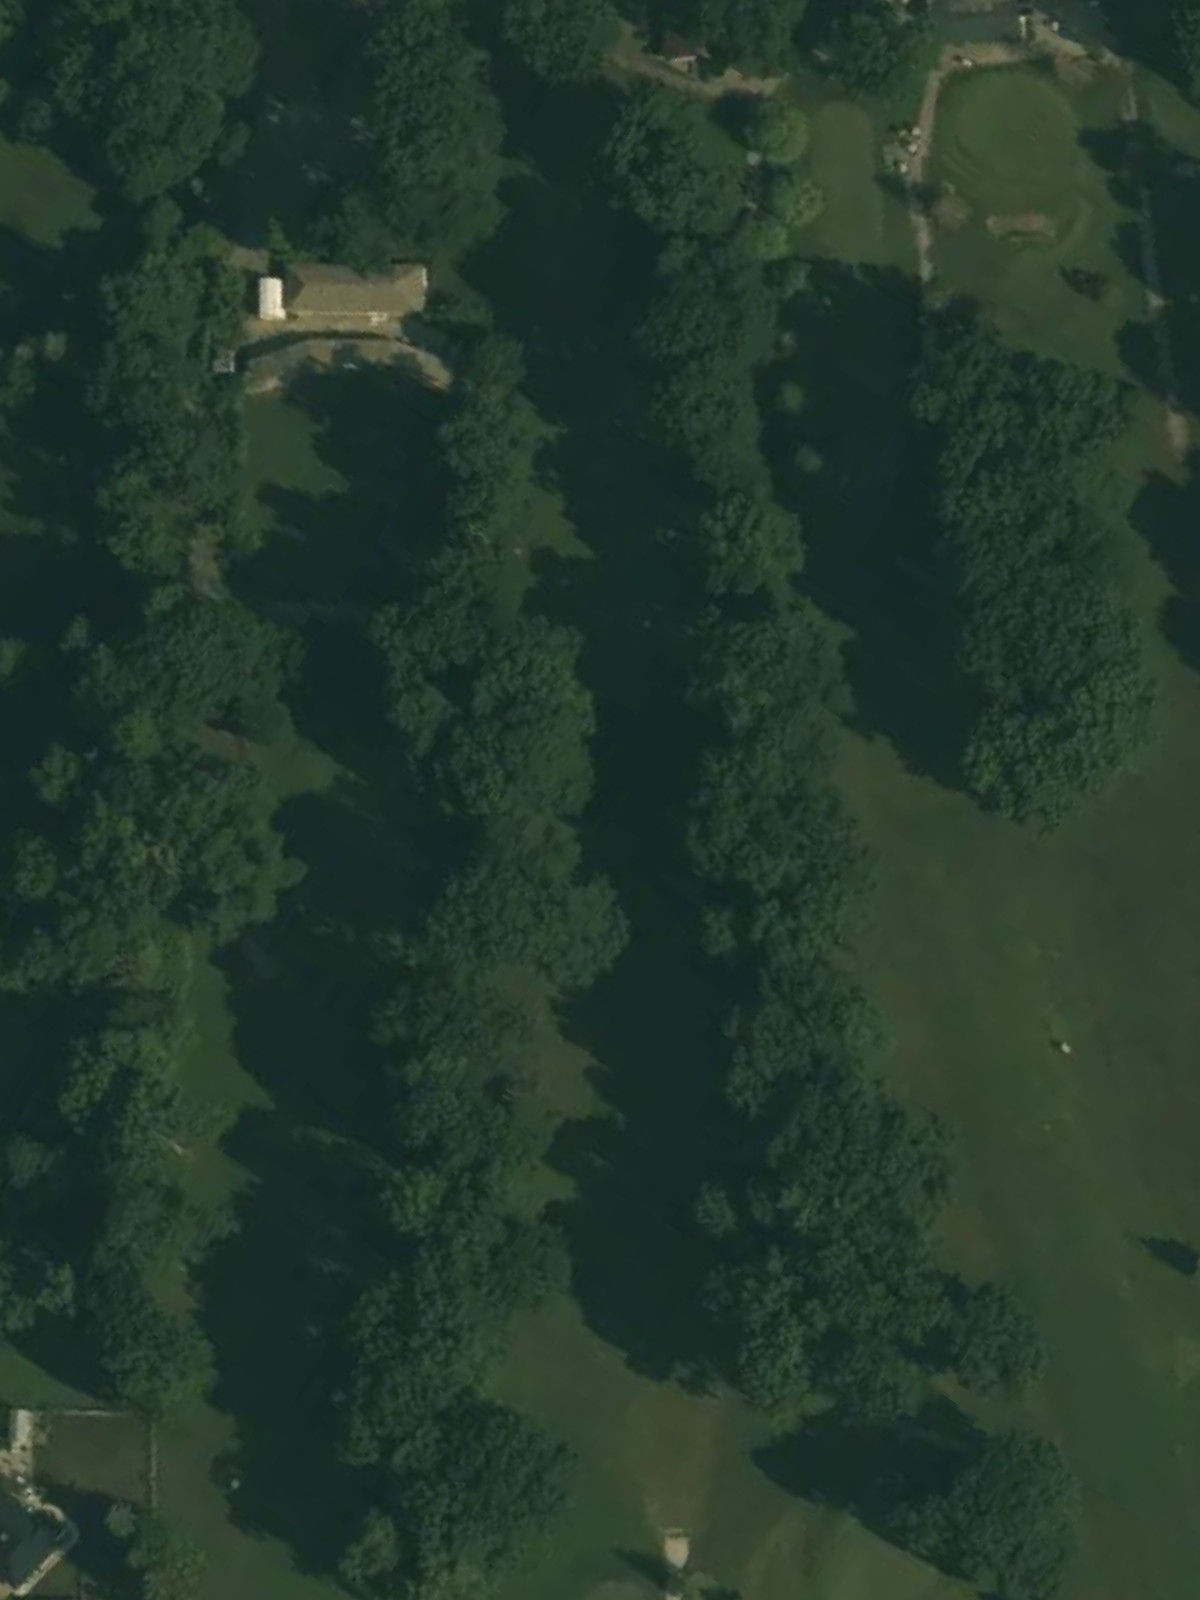
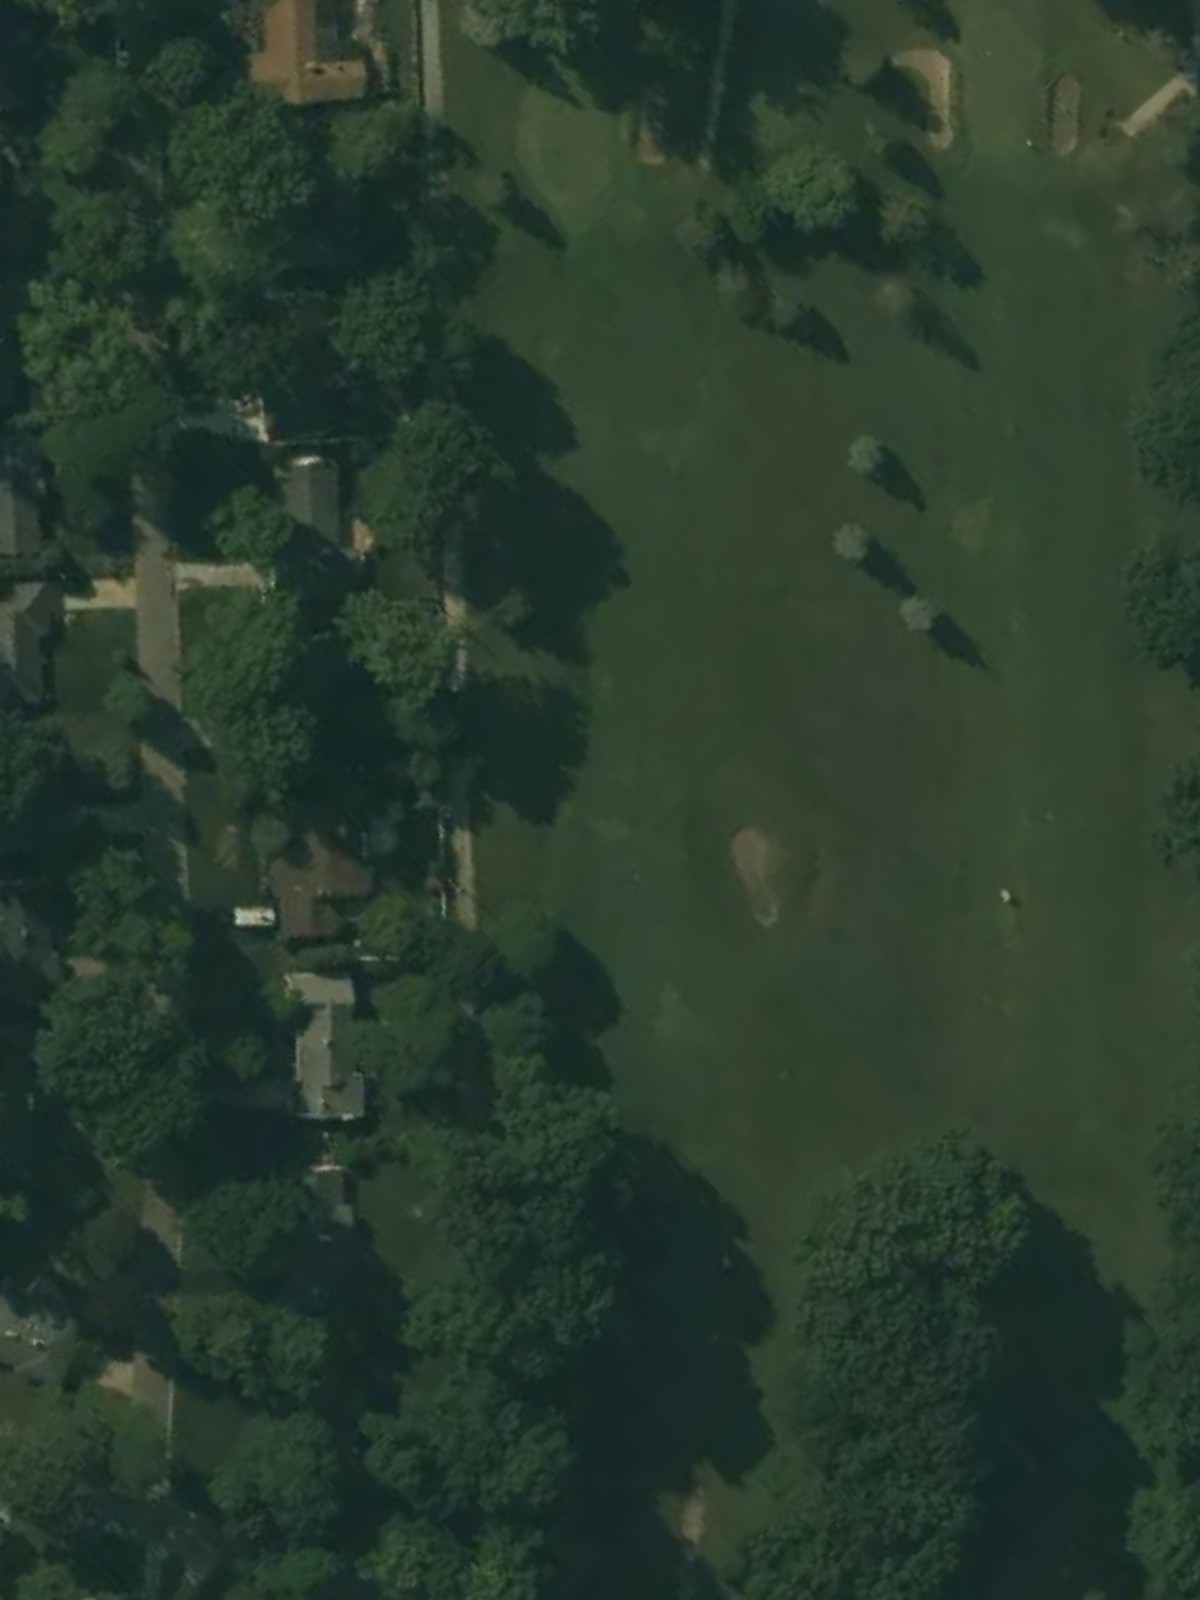
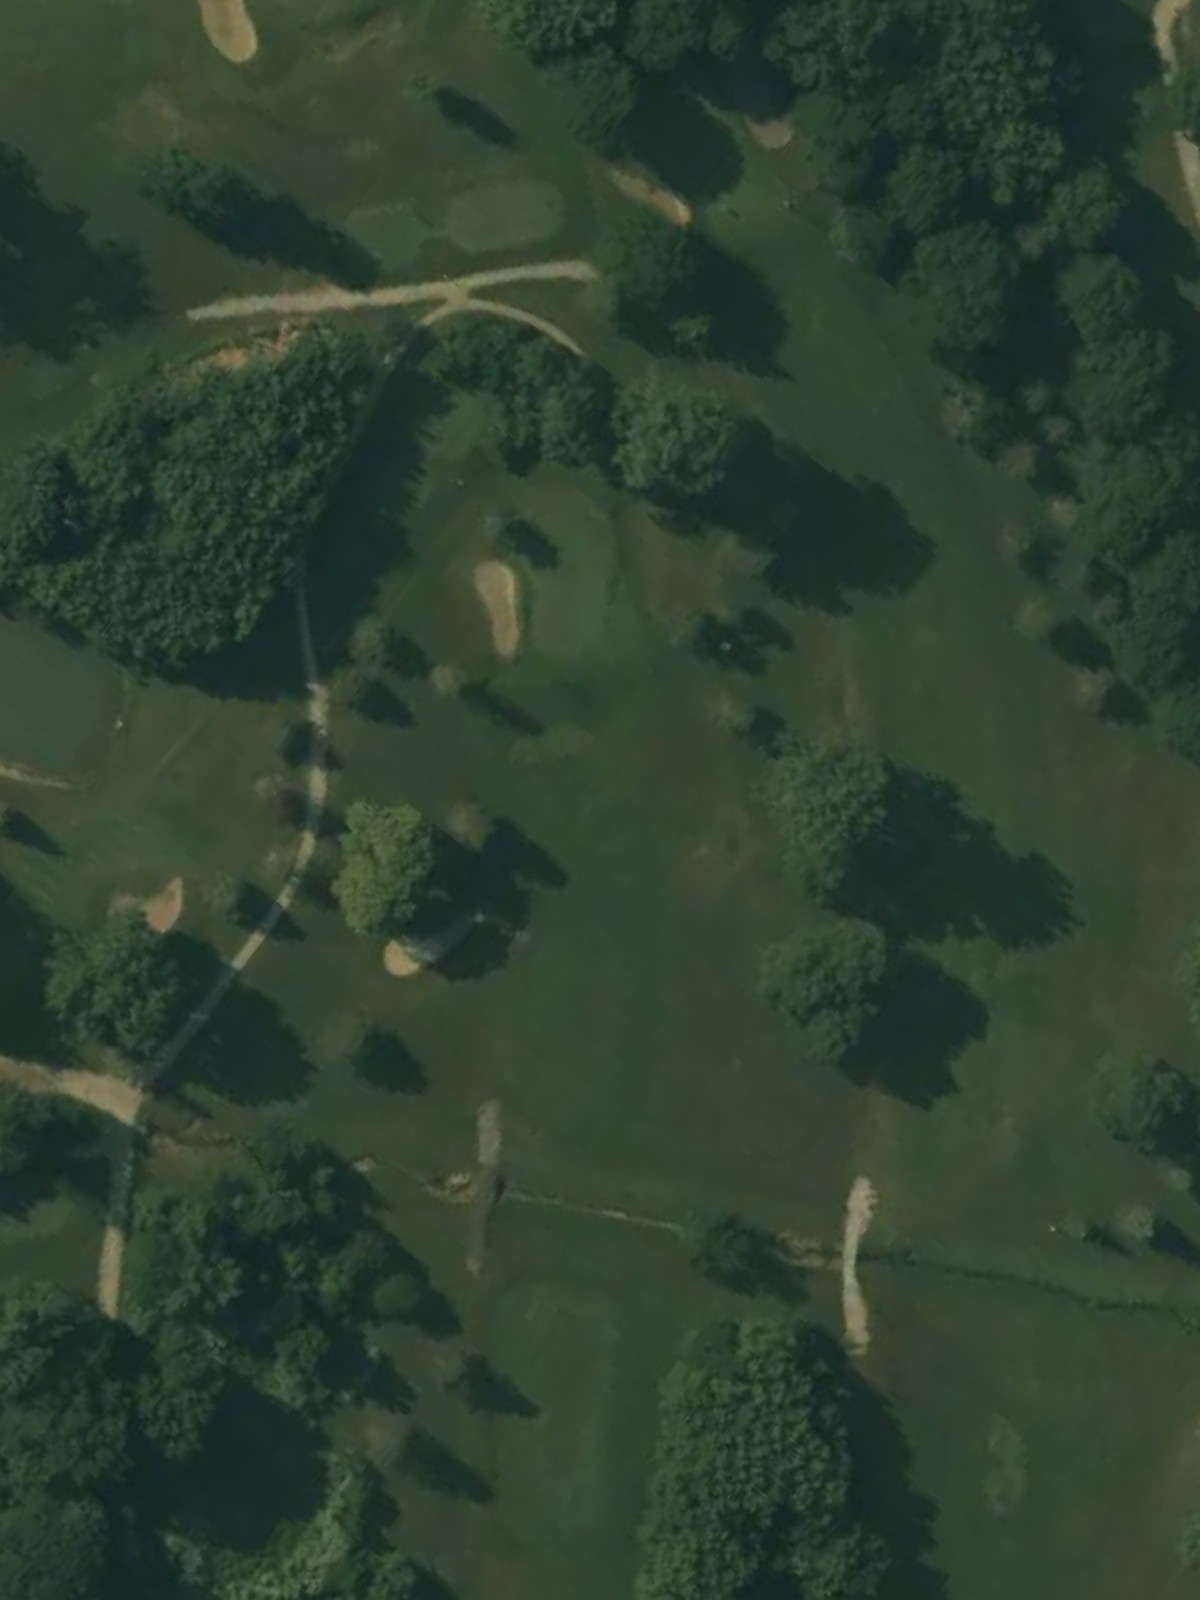
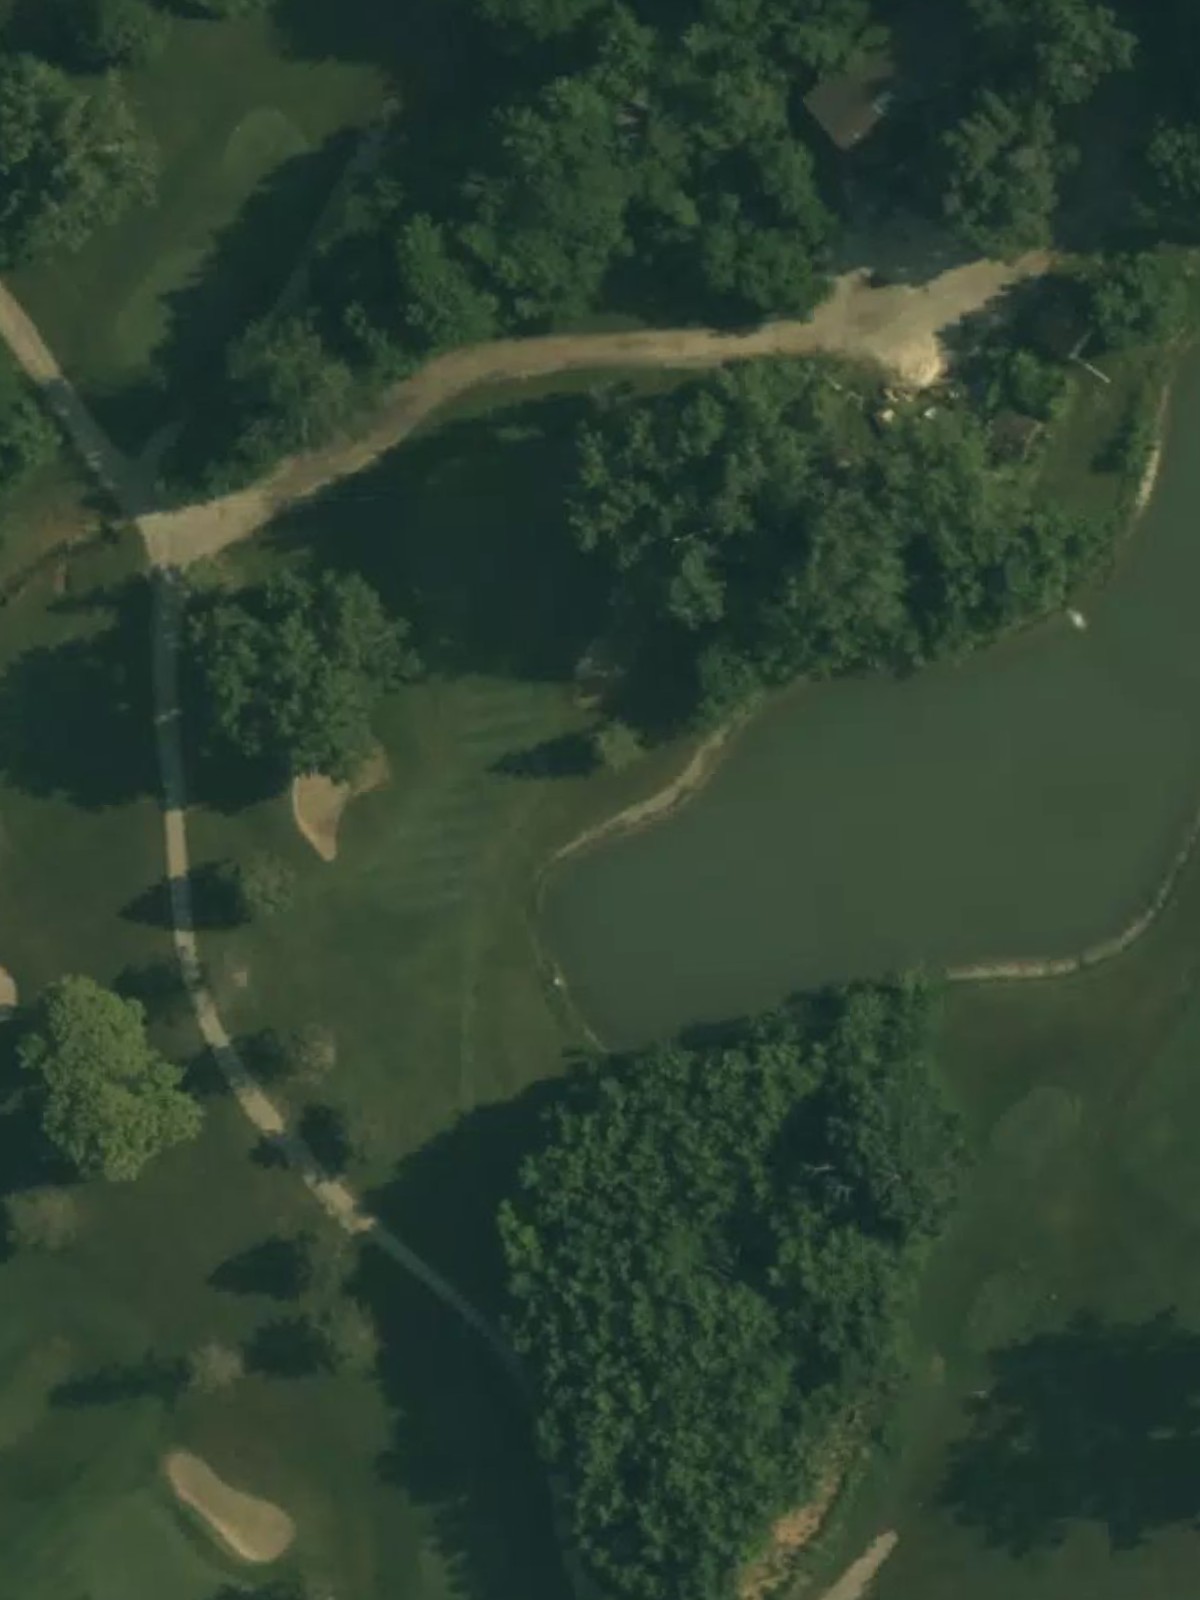
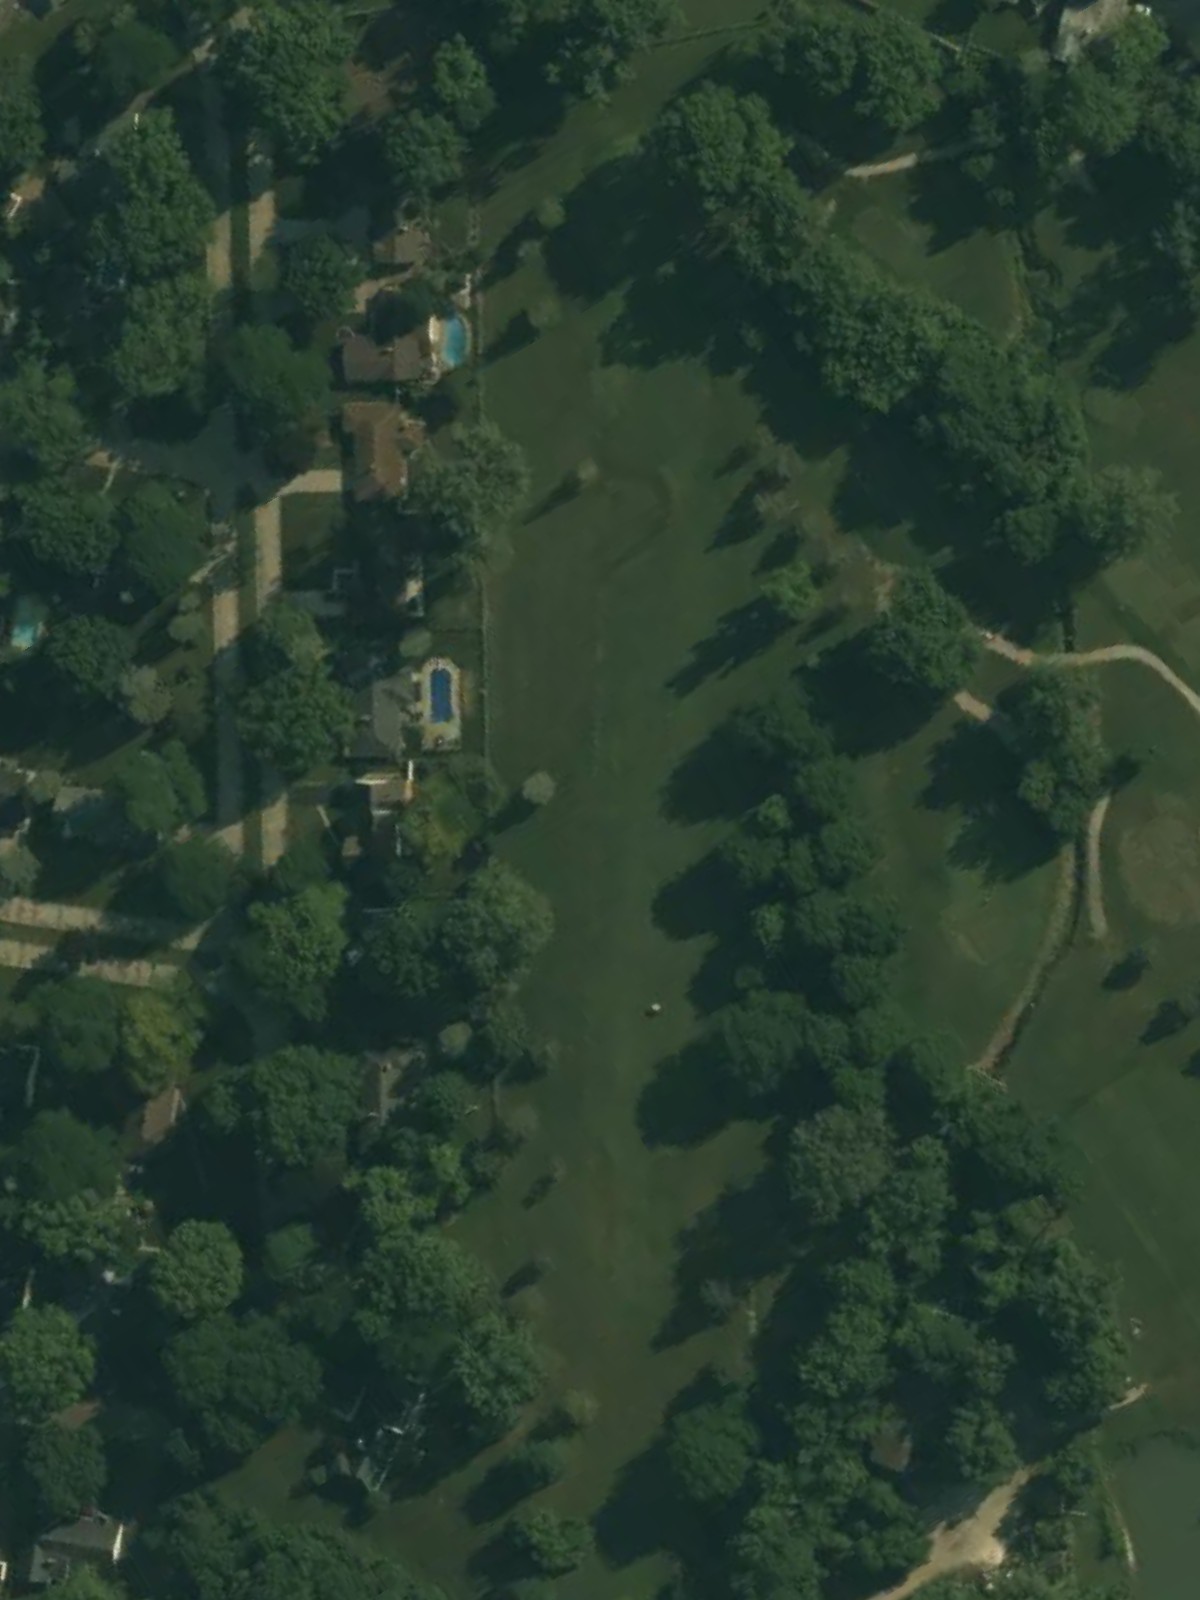
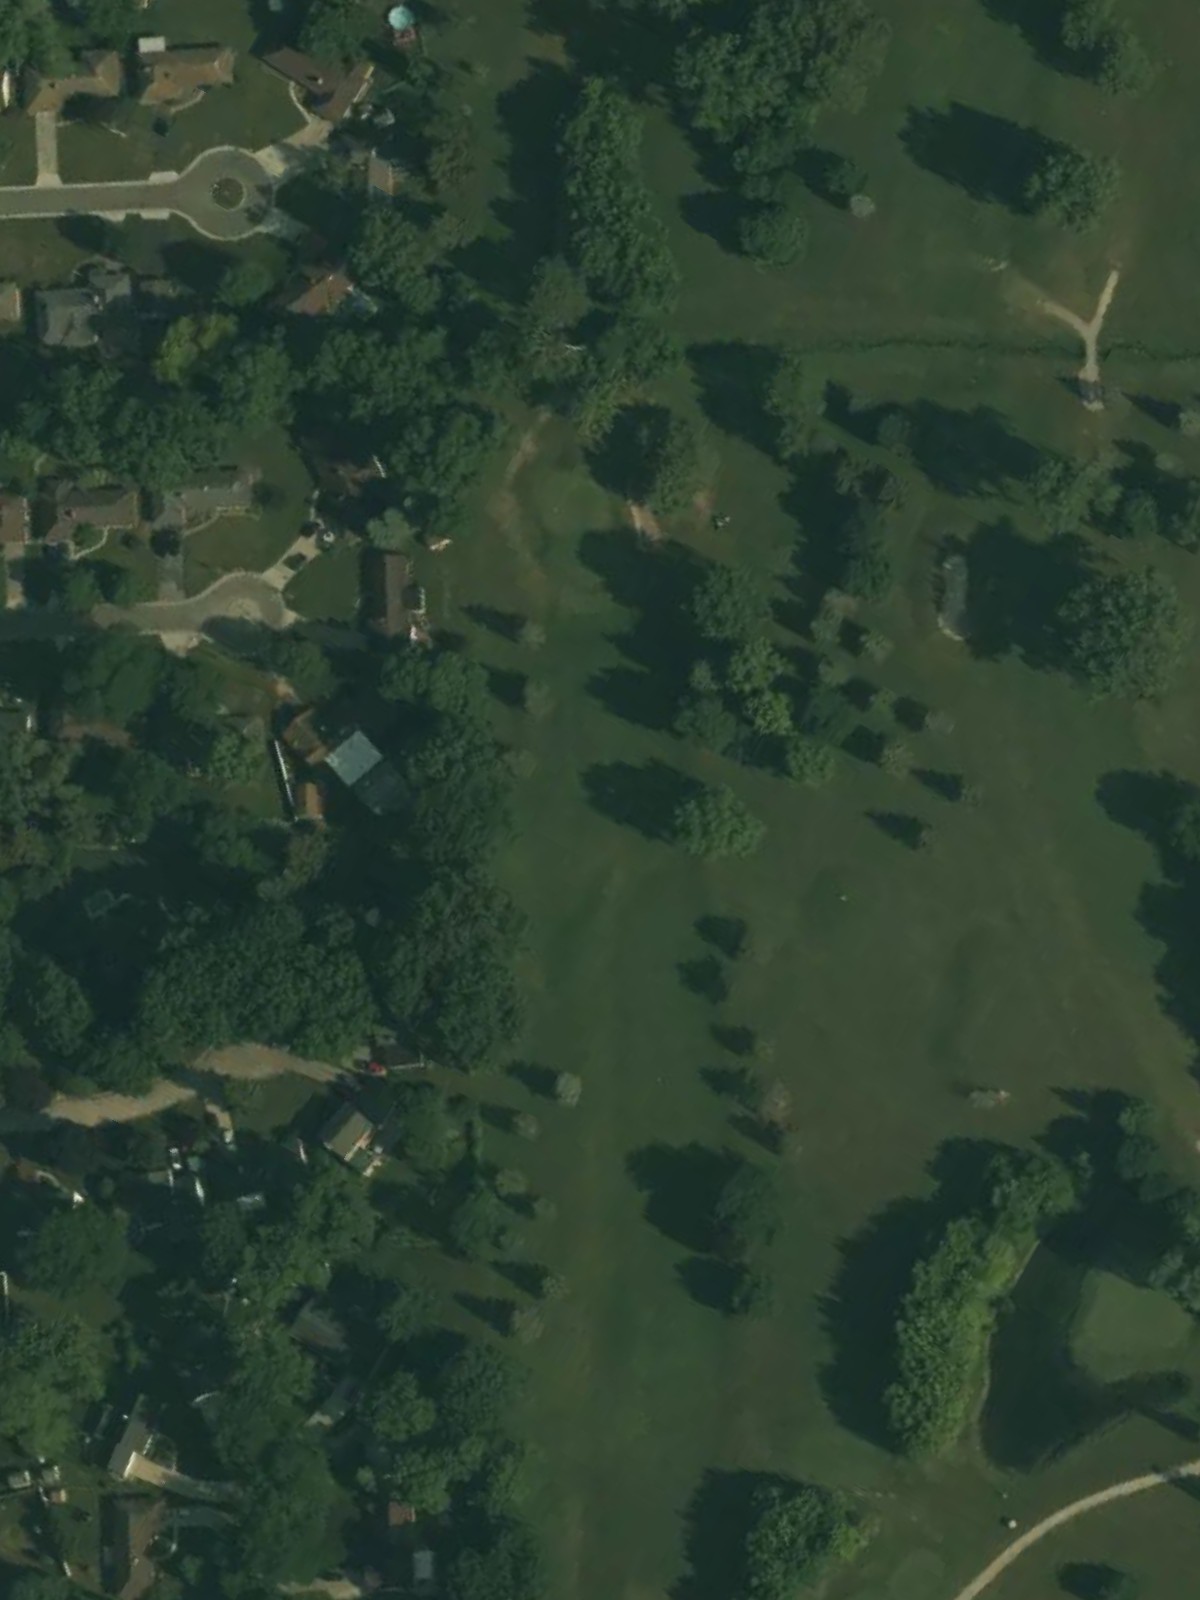
Heather Downs Country Club is an 18-hole golf course in Toledo, OH with a par of 71. It offers 4 tee sets: blue (6,250 yards, slope 128, rating 70.6), blue/white (5,876 yards, slope 125, rating 68.8), gold (5,395 yards, slope 118, rating 66.7), red (4,912 yards, slope 114, rating 64.4). The hardest hole is #4, a par 4 playing 301 yards from the first tee.
Heather Downs Country Club
Toledo, OH
Get PDF Yardage Book
We'll email you the PDF link. No spam, ever.
Create Your Game Plan
Pick your tees, enter your bag, and get a personalized shot-by-shot strategy for every hole.
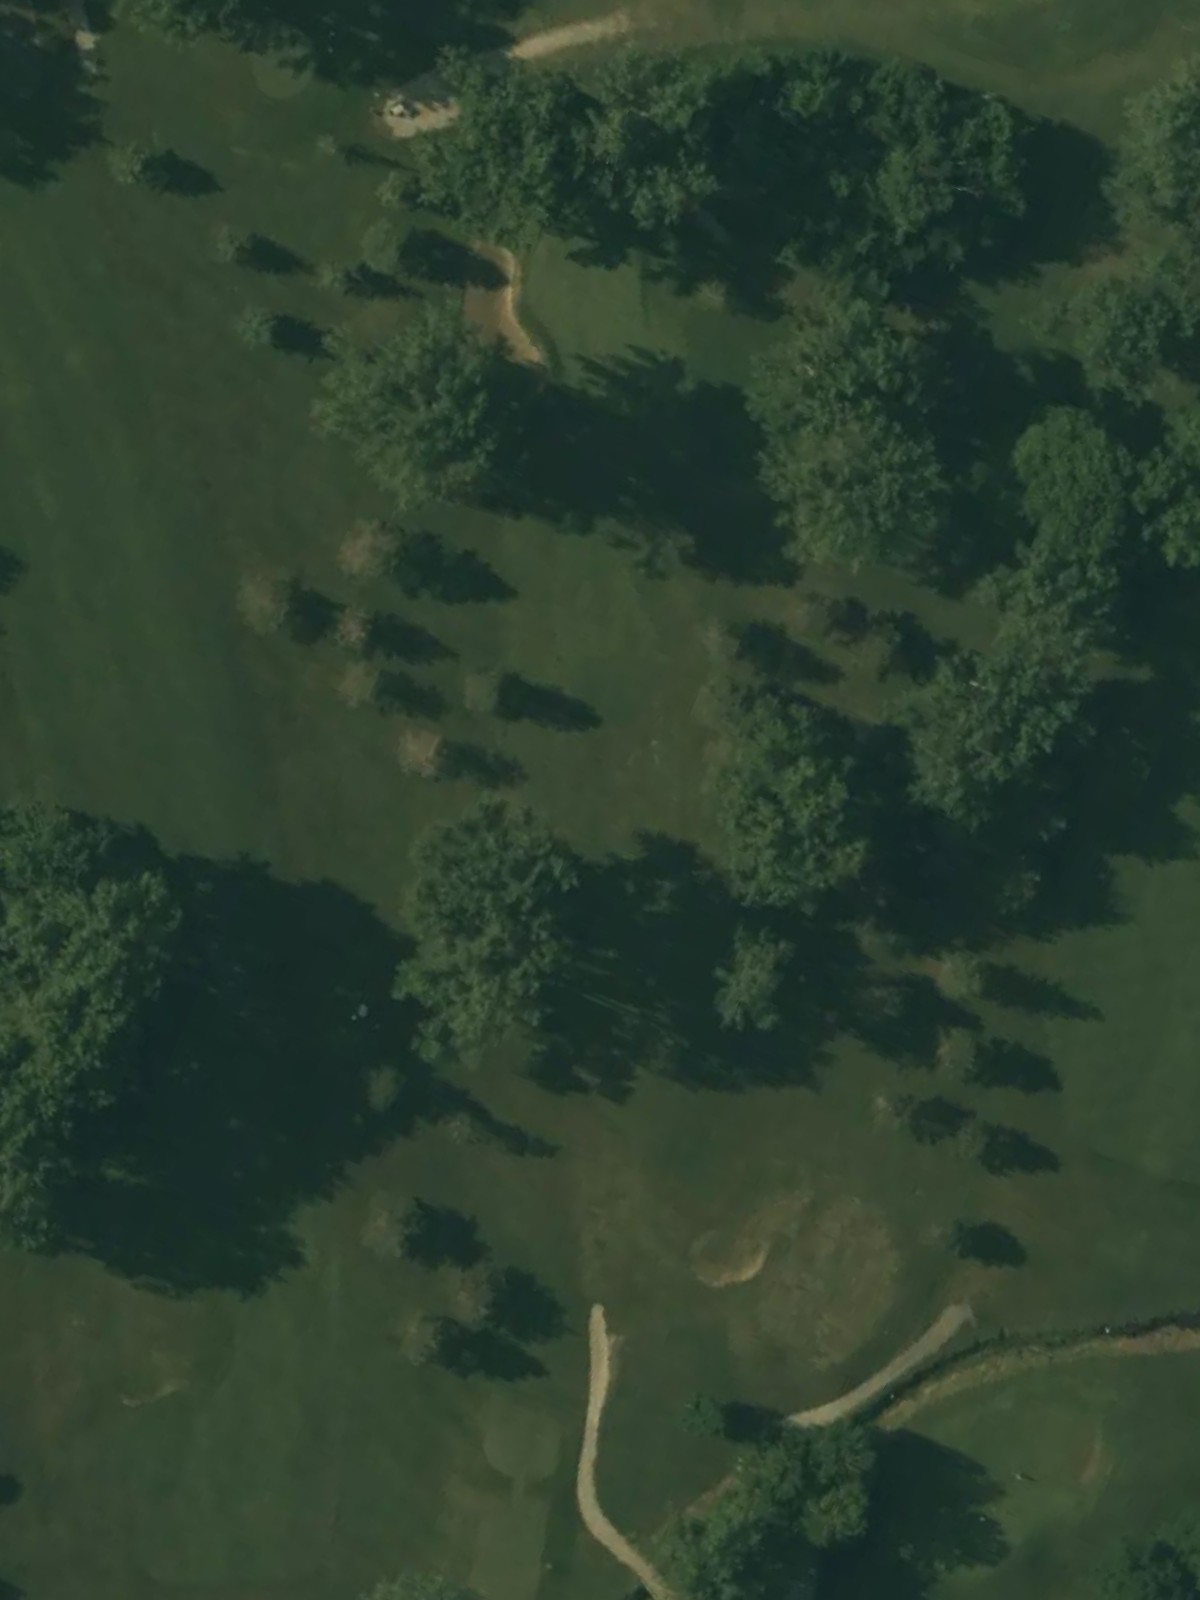
A welcoming opening par 4 playing relatively short with a straightforward layout. The fairway is fairly open, but bunkers guard both sides of the green to catch approach shots, making accuracy important on the second shot.
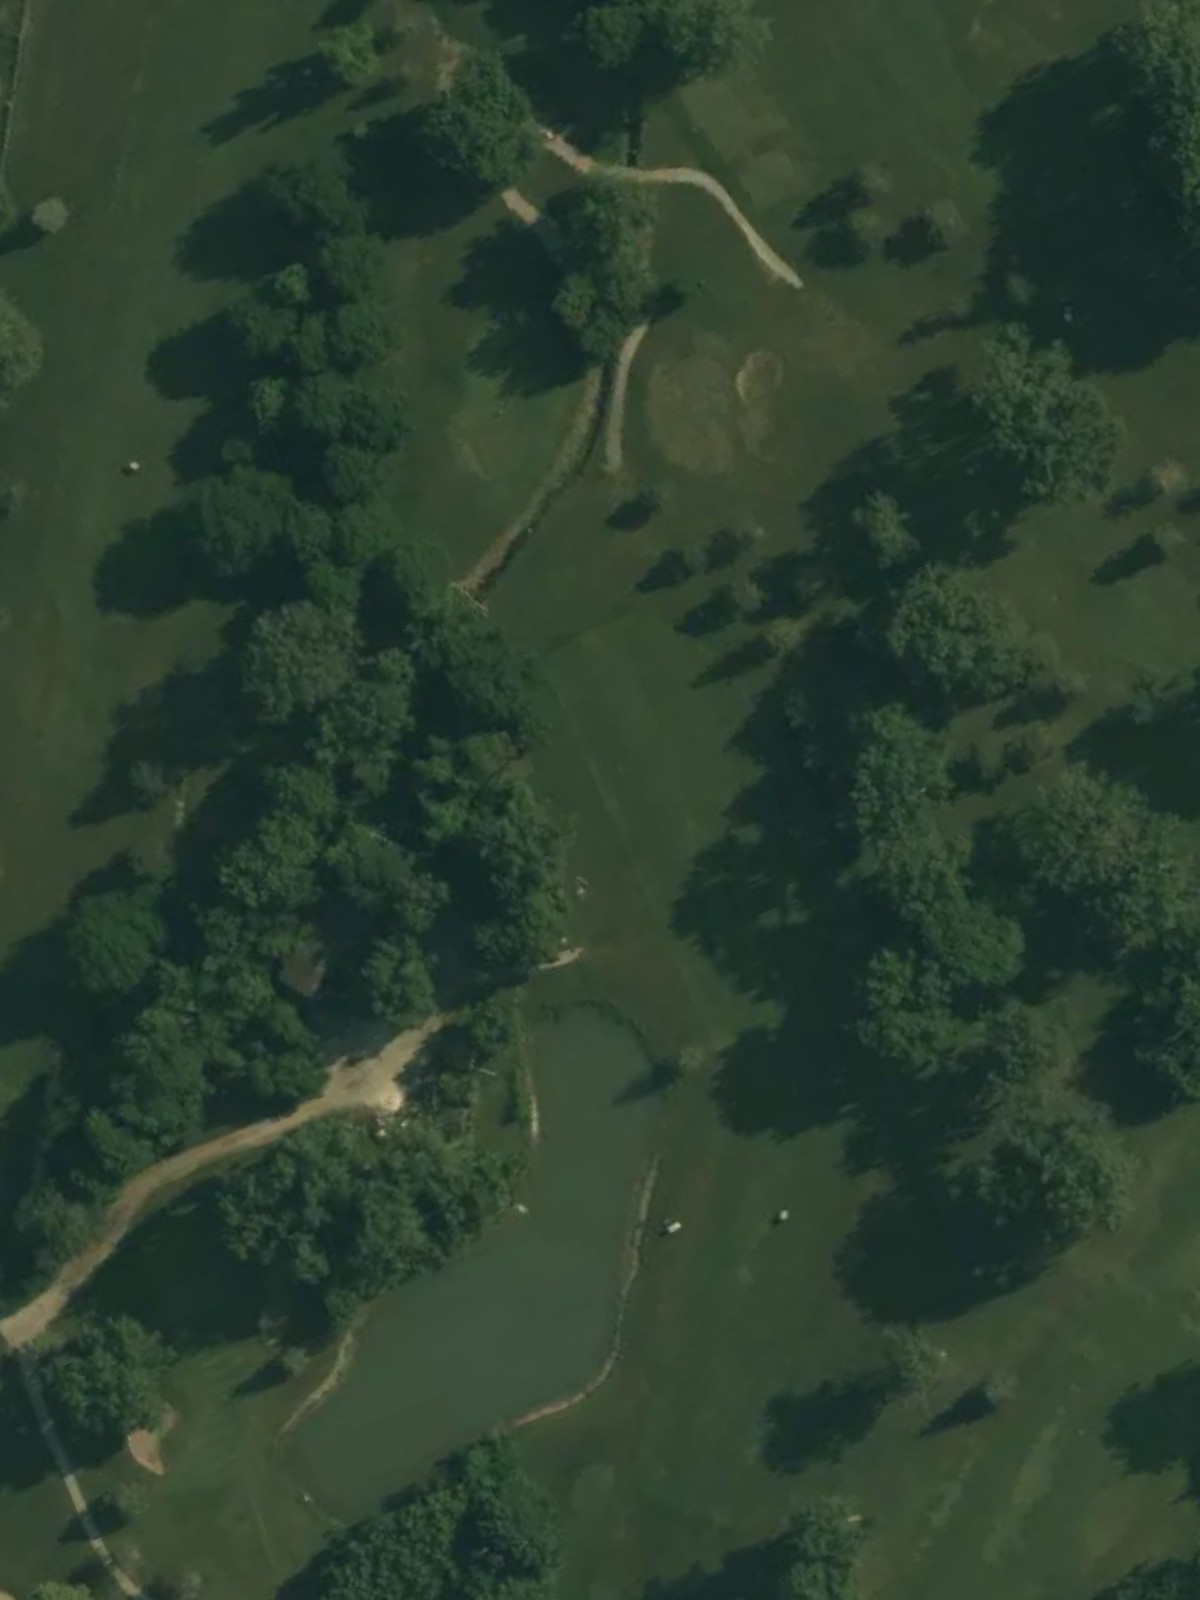
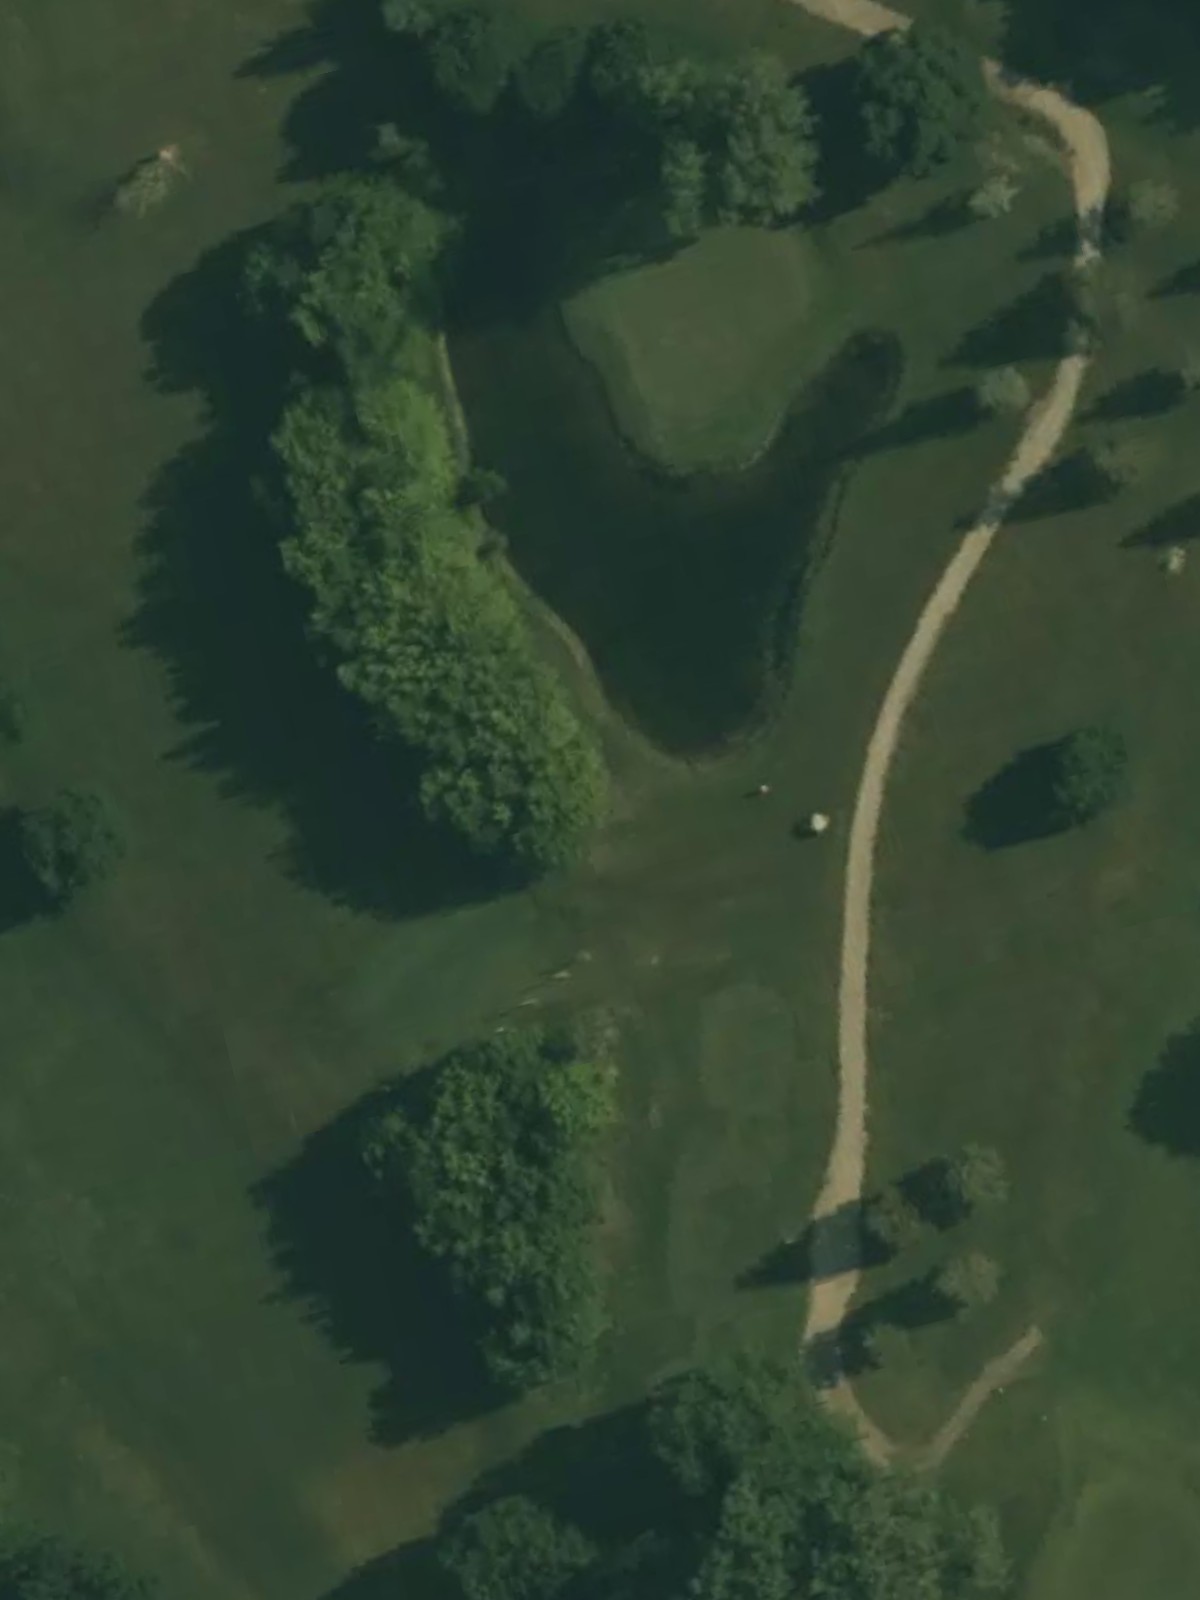
A long par 5 that offers a reachable birdie opportunity for strong players. The hole plays relatively straight with manageable width, though water or other hazards may come into play on the approach to a well-bunkered green.
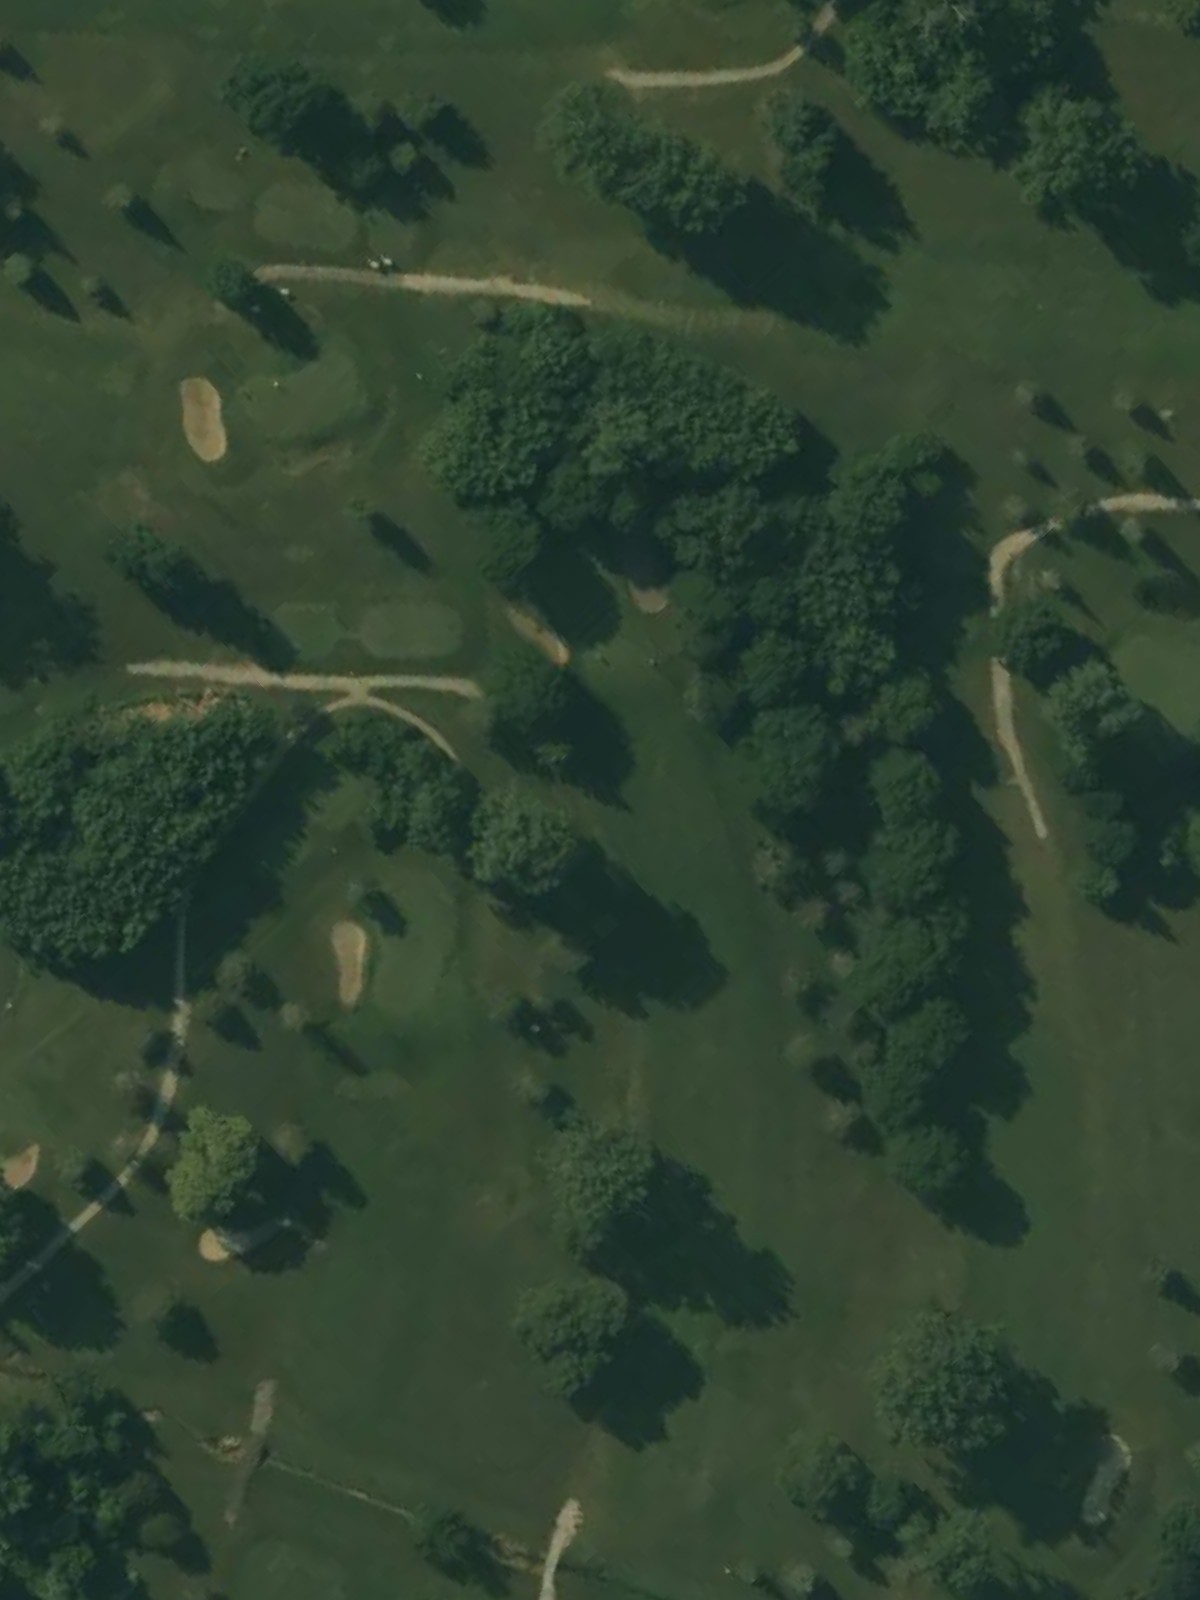
The course's most difficult par 4, this hole demands precision from tee to green. A tight fairway corridor and strategic greenside bunkering create a challenging test of accuracy and course management.
The stroke index 1 hole, this formidable par 4 is the hardest on the course and requires two strong, well-placed shots to reach the green in regulation. Hazards likely frame the fairway or guard the approach, making position off the tee critical.
A short par 3 with a relatively modest yardage spread across the tees. The green is protected by bunkering, and the compact nature of the hole means that precise distance control is essential.
A dramatic par 4 with significant length variation depending on the tee used, playing as one of the course's toughest holes from the back tees. Strategic hazards likely frame the hole, and the green presents a challenging target on the approach.
A short par 3 with minimal yardage and a narrow green complex. The tight target area demands accuracy despite the hole's brevity, making club selection and execution critical.
A strong par 4 ranking among the course's most difficult, with a well-defined fairway that likely narrows toward the green. Greenside bunkers and strategic positioning of hazards require both length and placement off the tee.
A moderate par 4 with a relatively approachable layout for players in the field. The fairway offers decent width, though bunkers or other hazards may guard the green to challenge the approach shot.
A par 4 of moderate difficulty that plays at mid-length from most tees. The hole's design tests both distance and accuracy, with strategic hazards likely positioned to penalize poor positioning off the tee.
A par 4 that plays short and relatively straightforward compared to others on the course, presenting a good scoring opportunity. The modest yardage and generous fairway make this a welcome respite before the back nine's stronger holes.
The second-hardest hole on the course, this par 4 demands two excellent shots to score well. Length and hazard placement create a formidable test, with the green presenting a difficult target for the approach.
A very short par 3 playing under 150 yards from the back tees, offering a birdie chance if the green is hit. Despite its brevity, strategic bunkering around the green protects what appears to be a modest target.
The longest hole on the course, this par 5 requires three solid shots for most players to reach the green. The length and fairway configuration create multiple strategic decision points throughout the hole.
A strong par 4 ranking among the course's most challenging, demanding both length and accuracy from the tee. The approach to the green is guarded by strategic hazards that reward precise shotmaking.
The shortest hole on the course, this par 3 is a dramatic short game test that requires only a well-struck iron or short club to the green. Despite the minimal yardage, hazards around the green create a genuine challenge.
The fourth-hardest hole, this long par 5 is a test of power and precision over distance. The hole's length and strategic layout demand smart positioning and execution on all three shots.
A challenging finishing par 4 that balances difficulty with drama in closing out the round. Hazards frame the hole's key landing areas, and the green presents a stiff final test of accuracy and nerve.
Scorecard
| Hole | 1 | 2 | 3 | 4 | 5 | 6 | 7 | 8 | 9 | Out | 10 | 11 | 12 | 13 | 14 | 15 | 16 | 17 | 18 | In | Tot |
|---|---|---|---|---|---|---|---|---|---|---|---|---|---|---|---|---|---|---|---|---|---|
| Par | 4 | 5 | 4 | 4 | 3 | 4 | 3 | 4 | 4 | 35 | 4 | 4 | 4 | 3 | 5 | 4 | 3 | 5 | 4 | 36 | 71 |
| HCP | 15 | 17 | 7 | 1 | 9 | 3 | 11 | 5 | 13 | 10 | 16 | 2 | 14 | 18 | 6 | 12 | 4 | 8 | |||
| blue | 350 | 475 | 377 | 376 | 193 | 447 | 173 | 385 | 355 | 3131 | 360 | 322 | 402 | 145 | 487 | 377 | 131 | 532 | 363 | 3119 | 6250 |
| blue/white | 350 | 475 | 377 | 306 | 193 | 350 | 173 | 385 | 355 | 2964 | 360 | 322 | 402 | 145 | 405 | 338 | 115 | 462 | 363 | 2912 | 5876 |
| gold | 310 | 434 | 360 | 306 | 156 | 340 | 163 | 320 | 346 | 2735 | 349 | 315 | 313 | 125 | 392 | 315 | 86 | 450 | 315 | 2660 | 5395 |
| red | 306 | 382 | 283 | 301 | 151 | 288 | 122 | 320 | 281 | 2434 | 276 | 309 | 313 | 122 | 387 | 310 | 72 | 377 | 312 | 2478 | 4912 |