Hawktree is an 18-hole golf course in Bismarck, ND with a par of 72. It offers 8 tee sets: falcon (7,085 yards, slope 140, rating 74.7), falcon 2 (6,902 yards, slope 139, rating 73.8), falcon 3 (6,654 yards, slope 137, rating 72.7), hawk (6,420 yards, slope 134, rating 71.7), hawk 2 (6,038 yards, slope 126, rating 69.9), eagle (5,645 yards, slope 121, rating 68.1), eagle 2 (5,251 yards, slope 116, rating 66.4), owl (4,868 yards, slope 113, rating 64.6). The hardest hole is #2, a par 4 playing 340 yards from the first tee.
Hawktree
Bismarck, ND
Get PDF Yardage Book
We'll email you the PDF link. No spam, ever.
Create Your Game Plan
Pick your tees, enter your bag, and get a personalized shot-by-shot strategy for every hole.
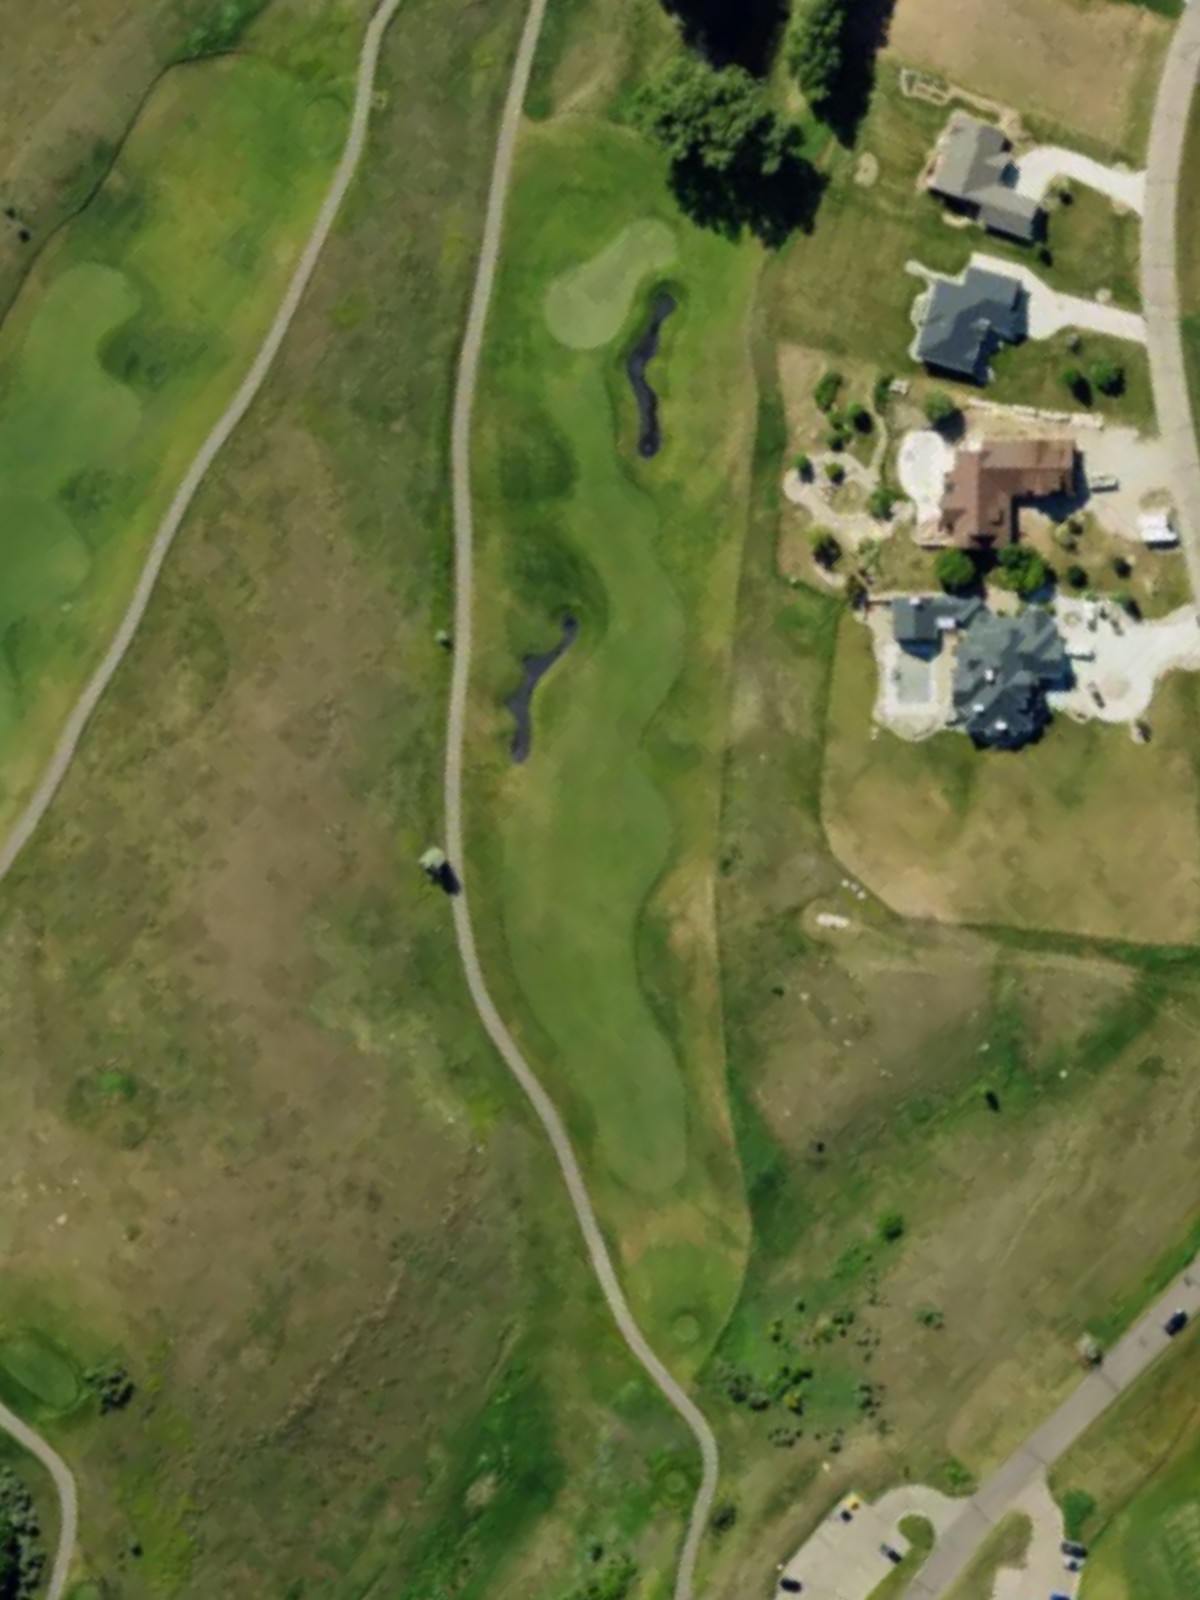
A straightforward opening par 4 with a wide fairway that gradually narrows as it approaches the green. Bunkers protect the right side of the green, while the left offers a safer approach for a modest opening hole.
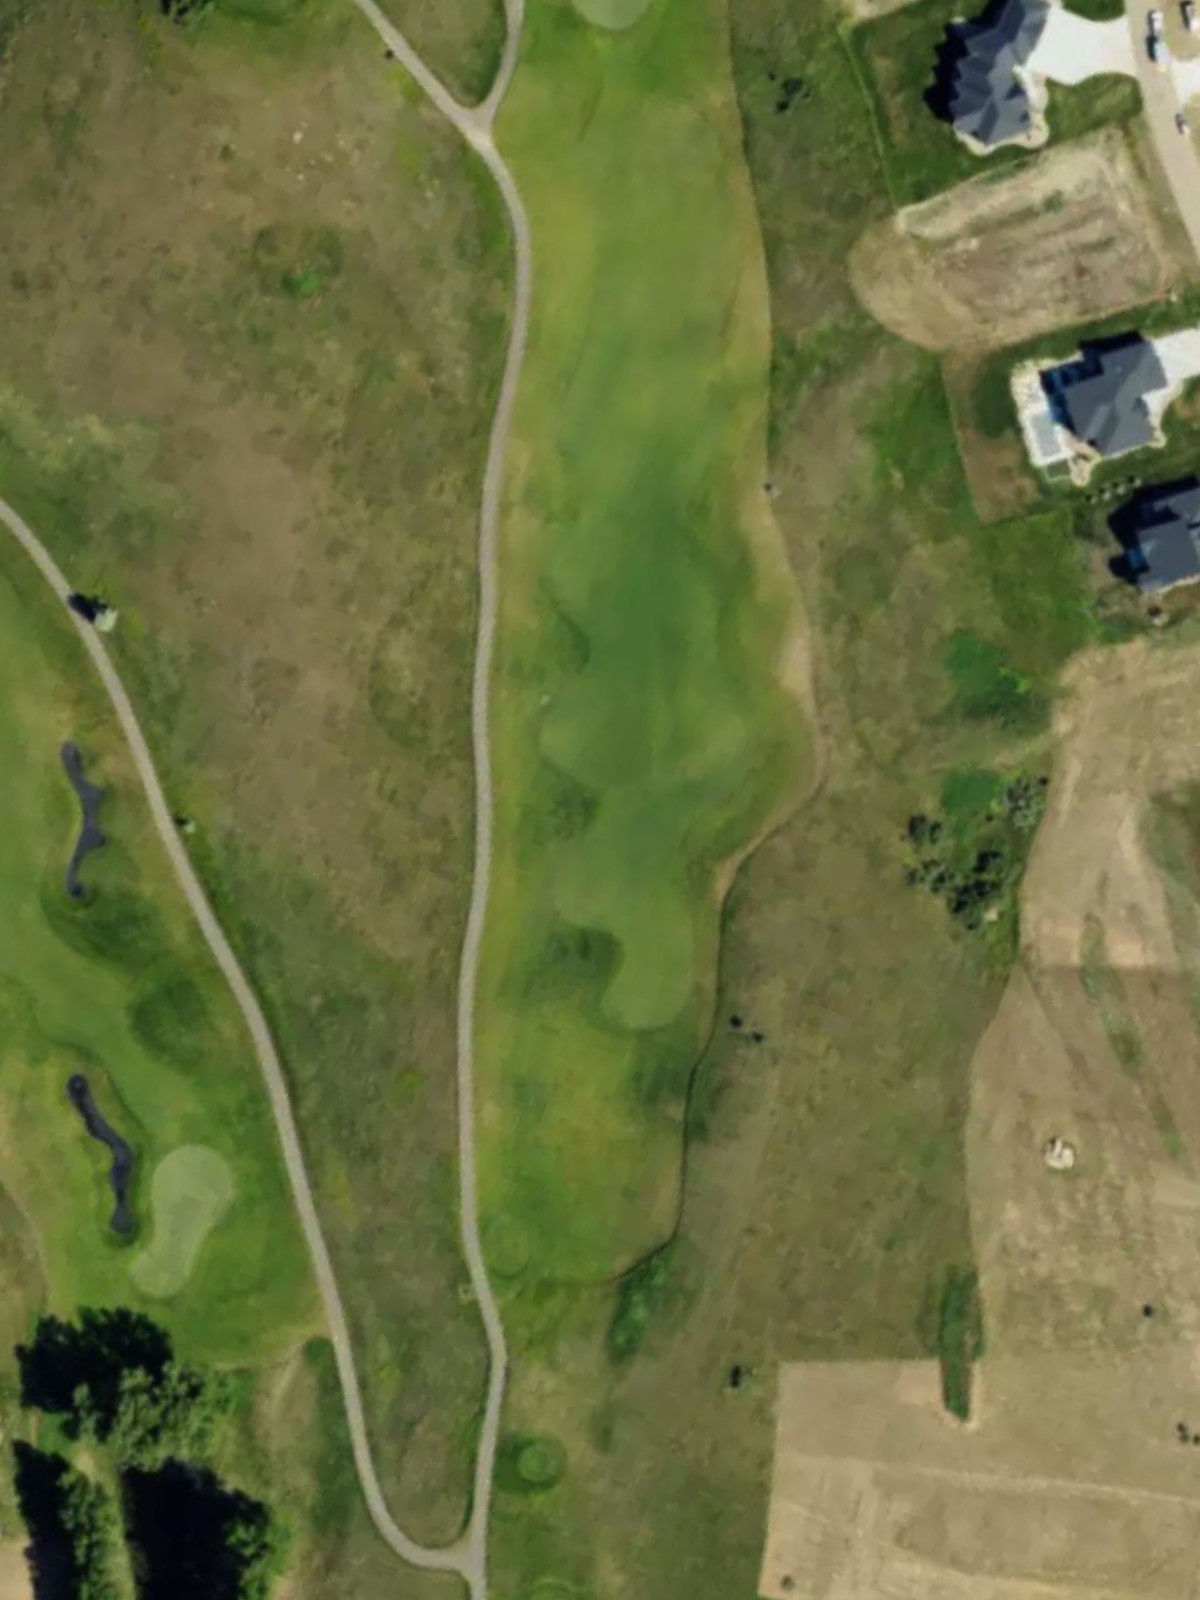
The number one handicap hole plays as a stern par 4 requiring precision from tee to green. Water and bunkers frame the approach, making accuracy off the tee essential to set up a manageable second shot.
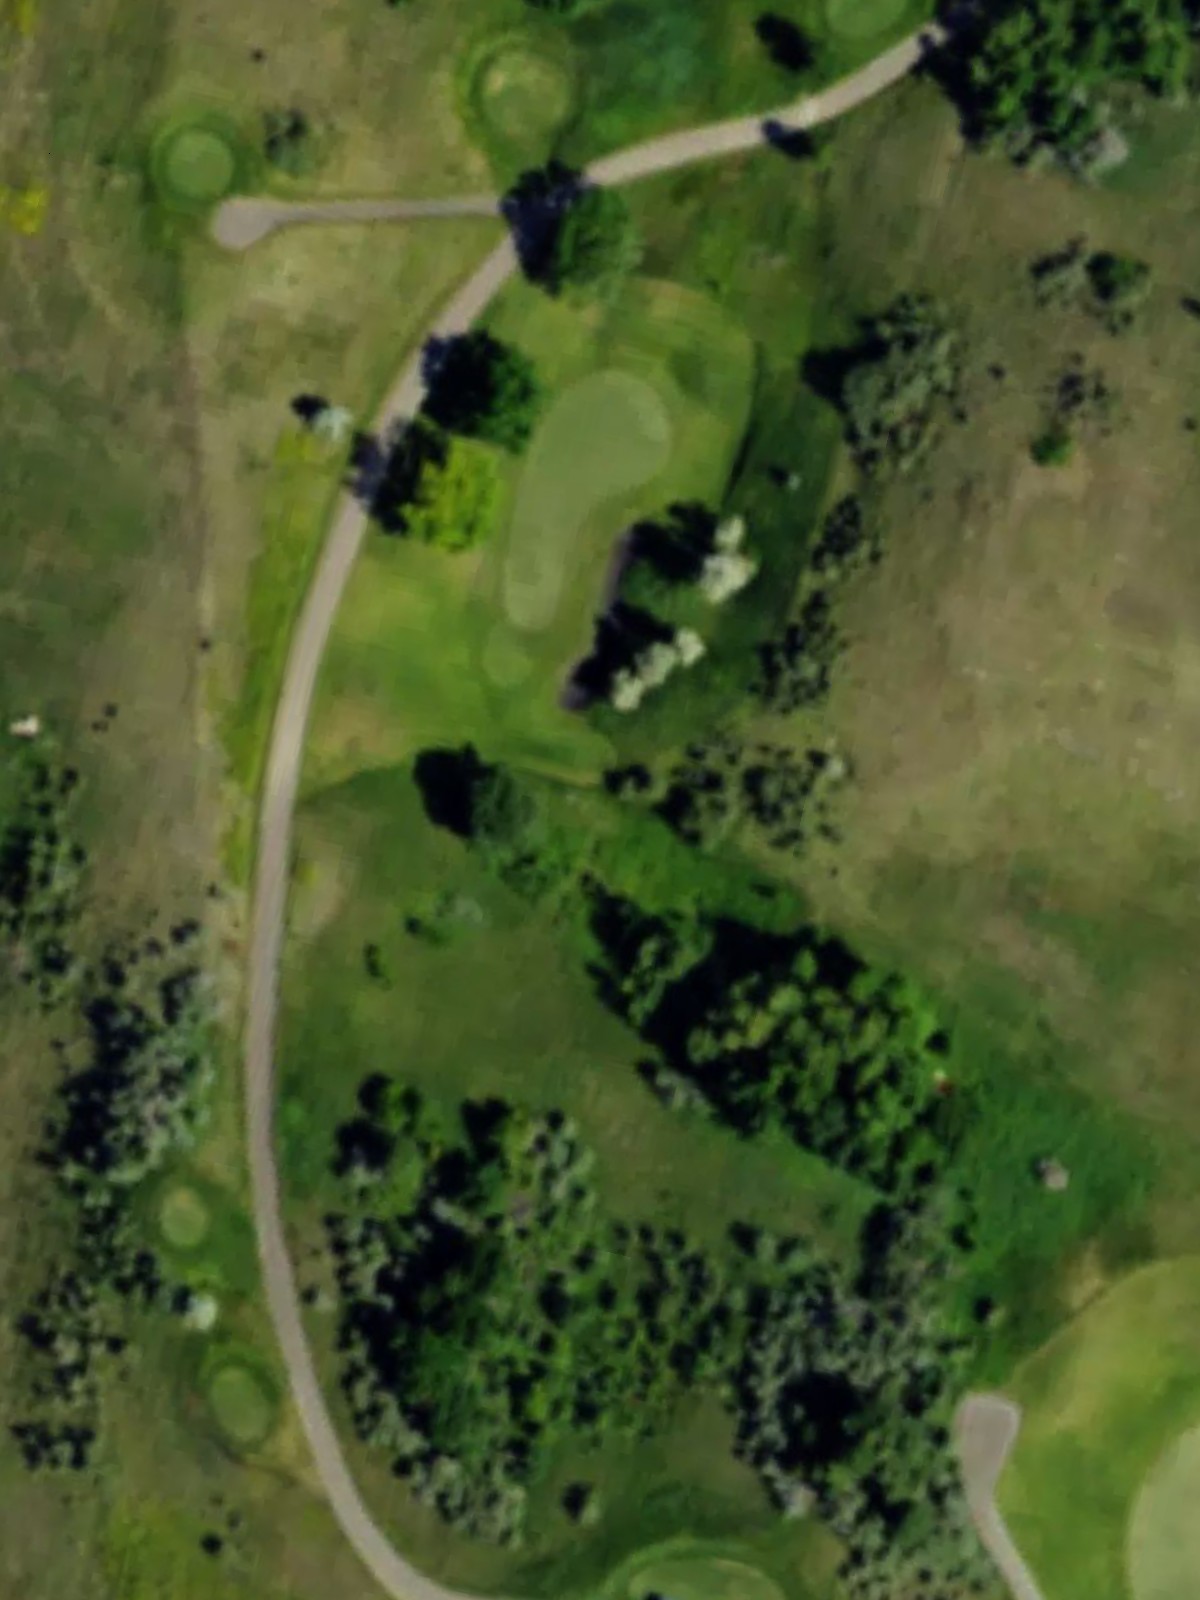
A short par 3 with minimal trouble, offering a straightforward one-shot opportunity. The relatively open green makes this a birdie chance for those finding the center of the putting surface.
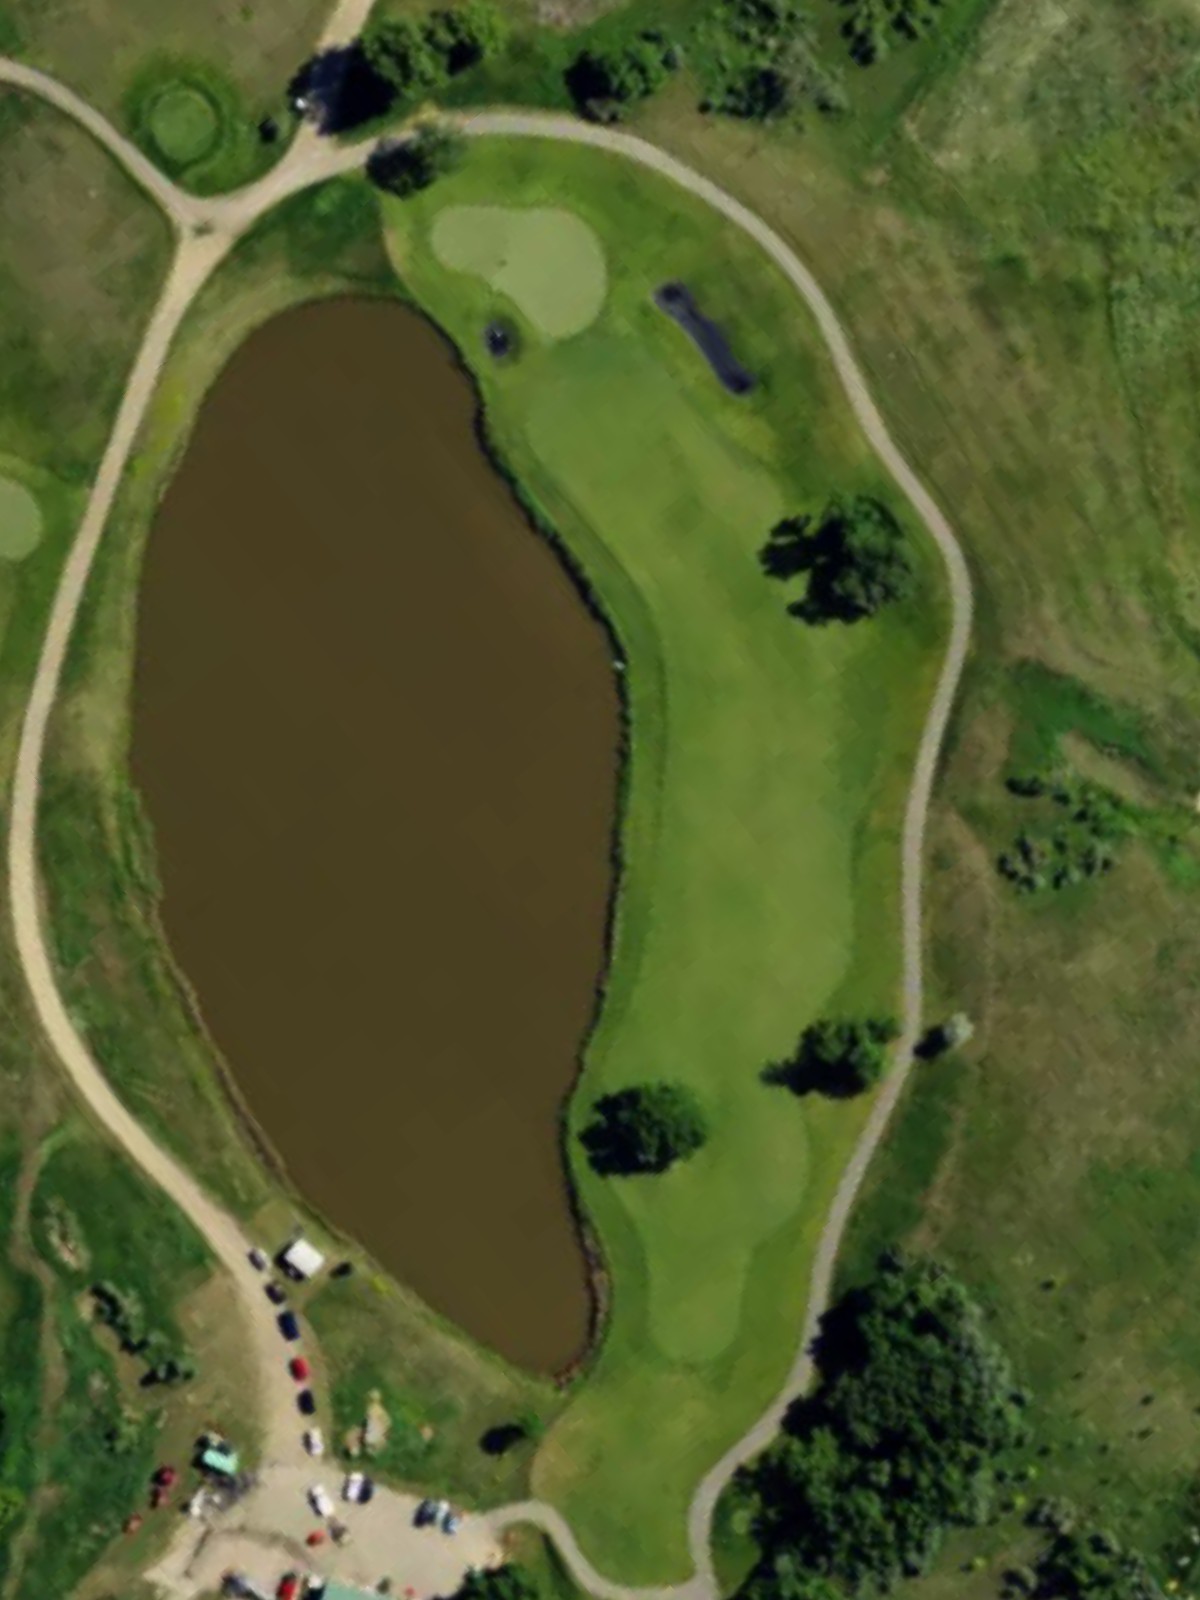
A mid-length par 4 that plays more difficult than its handicap suggests, with strategic bunkering around the green. The fairway allows room to work, but precision is required on the approach to avoid sand.
A strong par 5 that ranks third in difficulty and demands two solid shots to reach the green in regulation. Water or hazards come into play on the approach, requiring careful positioning off the tee and on the layup.
A deceptively short par 4 that plays harder than its yardage indicates, with hazards tightening around the green. The narrow approach demands a well-placed second shot to avoid trouble flanking the putting surface.
A generous par 5 that allows aggressive players to challenge the green in two, though bunkers and hazards guard the scoring zone. The fairway opens up enough to provide options for different playing strategies down the stretch.
A short and inviting par 3 with minimal hazards, presenting one of the course's best birdie opportunities. The open green welcomes various shot trajectories and club selections.
A mid-length par 4 playing slightly uphill with bunkers positioned to catch wayward approaches. The fairway offers a reasonable target off the tee, but the green is well-protected on the flanks.
A substantial par 5 ranked fourth in difficulty that requires two powerful strokes to set up a manageable approach. Strategic bunkering forces discipline off the tee and on the layup to the scoring zone.
A short par 4 that belies its difficulty with tight bunkering and a narrow green complex. The compressed landing area and well-guarded putting surface demand precision over length.
The second most difficult hole on the course, this par 4 presents a significant challenge with hazards framing both the landing zone and green. Water or bunkers punish both inaccuracy and overambition on the approach.
A mid-length par 3 with bunkers surrounding the green and no easy misses. Accuracy off the tee is paramount, as the small target offers little margin for error.
A strategic par 5 where the fairway opens up to allow bold second shots for those positioned correctly off the tee. Hazards guard the approach and green, rewarding aggressive but accurate play.

The easiest hole on the course, this short par 3 offers a genuine scoring opportunity with a forgiving green and minimal hazards. The wide target is ideal for building confidence and momentum.
A compact par 4 with very tight fairway corridors and little room to work laterally. Precision off the tee is critical, as the compressed layout leaves little room for adjustment on the approach.
A picturesque short par 3 playing over a potential hazard to a small, well-bunkered green. The brevity masks the precision required, as the narrow target punishes even modest misses.
A finishing par 5 that plays long and demanding with hazards framing the fairway and approach zones. The strategic layout rewards well-positioned layups while penalizing aggressive play that finds trouble down the stretch.
Scorecard
| Hole | 1 | 2 | 3 | 4 | 5 | 6 | 7 | 8 | 9 | Out | 10 | 11 | 12 | 13 | 14 | 15 | 16 | 17 | 18 | In | Tot |
|---|---|---|---|---|---|---|---|---|---|---|---|---|---|---|---|---|---|---|---|---|---|
| Par | 4 | 4 | 3 | 4 | 5 | 4 | 5 | 3 | 4 | 36 | 5 | 4 | 4 | 3 | 5 | 3 | 4 | 3 | 5 | 36 | 72 |
| HCP | 9 | 1 | 17 | 7 | 3 | 5 | 11 | 15 | 13 | 4 | 14 | 2 | 8 | 10 | 18 | 12 | 16 | 6 | |||
| falcon | 410 | 467 | 164 | 412 | 554 | 376 | 569 | 194 | 447 | 3593 | 547 | 356 | 483 | 230 | 540 | 203 | 326 | 219 | 588 | 3492 | 7085 |
| falcon 2 | 410 | 442 | 164 | 412 | 554 | 376 | 569 | 194 | 427 | 3548 | 547 | 356 | 430 | 204 | 540 | 203 | 326 | 160 | 588 | 3354 | 6902 |
| falcon 3 | 410 | 442 | 164 | 412 | 512 | 376 | 550 | 179 | 382 | 3427 | 547 | 356 | 430 | 204 | 540 | 151 | 326 | 160 | 513 | 3227 | 6654 |
| hawk | 384 | 442 | 148 | 371 | 512 | 344 | 519 | 179 | 382 | 3281 | 529 | 331 | 430 | 204 | 516 | 151 | 305 | 160 | 513 | 3139 | 6420 |
| hawk 2 | 384 | 390 | 148 | 328 | 444 | 344 | 519 | 133 | 382 | 3072 | 480 | 331 | 378 | 173 | 516 | 151 | 305 | 160 | 472 | 2966 | 6038 |
| eagle | 313 | 390 | 128 | 328 | 444 | 290 | 448 | 133 | 314 | 2788 | 480 | 289 | 378 | 173 | 491 | 138 | 288 | 148 | 472 | 2857 | 5645 |
| eagle 2 | 313 | 340 | 128 | 282 | 430 | 290 | 392 | 133 | 314 | 2622 | 480 | 289 | 310 | 146 | 491 | 94 | 288 | 96 | 435 | 2629 | 5251 |
| owl | 275 | 340 | 105 | 282 | 430 | 211 | 392 | 85 | 289 | 2409 | 446 | 239 | 310 | 146 | 445 | 94 | 248 | 96 | 435 | 2459 | 4868 |