Hawks Landing Golf Club is an 18-hole golf course in Verona, WI with a par of 72. It offers 6 tee sets: maroon (7,243 yards, slope 136, rating 75.1), black (6,788 yards, slope 131, rating 73.1), gold (6,340 yards, slope 127, rating 71.1), blue (5,966 yards, slope 124, rating 69.4), hybrid (5,650 yards, slope 121, rating 67.9), white (5,304 yards, slope 118, rating 66.3). The hardest hole is #9, a par 5 playing 468 yards from the first tee.
Hawks Landing Golf Club
Verona, WI
Get PDF Yardage Book
We'll email you the PDF link. No spam, ever.
Create Your Game Plan
Pick your tees, enter your bag, and get a personalized shot-by-shot strategy for every hole.
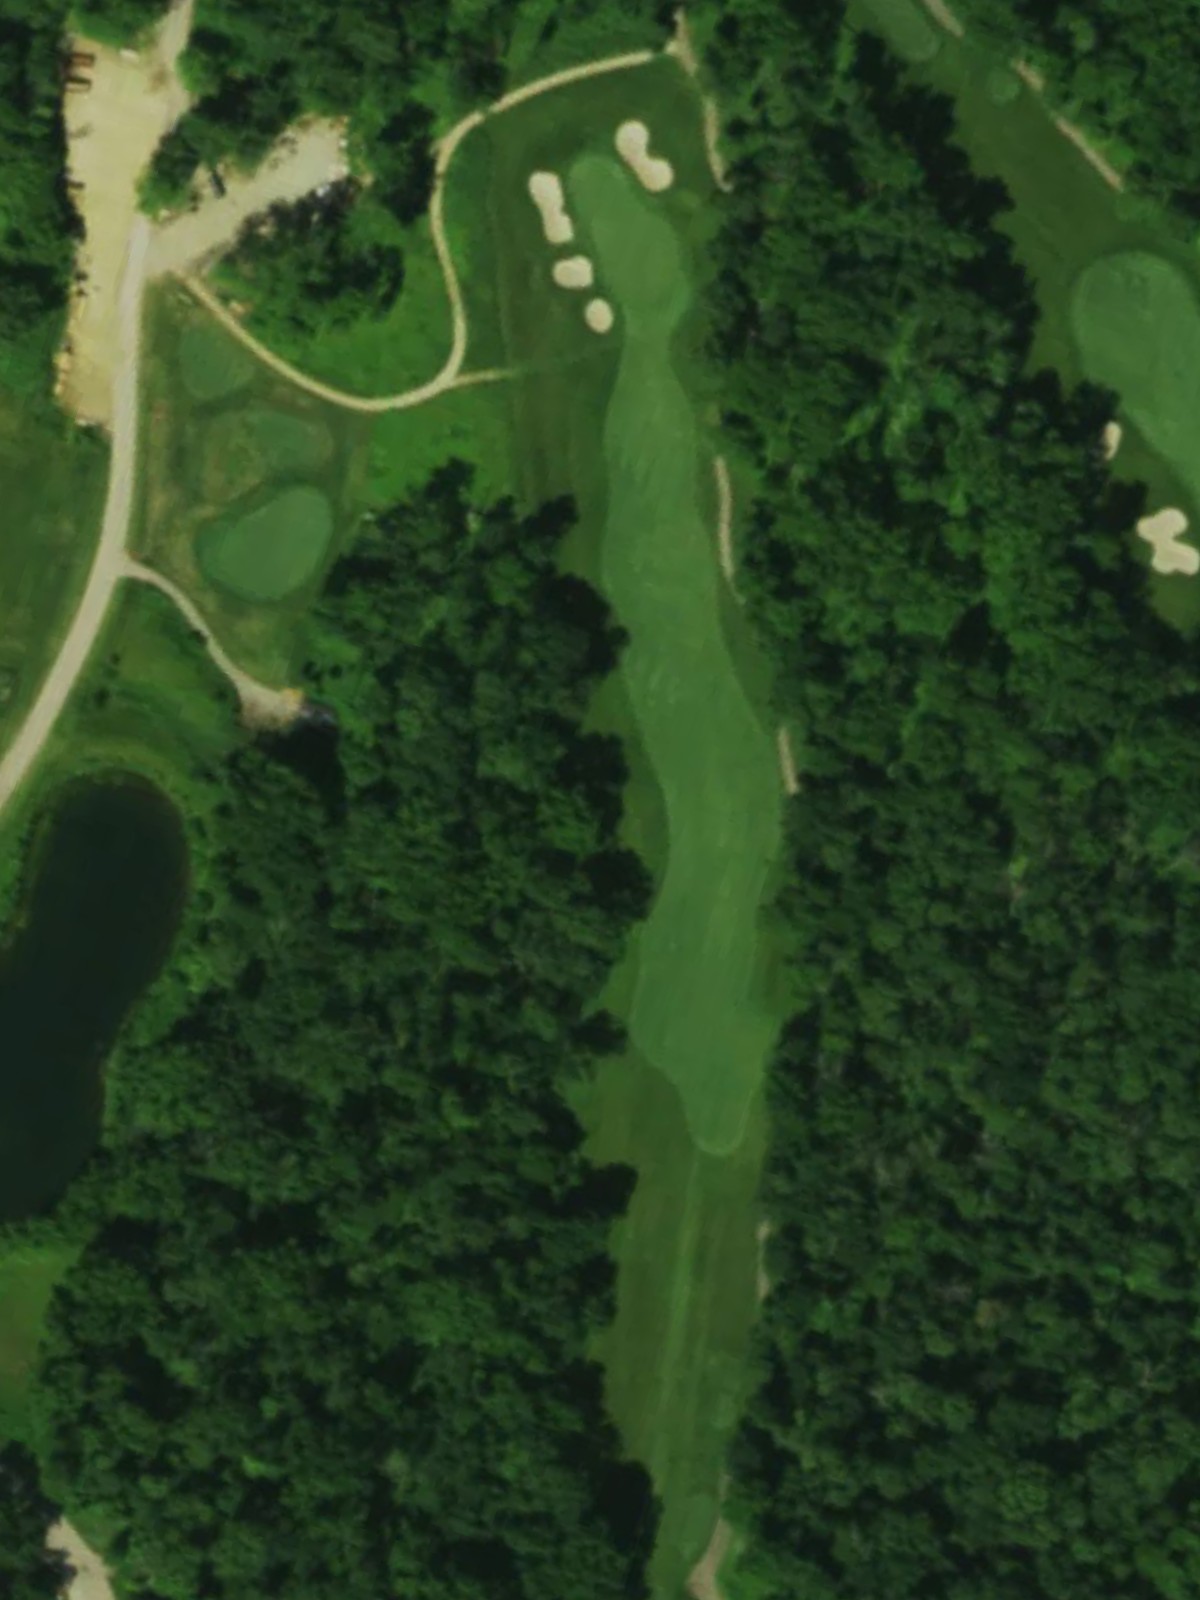
A welcoming opening par 4 playing relatively short with a straightforward layout. The fairway is generous off the tee but tightens as it approaches the green, where bunkers on the right demand accuracy on the approach shot.
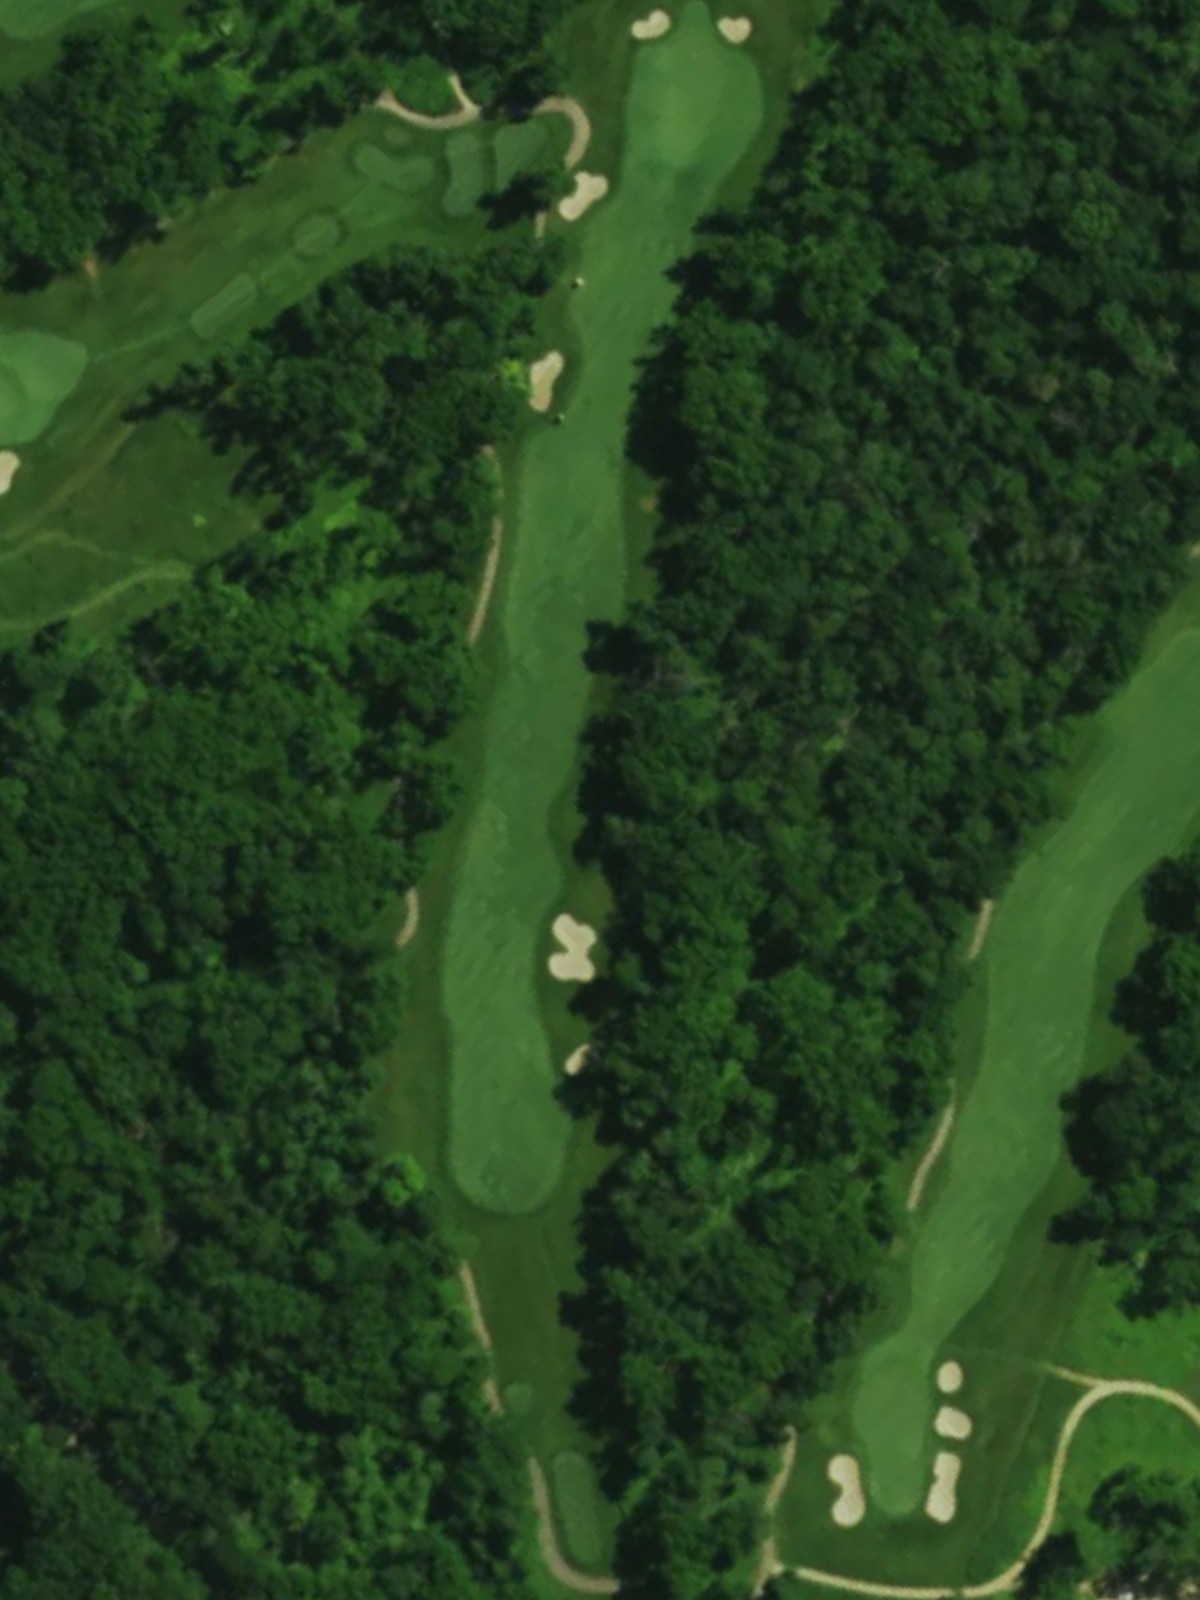
A demanding par 4 that plays as one of the course's most difficult holes, requiring length and precision from the tee. The hole's moderate length is deceptive, with a well-bunkered green complex that penalizes approach shots played to either side.
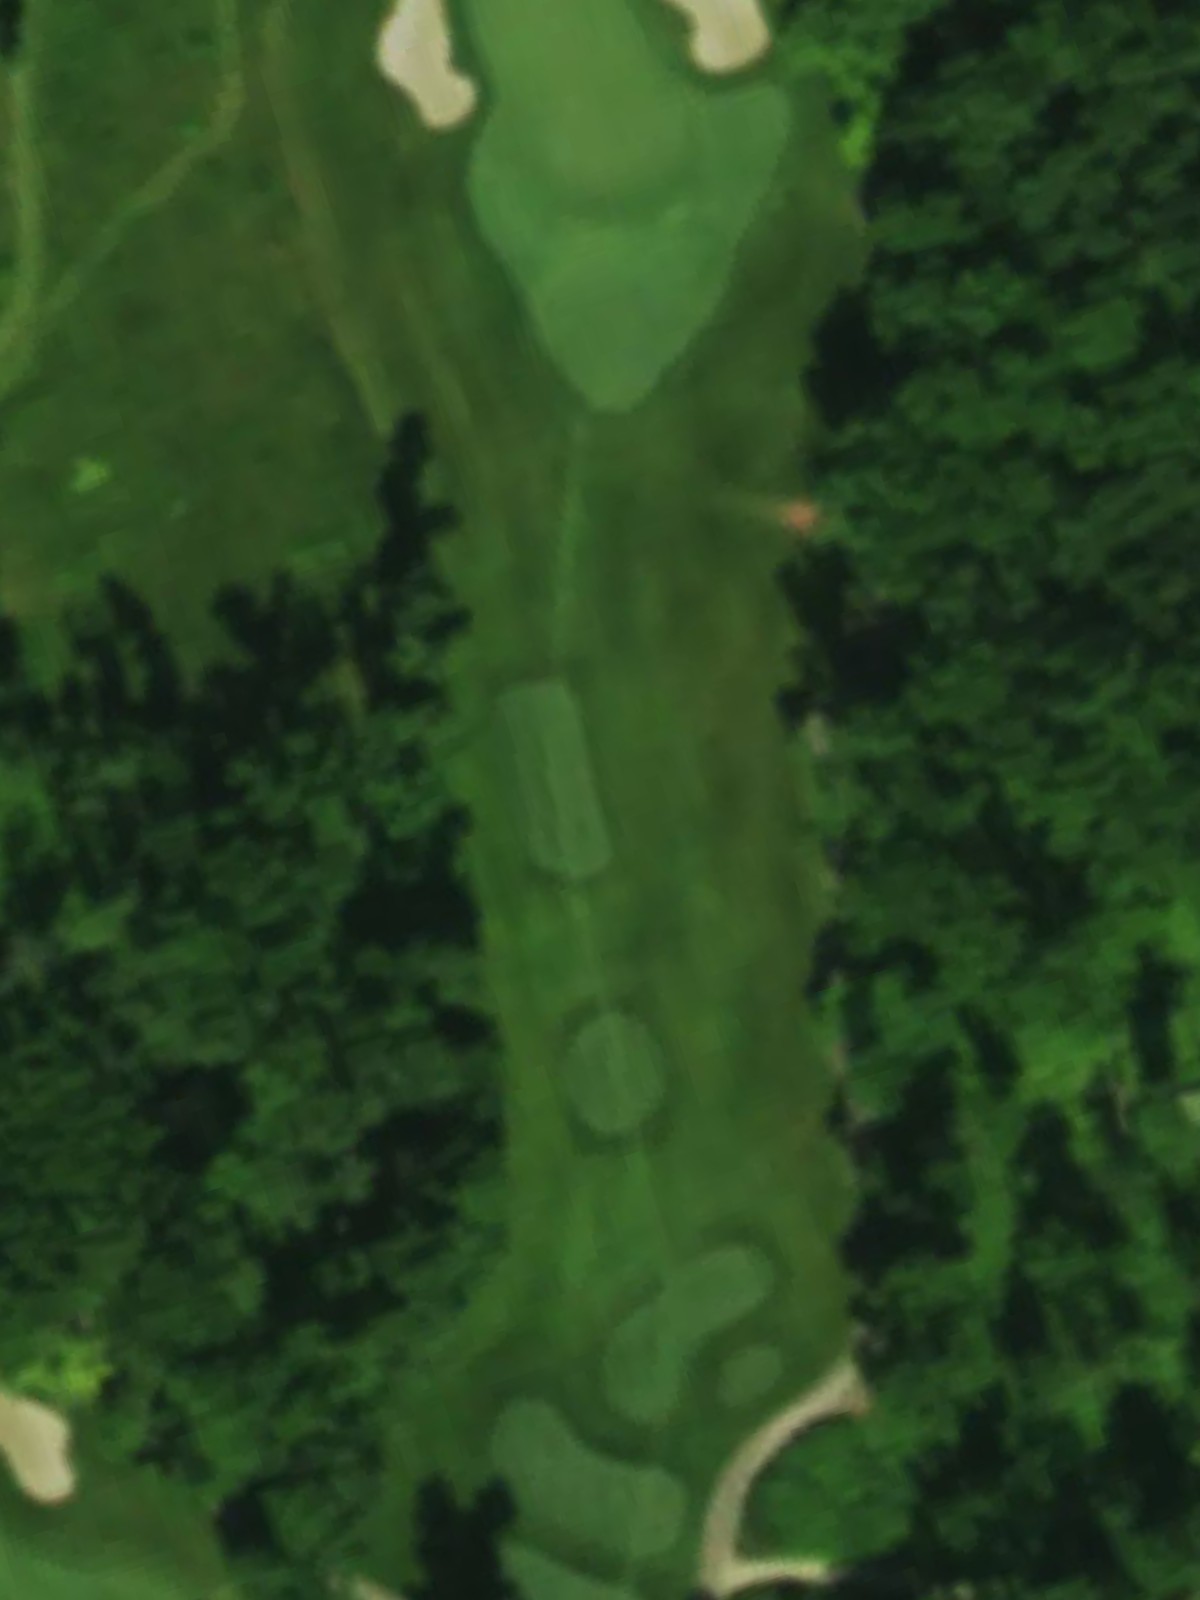
The third-hardest hole on the course, this par 4 requires a controlled drive and a precise approach to a strategically defended green. Bunkers frame the putting surface, making course management and accuracy paramount throughout the hole.
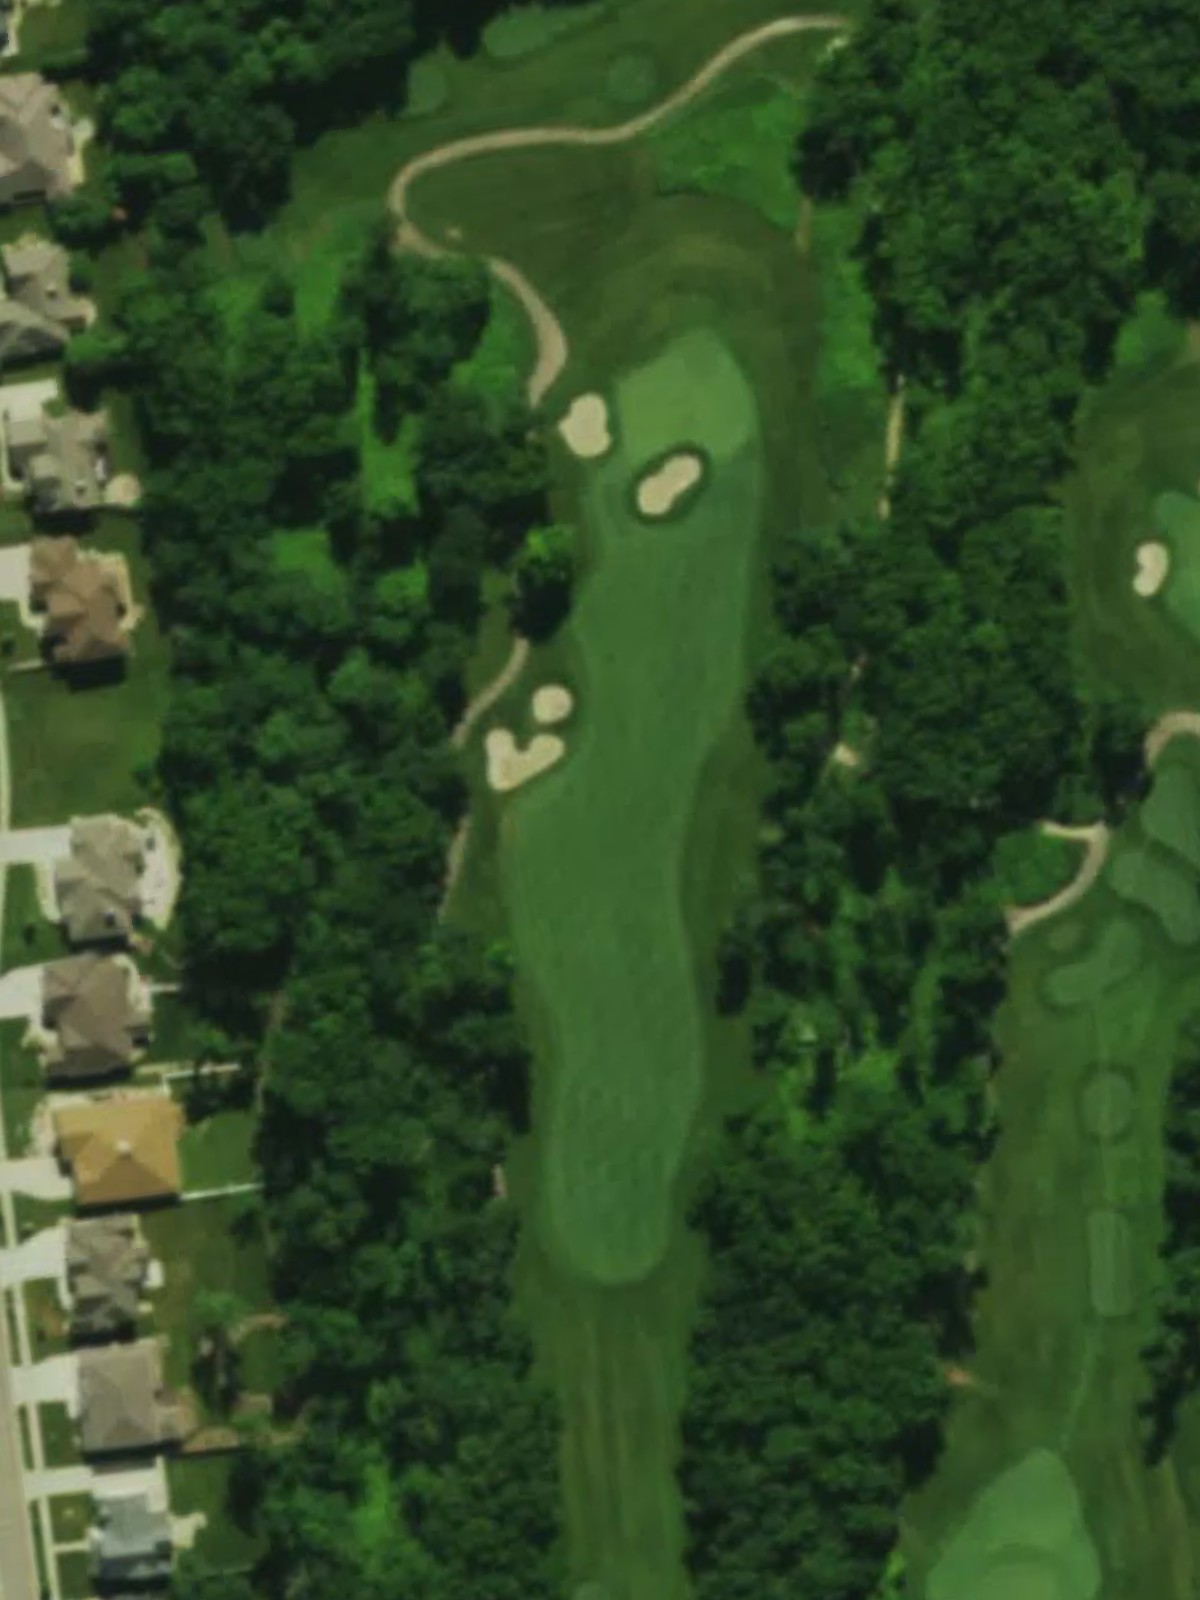
A short par 3 that offers relative relief on the scorecard with a compact design. Water or other hazards may frame the hole, requiring an accurate mid-iron shot to reach the modest green.
A reachable par 5 that rewards aggressive play while penalizing mistakes. The hole's length is manageable for long hitters, though hazards positioned along the fairway or guarding the green ensure this hole remains a test of both distance and decision-making.

A short par 4 that plays downhill or offers a relatively open design compared to surrounding holes. Despite its modest length, the green complex likely features bunkers or other hazards that demand precision on the approach.
A solid mid-length par 4 that presents a good test without excessive length. Strategic bunkering around the green and fairway narrows demand thoughtful shot placement and execution.
The course's shortest par 3, this hole plays as an easy scoring opportunity with a small target area. The modest yardage is offset by a well-defined green complex with bunkers or water that require a clean strike.
The most difficult hole on the course, this long par 5 demands length and accuracy throughout. Water, bunkers, or other hazards positioned strategically along the hole's length make this finishing hole a significant test of skill and composure.
A challenging par 4 that ranks among the course's toughest, requiring both a strong drive and precise approach play. Hazards guarding the green complex and possibly the fairway corridor make this hole a defining test of the back nine.
A well-bunkered par 4 that tests accuracy and strategic thinking from tee to green. The fairway and green complex are both defended, making this hole demand consistent execution and smart course management.
A mid-length par 5 that offers birdie opportunities for those who execute well. Hazards positioned throughout the hole keep this hole challenging despite its par-5 length, requiring careful route selection and solid ball-striking.
A par 3 of moderate length that presents a fair test of ball-striking without excessive difficulty. Greenside bunkers and natural hazards frame the green, requiring a committed shot to secure par.
The easiest hole on the course, this short par 4 offers an excellent scoring opportunity with a straightforward design. The compact length and minimal hazards make this an ideal chance to gain strokes before the closing stretch.
The second-most difficult hole on the course, this demanding par 4 requires both length and precision under pressure. A formidable green complex with strategic bunkering makes this hole a pivotal test on the back nine.
A mid-range par 3 that presents a balanced test of accuracy and club selection. Water or bunkers frame the green, making a solid iron shot essential to find the putting surface.
A solid par 4 with a straightforward design that serves as a steady test before the finishing hole. Strategic bunkering frames the fairway and green, requiring controlled play to navigate successfully.
A strong finishing par 5 that provides a climactic conclusion to the round with both length and strategic complexity. Hazards positioned throughout the hole and around the green demand thoughtful club selection and execution from start to finish.
Scorecard
| Hole | 1 | 2 | 3 | 4 | 5 | 6 | 7 | 8 | 9 | Out | 10 | 11 | 12 | 13 | 14 | 15 | 16 | 17 | 18 | In | Tot |
|---|---|---|---|---|---|---|---|---|---|---|---|---|---|---|---|---|---|---|---|---|---|
| Par | 4 | 4 | 4 | 3 | 5 | 4 | 4 | 3 | 5 | 36 | 4 | 4 | 5 | 3 | 4 | 4 | 3 | 4 | 5 | 36 | 72 |
| HCP | 15 | 5 | 3 | 13 | 9 | 11 | 7 | 17 | 1 | 4 | 6 | 10 | 12 | 18 | 2 | 16 | 14 | 8 | |||
| maroon | 409 | 451 | 427 | 200 | 561 | 363 | 440 | 164 | 587 | 3602 | 465 | 442 | 510 | 201 | 325 | 492 | 234 | 429 | 543 | 3641 | 7243 |
| black | 379 | 432 | 399 | 177 | 539 | 363 | 408 | 154 | 550 | 3401 | 425 | 410 | 496 | 189 | 300 | 448 | 206 | 393 | 520 | 3387 | 6788 |
| gold | 370 | 400 | 367 | 157 | 512 | 336 | 366 | 135 | 533 | 3176 | 397 | 367 | 486 | 175 | 300 | 398 | 175 | 360 | 506 | 3164 | 6340 |
| blue | 336 | 400 | 345 | 157 | 482 | 310 | 366 | 114 | 468 | 2978 | 397 | 356 | 443 | 151 | 285 | 398 | 175 | 349 | 434 | 2988 | 5966 |
| hybrid | 336 | 369 | 294 | 157 | 482 | 310 | 332 | 114 | 418 | 2812 | 348 | 356 | 443 | 151 | 285 | 338 | 175 | 308 | 434 | 2838 | 5650 |
| white | 291 | 369 | 294 | 137 | 445 | 272 | 332 | 97 | 418 | 2655 | 348 | 327 | 406 | 104 | 254 | 338 | 154 | 308 | 410 | 2649 | 5304 |