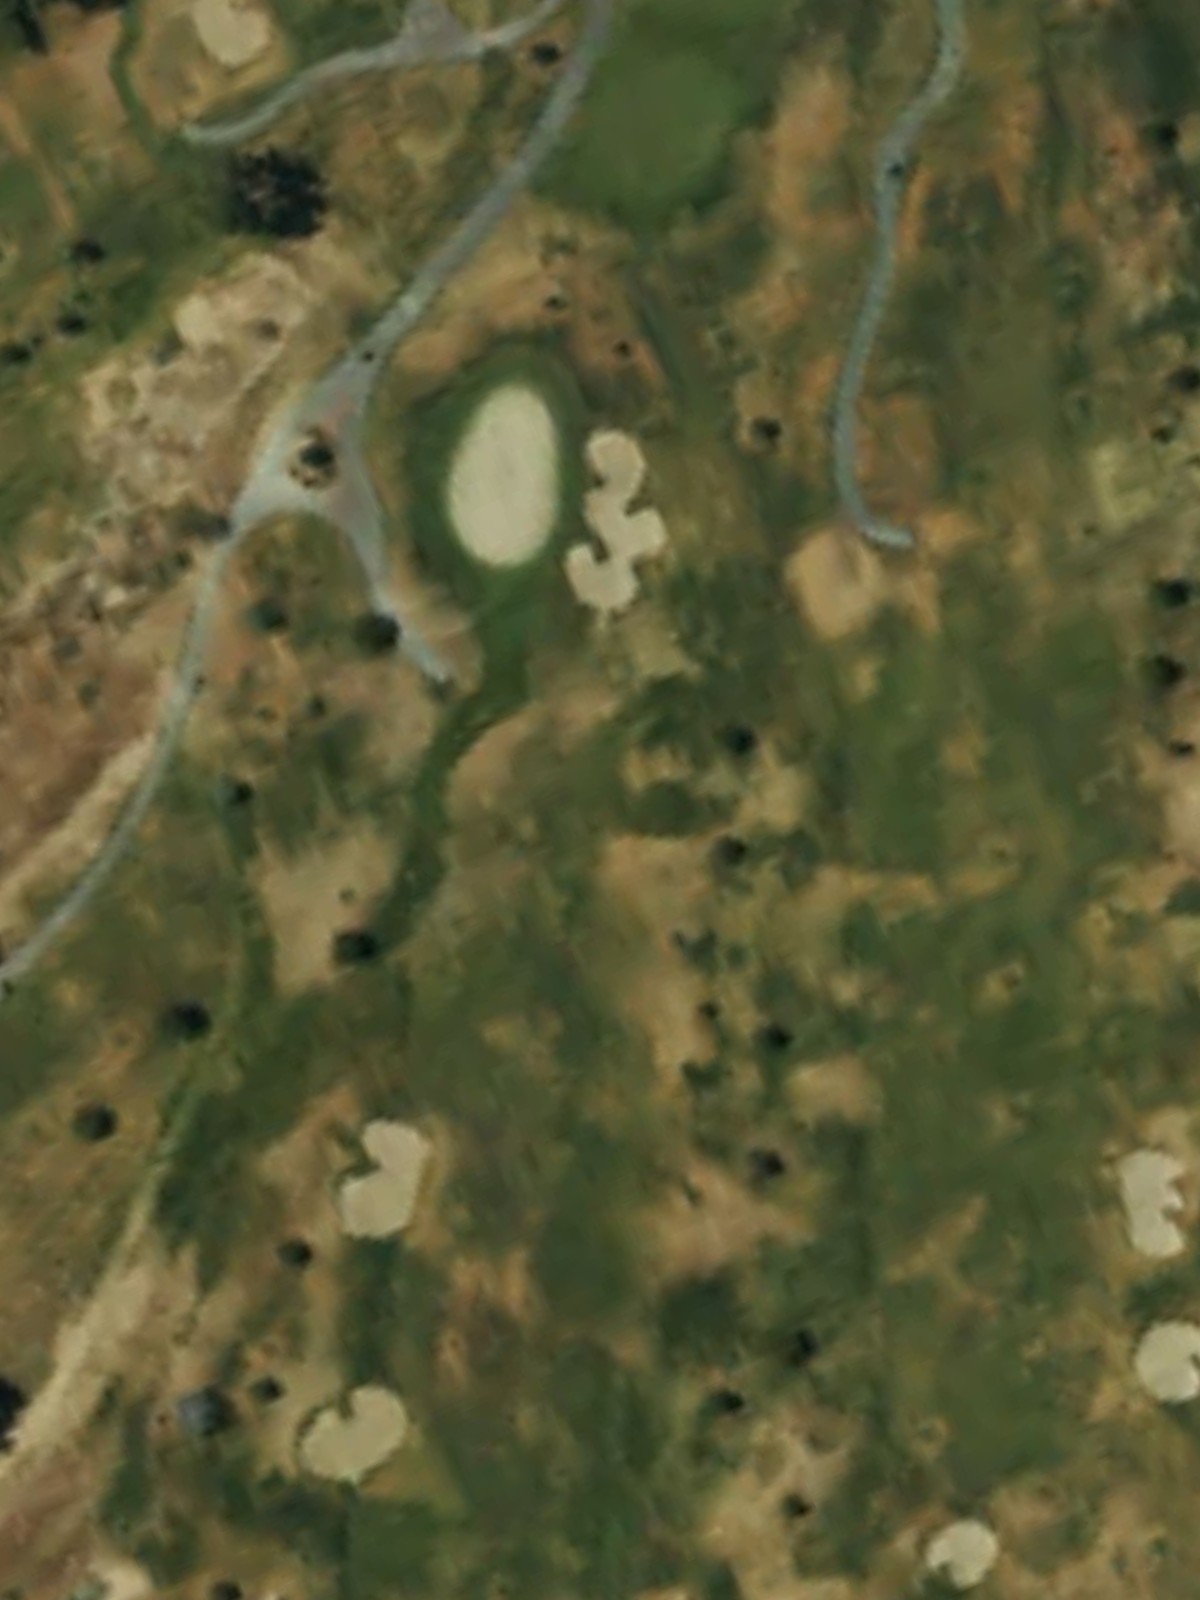
Hawk'S Landing Golf Club is an 18-hole golf course in Yucca Valley, CA with a par of 71. It offers 4 tee sets: blue (6,121 yards, slope 115, rating 67.7), white (5,756 yards, slope 111, rating 66.1), green (5,411 yards, slope 107, rating 64.3), gold (4,591 yards, slope 93, rating 61.1). The hardest hole is #3, a par 5 playing 543 yards from the first tee.
Hawk'S Landing Golf Club
Yucca Valley, CA
Get PDF Yardage Book
We'll email you the PDF link. No spam, ever.
Create Your Game Plan
Pick your tees, enter your bag, and get a personalized shot-by-shot strategy for every hole.
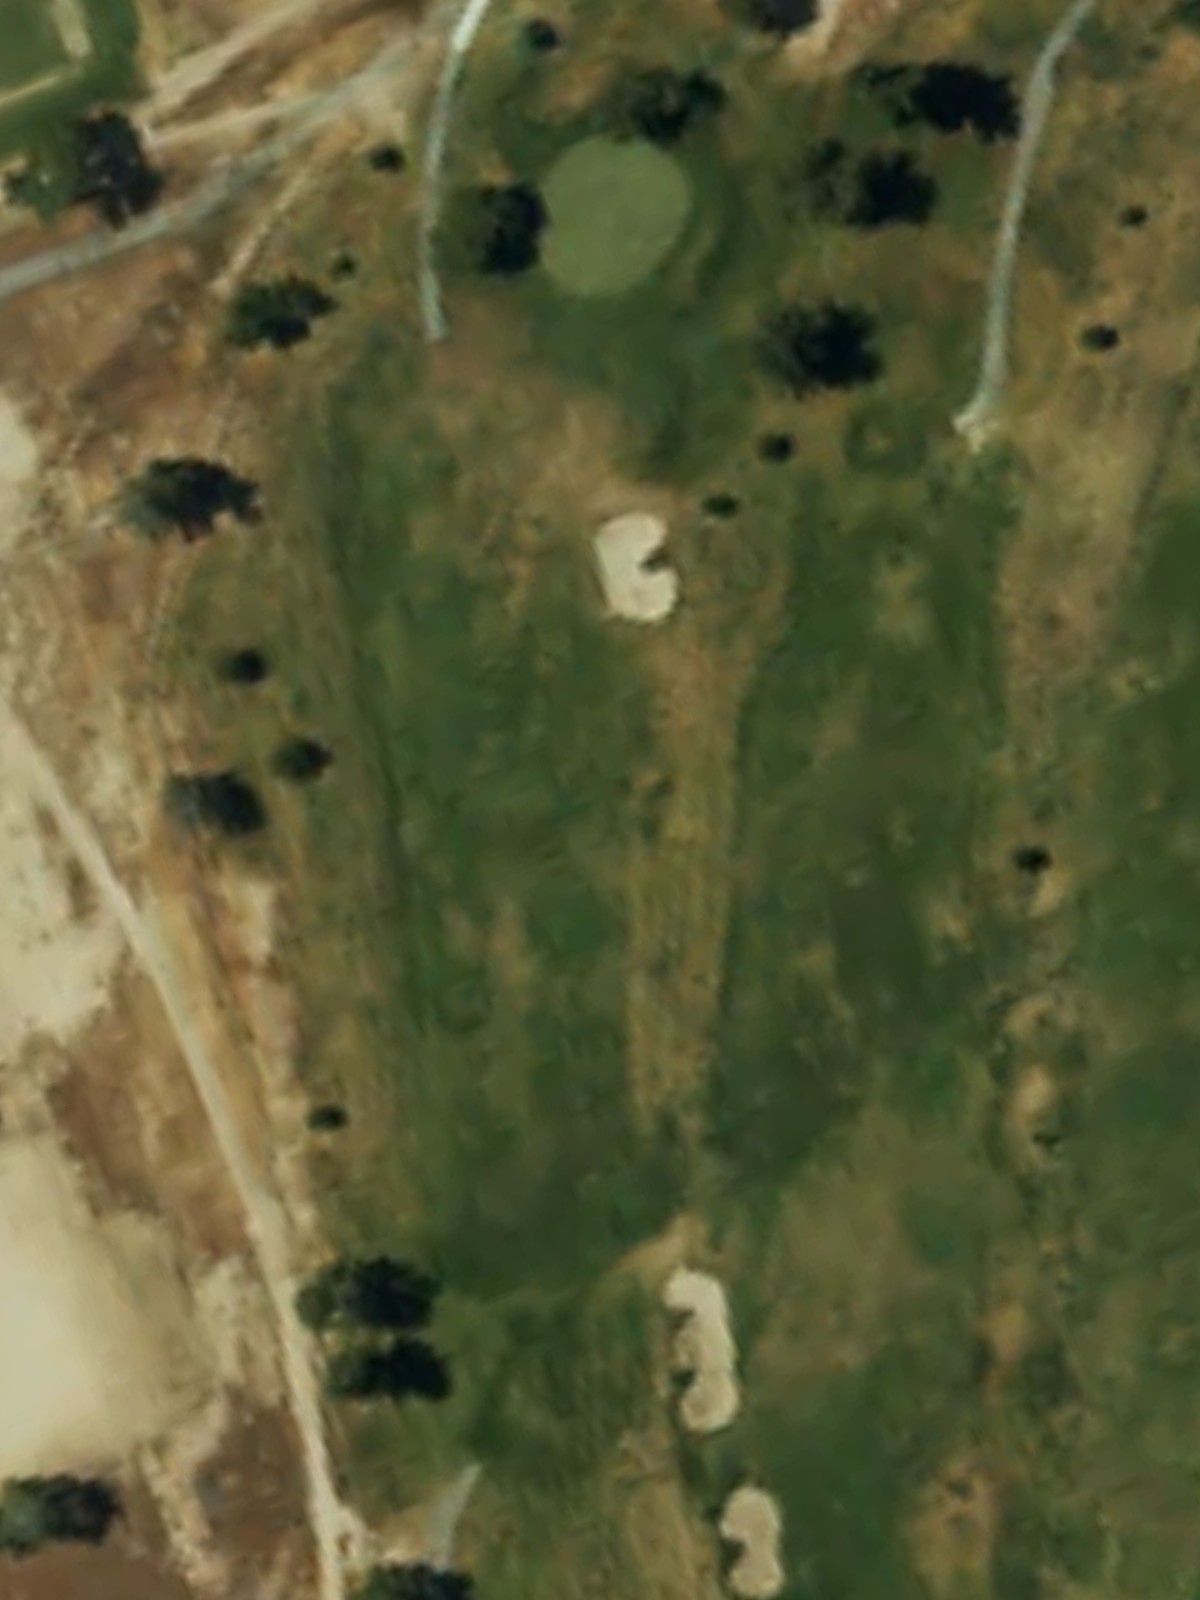
A straightforward par 4 that plays as a slight dogleg right with a fairway that gradually narrows toward the green. Bunkers guard both sides of the approach, with the right side more heavily protected, requiring accuracy on the second shot to avoid sand.
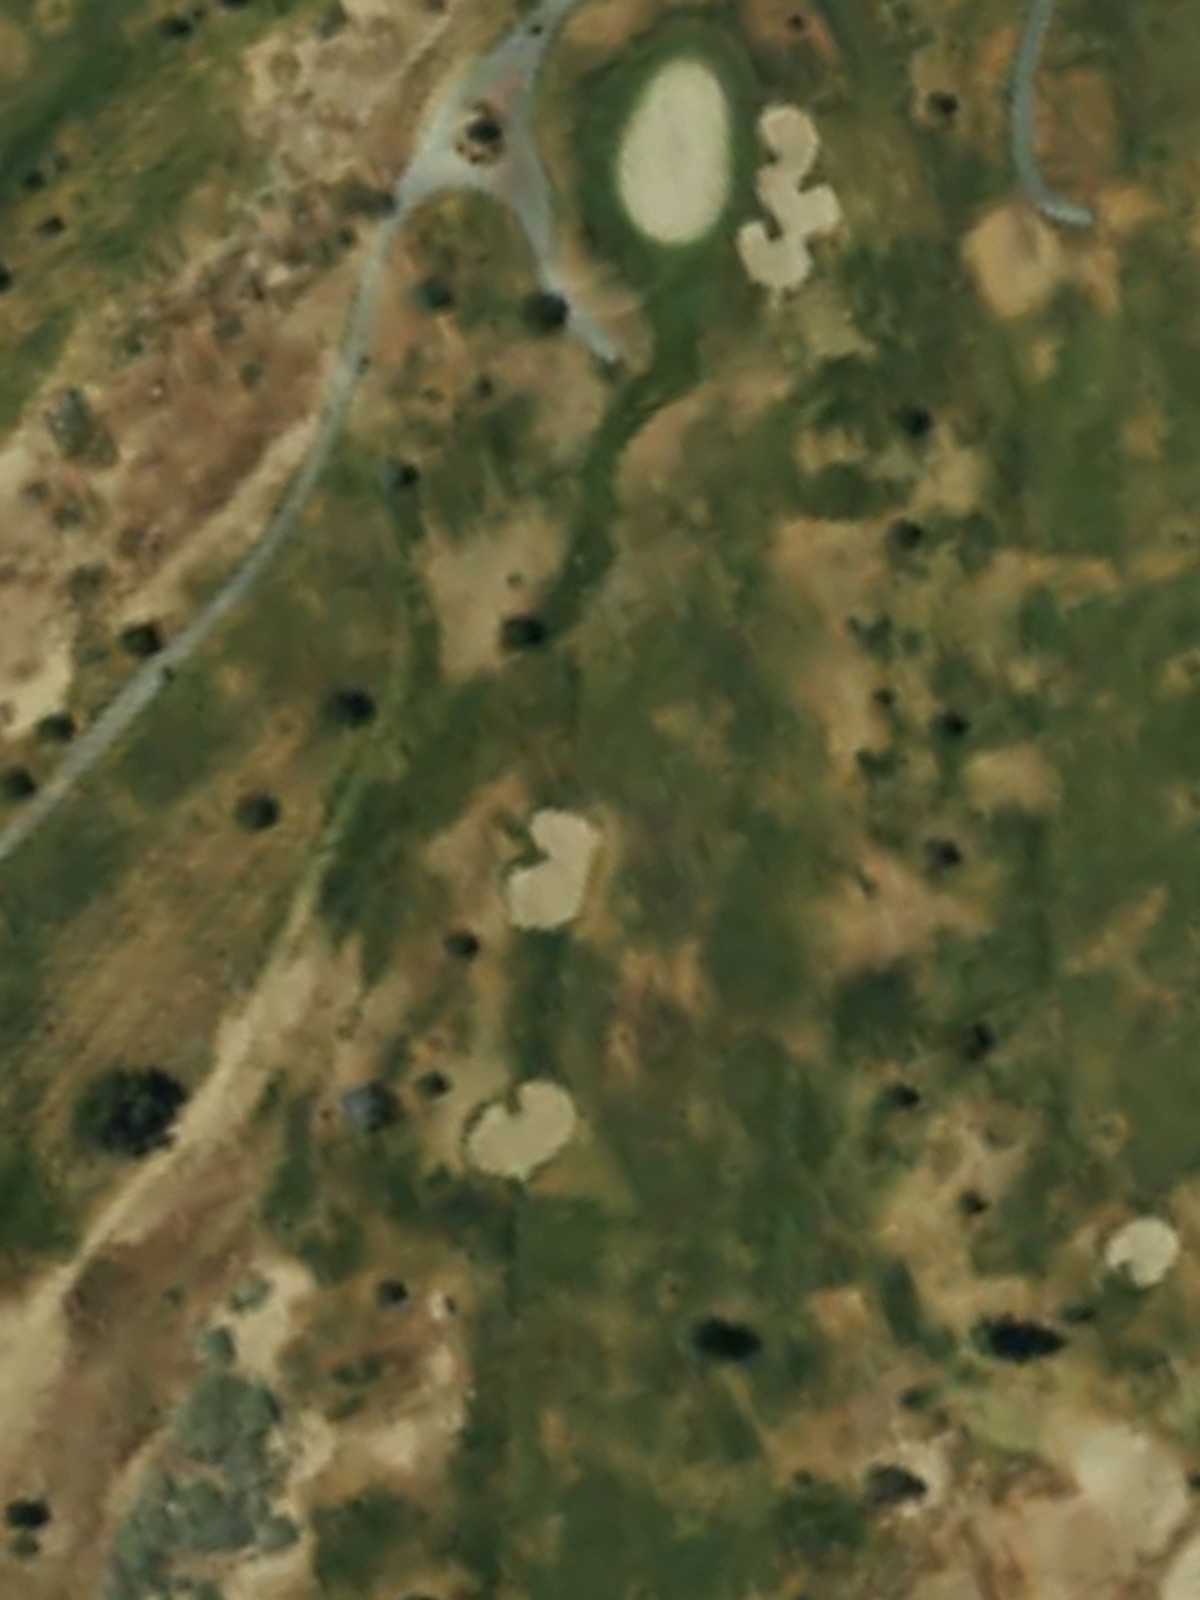
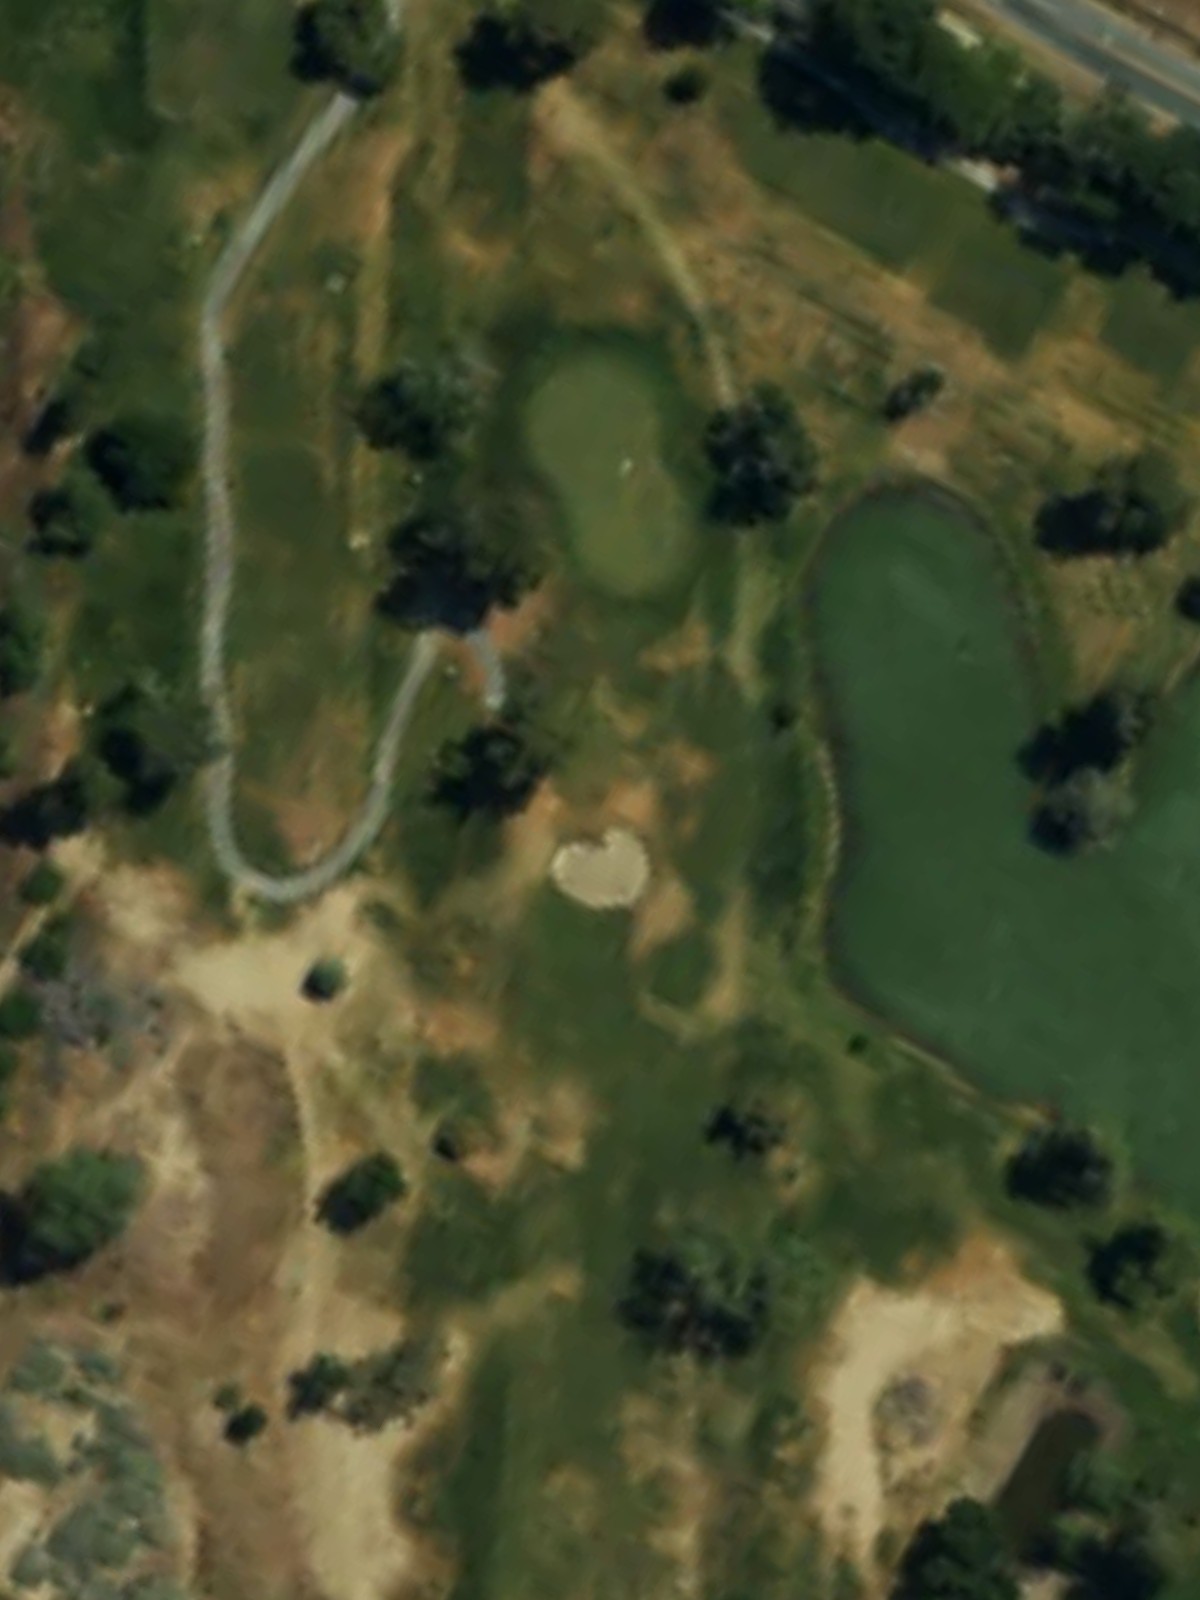
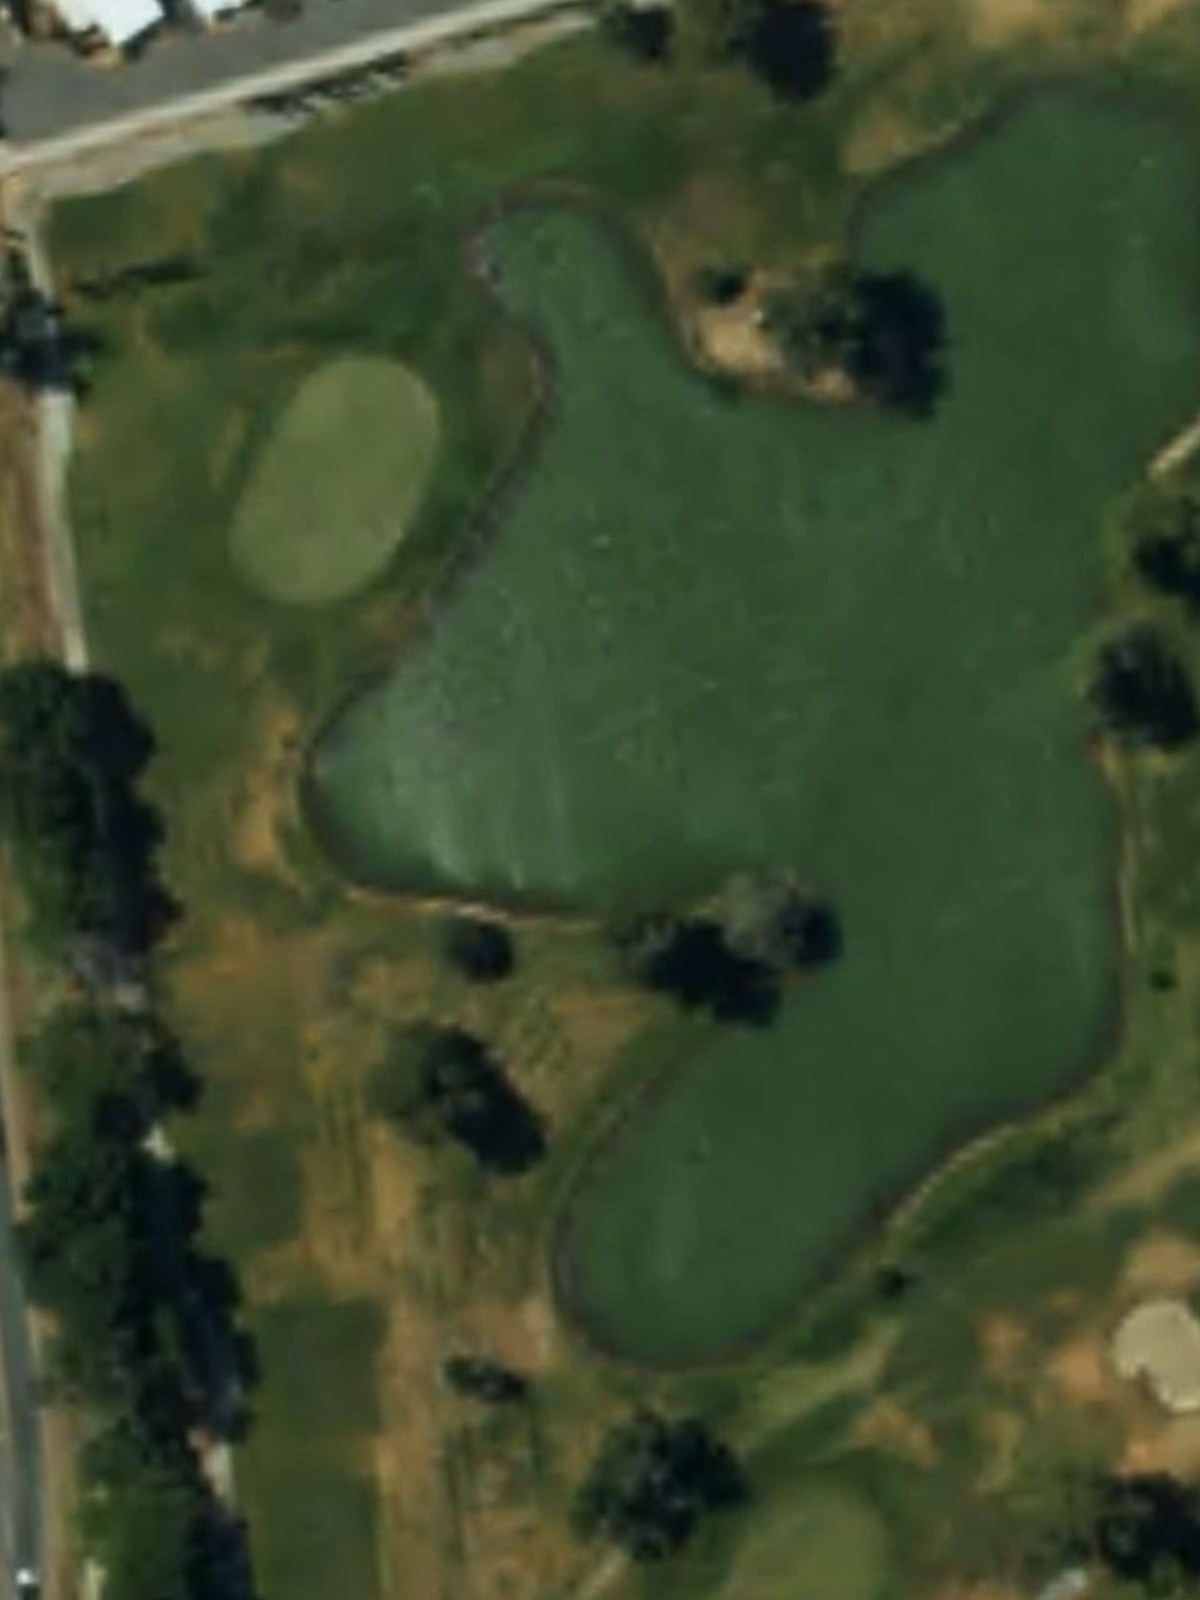
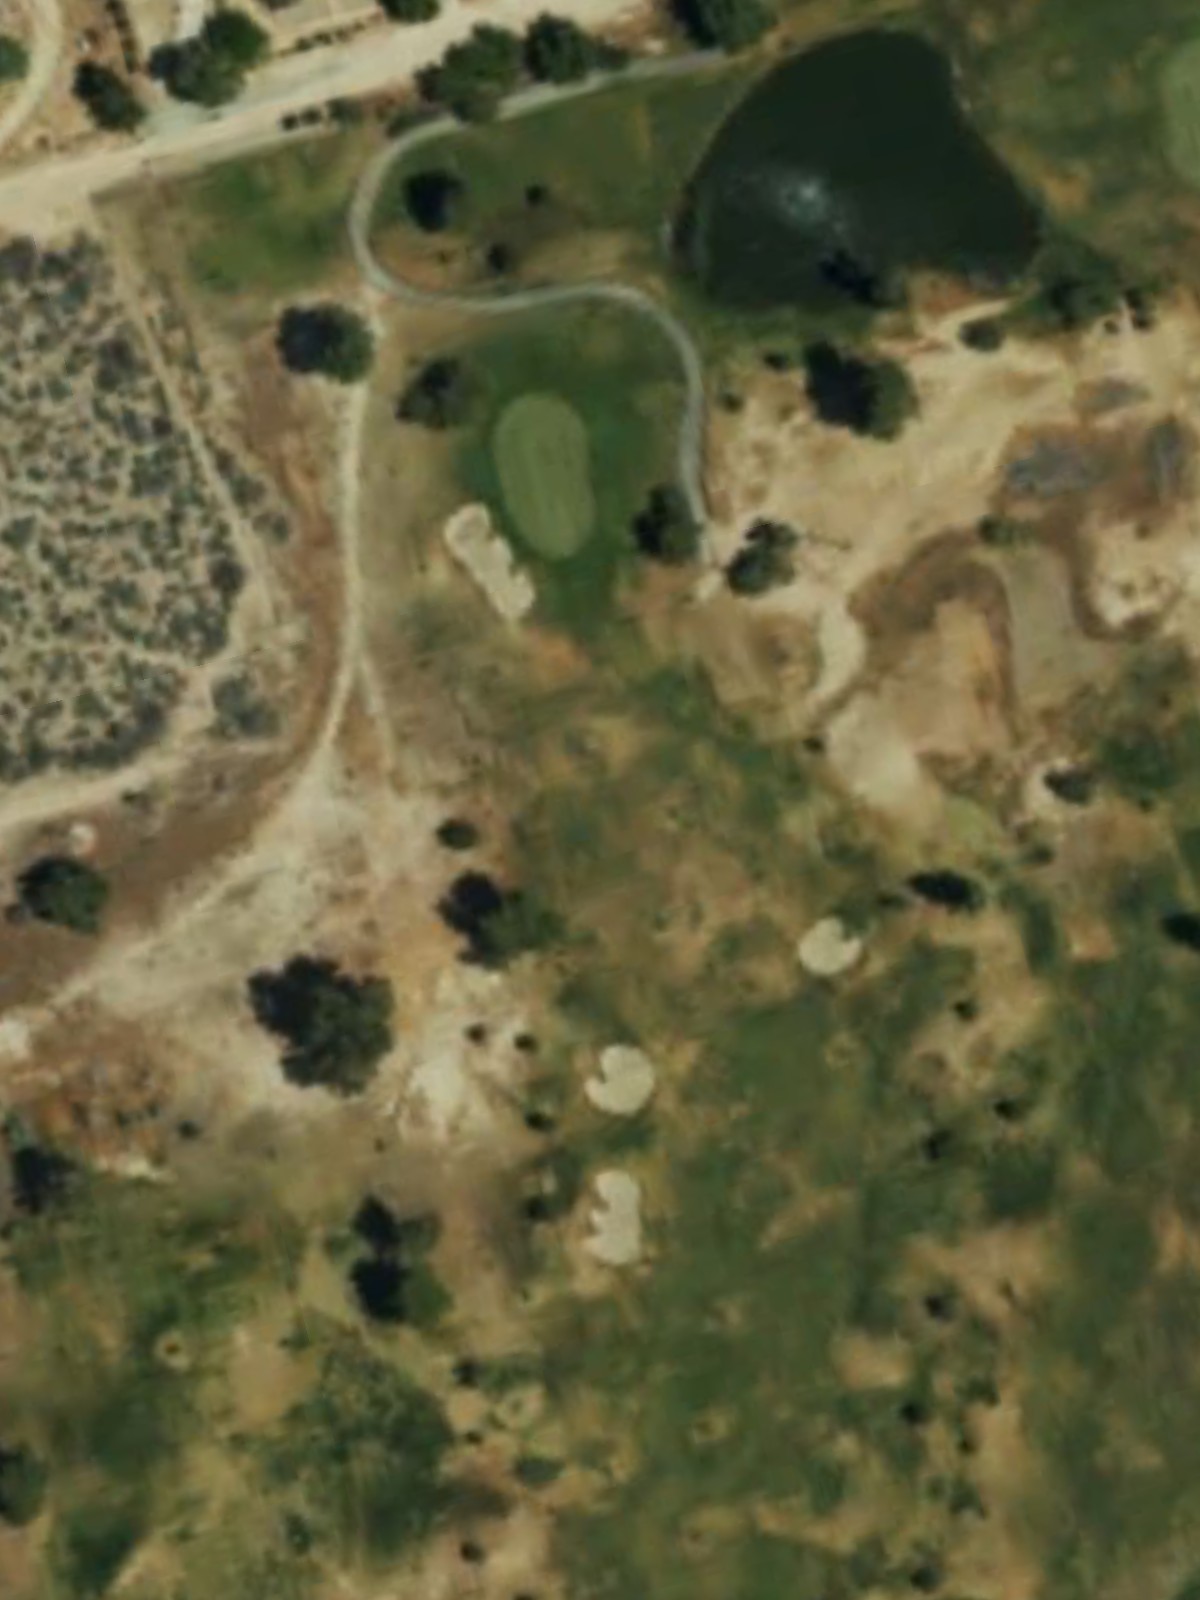
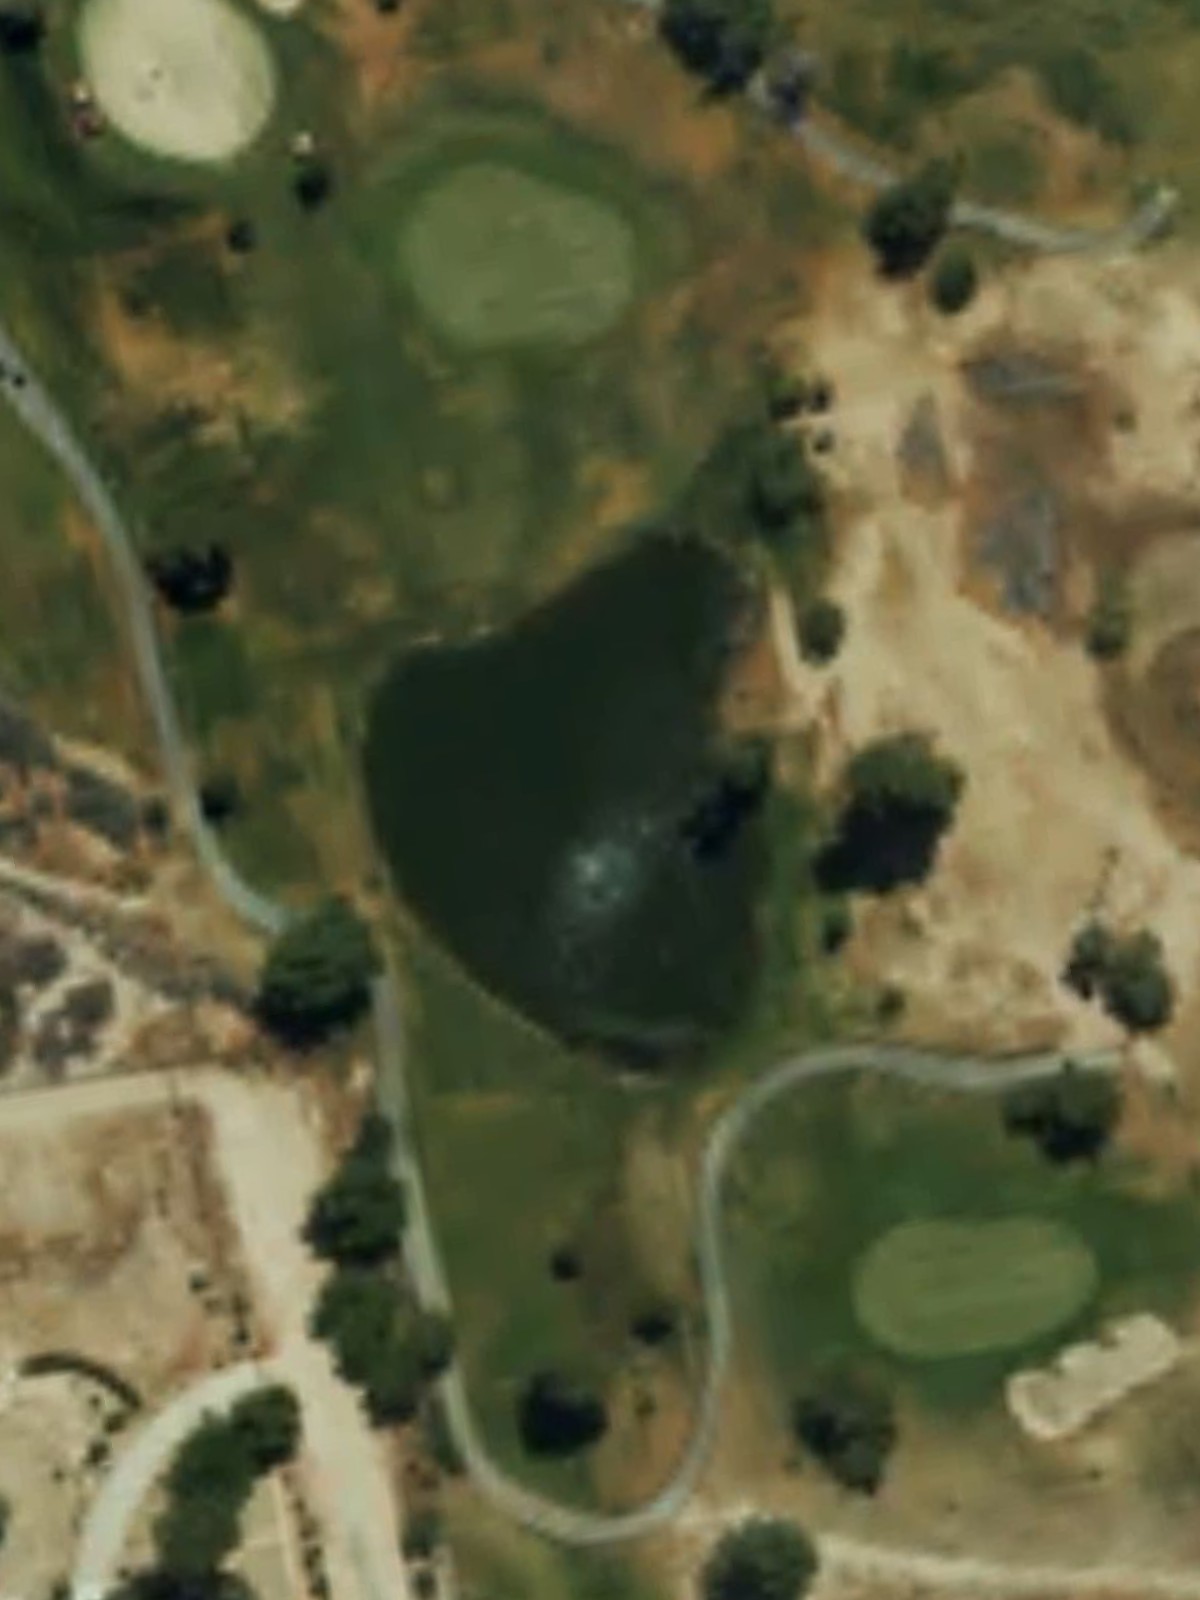
A short par 3 with a well-bunkered green complex that demands precision over distance. Water hazards frame the left side of the green, making right-side misses preferable to left-side trouble.
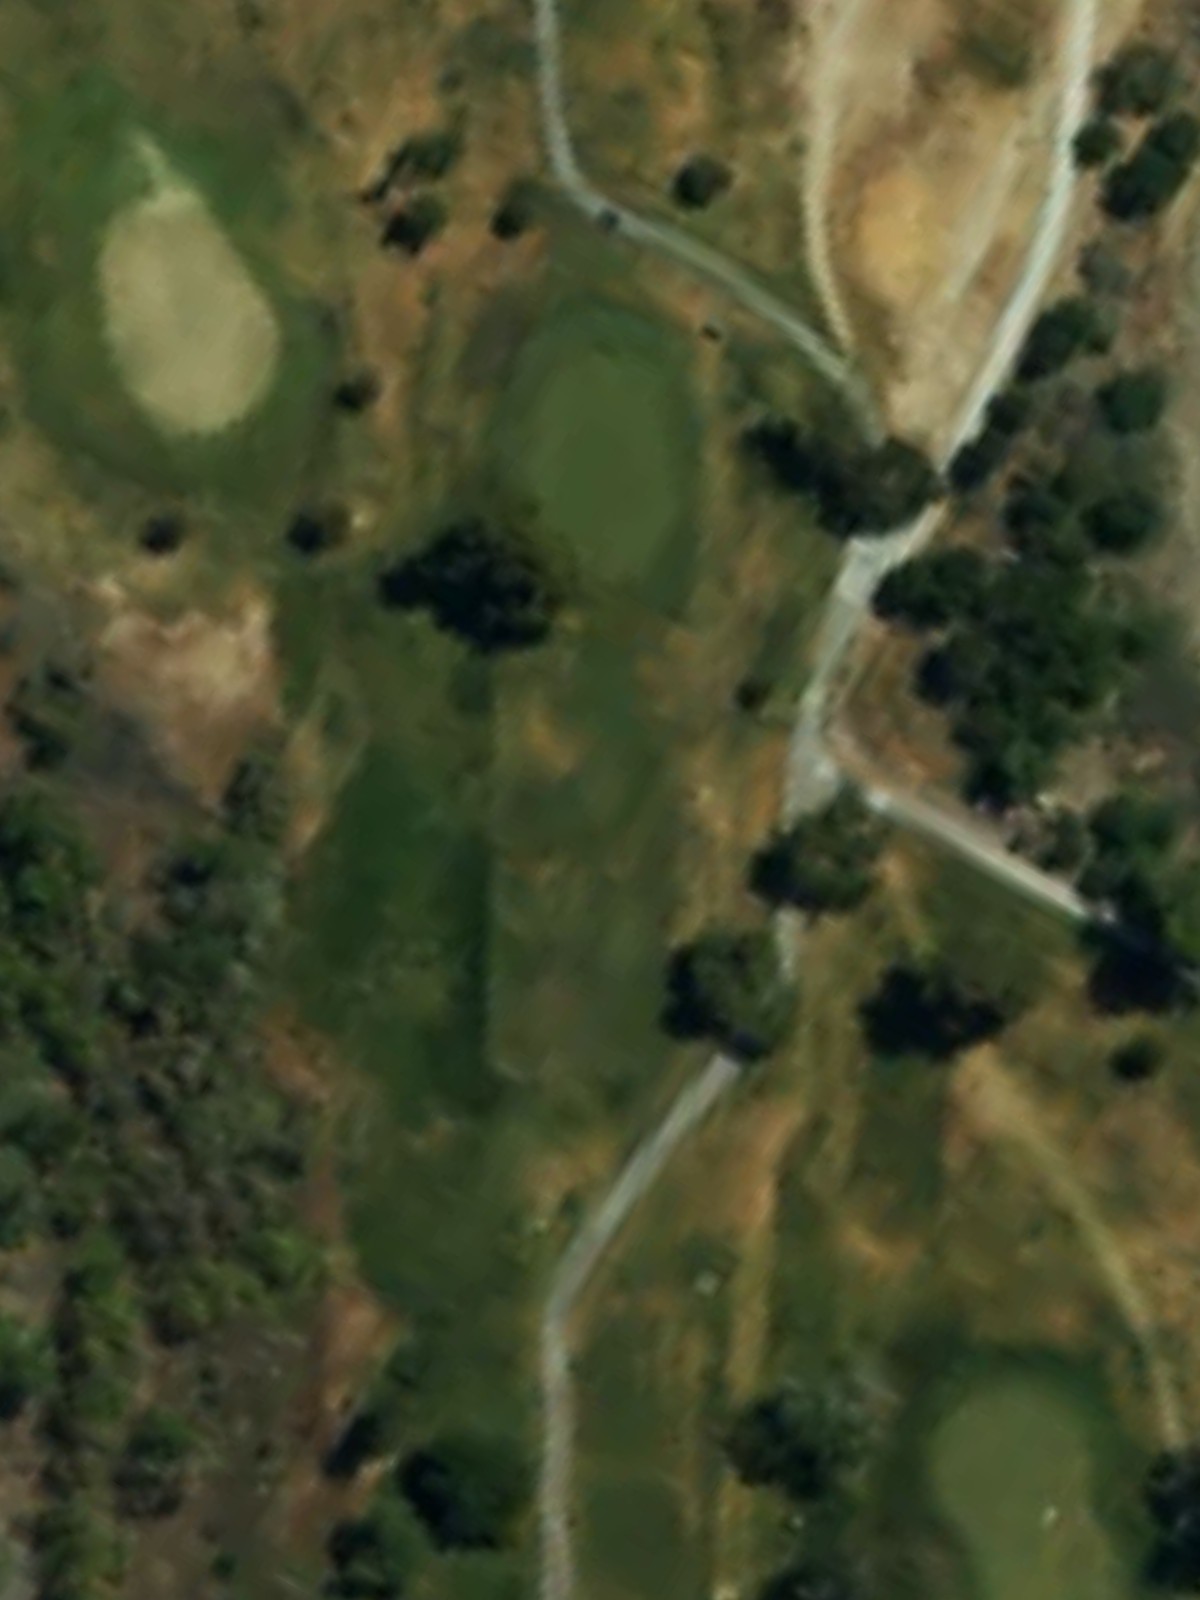
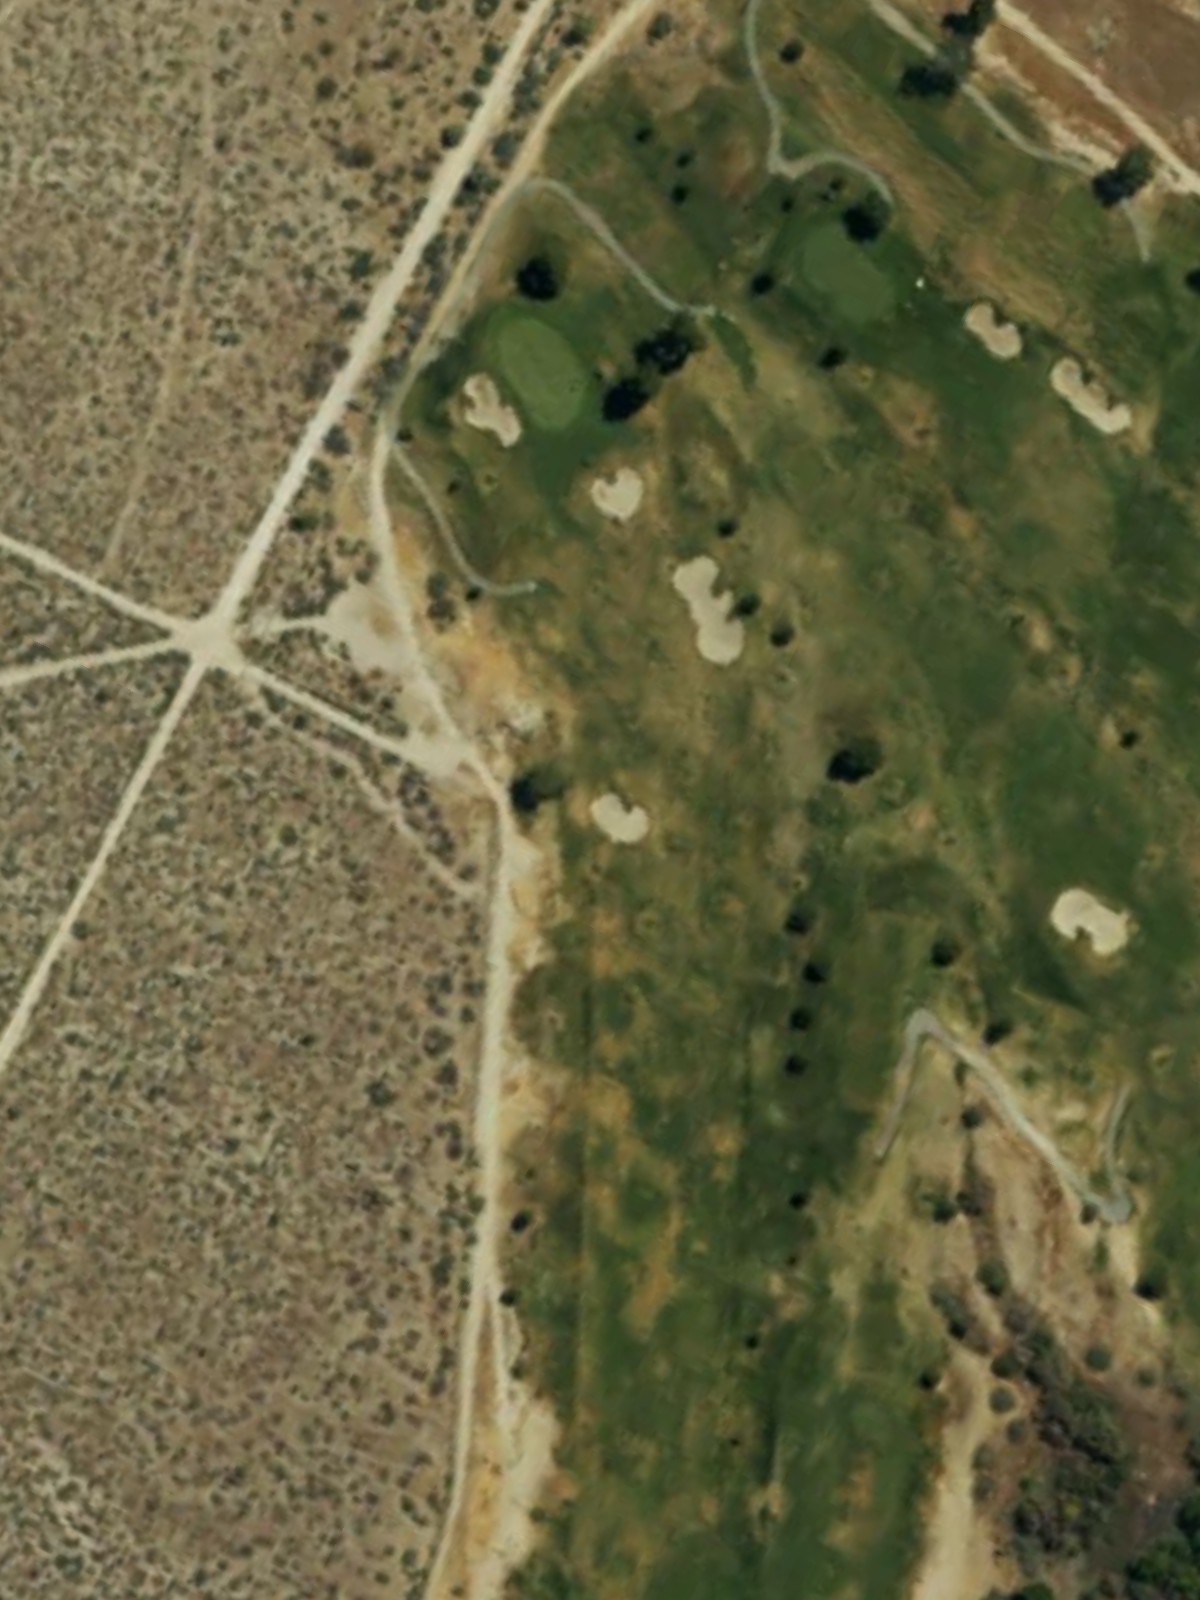
The longest hole on the front nine, this par 5 plays as a dogleg left with significant length that challenges even strong hitters to reach in two. Strategic bunkering down the left fairway and around the green rewards accurate positioning and penalizes errant shots.
A relatively forgiving par 4 with a wide fairway and open approach to the green. Light bunkering around the green keeps this hole accessible while still requiring a solid second shot for scoring.

A compact par 4 that plays shorter than the scorecard suggests, with a fairway that tightens near the landing area. Bunkers frame the green on both sides, making approach shot placement critical.
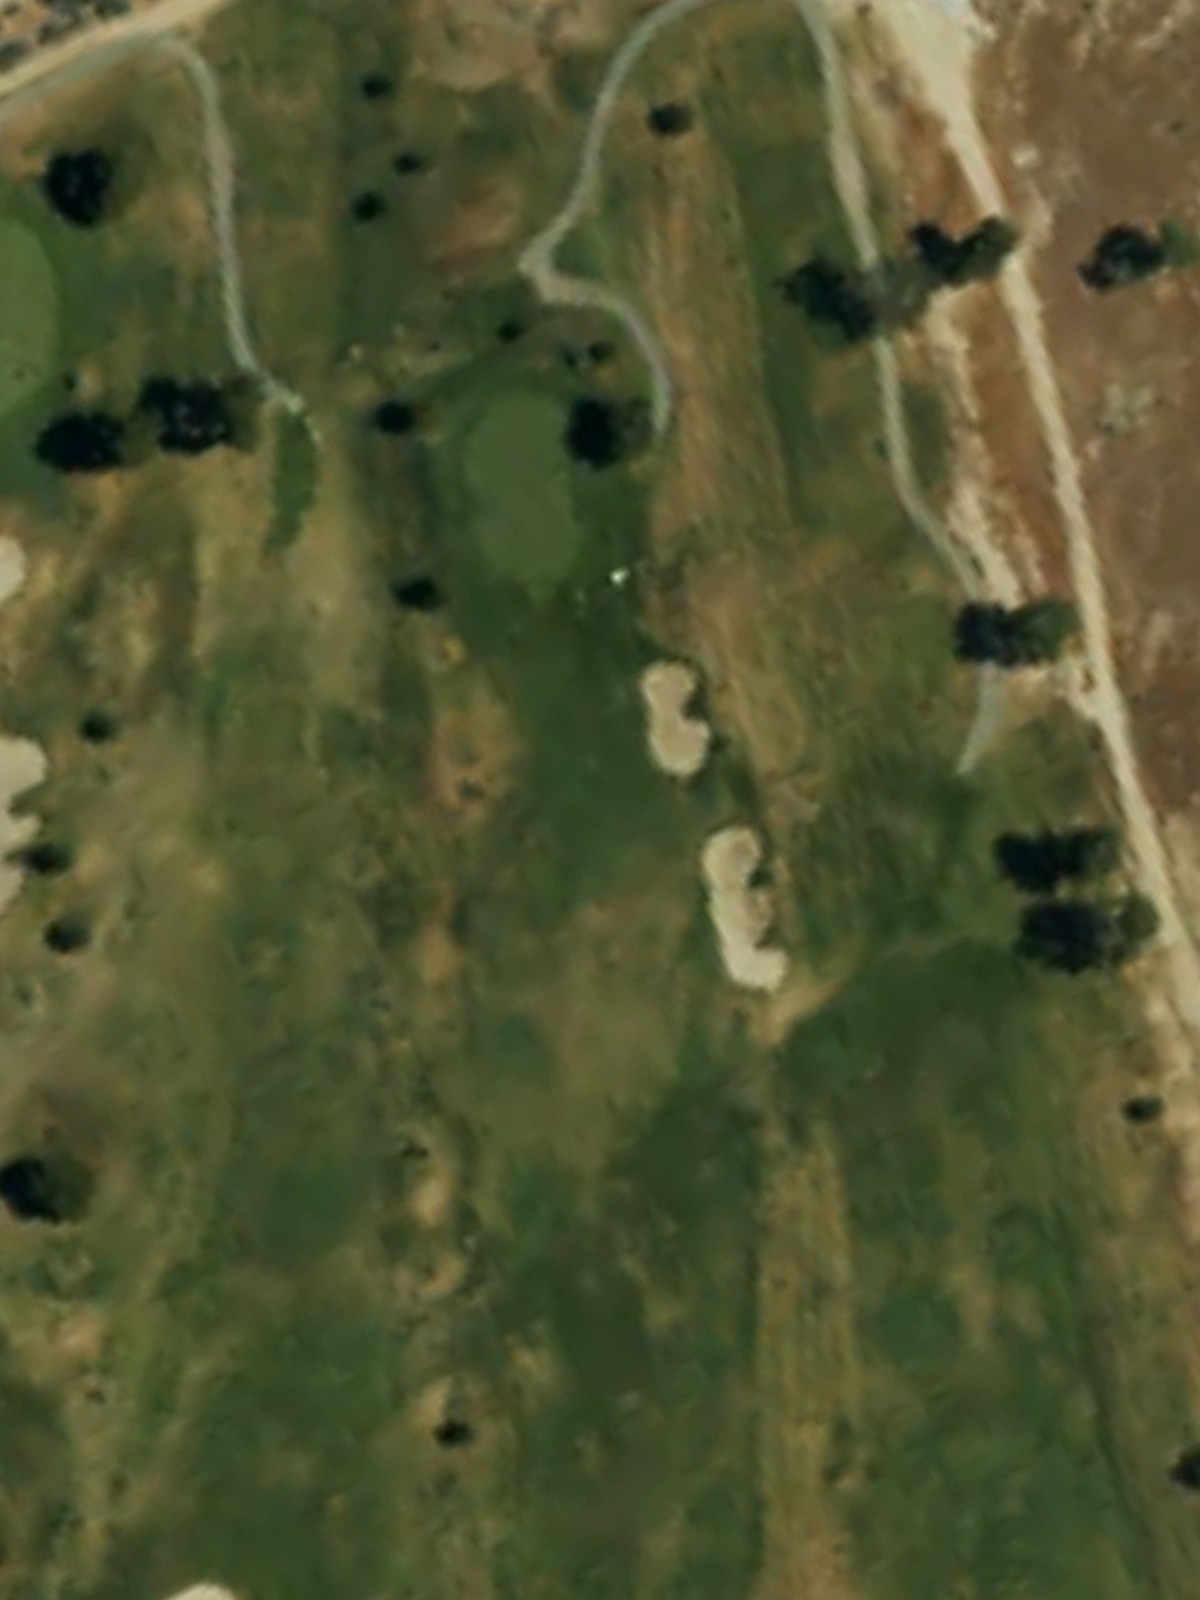
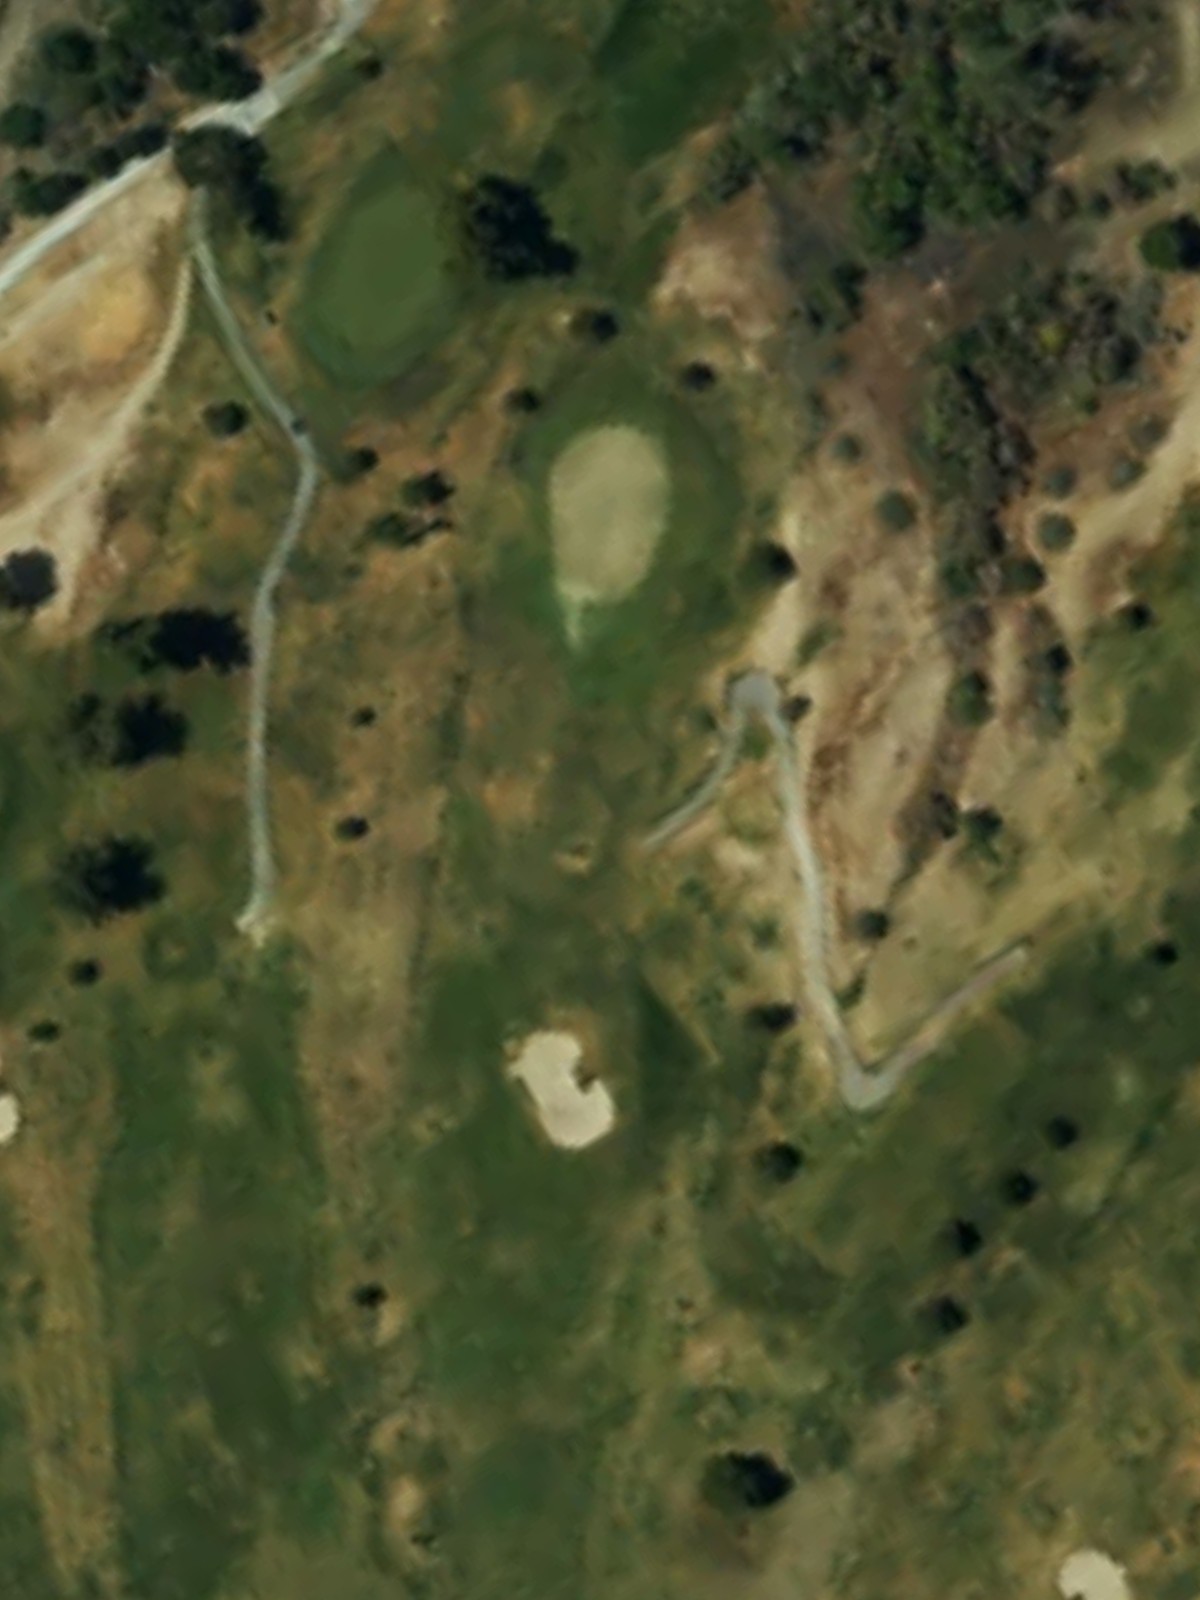
A demanding par 4 that ranks among the course's most difficult holes, featuring a narrow fairway with water or significant rough lining one or both sides. The green is well-protected by bunkers, leaving little room for error on the approach.
A short, birdie-friendly par 4 with a fairly open fairway and accessible green complex. Minimal hazards allow for aggressive play, but accuracy still rewards lower scores.
A mid-length par 3 with a modest-sized green surrounded by bunkers and light rough. The hole plays straightforward with no water, making it primarily a test of consistent ballstriking.
A short par 4 that presents a birdie opportunity with its compact length and relatively open design. The fairway and approach are forgiving, making this an ideal scoring hole to close the front nine.
An easy par 4 that opens the back nine with a wide fairway and minimal hazards guarding the green. This gentle hole provides a good chance to start the back side well.
A short, straightforward par 3 with a modest green and light bunkering that makes this one of the course's most accessible holes. It plays as a genuine birdie opportunity from all tees.
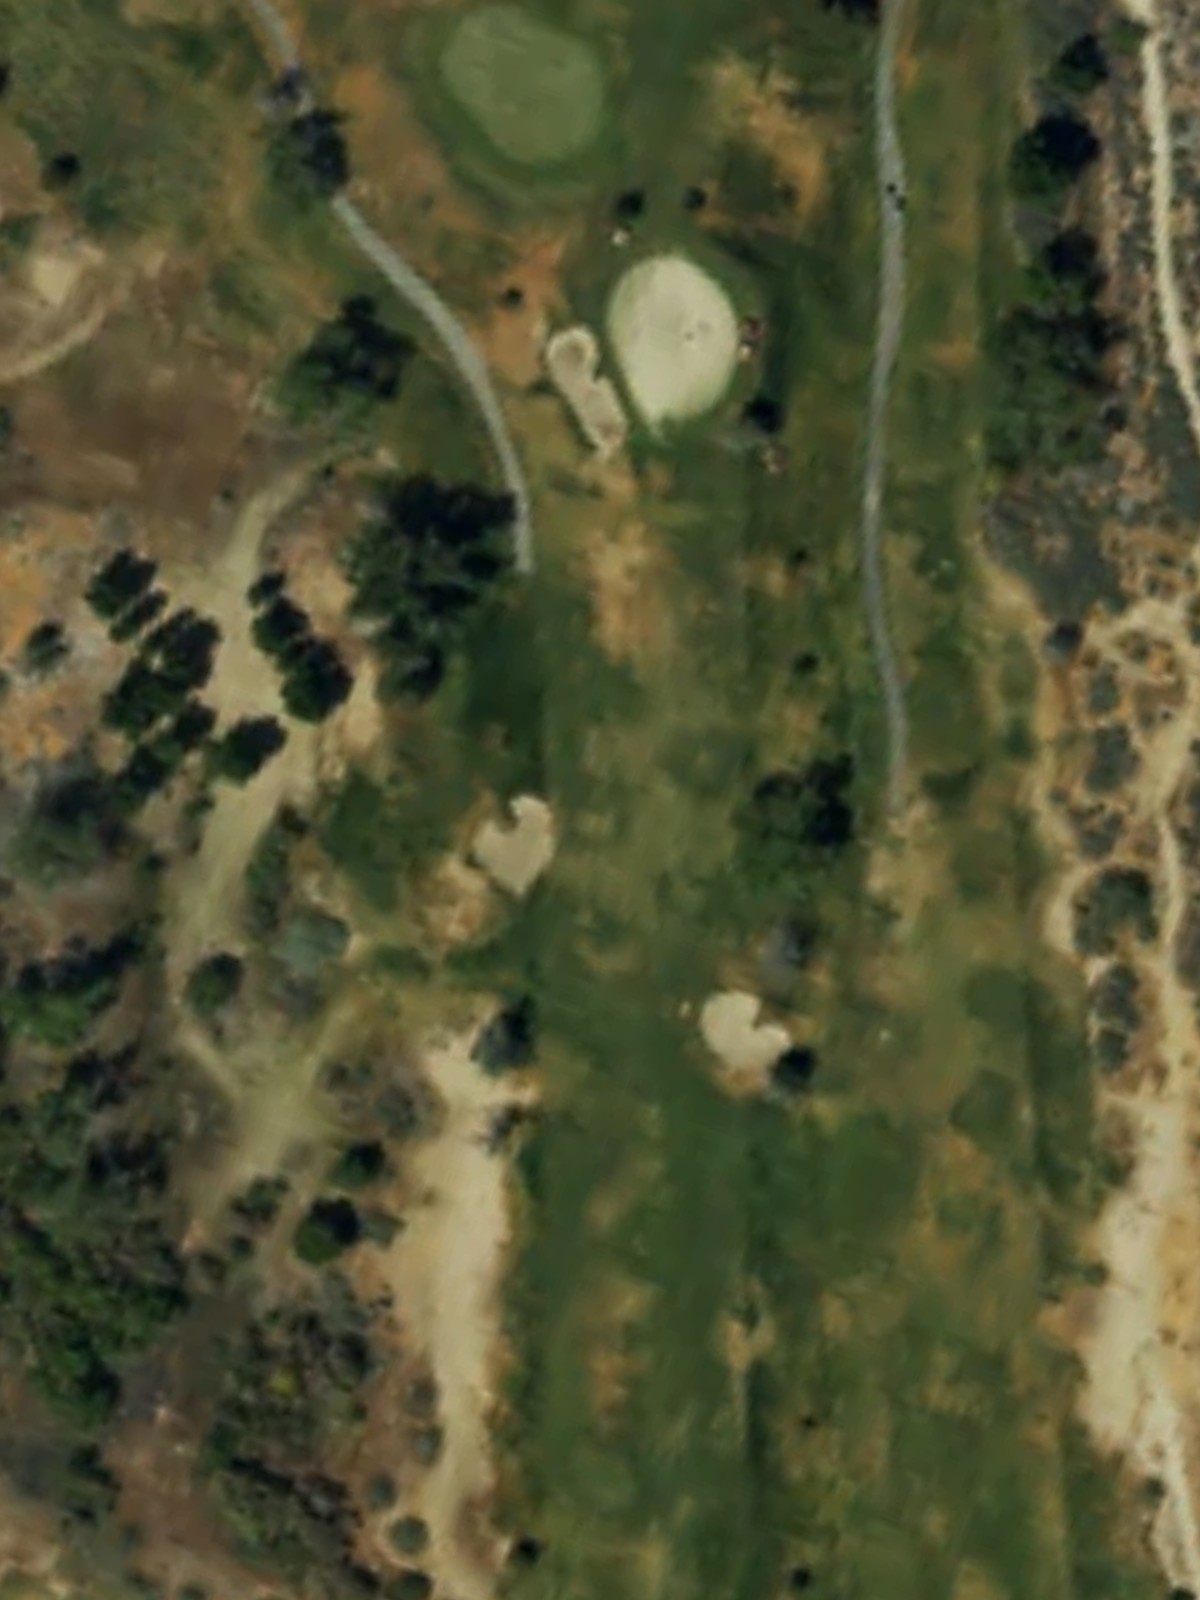
A mid-length par 5 with a fairway that bends gently, offering a realistic birdie chance for players who position their drives well. Bunkers frame the fairway at strategic points, and the green is moderately protected.
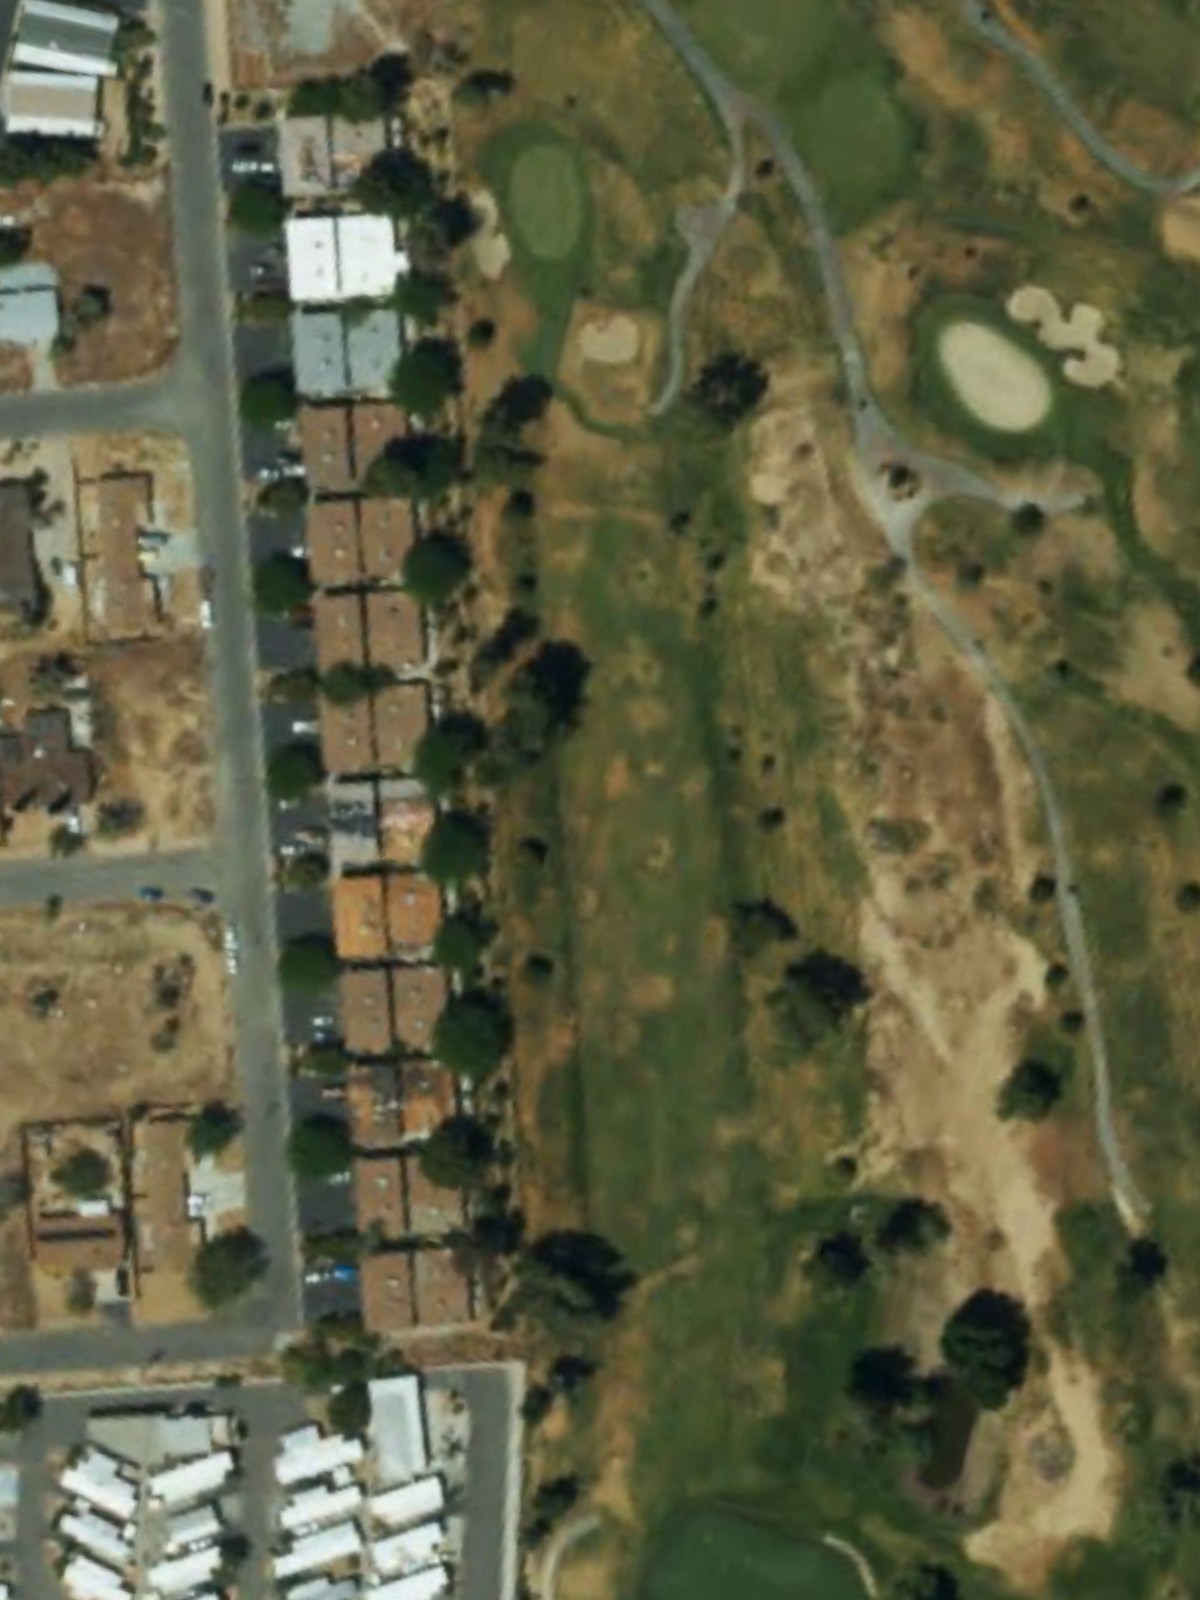
A challenging par 4 that shares similar characteristics to the front nine's toughest holes, with narrow fairway corridors and well-bunkered greens. Precision is required from both tee and fairway to avoid costly mistakes.
A par 3 of medium length with a green that is adequately protected by bunkers and surrounded by rough. The hole is straightforward but demanding enough to respect.
The course's second-most difficult par 5, this hole plays as a dogleg left with length that challenges the field to reach the green in regulation. Strategic bunkering and fairway narrowing force careful positioning throughout the hole.
A short par 4 with a fairly open design and minimal hazards that presents a genuine birdie opportunity. The wide fairway and uncluttered approach make this among the course's easier scoring holes.
A balanced mid-length par 4 with moderate difficulty, featuring a fairway with gentle contours and bunkers that frame but do not overly constrict the green. The hole requires solid fundamentals but offers reasonable scoring chances.
A strong finishing par 4 that ranks among the course's most difficult holes, with a challenging fairway and well-defended green complex. Bunkers guard multiple angles of approach, demanding an accurate second shot to secure a good finishing score.
Scorecard
| Hole | 1 | 2 | 3 | 4 | 5 | 6 | 7 | 8 | 9 | Out | 10 | 11 | 12 | 13 | 14 | 15 | 16 | 17 | 18 | In | Tot |
|---|---|---|---|---|---|---|---|---|---|---|---|---|---|---|---|---|---|---|---|---|---|
| Par | 4 | 3 | 5 | 4 | 4 | 4 | 4 | 3 | 4 | 35 | 4 | 3 | 5 | 4 | 3 | 5 | 4 | 4 | 4 | 36 | 71 |
| HCP | 5 | 7 | 1 | 13 | 9 | 3 | 11 | 15 | 17 | 18 | 14 | 8 | 6 | 12 | 2 | 16 | 10 | 4 | |||
| blue | 385 | 192 | 543 | 364 | 341 | 377 | 299 | 187 | 298 | 2986 | 321 | 160 | 452 | 385 | 192 | 543 | 364 | 341 | 377 | 3135 | 6121 |
| white | 362 | 154 | 527 | 344 | 324 | 366 | 279 | 161 | 281 | 2798 | 303 | 144 | 434 | 362 | 154 | 527 | 344 | 324 | 366 | 2958 | 5756 |
| green | 332 | 133 | 508 | 324 | 304 | 349 | 268 | 147 | 271 | 2636 | 280 | 121 | 424 | 332 | 133 | 508 | 324 | 304 | 349 | 2775 | 5411 |
| gold | 286 | 123 | 433 | 257 | 230 | 300 | 219 | 124 | 239 | 2211 | 256 | 97 | 398 | 286 | 123 | 433 | 257 | 230 | 300 | 2380 | 4591 |