Harmony Club is an 18-hole golf course in Timnath, CO with a par of 72. It offers 7 tee sets: gold (7,323 yards, slope 144, rating 74.1), black (6,739 yards, slope 135, rating 70.8), blue (6,437 yards, slope 129, rating 69.2), lt. blue (6,043 yards, slope 122, rating 67.5), white (5,760 yards, slope 114, rating 66.6), green (5,287 yards, slope 106, rating 64.5), red (4,947 yards, slope 102, rating 63). The hardest hole is #3, a par 5 playing 484 yards from the first tee.
Harmony Club
Timnath, CO
Get PDF Yardage Book
We'll email you the PDF link. No spam, ever.
Create Your Game Plan
Pick your tees, enter your bag, and get a personalized shot-by-shot strategy for every hole.
A straightforward opening par 4 that plays relatively short with a generous fairway corridor. Bunkers guard both sides of the green, with the right side being the primary concern, making accuracy off the tee essential for approach shot positioning.
A mid-length par 4 with a fairly open design and minimal hazarding off the tee. The green is the primary challenge, with bunkers positioned to catch wayward approaches and demand precision on the second shot.
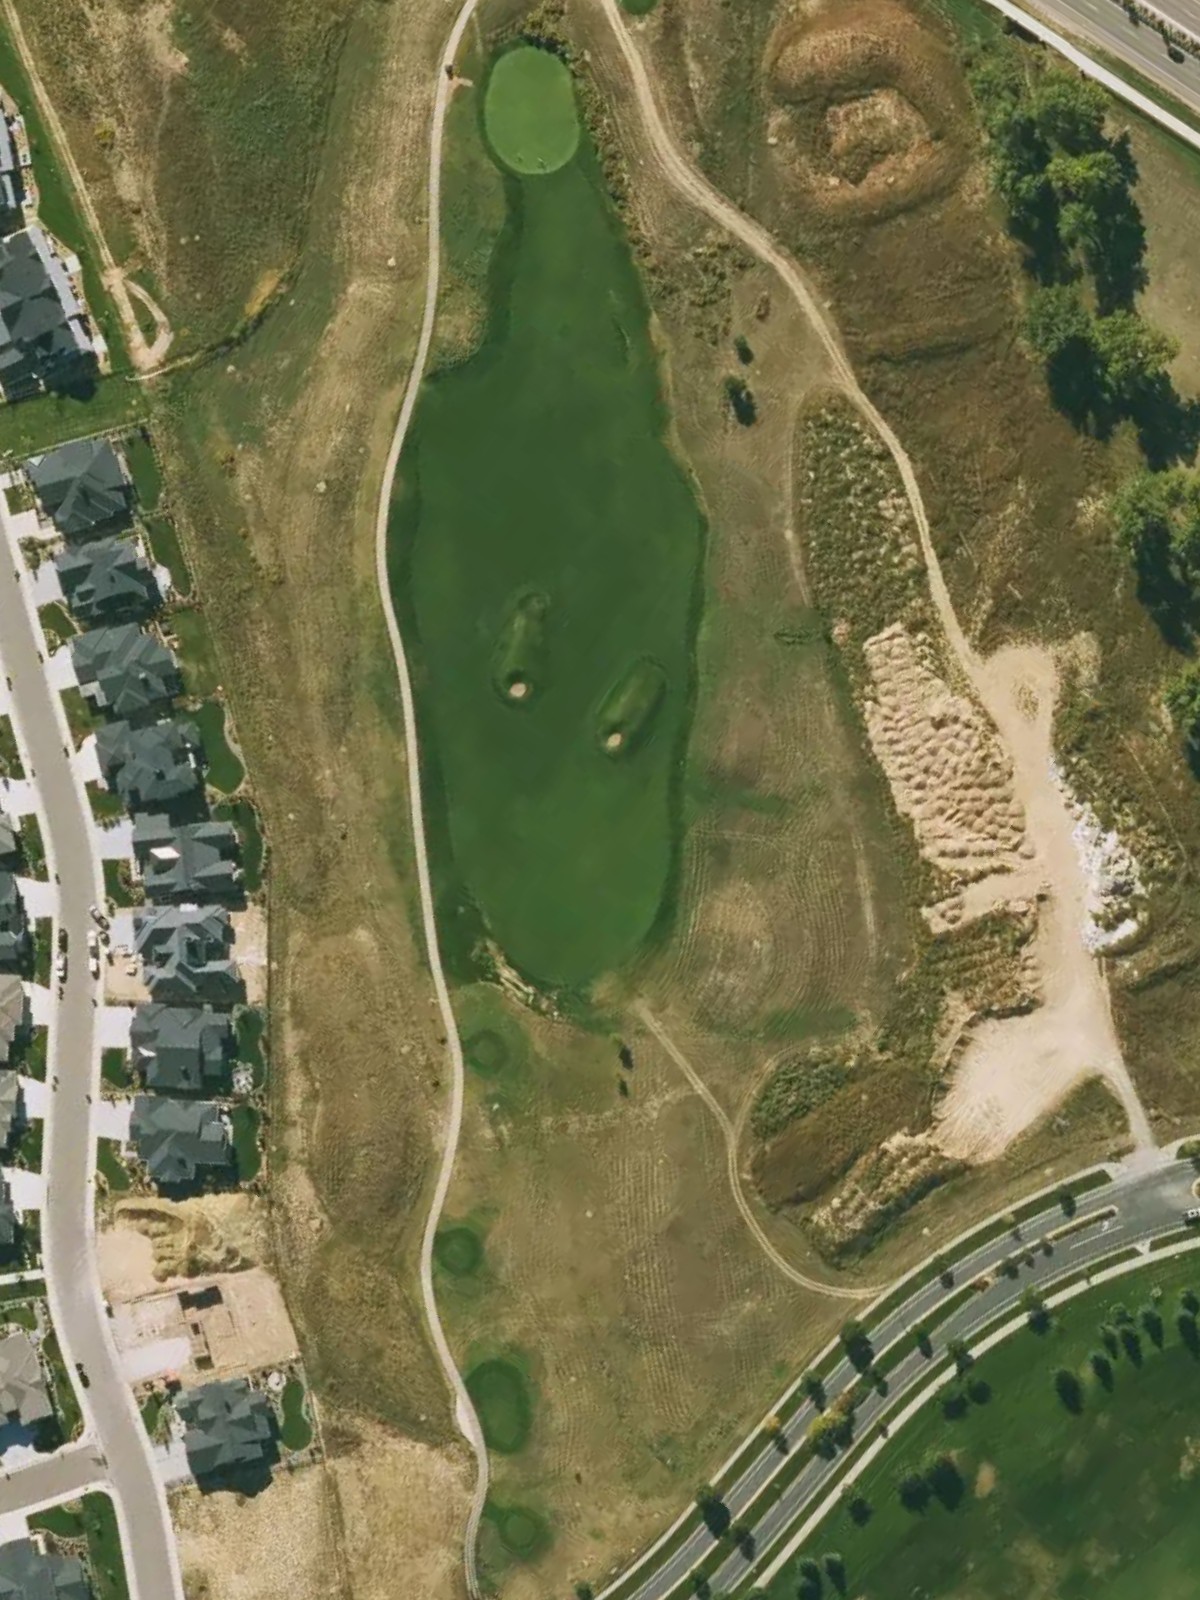
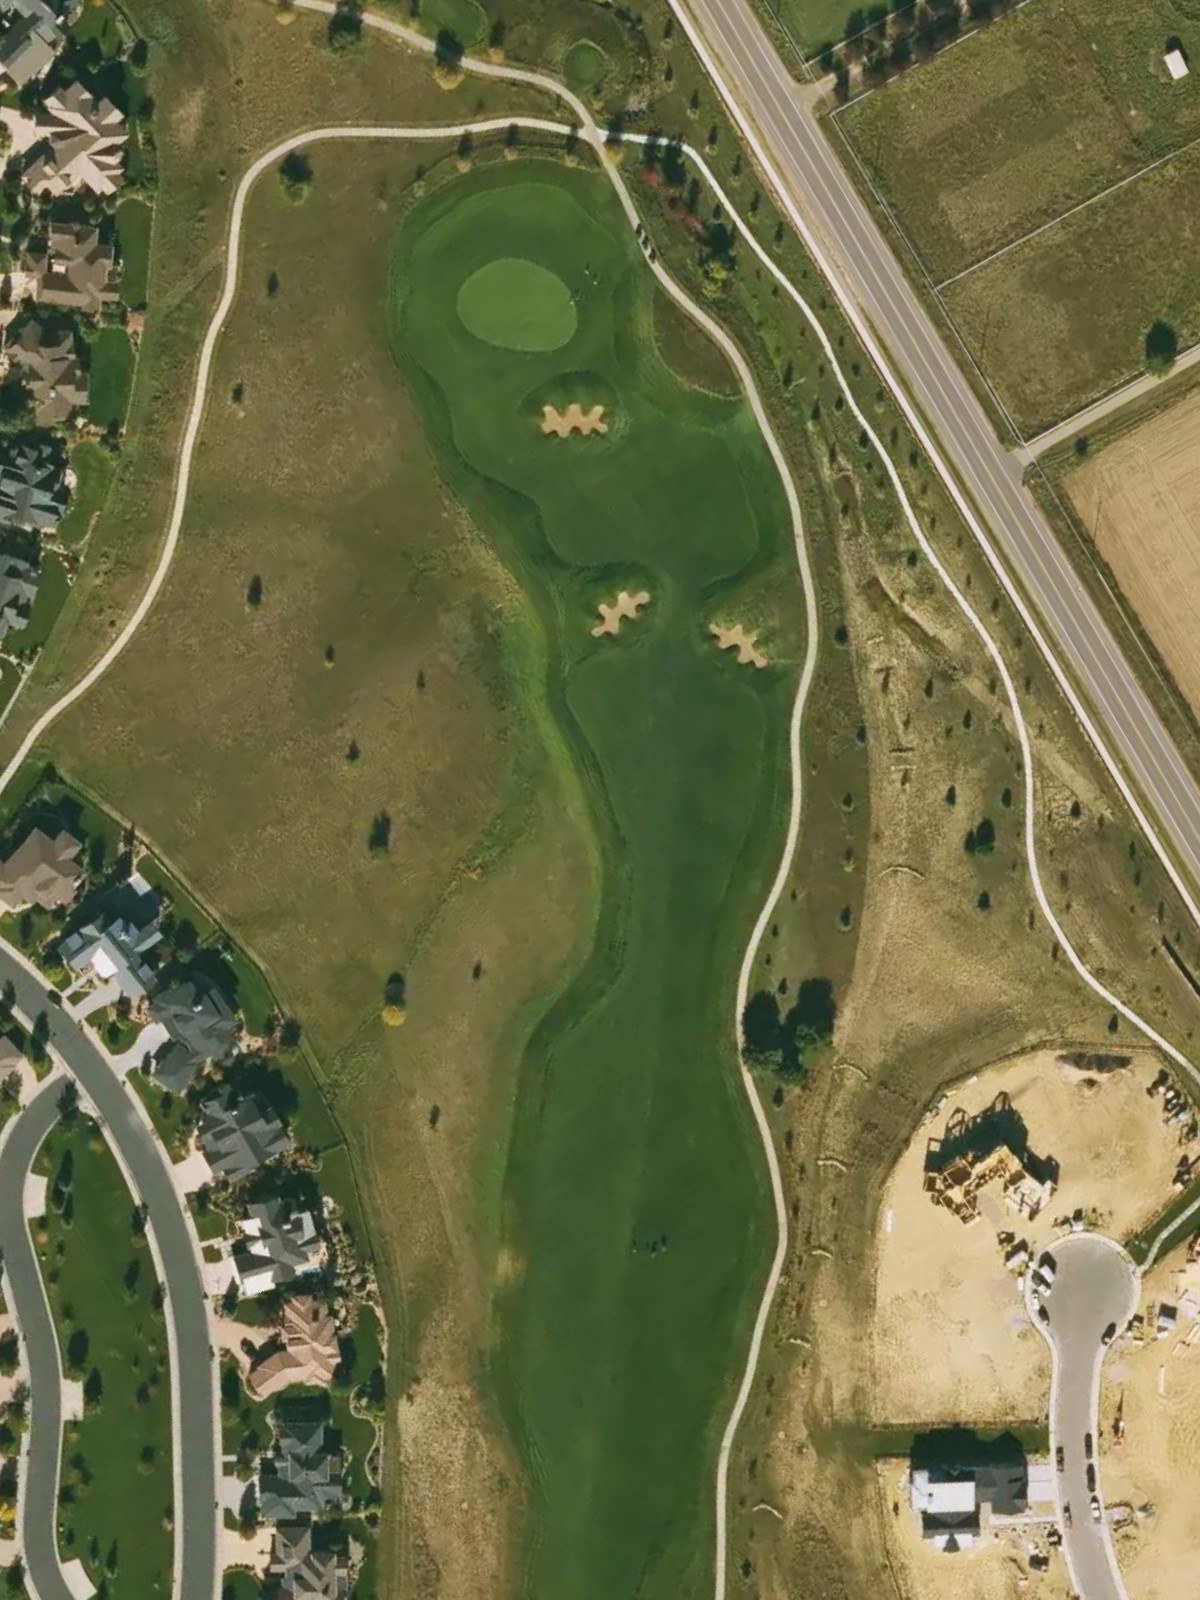
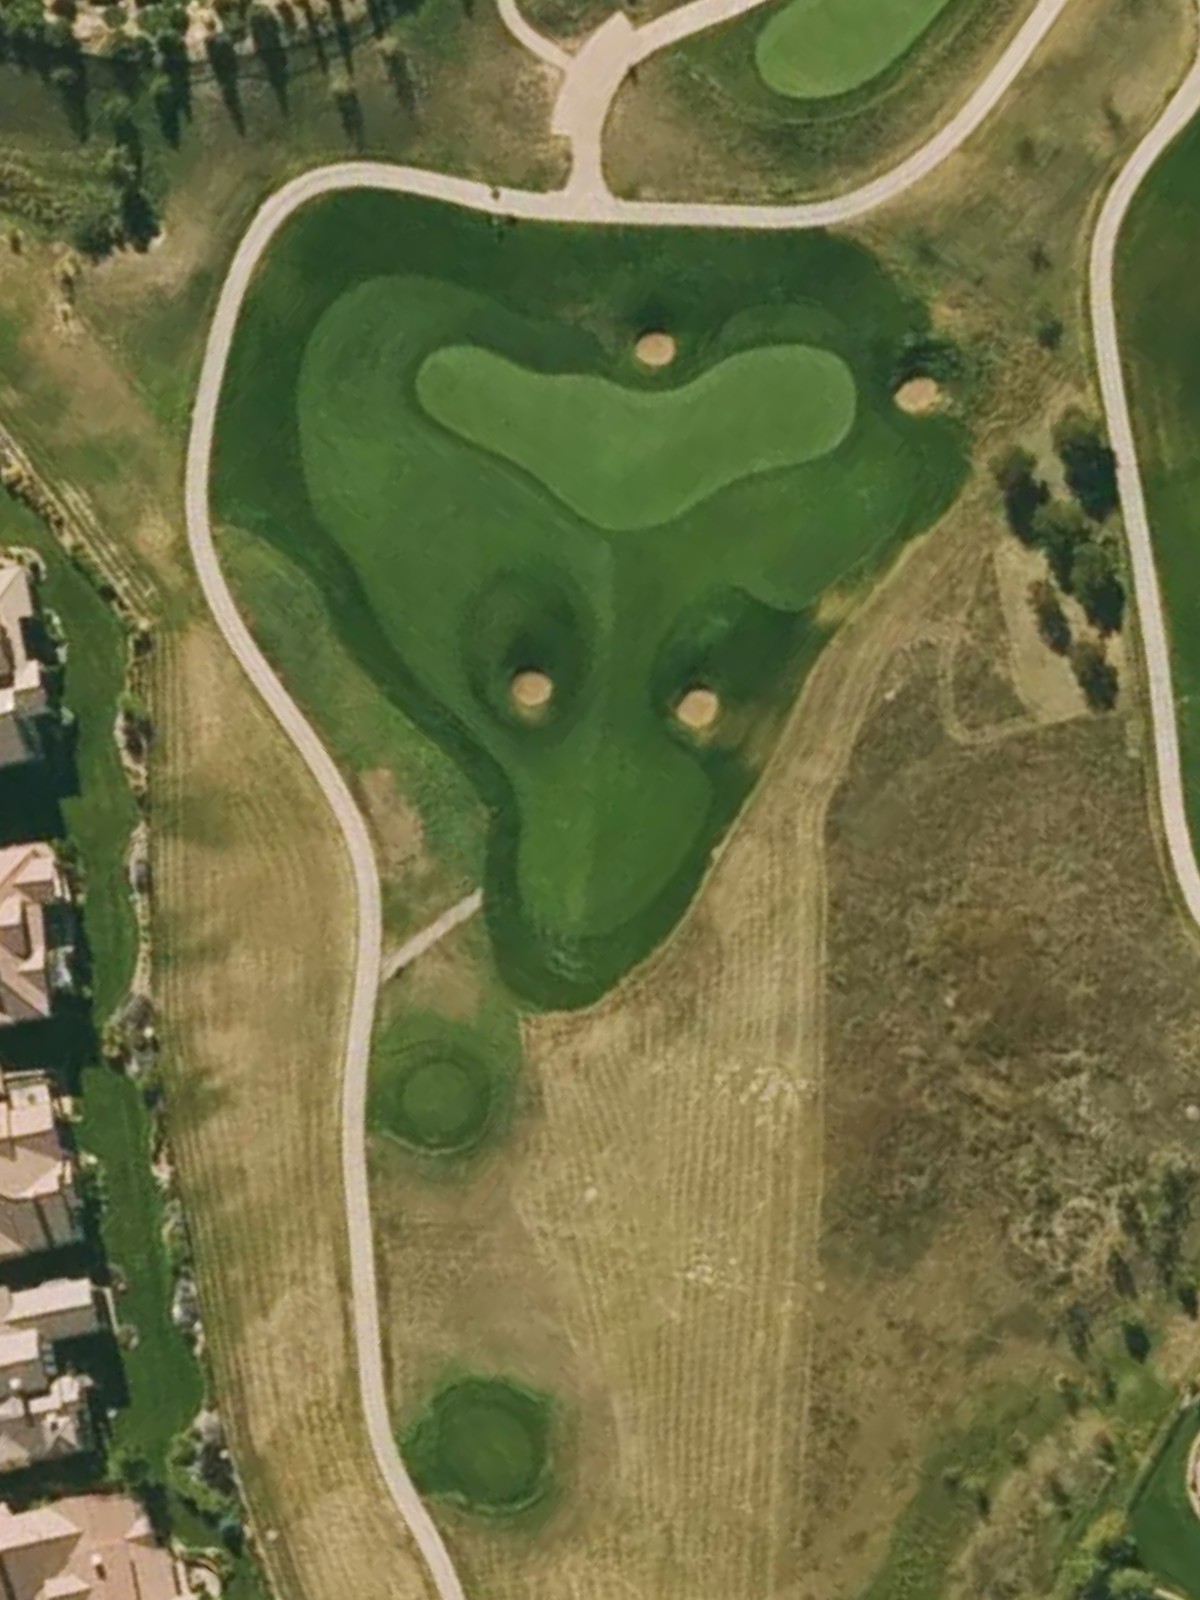
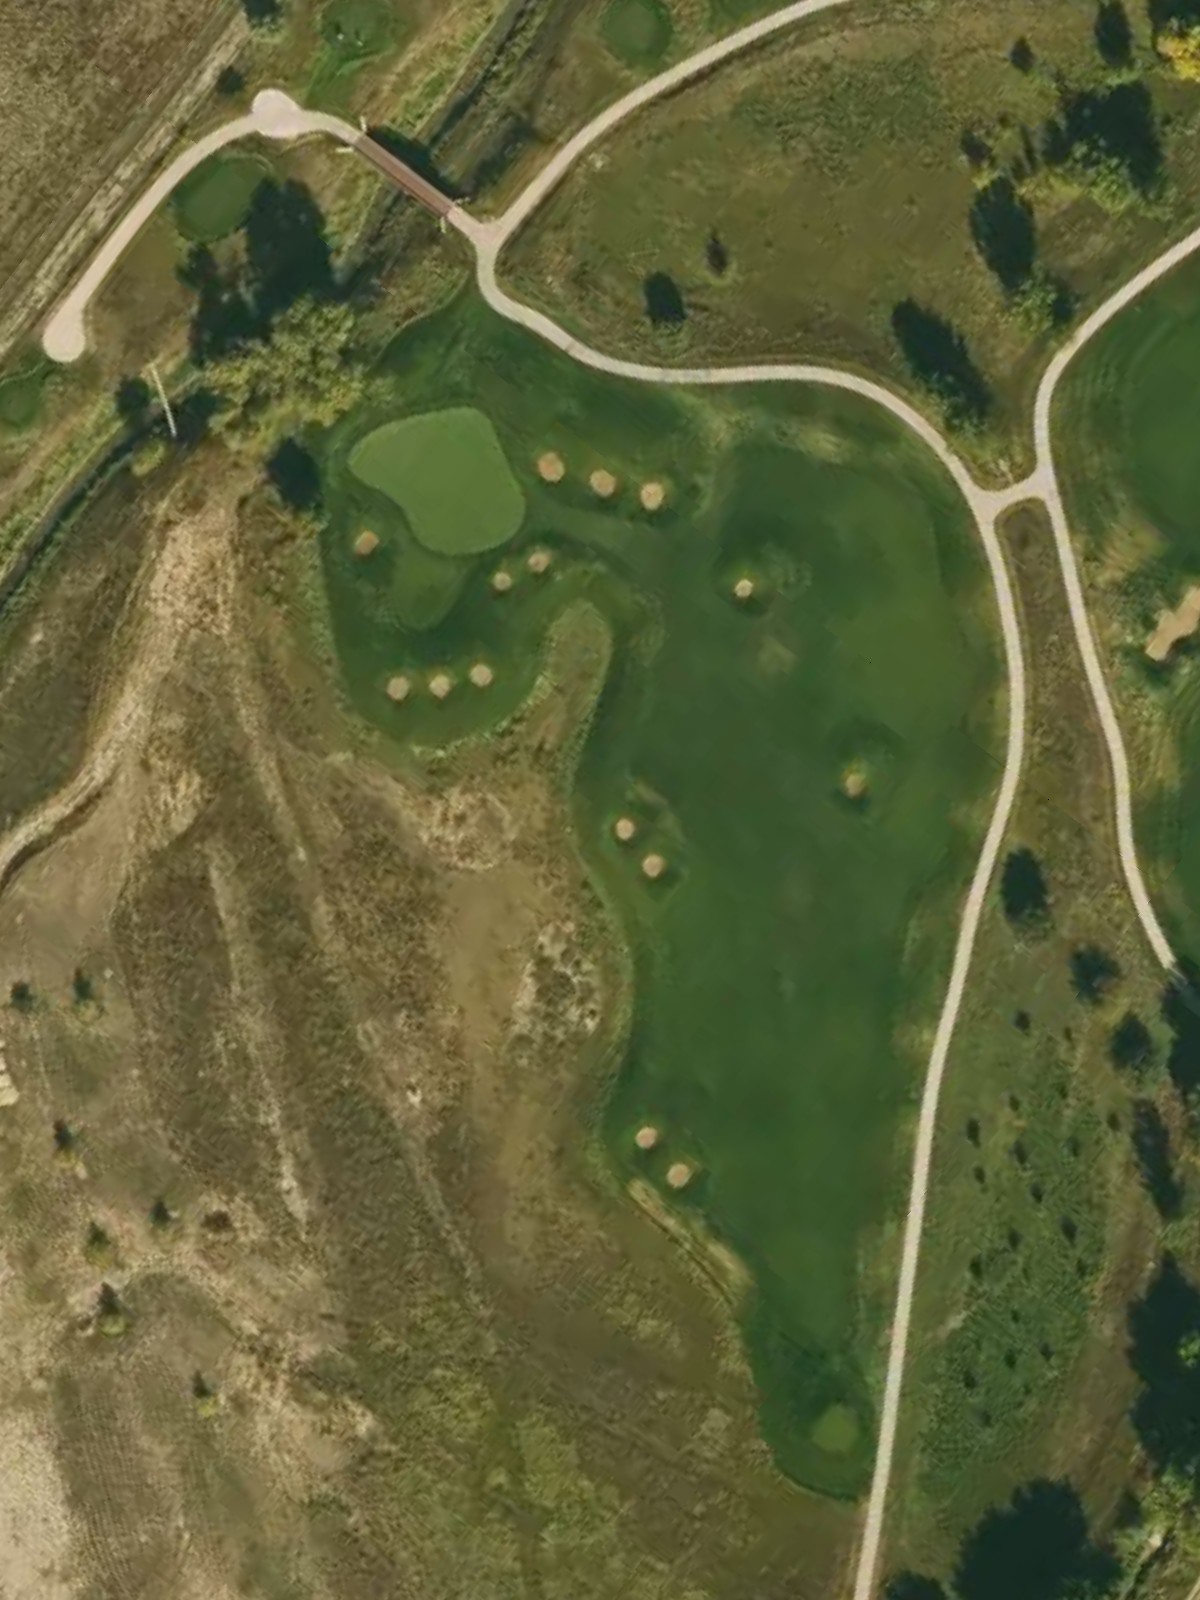
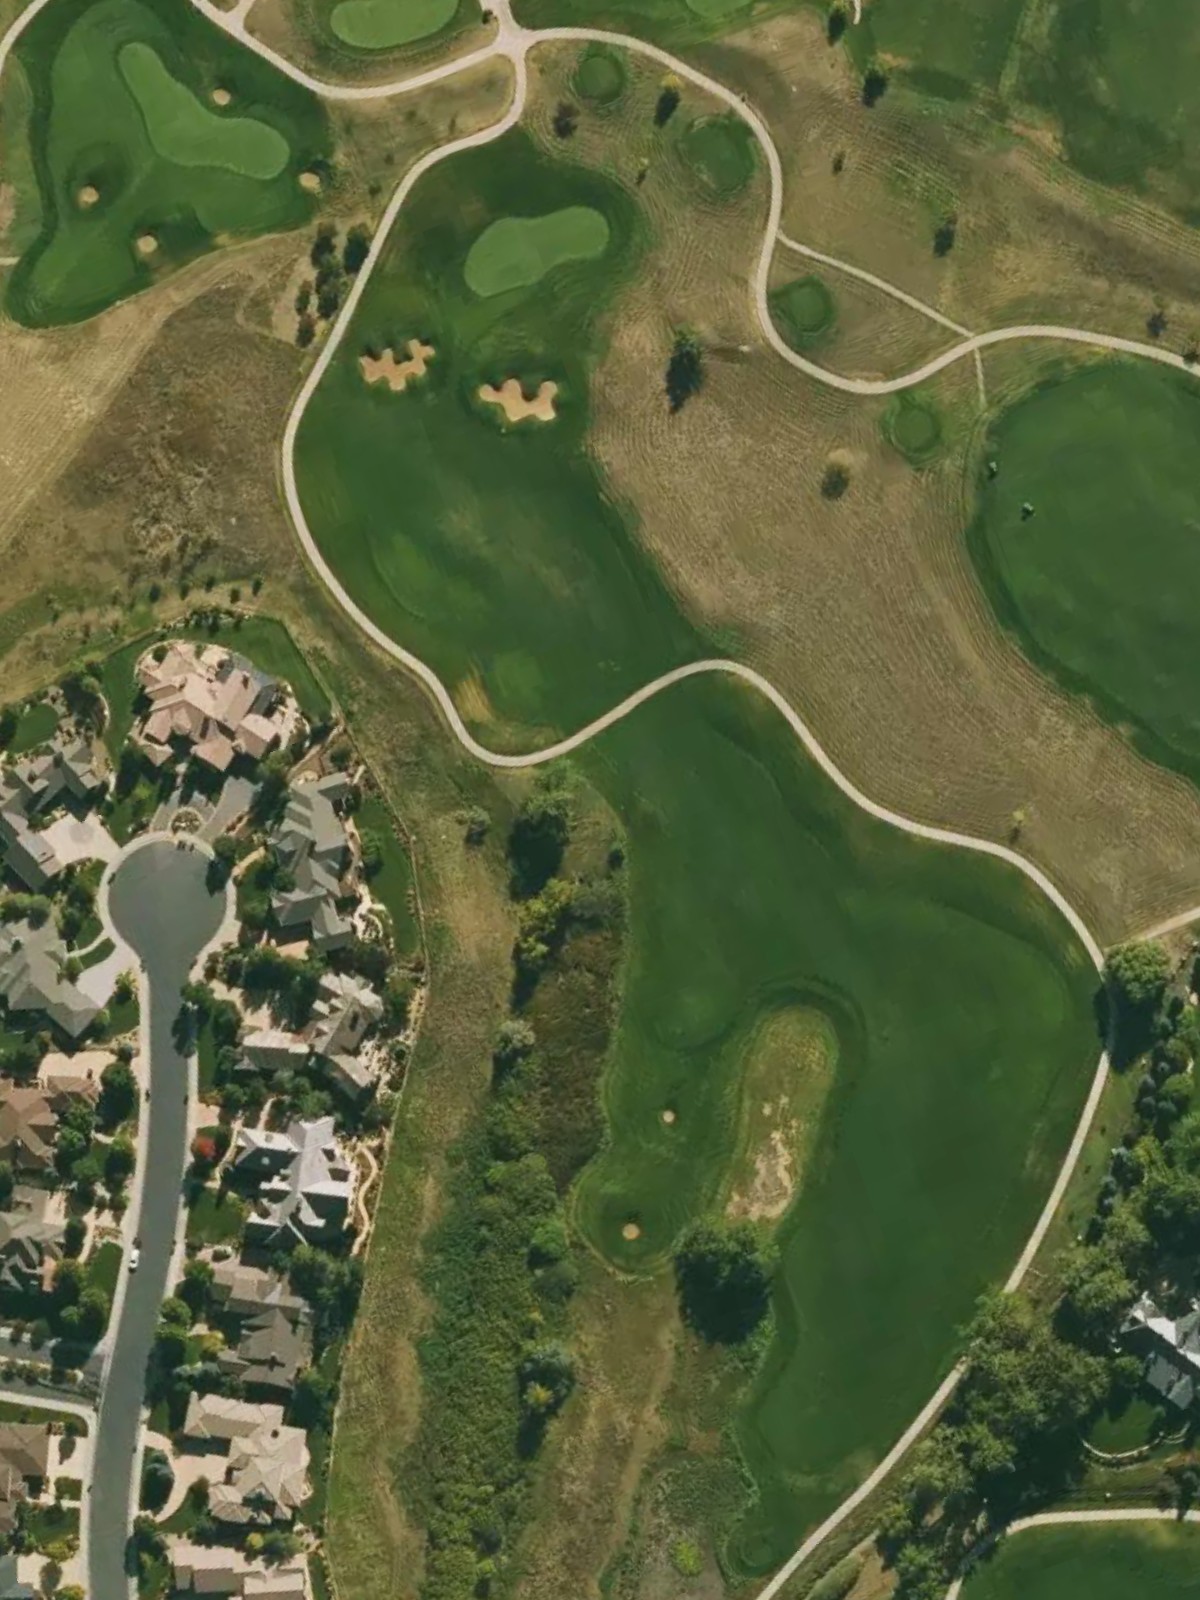
The course's most difficult par 5, this long three-shotter features a relatively open corridor with strategic bunkering throughout. The hole's length and layout demand accurate positioning to avoid falling into defending bunkers on the approach.
A dramatic par 4 that turns uphill toward the green, creating a challenging approach from an elevated tee. Bunkers frame the green complex, and the rising terrain adds difficulty to both distance perception and shot execution.
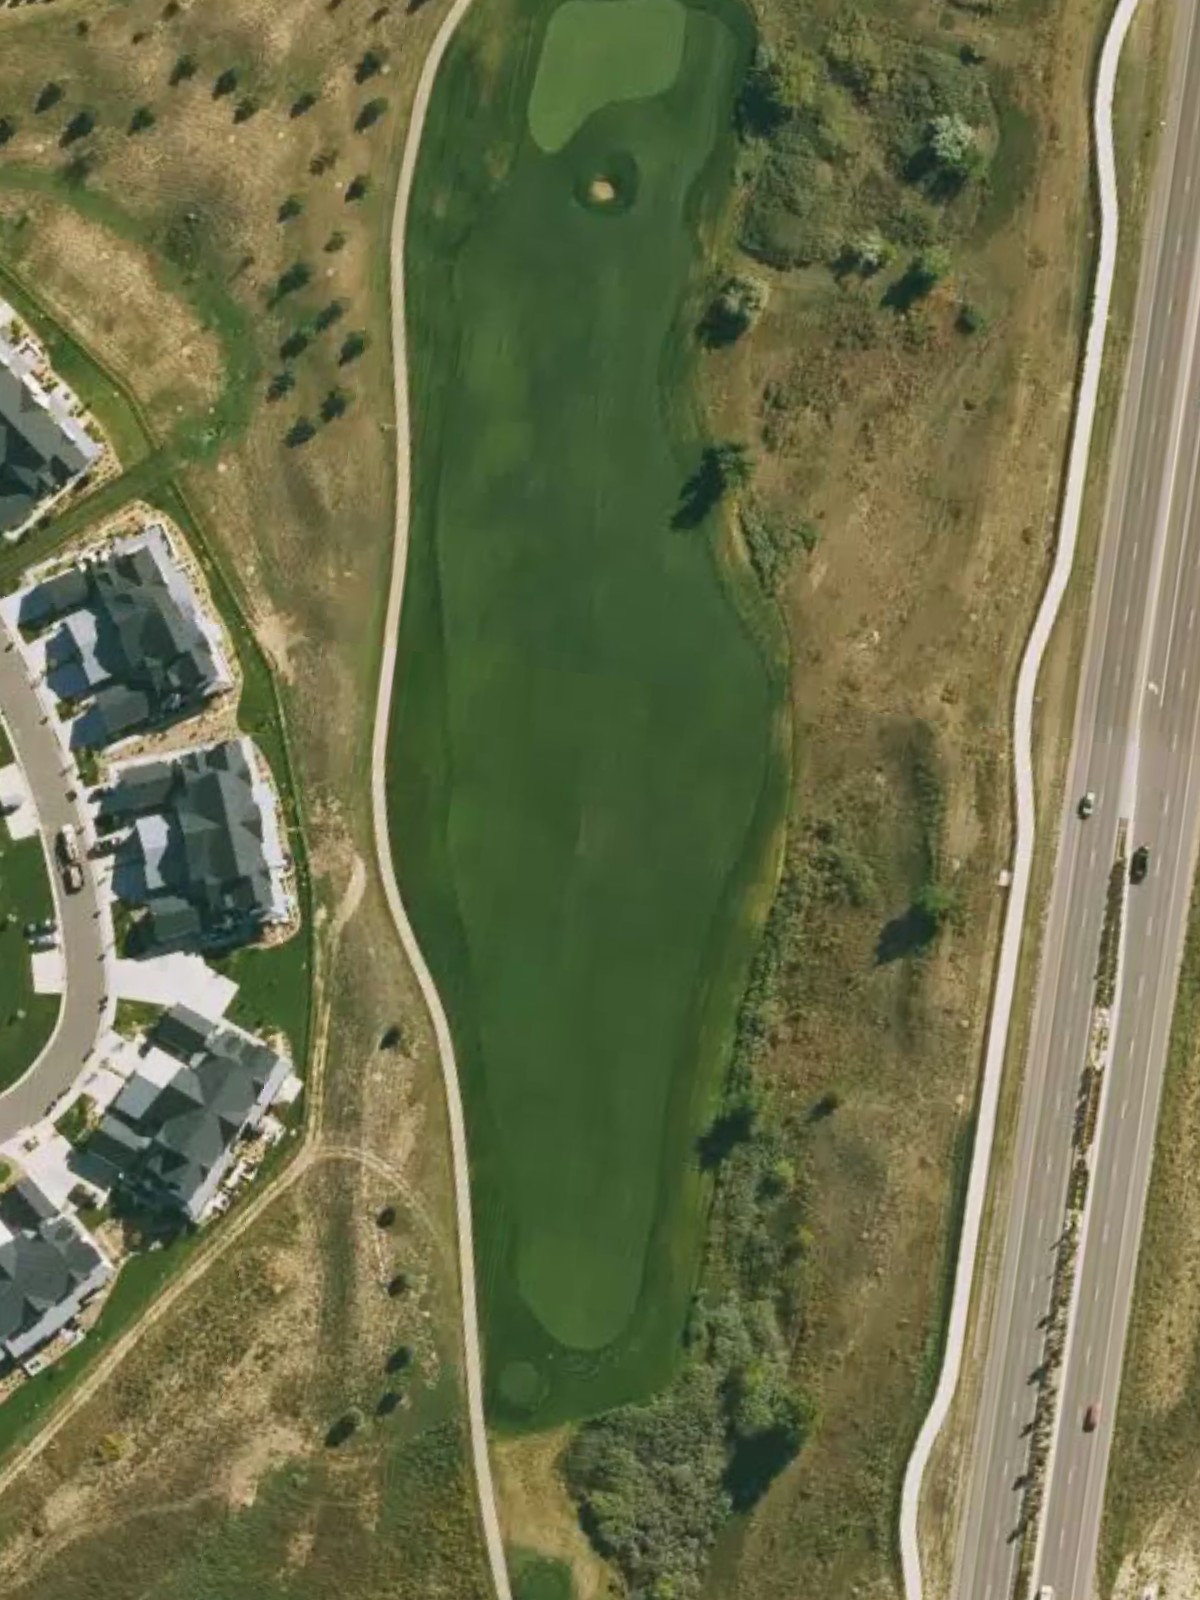
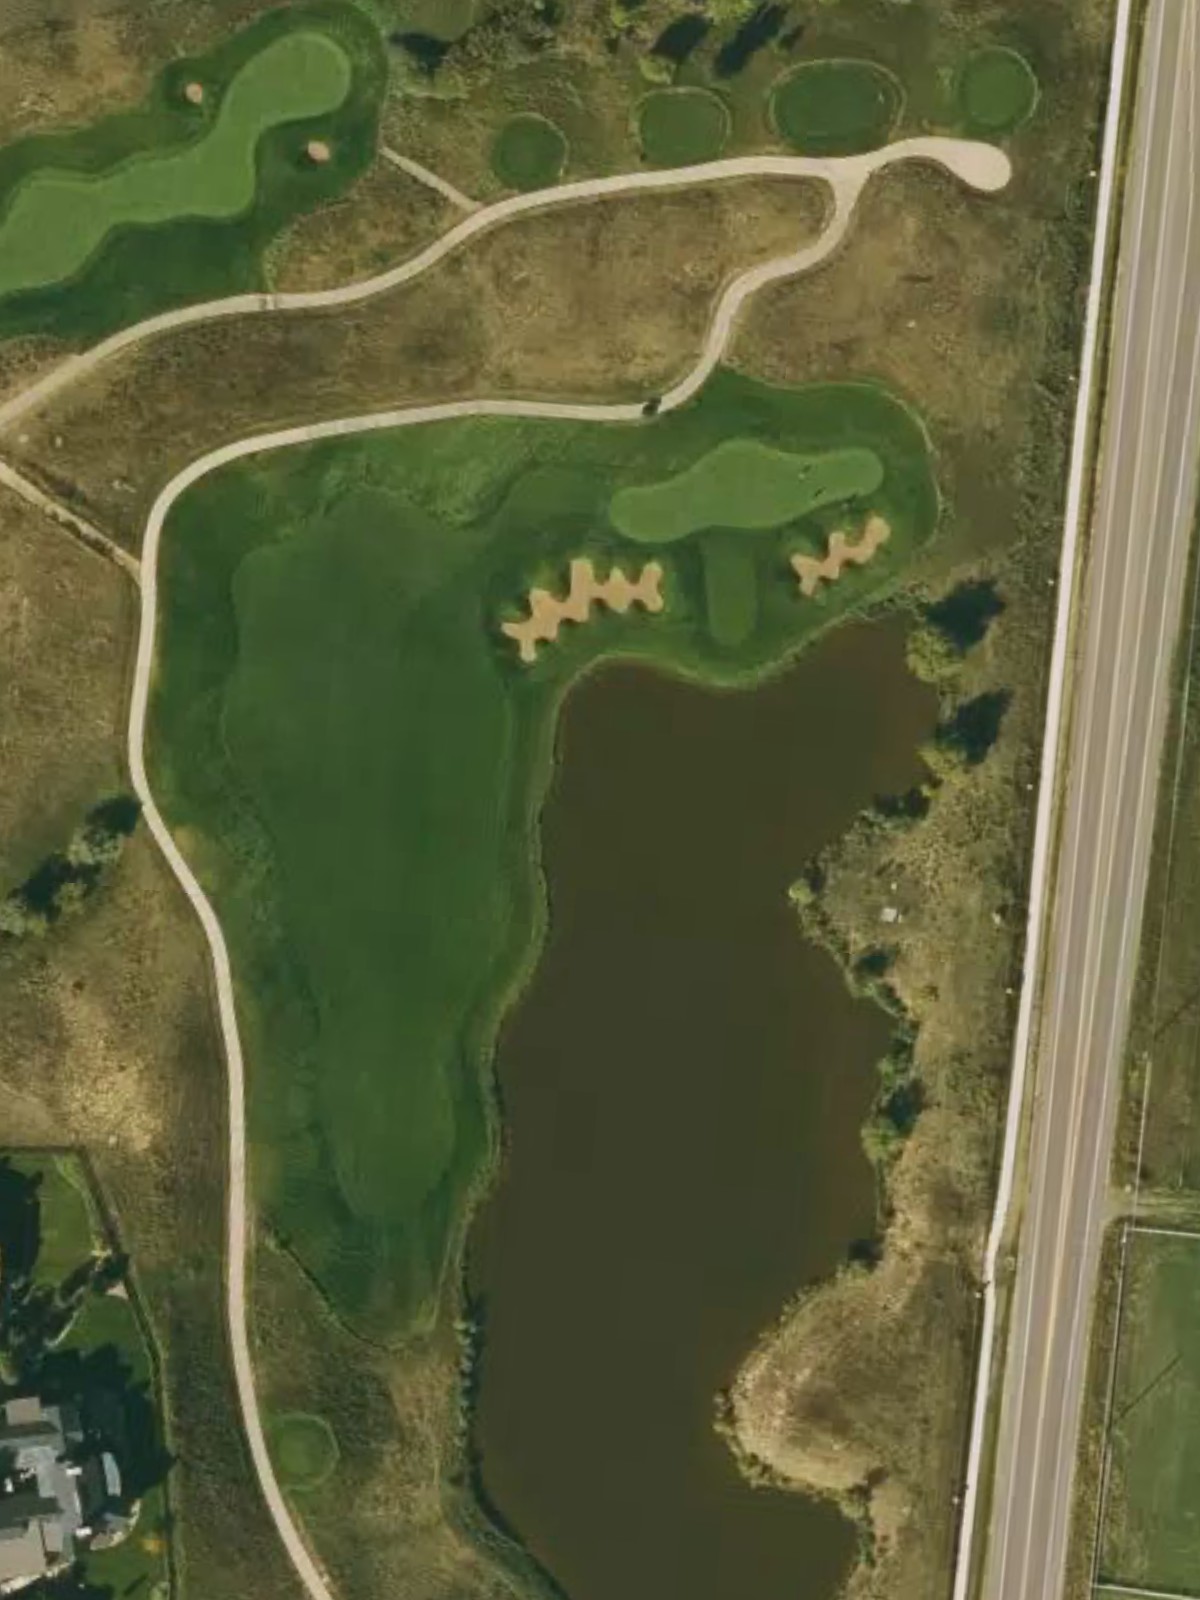
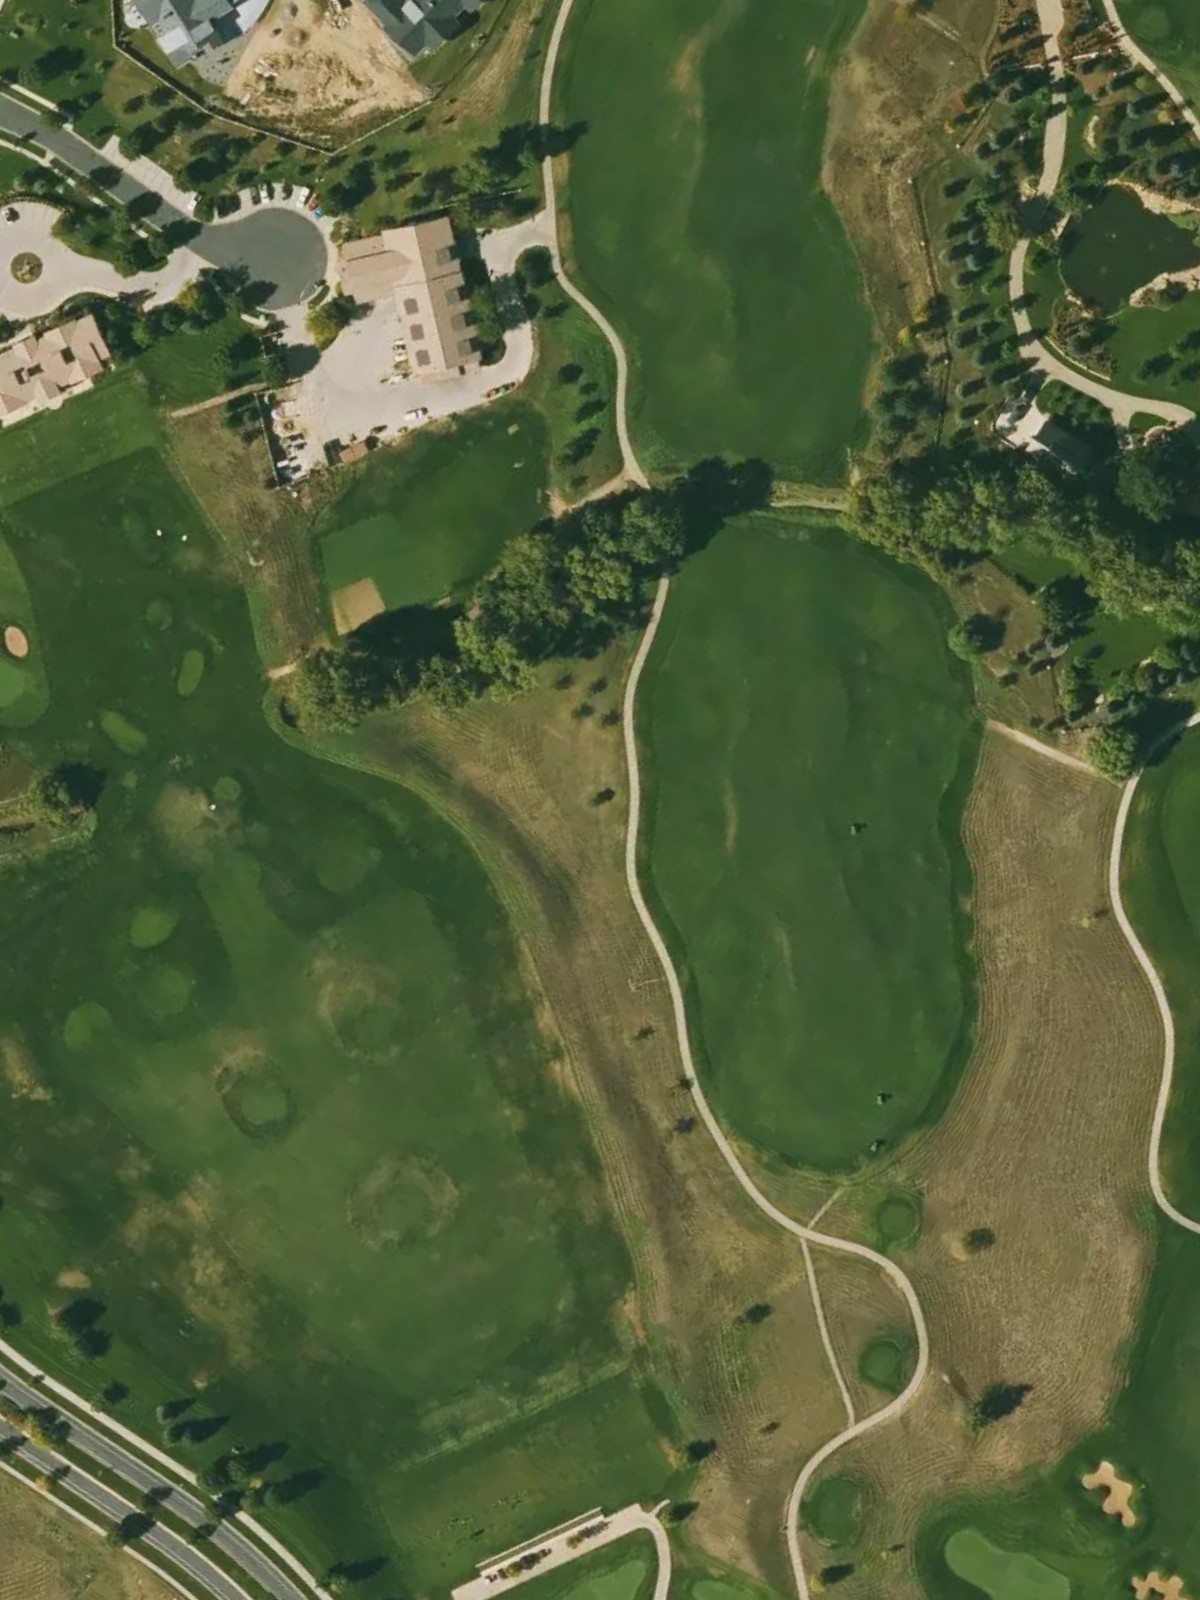
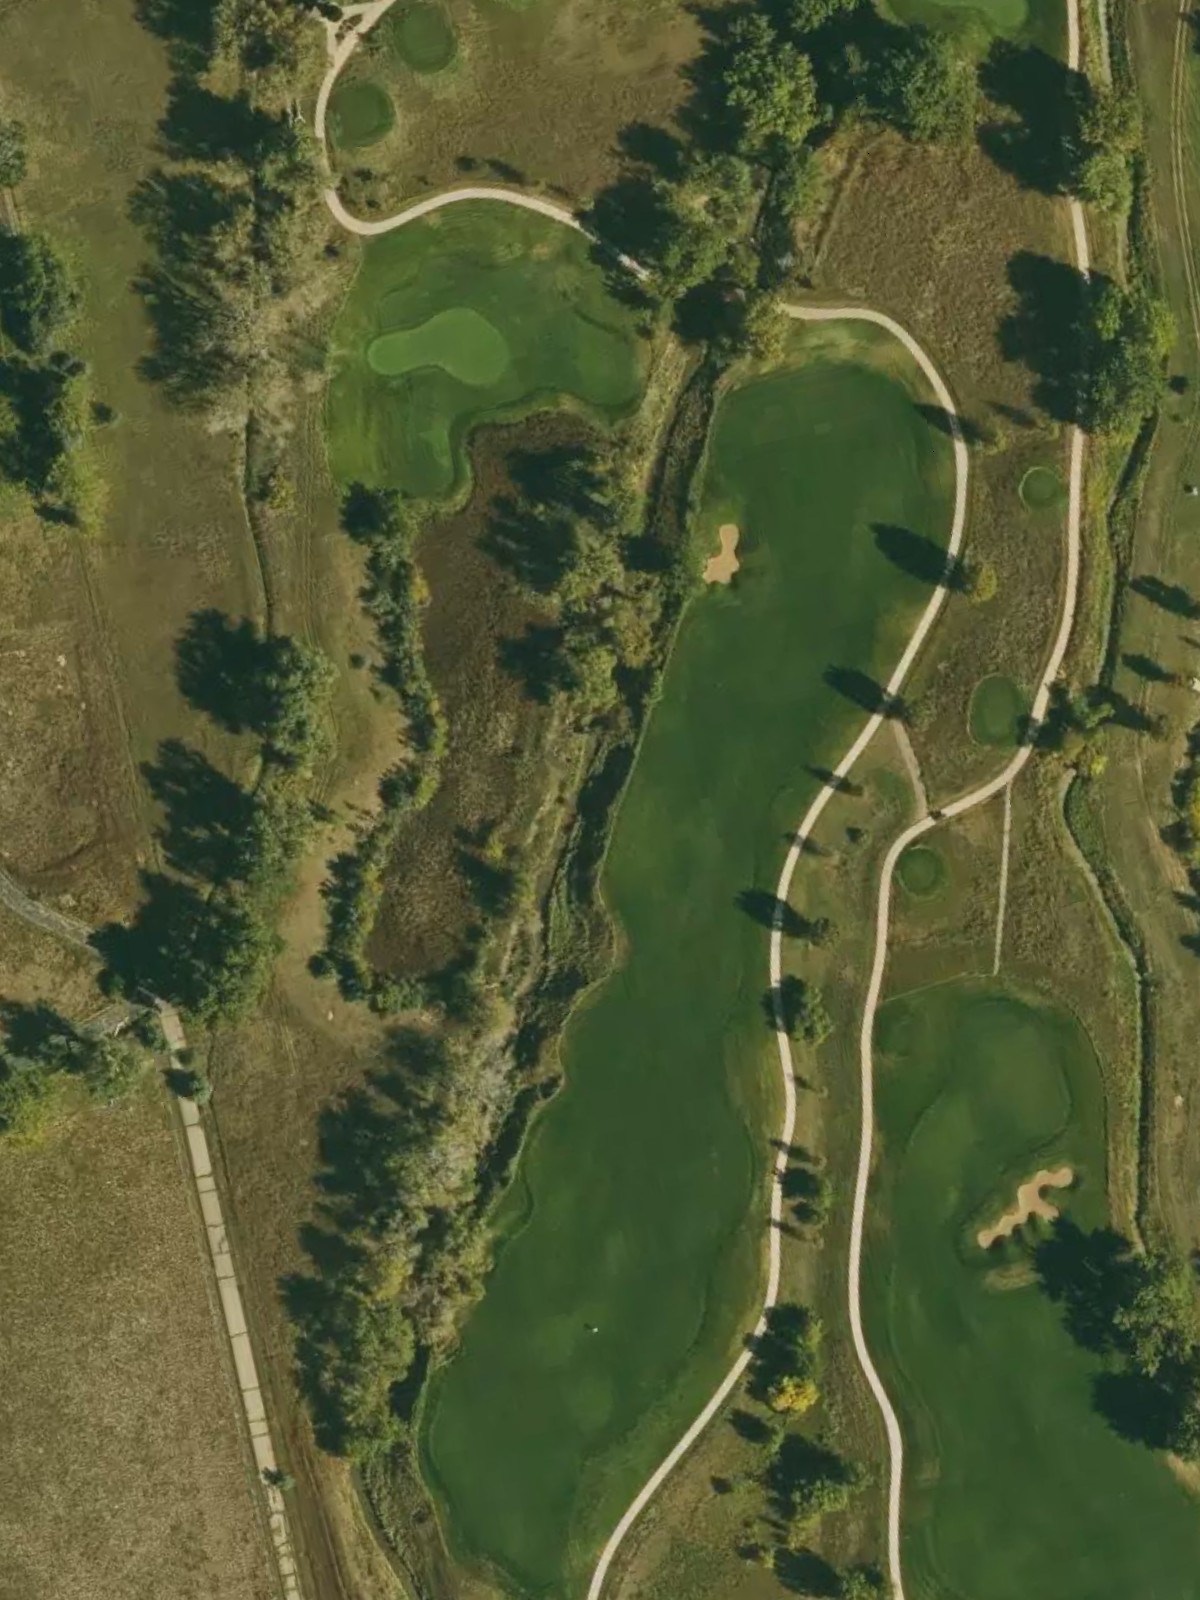
A substantial par 5 with a doglegging fairway and strategic bunkering throughout the hole. The elevated terrain and bunker placement demand careful positioning on both the first and second shots to set up a manageable third.
A short par 4 that plays deceptively because of its confined nature and green-side bunkers. The compact design makes this a precision test rather than a power hole, with little room for error around the putting surface.
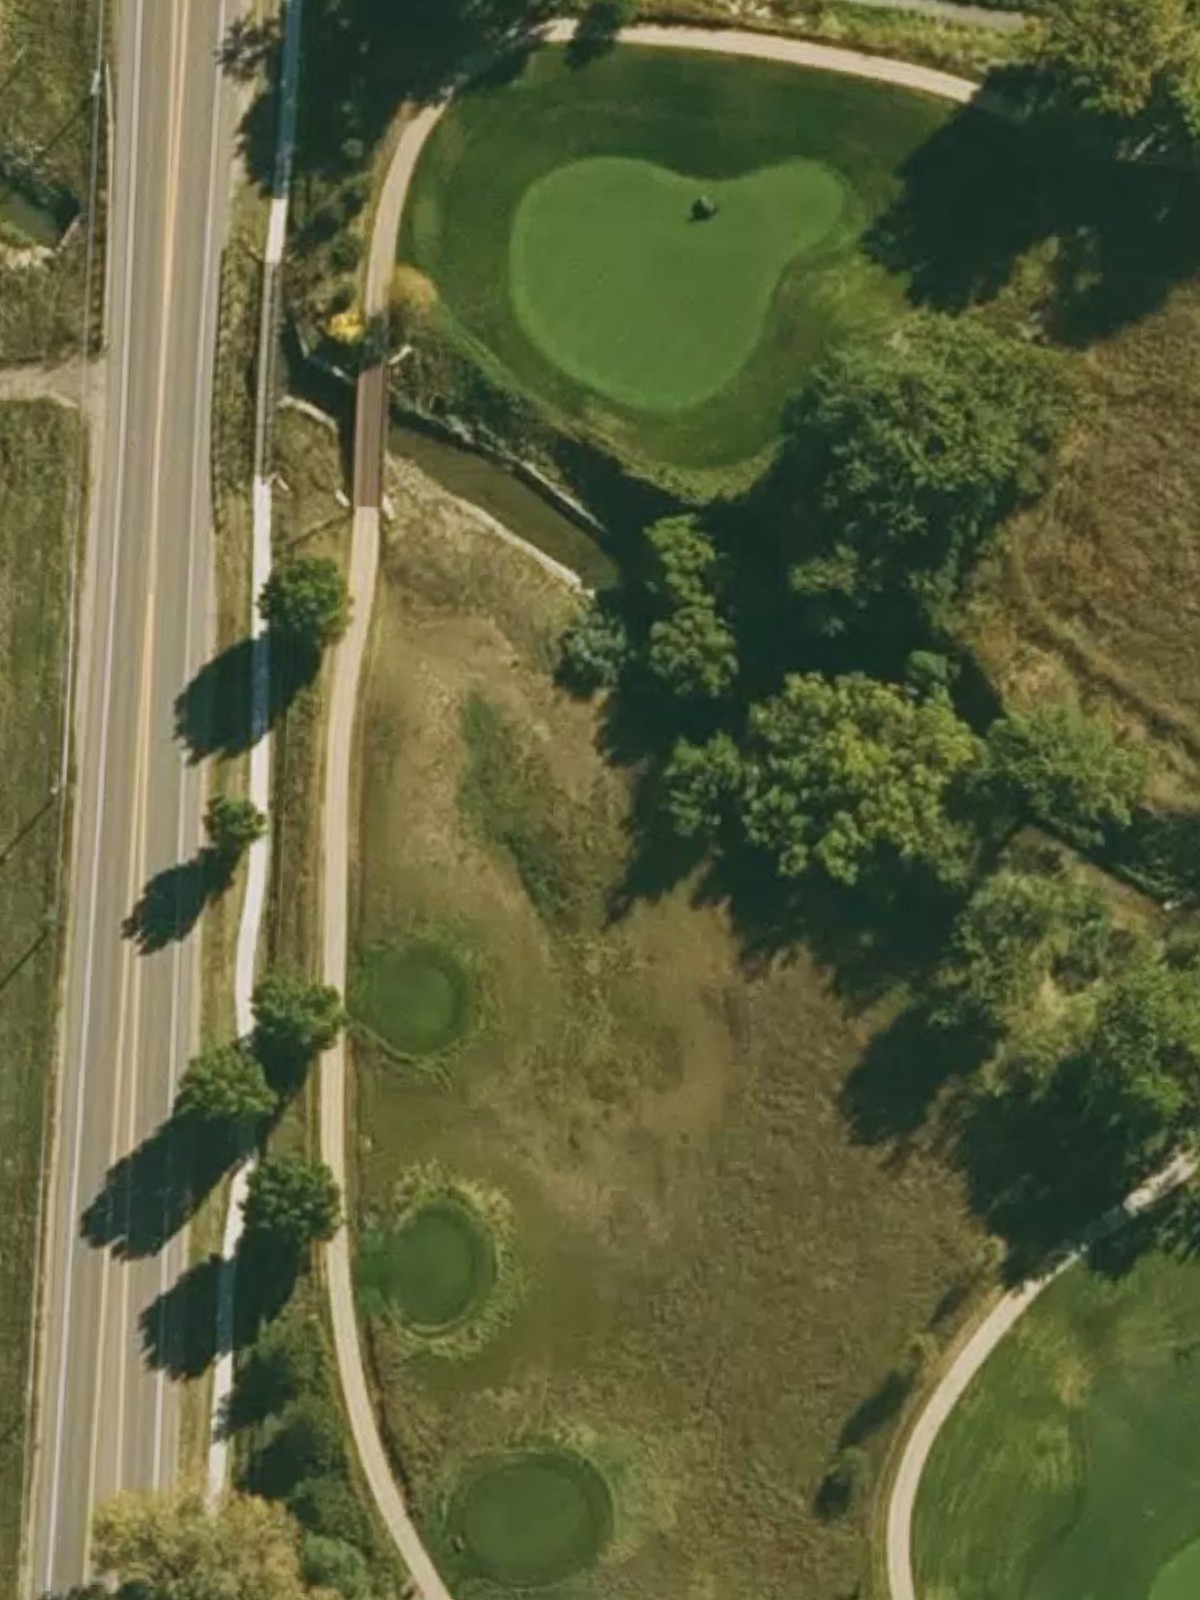
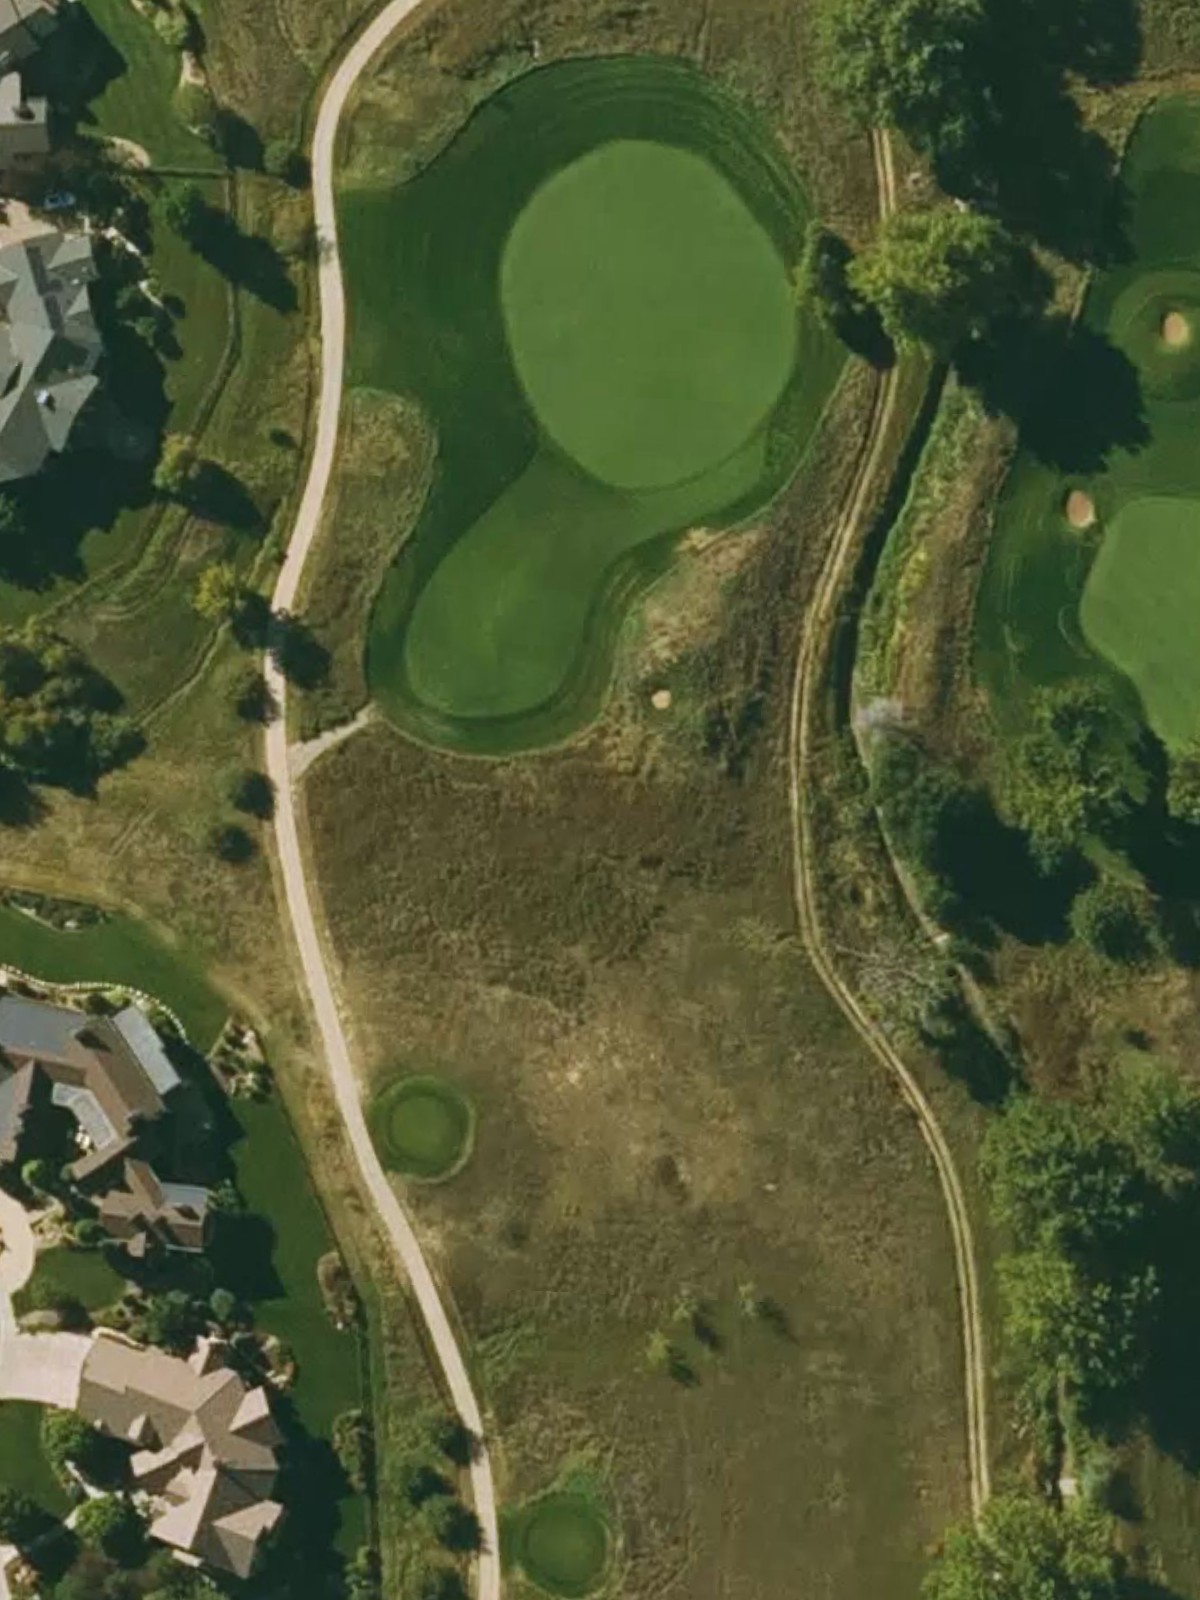
A short par 3 with minimal hazarding, offering a straightforward target to a receptive green. This is the easiest hole on the course, providing a welcome respite and confidence-builder in the opening stretch.
A mid-length par 4 with a fairly open fairway that tightens near the green. Bunkers guard the approach and surround the green complex, making the second shot the defining challenge of the hole.
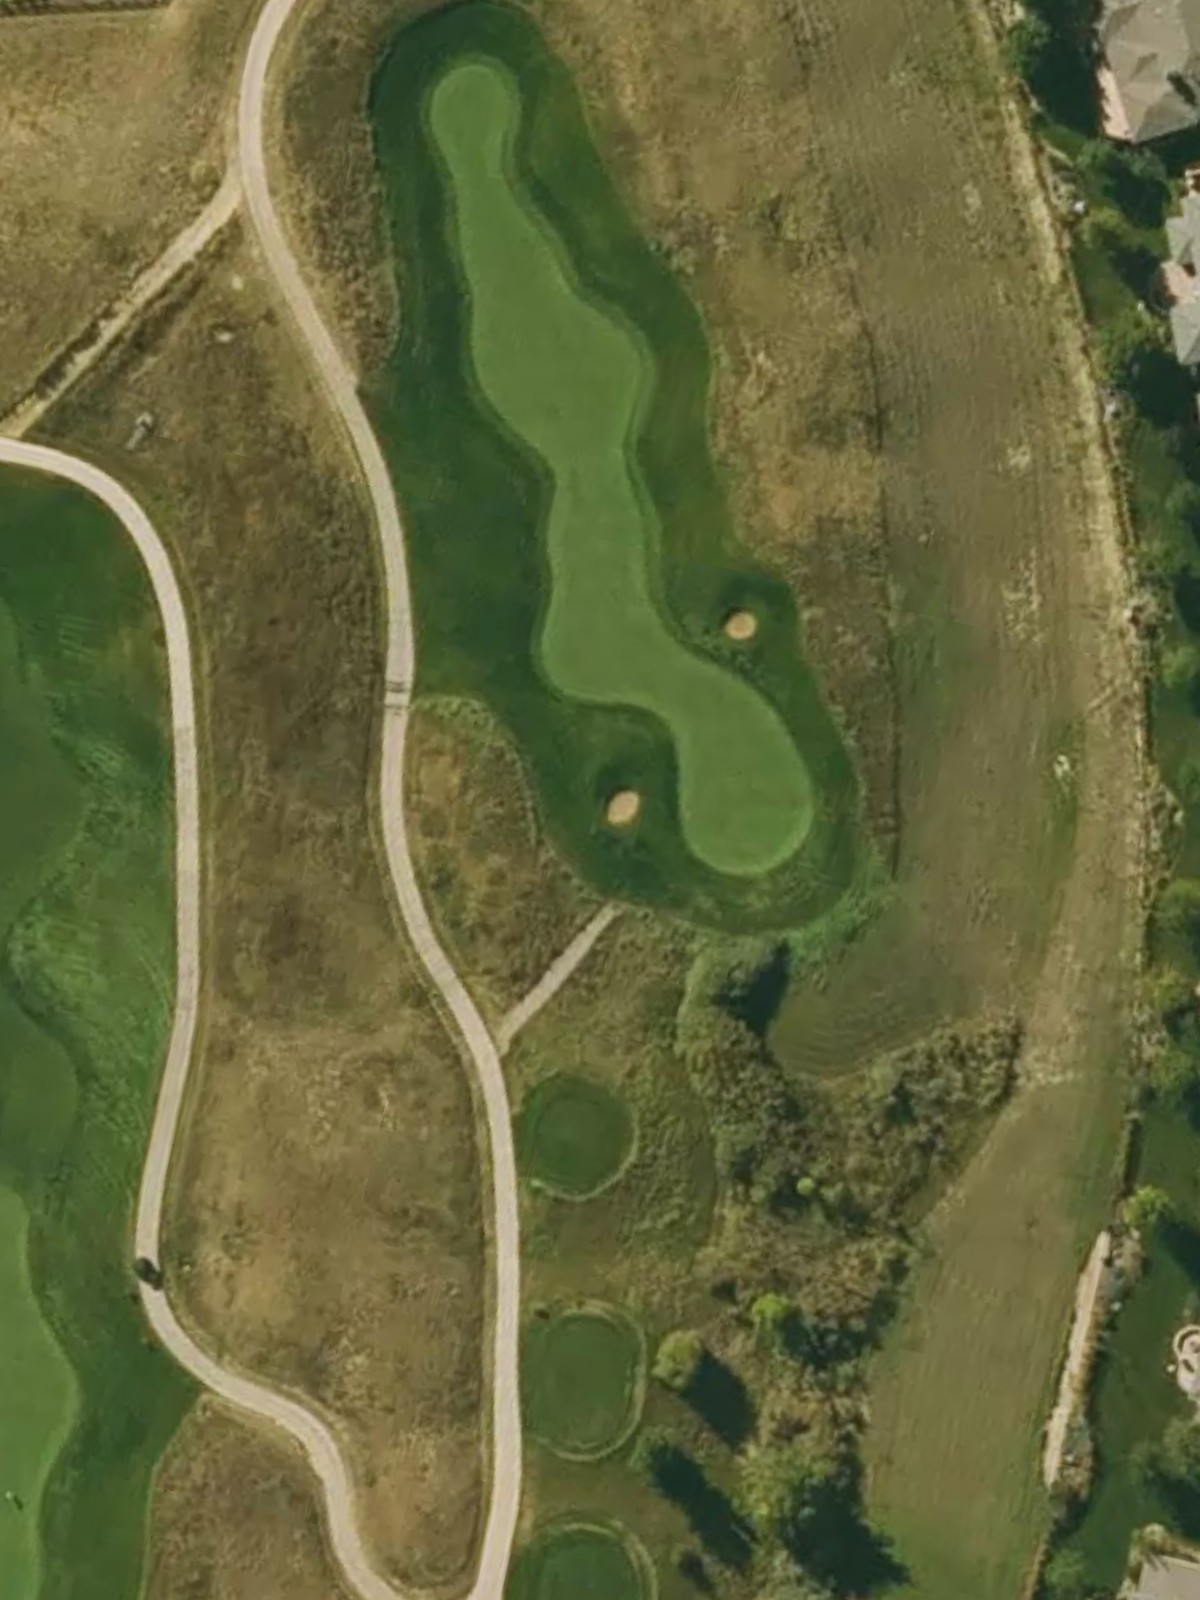
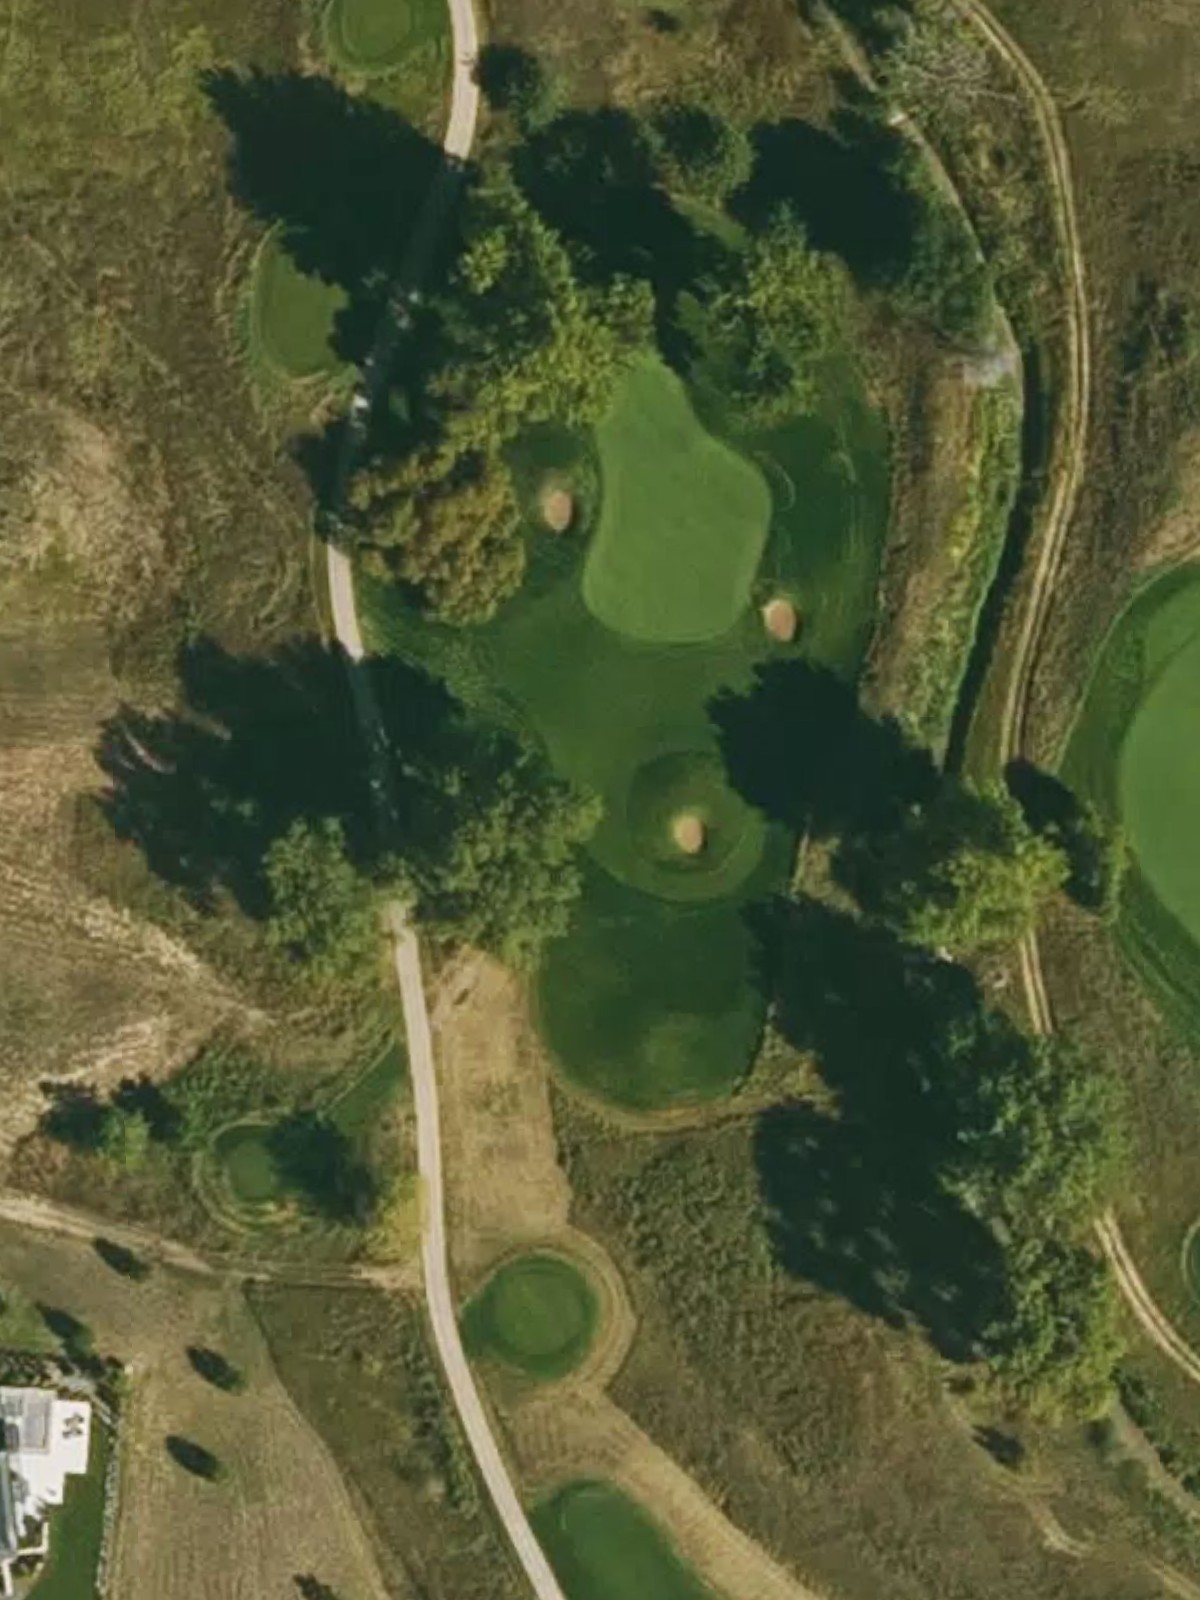
A short par 3 playing to a well-bunkered green with limited bailout area. The small target and strategic hazarding make club selection and accuracy critical despite the hole's modest length.
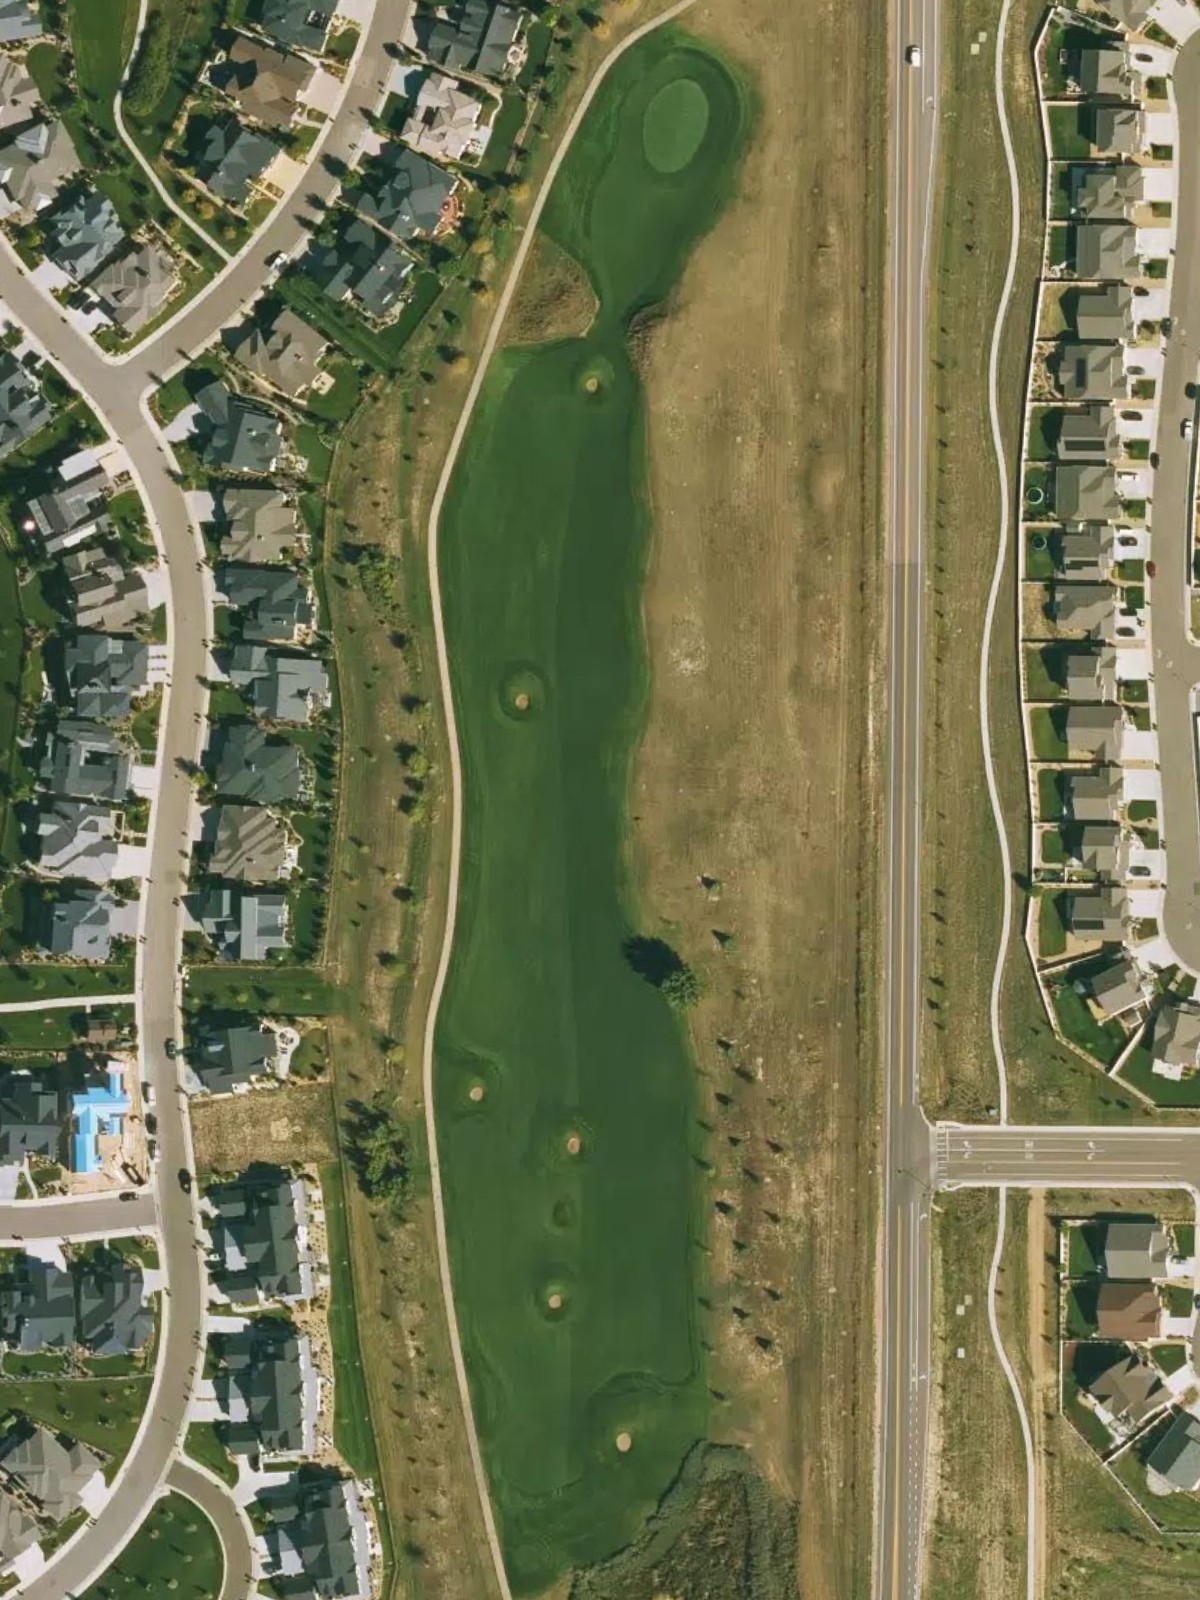
A well-balanced par 5 with strategic bunkering throughout the fairway and surrounding the green. The hole's length and hazard placement demand thoughtful shot sequencing rather than pure power.
A solid par 4 with a straightforward design and strategic bunkering guarding the green. The fairway is relatively open, but the approach shot to a well-defended green is where the hole's difficulty lies.
A very short par 3 that plays as the easiest hole on the course with minimal hazarding. The small length and open green make this a birdie opportunity and confidence builder late in the round.
A short par 4 with a significantly narrower fairway and prominent bunkering near the green. This tight, strategic hole demands accuracy off the tee and a controlled approach to an intimidating green complex.
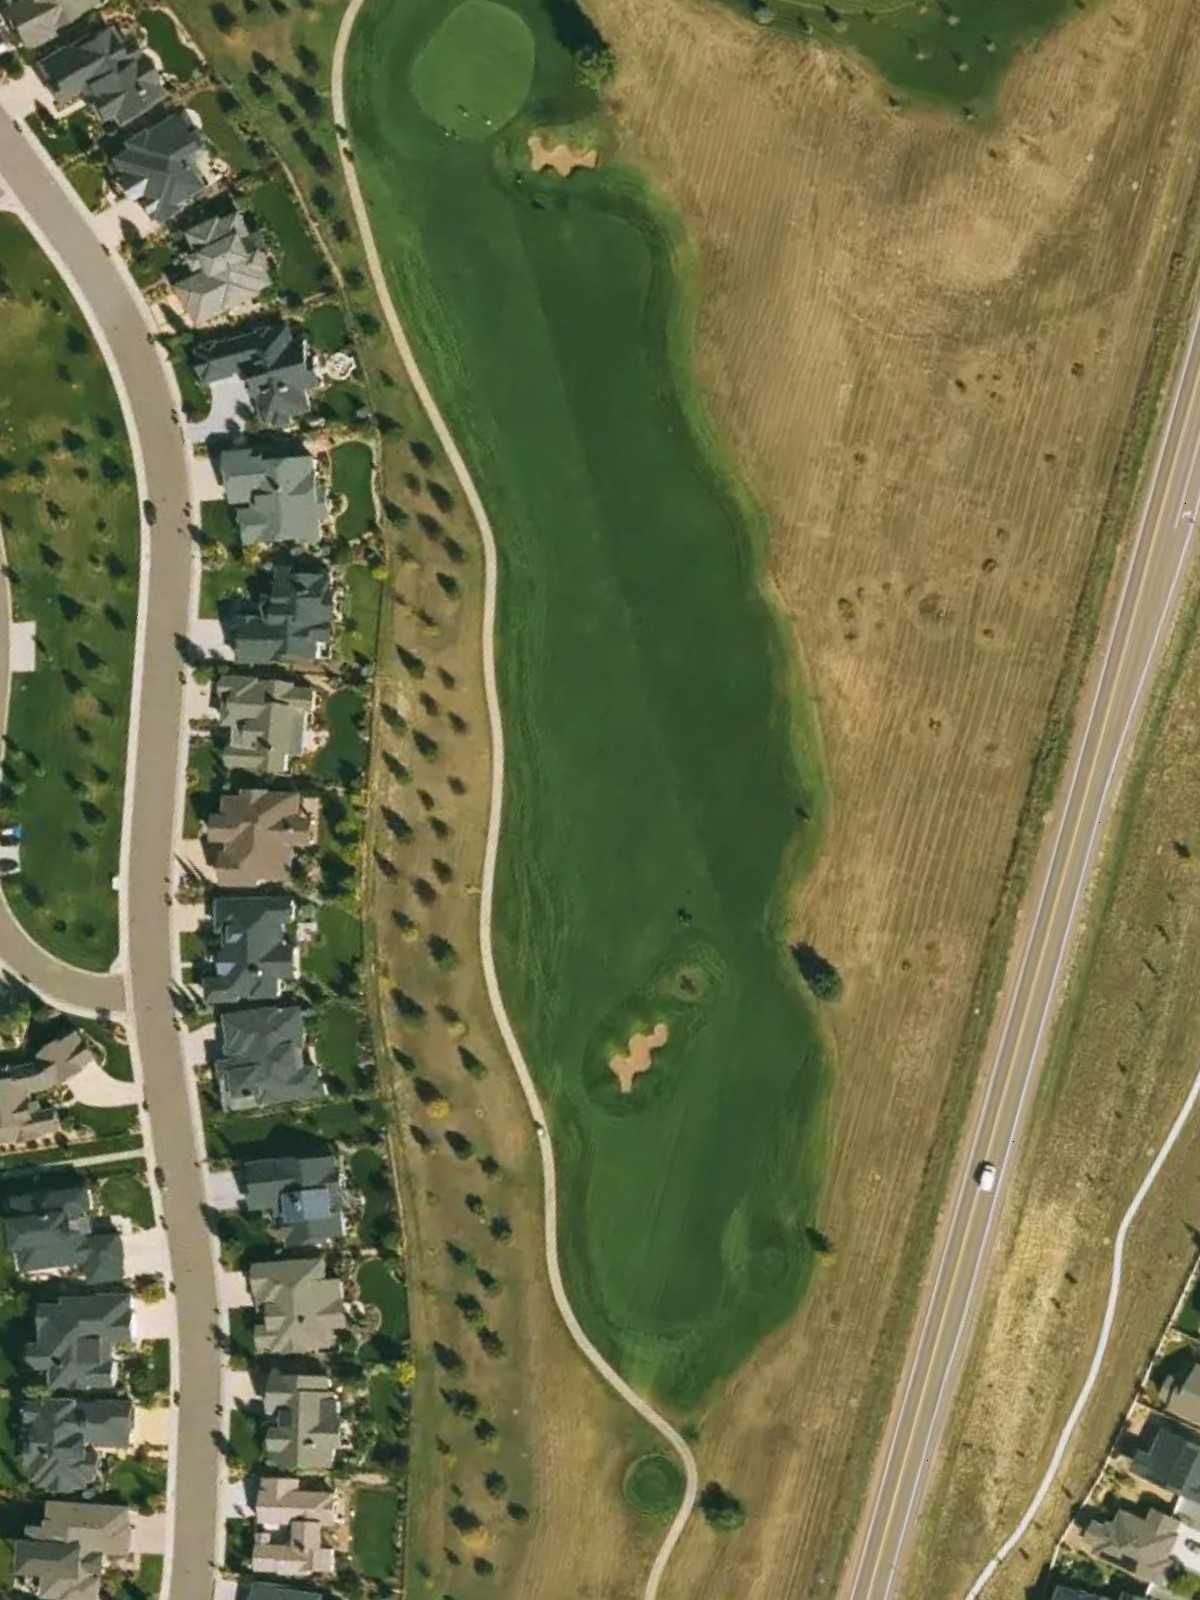
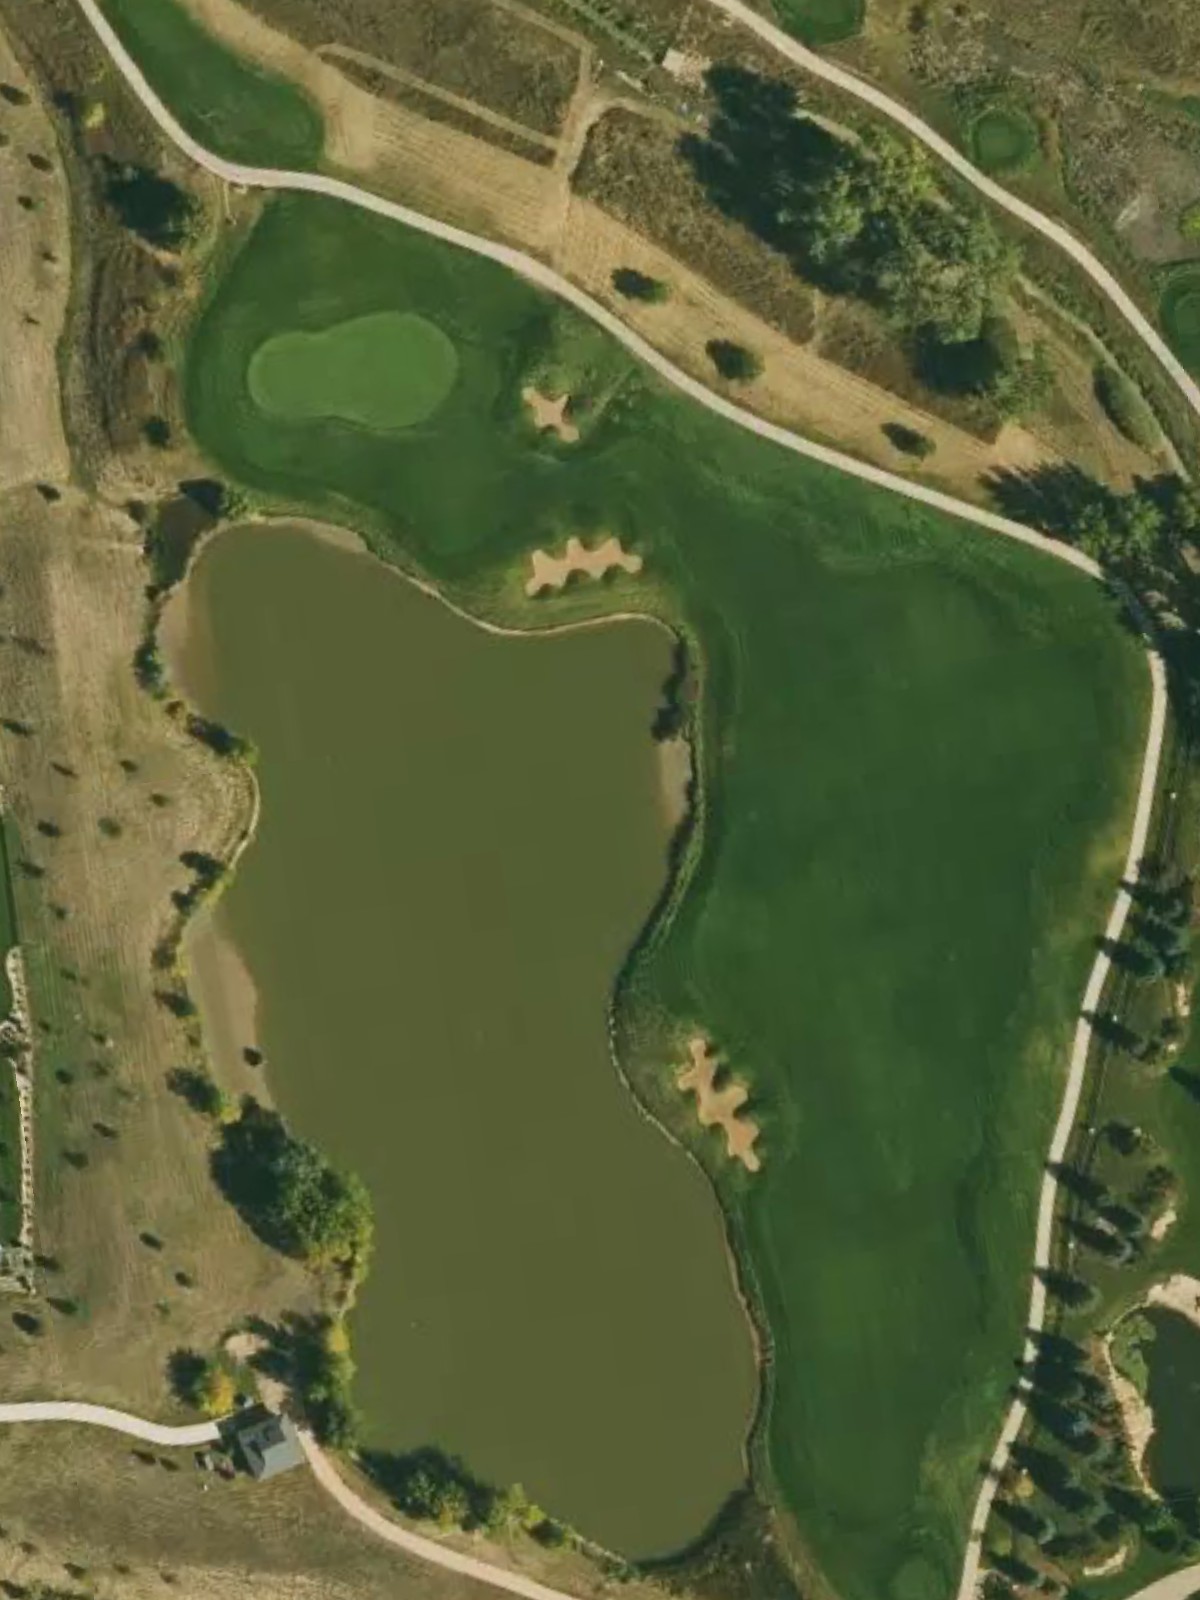
The second-most difficult hole on the course, this imposing par 5 features length and strategic hazards throughout. Bunkers frame the fairway corridor and guard the green complex, making position and club selection paramount on all three shots.
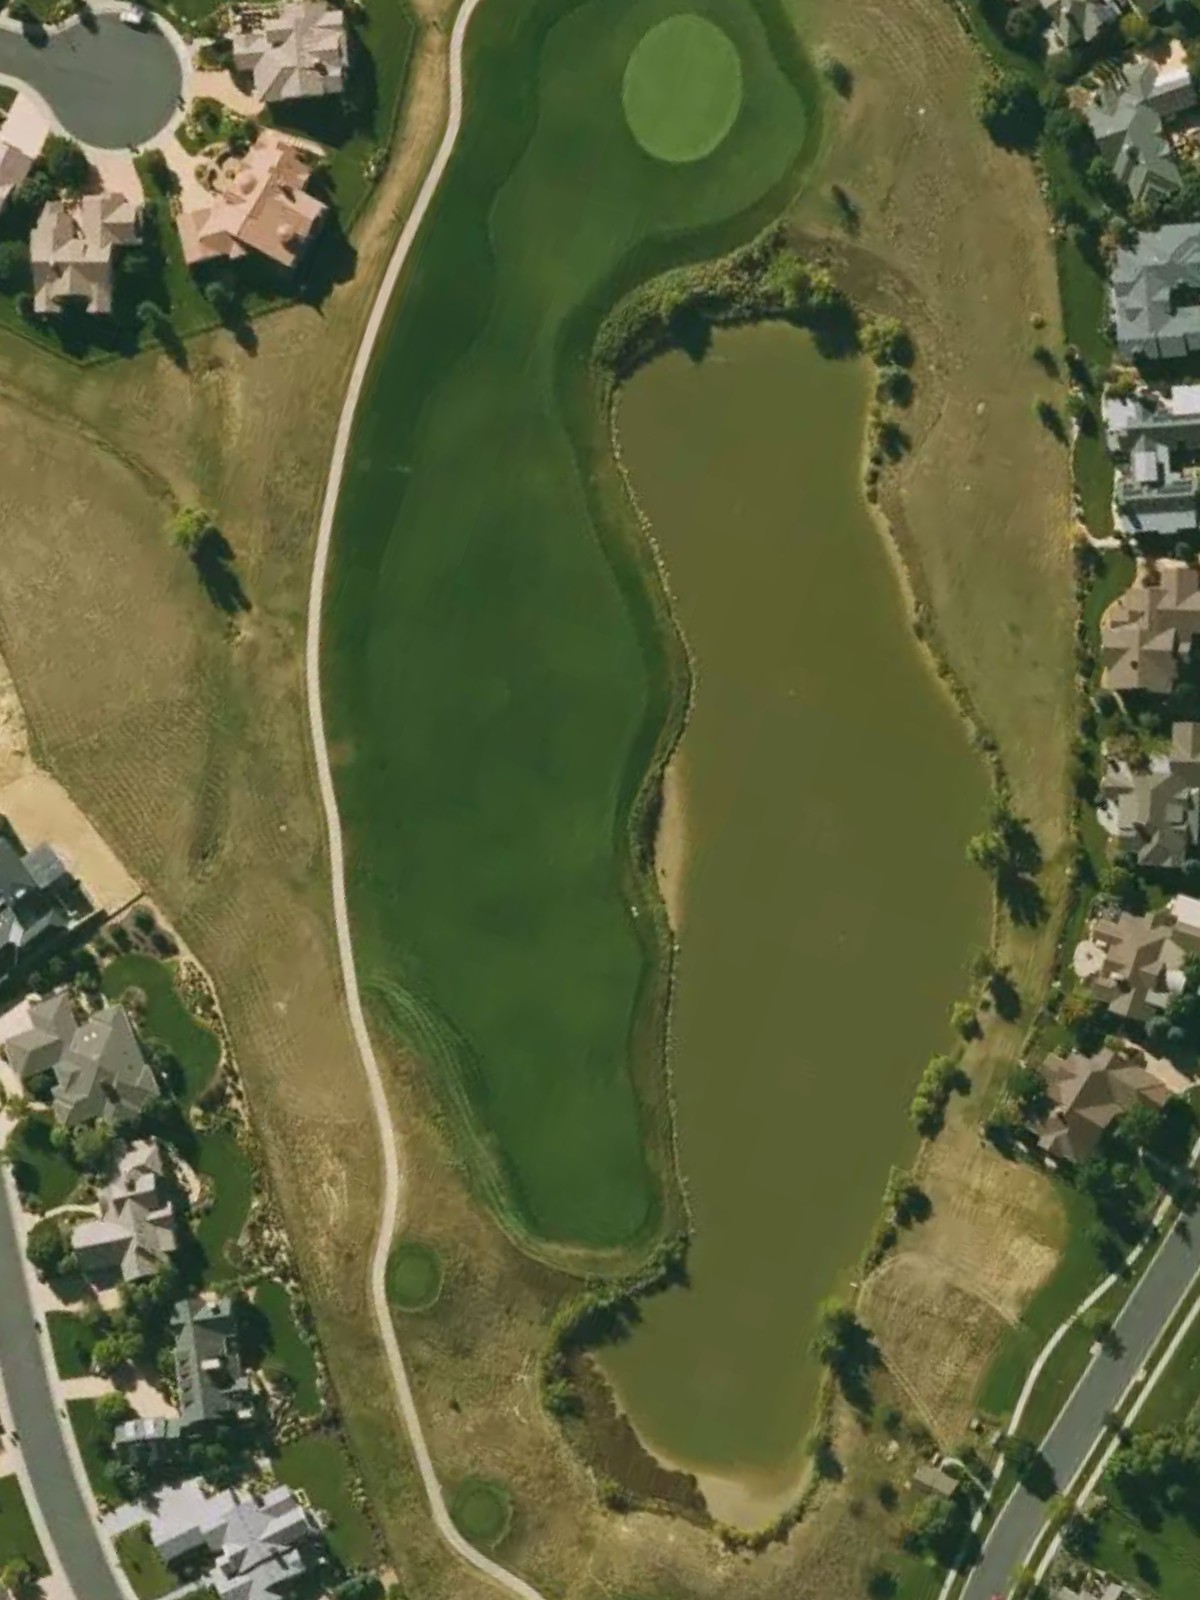
A moderate-length par 3 with a relatively open design and minimal hazarding around the green. This straightforward one-shotter serves as a neutral scoring opportunity with a welcoming target.
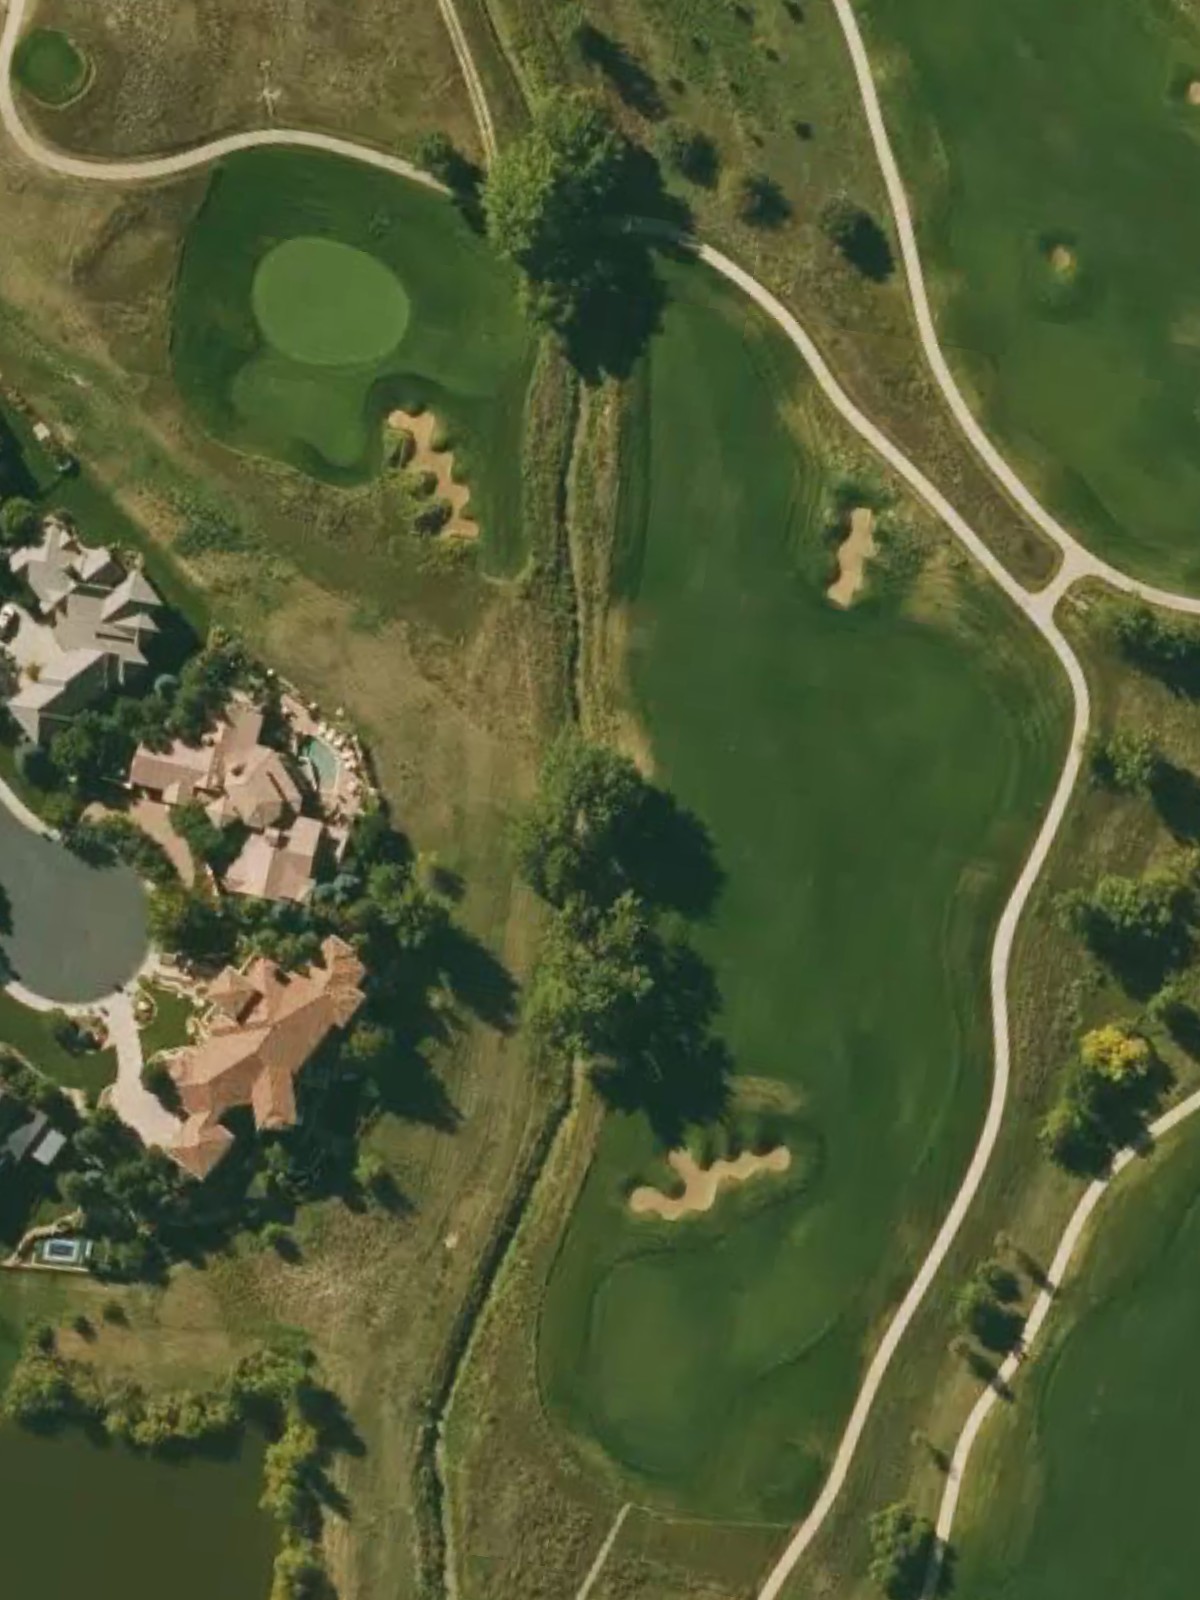
A strong par 4 that demands precise shot-making with bunkers strategically positioned throughout the hole. The fairway narrows near the green, and well-placed hazards penalize both offline drives and poor approaches.
A mid-length par 3 with a well-bunkered green that requires an accurate tee shot to a moderately defended putting surface. The hole's reasonable length and strategic hazarding create a fair test late in the round.
A substantial finishing par 5 with a bold design that can play as a birdie opportunity or a tough finishing hole depending on execution. Strategic bunkering throughout rewards good positioning while penalizing errant shots on this appropriately challenging closer.
Scorecard
| Hole | 1 | 2 | 3 | 4 | 5 | 6 | 7 | 8 | 9 | Out | 10 | 11 | 12 | 13 | 14 | 15 | 16 | 17 | 18 | In | Tot |
|---|---|---|---|---|---|---|---|---|---|---|---|---|---|---|---|---|---|---|---|---|---|
| Par | 4 | 4 | 5 | 4 | 5 | 4 | 3 | 4 | 3 | 36 | 5 | 4 | 3 | 4 | 5 | 3 | 4 | 3 | 5 | 36 | 72 |
| HCP | 7 | 13 | 1 | 5 | 3 | 11 | 15 | 9 | 17 | 10 | 8 | 18 | 12 | 2 | 16 | 4 | 14 | 6 | |||
| gold | 411 | 417 | 637 | 479 | 595 | 370 | 175 | 443 | 197 | 3724 | 570 | 434 | 152 | 400 | 609 | 175 | 425 | 239 | 595 | 3599 | 7323 |
| black | 375 | 397 | 573 | 416 | 595 | 370 | 175 | 381 | 170 | 3452 | 570 | 374 | 152 | 352 | 554 | 154 | 362 | 209 | 560 | 3287 | 6739 |
| blue | 375 | 363 | 573 | 416 | 536 | 327 | 144 | 381 | 170 | 3285 | 532 | 374 | 142 | 303 | 554 | 154 | 362 | 209 | 522 | 3152 | 6437 |
| lt. blue | 331 | 363 | 528 | 371 | 536 | 327 | 144 | 346 | 125 | 3071 | 532 | 338 | 142 | 303 | 516 | 125 | 319 | 175 | 522 | 2972 | 6043 |
| white | 331 | 324 | 528 | 371 | 494 | 279 | 114 | 346 | 125 | 2912 | 487 | 338 | 132 | 280 | 516 | 125 | 319 | 175 | 476 | 2848 | 5760 |
| green | 271 | 324 | 484 | 317 | 494 | 279 | 114 | 292 | 84 | 2659 | 487 | 300 | 132 | 280 | 466 | 93 | 275 | 119 | 476 | 2628 | 5287 |
| red | 271 | 282 | 484 | 317 | 445 | 234 | 83 | 292 | 84 | 2492 | 444 | 300 | 101 | 234 | 466 | 93 | 275 | 119 | 423 | 2455 | 4947 |