Greate Bay Country Club is an 18-hole golf course in Somers Point, NJ with a par of 70. It offers 8 tee sets: black (6,654 yards, slope 127, rating 72.4), blue (6,335 yards, slope 123, rating 70.8), blue/white (6,154 yards, slope 122, rating 70), white (6,033 yards, slope 119, rating 69.3), white/gold (5,639 yards, slope 117, rating 67.4), gold (5,373 yards, slope 114, rating 66.3), green (4,841 yards, slope 109, rating 63.9), silver (4,671 yards, slope 108, rating 63.3). The hardest hole is #2, a par 4 playing 409 yards from the first tee.
Greate Bay Country Club
Somers Point, NJ
Get PDF Yardage Book
We'll email you the PDF link. No spam, ever.
Create Your Game Plan
Pick your tees, enter your bag, and get a personalized shot-by-shot strategy for every hole.

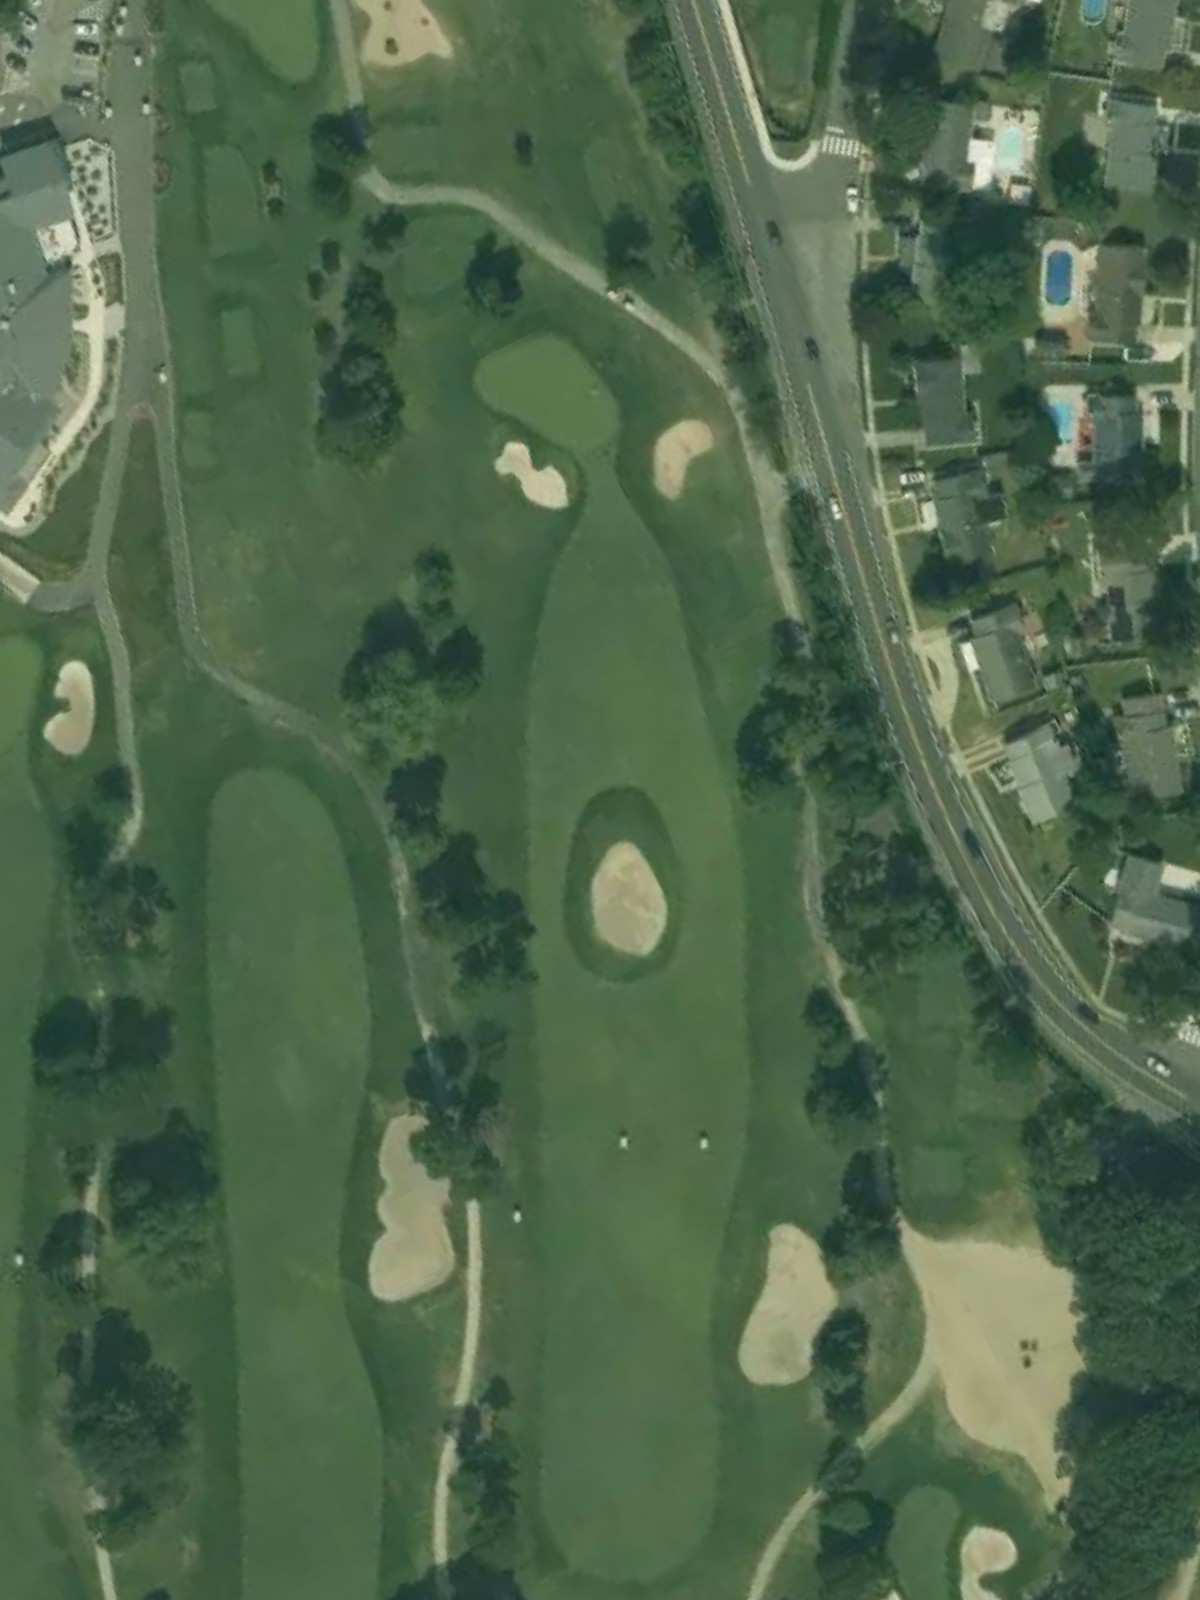
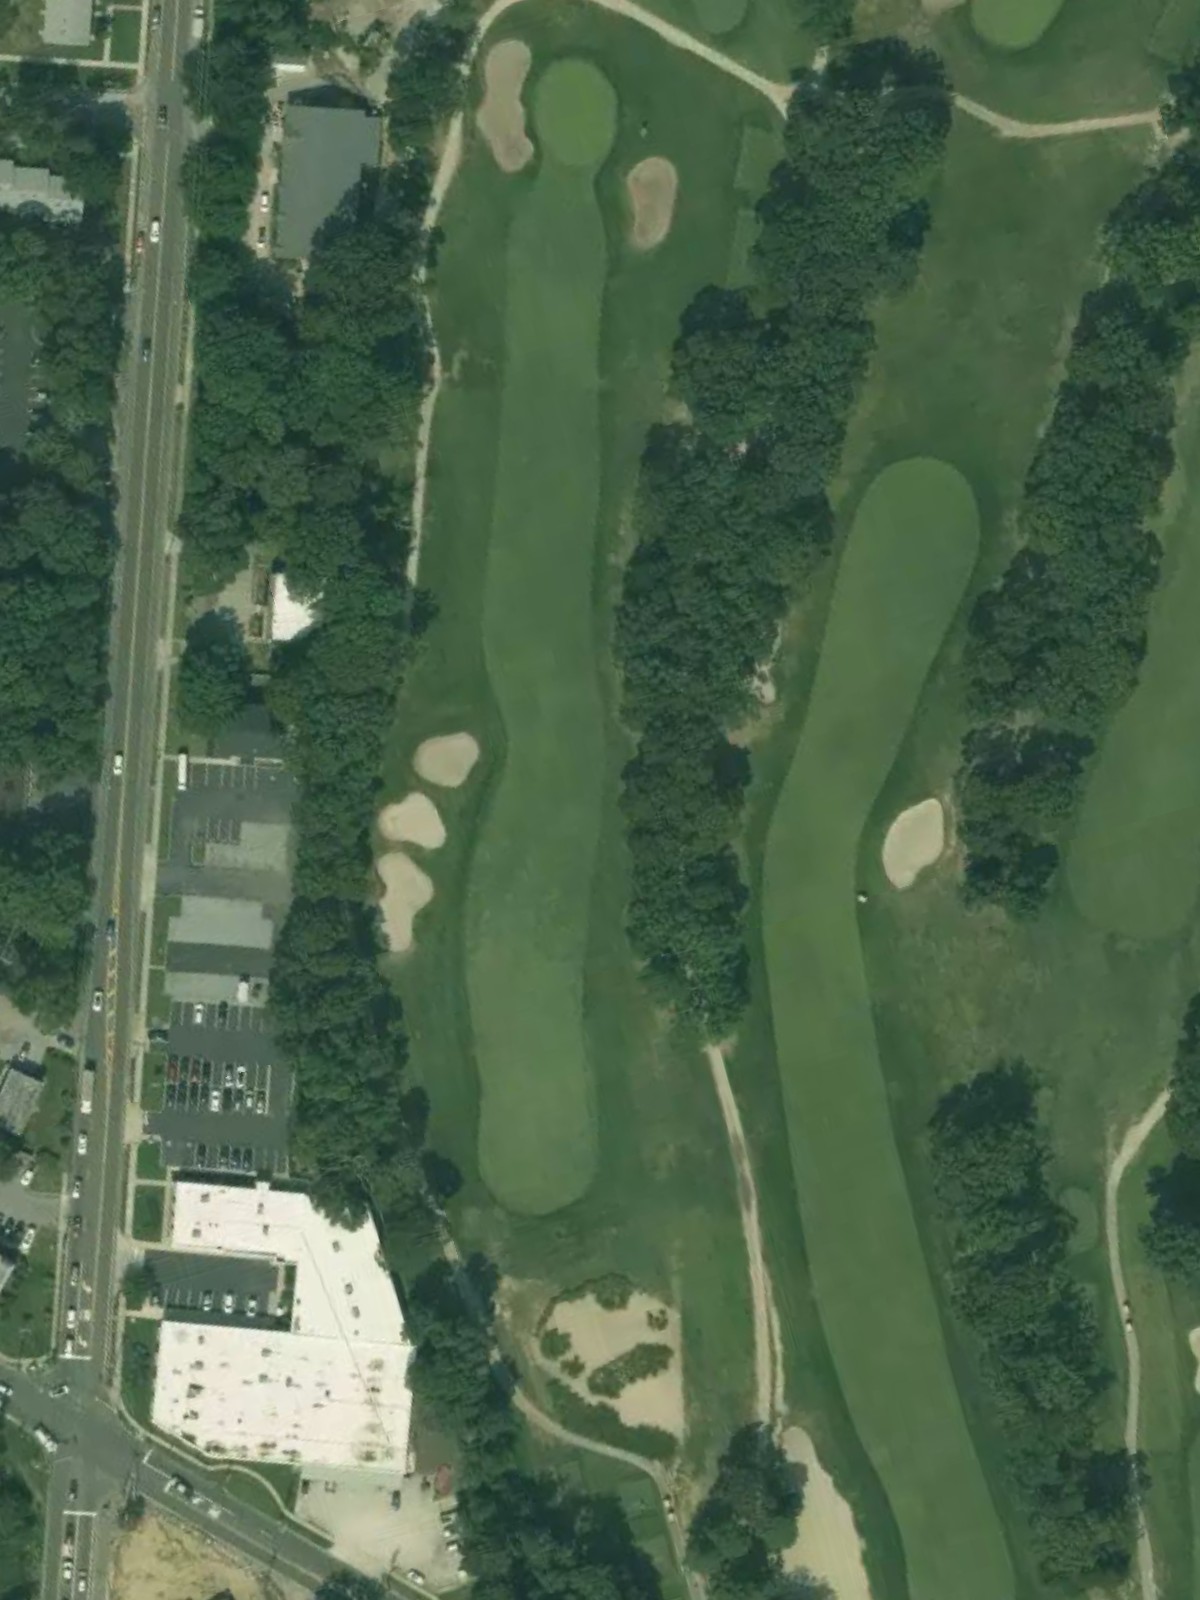
A straightforward par 4 that plays to a relatively short length from most tees. The fairway is open off the tee, with the primary challenge coming from a well-bunkered green that demands accuracy on the approach shot.
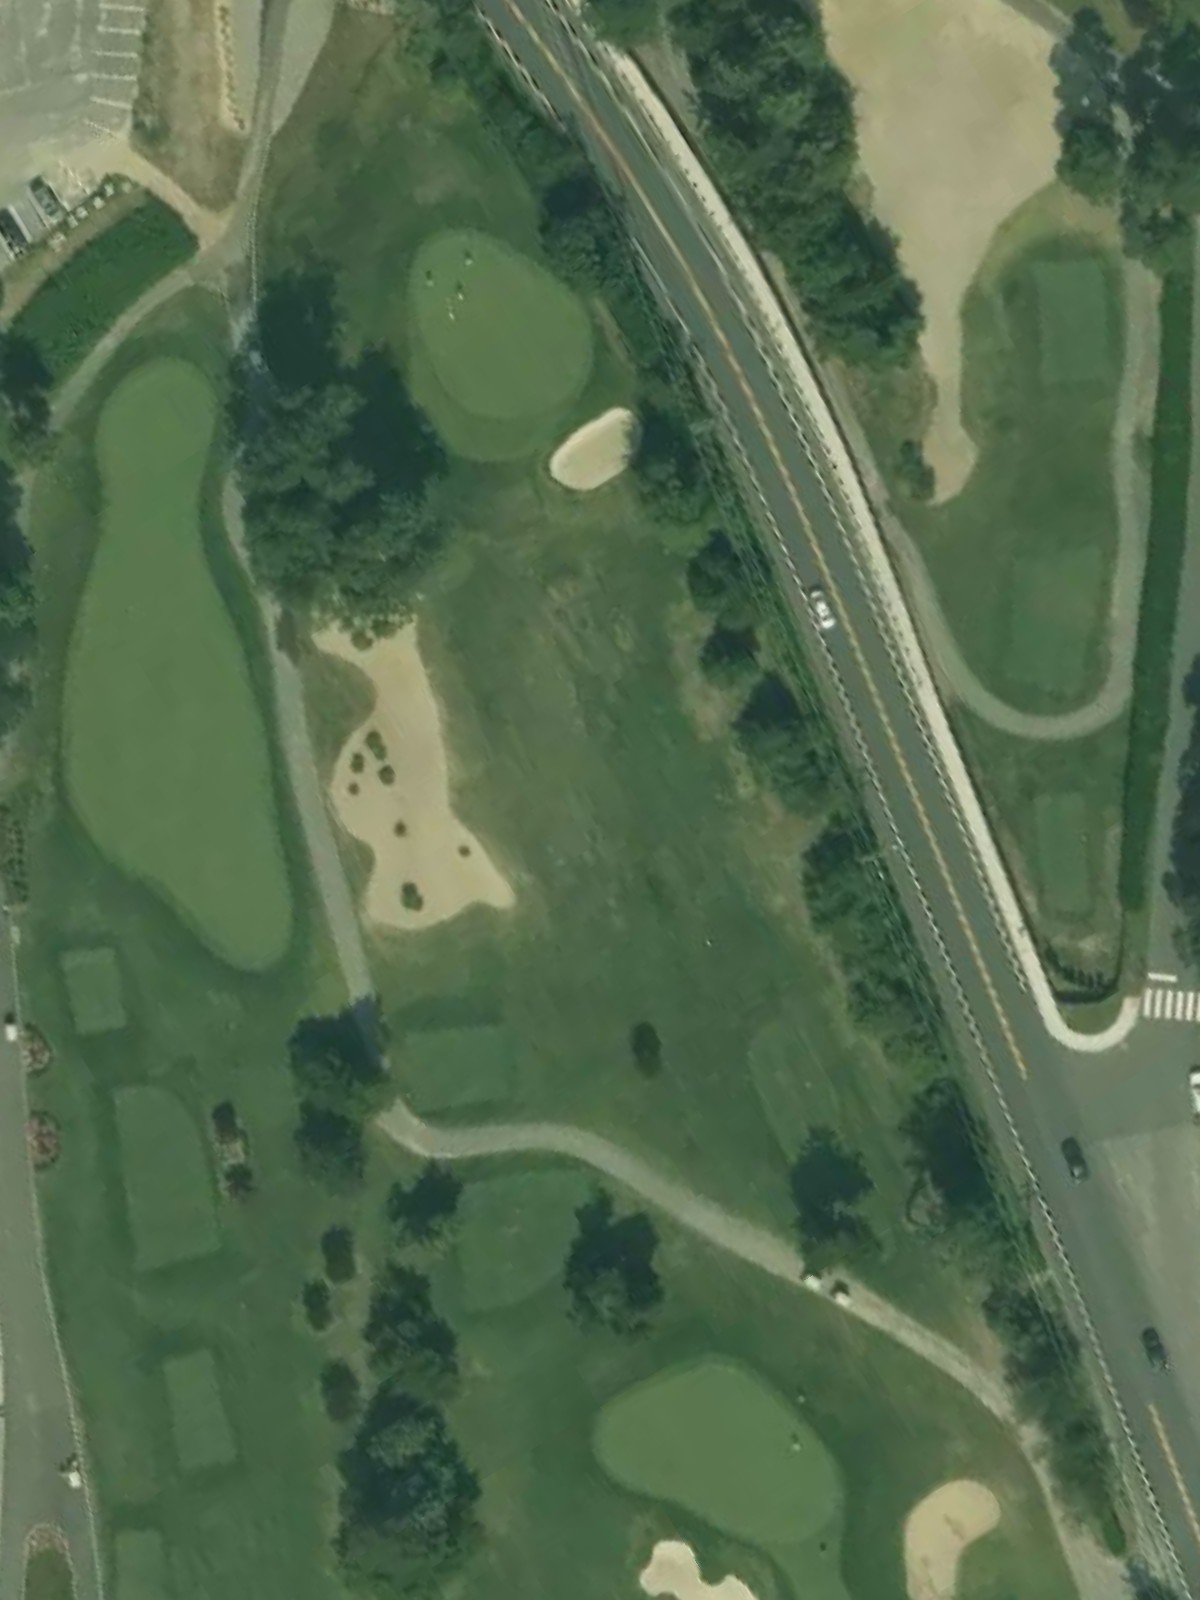
The course's signature test, this long par 4 requires two solid strikes to reach the green in regulation. The fairway is relatively open, but the approach must navigate around greenside bunkers that protect a shallow green.
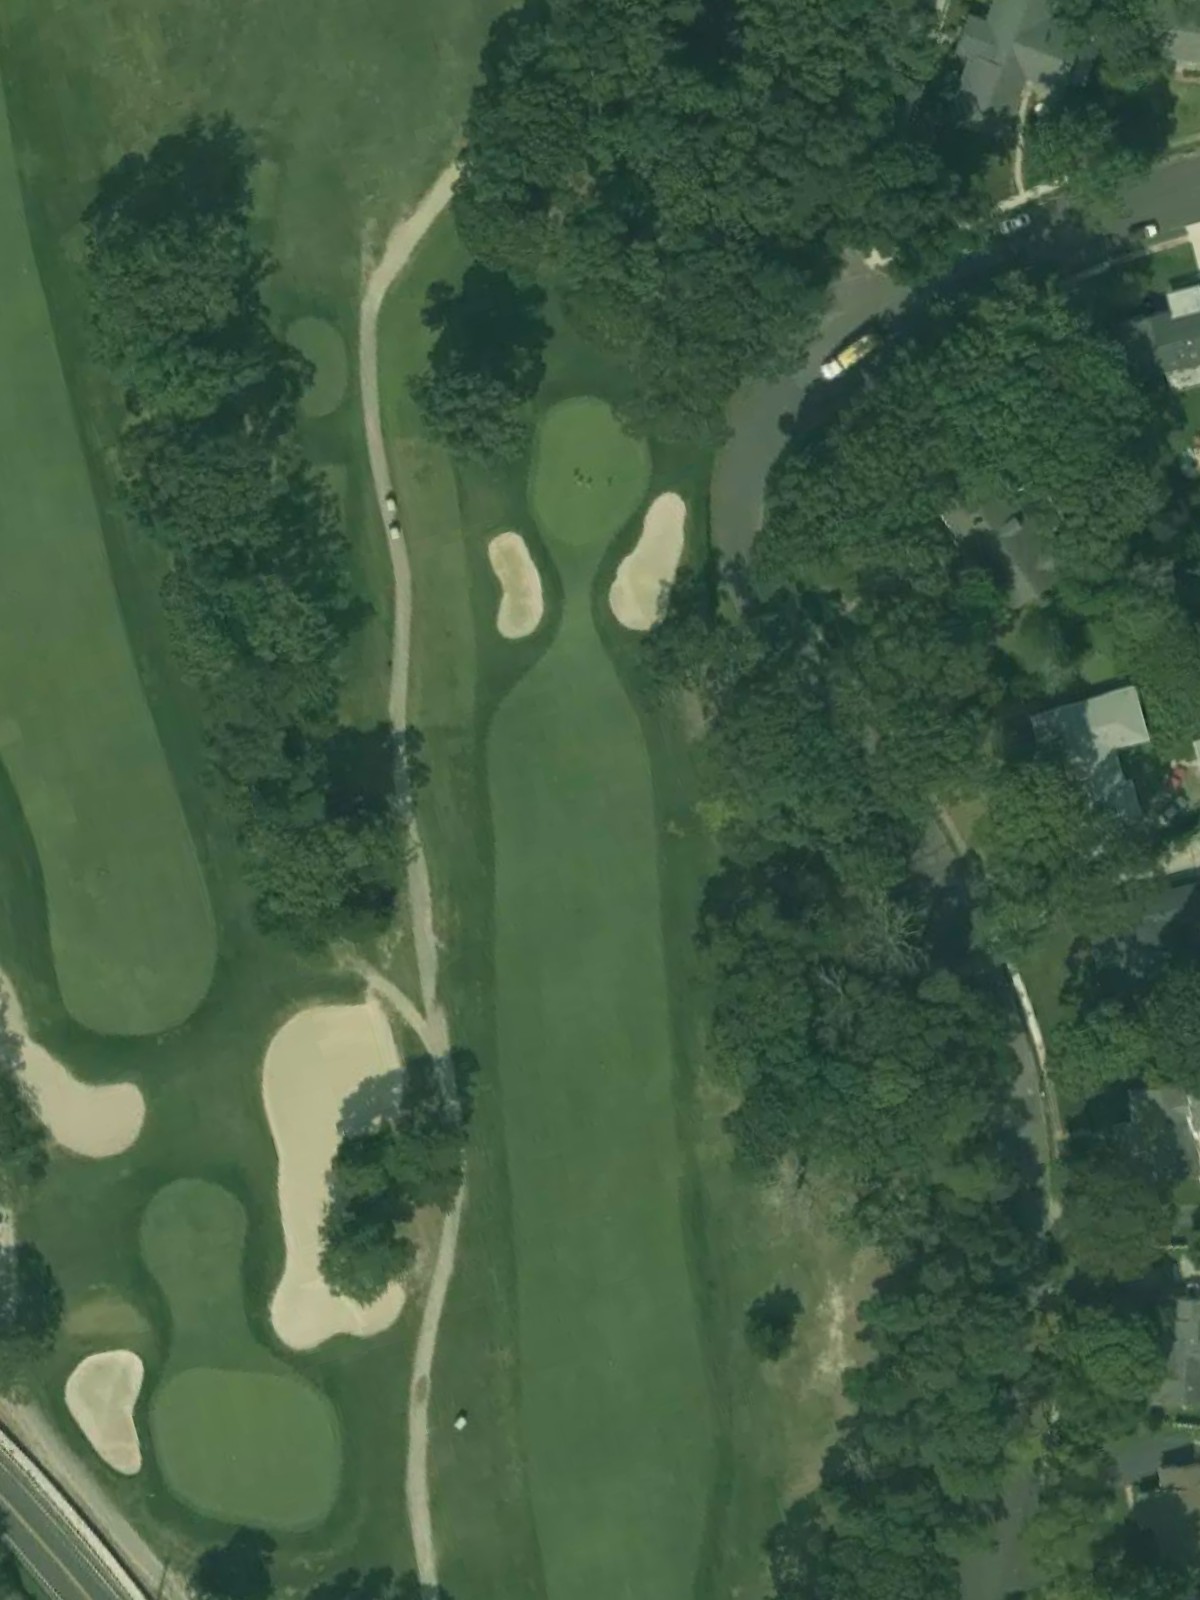
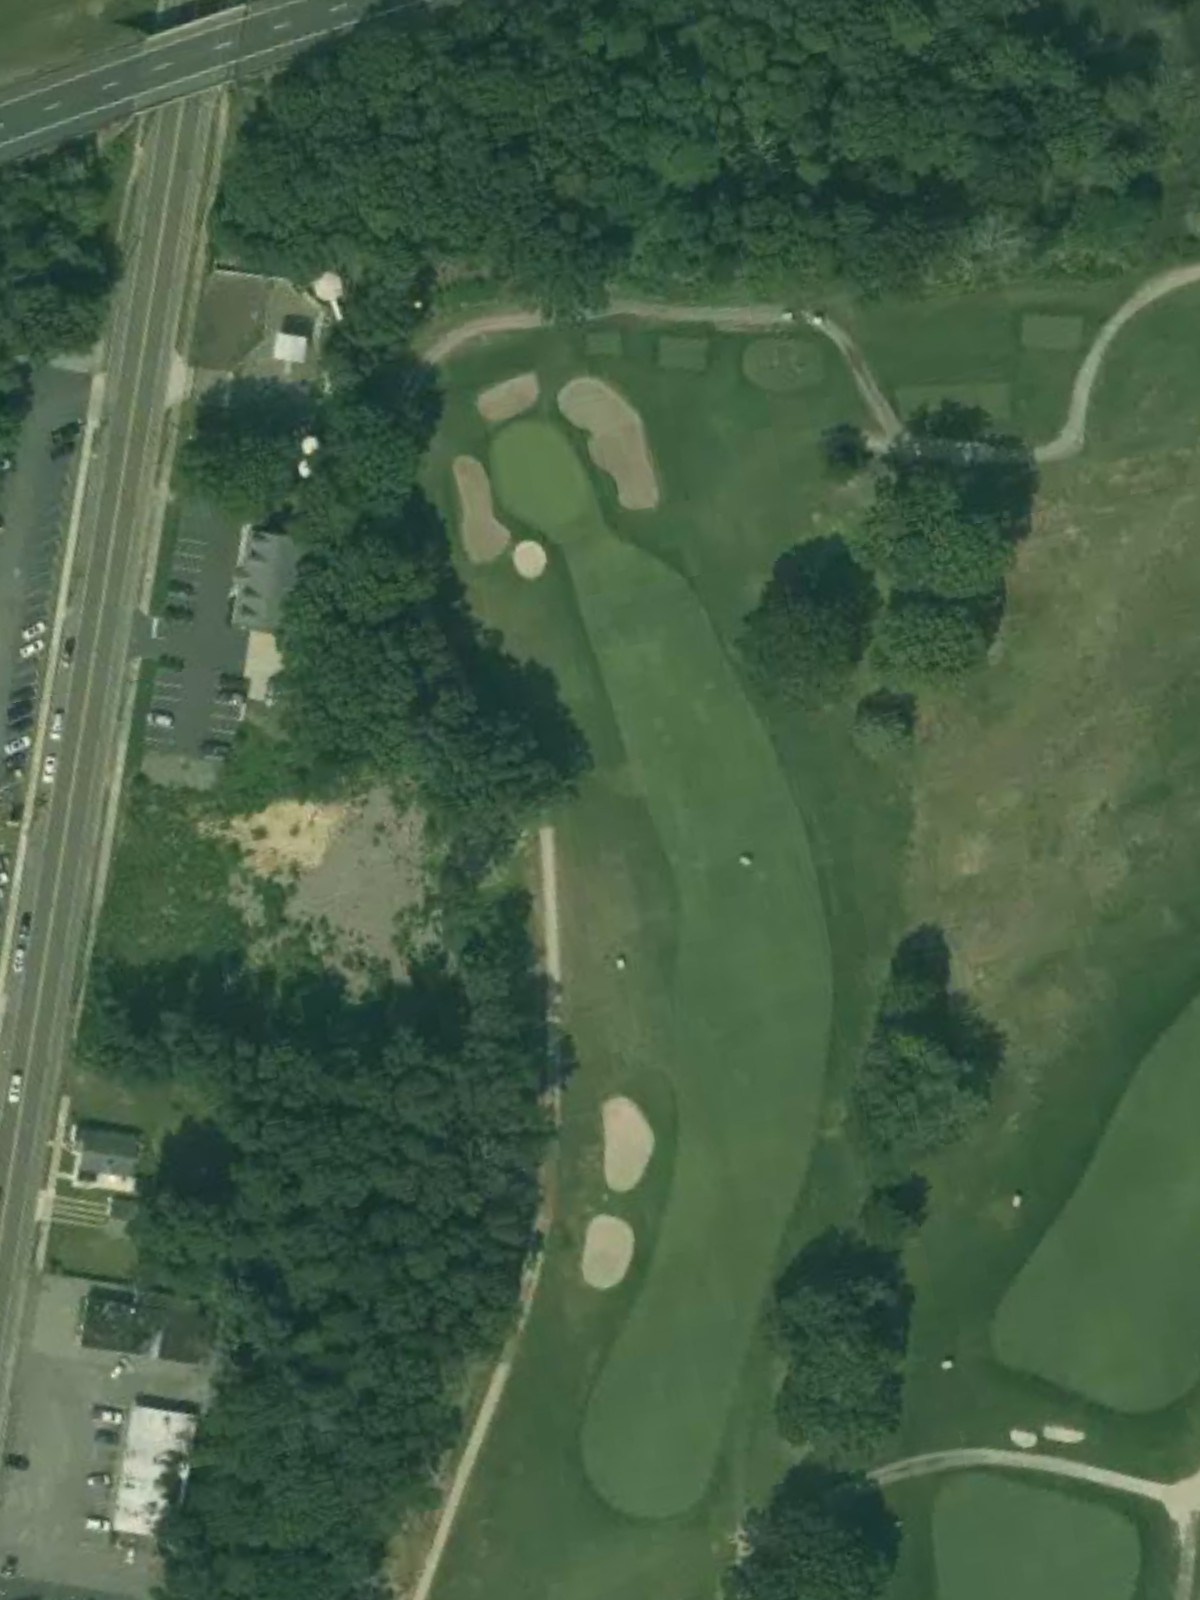
A short par 3 playing under 130 yards from the back tees, making it one of the course's most accessible holes. Despite its brevity, precise distance control is essential to avoid the bunkers surrounding the small green.
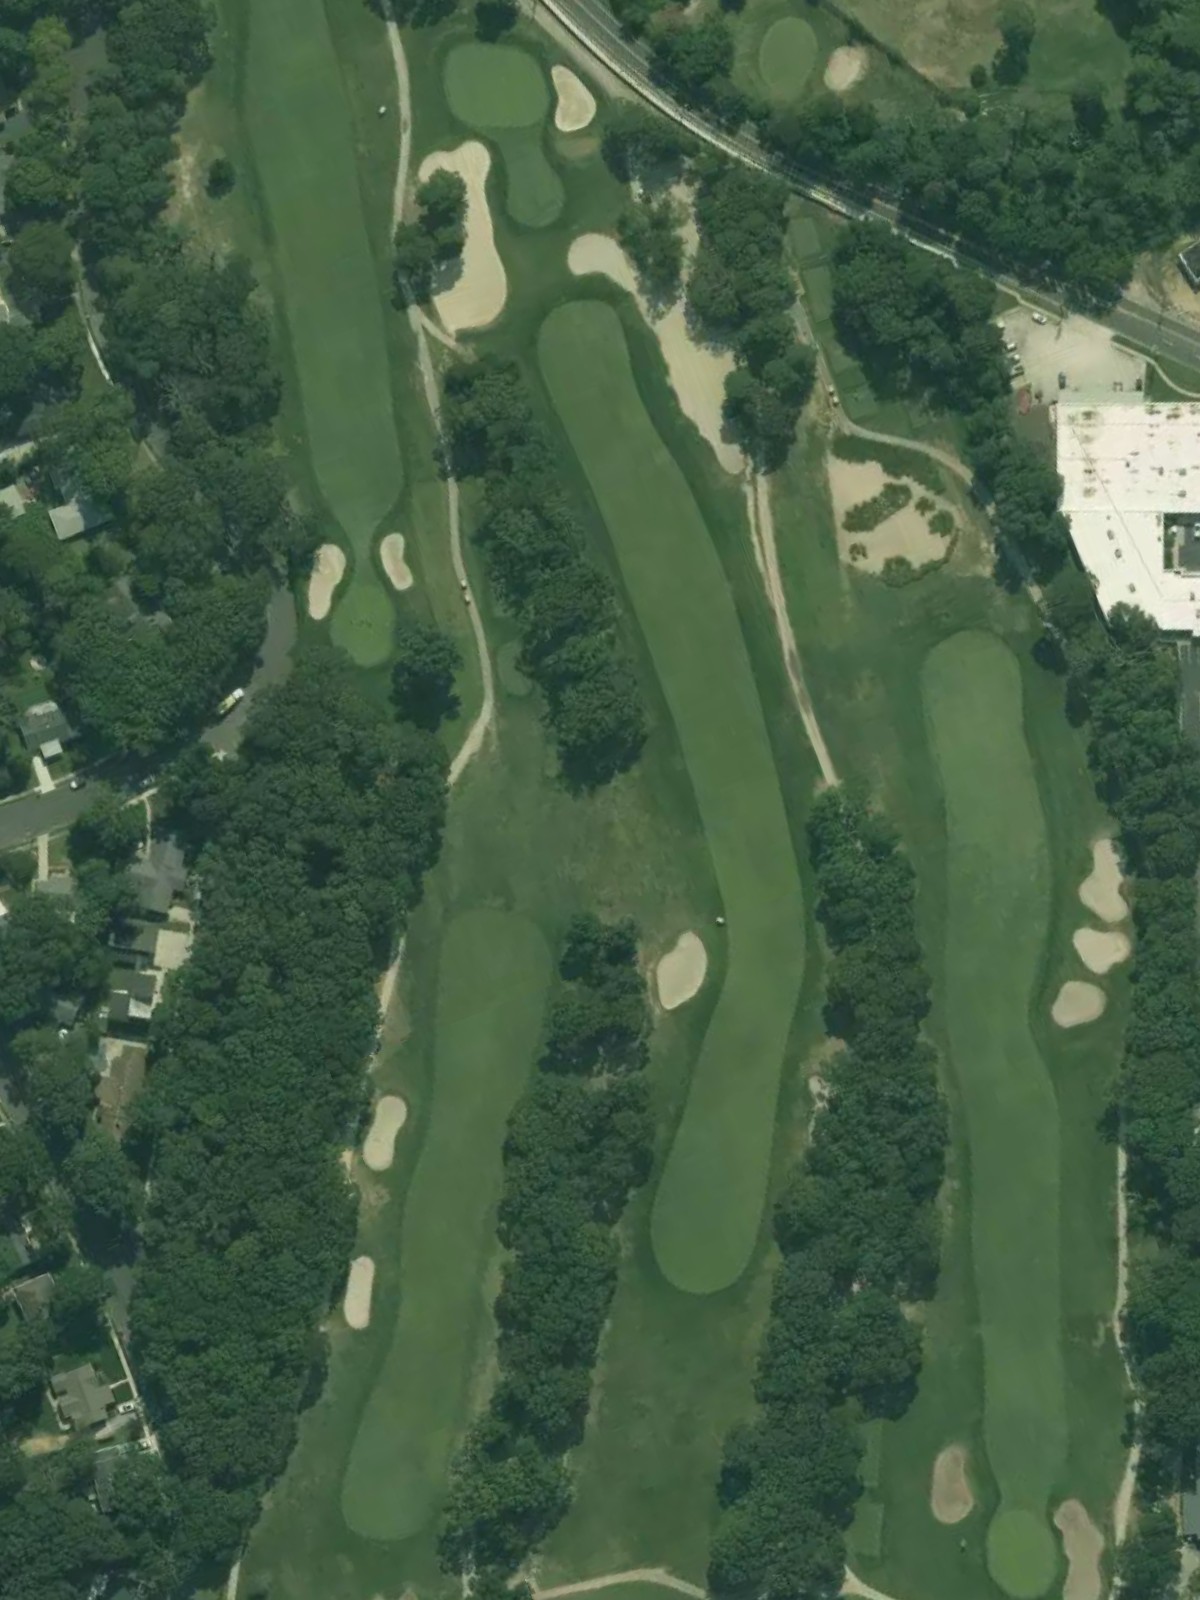
A mid-length par 4 with a straightforward layout and a fairway that invites an aggressive tee shot. Bunkers frame the approach to the green, which sits in a relatively open area of the course.

A solid par 4 with enough length to demand a quality second shot into the green. The hole features a narrow landing area off the tee, with bunkers positioned to catch wayward approaches.
The course's first par 5 plays to over 500 yards and represents a genuine birdie opportunity for those who can navigate its length. The fairway opens up off the tee, though strategic bunkering comes into play on the approach.
A difficult par 4 that ranks among the course's toughest holes due to its length and design. Bunkers and possibly water hazards create a challenging approach to a well-protected green.
A mid-length par 4 with a relatively open fairway and moderate approach shot requirements. The green is the focal point, with bunkering and potential hazards dictating the complexity of the second shot.
A mid-length par 3 that demands solid distance control and accuracy to find the green. Bunkers and hazards surround the putting surface, making club selection critical.
A long par 4 that plays significantly from the back tees and represents one of the back nine's most demanding holes. Fairway bunkers and greenside hazards create a strategic test throughout the hole.
A stern par 4 that ranks as the fourth-hardest hole on the course due to length and design difficulty. The fairway narrows approaching the green, where bunkers and hazards demand a precise second shot.
The second-hardest hole on the course, this par 4 plays long and punishes imprecision on both the tee and approach. Water and bunkers frame the green, creating a significant finishing challenge.
A mid-range par 3 requiring solid accuracy and distance control to avoid the surrounding hazards. The green is relatively compact, making club selection and commitment essential.
A short-to-mid-length par 4 that offers a birdie opportunity with good positioning off the tee. Bunkers protect the green, though the overall hole is more forgiving than many of the course's other par 4s.
The back nine's par 5 plays to over 500 yards and provides another scoring opportunity for aggressive play. Strategic bunkering and possible water hazards require careful navigation through the fairway.
The course's shortest par 3, this hole plays under 150 yards from the back tees and represents the most accessible par 3. Despite its length, bunkers or water hazards protect the green.
A moderate par 4 with length that requires two solid shots to reach the green safely. Fairway and greenside hazards create a balanced test for the back nine stretch.
A solid finishing par 4 that plays to approximately 390 yards and features a fairway that opens up off the tee. Bunkers or water frame the approach, providing a fitting conclusion to the round.
Scorecard
| Hole | 1 | 2 | 3 | 4 | 5 | 6 | 7 | 8 | 9 | Out | 10 | 11 | 12 | 13 | 14 | 15 | 16 | 17 | 18 | In | Tot |
|---|---|---|---|---|---|---|---|---|---|---|---|---|---|---|---|---|---|---|---|---|---|
| Par | 4 | 4 | 3 | 4 | 4 | 5 | 4 | 4 | 3 | 35 | 4 | 4 | 4 | 3 | 4 | 5 | 3 | 4 | 4 | 35 | 70 |
| HCP | 13 | 1 | 17 | 11 | 7 | 5 | 3 | 9 | 15 | 8 | 4 | 2 | 16 | 14 | 10 | 18 | 12 | 6 | |||
| black | 376 | 432 | 126 | 388 | 404 | 553 | 419 | 413 | 213 | 3324 | 455 | 395 | 418 | 187 | 377 | 551 | 147 | 402 | 398 | 3330 | 6654 |
| blue | 359 | 409 | 121 | 357 | 390 | 535 | 405 | 391 | 197 | 3164 | 419 | 374 | 390 | 175 | 362 | 540 | 141 | 380 | 390 | 3171 | 6335 |
| blue/white | 359 | 394 | 121 | 357 | 390 | 520 | 384 | 391 | 176 | 3092 | 388 | 374 | 372 | 152 | 362 | 524 | 141 | 380 | 369 | 3062 | 6154 |
| white | 349 | 394 | 114 | 348 | 374 | 520 | 384 | 363 | 176 | 3022 | 388 | 354 | 372 | 152 | 354 | 524 | 126 | 372 | 369 | 3011 | 6033 |
| white/gold | 349 | 339 | 114 | 348 | 374 | 459 | 367 | 363 | 142 | 2855 | 354 | 354 | 310 | 133 | 354 | 438 | 126 | 372 | 343 | 2784 | 5639 |
| gold | 324 | 339 | 100 | 316 | 348 | 459 | 367 | 318 | 142 | 2713 | 354 | 329 | 310 | 133 | 292 | 438 | 108 | 353 | 343 | 2660 | 5373 |
| green | 305 | 292 | 90 | 242 | 319 | 451 | 294 | 311 | 120 | 2424 | 320 | 324 | 230 | 129 | 291 | 433 | 104 | 308 | 278 | 2417 | 4841 |
| silver | 305 | 287 | 90 | 242 | 319 | 451 | 294 | 256 | 120 | 2364 | 278 | 256 | 230 | 129 | 291 | 433 | 104 | 308 | 278 | 2307 | 4671 |