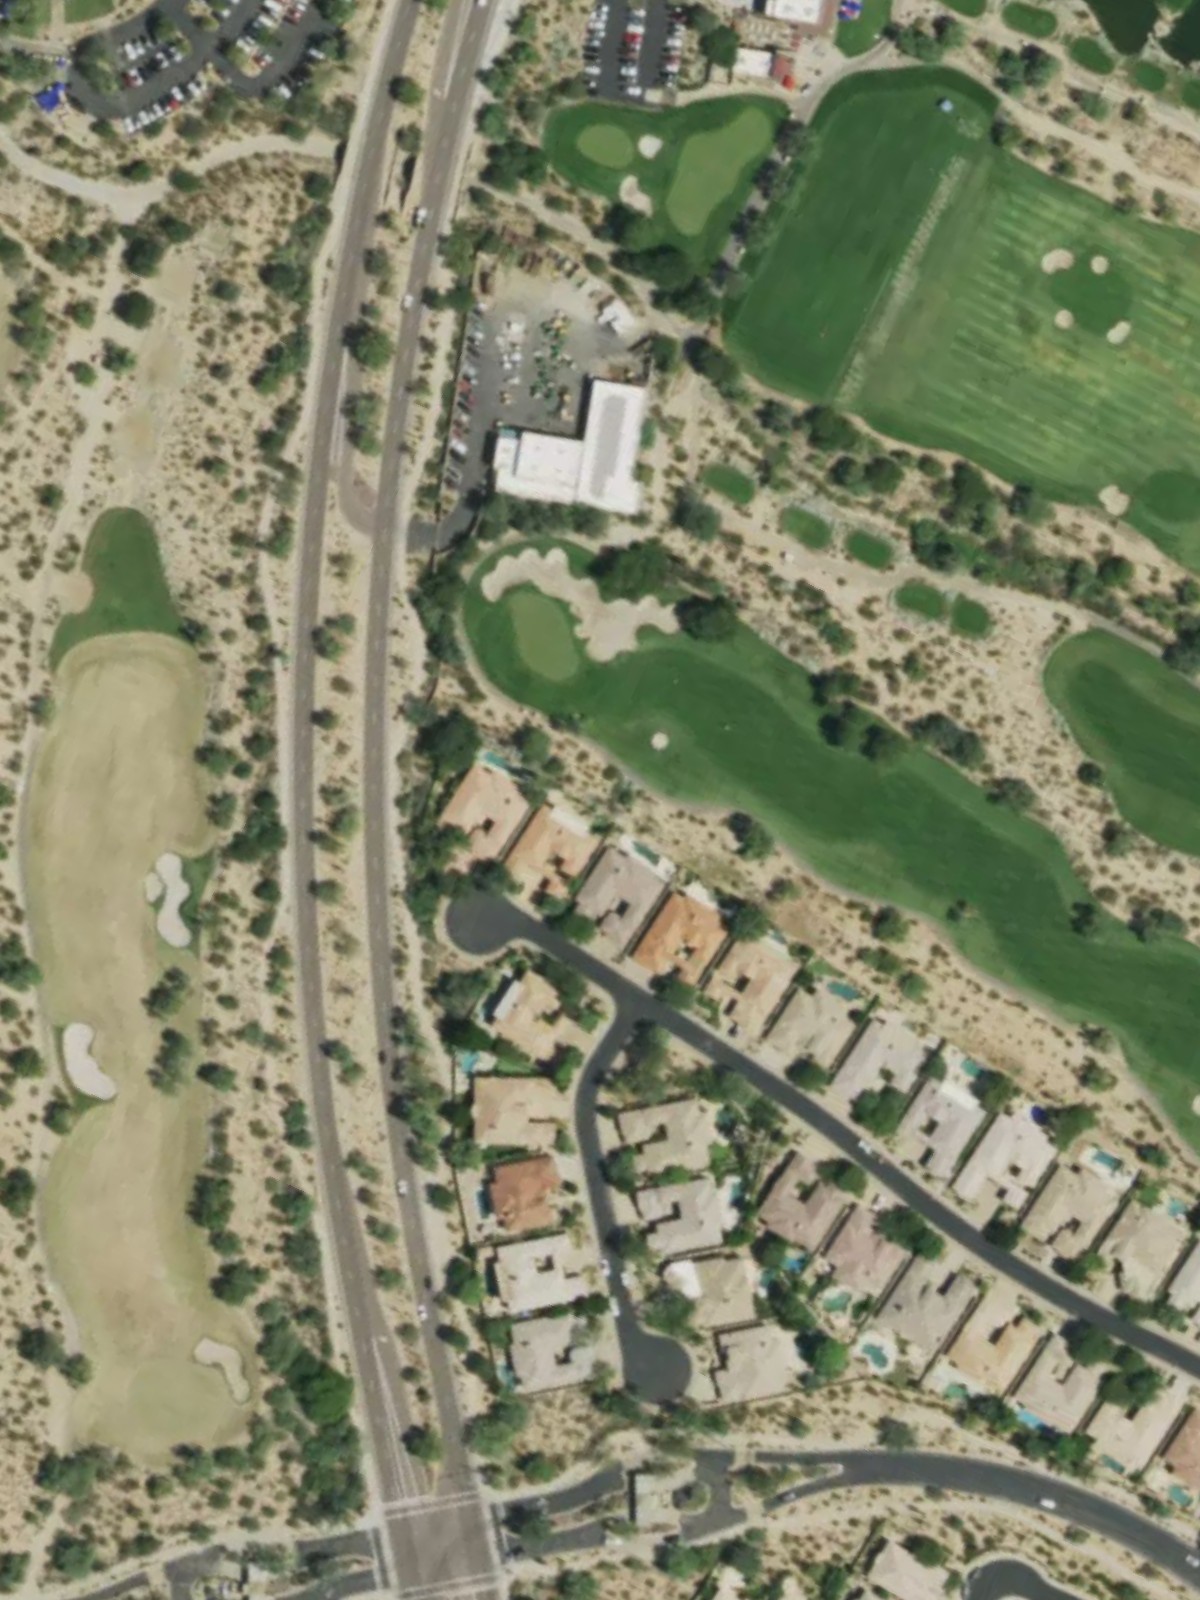
Grayhawk is an 18-hole golf course in Scottsdale, AZ with a par of 72. It offers 6 tee sets: talon (6,975 yards, slope 146, rating 73.3), talon/palo verde (6,653 yards, slope 139, rating 72.1), palo verde (6,391 yards, slope 134, rating 70.8), palo verde/terra cotta (6,136 yards, slope 126, rating 69.6), terra cotta (5,875 yards, slope 122, rating 68.3), terra cotta/heather (5,363 yards, slope 117, rating 66.1). The hardest hole is #6, a par 4 playing 459 yards from the first tee.
Grayhawk
Scottsdale, AZ
Get PDF Yardage Book
We'll email you the PDF link. No spam, ever.
Create Your Game Plan
Pick your tees, enter your bag, and get a personalized shot-by-shot strategy for every hole.
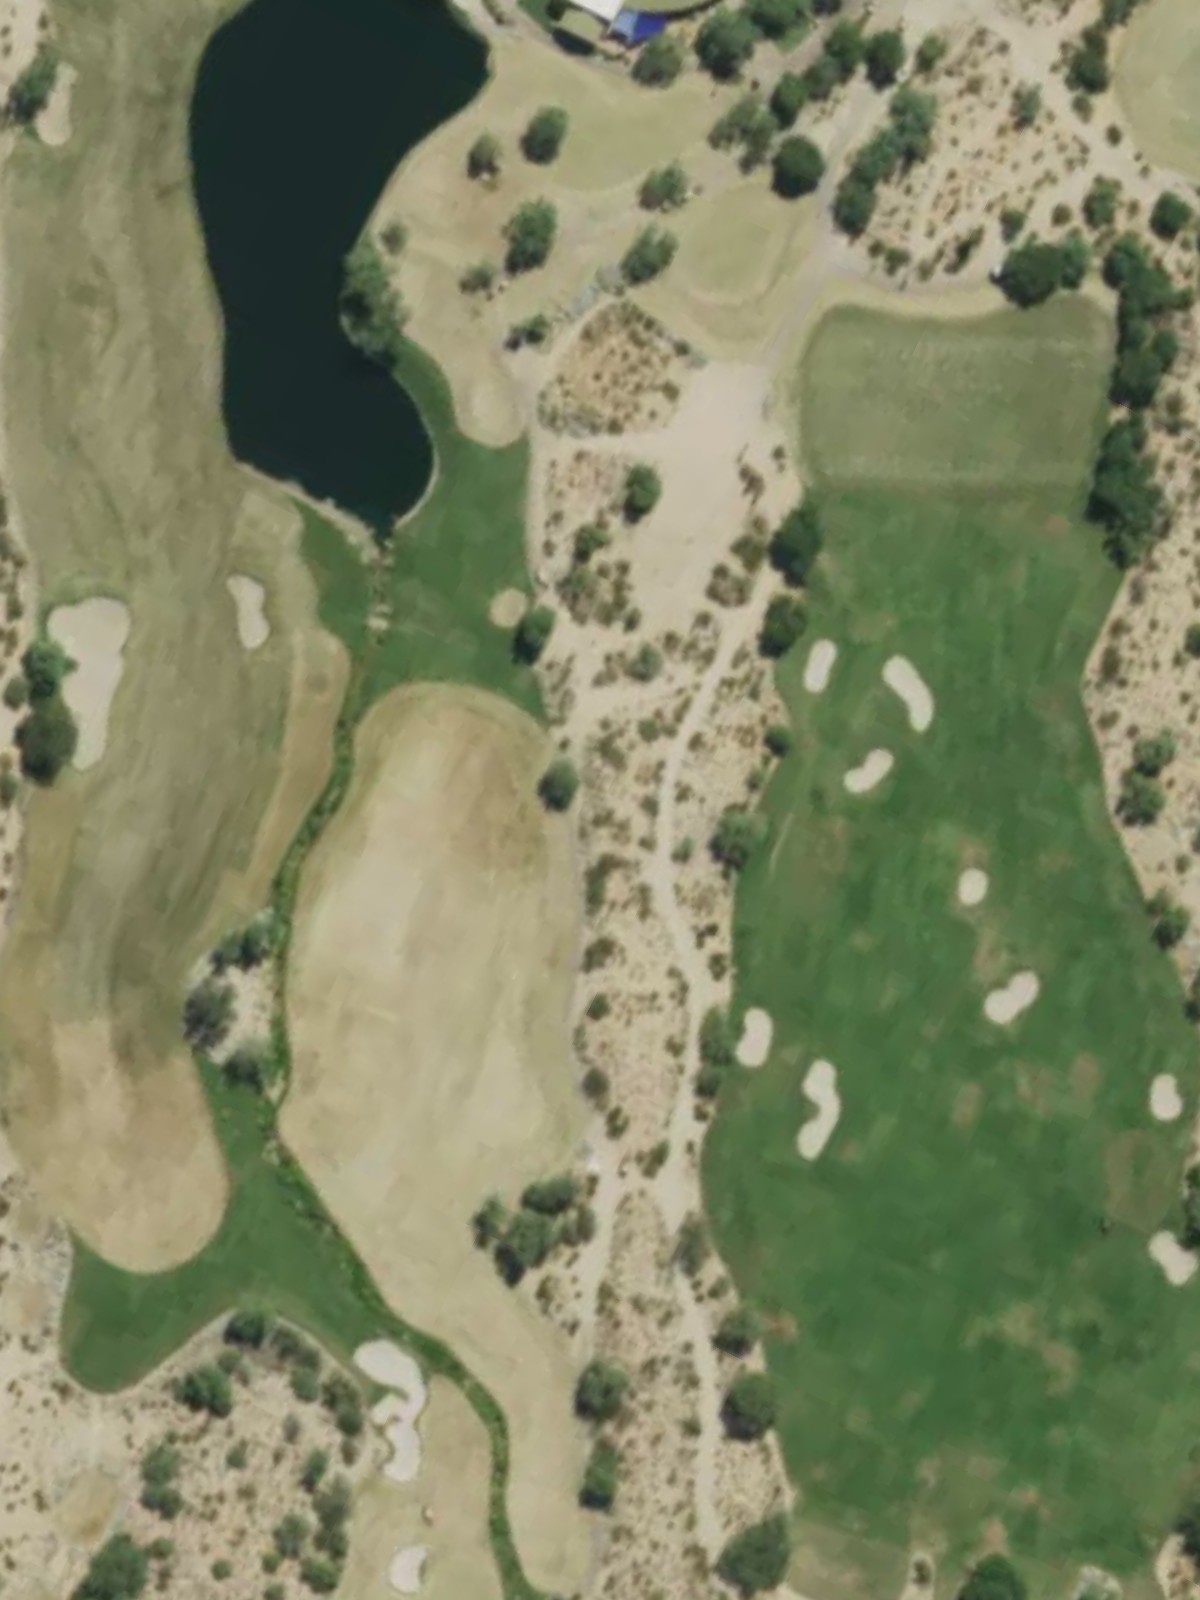
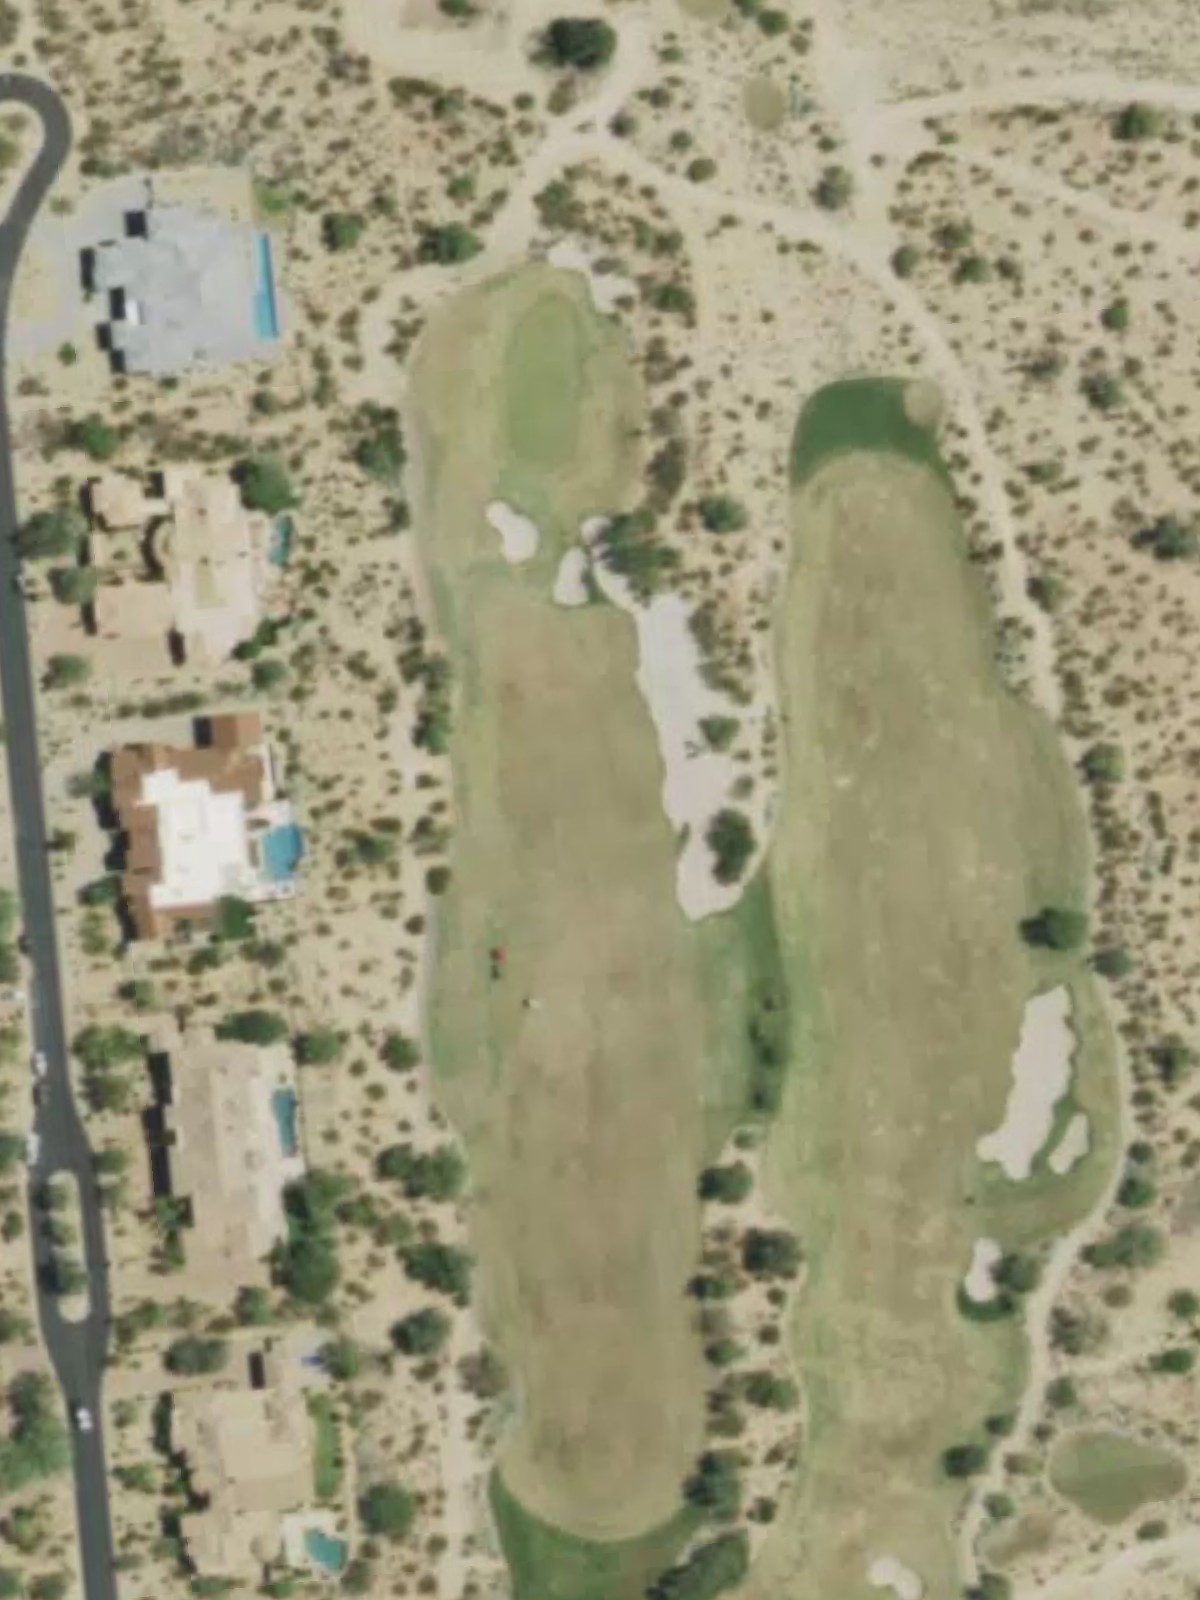
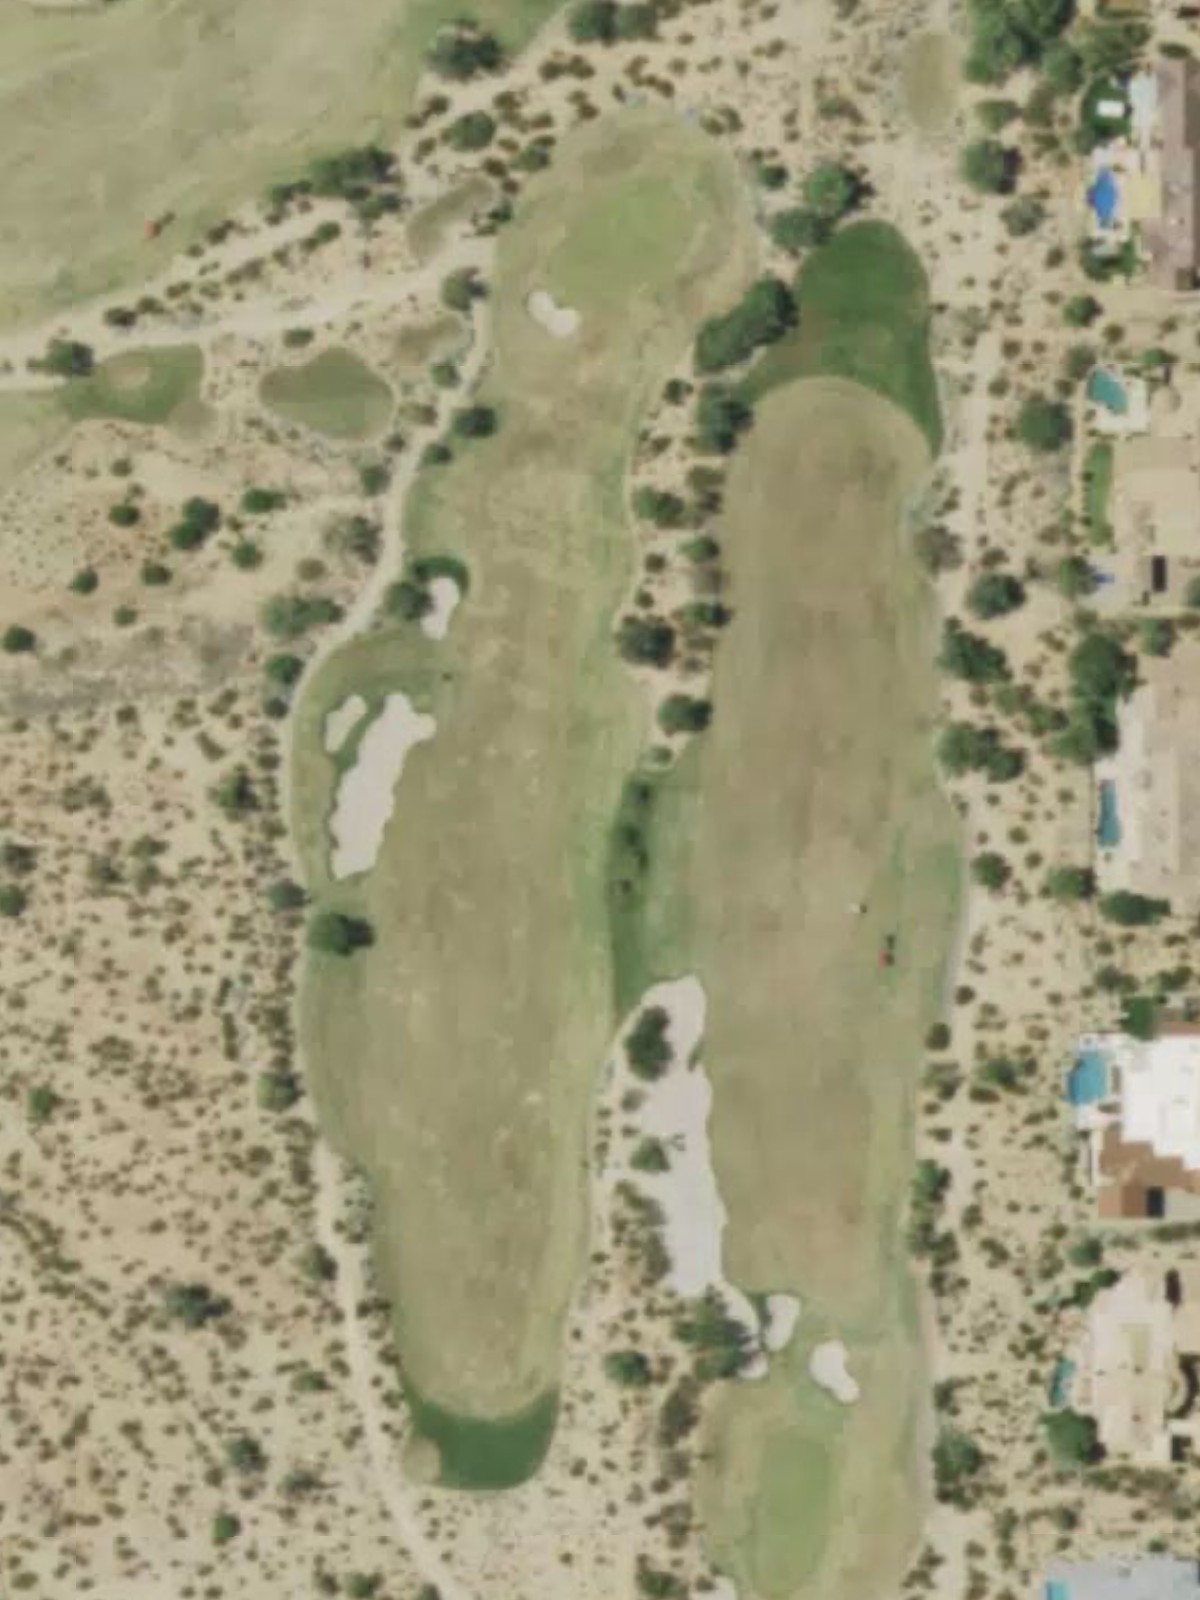
A straightforward opening par 4 with a fairway that gradually narrows as it approaches the green. Bunkers guard the right side of the green, while the left offers a safer approach for a strategic opening hole.
A short par 4 that plays downhill with a forgiving fairway corridor. The green is relatively open, making this an approachable hole that sets a positive tone early in the round.
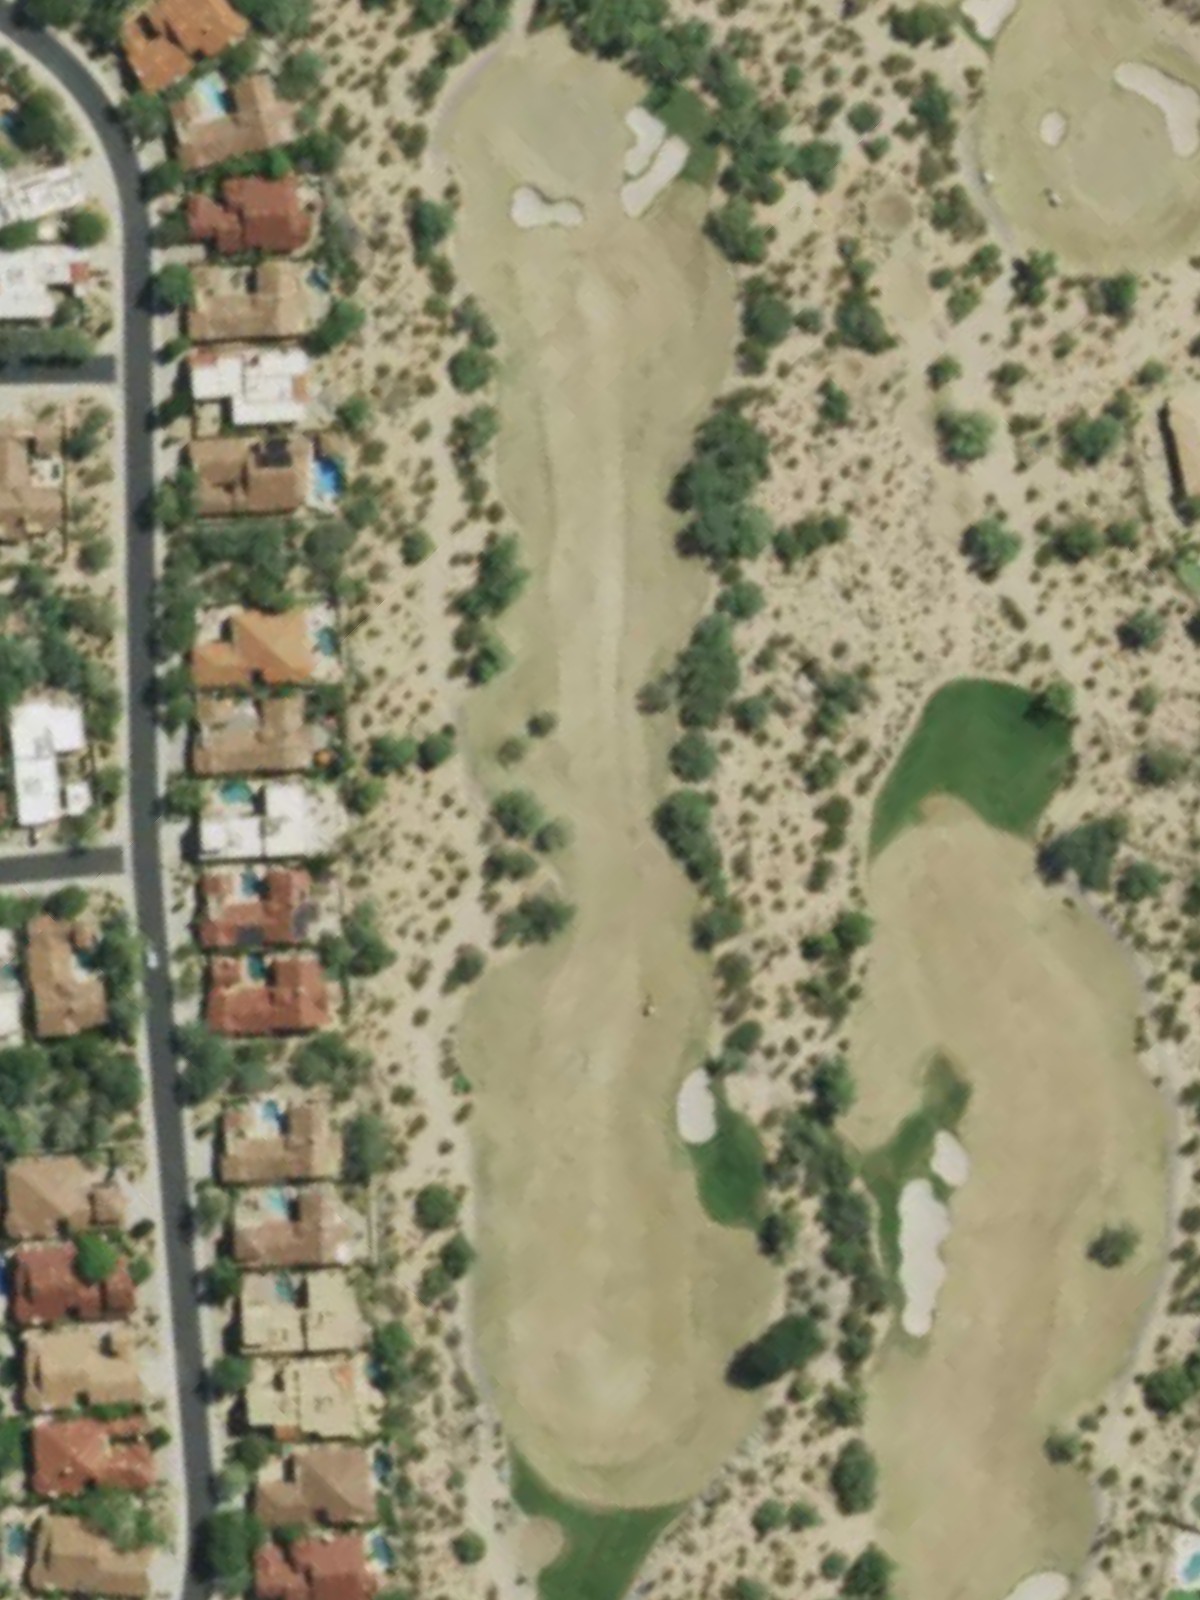
A reachable par 5 with a wide fairway that allows aggressive positioning for a second shot. Hazards tighten around the green, rewarding accurate approach shots on this birdie opportunity.
A scenic par 4 that features elevation change and a fairway that tightens toward the landing area. Strategic bunkering near the green demands precise positioning off the tee to open up the best angles for approach.

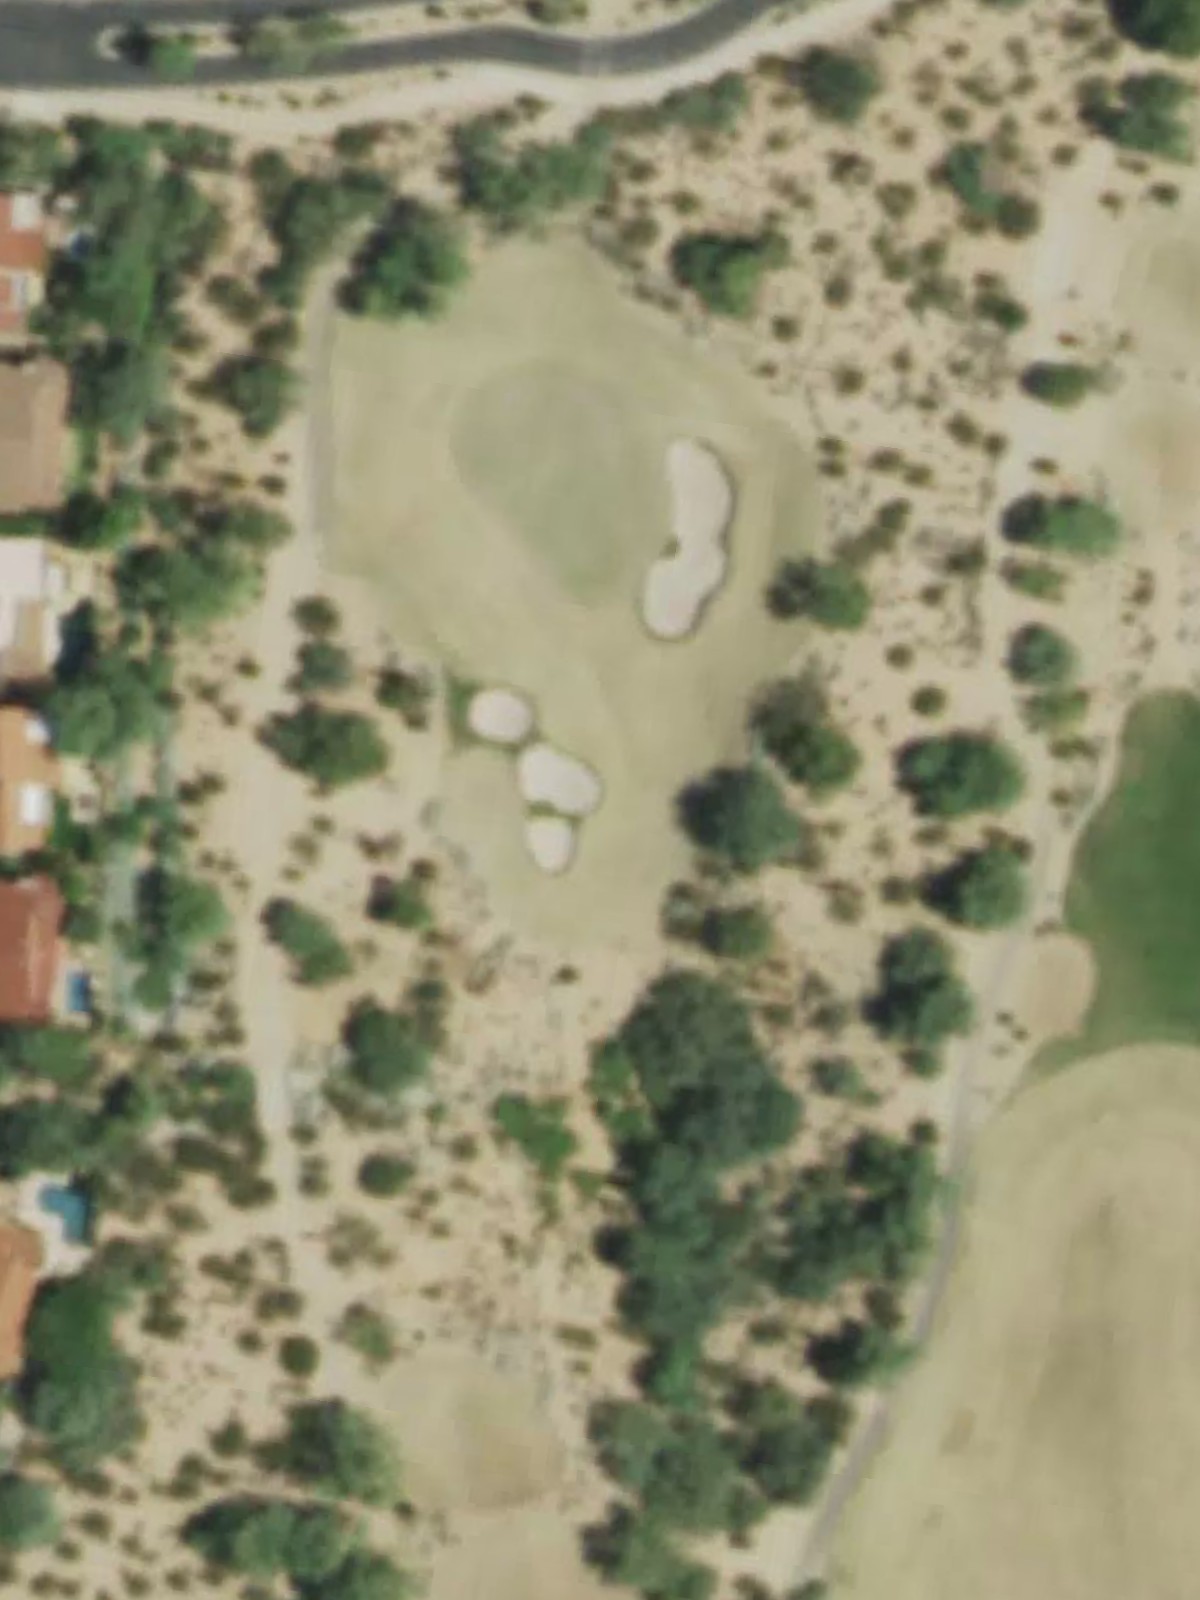
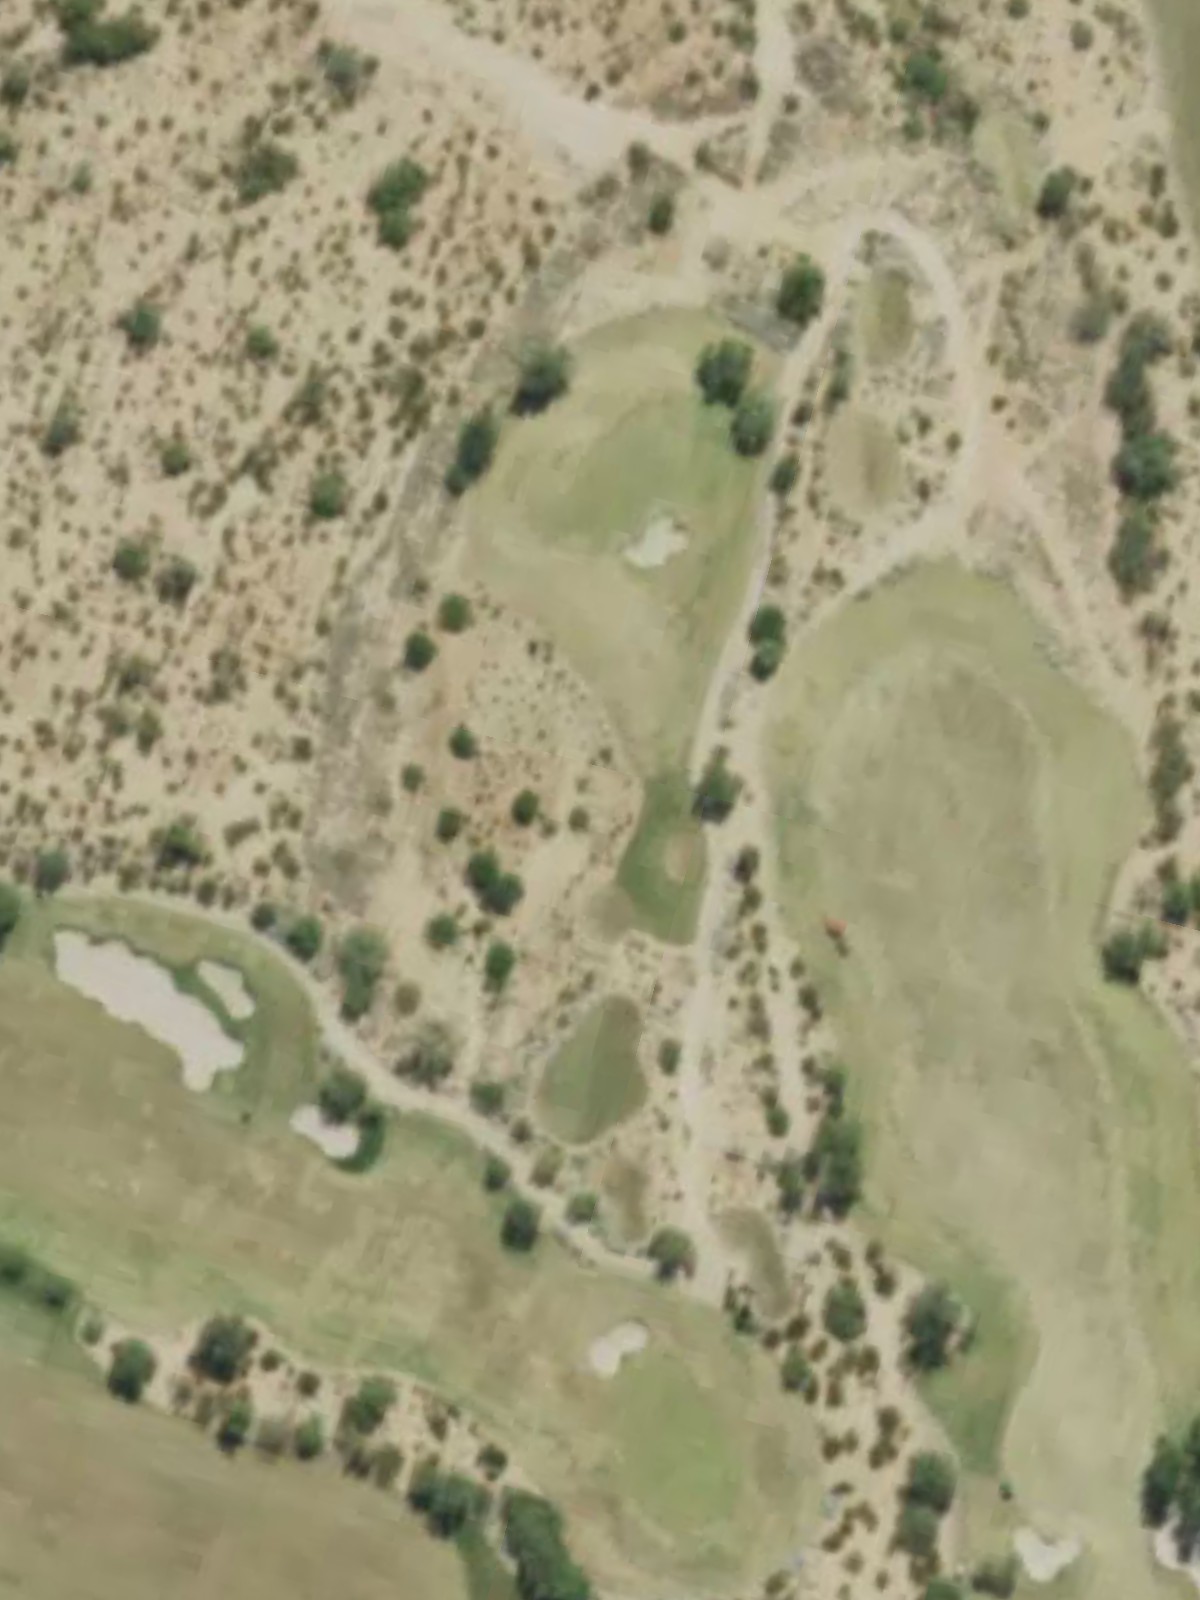
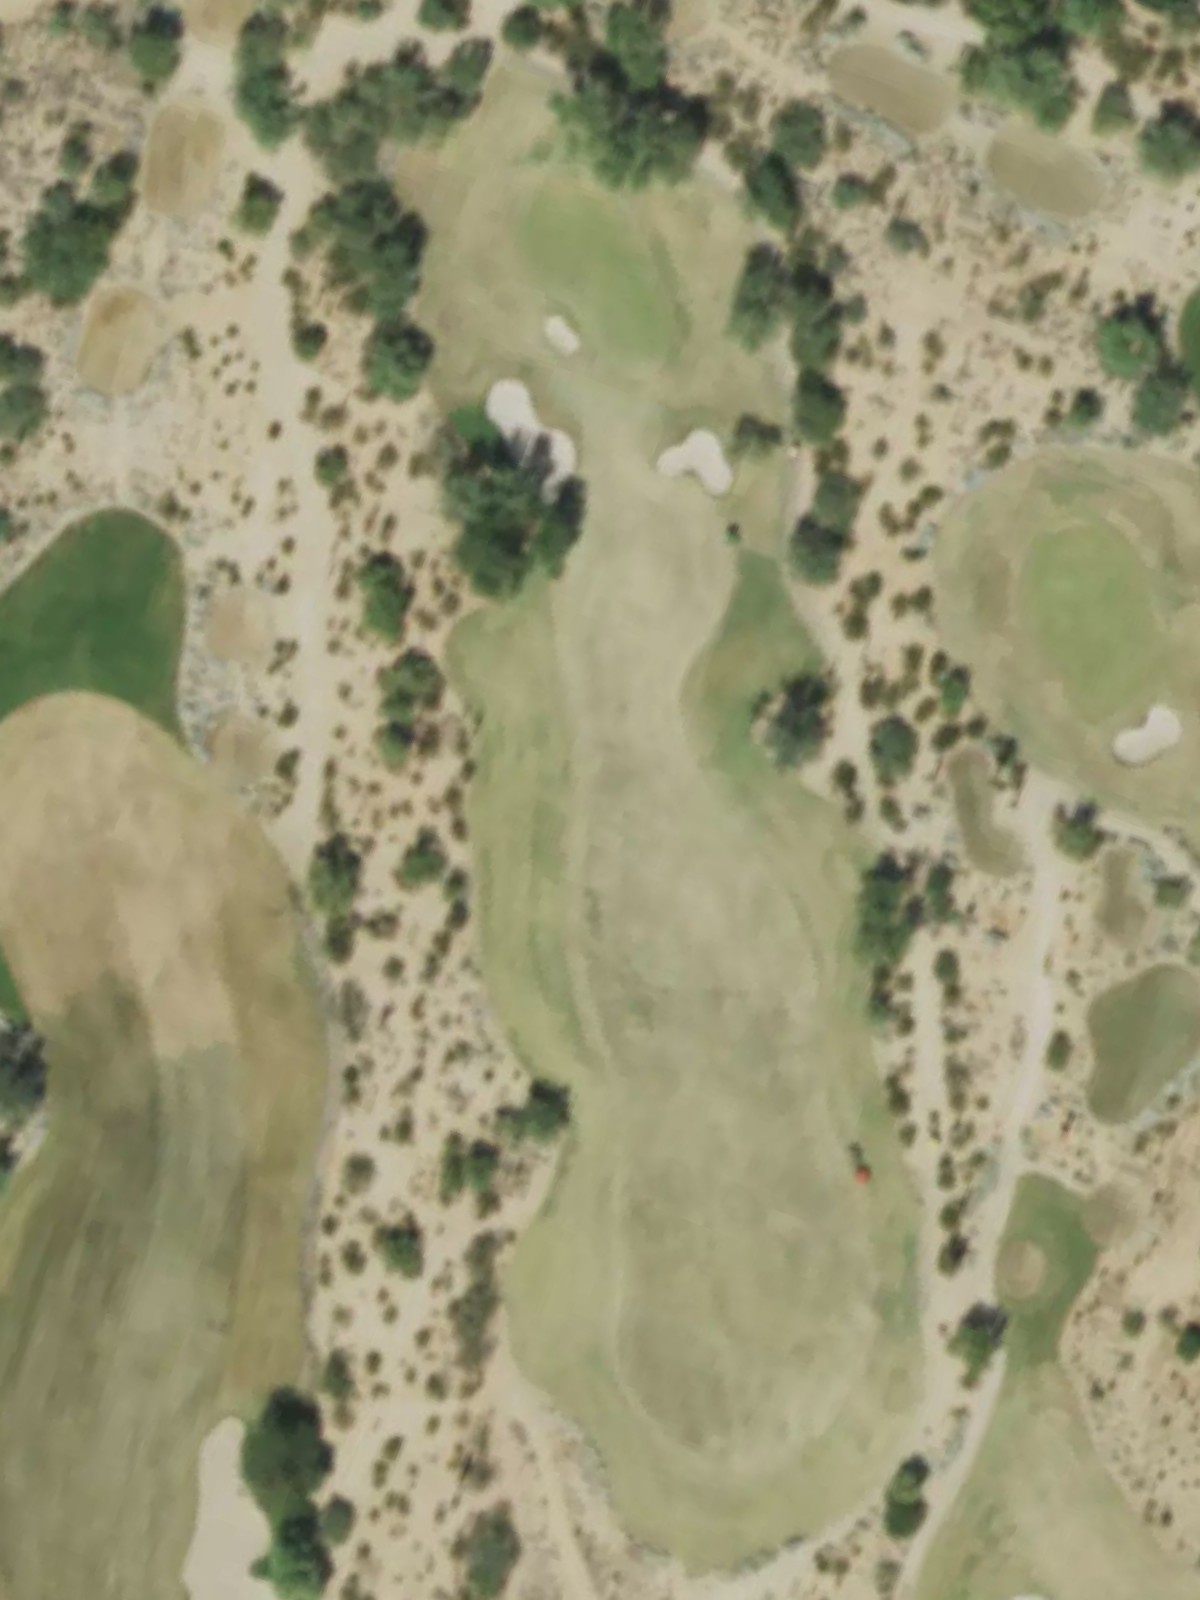
A short par 3 playing over a modest distance with a relatively open green complex. The hole's brevity makes it a potential scoring opportunity despite its mid-handicap designation.
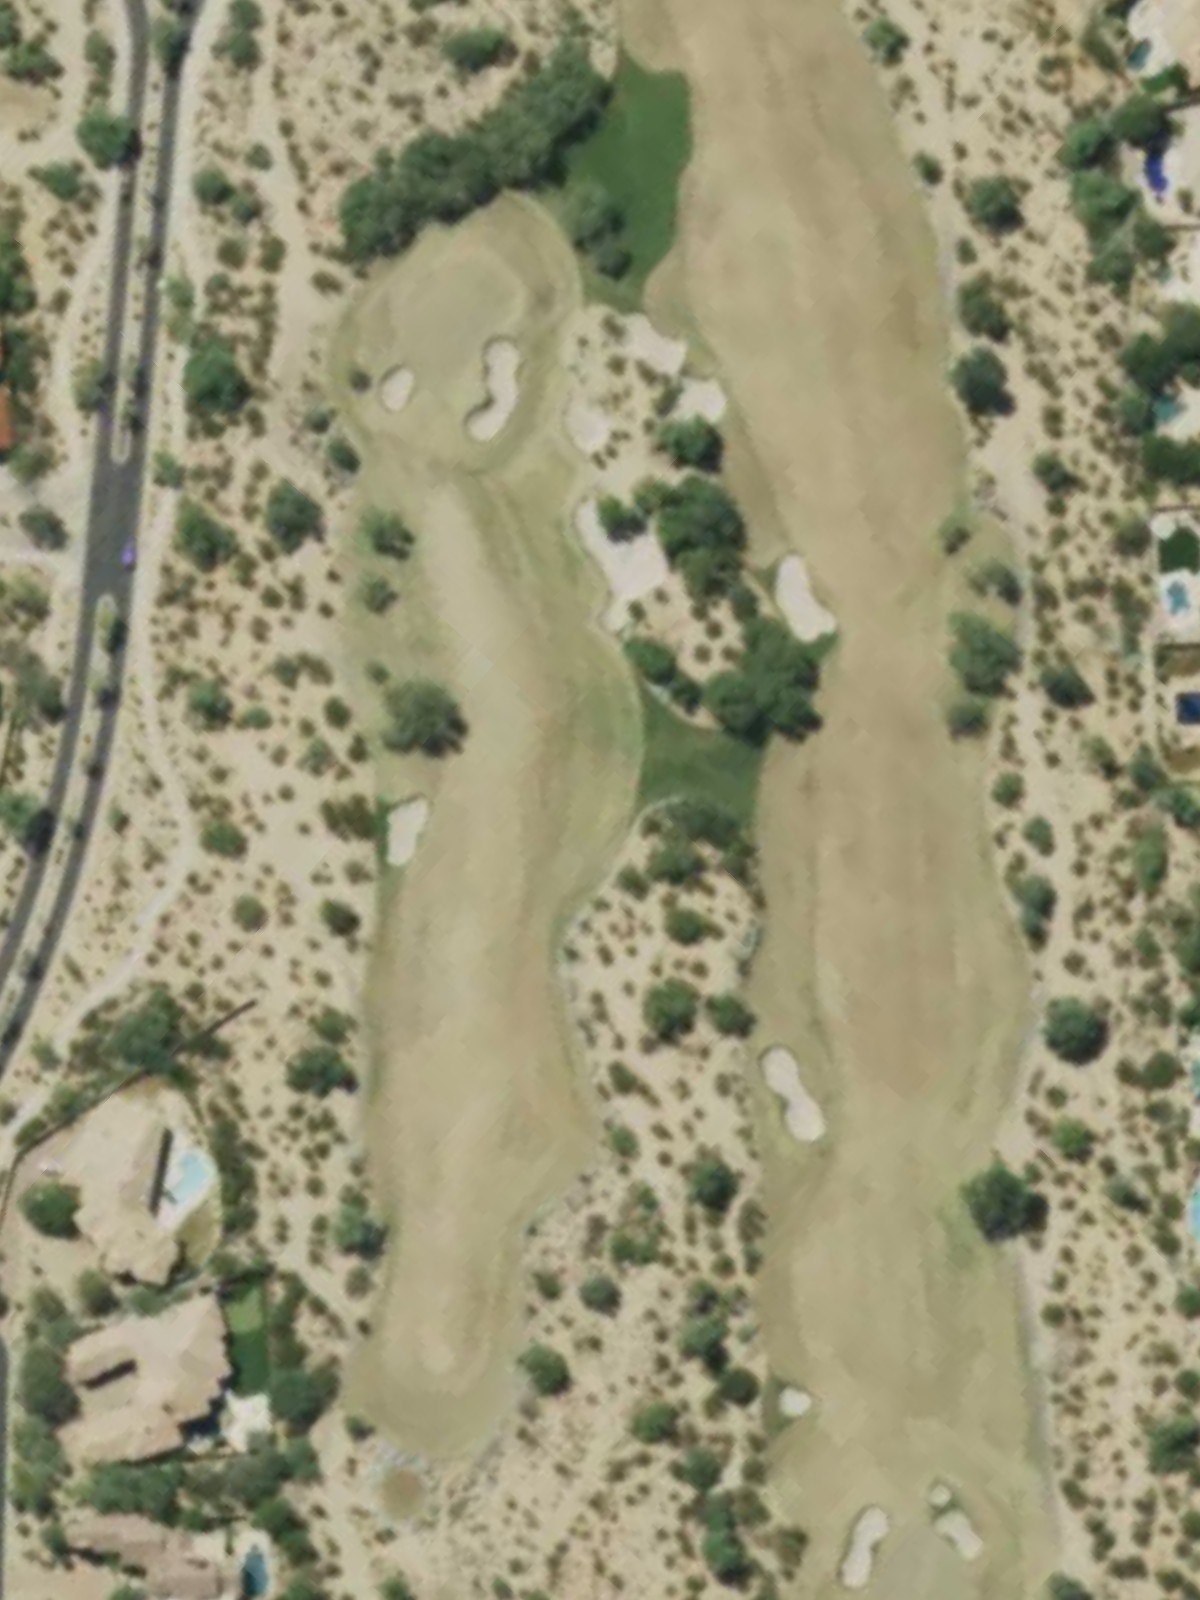
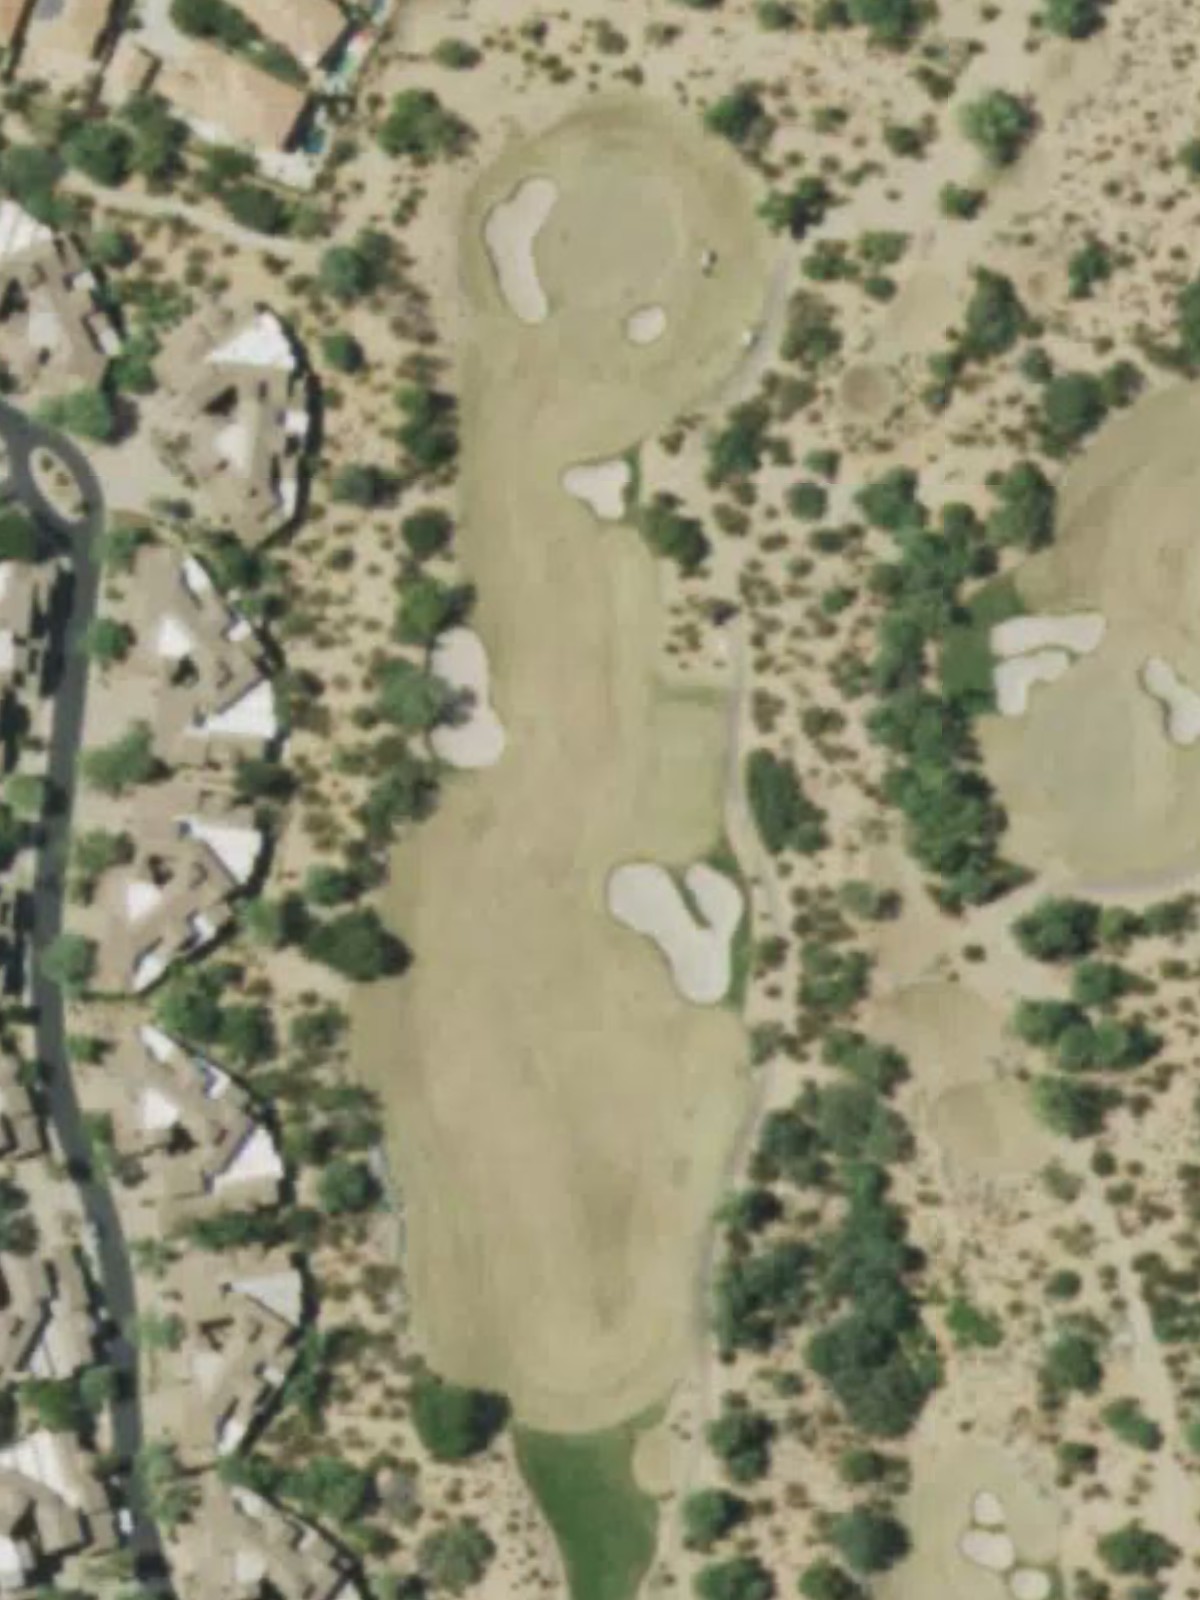
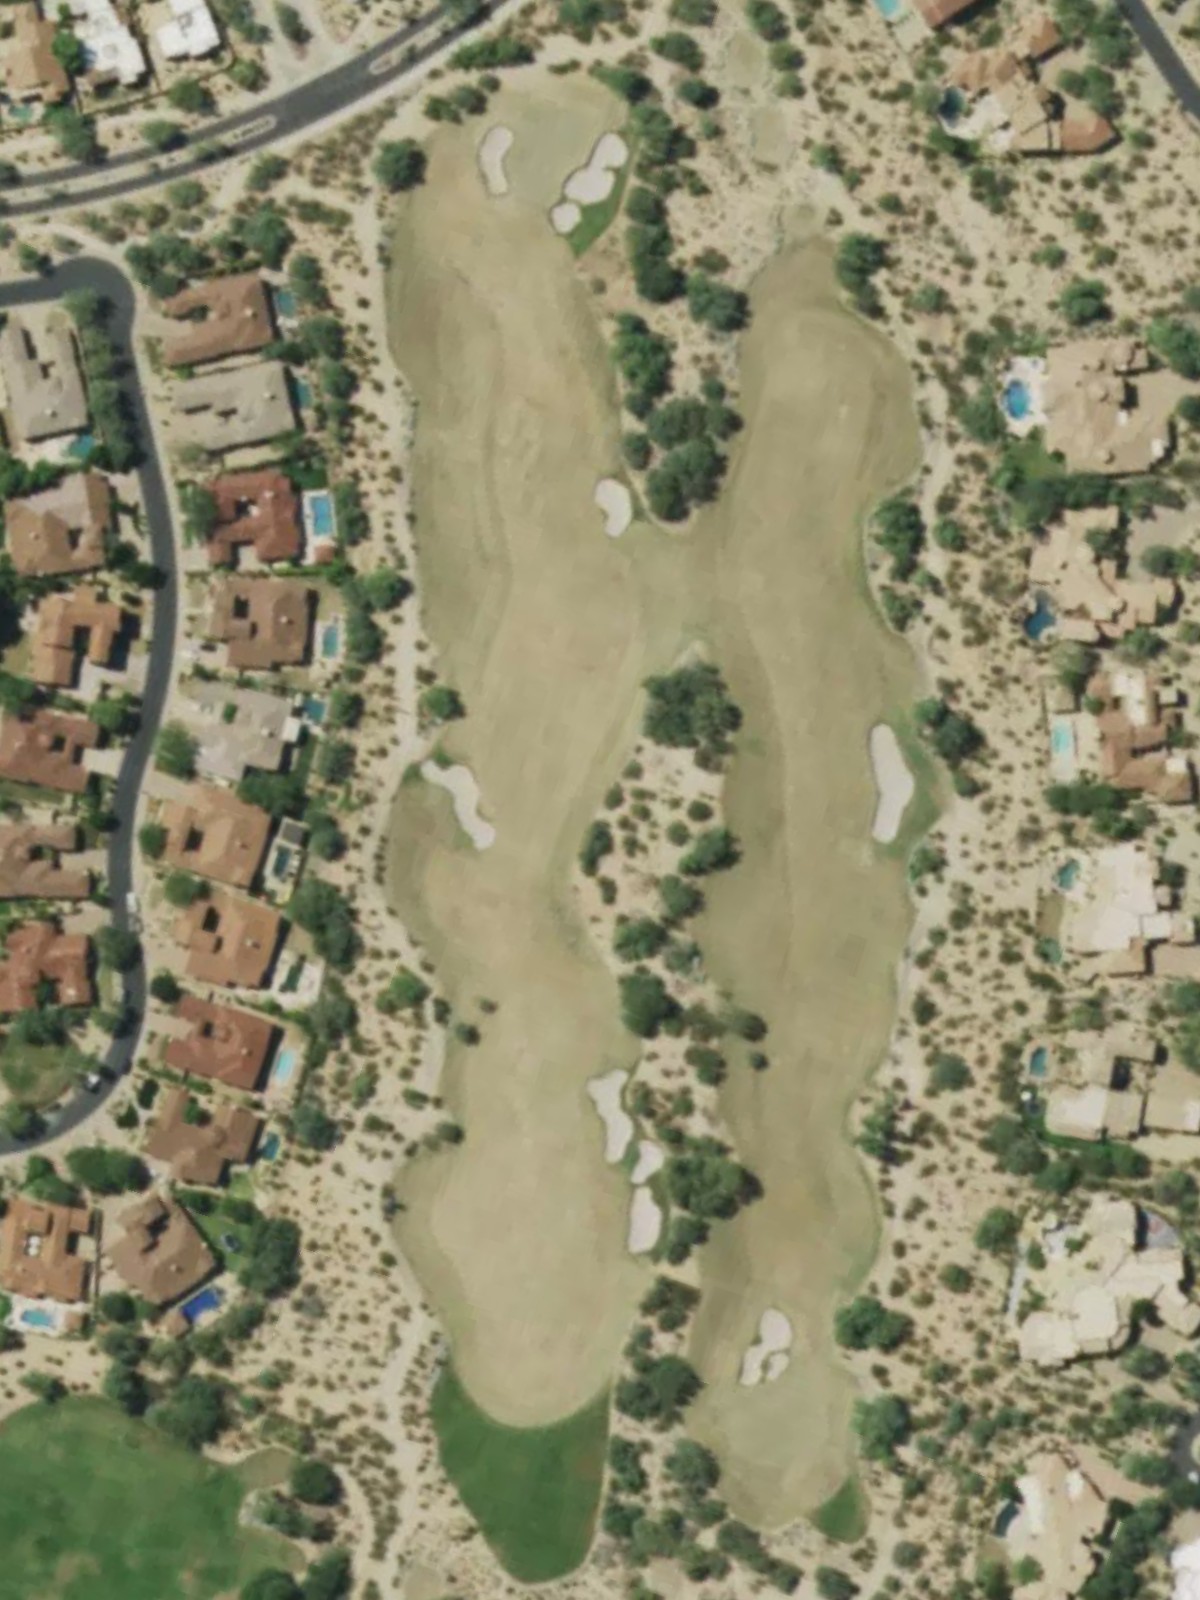
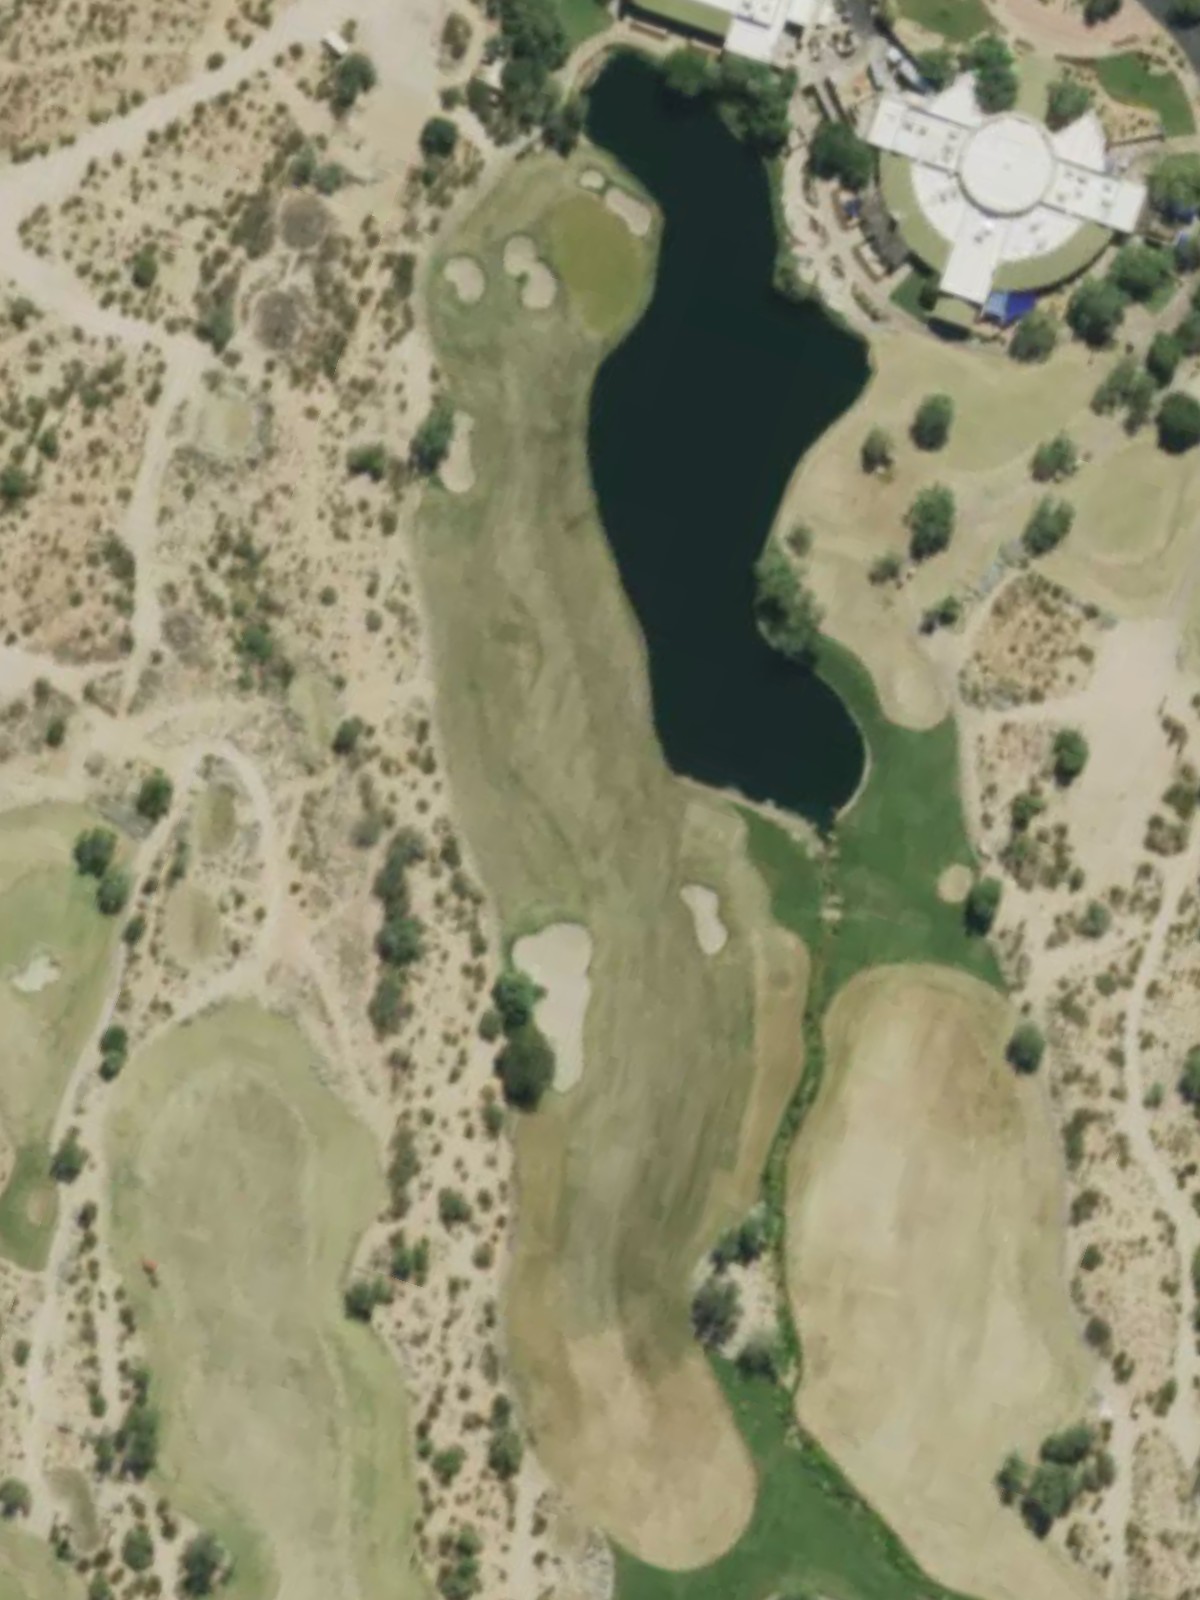
The course's most difficult hole, this long par 4 requires distance and accuracy off the tee into a tight fairway. Deep bunkers and tight green surrounds punish wayward shots, making this a defining test of precision.
A well-balanced par 4 with a fairway that rewards solid drives in the landing zone. The green is protected by strategic bunkering, creating a compelling mid-length hole that demands consistent execution.
A mid-length par 3 with water or hazards coming into play on the approach. The elevated green requires an accurate shot over a demanding distance, making club selection and execution critical.
The course's signature par 5, this long hole features a wide fairway that narrows significantly on approach to a well-bunkered green. The three-shot nature and strategic hazard placement make this a compelling scoring hole.
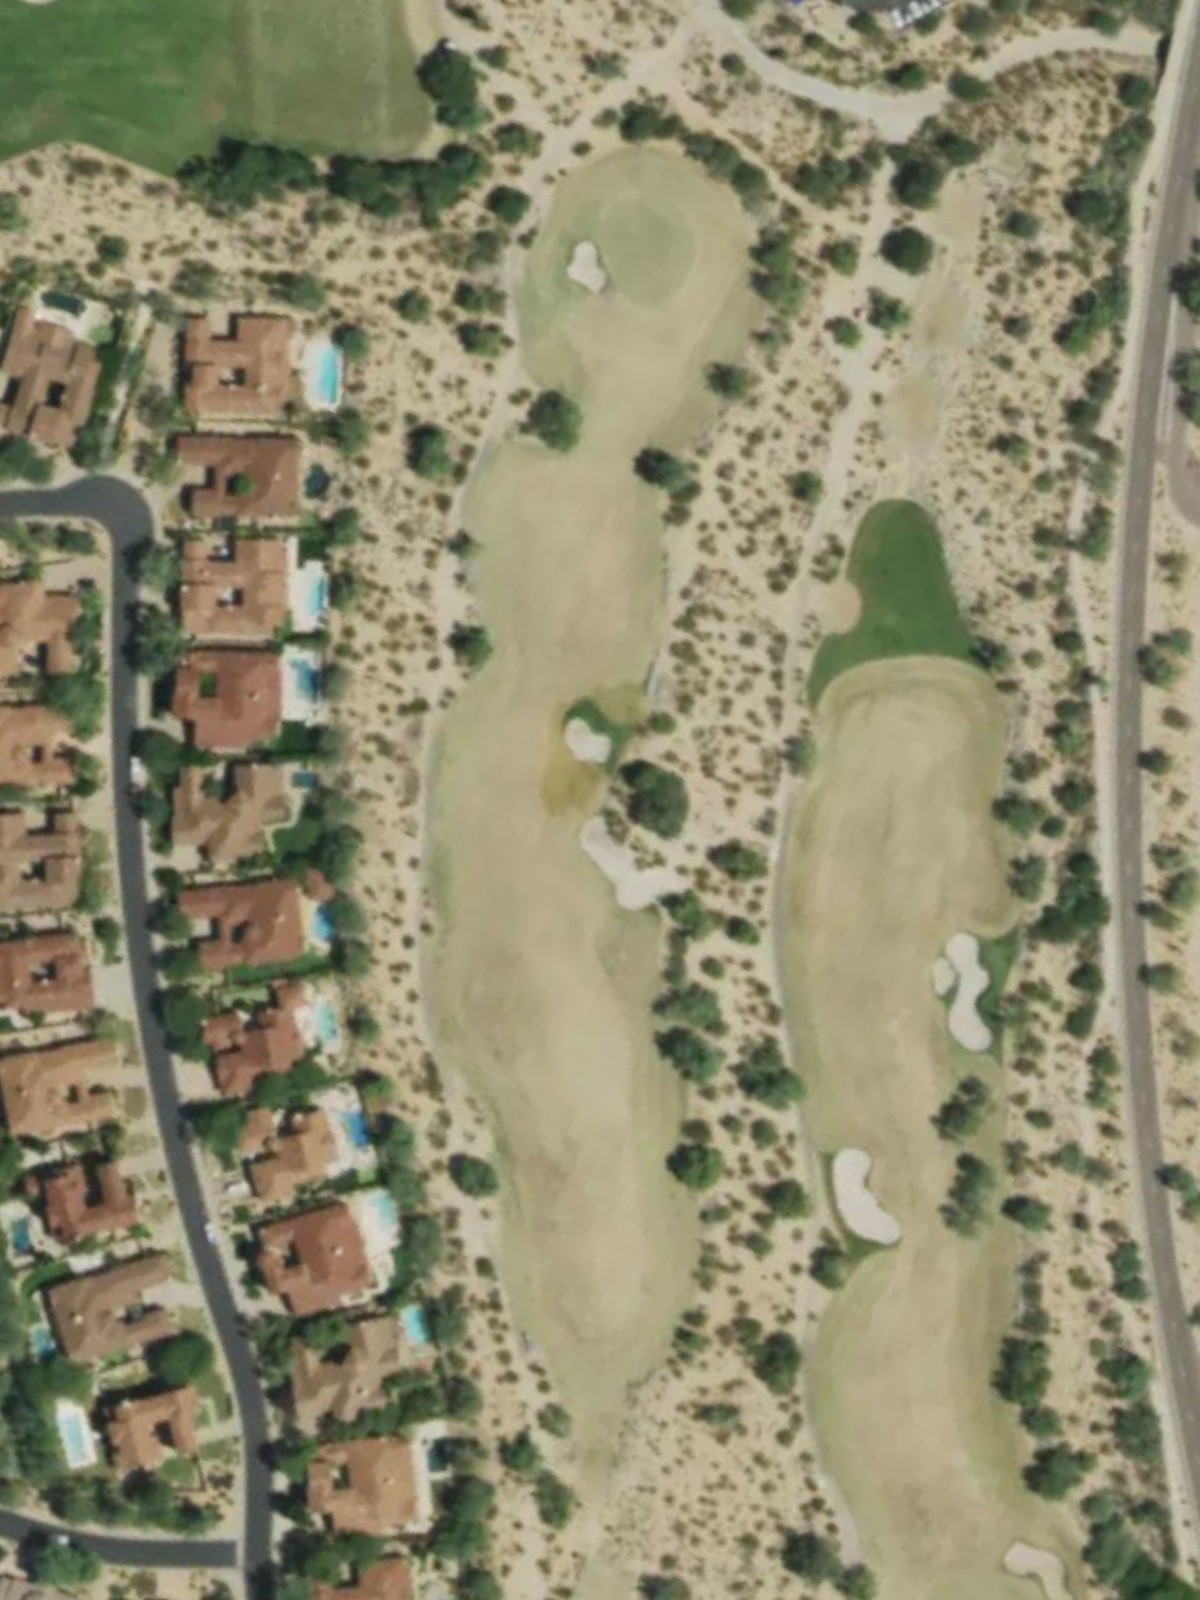
A strong par 4 starting the back nine with length and tight fairway corridors. Bunkers frame the green on both sides, demanding accuracy and distance to set up a scoring opportunity.
A short par 3 with a relatively straightforward green complex and minimal hazard interference. This hole provides a brief respite before the course's more demanding stretches.
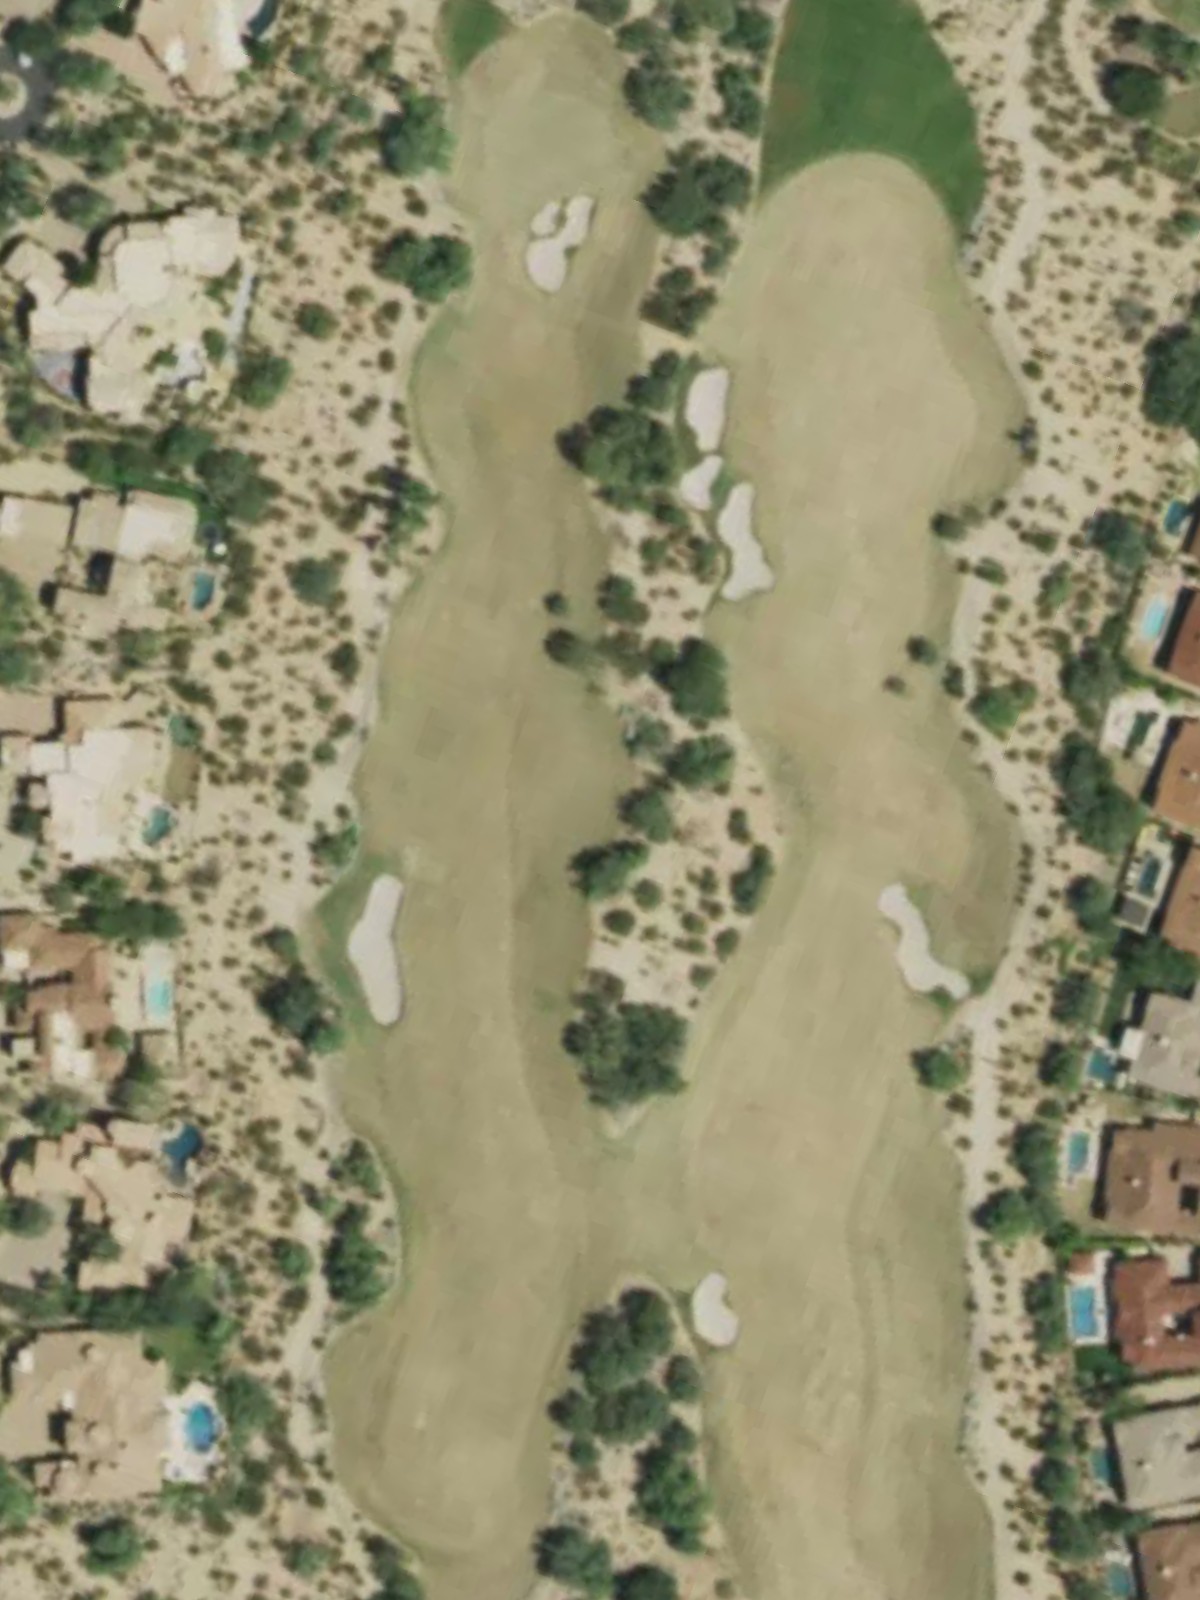
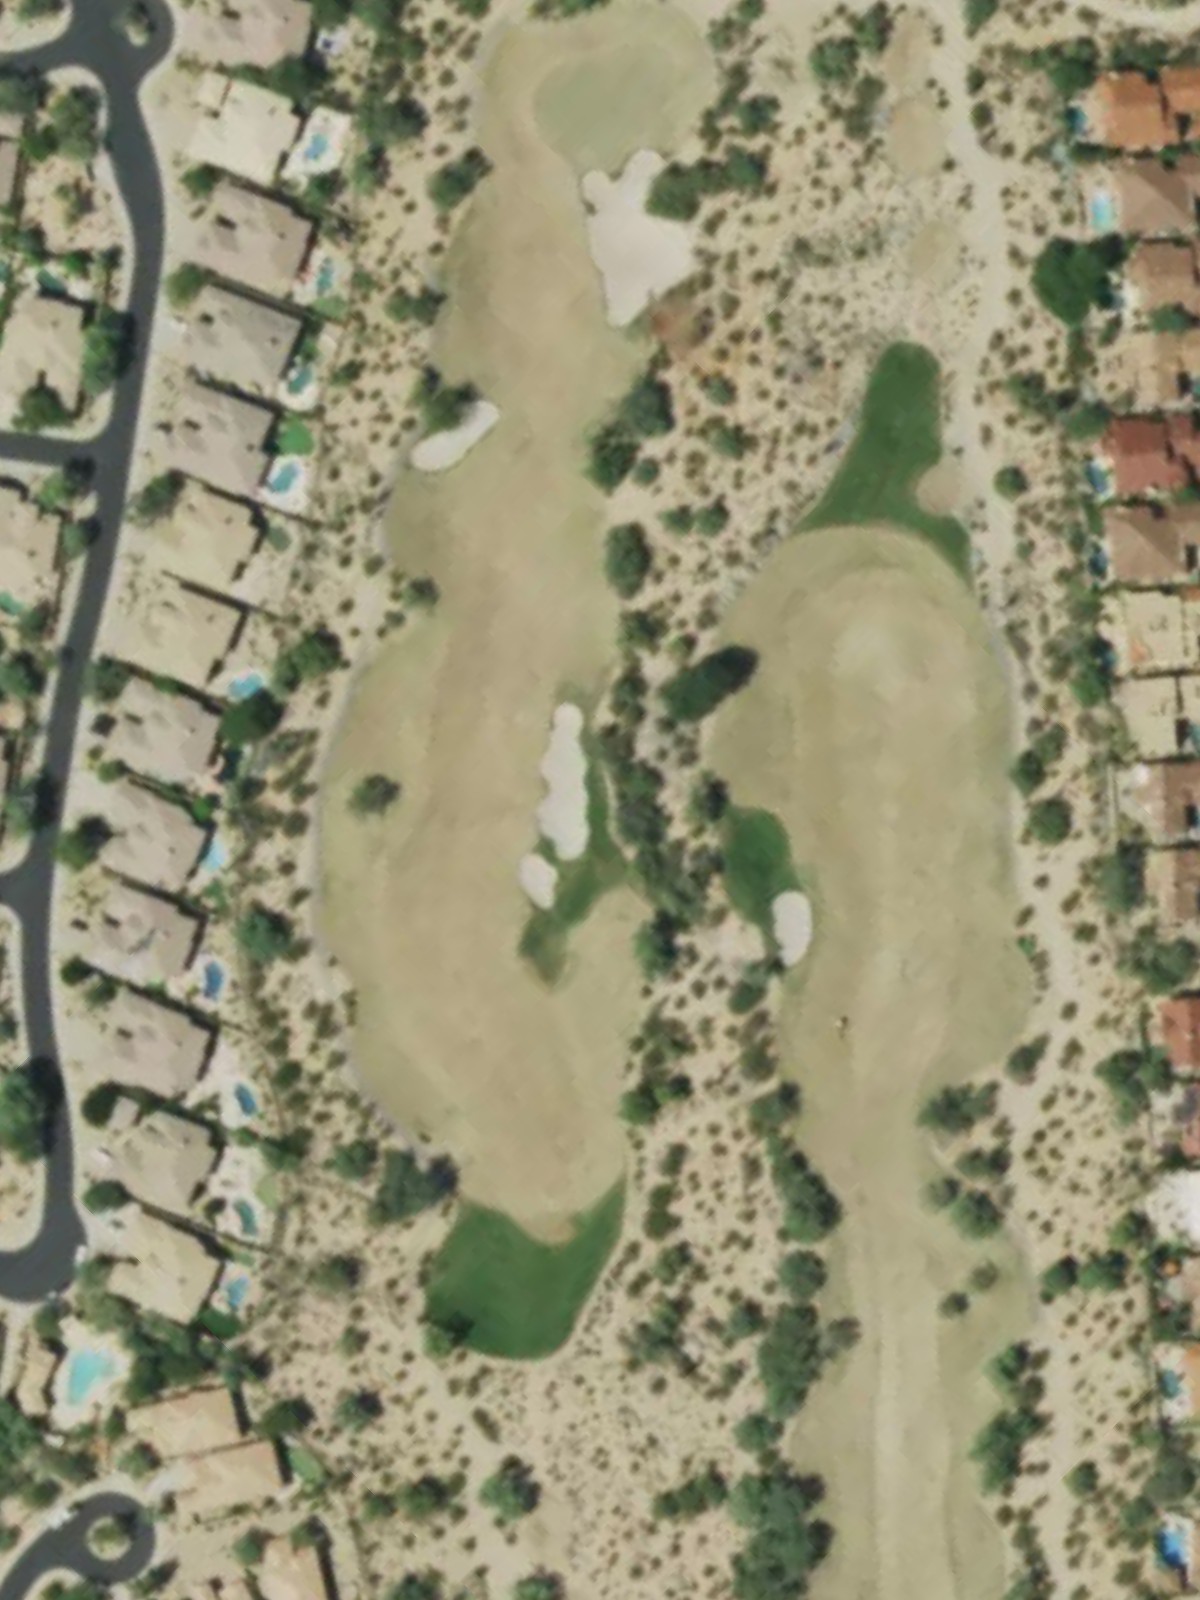
The second most difficult hole on the course, this long par 4 tests both distance and accuracy off the tee. Hazards pinch the landing area and green complex, making this a critical examination of shot-making.
A short par 4 that plays significantly shorter than many other four-par holes on the course. The compact yardage offers a scoring opportunity for players who can find the fairway and navigate the green complex cleanly.
A generous par 5 with a wide fairway corridor that allows aggressive positioning down the stretch. The green complex is relatively forgiving, creating a favorable scoring opportunity on the back nine.
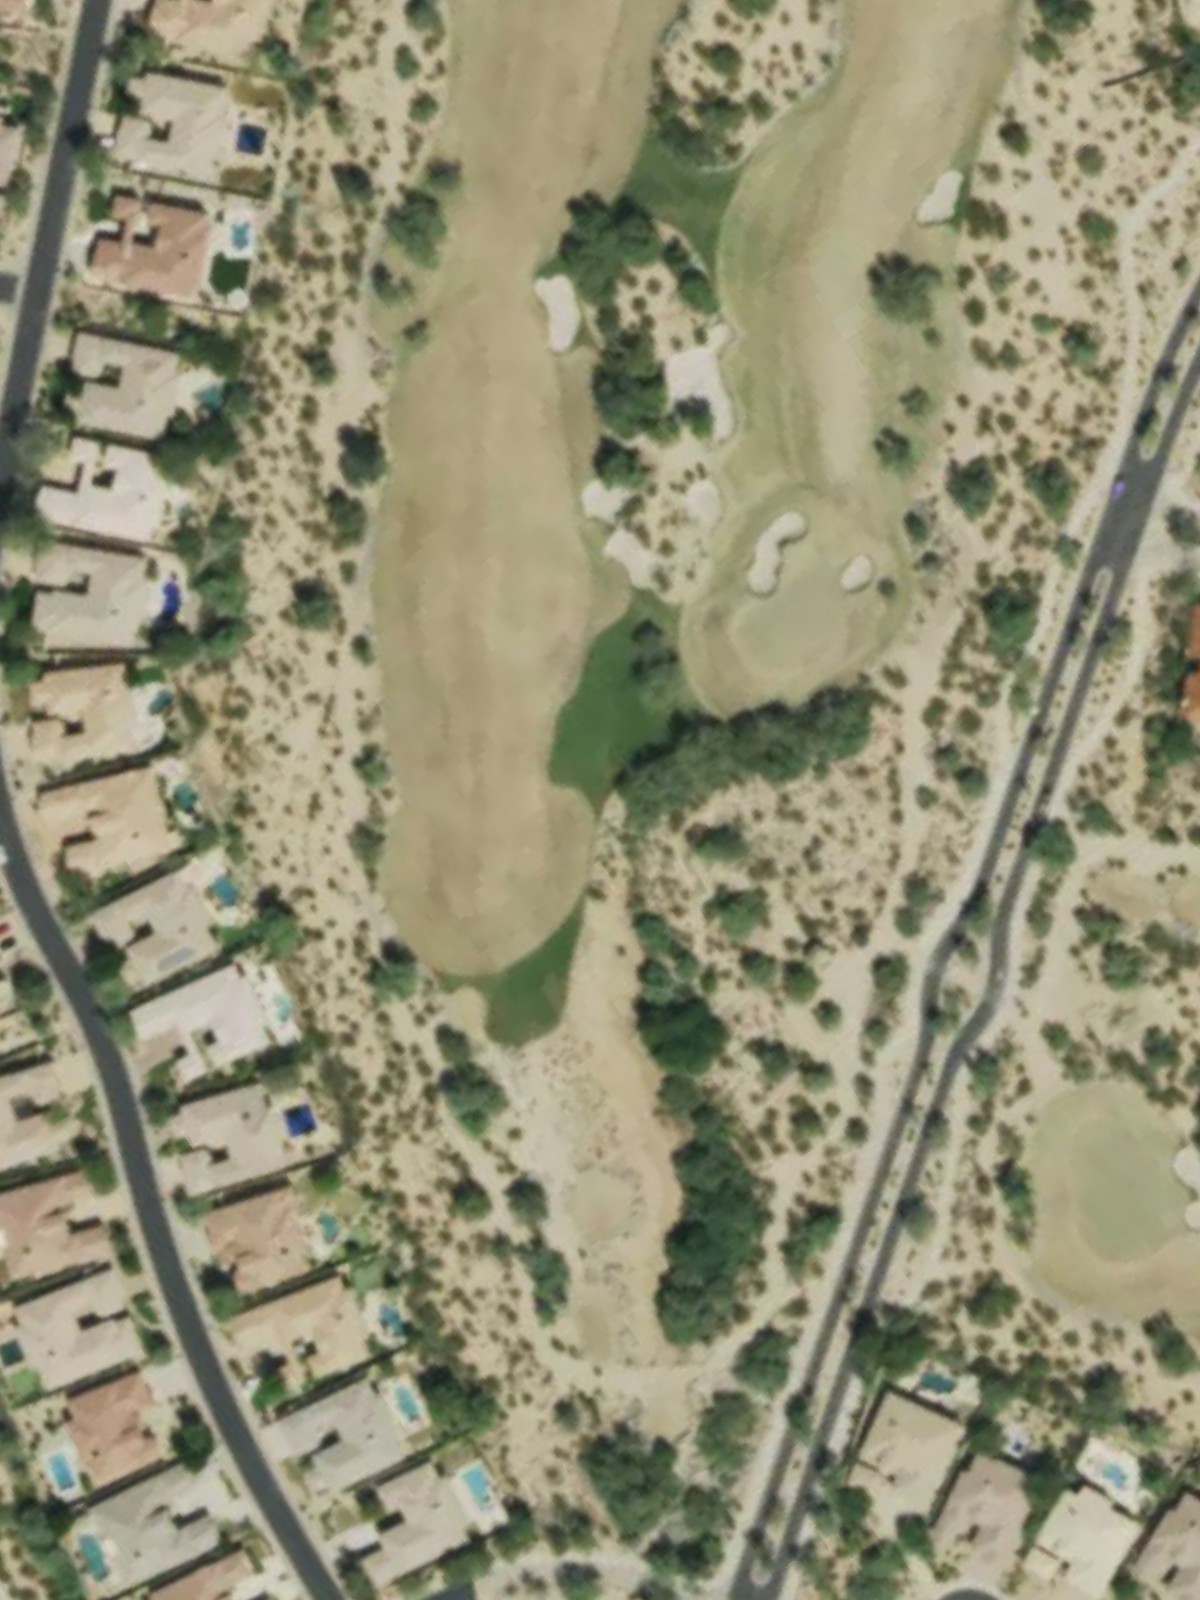
A challenging par 4 with strategic hazards that penalize both errant drives and approach shots. The tight fairway and bunkered green demand precise execution on this demanding hole.
A mid-length par 4 with a fairway that plays narrower in the critical landing zone. Careful course management is needed to avoid hazards that frame the approach to the green.
The course's shortest par 3, this hole plays deceptively simple with minimal hazards guarding the green. The brevity offers one final birdie opportunity before the closing par 5.
A dramatic finishing par 5 that provides a climactic final hole with sufficient length to reward aggressive play. The wide fairway encourages bold positioning, while strategic bunkering around the green protects par and frames potential finishing birdie attempts.
Scorecard
| Hole | 1 | 2 | 3 | 4 | 5 | 6 | 7 | 8 | 9 | Out | 10 | 11 | 12 | 13 | 14 | 15 | 16 | 17 | 18 | In | Tot |
|---|---|---|---|---|---|---|---|---|---|---|---|---|---|---|---|---|---|---|---|---|---|
| Par | 4 | 4 | 5 | 4 | 3 | 4 | 4 | 3 | 5 | 36 | 4 | 3 | 4 | 4 | 5 | 4 | 4 | 3 | 5 | 36 | 72 |
| HCP | 9 | 13 | 5 | 7 | 17 | 1 | 11 | 15 | 3 | 4 | 16 | 2 | 14 | 10 | 8 | 12 | 18 | 6 | |||
| talon | 428 | 346 | 505 | 427 | 153 | 459 | 402 | 208 | 562 | 3490 | 454 | 175 | 449 | 303 | 524 | 450 | 416 | 126 | 588 | 3485 | 6975 |
| talon/palo verde | 385 | 346 | 505 | 402 | 153 | 422 | 402 | 189 | 507 | 3311 | 422 | 175 | 405 | 303 | 524 | 419 | 416 | 126 | 552 | 3342 | 6653 |
| palo verde | 385 | 309 | 465 | 363 | 133 | 422 | 366 | 189 | 507 | 3139 | 422 | 161 | 405 | 277 | 519 | 419 | 383 | 114 | 552 | 3252 | 6391 |
| palo verde/terra cotta | 357 | 309 | 465 | 329 | 133 | 392 | 366 | 172 | 507 | 3030 | 422 | 161 | 376 | 277 | 519 | 393 | 322 | 114 | 522 | 3106 | 6136 |
| terra cotta | 357 | 284 | 426 | 329 | 125 | 392 | 323 | 172 | 473 | 2881 | 401 | 137 | 376 | 254 | 487 | 393 | 322 | 102 | 522 | 2994 | 5875 |
| terra cotta/heather | 316 | 284 | 426 | 296 | 117 | 339 | 300 | 153 | 445 | 2676 | 360 | 137 | 328 | 254 | 406 | 324 | 322 | 102 | 454 | 2687 | 5363 |