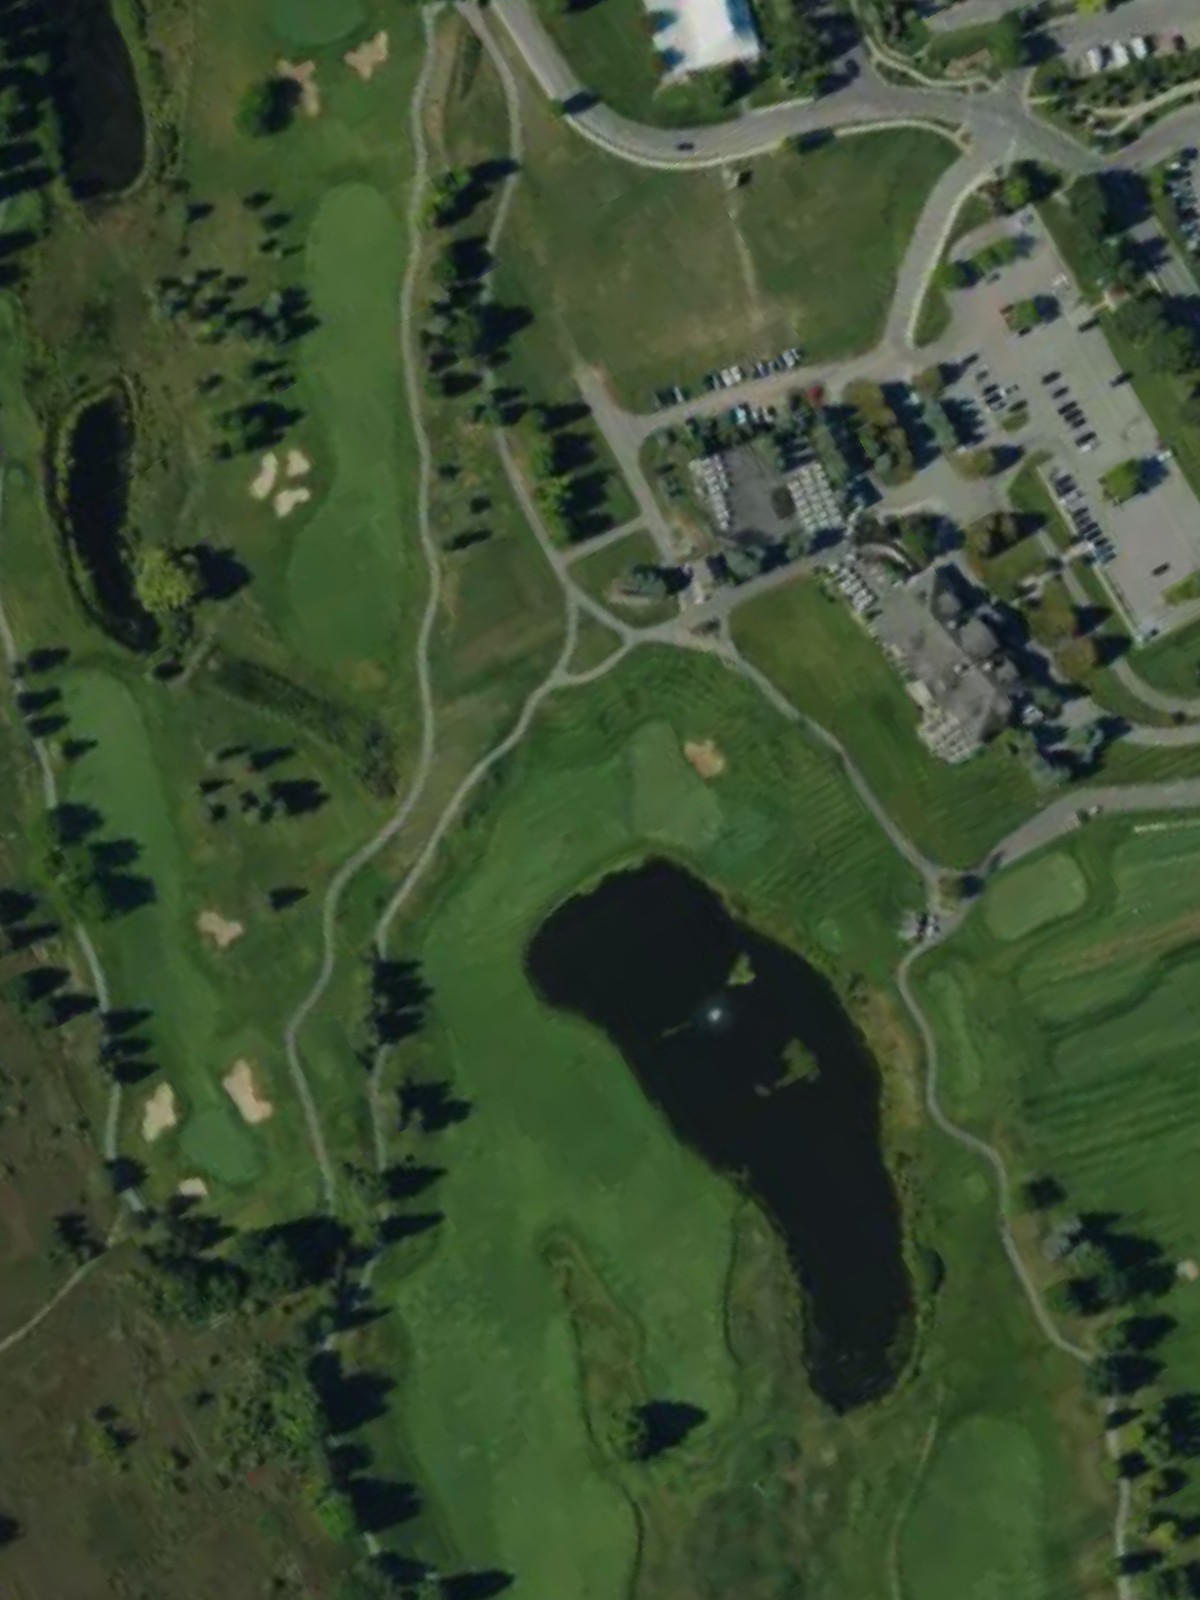
Grand Traverse Resort & Spa is an 18-hole golf course in Acme, MI with a par of 72. It offers 6 tee sets: black (7,045 yards, slope 140, rating 74.5), blue (6,498 yards, slope 138, rating 71.8), blue/white (6,162 yards, slope 135, rating 70.2), white (5,862 yards, slope 134, rating 68.7), white/yellow (5,359 yards, slope 126, rating 66.1), yellow (4,950 yards, slope 116, rating 64.1). The hardest hole is #3, a par 5 playing 478 yards from the first tee.
Grand Traverse Resort & Spa
Acme, MI
Get PDF Yardage Book
We'll email you the PDF link. No spam, ever.
Create Your Game Plan
Pick your tees, enter your bag, and get a personalized shot-by-shot strategy for every hole.
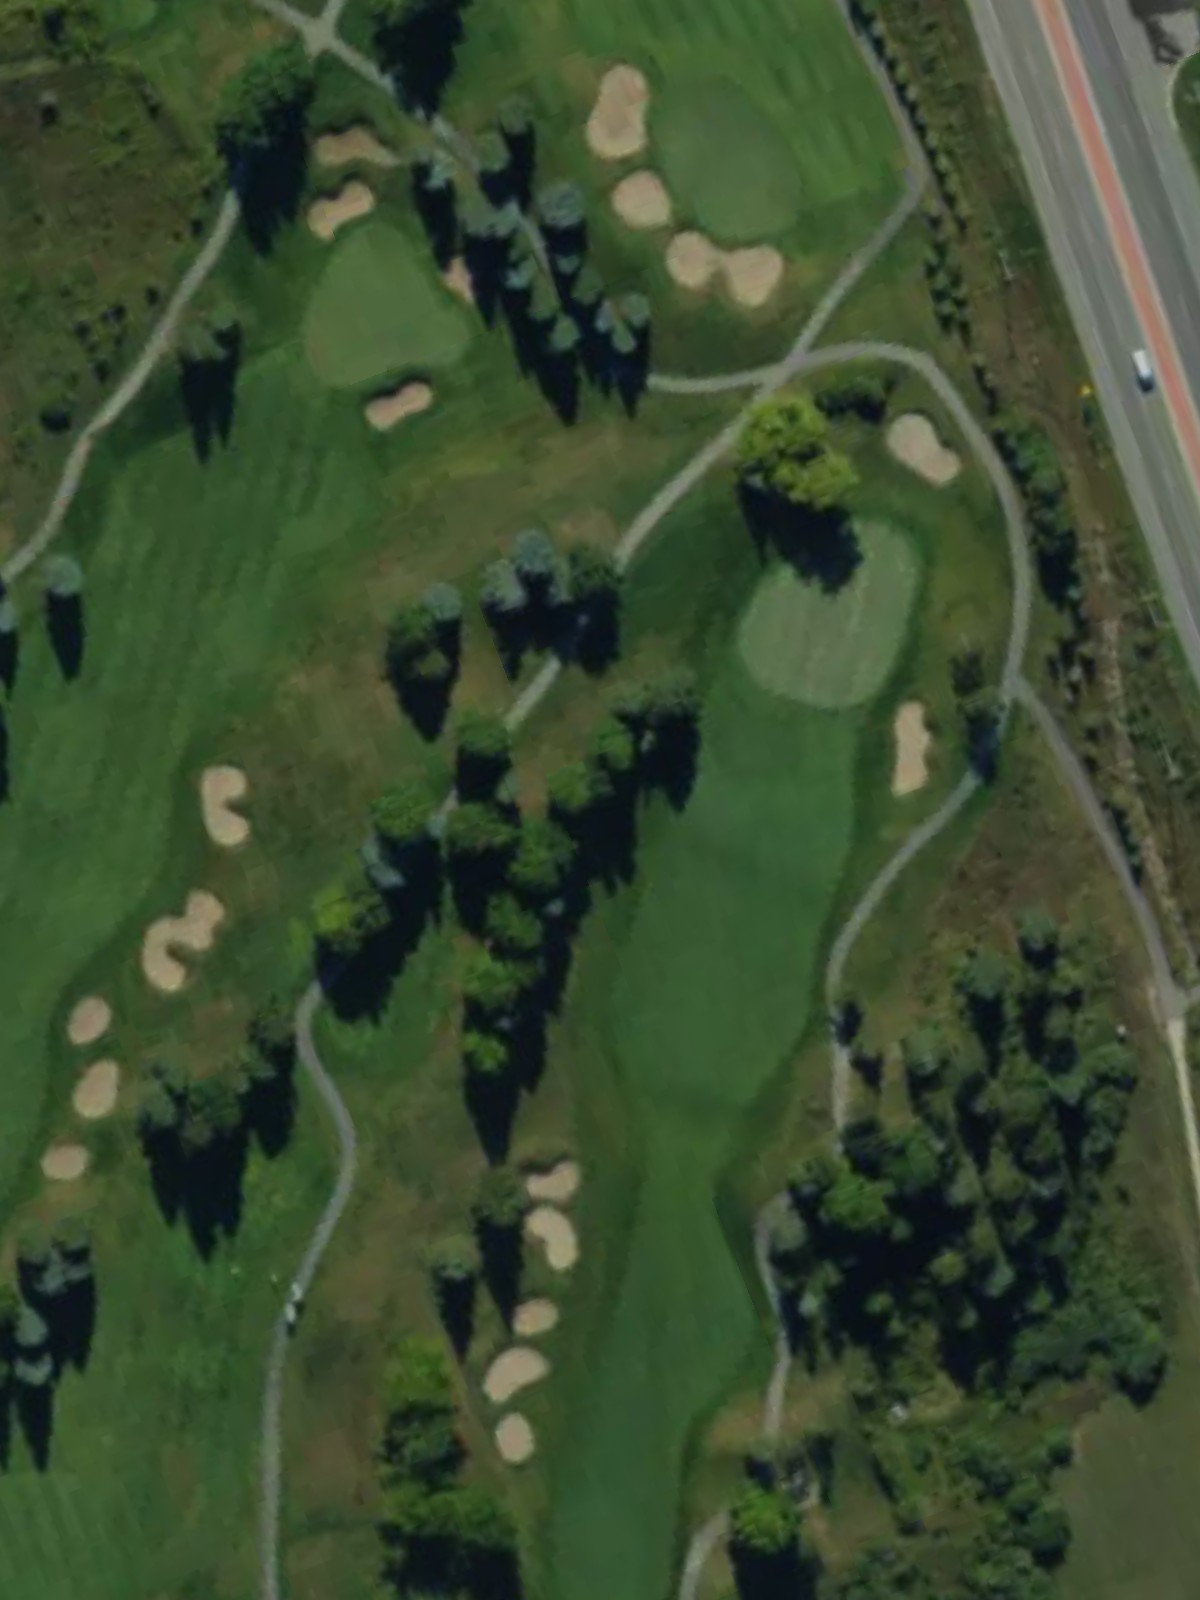
A straightforward opening par 4 with a fairway that gradually narrows as it approaches the green. Greenside bunkers protect the right side of the putting surface, requiring accuracy on the approach shot.
A demanding par 4 that plays as one of the course's most difficult holes. Water hazards and strategic bunkering narrow the landing area, making both distance control and placement critical.
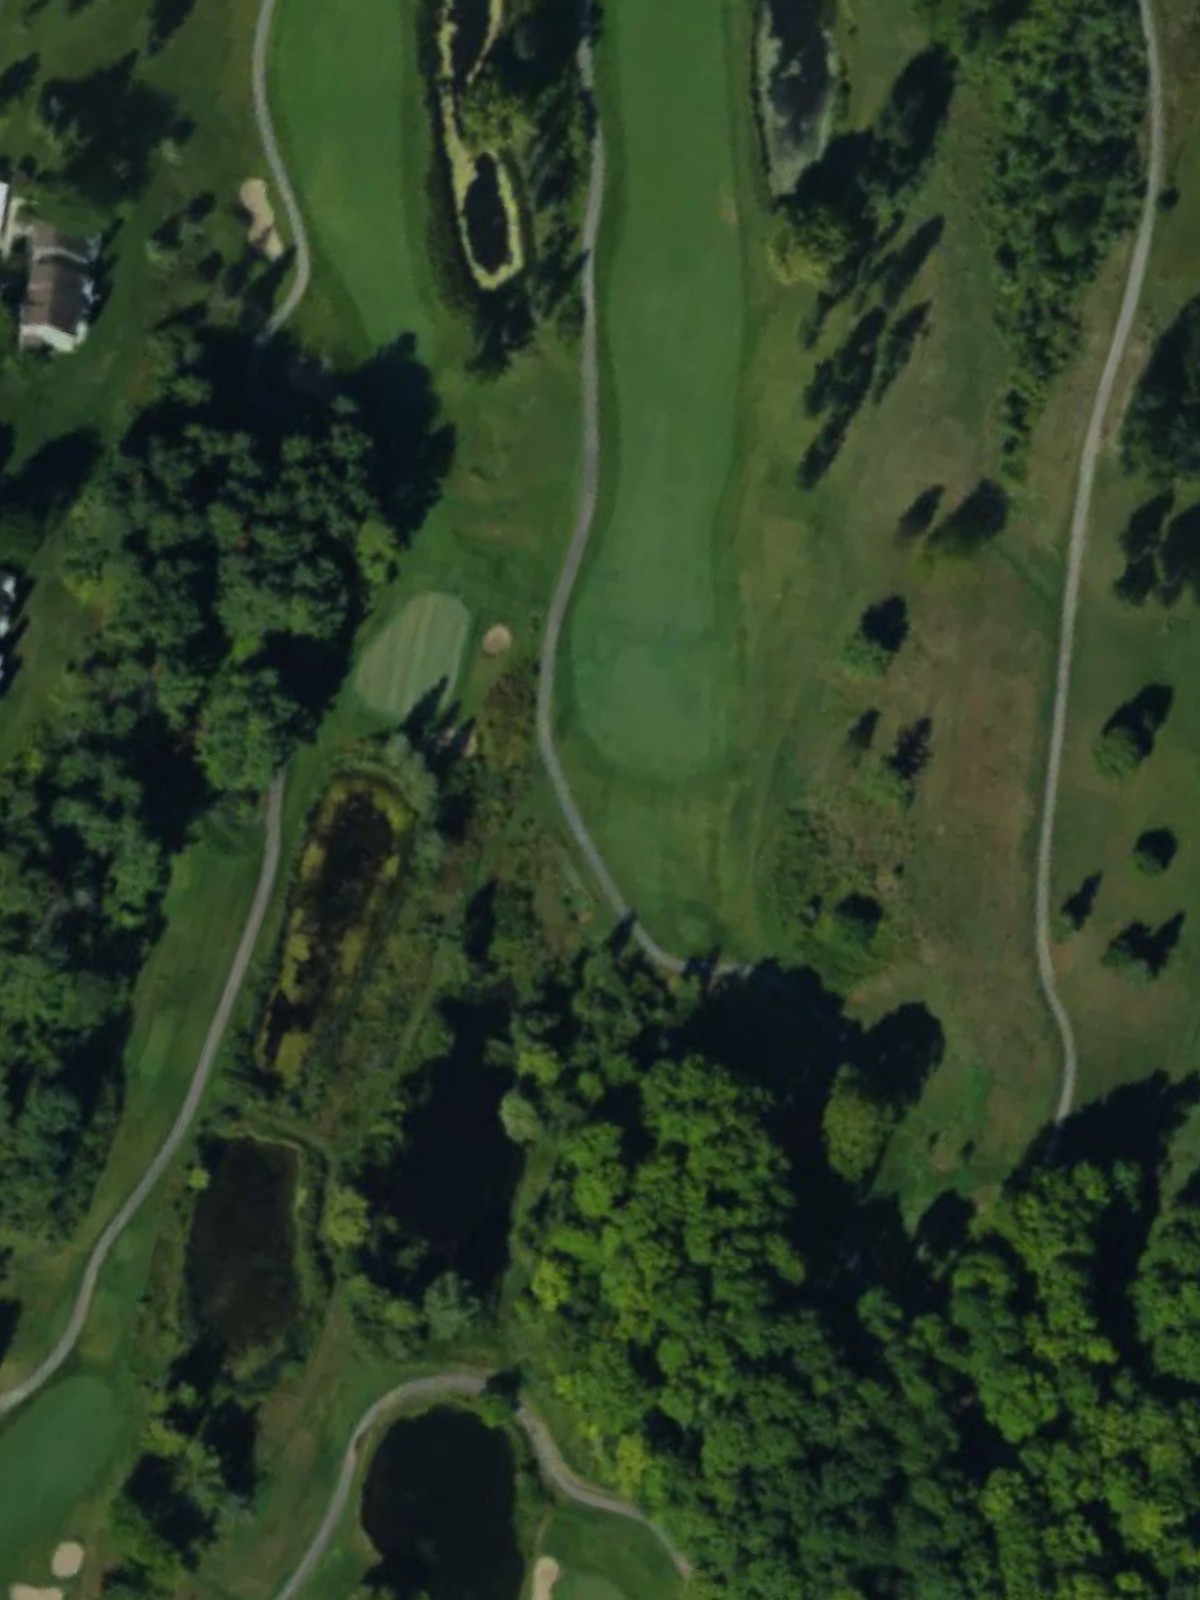
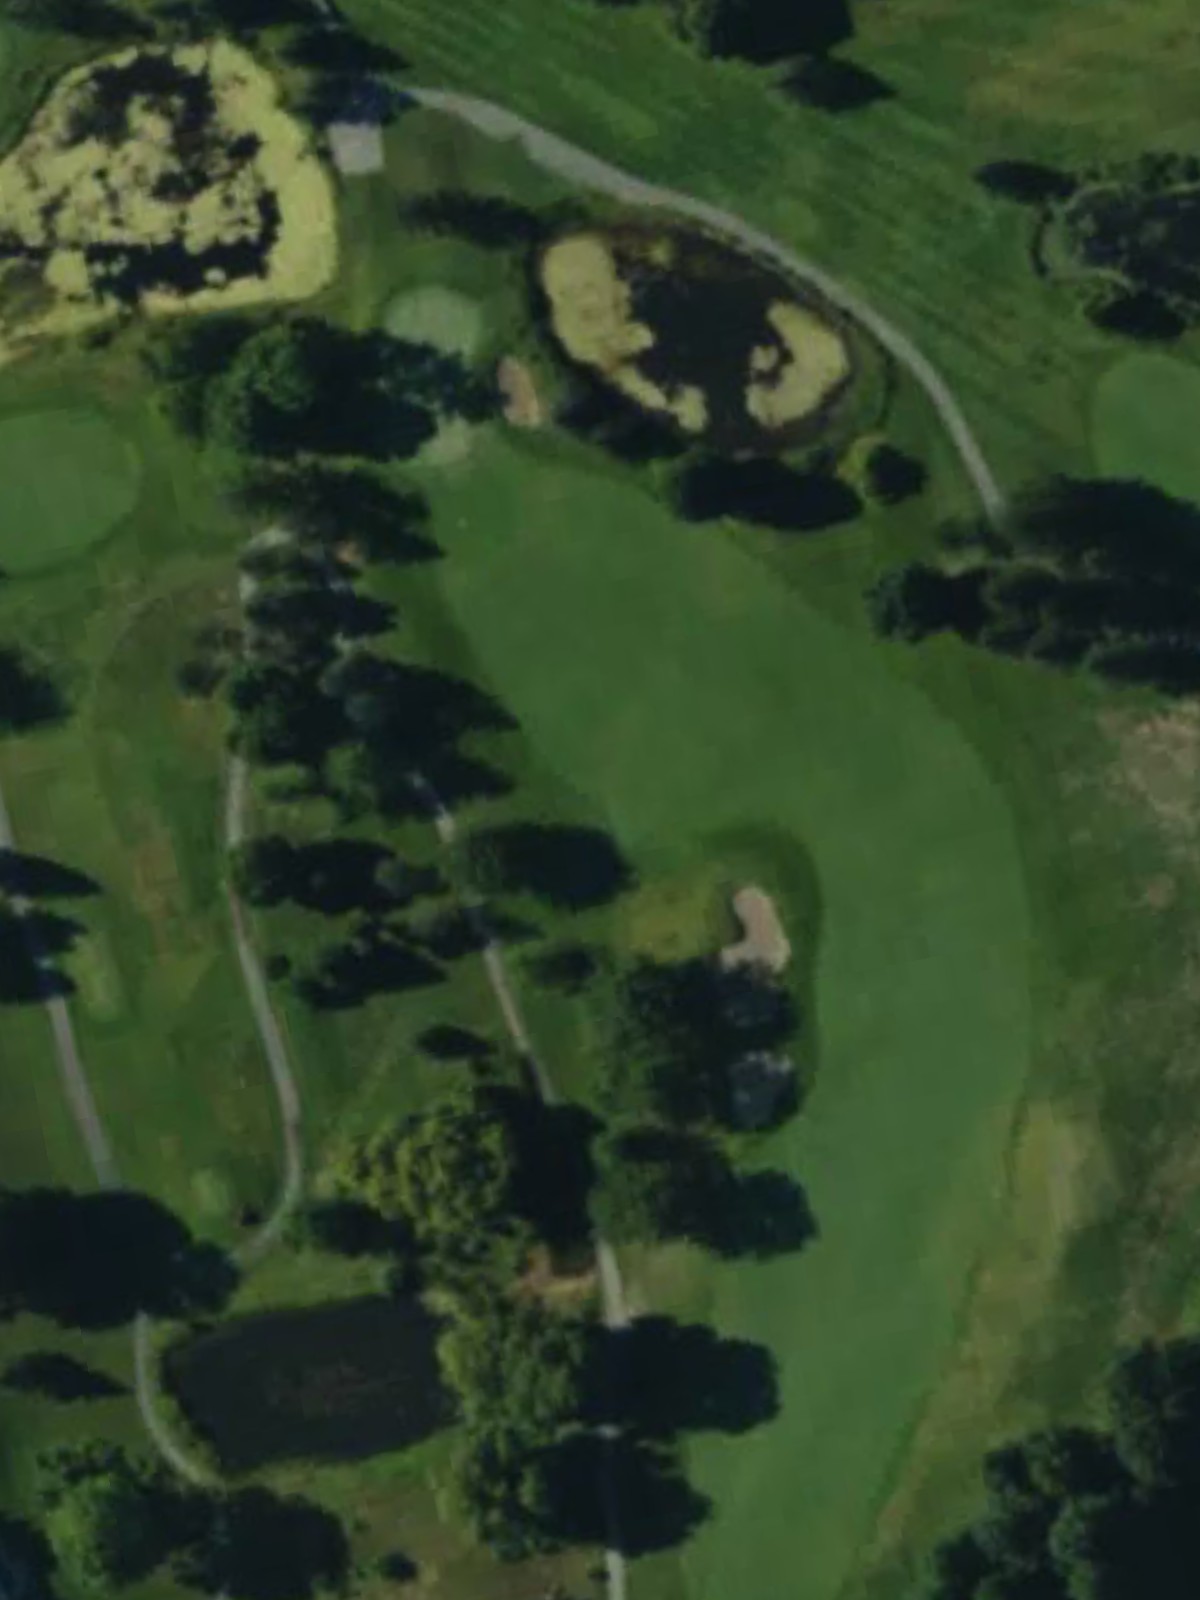
The longest hole on the front side, this par 5 offers multiple routes to the green with length as its primary challenge. Accurate positioning is essential for those attempting to reach in two, while three-shot players must manage the expansive layout.

A mid-length par 4 with significant elevation changes that can make club selection tricky. Bunkers frame the approach zone, and the green's contours demand precision on the second shot.

A short par 3 that belies its difficulty ranking with a well-bunkered green complex. Water and sand hazards surround the target, making this a deceptively challenging one-shot hole.
A picturesque par 4 with a fairway that bends slightly and tightens near the green. Strategic bunkering on both sides of the approach corridor requires careful shot placement.
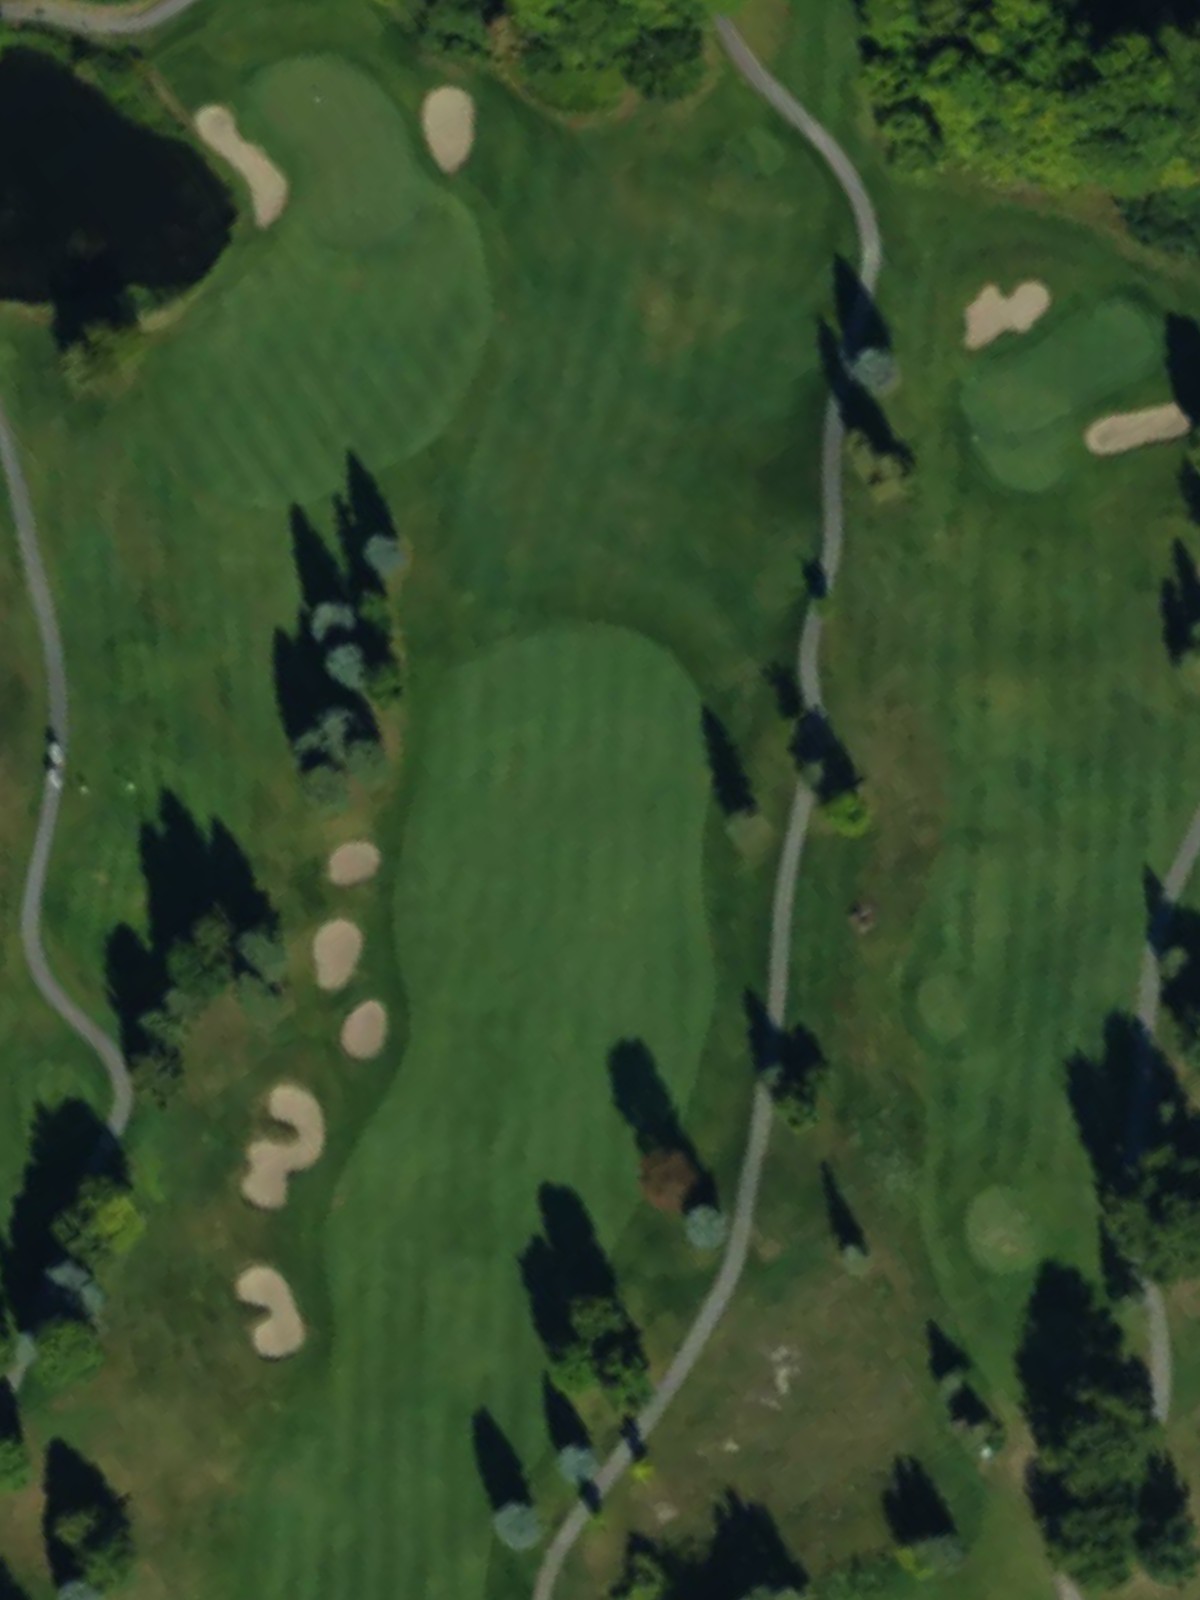
A solid par 4 with a relatively open fairway that allows for an attacking line to the green. Bunkers and rough terrain around the putting surface penalize imprecise approaches.

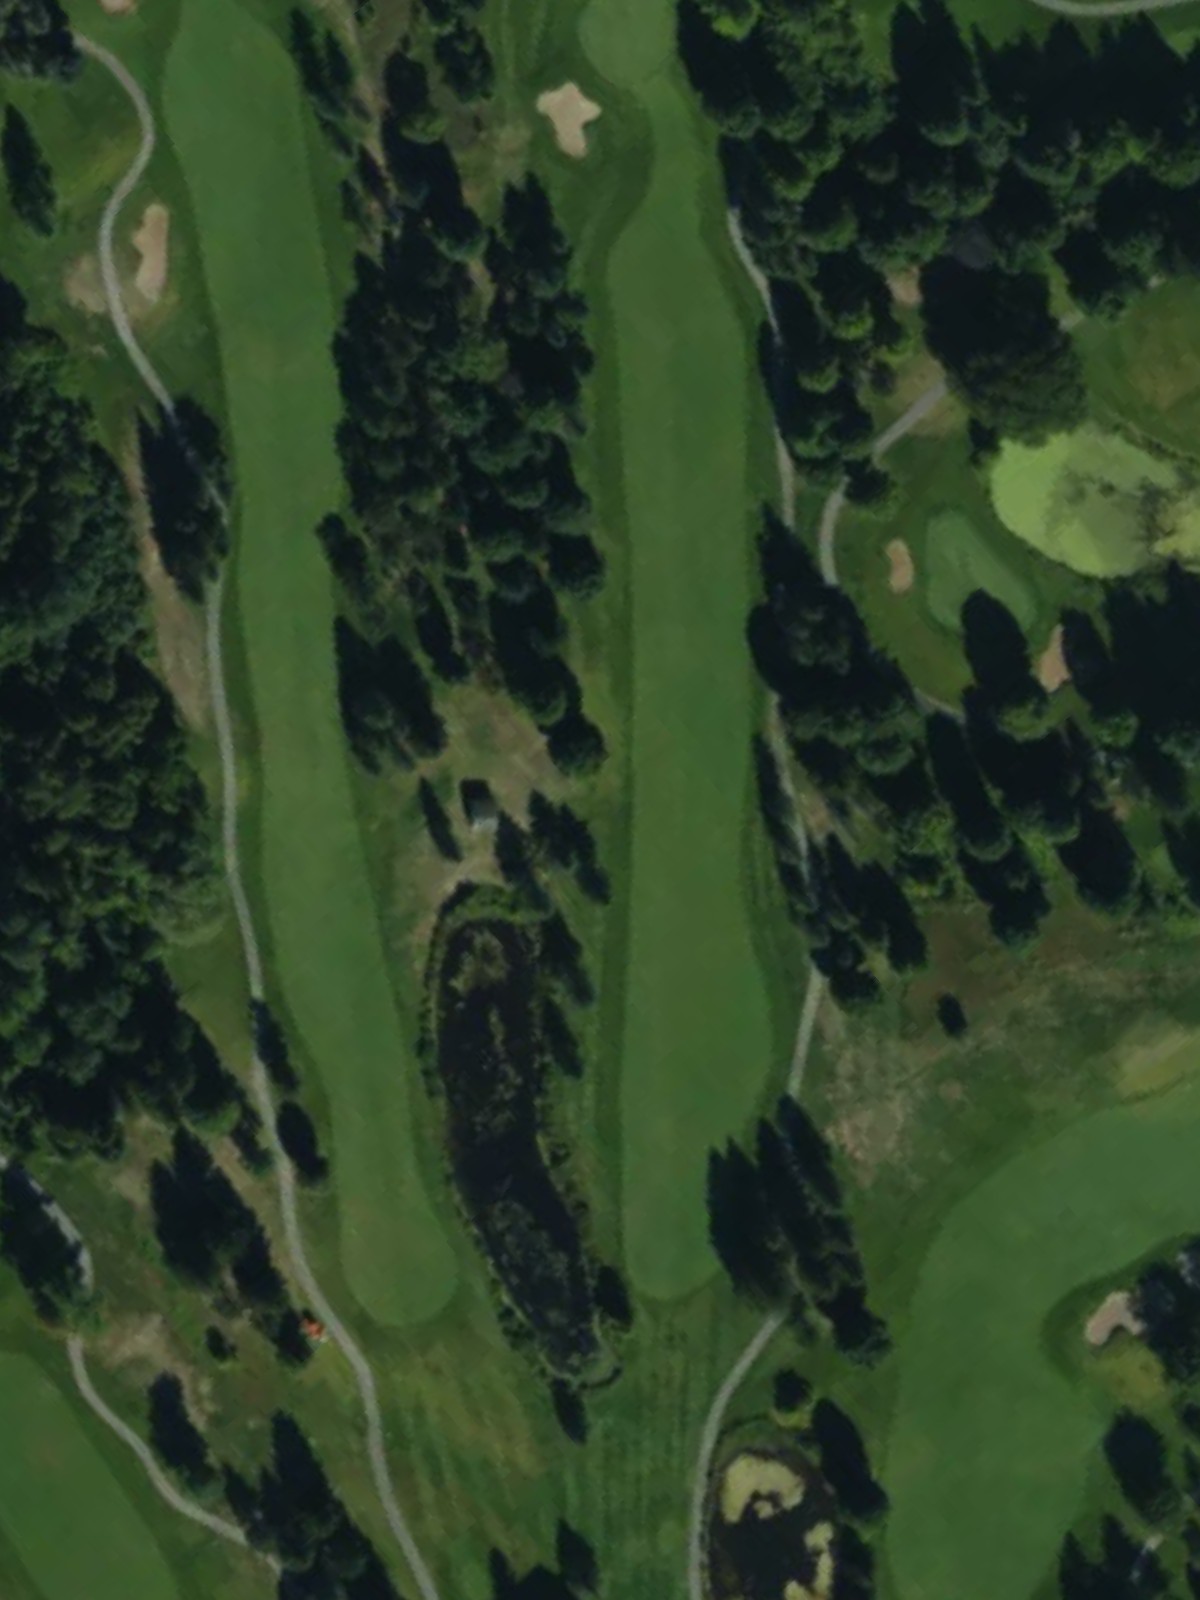
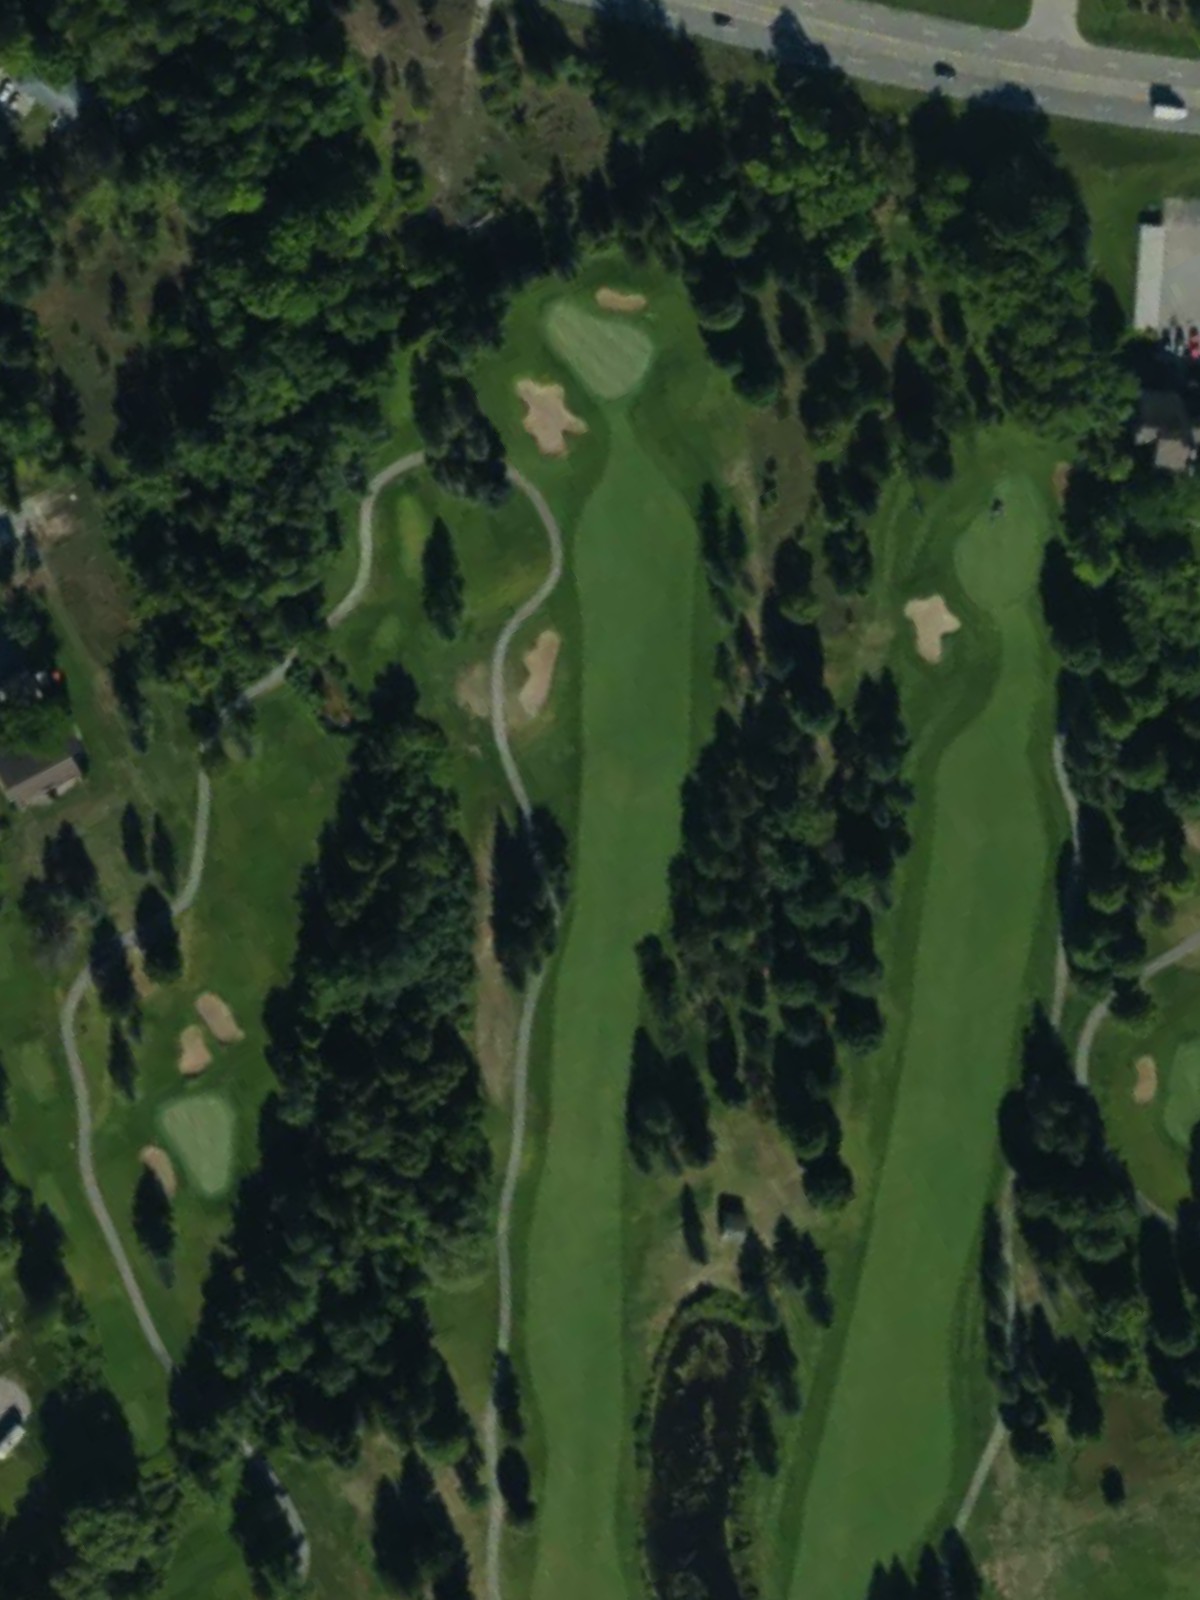
A substantial par 5 that ranks among the course's toughest tests, featuring length and strategic hazards throughout. The hole's routing demands both power and precision across multiple shots.
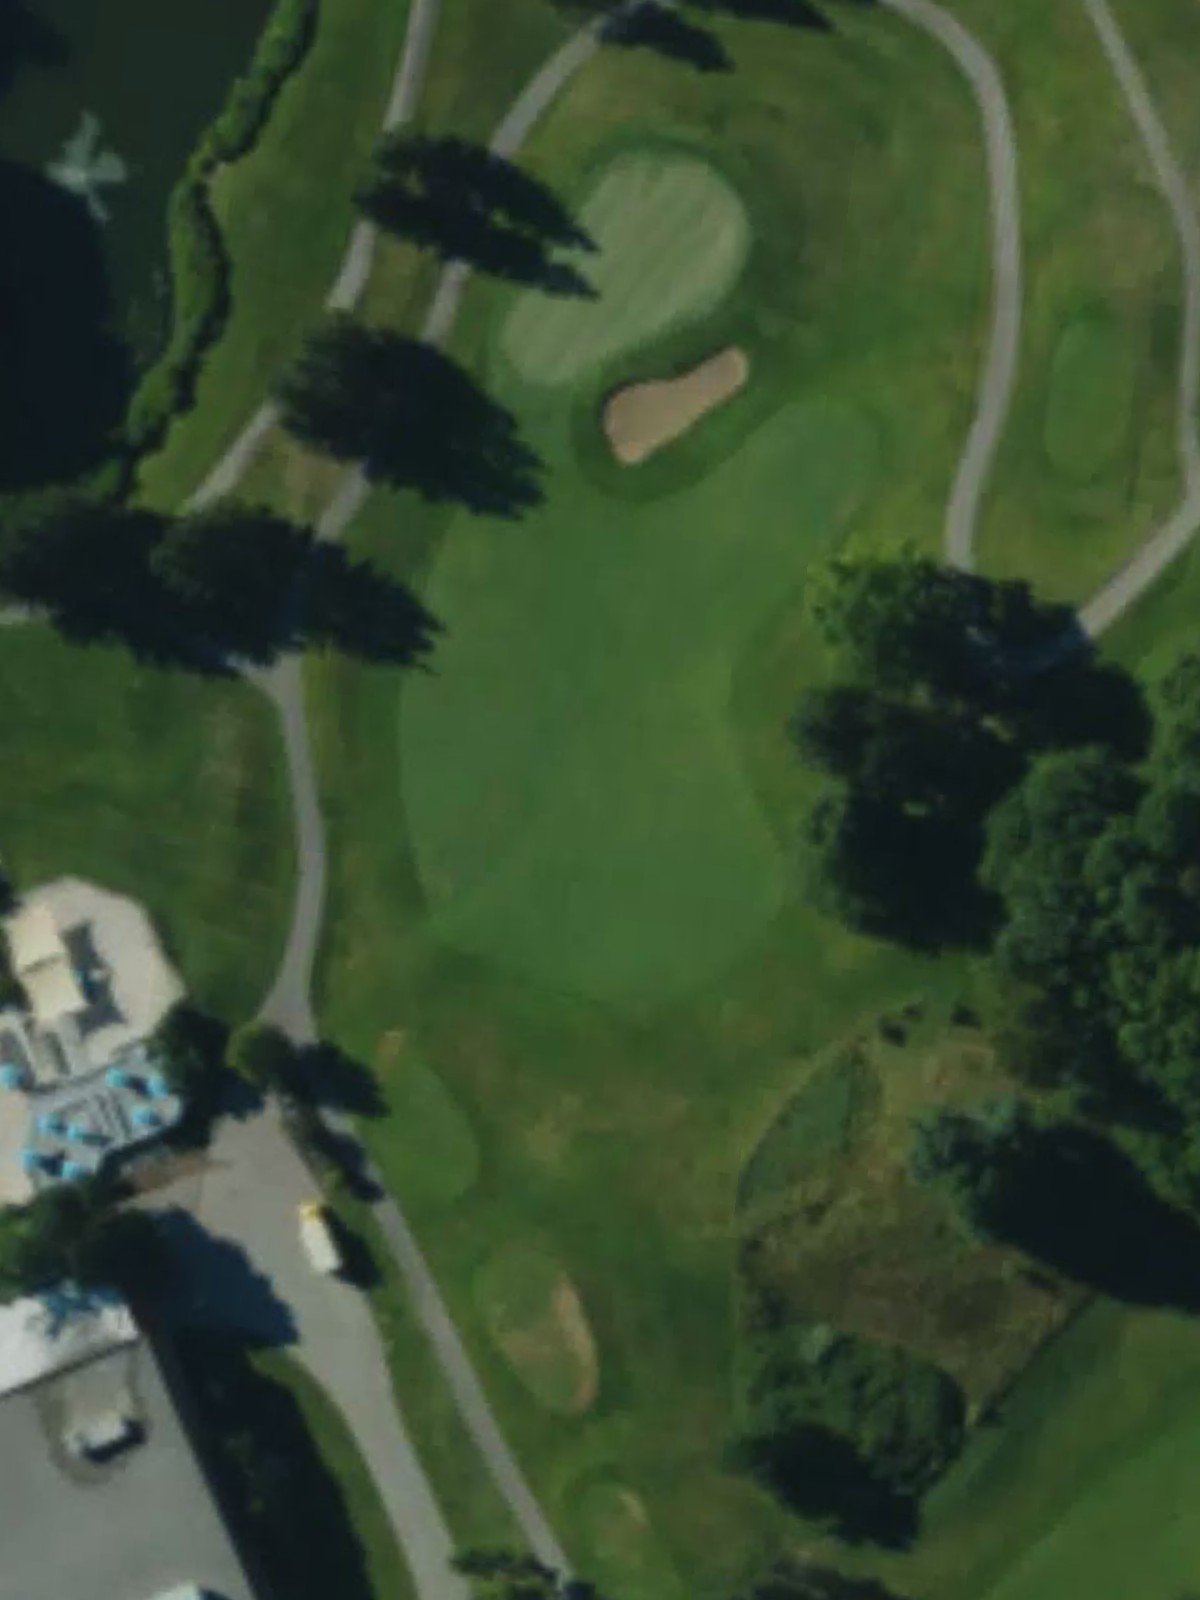
A short par 3 that plays downhill to a well-defended green. Despite its modest length, water and bunker placement create a challenging target that requires accurate distance control.
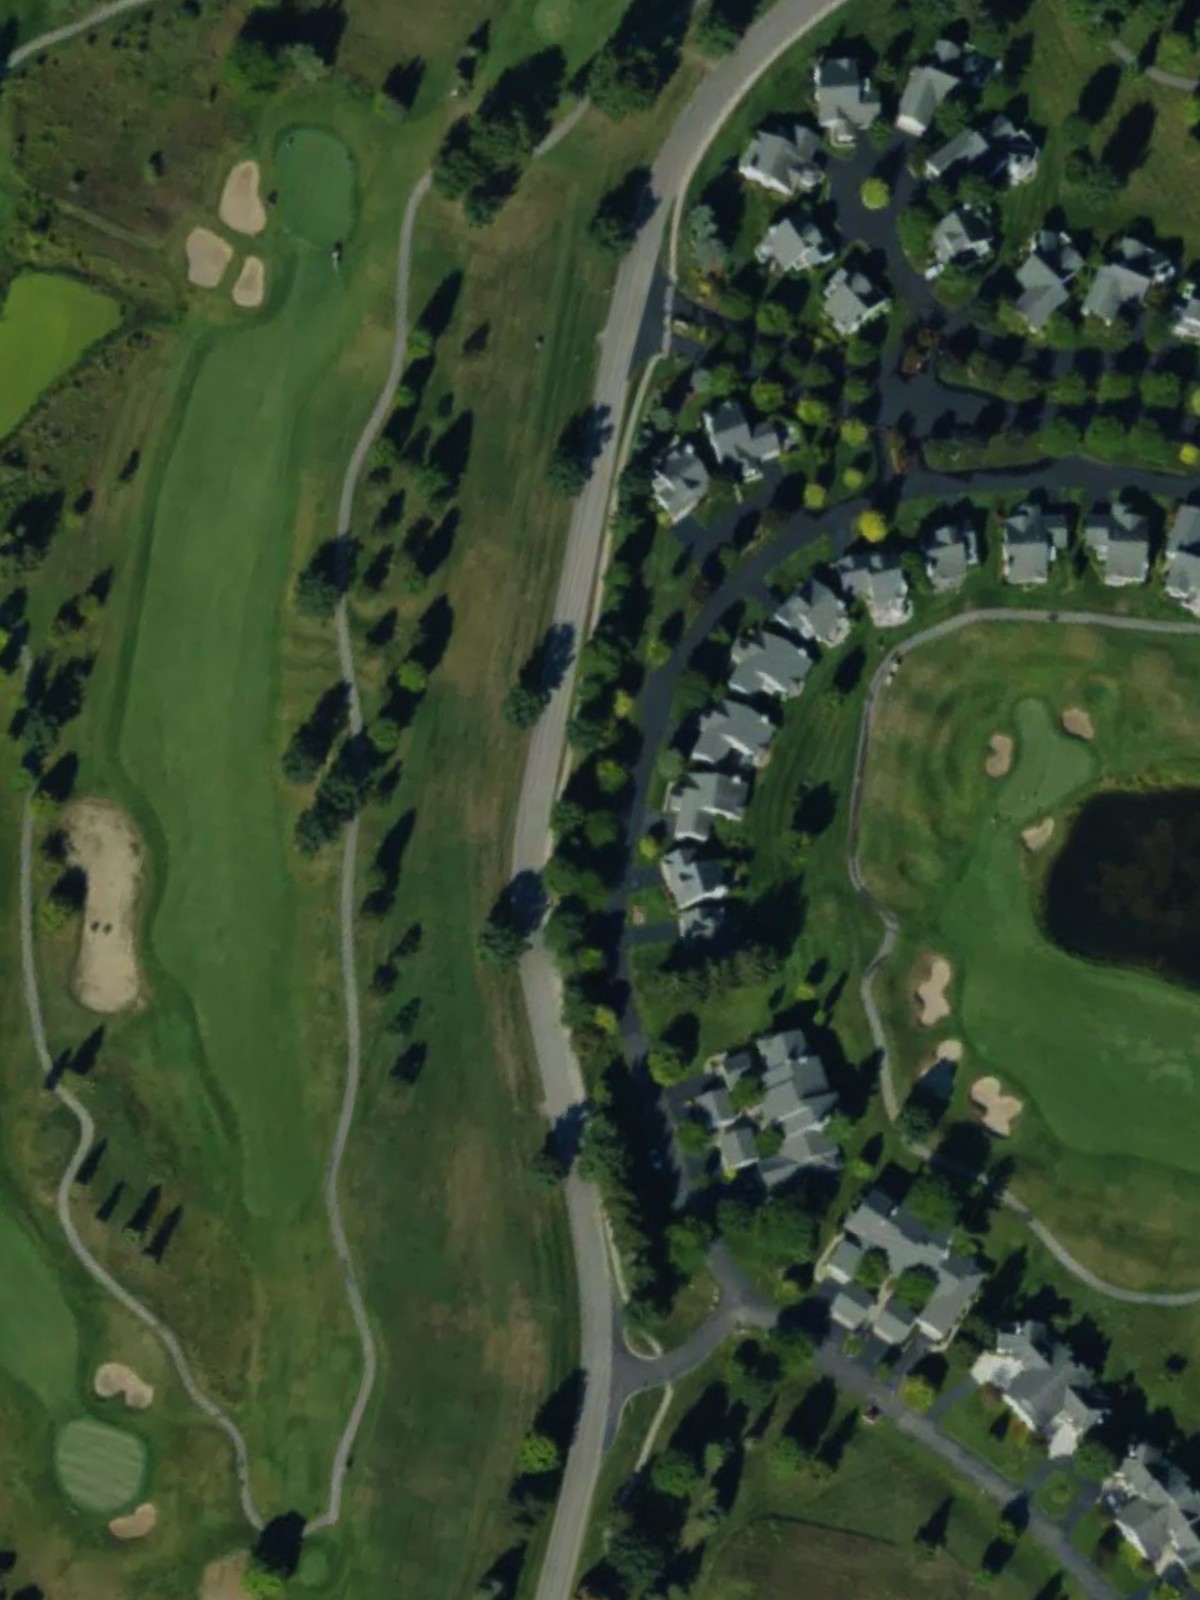
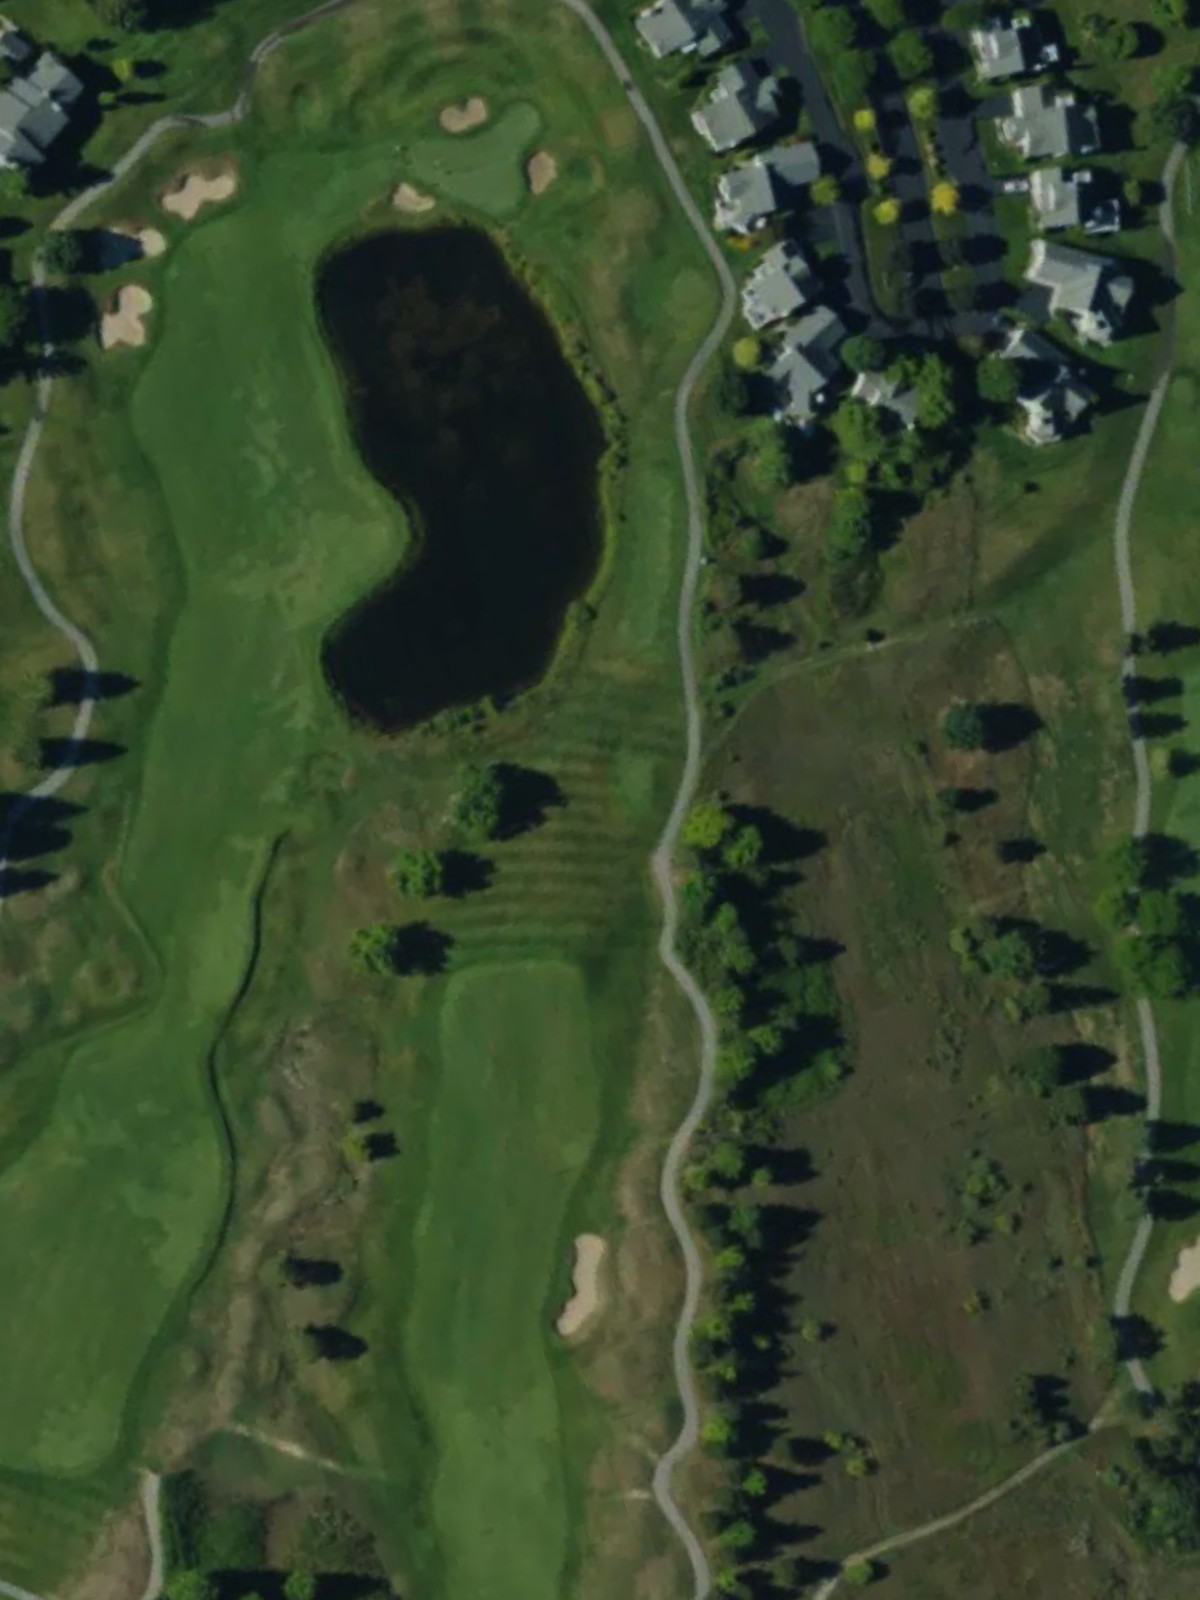
A strong par 4 and one of the back nine's most difficult holes, with hazards that come into play for longer hitters. The combination of length and strategic bunkering makes this a formidable challenge.
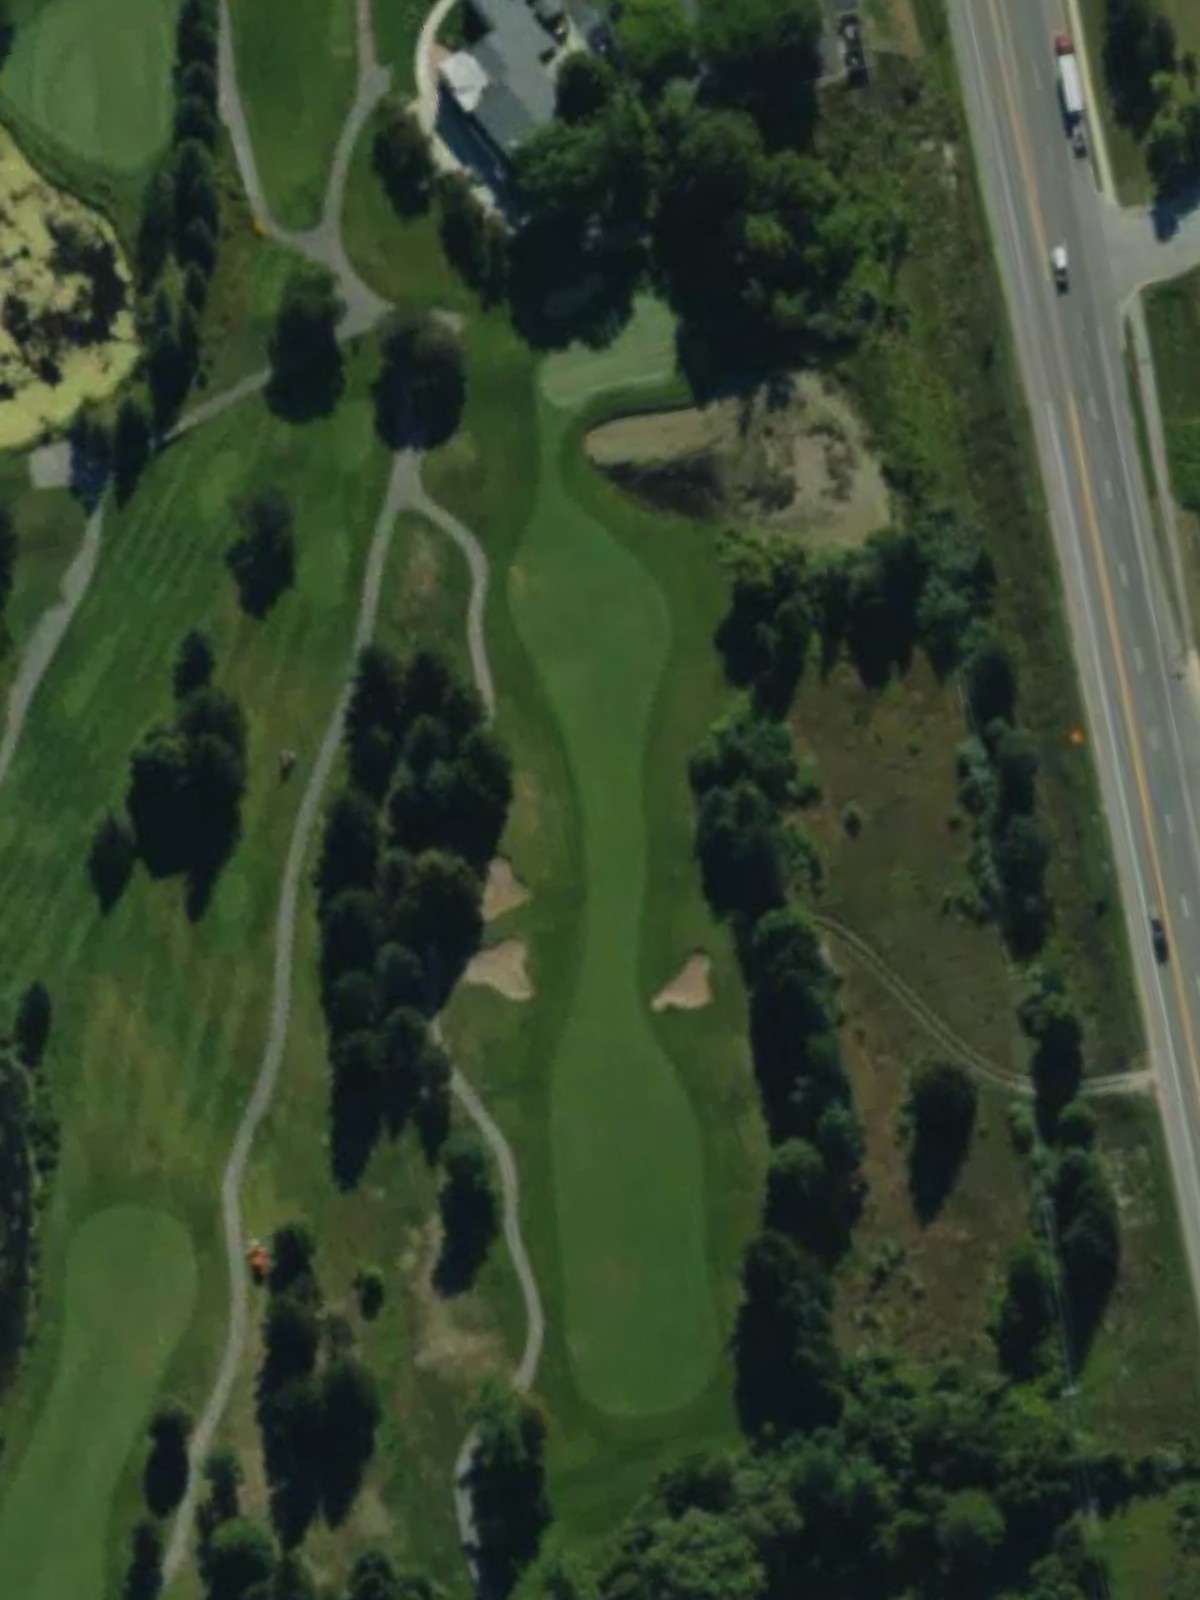
A lengthy par 5 that offers strategic options for different skill levels. Water and bunkers frame the fairway at various distances, requiring careful course management over three shots.

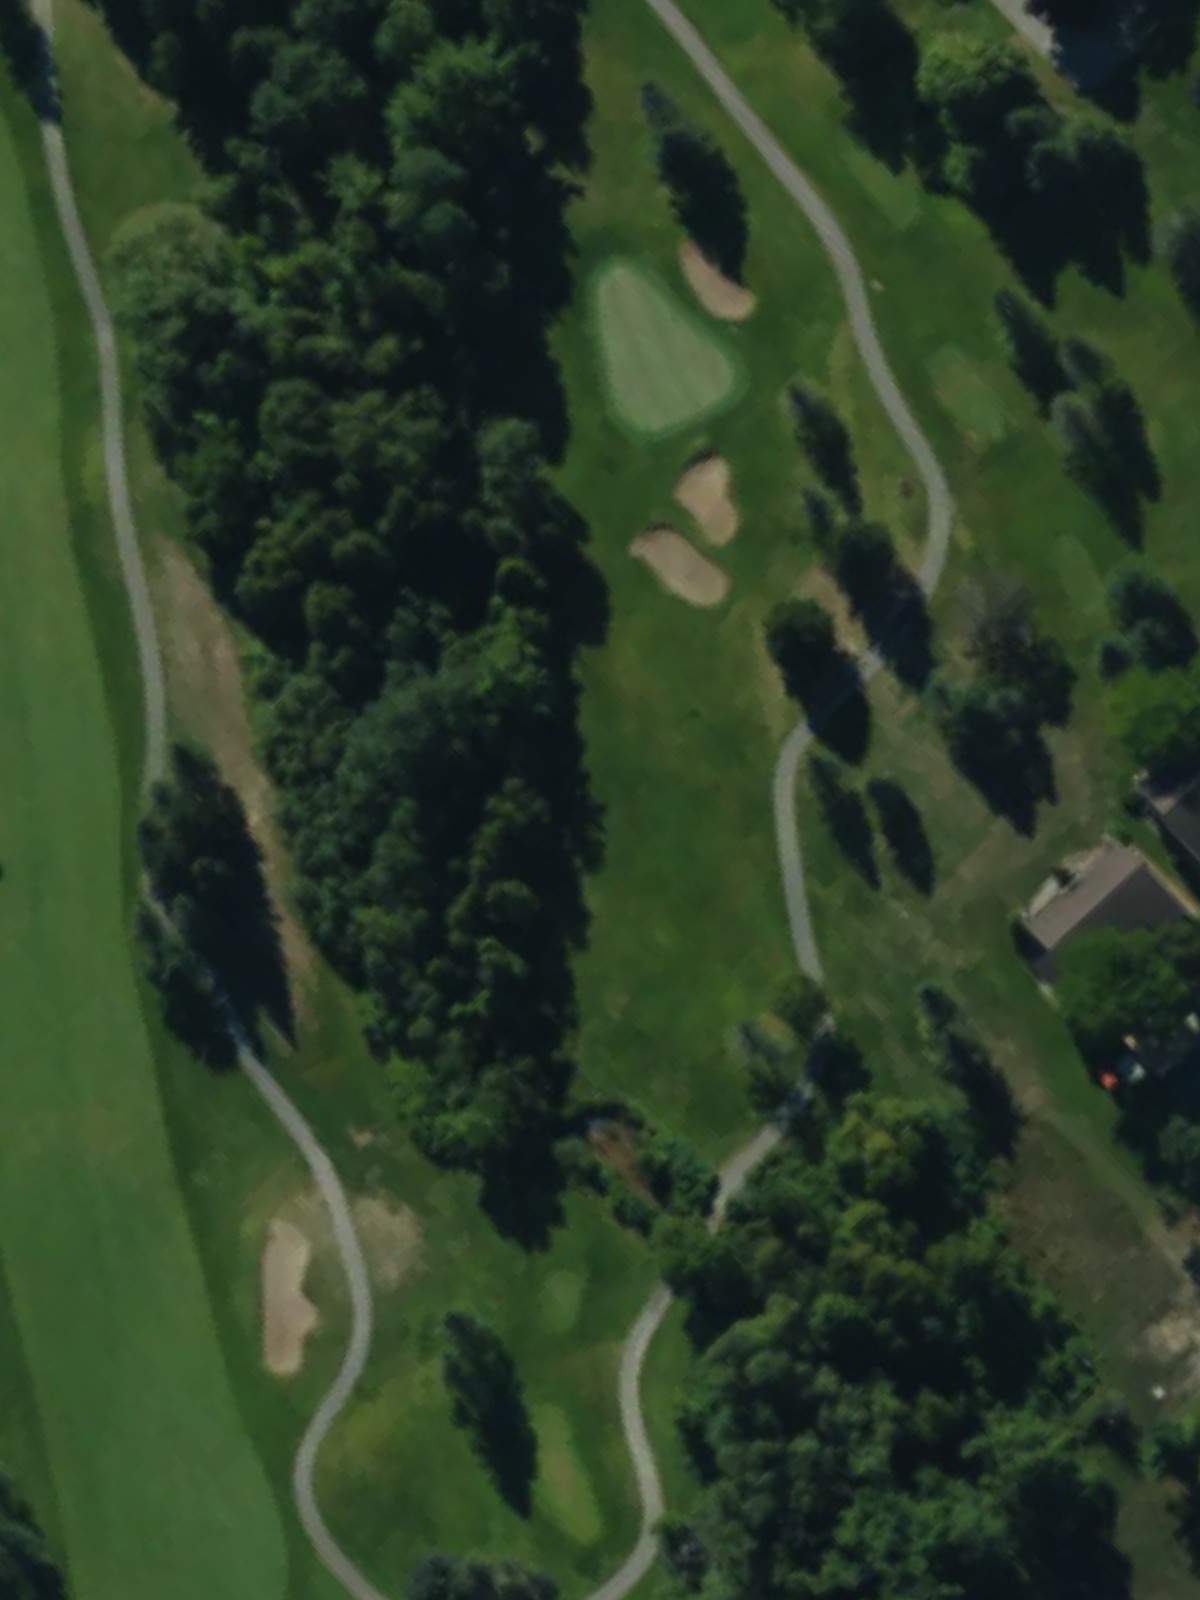
A compact par 3 playing to an elevated green surrounded by bunkers and rough. The small target and minimal bail-out area make this one of the most demanding short holes on the course.
An attractive par 4 with a fairway that narrows significantly as it approaches the green. Bunkers guard the left and right sides of the putting surface, demanding a precise approach shot.

A modest par 3 with a deceptive layout that features water and bunker hazards around the green. The exposed positioning of the target makes wind a significant factor in club selection.
A shorter par 4 that tempts aggressive play but is protected by strategic bunkering and rough. The relatively compact yardage belies the precision required to score well.
The second-toughest hole on the course, this par 4 combines length with a narrow corridor lined by hazards on both sides. Accuracy and distance control are paramount on both the drive and approach.
A mid-length par 4 with a fairway that can tighten near the green, particularly on the right side. Bunkers and elevation changes add complexity to an otherwise approachable hole.
A dramatic finishing par 5 that demands both power and precision across its considerable length. Strategic hazards and bunker placement throughout reward careful planning and execution on this signature closer.
Scorecard
| Hole | 1 | 2 | 3 | 4 | 5 | 6 | 7 | 8 | 9 | Out | 10 | 11 | 12 | 13 | 14 | 15 | 16 | 17 | 18 | In | Tot |
|---|---|---|---|---|---|---|---|---|---|---|---|---|---|---|---|---|---|---|---|---|---|
| Par | 4 | 4 | 5 | 4 | 3 | 4 | 4 | 5 | 3 | 36 | 4 | 5 | 3 | 4 | 3 | 4 | 4 | 4 | 5 | 36 | 72 |
| HCP | 13 | 5 | 1 | 11 | 15 | 7 | 9 | 3 | 17 | 4 | 10 | 18 | 8 | 16 | 14 | 2 | 12 | 6 | |||
| black | 406 | 421 | 491 | 427 | 216 | 395 | 389 | 509 | 196 | 3450 | 435 | 547 | 200 | 414 | 181 | 387 | 479 | 391 | 561 | 3595 | 7045 |
| blue | 362 | 380 | 478 | 409 | 189 | 370 | 375 | 490 | 163 | 3216 | 392 | 506 | 185 | 364 | 163 | 345 | 439 | 357 | 531 | 3282 | 6498 |
| blue/white | 362 | 354 | 478 | 334 | 147 | 370 | 357 | 490 | 163 | 3055 | 363 | 477 | 154 | 364 | 163 | 345 | 417 | 357 | 467 | 3107 | 6162 |
| white | 328 | 354 | 444 | 334 | 147 | 332 | 357 | 452 | 128 | 2876 | 363 | 477 | 154 | 318 | 146 | 308 | 417 | 336 | 467 | 2986 | 5862 |
| white/yellow | 328 | 314 | 444 | 334 | 128 | 332 | 244 | 375 | 107 | 2606 | 330 | 388 | 138 | 318 | 146 | 308 | 350 | 336 | 439 | 2753 | 5359 |
| yellow | 294 | 314 | 431 | 230 | 128 | 256 | 244 | 372 | 107 | 2376 | 330 | 388 | 138 | 266 | 146 | 232 | 350 | 285 | 439 | 2574 | 4950 |