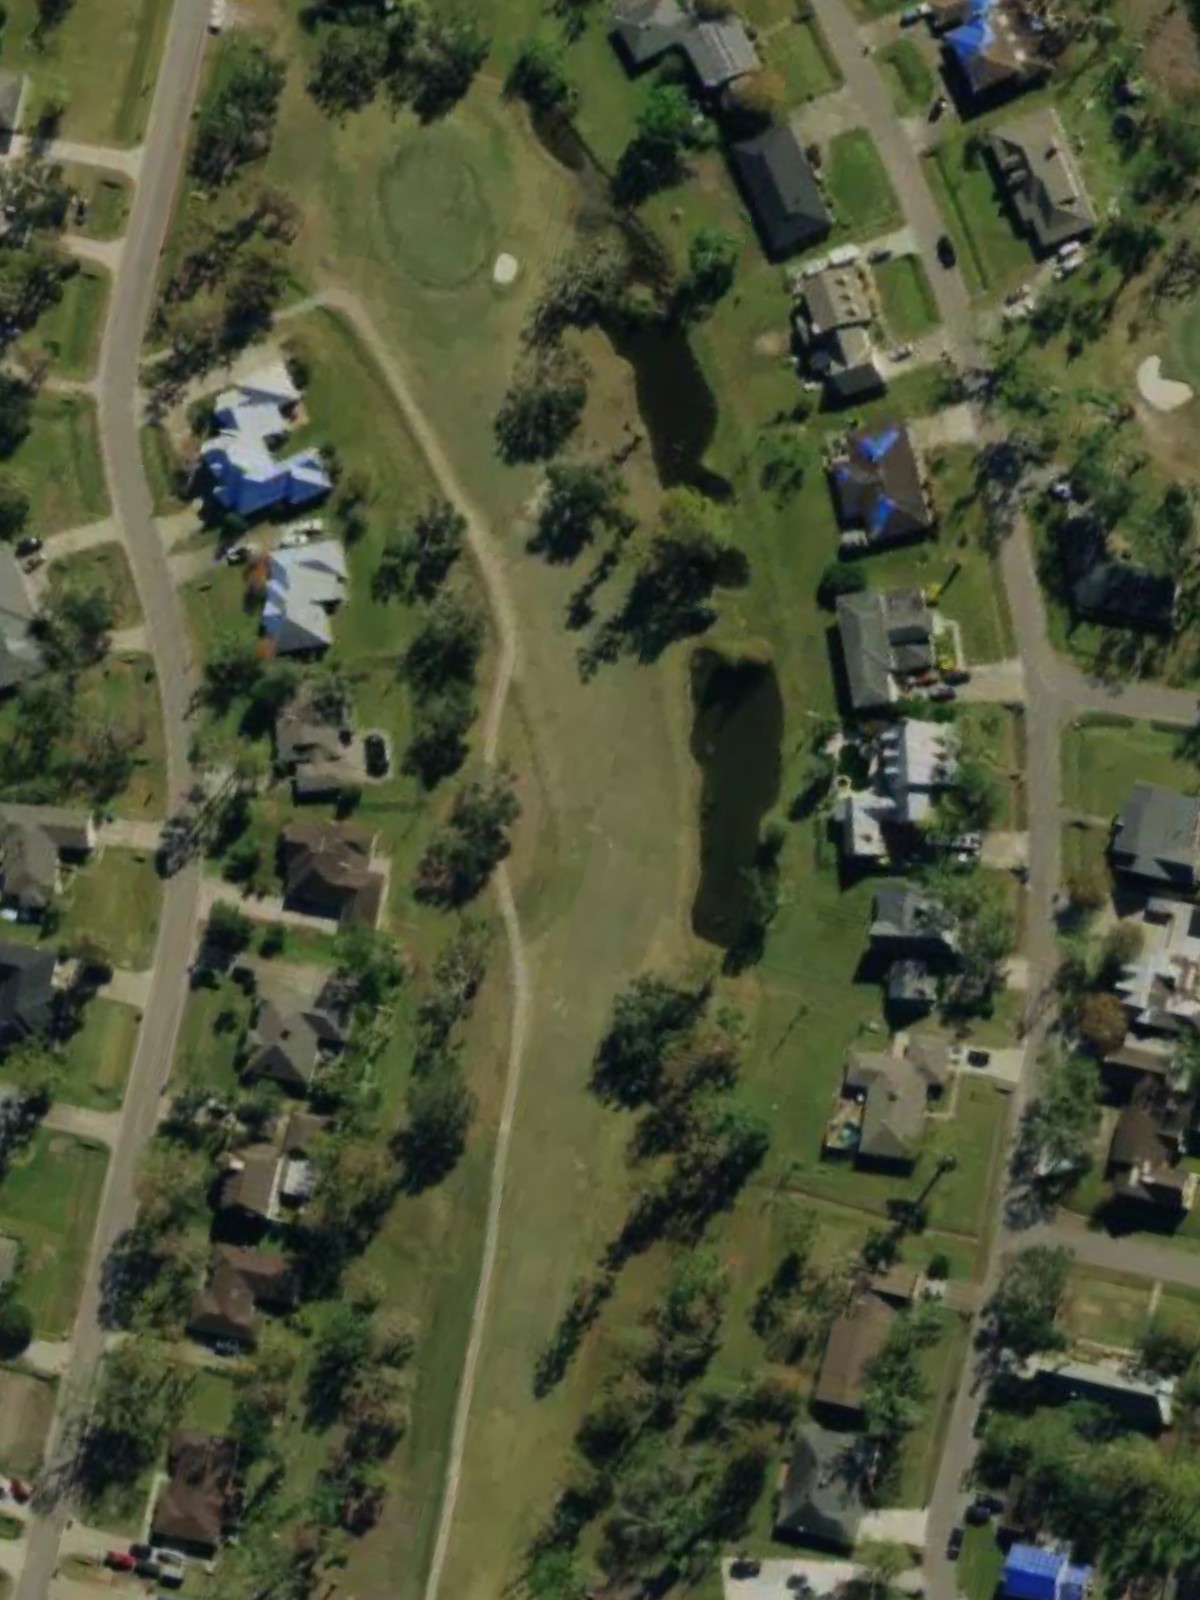
Grand Ridge Golf Club is an 18-hole golf course in Luling, LA with a par of 72. It offers 7 tee sets: blue (6,436 yards, slope 126, rating 71), blue/white (6,286 yards, slope 125, rating 70.4), white (6,160 yards, slope 122, rating 69.8), white/gold (5,932 yards, slope 119, rating 68.7), gold (5,813 yards, slope 114, rating 68.5), gold/red (5,437 yards, slope 109, rating 66.6), red (5,234 yards, slope 107, rating 65.9). The hardest hole is #5, a par 4 playing 312 yards from the first tee.
Grand Ridge Golf Club
Luling, LA
Get PDF Yardage Book
We'll email you the PDF link. No spam, ever.
Create Your Game Plan
Pick your tees, enter your bag, and get a personalized shot-by-shot strategy for every hole.
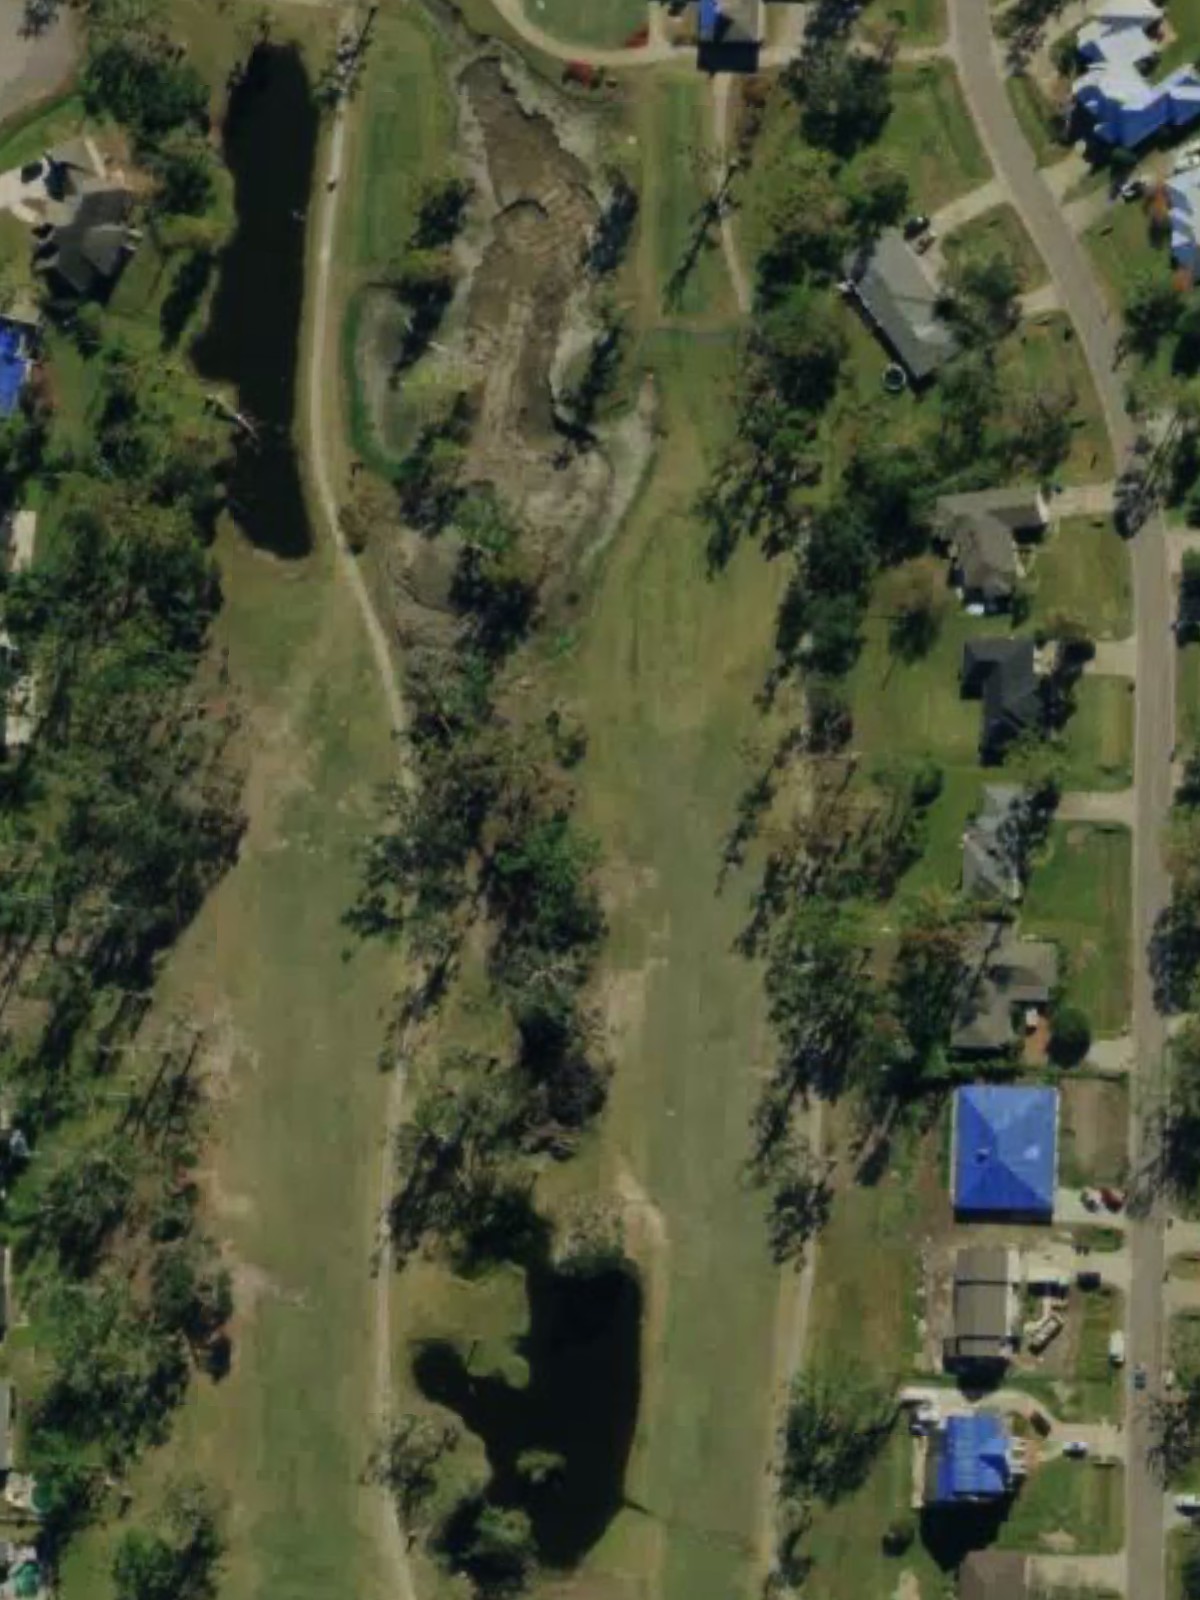
A straightforward par 4 with a fairway that gradually narrows as it approaches the green. Bunkers guard the right side of the green, requiring accuracy on the approach shot to avoid sand.
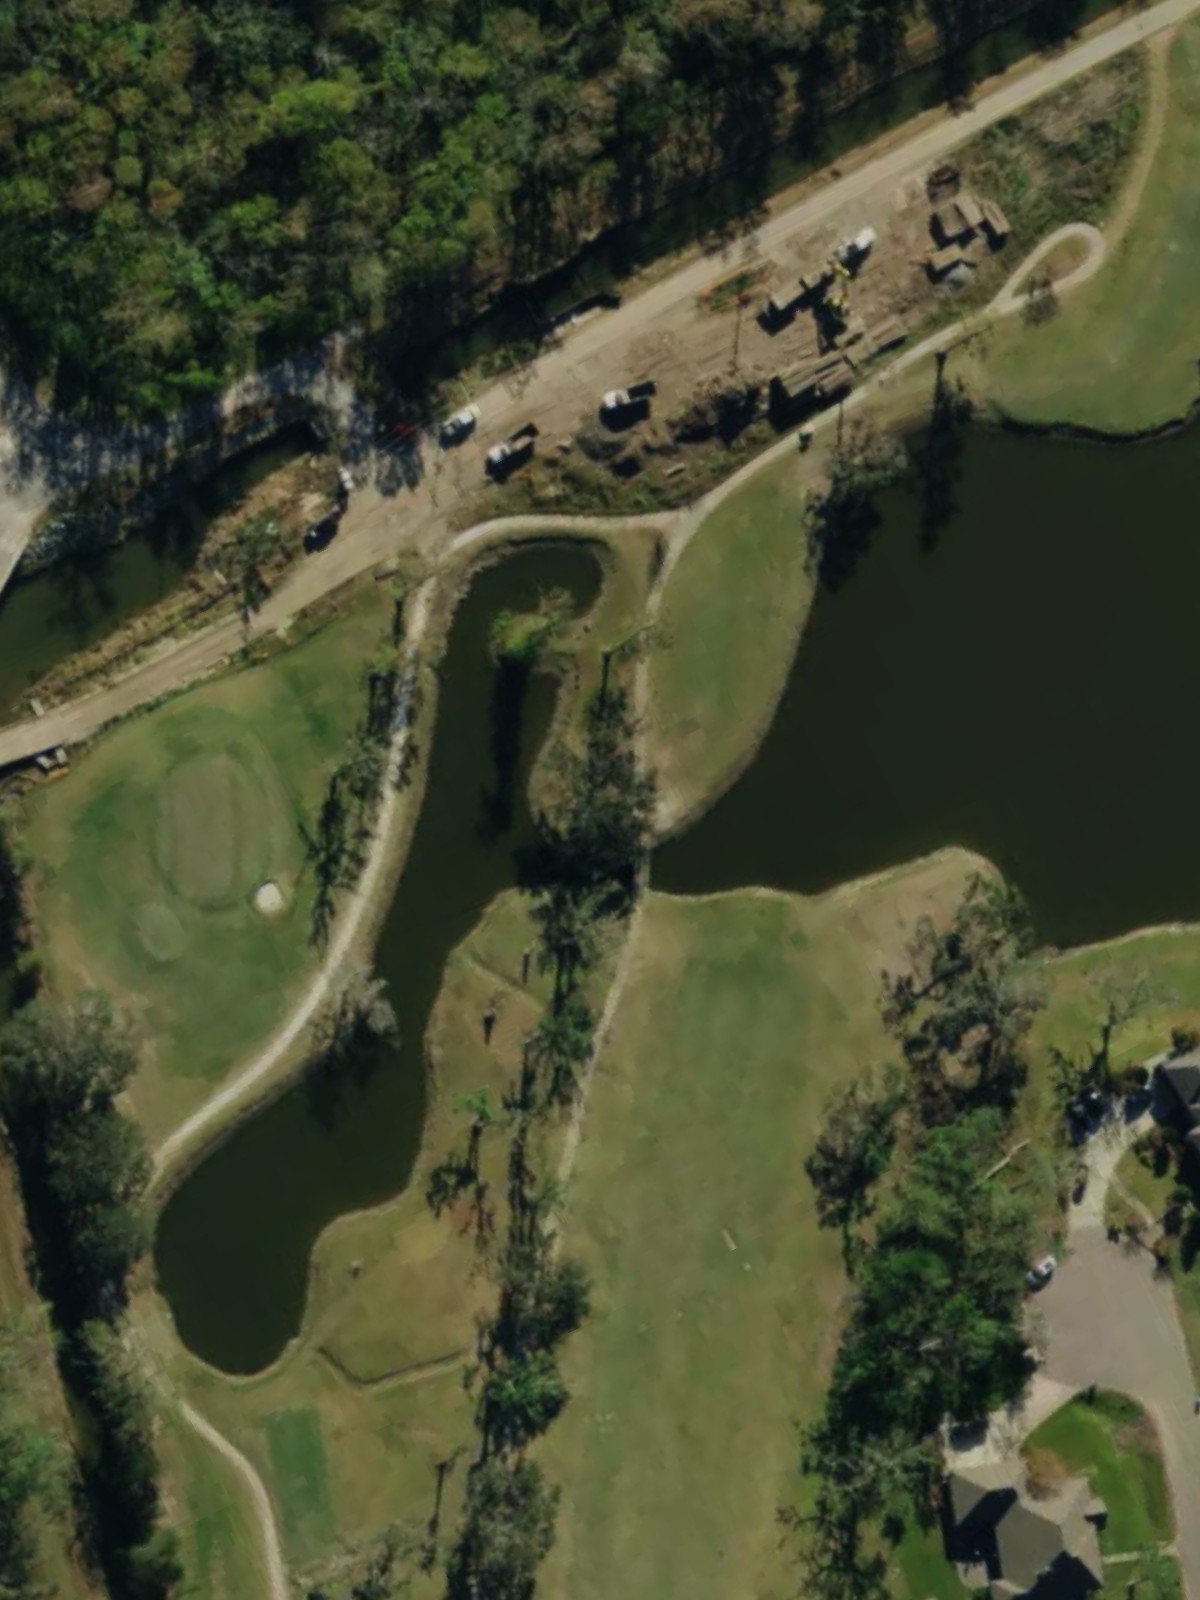
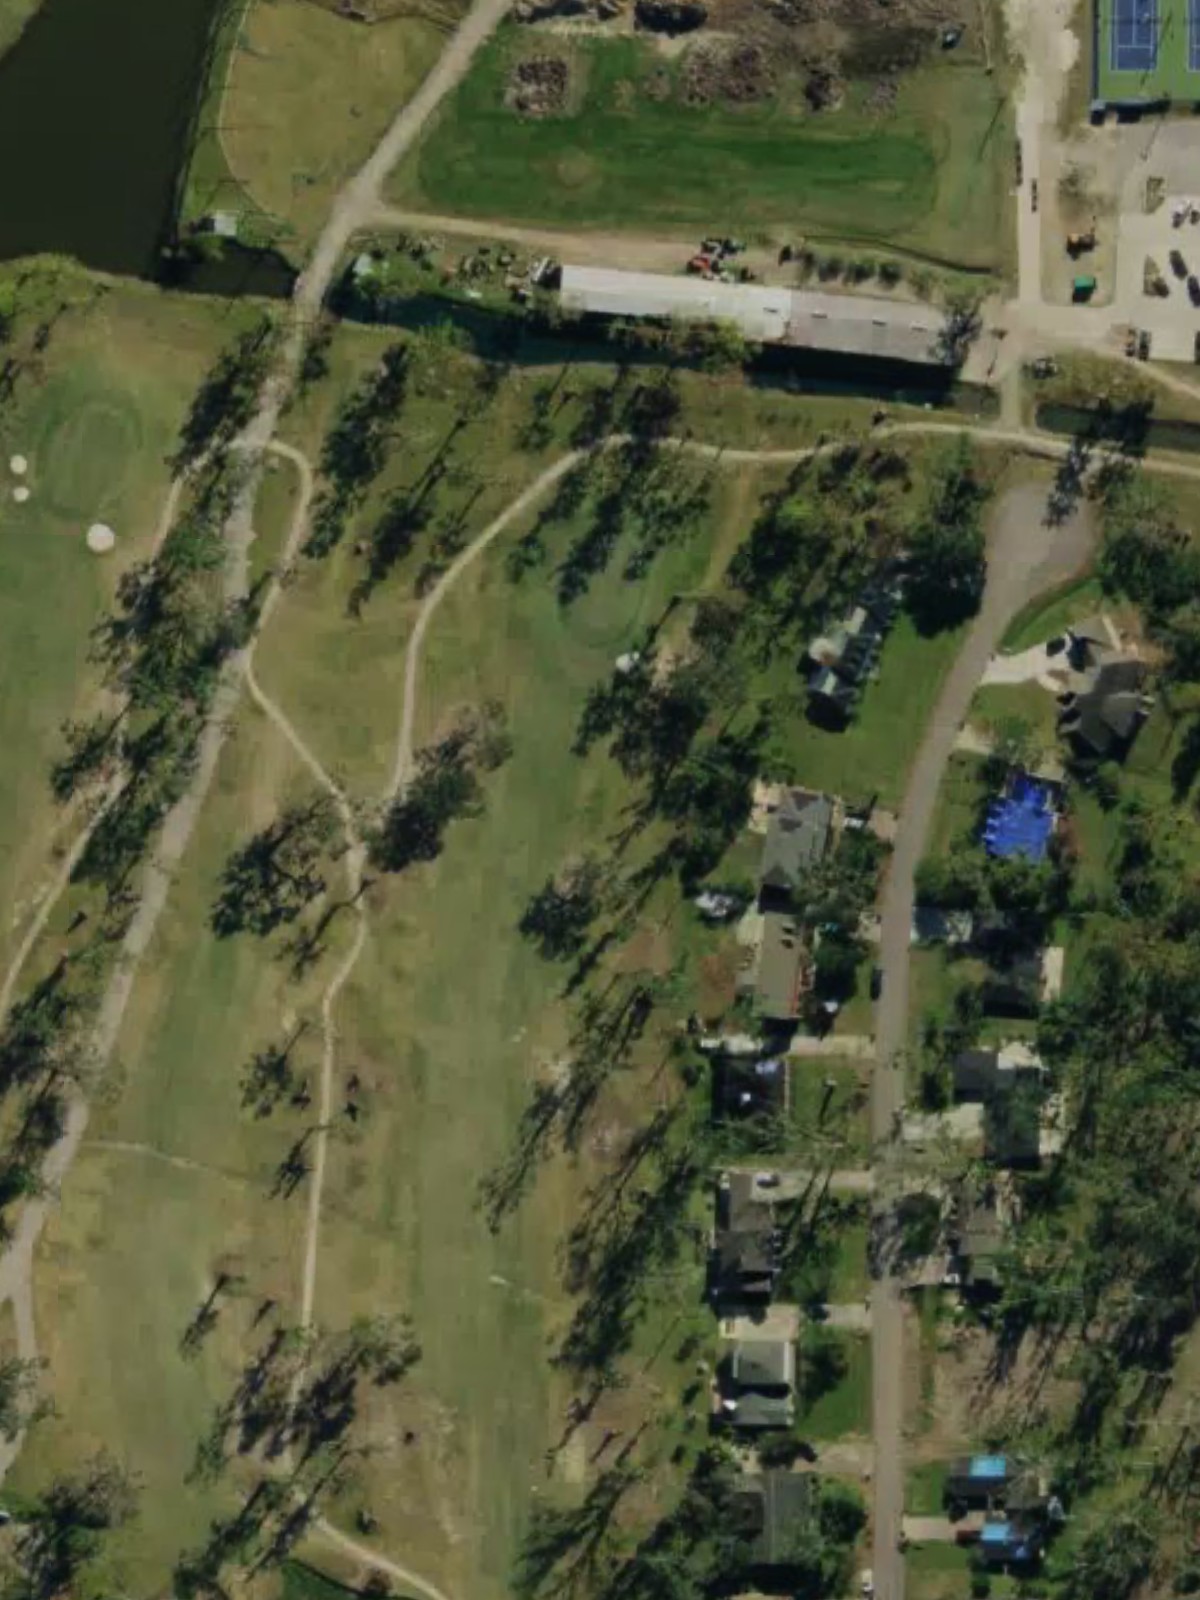
A long par 5 that plays as a three-shot hole for most golfers, with a fairway that offers room off the tee. Water hazards and bunkers protect the approach to the green, making positioning on the second shot critical.
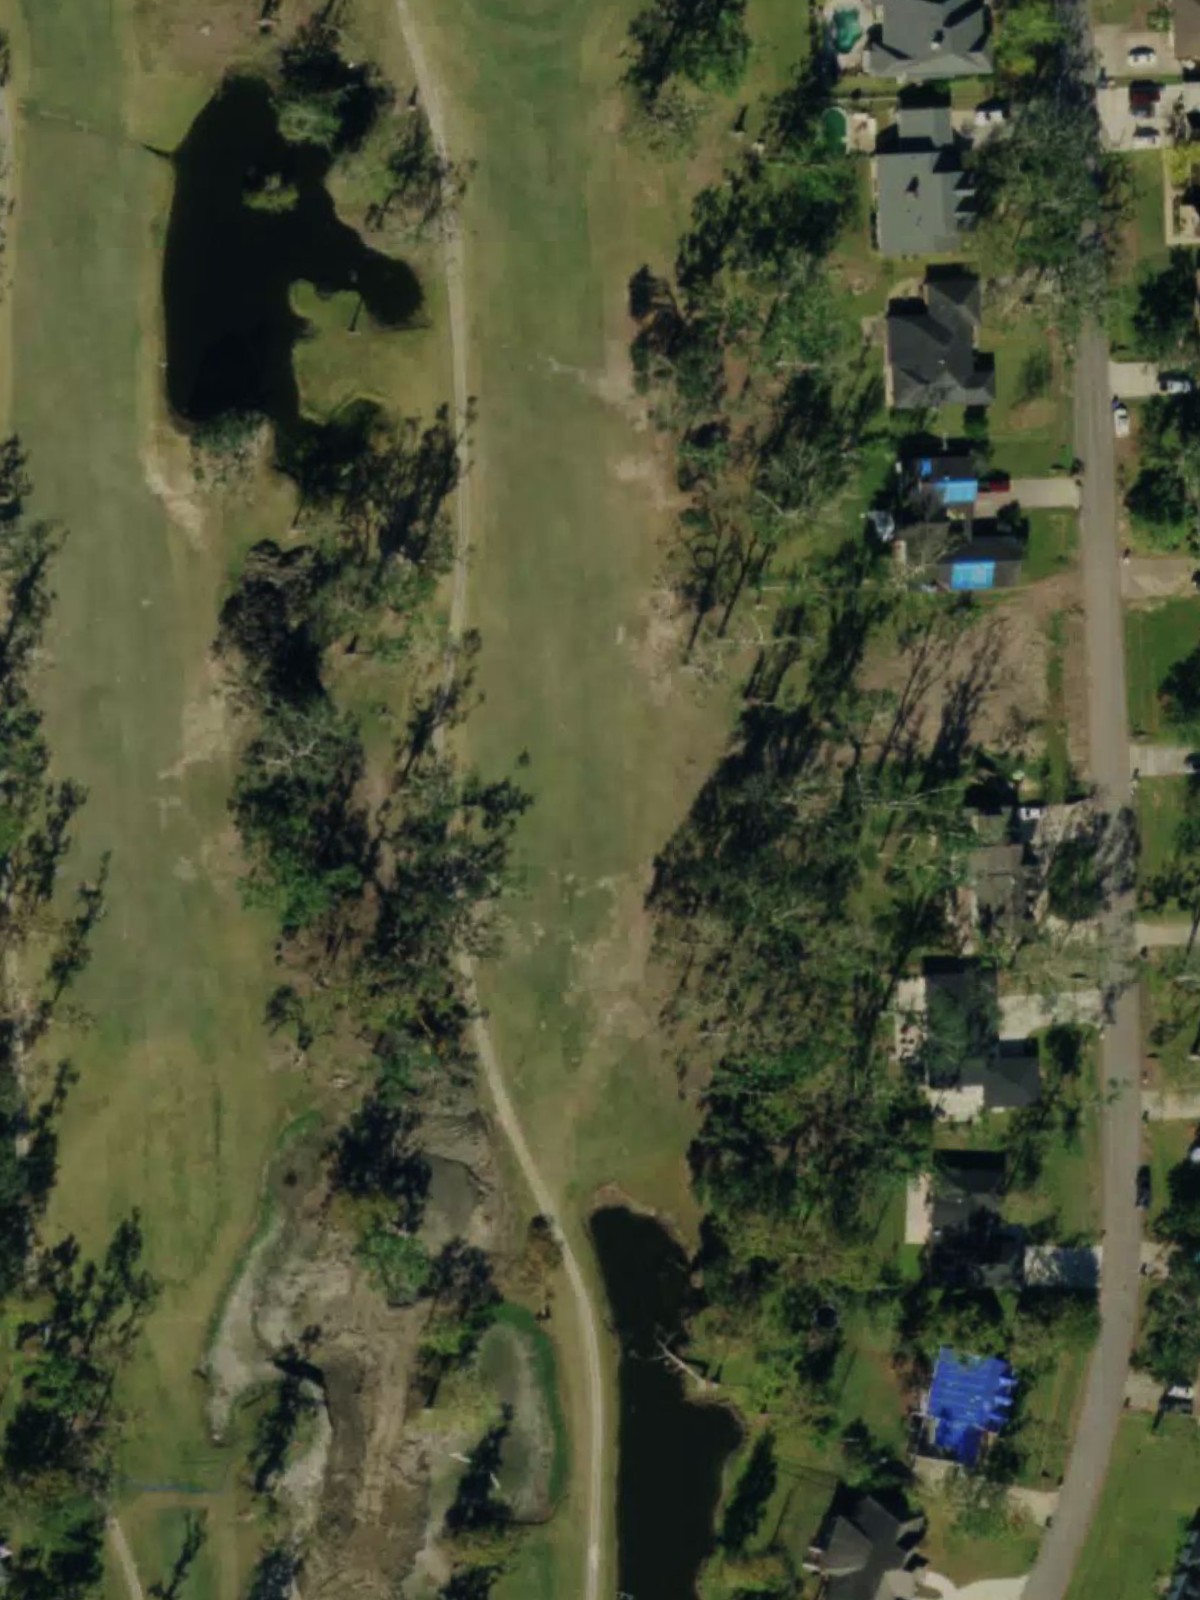
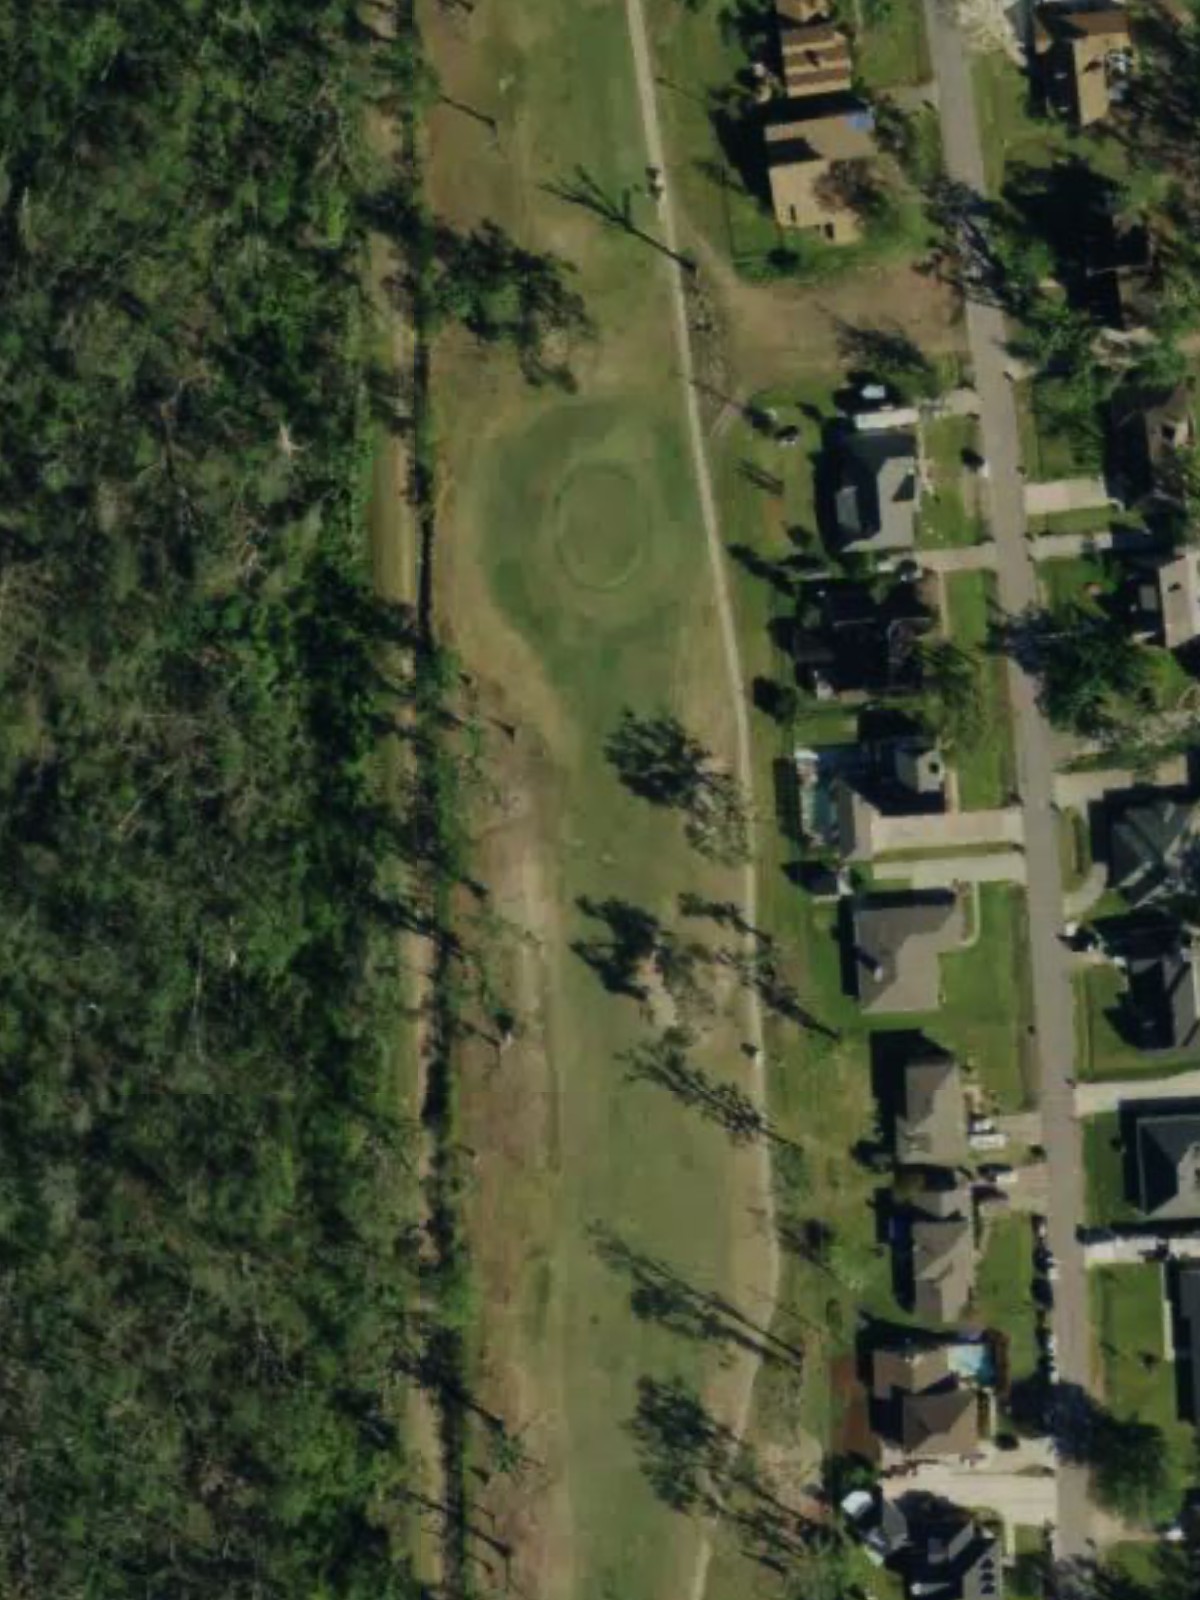
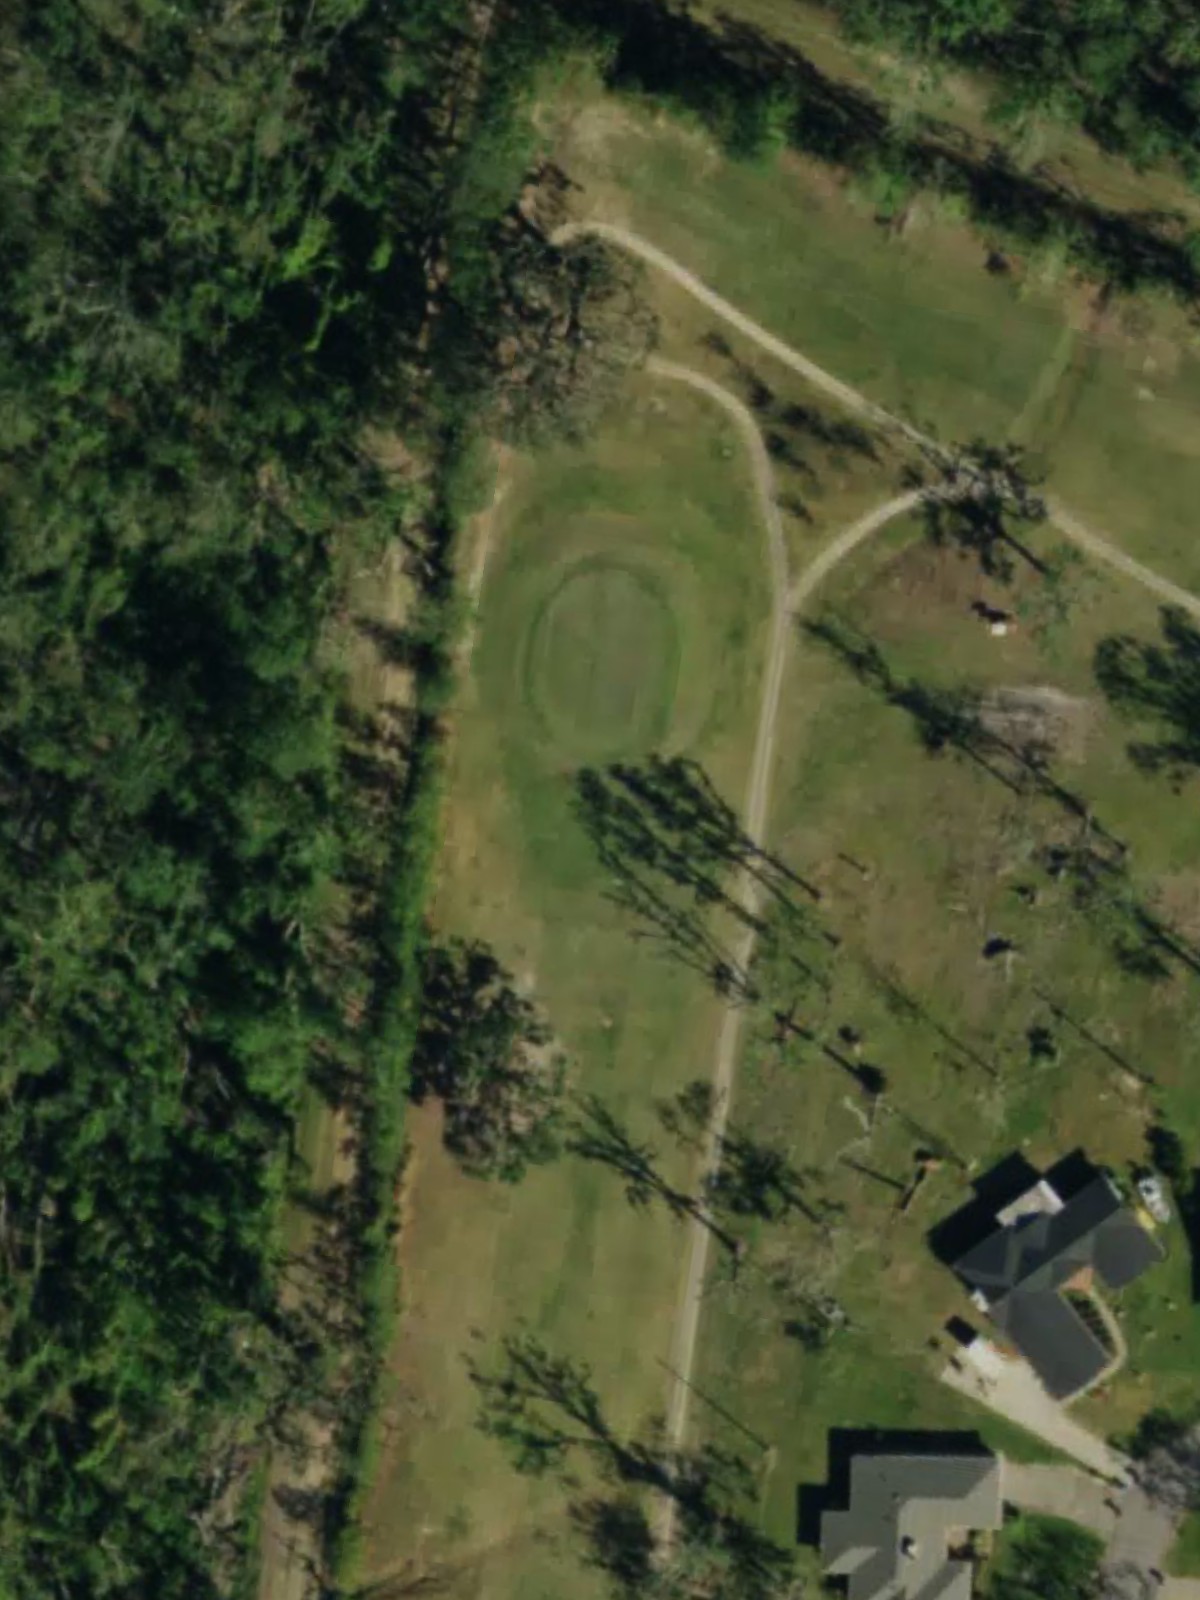
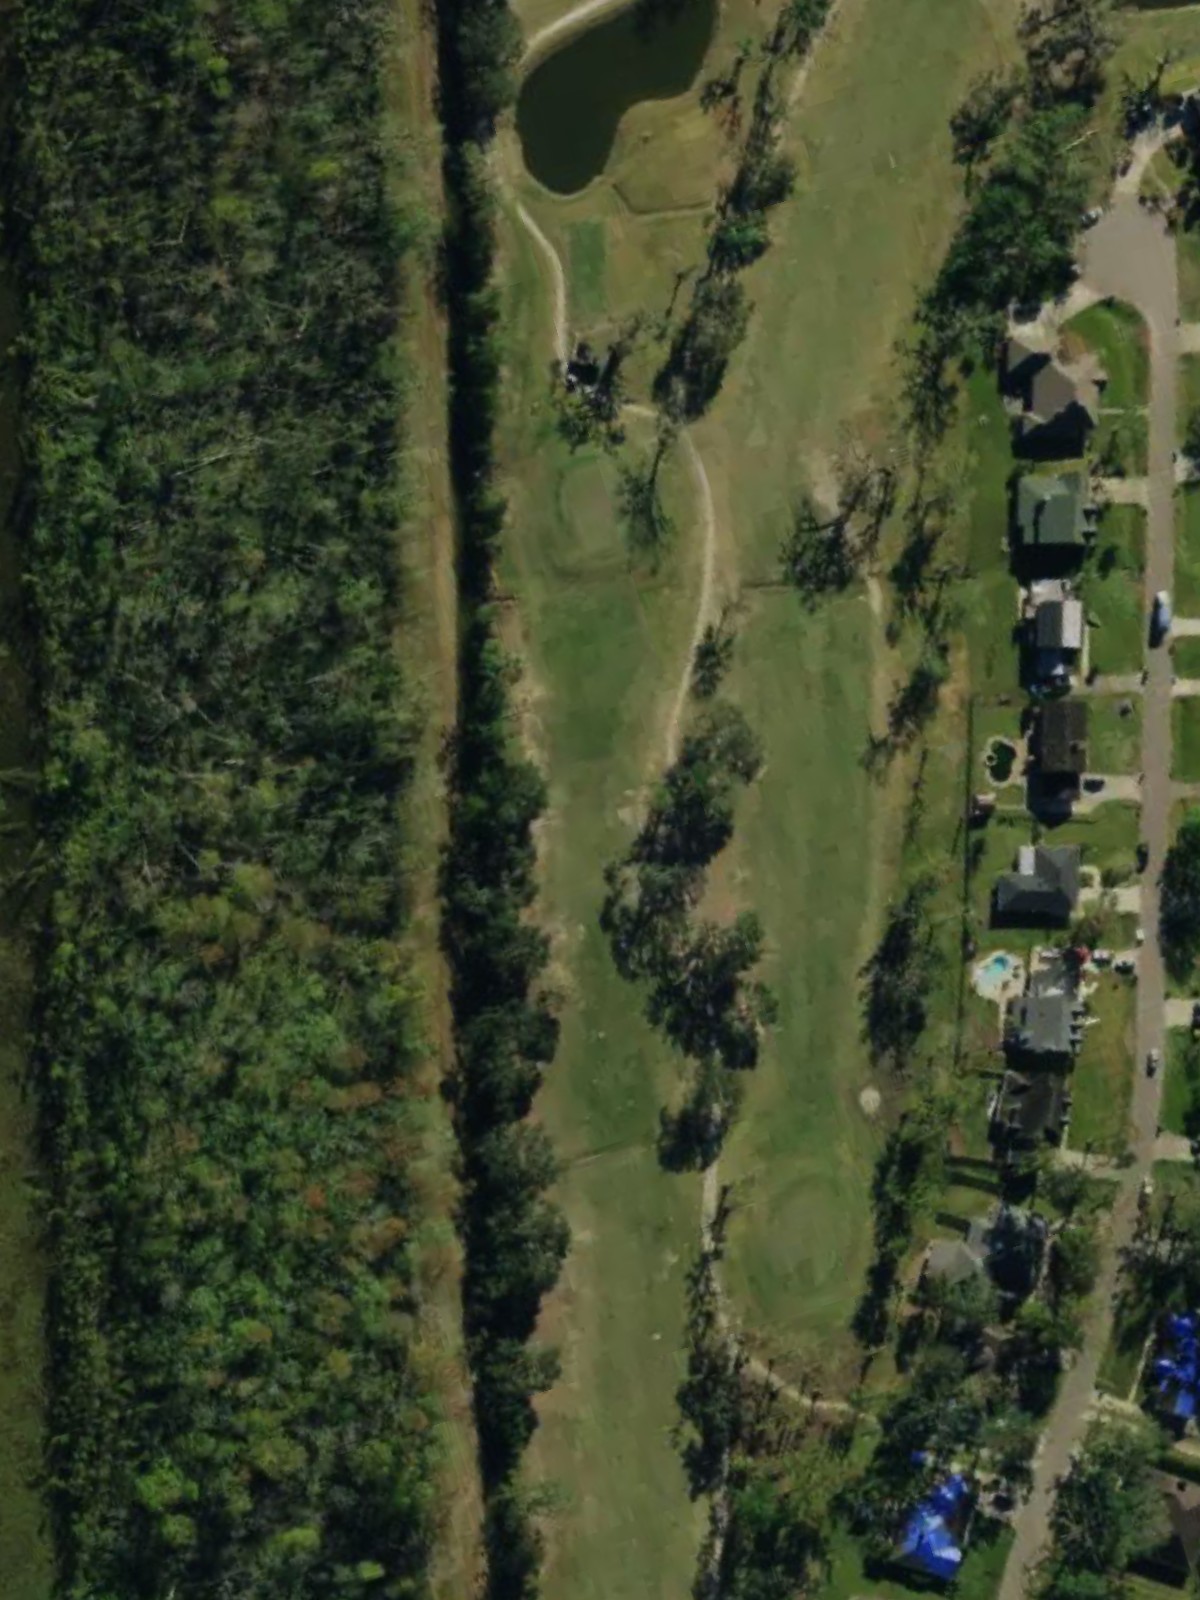
The course's most difficult hole, this par 4 features a dramatic length differential between tees and demands an accurate approach. Out-of-bounds or hazards right, along with a well-defended green, make this a severe test.
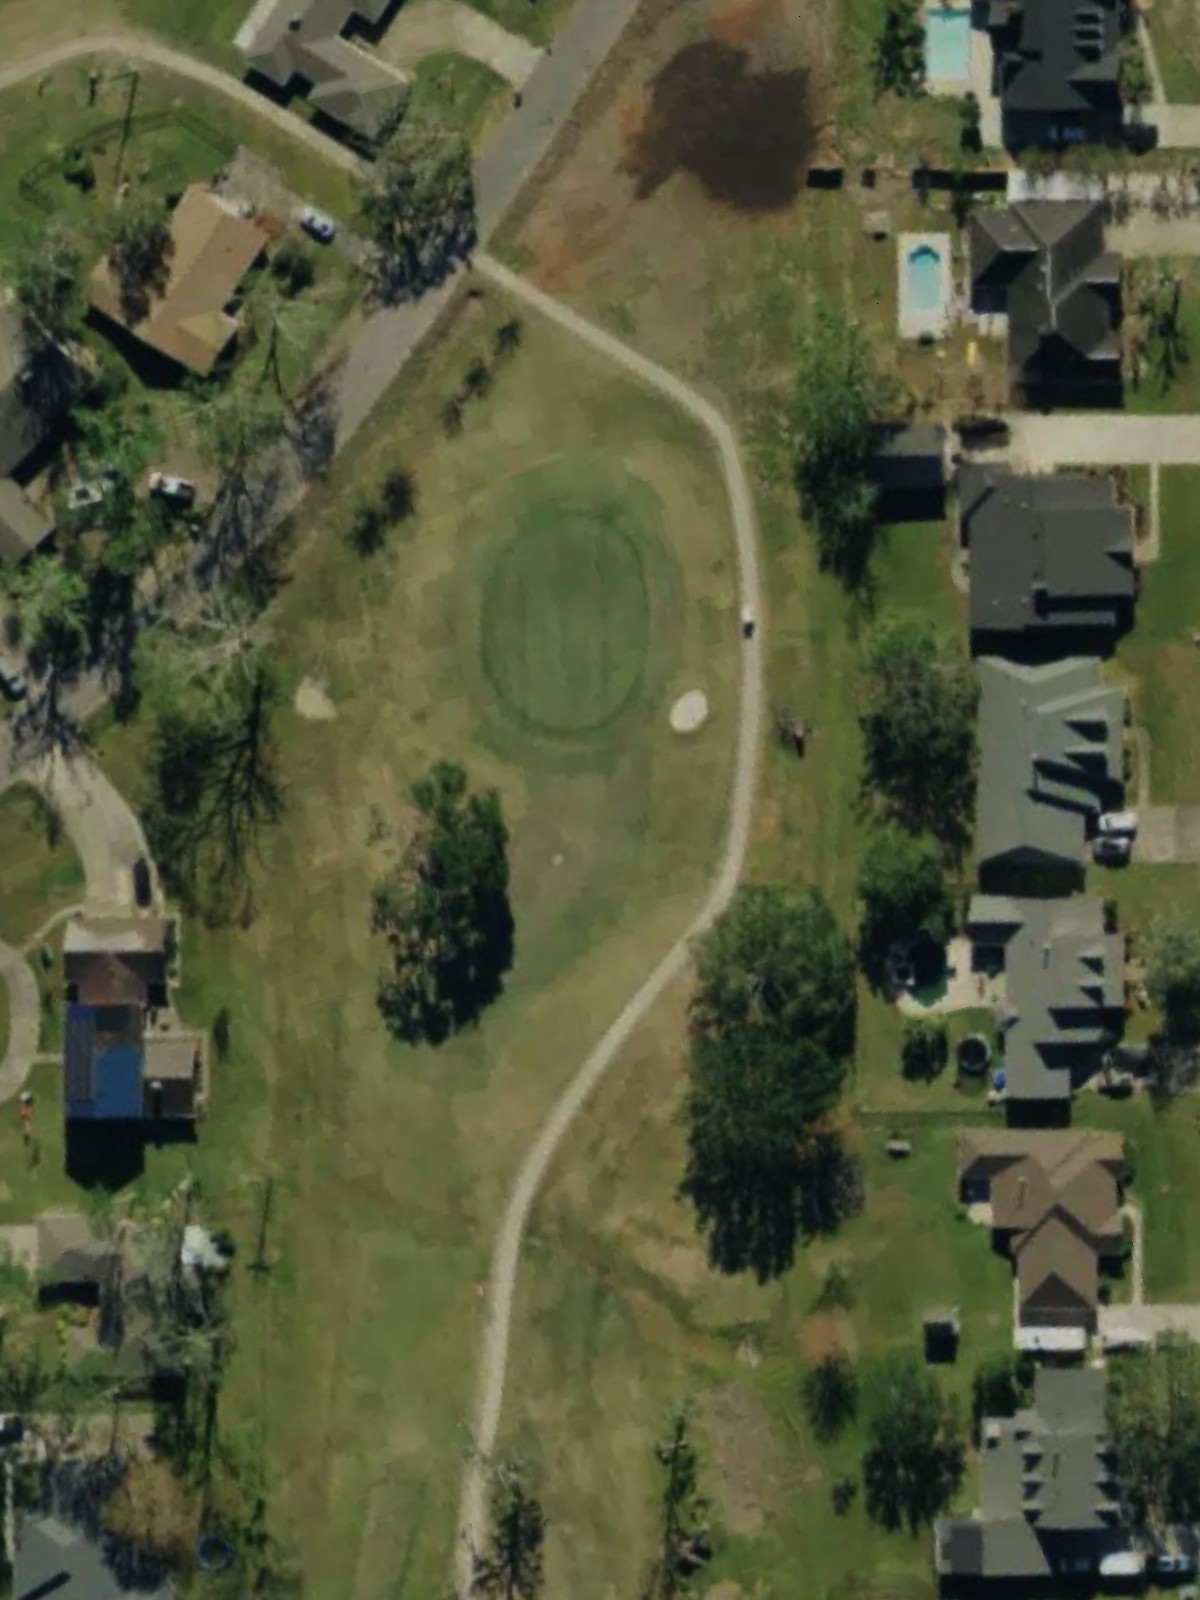
A short par 3 with a modest green protected by bunkers and rough terrain. The compact nature of this hole makes precision more important than distance.
The strongest handicap par 4 on the course, this hole presents a stout challenge with length and strategic hazards. A narrow fairway and well-guarded green demand two solid shots.
A diminutive par 3 playing under 115 yards from the longest tees, offering a welcomed breather in the routing. Bunkers around the green demand an accurate short iron or wedge.
A generous par 5 that allows players to reach the green in three shots, with a fairway that opens up off the tee. Hazards tighten around the green, requiring a thoughtful approach shot.
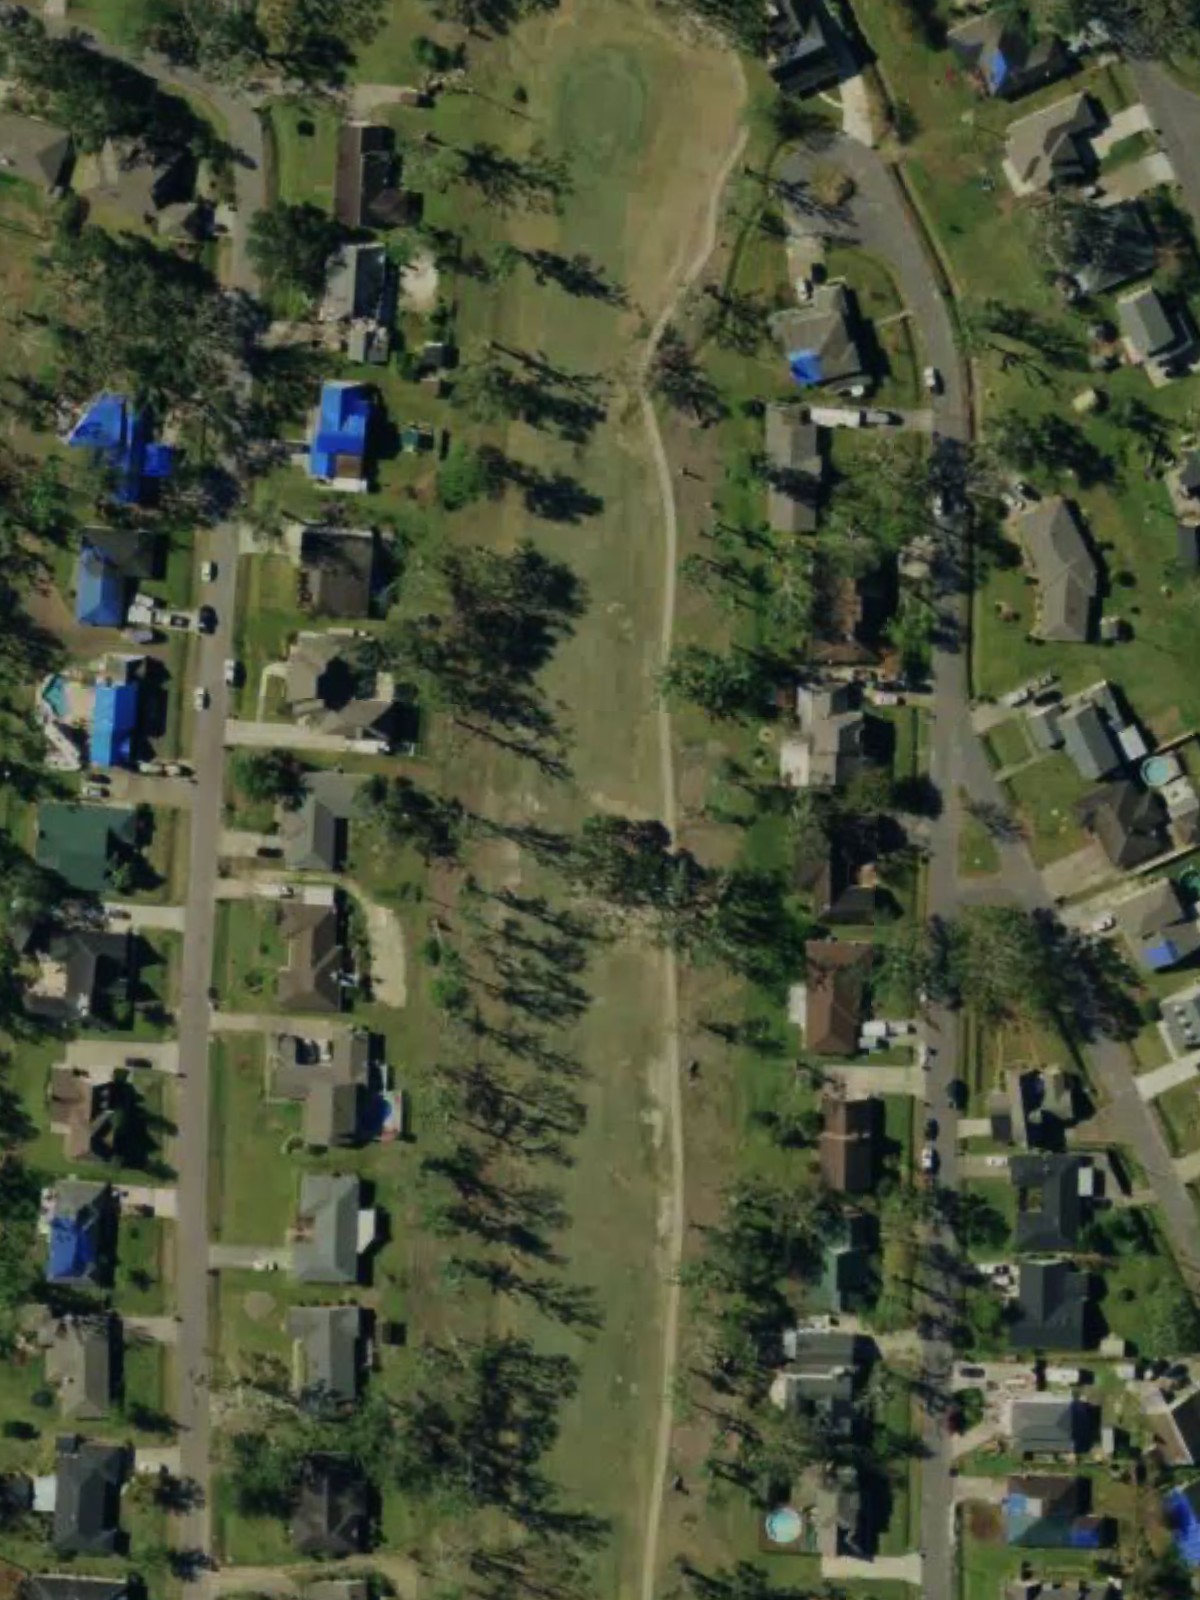
A mid-length par 4 with a relatively forgiving layout and no extreme hazards dominating the hole. The fairway allows room for error, making this a more straightforward scoring opportunity.
A moderate par 4 with consistent length and width through the driving zone. Bunkers and rough define the green complex, requiring a precise approach to secure par.
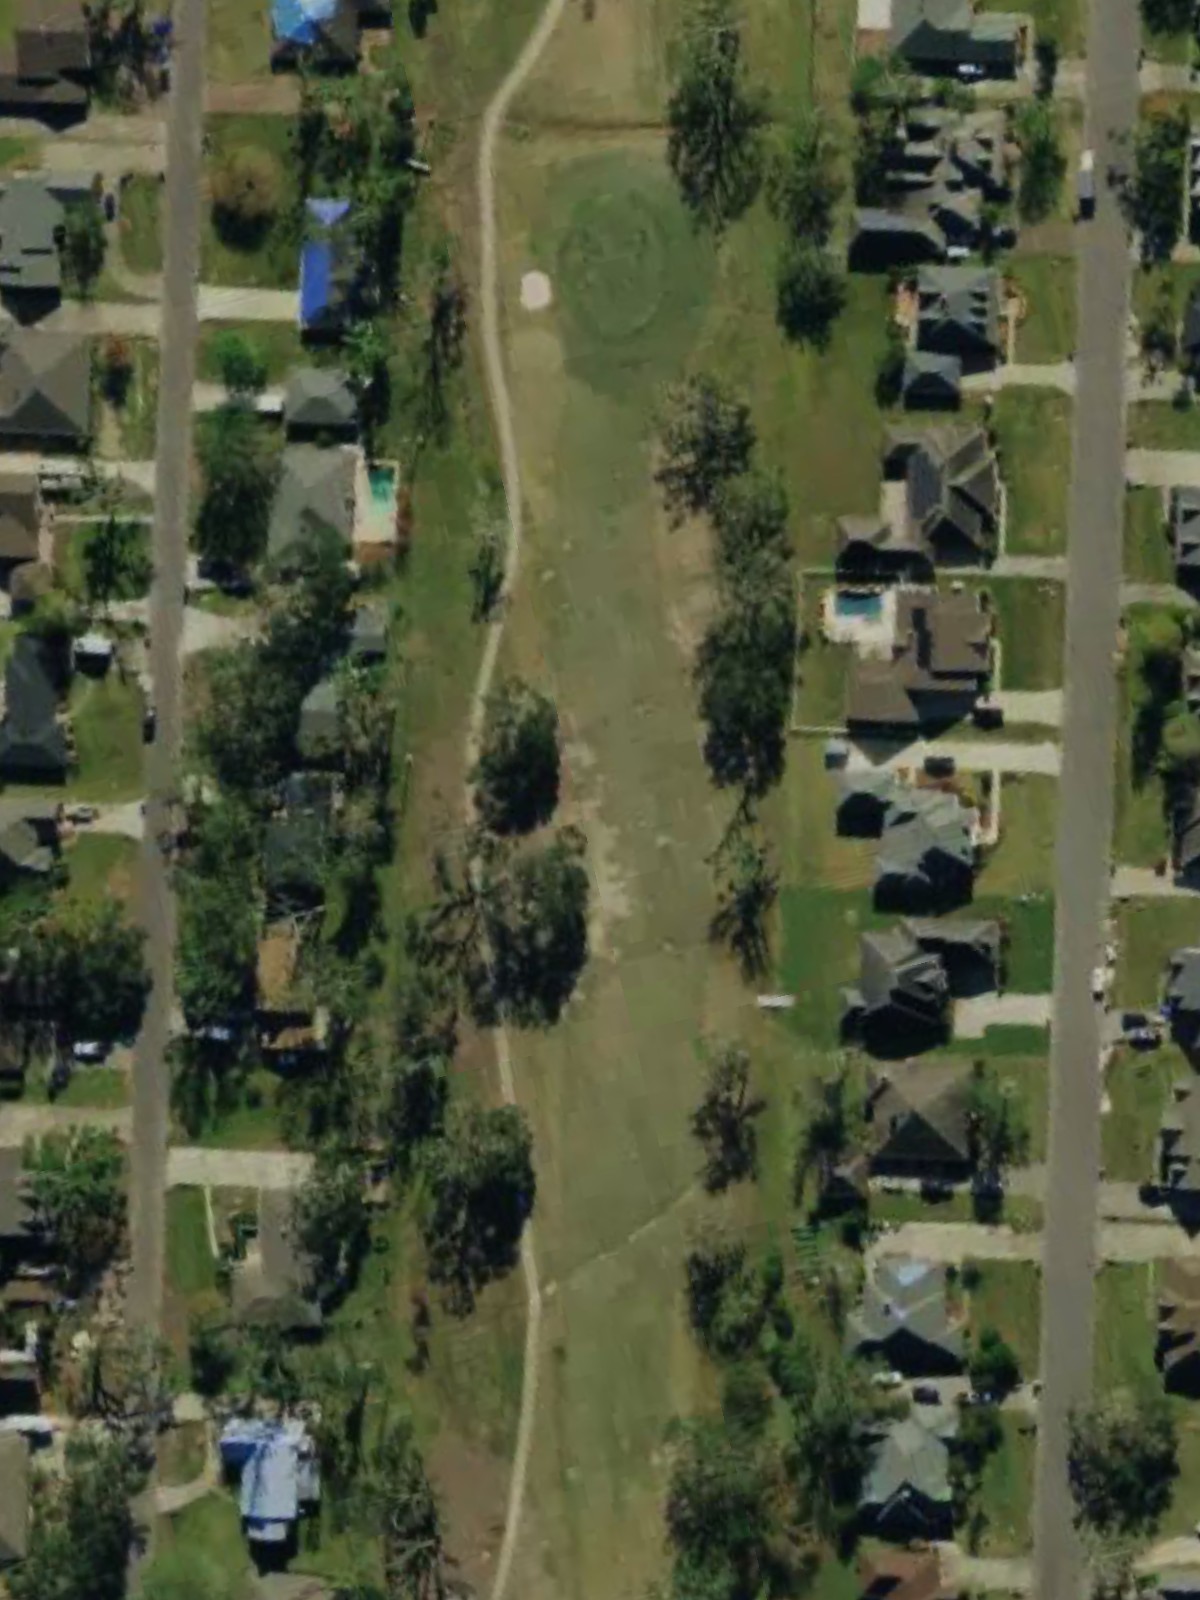
A short par 4 that plays downhill from an elevated tee, reducing the actual distance required to the green. The drop in elevation makes this a favorable birdie opportunity on the back nine.
The second-hardest hole on the course, this lengthy par 4 demands power and accuracy off the tee followed by a precise long approach. Strategic hazards and a well-bunkered green punish anything but a solid two-shot sequence.
A mid-length par 3 with a stable green surrounded by defensive bunkers and surrounding trouble. Elevation changes and wind exposure make club selection the key variable on this one-shot hole.
A powerful par 5 and one of the course's most demanding holes, requiring three well-executed shots to reach the green safely. Water and bunkers penalize both wayward drives and poor layup positioning.
The easiest hole on the course, this brief par 3 plays under 160 yards even from the back tees. A simple green design makes this an ideal scoring hole late in the round.

A spacious par 5 that rewards an aggressive tee shot with a manageable second opportunity to reach the green. Fairway width and minimal forced carries make this a reachable long hole.

A dramatic par 4 with significant length variation between tees and strategic hazards that define the optimal route to the green. Bunkers and trouble right require disciplined shot placement.

A lively par 4 with pronounced length differences across the tee boxes and a fairway that demands control off the tee. The approach to the green is the defining feature, with bunkers and water potentially in play.
A finishing par 4 of moderate difficulty with a fairway that allows for a solid tee shot and a straightforward approach home. The closing hole provides a balanced final test to the round.
Scorecard
| Hole | 1 | 2 | 3 | 4 | 5 | 6 | 7 | 8 | 9 | Out | 10 | 11 | 12 | 13 | 14 | 15 | 16 | 17 | 18 | In | Tot |
|---|---|---|---|---|---|---|---|---|---|---|---|---|---|---|---|---|---|---|---|---|---|
| Par | 4 | 5 | 4 | 3 | 4 | 3 | 5 | 4 | 4 | 36 | 4 | 4 | 3 | 5 | 3 | 5 | 4 | 4 | 4 | 36 | 72 |
| HCP | 11 | 7 | 3 | 15 | 1 | 17 | 13 | 5 | 9 | 16 | 2 | 10 | 4 | 18 | 12 | 8 | 6 | 14 | |||
| blue | 369 | 481 | 411 | 166 | 404 | 113 | 473 | 363 | 373 | 3153 | 351 | 396 | 188 | 525 | 159 | 506 | 419 | 372 | 367 | 3283 | 6436 |
| blue/white | 369 | 481 | 381 | 149 | 391 | 113 | 473 | 363 | 362 | 3082 | 351 | 383 | 177 | 513 | 159 | 487 | 395 | 372 | 367 | 3204 | 6286 |
| white | 357 | 466 | 381 | 149 | 391 | 106 | 455 | 352 | 362 | 3019 | 341 | 383 | 177 | 513 | 134 | 487 | 395 | 351 | 360 | 3141 | 6160 |
| white/gold | 357 | 466 | 357 | 140 | 378 | 106 | 455 | 352 | 350 | 2961 | 341 | 347 | 166 | 426 | 134 | 471 | 375 | 351 | 360 | 2971 | 5932 |
| gold | 345 | 451 | 357 | 140 | 378 | 93 | 436 | 340 | 350 | 2890 | 330 | 347 | 166 | 426 | 128 | 471 | 375 | 337 | 343 | 2923 | 5813 |
| gold/red | 345 | 397 | 275 | 130 | 312 | 93 | 436 | 340 | 340 | 2668 | 330 | 337 | 156 | 426 | 128 | 401 | 311 | 337 | 343 | 2769 | 5437 |
| red | 334 | 397 | 275 | 130 | 312 | 86 | 395 | 293 | 340 | 2562 | 320 | 337 | 156 | 418 | 123 | 401 | 311 | 282 | 324 | 2672 | 5234 |