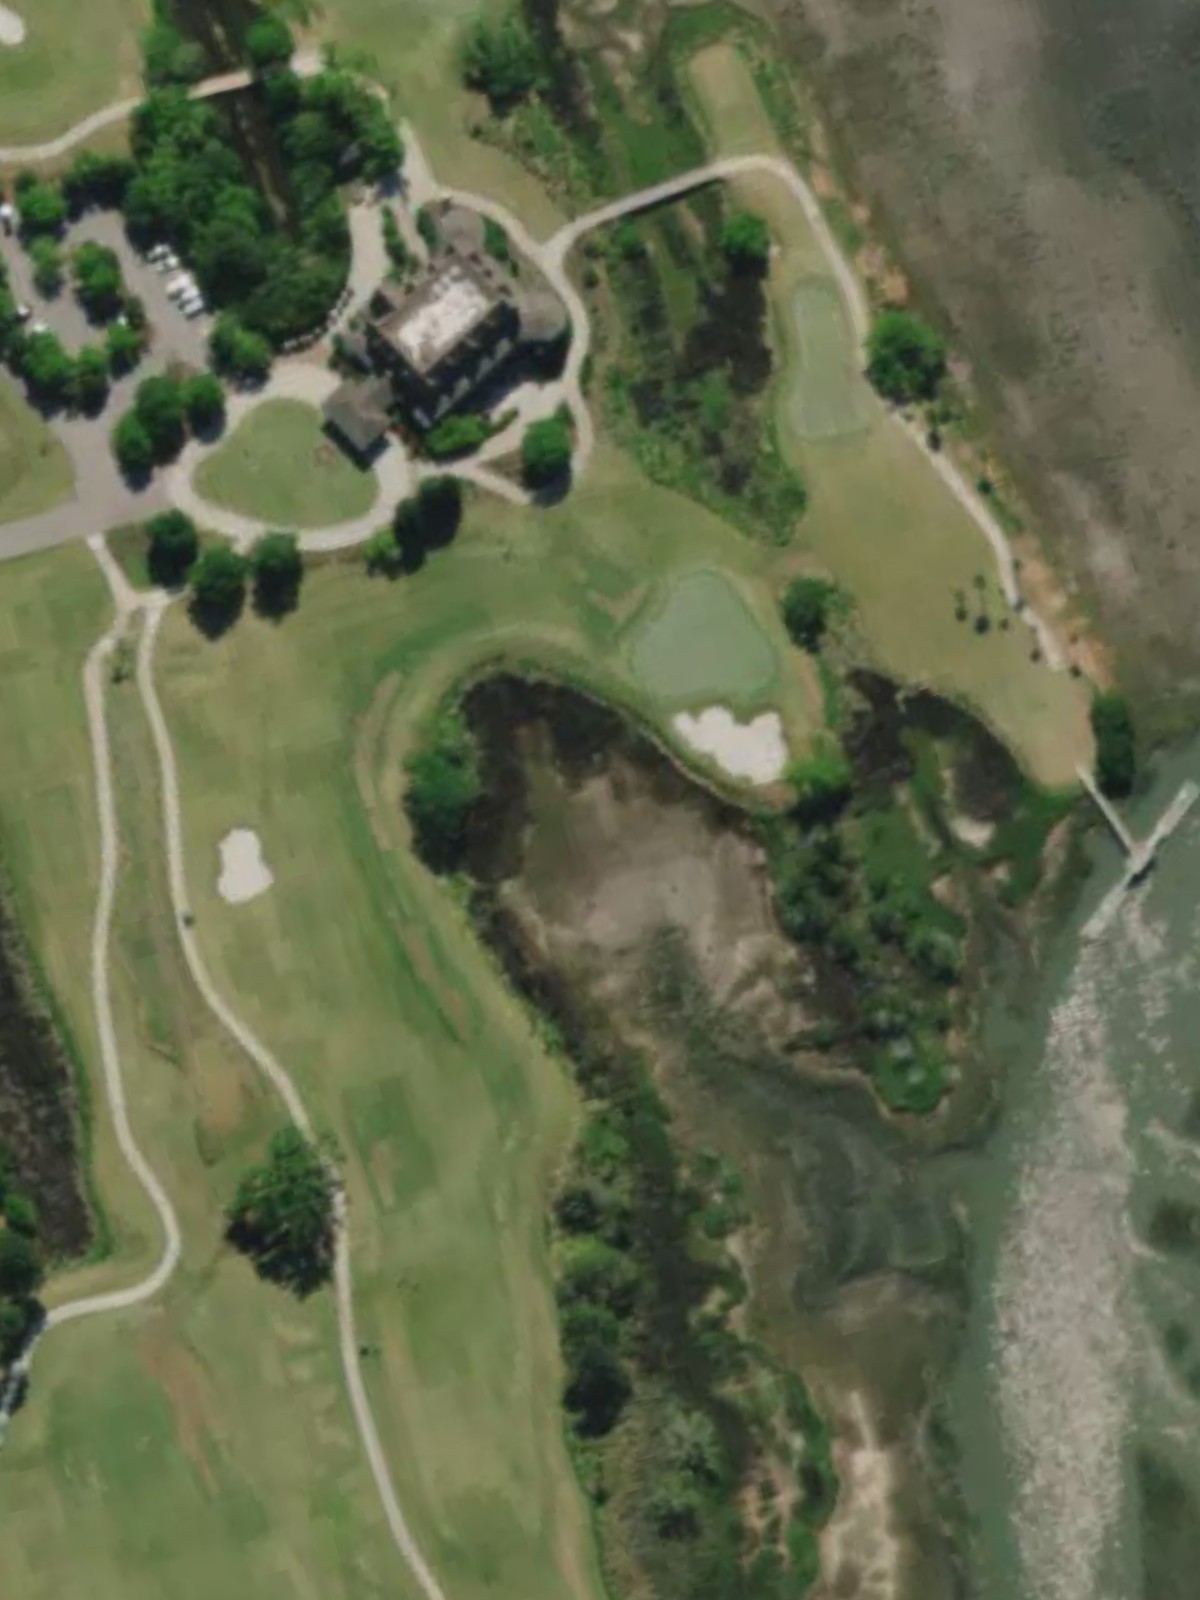
Golf Club At Briars Creek, The is an 18-hole golf course in John'S Island, SC with a par of 72. It offers 9 tee sets: championship (7,175 yards, slope 150, rating 75.5), players (6,712 yards, slope 147, rating 73.1), players/briars (6,527 yards, slope 145, rating 72.3), briars (6,287 yards, slope 139, rating 71.1), tournament (5,970 yards, slope 134, rating 69.7), briars/marsh (5,883 yards, slope 133, rating 69.5), marsh (5,503 yards, slope 128, rating 67.8), marsh/heron (5,091 yards, slope 117, rating 65.5), heron (4,617 yards, slope 112, rating 63.6). The hardest hole is #7, a par 5 playing 363 yards from the first tee.
Golf Club At Briars Creek, The
John'S Island, SC
Get PDF Yardage Book
We'll email you the PDF link. No spam, ever.
Create Your Game Plan
Pick your tees, enter your bag, and get a personalized shot-by-shot strategy for every hole.
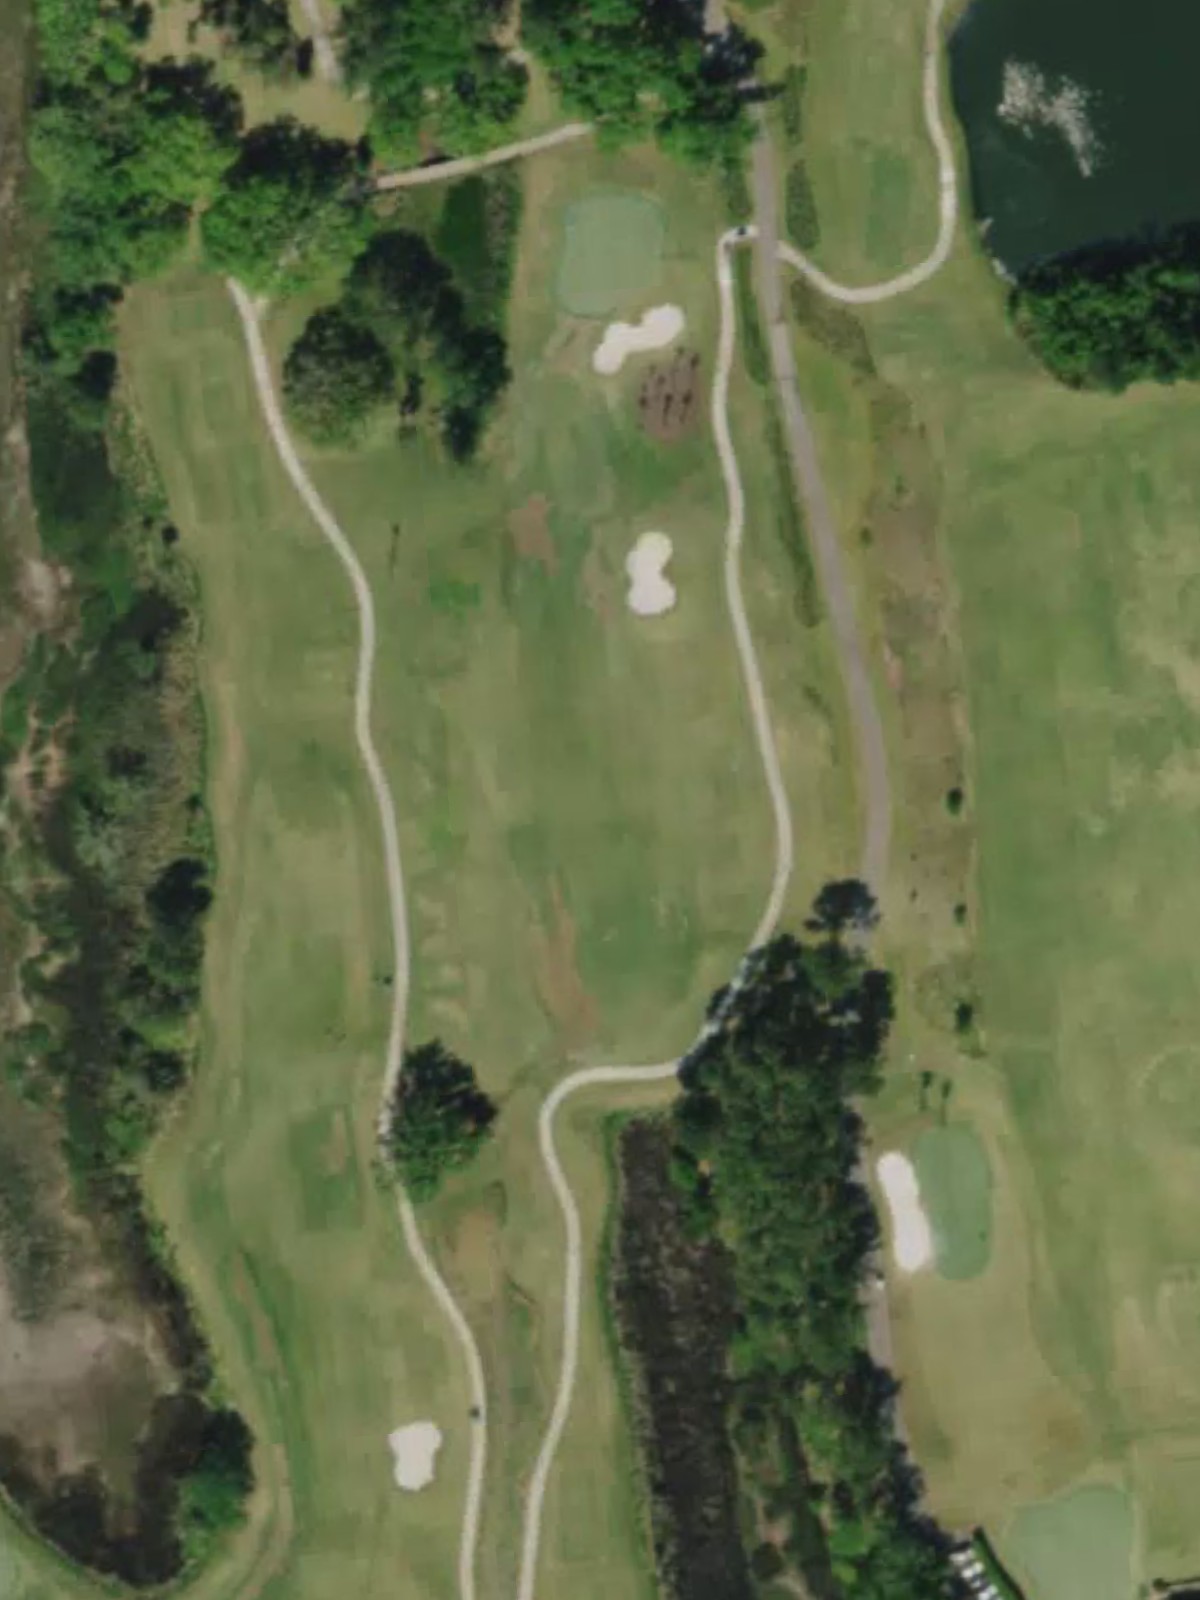
A straightforward opening par 4 with a fairway that gradually narrows as it approaches the green. Bunkers guard the right side of the putting surface, demanding accuracy on the approach shot.
A short par 3 testing precision over a modest distance. The small green is the primary target, with bunkers strategically placed to catch errant shots.
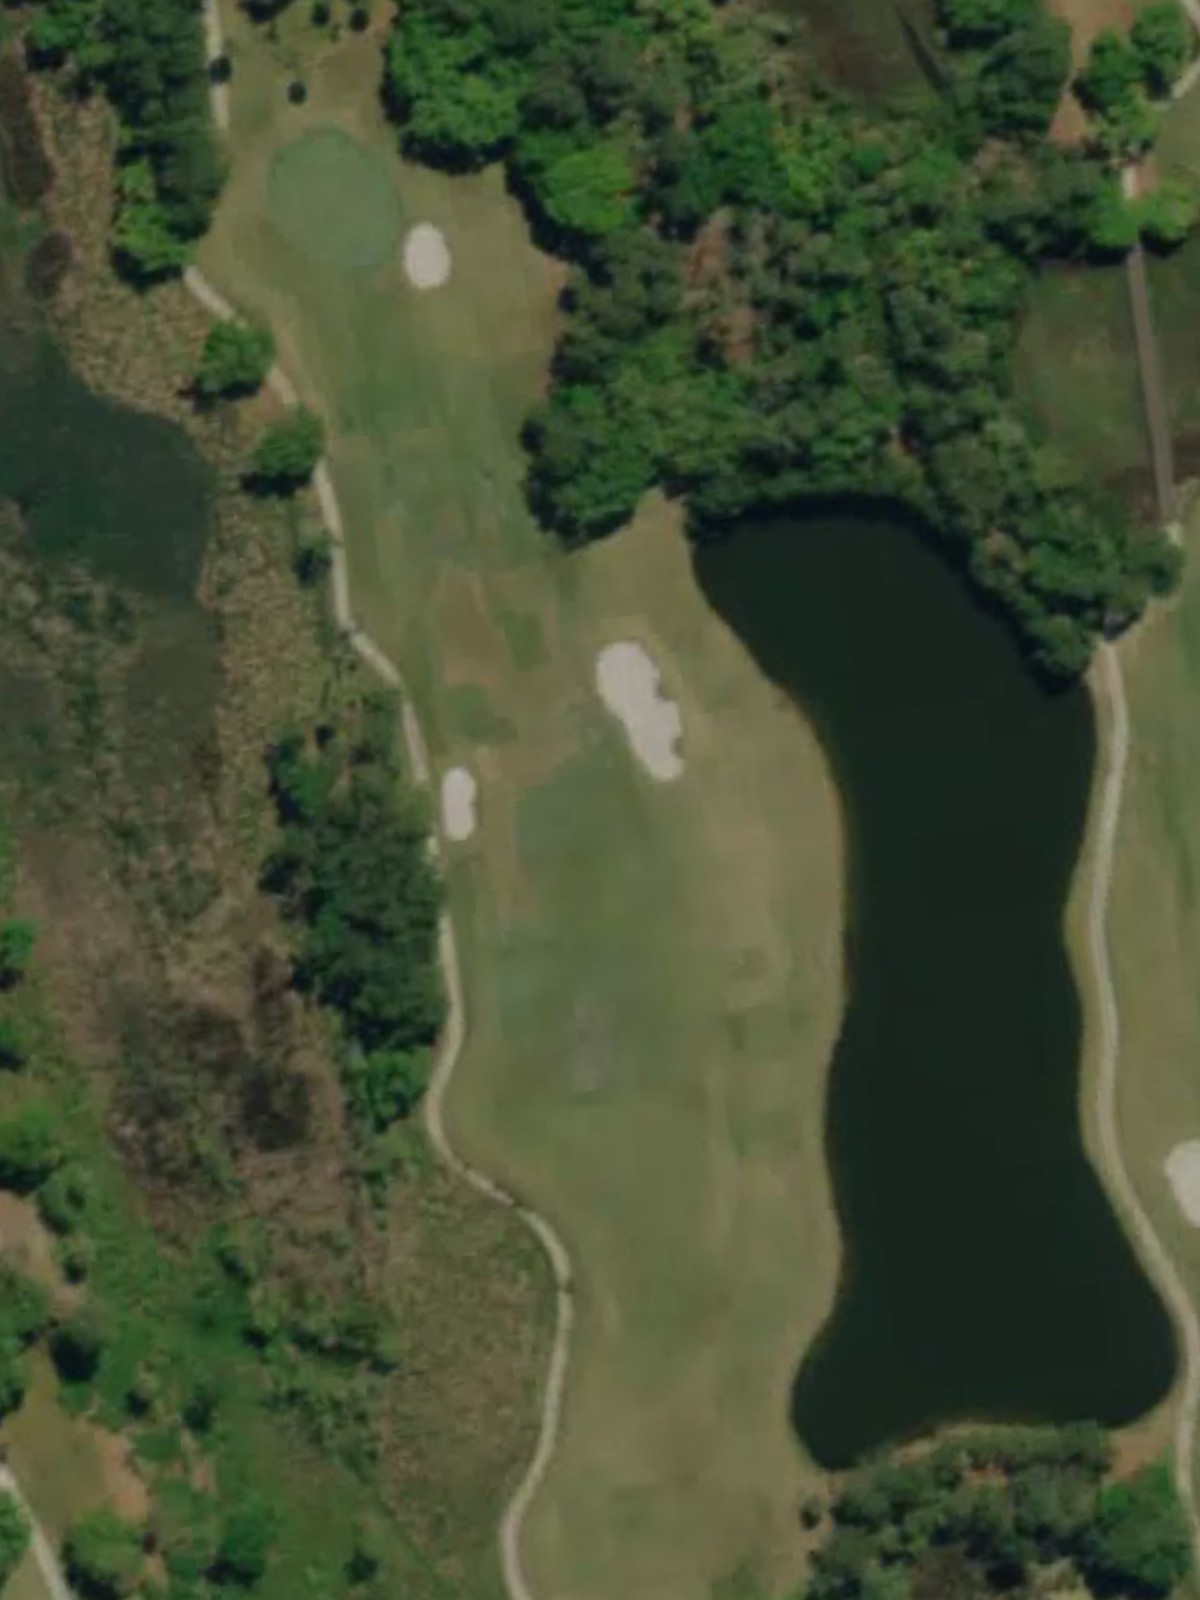
A challenging par 4 that plays as one of the course's most difficult holes, requiring two solid shots to reach the green. Water hazards and bunkers frame the fairway and green complex, making accuracy essential.
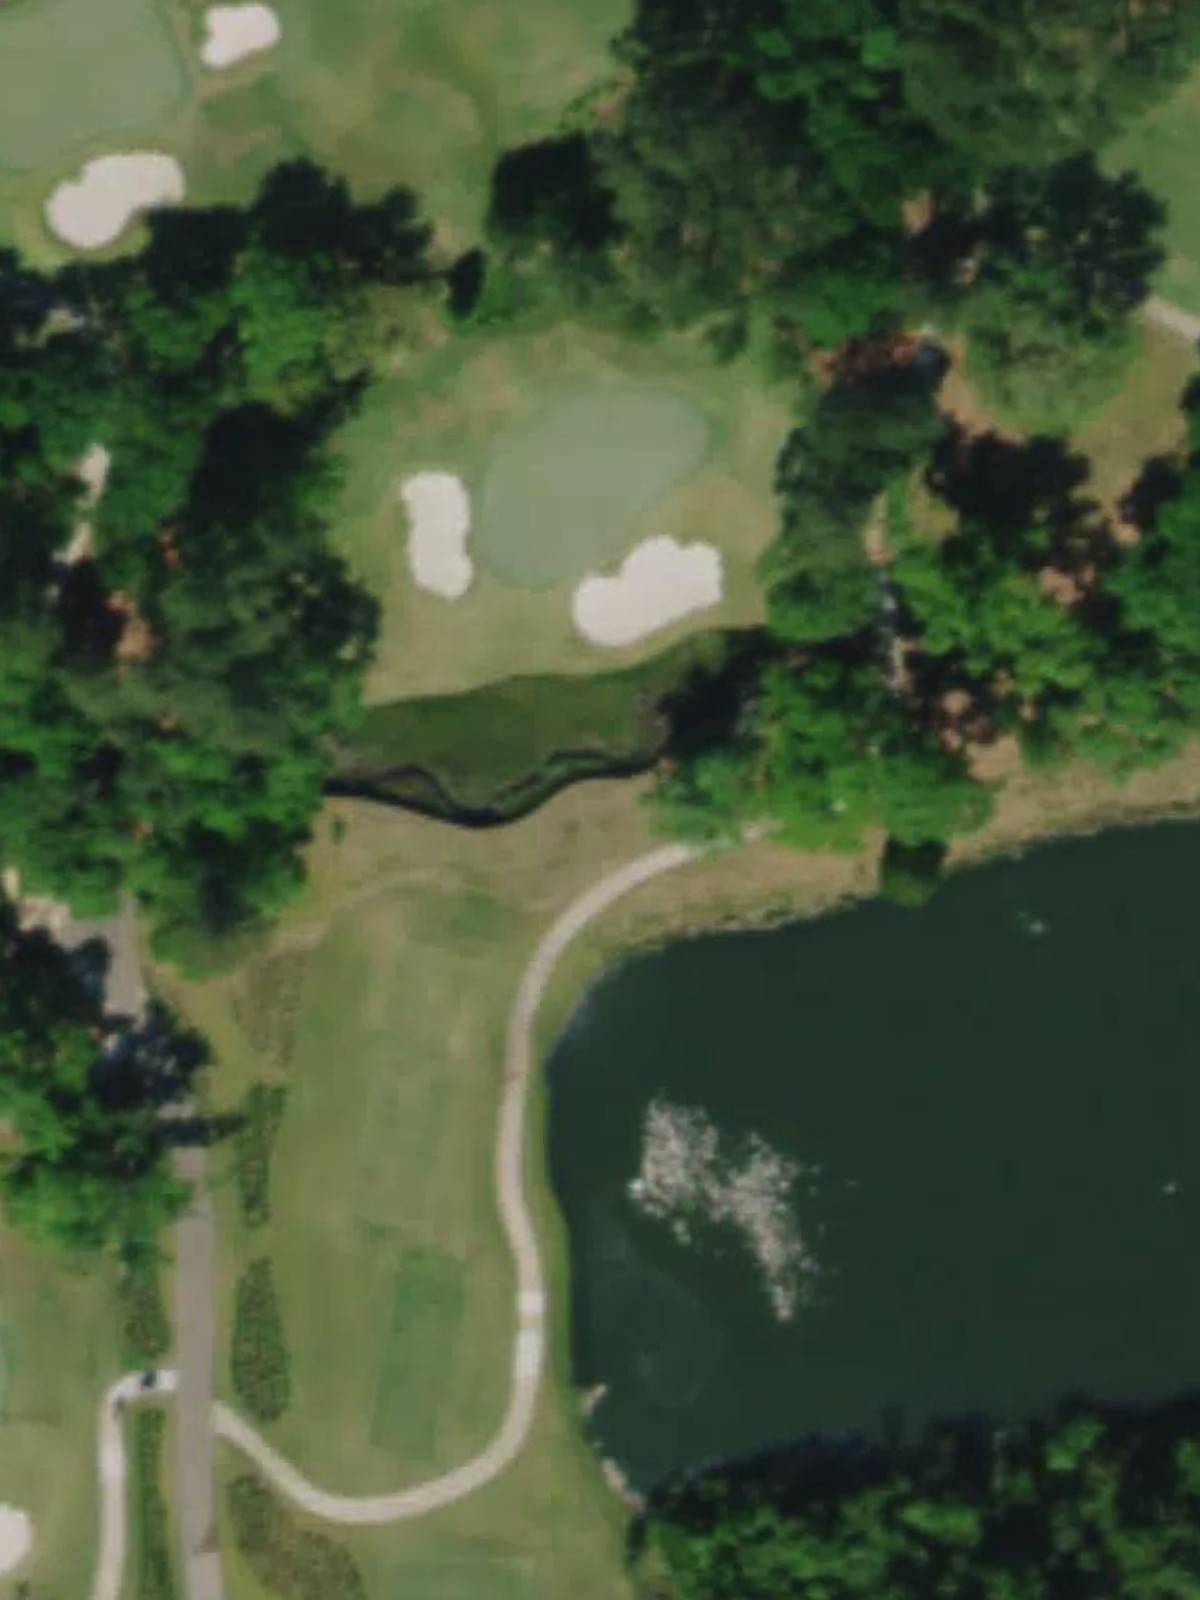
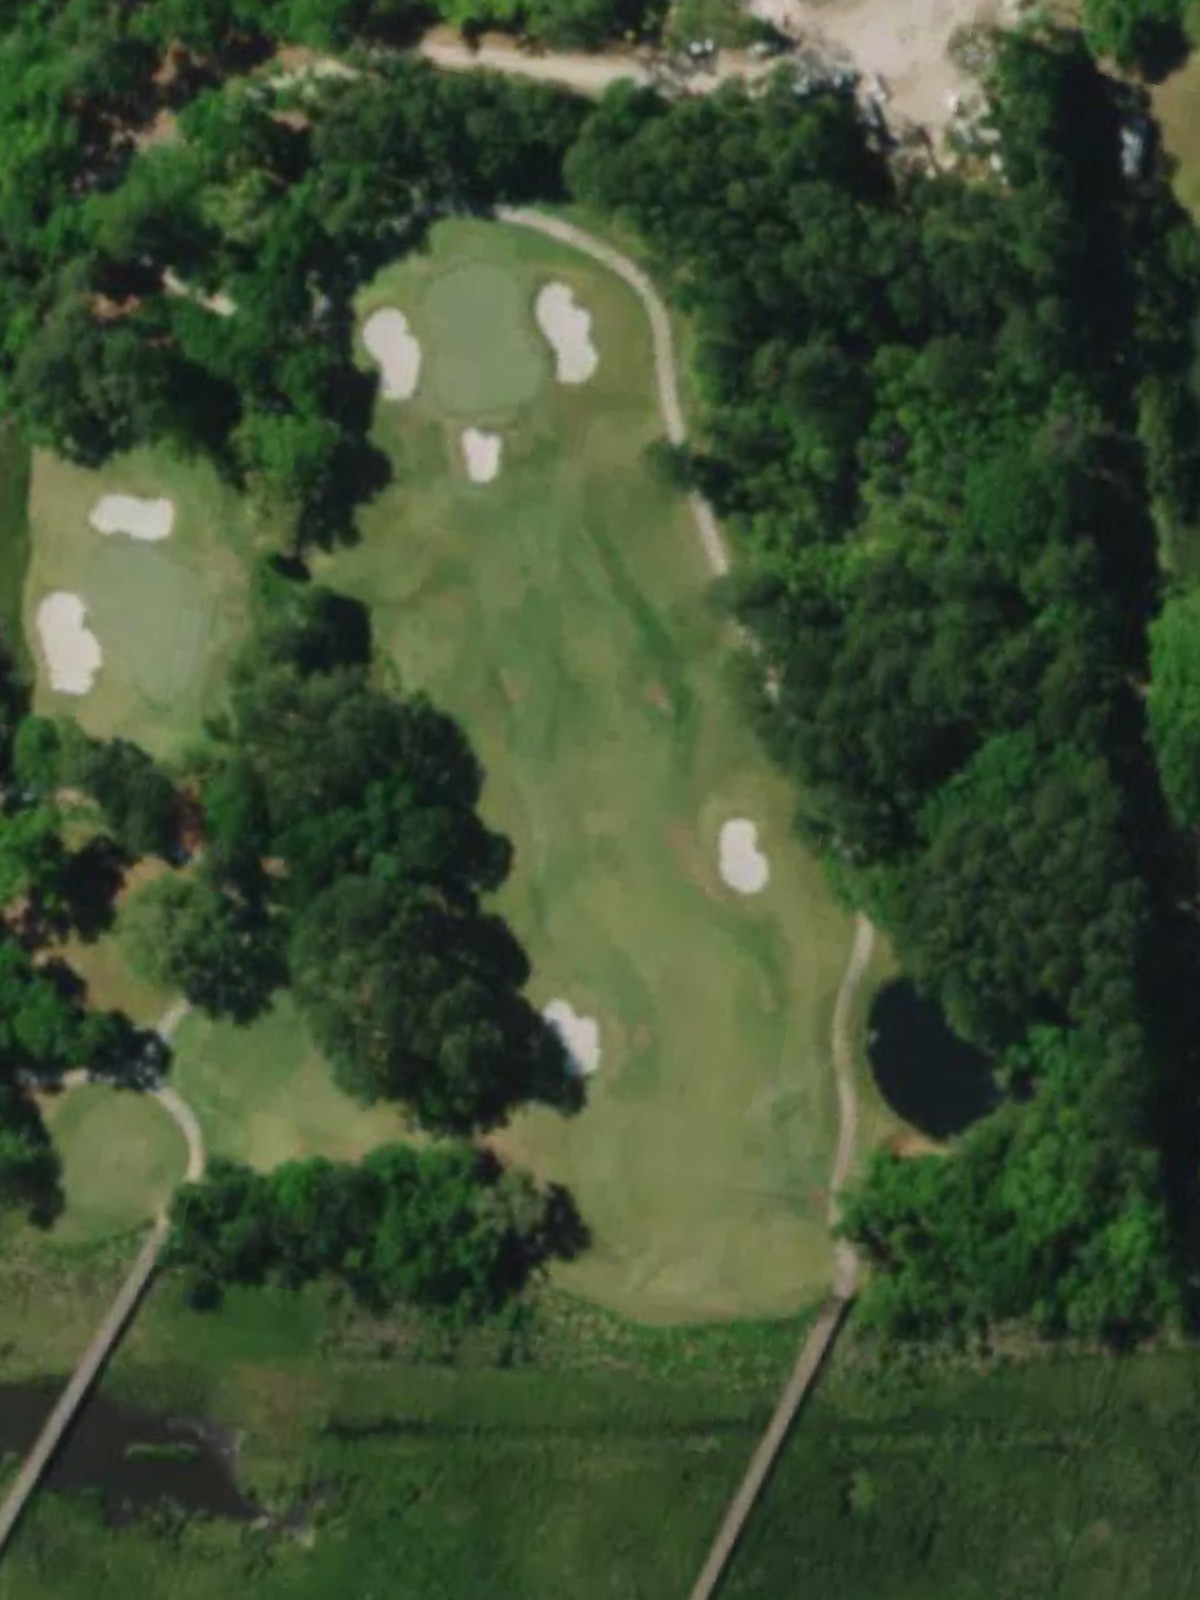
A mid-length par 3 with a compact green protected by bunkers on multiple sides. The hole's modest yardage belies the precision required to find the putting surface.
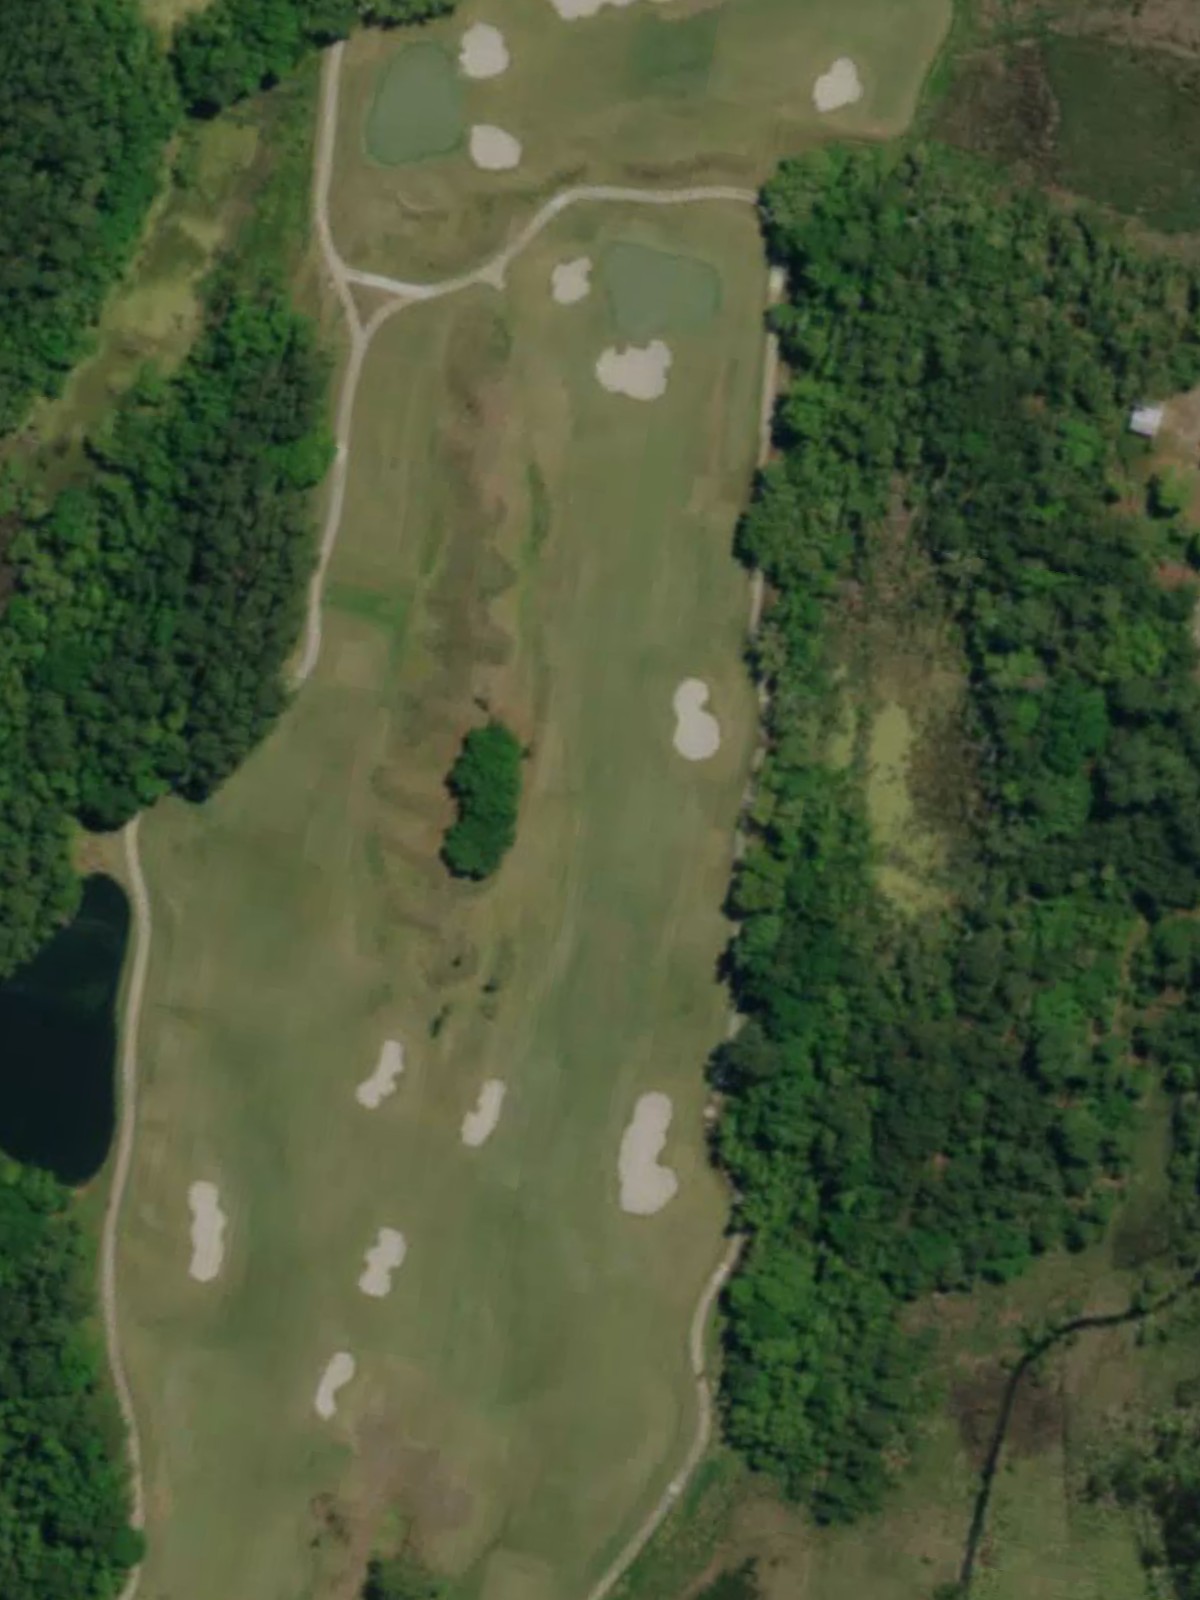
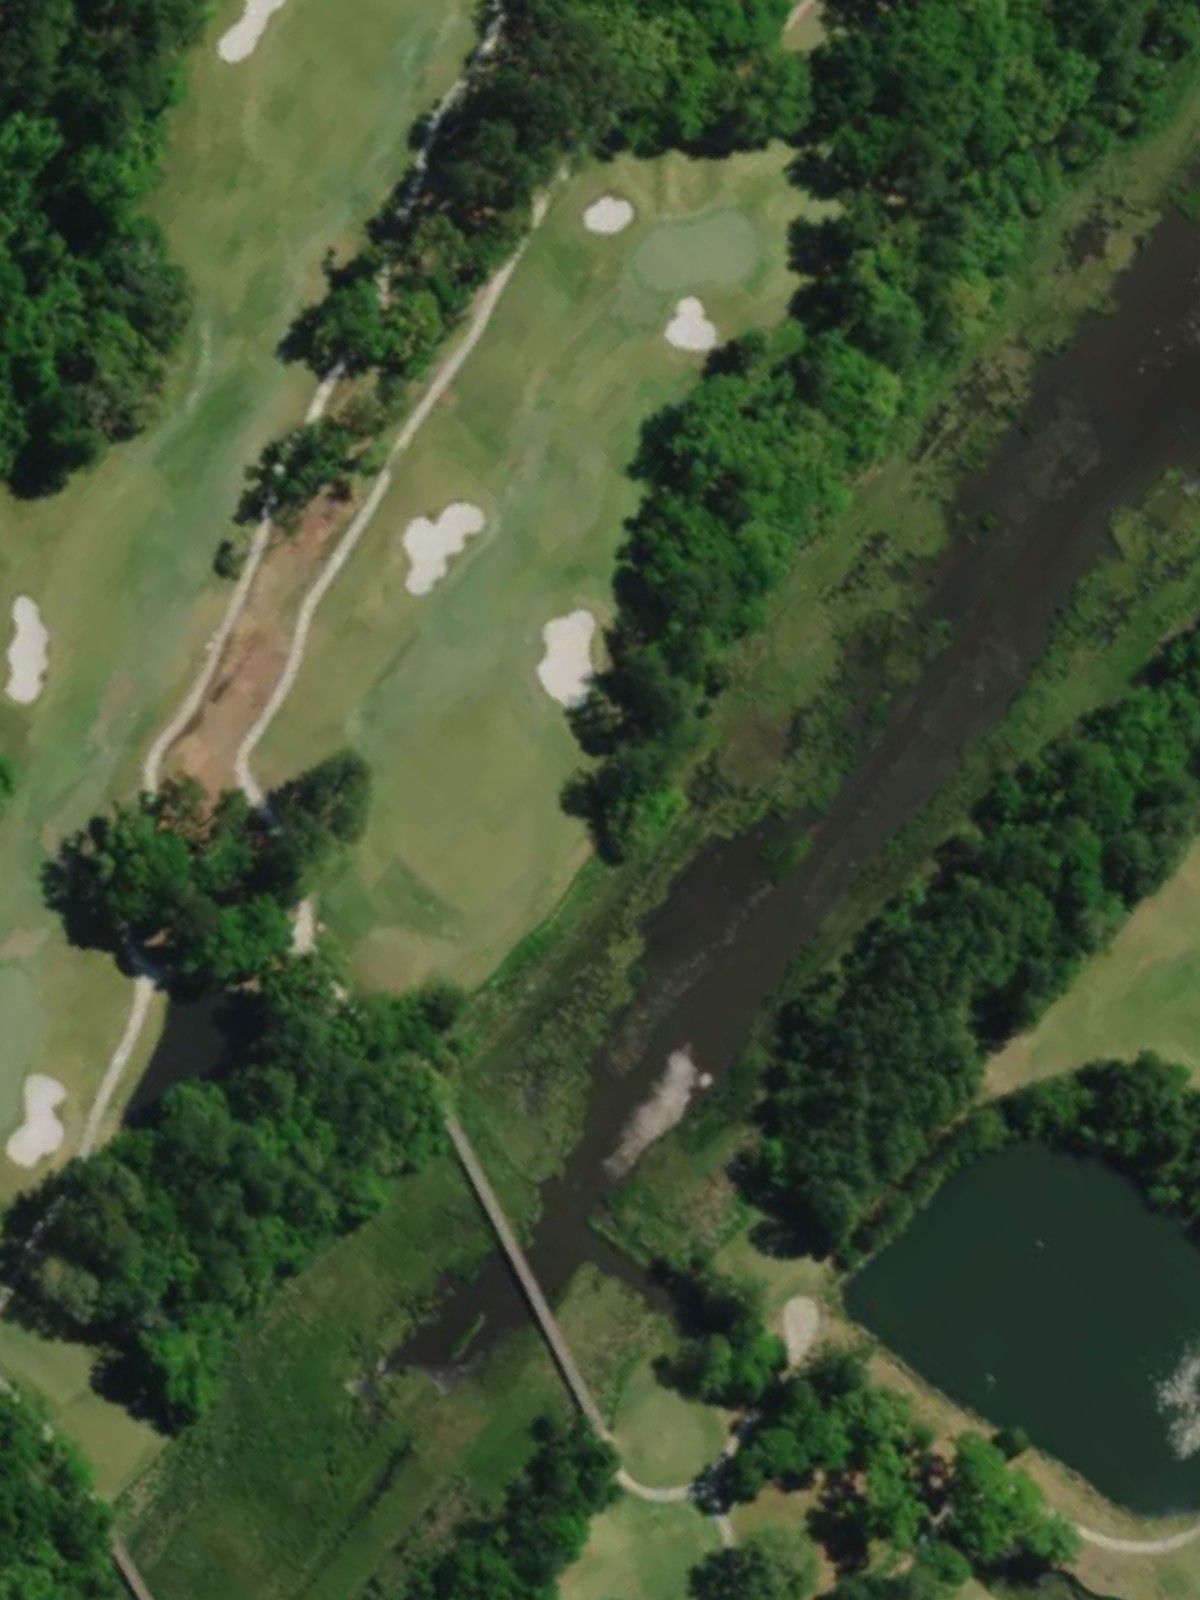
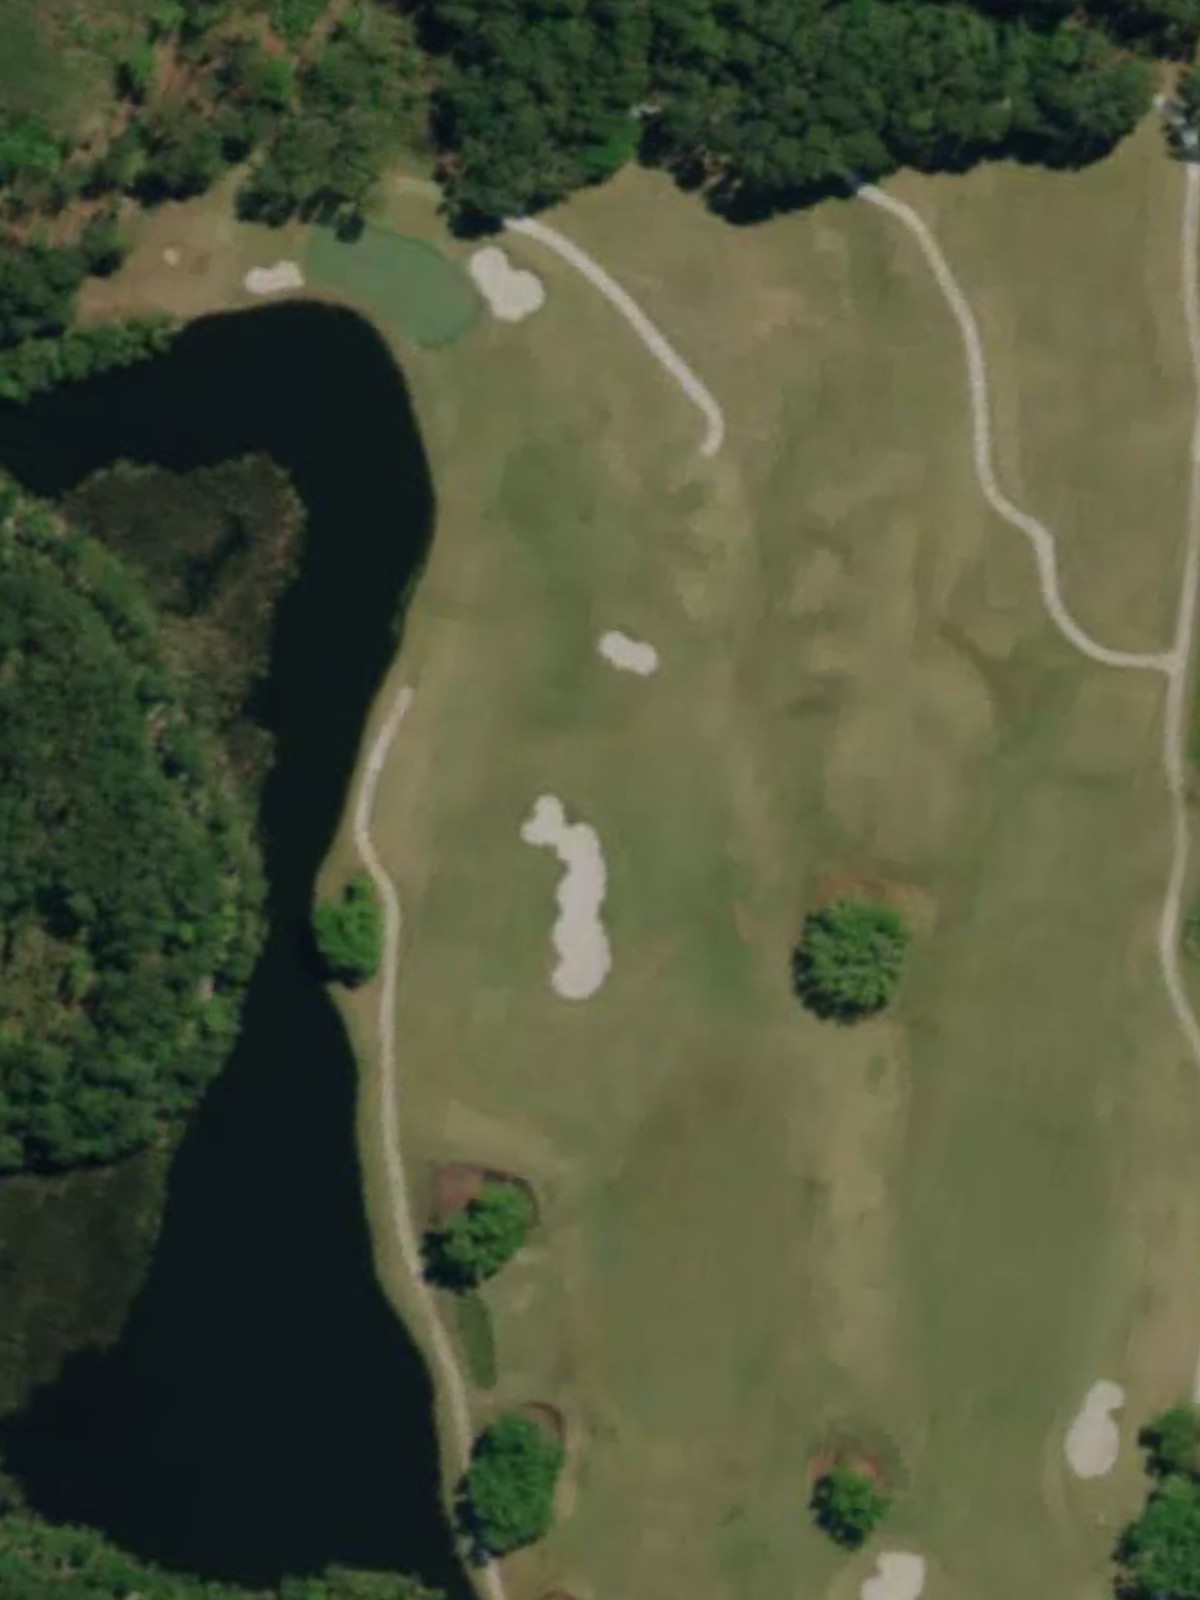
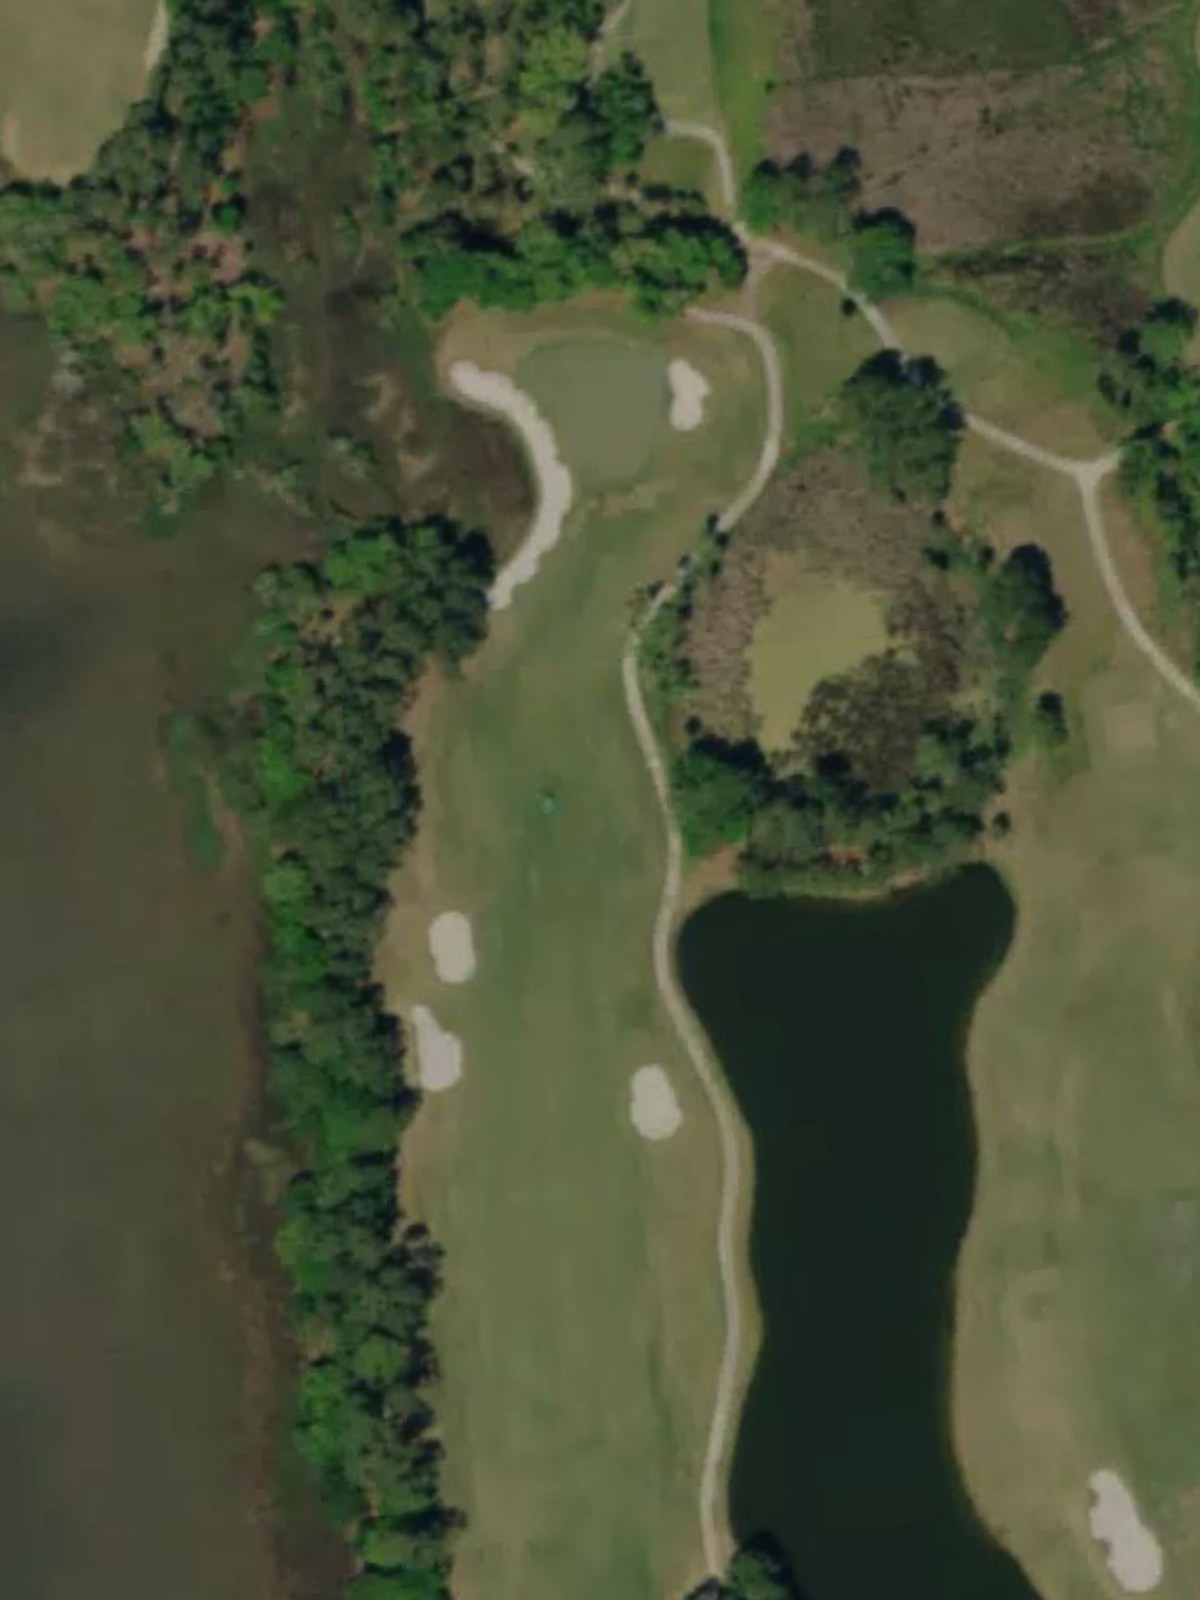
A sprawling par 5 offering risk-reward opportunities for players seeking to reach the green in two shots. Water and bunkers threaten both sides of the fairway, particularly as it widens approaching the green.
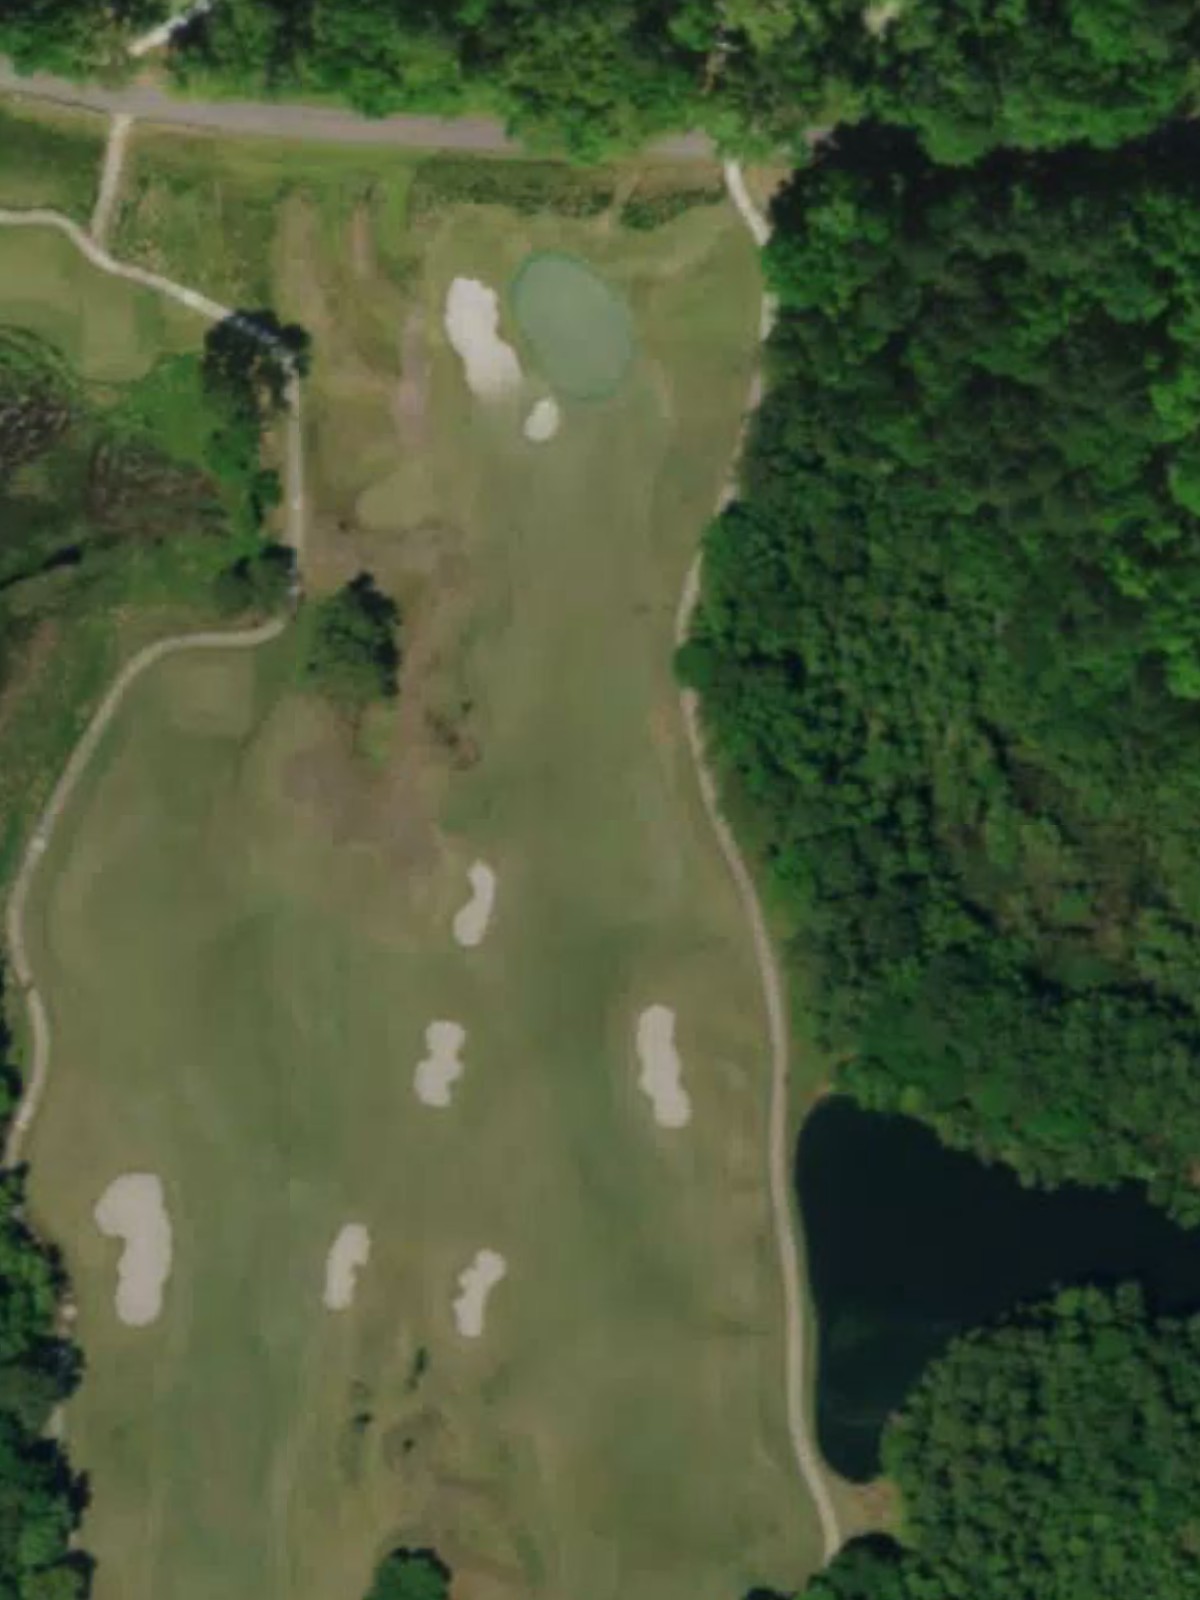
The course's third-most difficult par 4, this hole features a fairway that tightens considerably near the green with water and bunker hazards creating a demanding approach. The length and positioning of hazards make this a true test of shot-making.
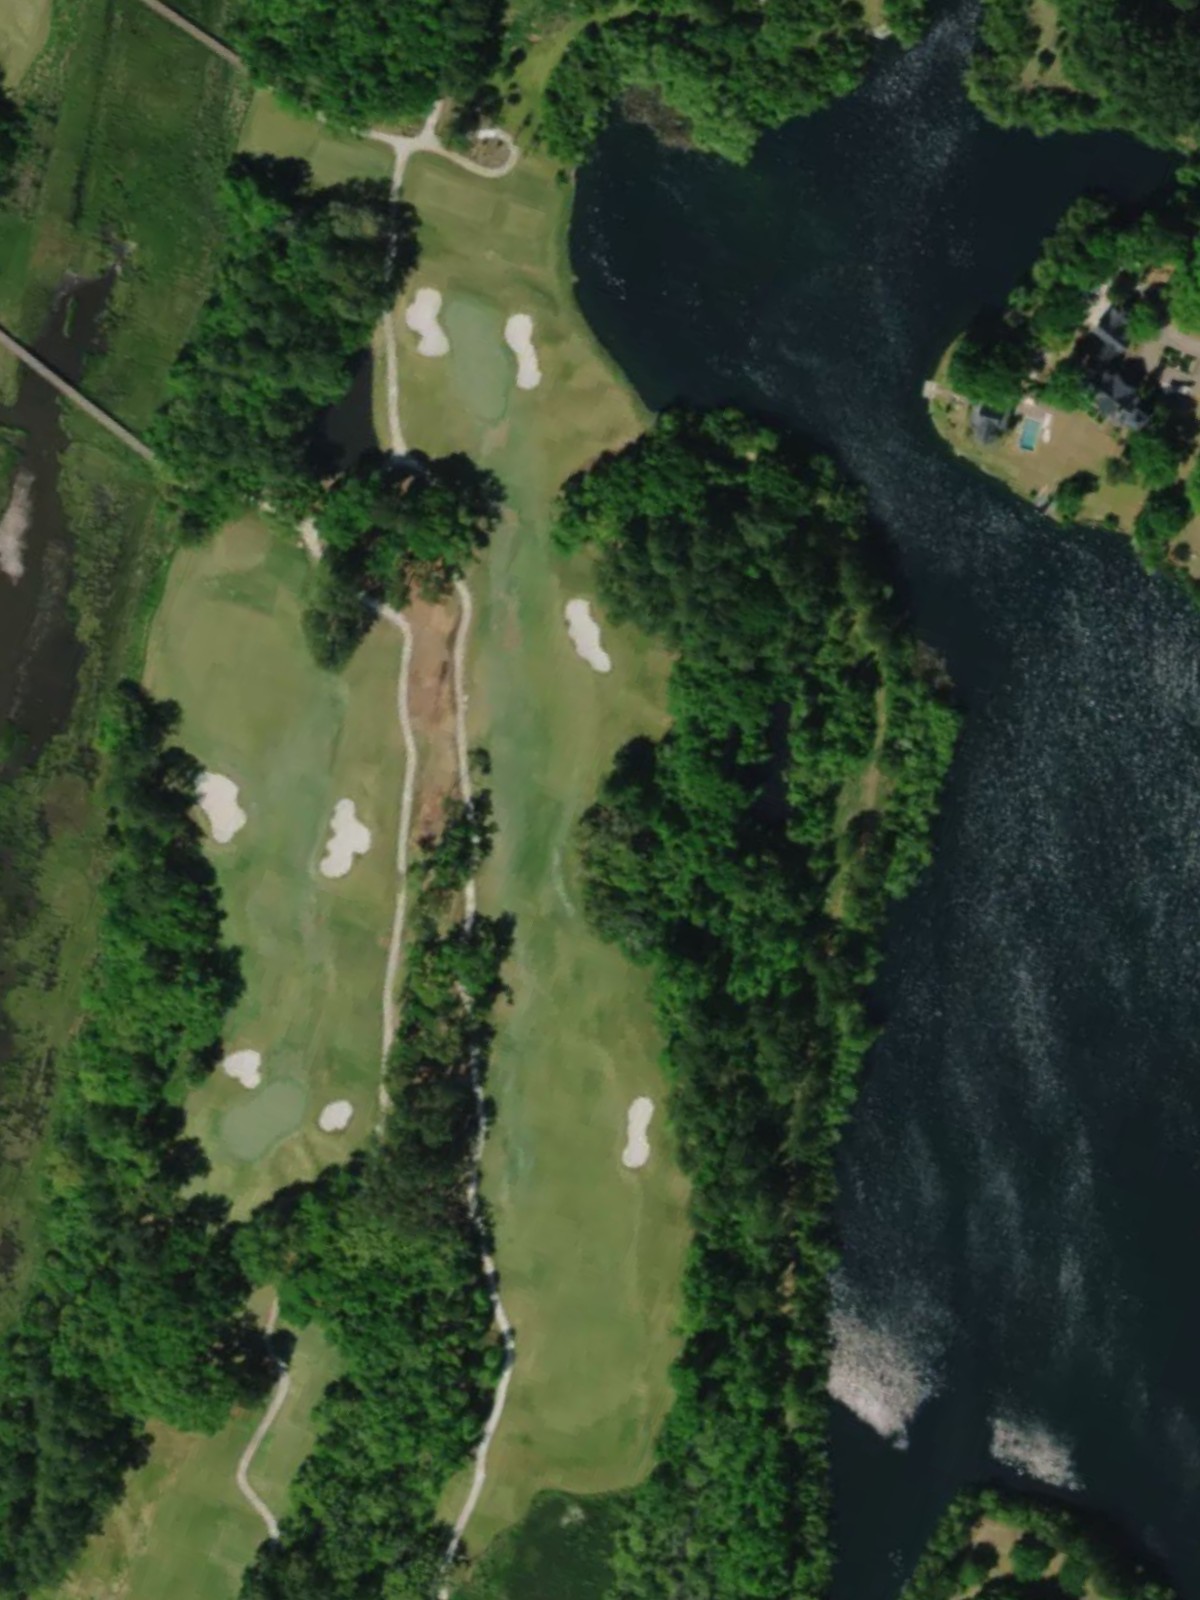
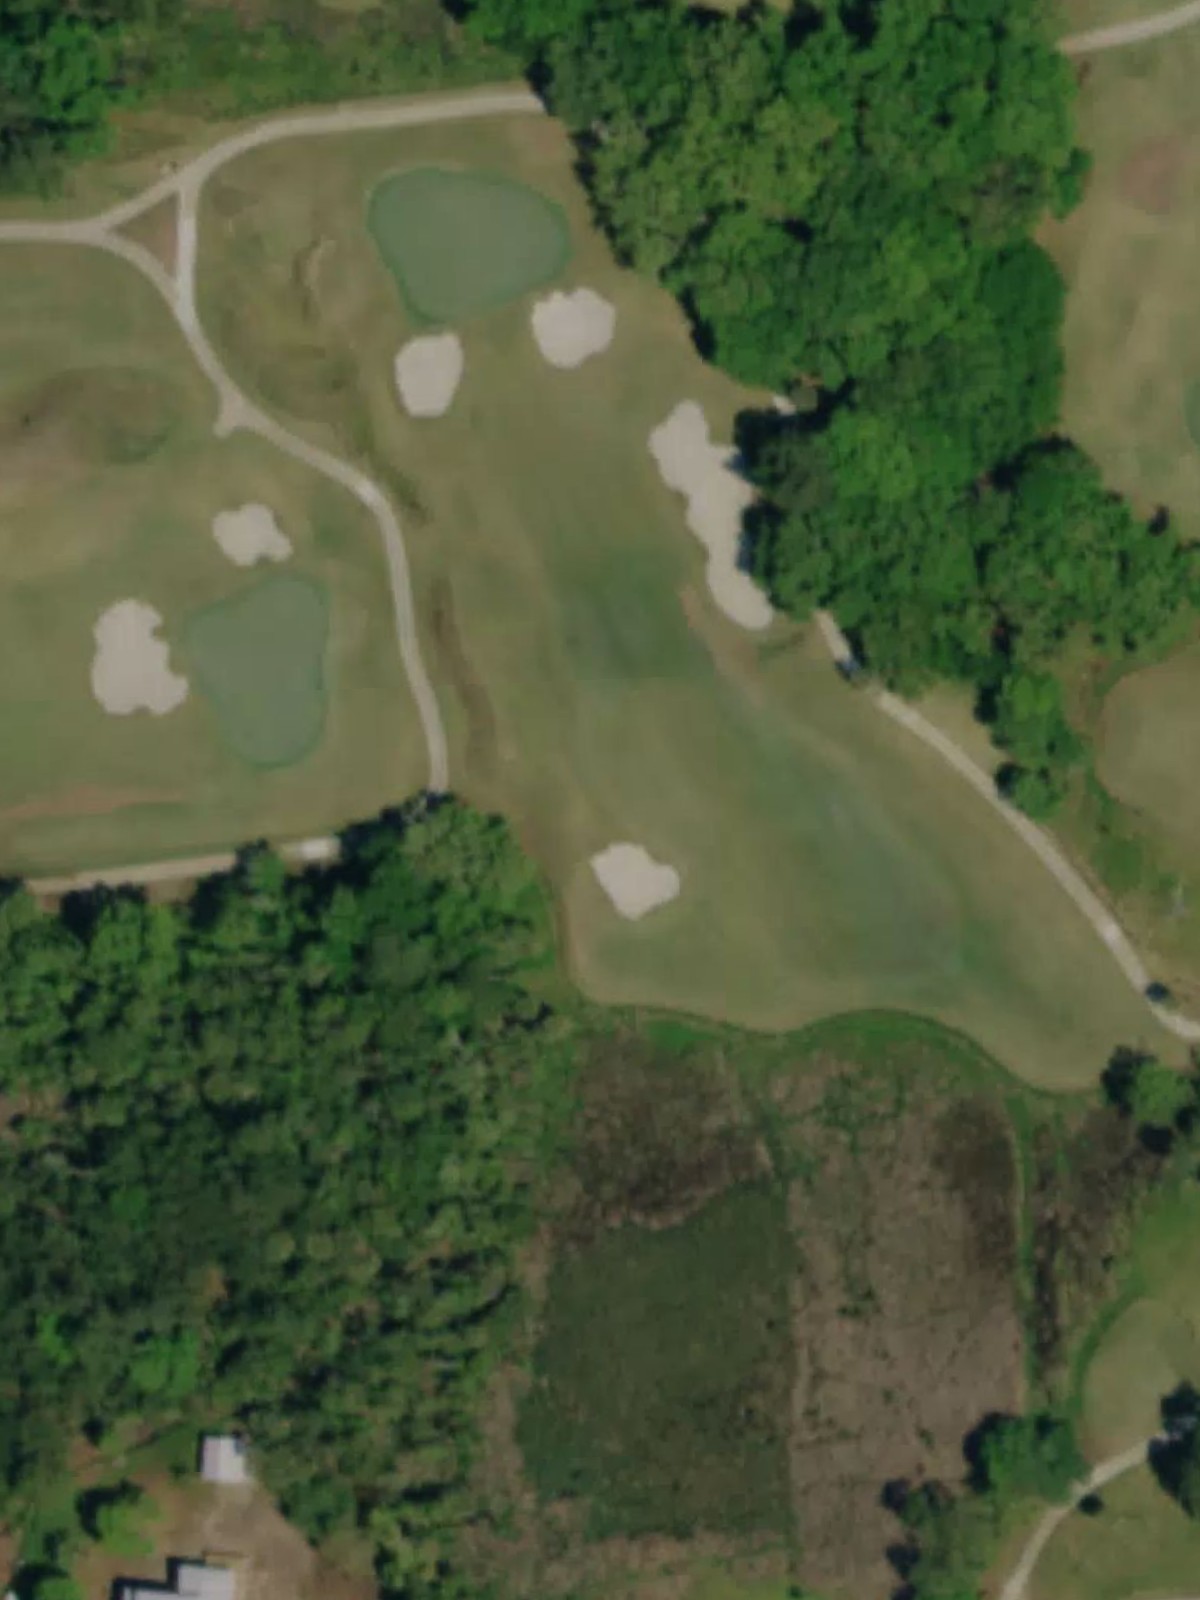
The signature hole and most difficult on the course, this par 5 stretches across the landscape with strategic hazards throughout. Water and bunkers frame both sides of the fairway, demanding three well-placed shots even for longer hitters.
A mid-length par 4 with character defined by its hazard placement rather than its yardage. Bunkers and water features require thoughtful positioning off the tee and on the approach.
A solid par 4 that demands accuracy more than distance, with the fairway narrowing as it approaches a well-bunkered green. Strategic placement off the tee is essential to set up a manageable approach.

A generous par 5 with a wide fairway that provides multiple routes to the green. Bunkers guard the approaches, and water hazards come into play for aggressive second shots attempting to reach in two.
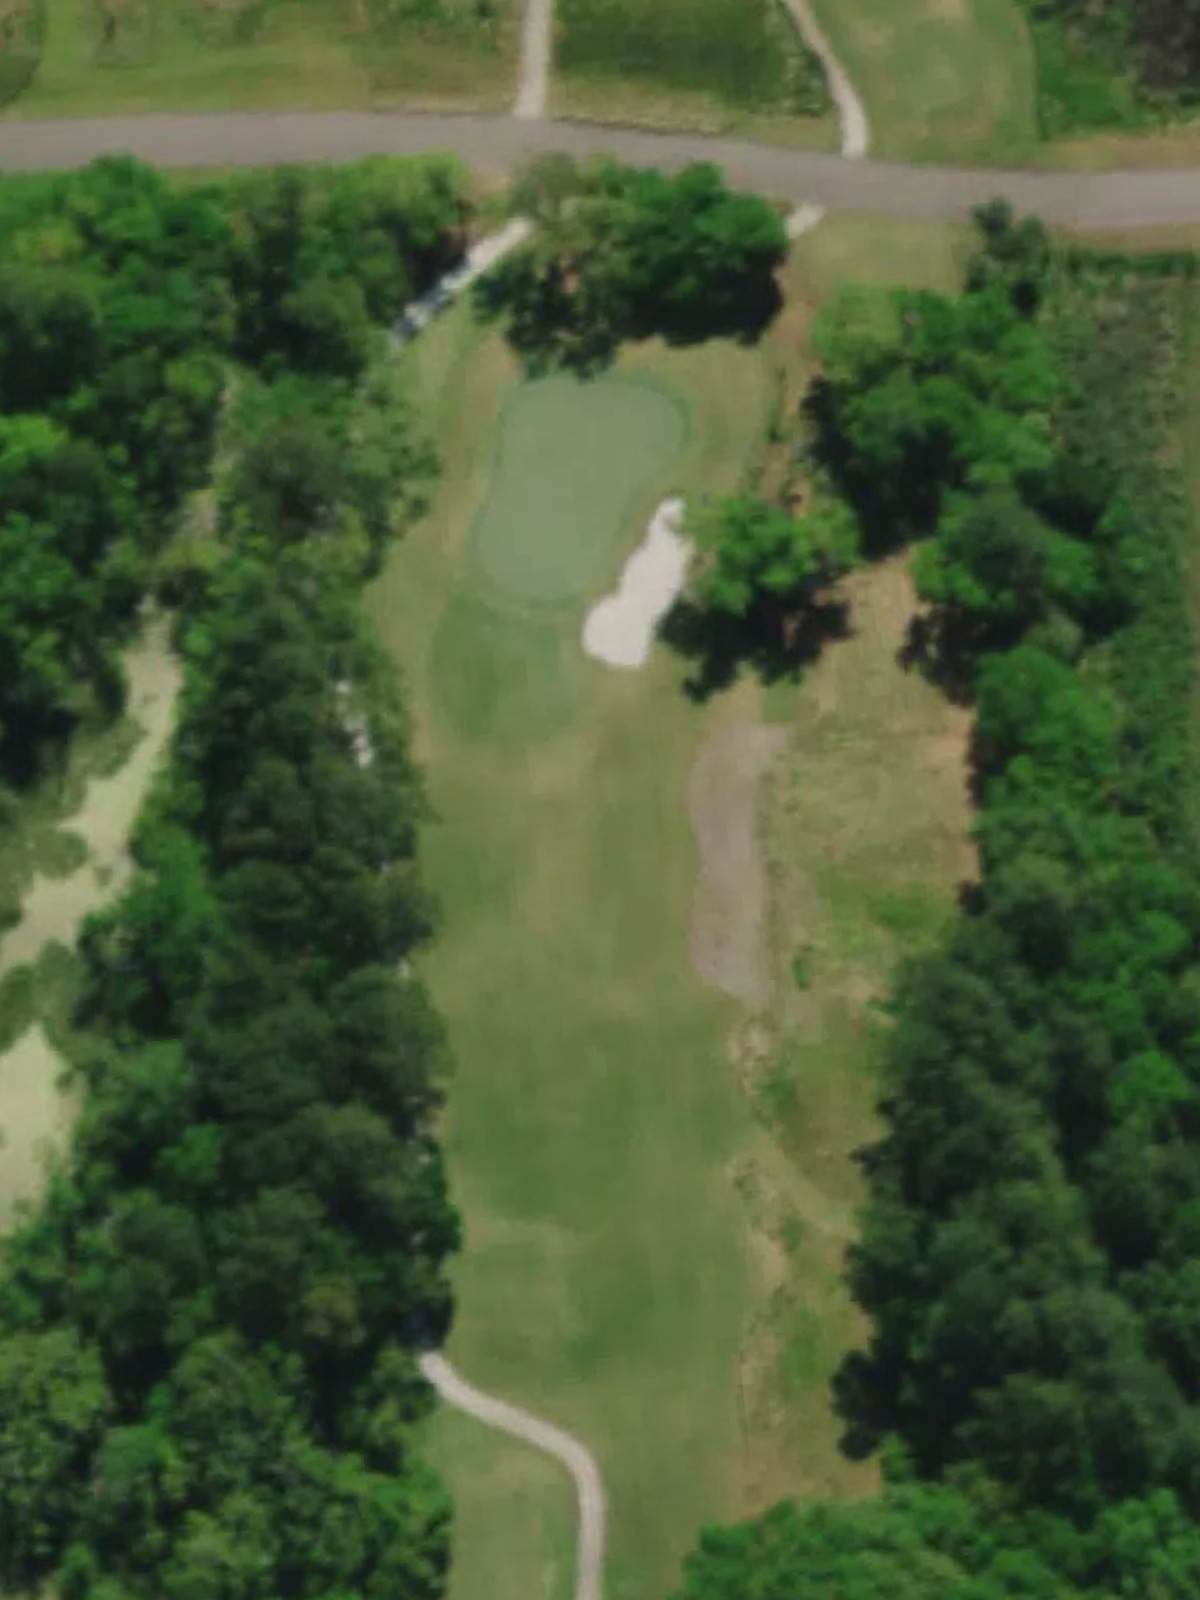
A short par 4 that plays deceptively simple, with a fairway that narrows near the green where bunkers stand sentinel. The modest length invites aggressive play, but accuracy is rewarded on this straightforward hole.
A mid-length par 4 with increasing difficulty as the hole progresses, featuring bunkers and water hazards that tighten around the green. The fairway gradually narrows, demanding precise positioning for the approach shot.
A formidable par 4 and fourth-toughest hole on the course, with length and strategic hazard placement creating a demanding test. Water and bunkers force golfers to carefully navigate both the fairway and approach to the green.
A straightforward par 4 with moderate length and a fairway that opens toward the green. Bunkers protect the sides of the putting surface, allowing for a more direct approach than some of the course's other holes.

The course's easiest hole, this short par 3 requires only a compact swing to the small green. Minimal hazarding and modest yardage make this an ideal opportunity to post a birdie.
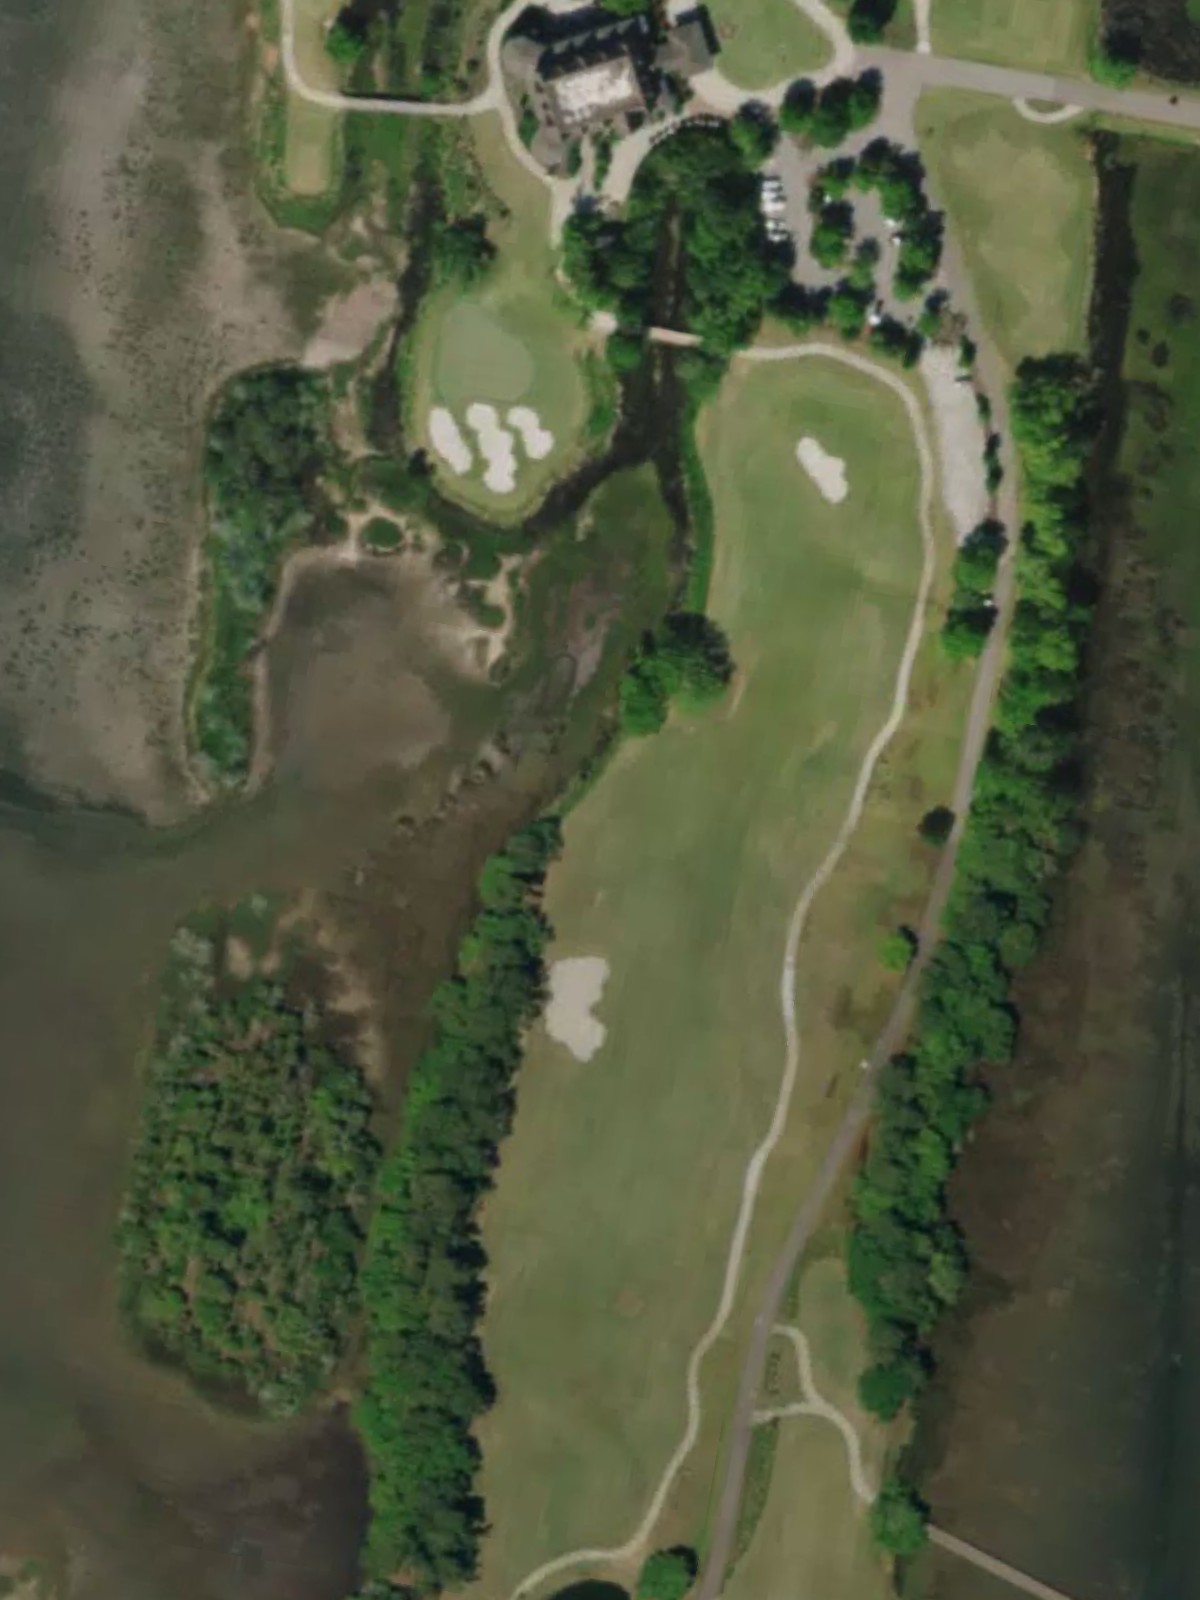
The second-most difficult hole on the course, this par 4 combines length with strategic water and bunker placement throughout. The fairway demands precision, and the heavily guarded green rewards only the most accurate approach shots.
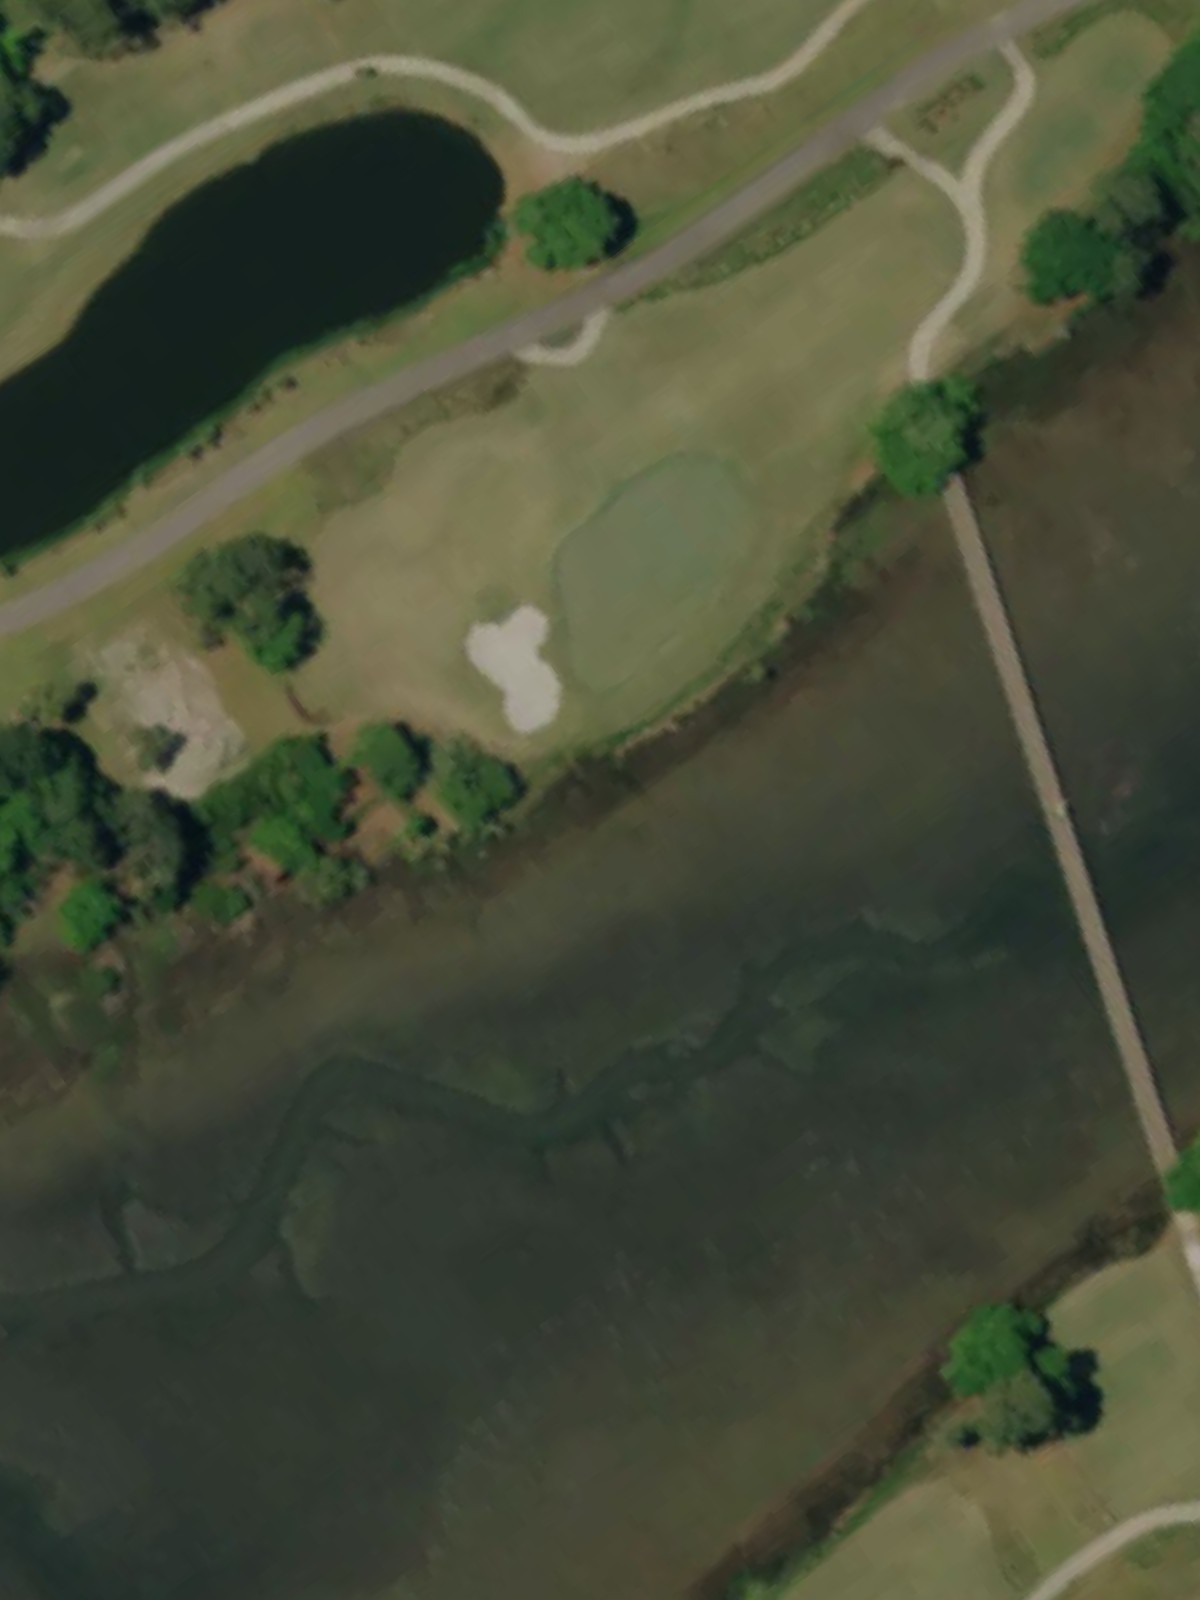
A mid-length par 3 with a well-bunkered green sitting in a natural amphitheater. The hole's elevation changes and hazard placement create an attractive yet demanding mid-round test.
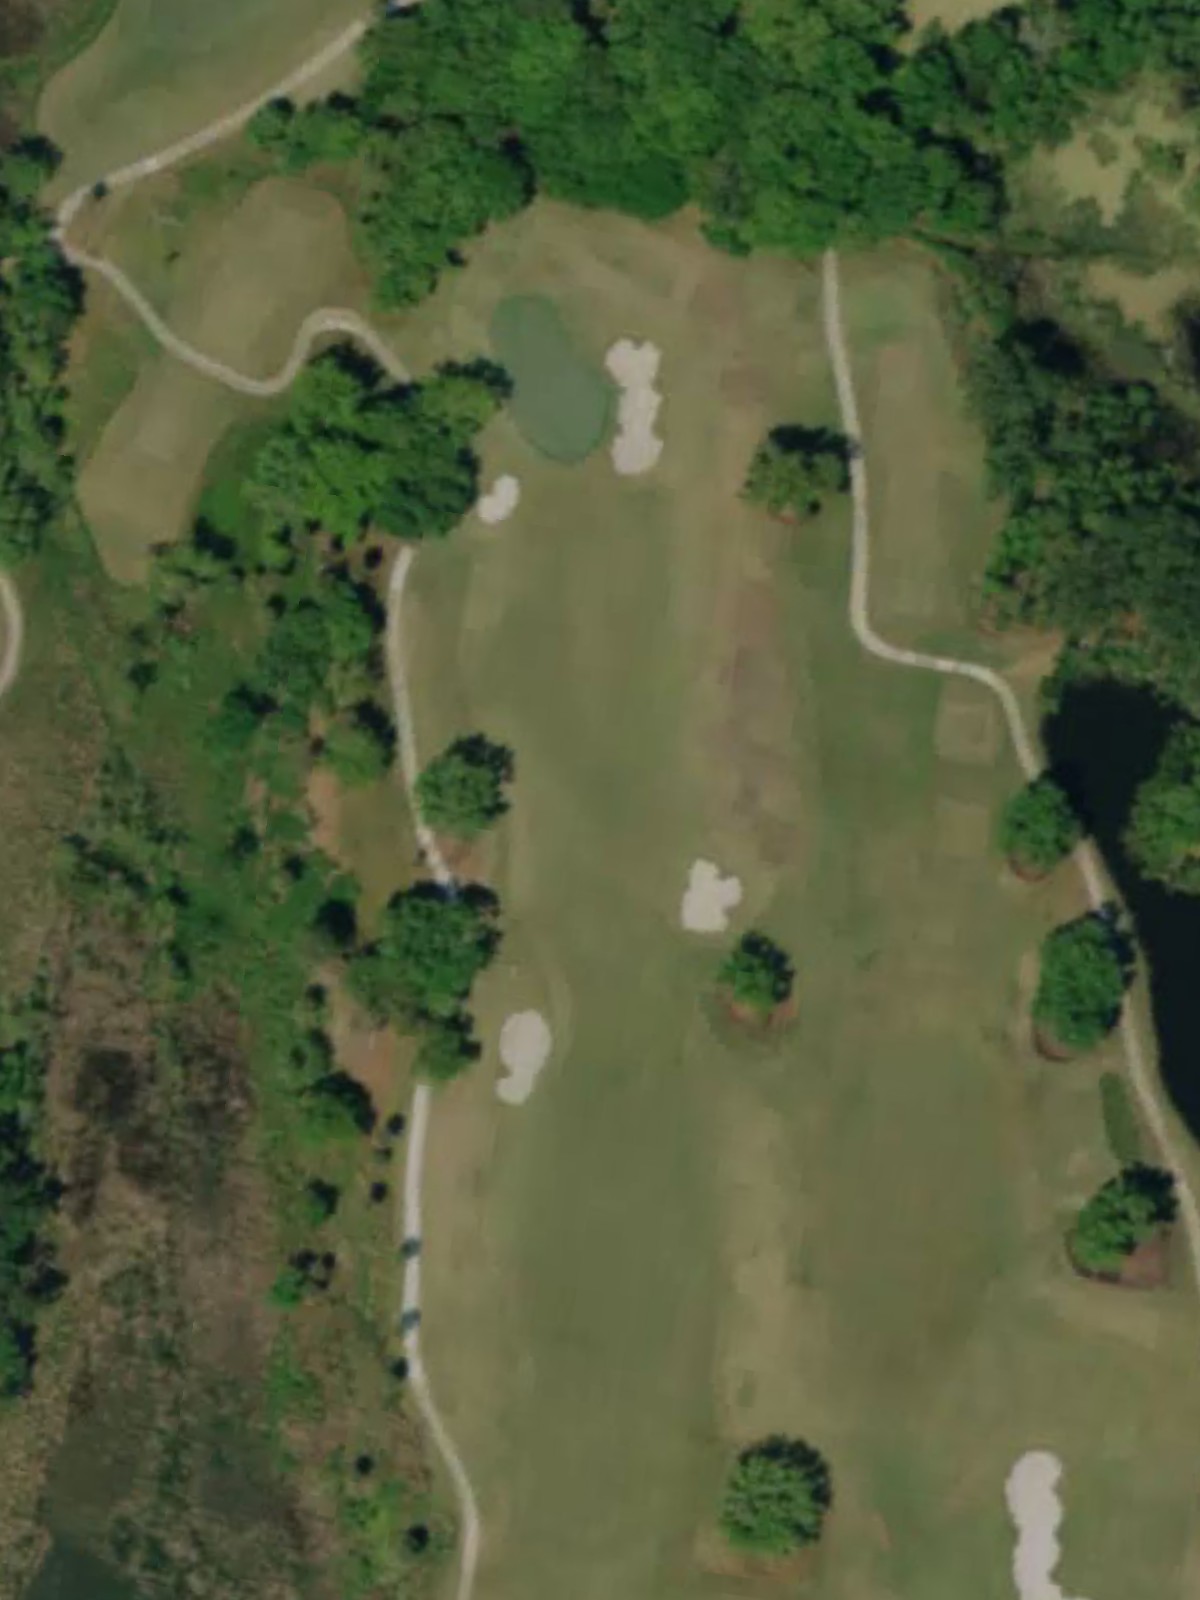
A grand finishing par 5 that offers a dramatic closing statement, with water and bunkers framing both sides of the fairway. The expansive length and strategic hazards provide multiple decision points for the final hole.
Scorecard
| Hole | 1 | 2 | 3 | 4 | 5 | 6 | 7 | 8 | 9 | Out | 10 | 11 | 12 | 13 | 14 | 15 | 16 | 17 | 18 | In | Tot |
|---|---|---|---|---|---|---|---|---|---|---|---|---|---|---|---|---|---|---|---|---|---|
| Par | 4 | 3 | 4 | 3 | 5 | 4 | 5 | 4 | 4 | 36 | 5 | 4 | 4 | 4 | 4 | 3 | 4 | 3 | 5 | 36 | 72 |
| HCP | 11 | 17 | 5 | 15 | 7 | 3 | 1 | 13 | 9 | 8 | 16 | 14 | 4 | 12 | 18 | 2 | 10 | 6 | |||
| championship | 370 | 170 | 409 | 193 | 546 | 464 | 599 | 404 | 352 | 3507 | 569 | 342 | 441 | 460 | 410 | 197 | 444 | 234 | 571 | 3668 | 7175 |
| players | 353 | 152 | 394 | 179 | 519 | 415 | 584 | 377 | 337 | 3310 | 517 | 324 | 408 | 430 | 385 | 175 | 424 | 190 | 549 | 3402 | 6712 |
| players/briars | 353 | 152 | 357 | 170 | 519 | 403 | 563 | 377 | 337 | 3231 | 517 | 324 | 376 | 400 | 385 | 175 | 400 | 170 | 549 | 3296 | 6527 |
| briars | 337 | 123 | 357 | 170 | 499 | 403 | 563 | 334 | 327 | 3113 | 505 | 298 | 376 | 400 | 354 | 147 | 400 | 170 | 524 | 3174 | 6287 |
| tournament | 317 | 123 | 320 | 170 | 476 | 380 | 529 | 311 | 310 | 2936 | 505 | 280 | 341 | 389 | 340 | 157 | 380 | 158 | 484 | 3034 | 5970 |
| briars/marsh | 310 | 123 | 320 | 170 | 499 | 403 | 434 | 334 | 310 | 2903 | 505 | 280 | 376 | 351 | 354 | 121 | 400 | 148 | 445 | 2980 | 5883 |
| marsh | 310 | 100 | 320 | 147 | 459 | 339 | 434 | 303 | 310 | 2722 | 482 | 280 | 318 | 351 | 335 | 121 | 301 | 148 | 445 | 2781 | 5503 |
| marsh/heron | 310 | 100 | 217 | 147 | 373 | 339 | 434 | 303 | 310 | 2533 | 427 | 238 | 318 | 321 | 335 | 86 | 301 | 115 | 417 | 2558 | 5091 |
| heron | 253 | 74 | 217 | 109 | 373 | 284 | 363 | 204 | 262 | 2139 | 427 | 238 | 291 | 321 | 306 | 86 | 277 | 115 | 417 | 2478 | 4617 |