Gold Mountain Gc is an 18-hole golf course in Bremerton, WA with a par of 72. It offers 5 tee sets: pro/gold (7,038 yards, slope 148, rating 74.9), tourney/blue (6,510 yards, slope 142, rating 72.6), player/white (6,042 yards, slope 134, rating 70.2), scoring/yellow (5,641 yards, slope 125, rating 68.9), forward/red (5,274 yards, slope 122, rating 67). The hardest hole is #7, a par 4 playing 462 yards from the first tee.
Gold Mountain Gc
Bremerton, WA
Get PDF Yardage Book
We'll email you the PDF link. No spam, ever.
Create Your Game Plan
Pick your tees, enter your bag, and get a personalized shot-by-shot strategy for every hole.

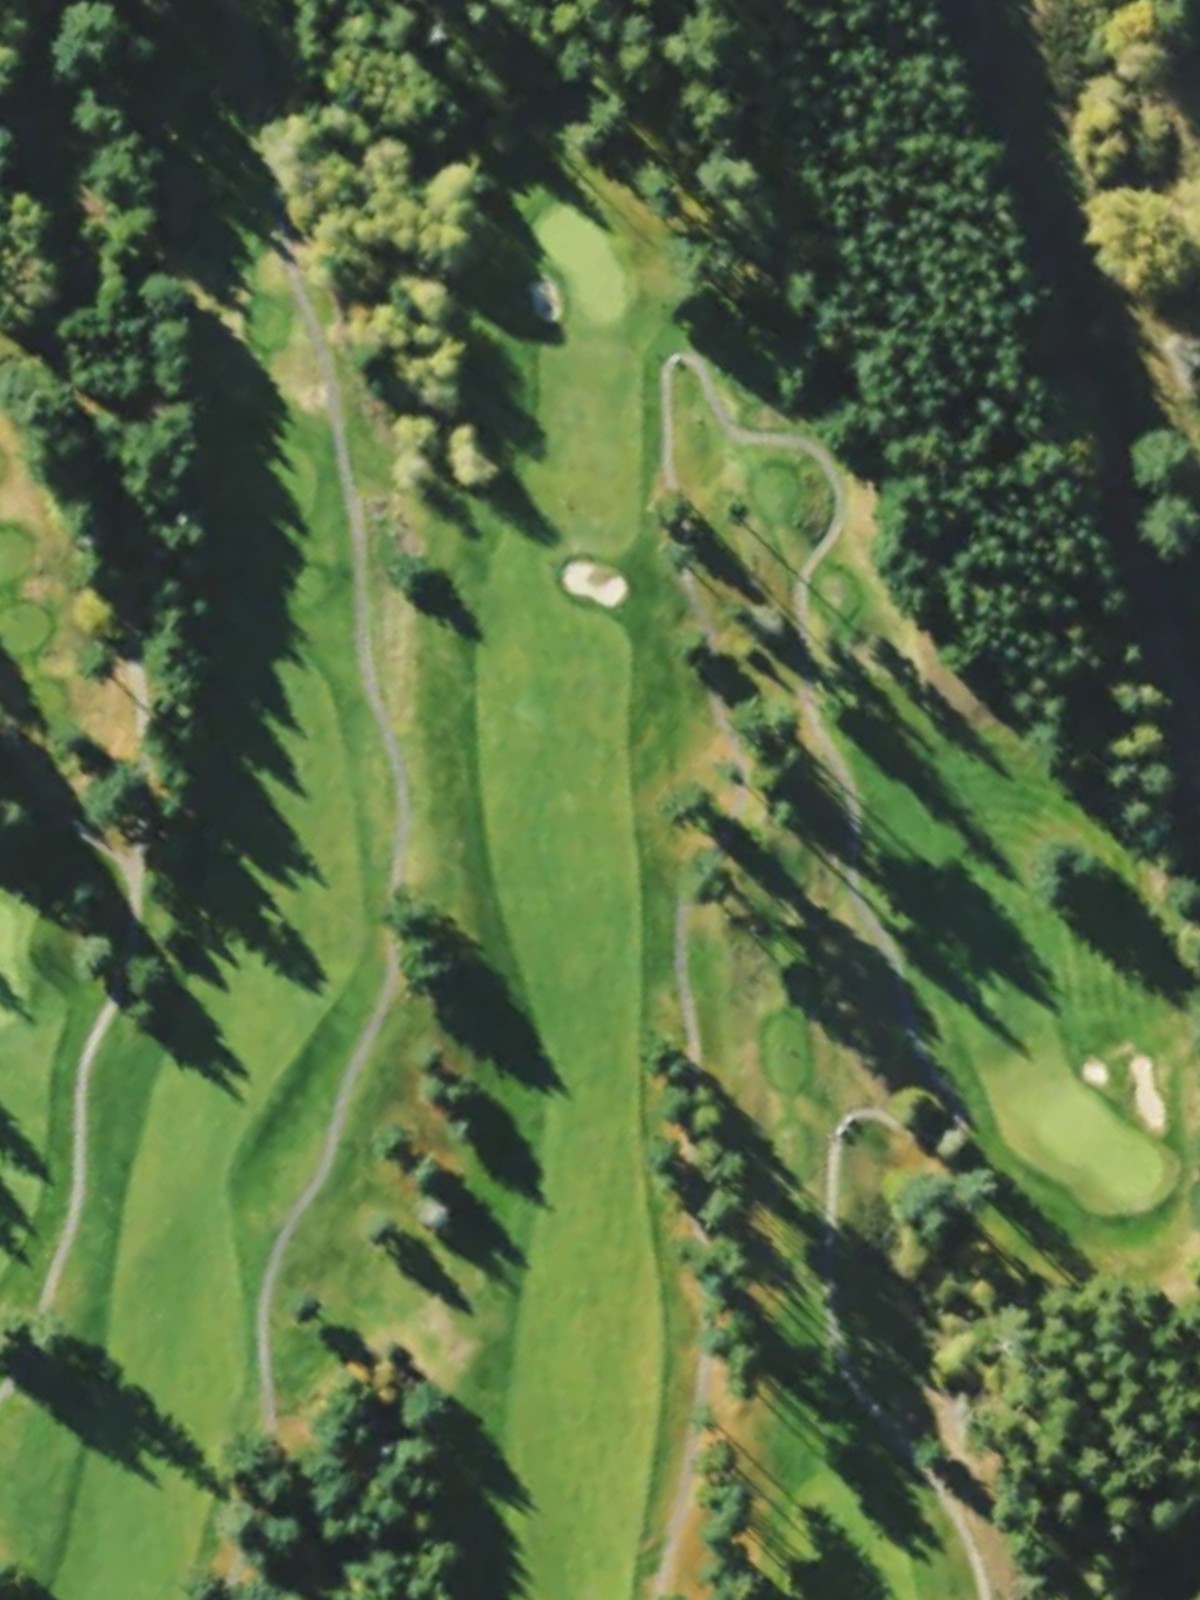
A demanding straightaway par 4 that plays longer than its yardage suggests. The fairway is generous off the tee but narrows considerably as it approaches a well-bunkered green, with hazards tightening the approach and demanding accuracy on the final shot.

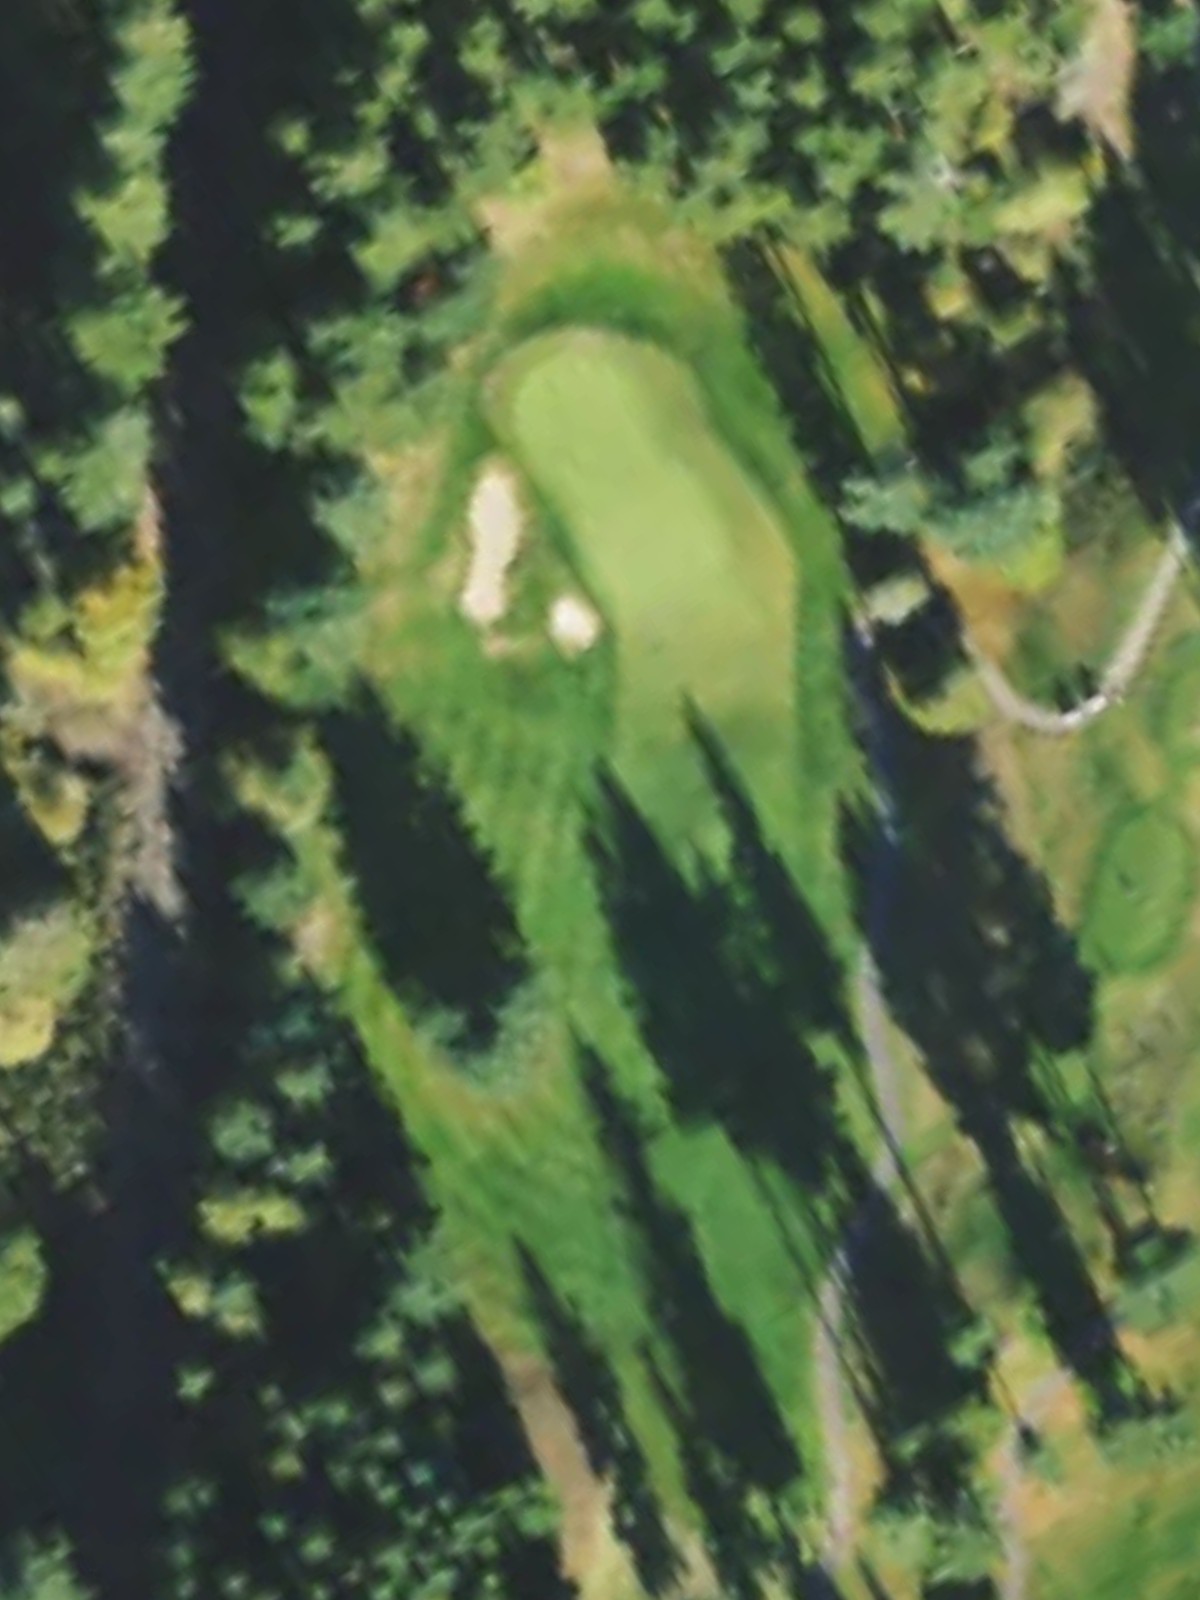
A short par 4 offering a relatively forgiving opening opportunity. The hole features a modest fairway with minimal hazards, making it one of the course's more accessible scoring chances despite its modest length.
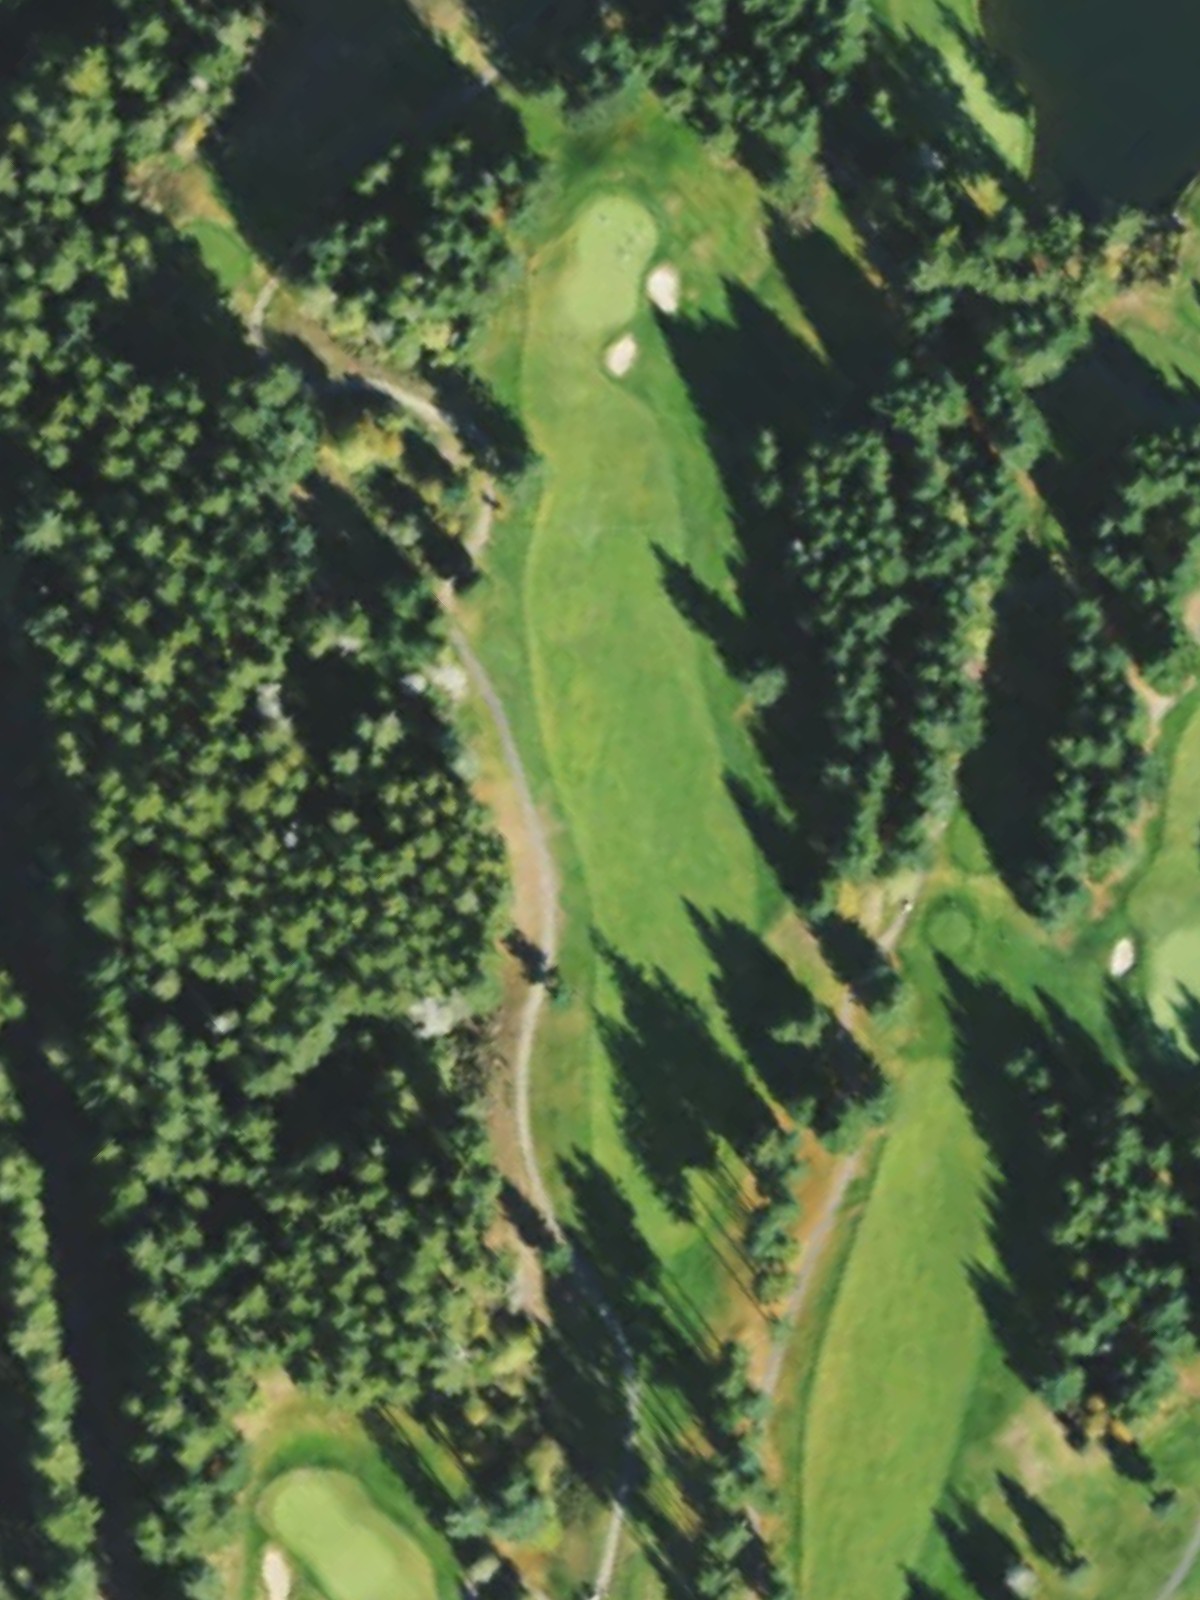
A solid par 4 with a fairly straight routing and consistent width through the fairway. Bunkers frame the green on both sides, requiring a precise approach shot to avoid penalty sand and protect par.
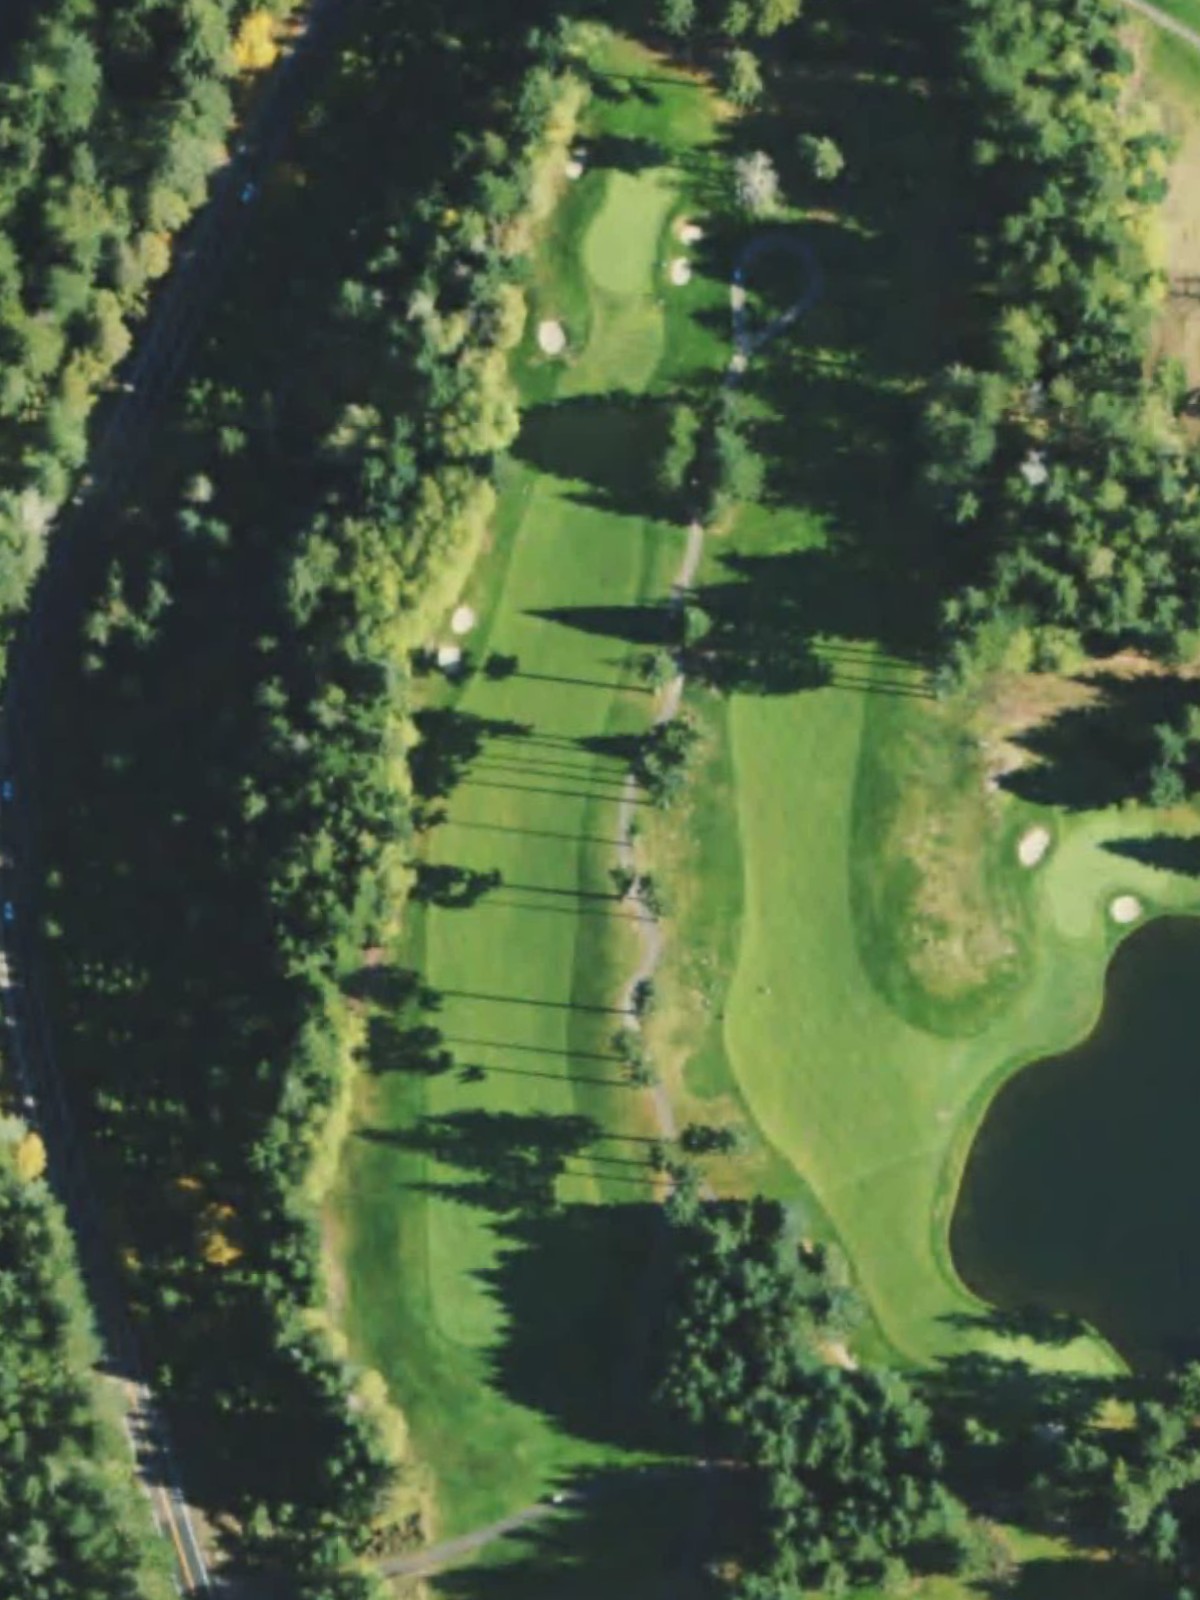
A short par 4 with a tight, defined fairway corridor. The green is well-protected by bunkers, particularly on the right side, making accuracy off both the tee and into the green essential for a good score.
A short par 3 playing to a modest green. The hole's brevity and straightforward nature make it a relatively accessible one-shot opportunity, though precise distance control remains important.
A long par 5 with a fairly open fairway that allows aggressive play off the tee. Water or other hazards come into play on the approach, and the green's depth requires thoughtful layup or attack decisions.
Gold Mountain's most difficult hole, this long par 4 plays as a brute. The fairway narrows progressively, and hazards guard both sides down the stretch, with a well-defended green demanding a strong approach shot to secure a good result.
A mid-length par 3 with a defined landing area. The green is surrounded by bunkers and possibly water, making distance accuracy and shot execution crucial from the tee.
A lengthy par 5 with a wide fairway that offers multiple birdie paths. The hole's distance rewards aggressive positioning, but hazards on the approach—particularly around the green—punish overambitious plays.
A strategic par 4 featuring a fairway that may narrow or bend slightly. Hazards frame the approach, and the green's placement demands careful club selection and accuracy on the second shot.
A spacious par 5 with a generous fairway allowing for solid positioning off the tee. Bunkers or water near the green require thoughtful decision-making on the approach, with multiple birdie routes available to aggressive players.
A challenging par 3 playing a substantial distance to a well-bunkered green. The one-shot nature demands accurate distance control, with hazards framing the target and leaving little room for error.
A well-balanced par 4 with a defined fairway corridor. Bunkers guard the approach area and green, requiring a quality approach shot after a solid tee shot to secure a favorable score.
A long par 5 presenting multiple strategic options for play. The fairway is generally generous, but hazards strategically placed near the green reward smart decision-making and punish careless aggression.
A short par 4 with a relatively benign routing and open fairway. The hole offers an excellent scoring opportunity with minimal hazards, making it one of the back nine's most accessible stretches.
The course's easiest par 3, this short one-shot hole features a modest green with light bunkering. The hole's brevity and straightforward nature present a genuine birdie opportunity.
Gold Mountain's second-most difficult hole, this long par 4 is punishing from start to finish. The fairway narrows considerably down the corridor, and hazards frame both sides, with a heavily defended green requiring a perfect approach for a good score.

A relatively short par 4 closing hole offering a chance to finish strong. The fairway is reasonably open, but greenside hazards require an accurate approach shot to secure a closing birdie or par.
Scorecard
| Hole | 1 | 2 | 3 | 4 | 5 | 6 | 7 | 8 | 9 | Out | 10 | 11 | 12 | 13 | 14 | 15 | 16 | 17 | 18 | In | Tot |
|---|---|---|---|---|---|---|---|---|---|---|---|---|---|---|---|---|---|---|---|---|---|
| Par | 4 | 4 | 4 | 4 | 3 | 5 | 4 | 3 | 5 | 36 | 4 | 5 | 3 | 4 | 5 | 4 | 3 | 4 | 4 | 36 | 72 |
| HCP | 3 | 13 | 9 | 11 | 17 | 7 | 1 | 15 | 5 | 12 | 8 | 10 | 6 | 4 | 14 | 18 | 2 | 16 | |||
| pro/gold | 471 | 360 | 431 | 365 | 157 | 521 | 462 | 214 | 623 | 3604 | 380 | 554 | 251 | 412 | 515 | 359 | 189 | 466 | 308 | 3434 | 7038 |
| tourney/blue | 414 | 344 | 405 | 338 | 138 | 500 | 435 | 185 | 590 | 3349 | 352 | 523 | 202 | 383 | 492 | 332 | 159 | 439 | 279 | 3161 | 6510 |
| player/white | 375 | 321 | 379 | 309 | 113 | 480 | 410 | 156 | 559 | 3102 | 310 | 491 | 172 | 361 | 472 | 329 | 140 | 413 | 252 | 2940 | 6042 |
| scoring/yellow | 375 | 321 | 351 | 281 | 113 | 441 | 377 | 156 | 463 | 2878 | 310 | 440 | 172 | 337 | 422 | 329 | 140 | 361 | 252 | 2763 | 5641 |
| forward/red | 307 | 291 | 351 | 281 | 88 | 441 | 377 | 133 | 463 | 2732 | 220 | 440 | 139 | 337 | 422 | 298 | 118 | 361 | 207 | 2542 | 5274 |