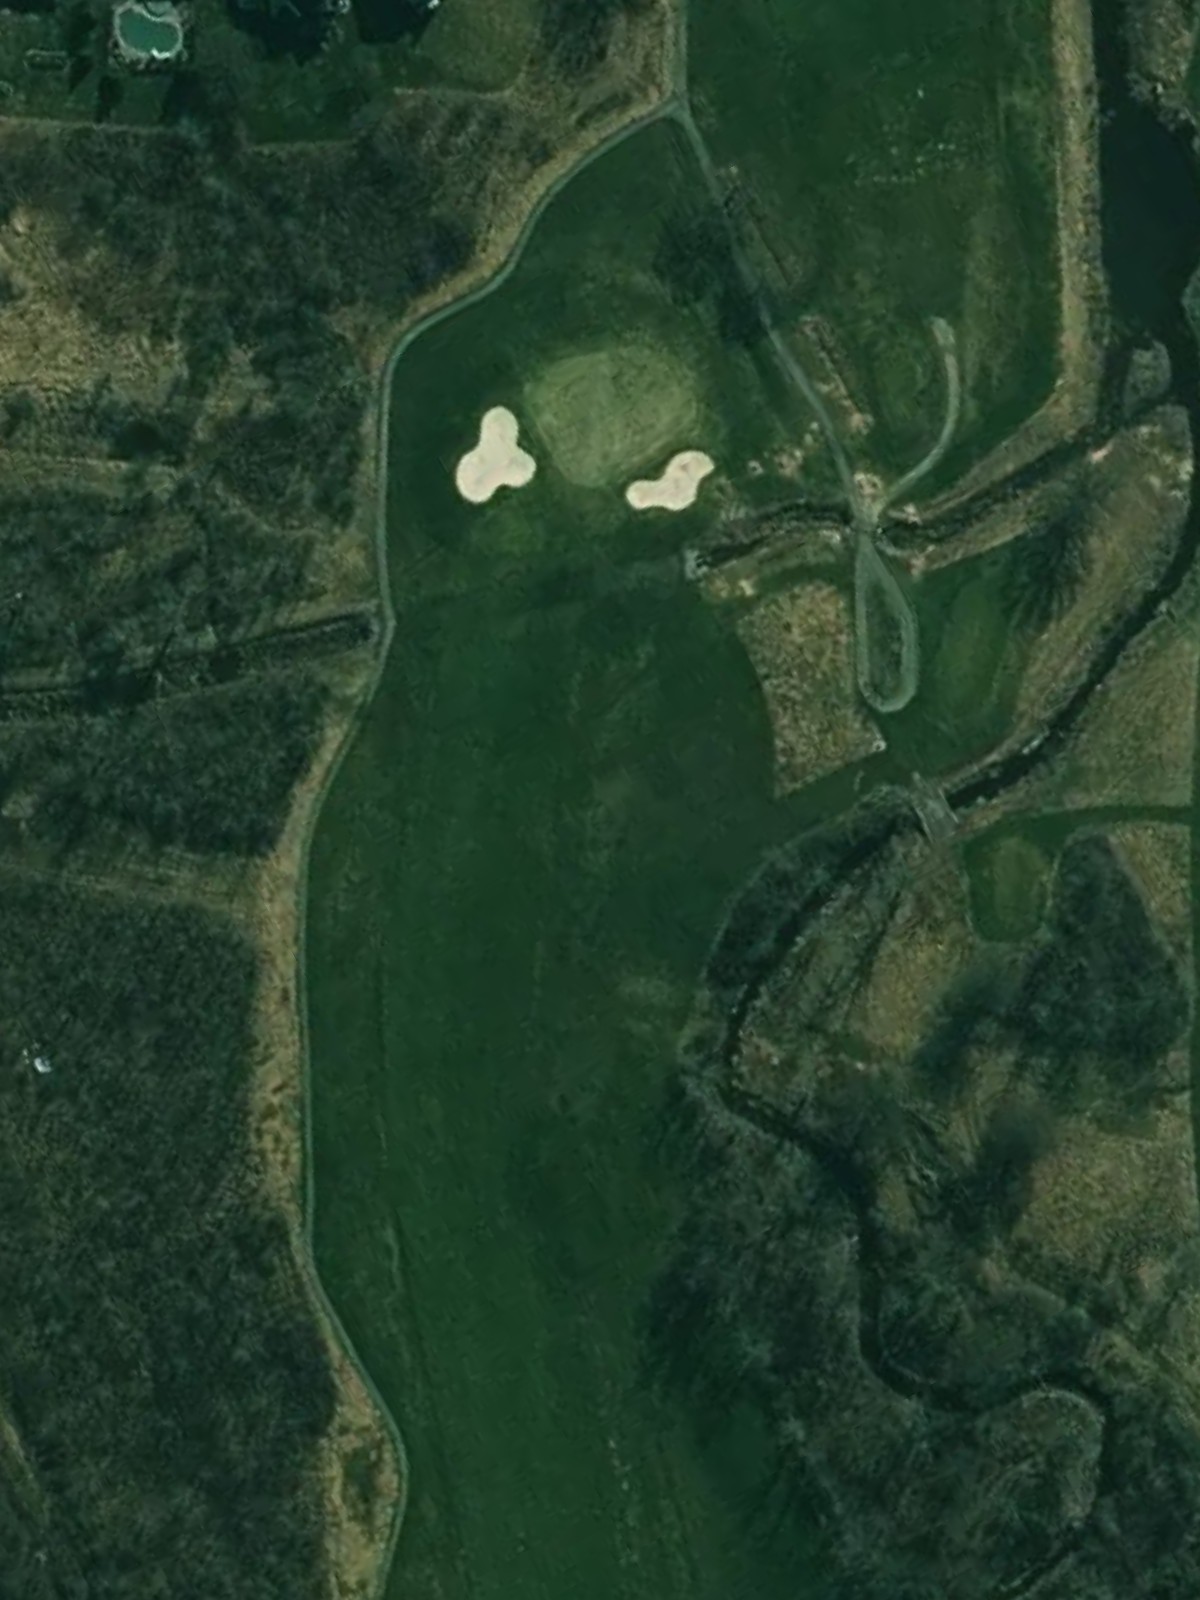
Glen Oak Golf Course is an 18-hole golf course in East Amherst, NY with a par of 72. It offers 8 tee sets: tee #1 (7,310 yards, slope 142, rating 75.4), tee #2 (6,720 yards, slope 136, rating 72.8), tee #3 (6,170 yards, slope 127, rating 70.4), tee #4 (5,620 yards, slope 118, rating 67.7), tee #5 (4,940 yards, slope 112, rating 64.4), tee #6 (4,325 yards, slope 101, rating 62.2), tee #7 (3,755 yards, slope 99, rating 60), tee #8 (3,160 yards, slope 94, rating 58.1). The hardest hole is #5, a par 5 playing 590 yards from the first tee.
Glen Oak Golf Course
East Amherst, NY
Get PDF Yardage Book
We'll email you the PDF link. No spam, ever.
Create Your Game Plan
Pick your tees, enter your bag, and get a personalized shot-by-shot strategy for every hole.
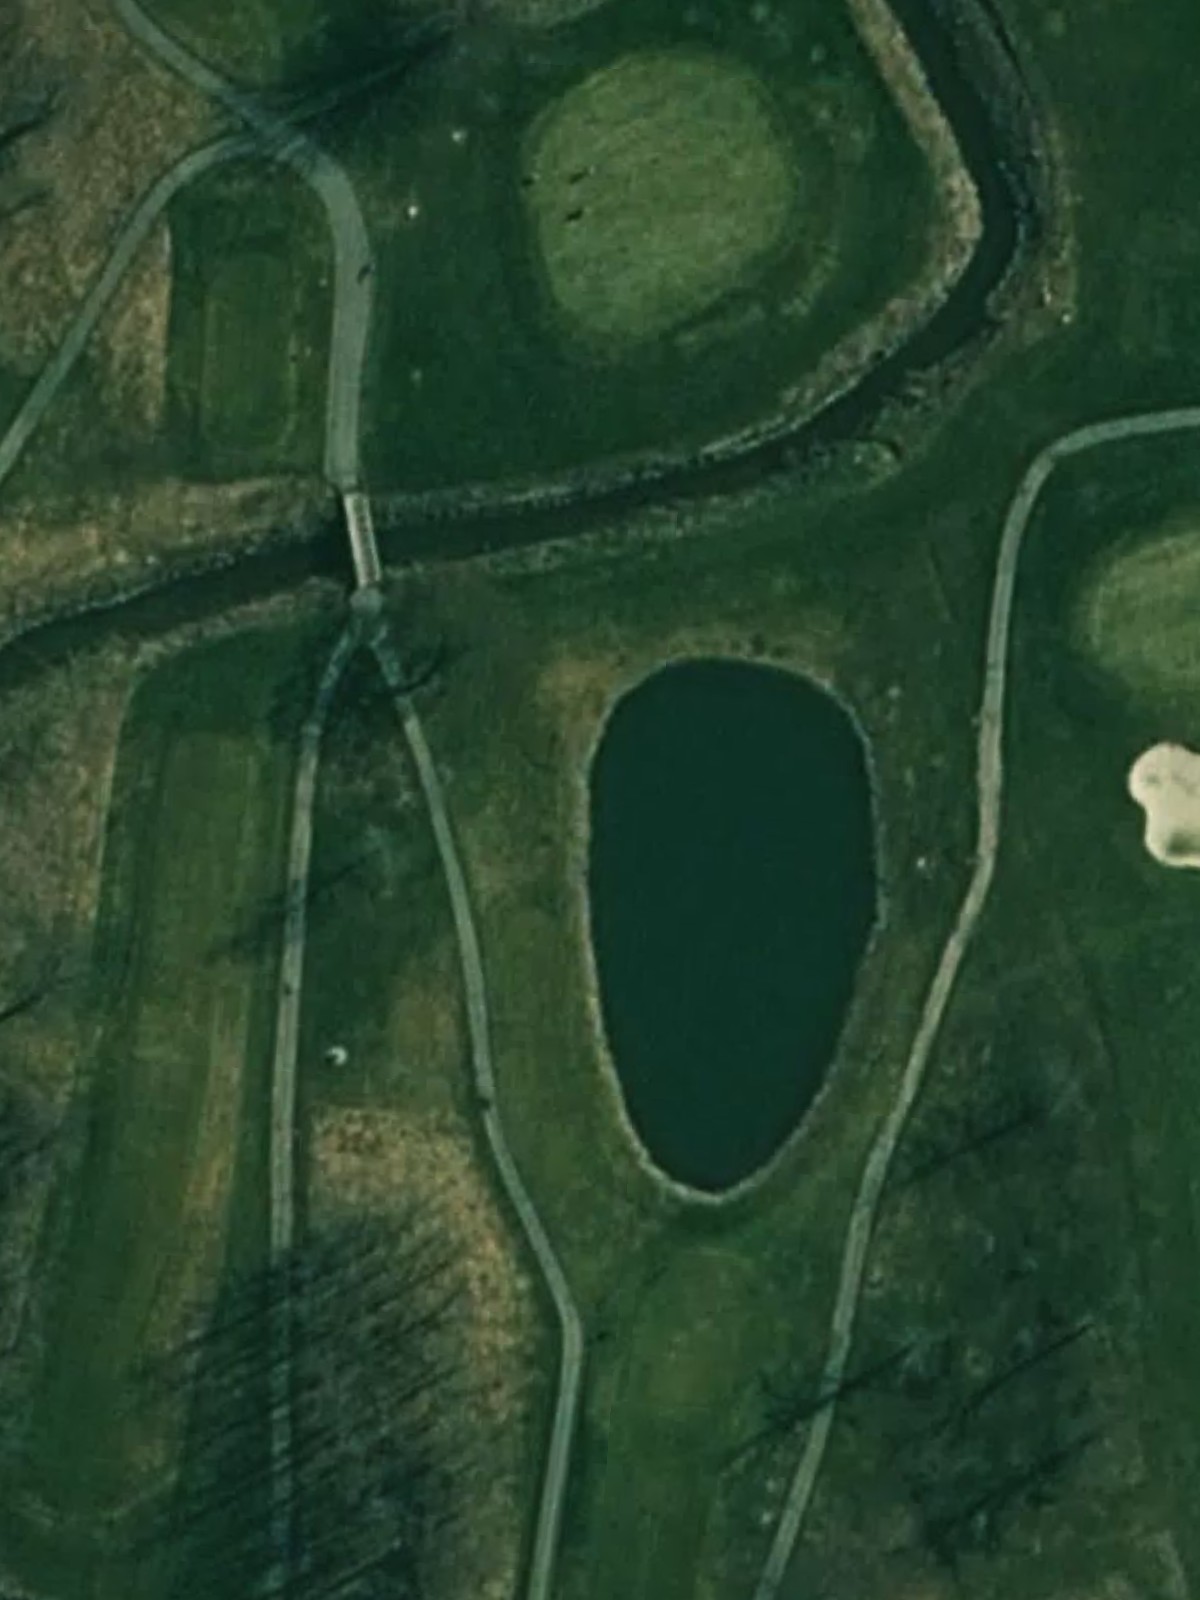
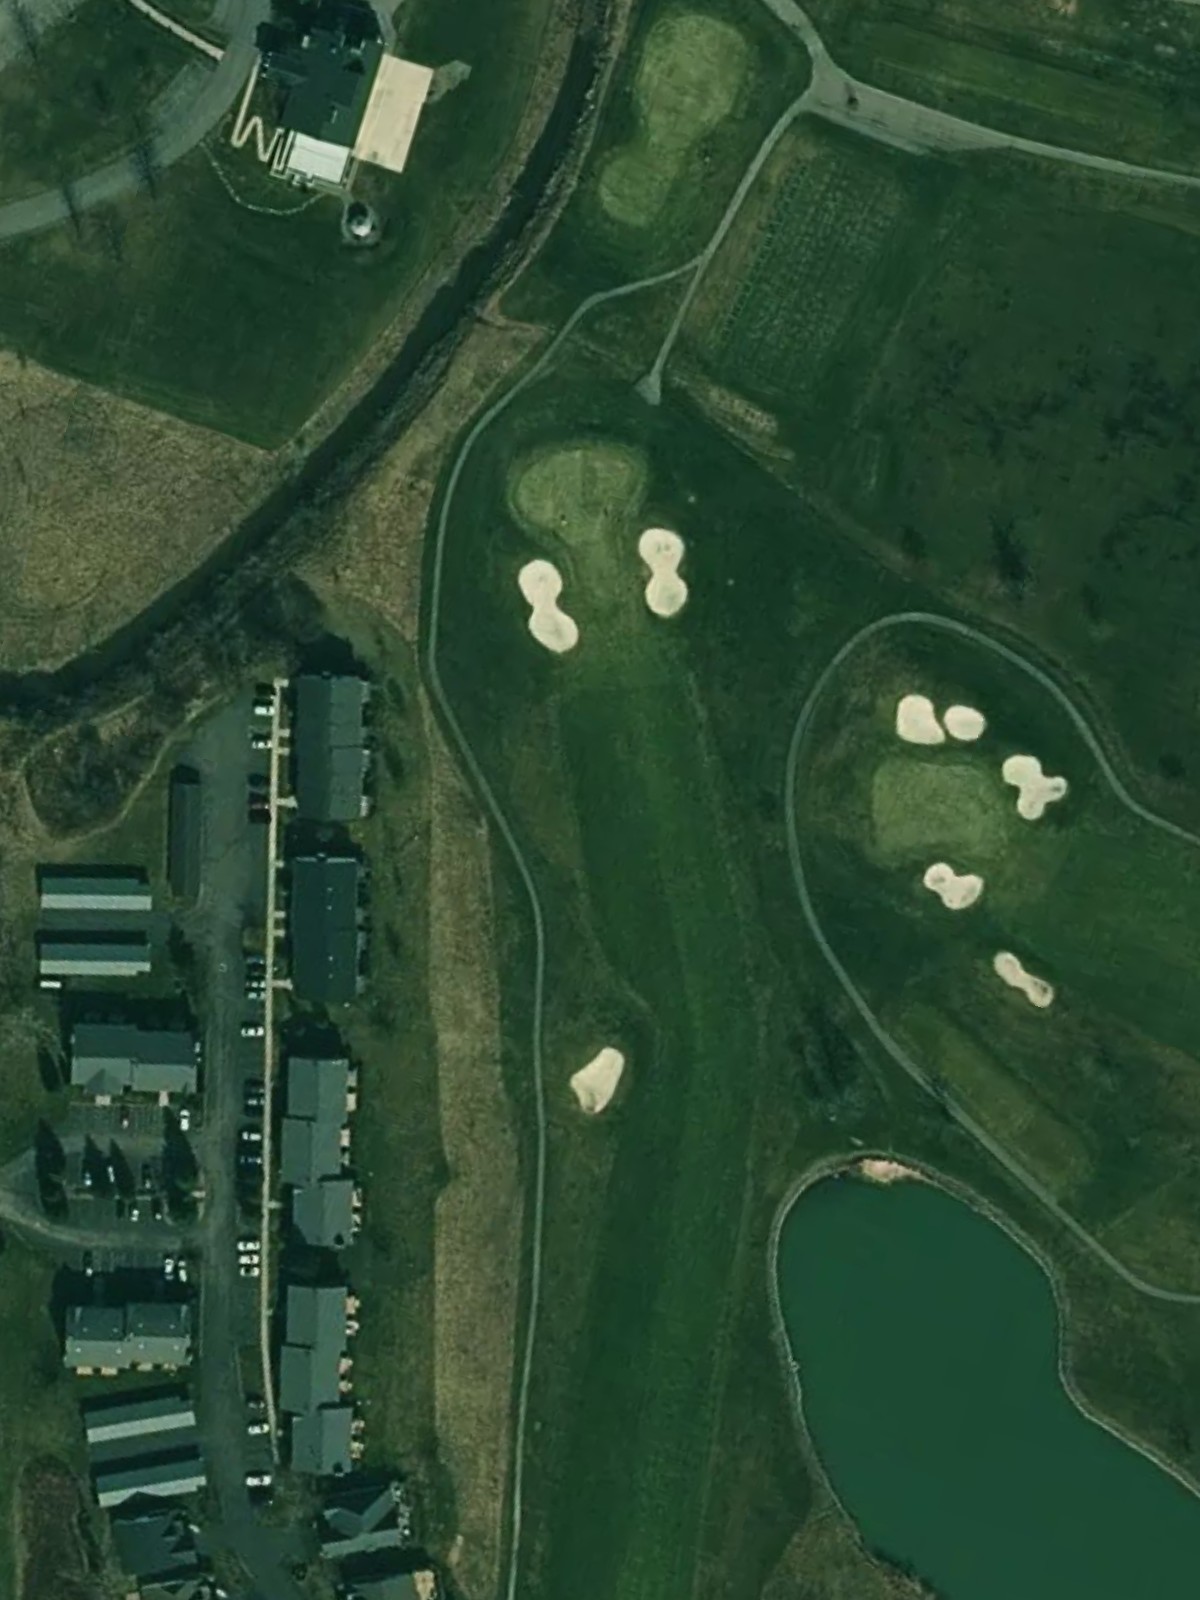
A long par 5 that plays straightforward with a wide fairway throughout. The approach to the green demands accuracy as the landing area tightens, requiring a well-placed final shot to avoid missing the putting surface.
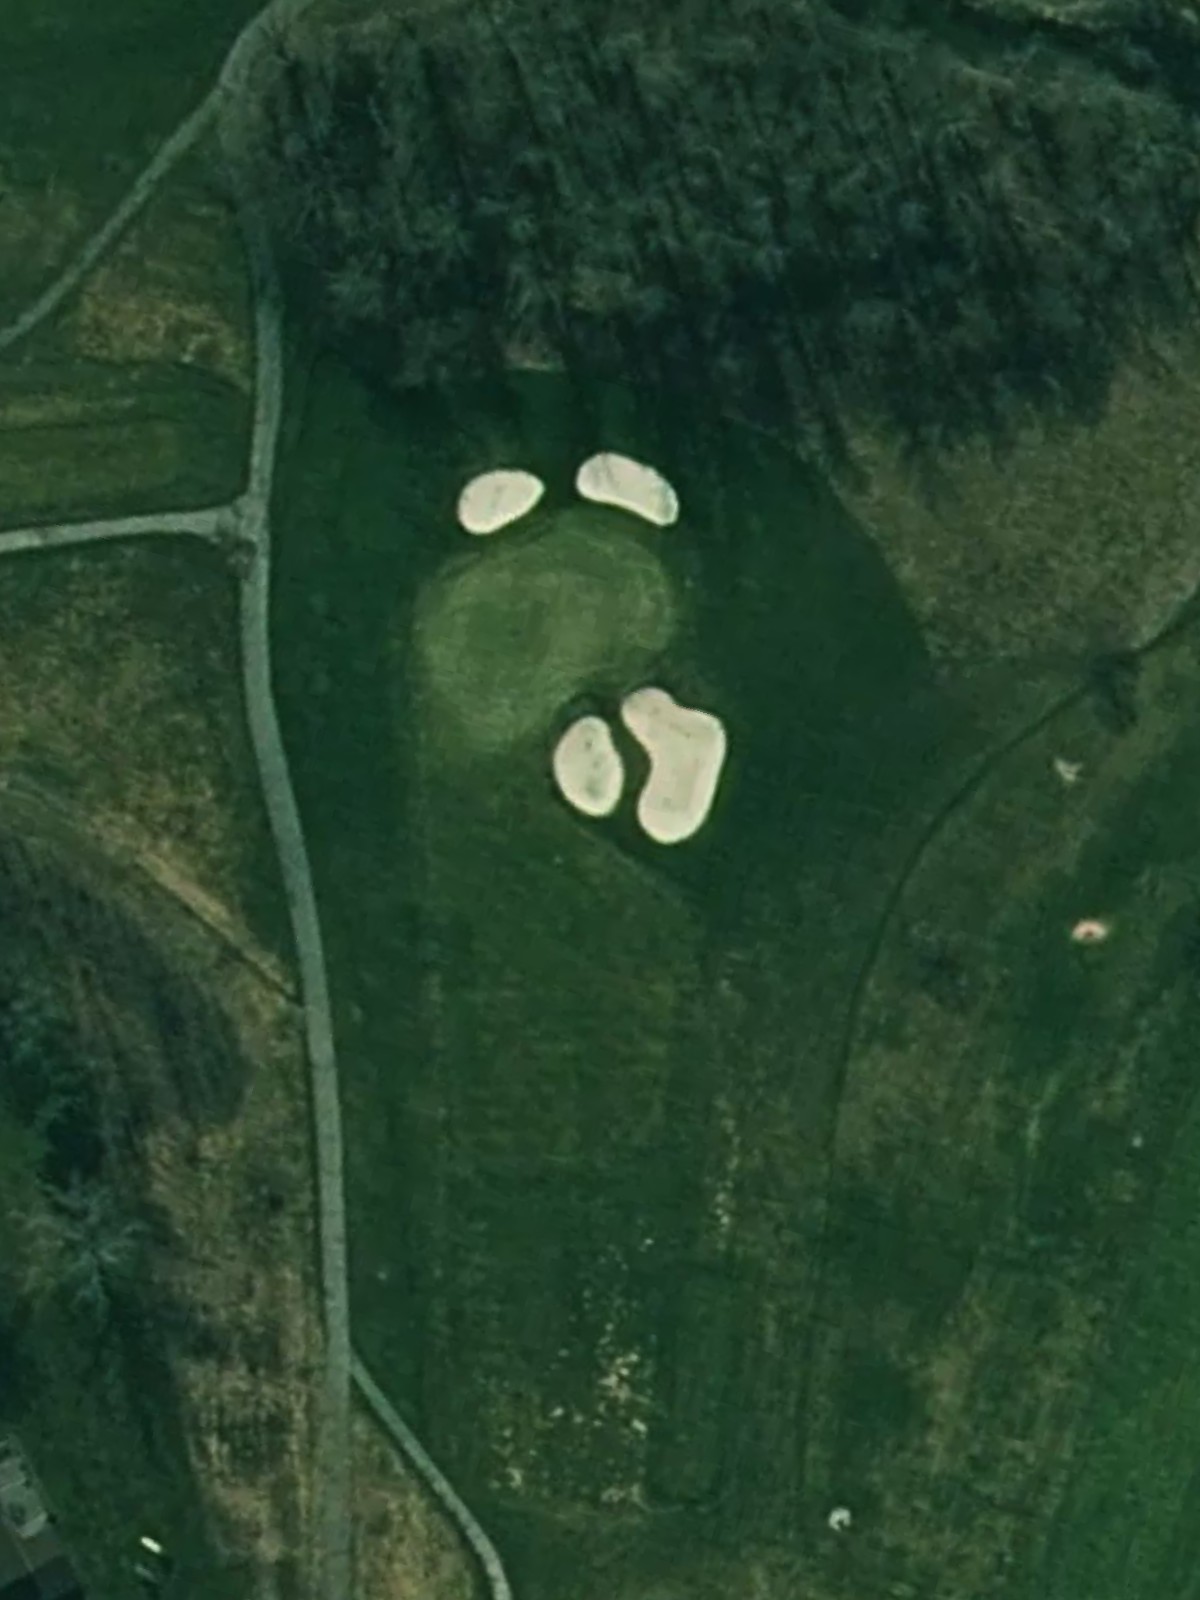
A short par 3 over relatively open terrain to a modest green. The hole's brevity belies its challenge—precision is essential as the green offers limited margin for error on all sides.
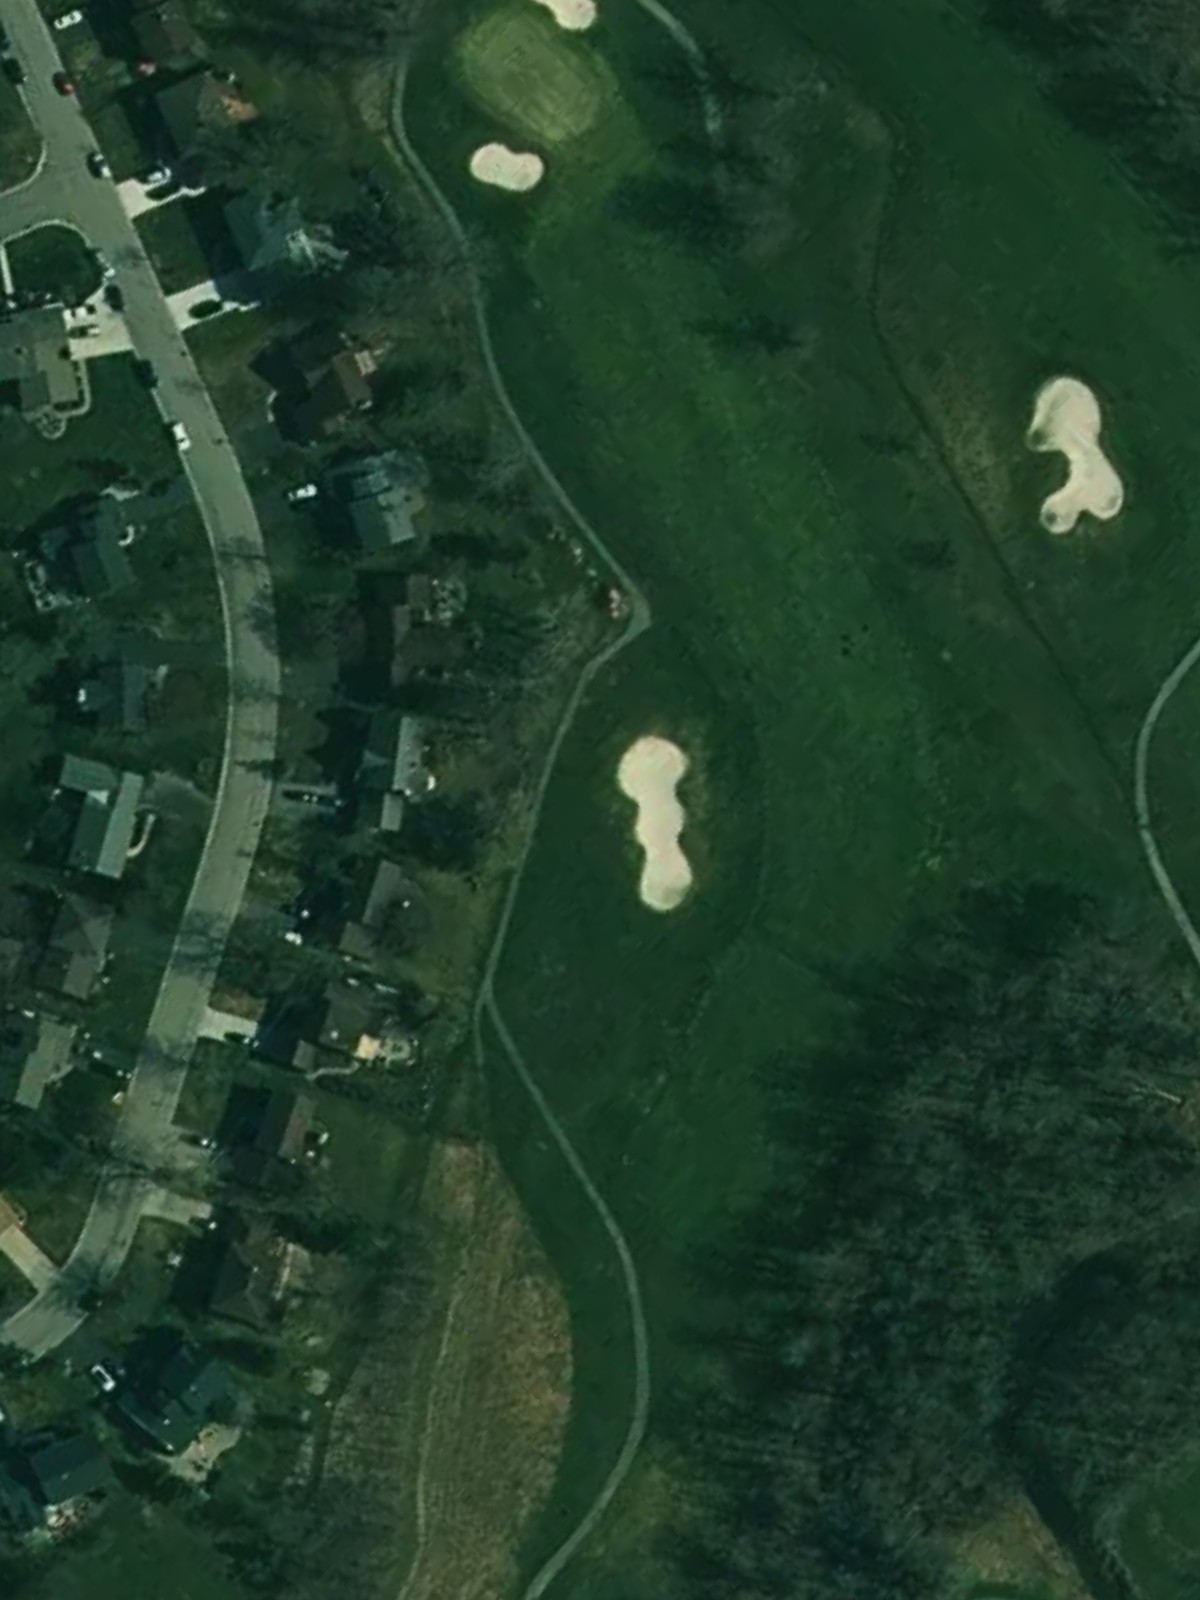
A demanding par 4 with a fairly straightforward routing and an expansive fairway off the tee. The real test comes at the approach, where the green is relatively small and well-defended, punishing wayward shots.
A moderate par 4 with a playable fairway that allows for strategic positioning. The approach shot into a relatively accessible green makes this a good scoring opportunity if the tee shot is executed well.
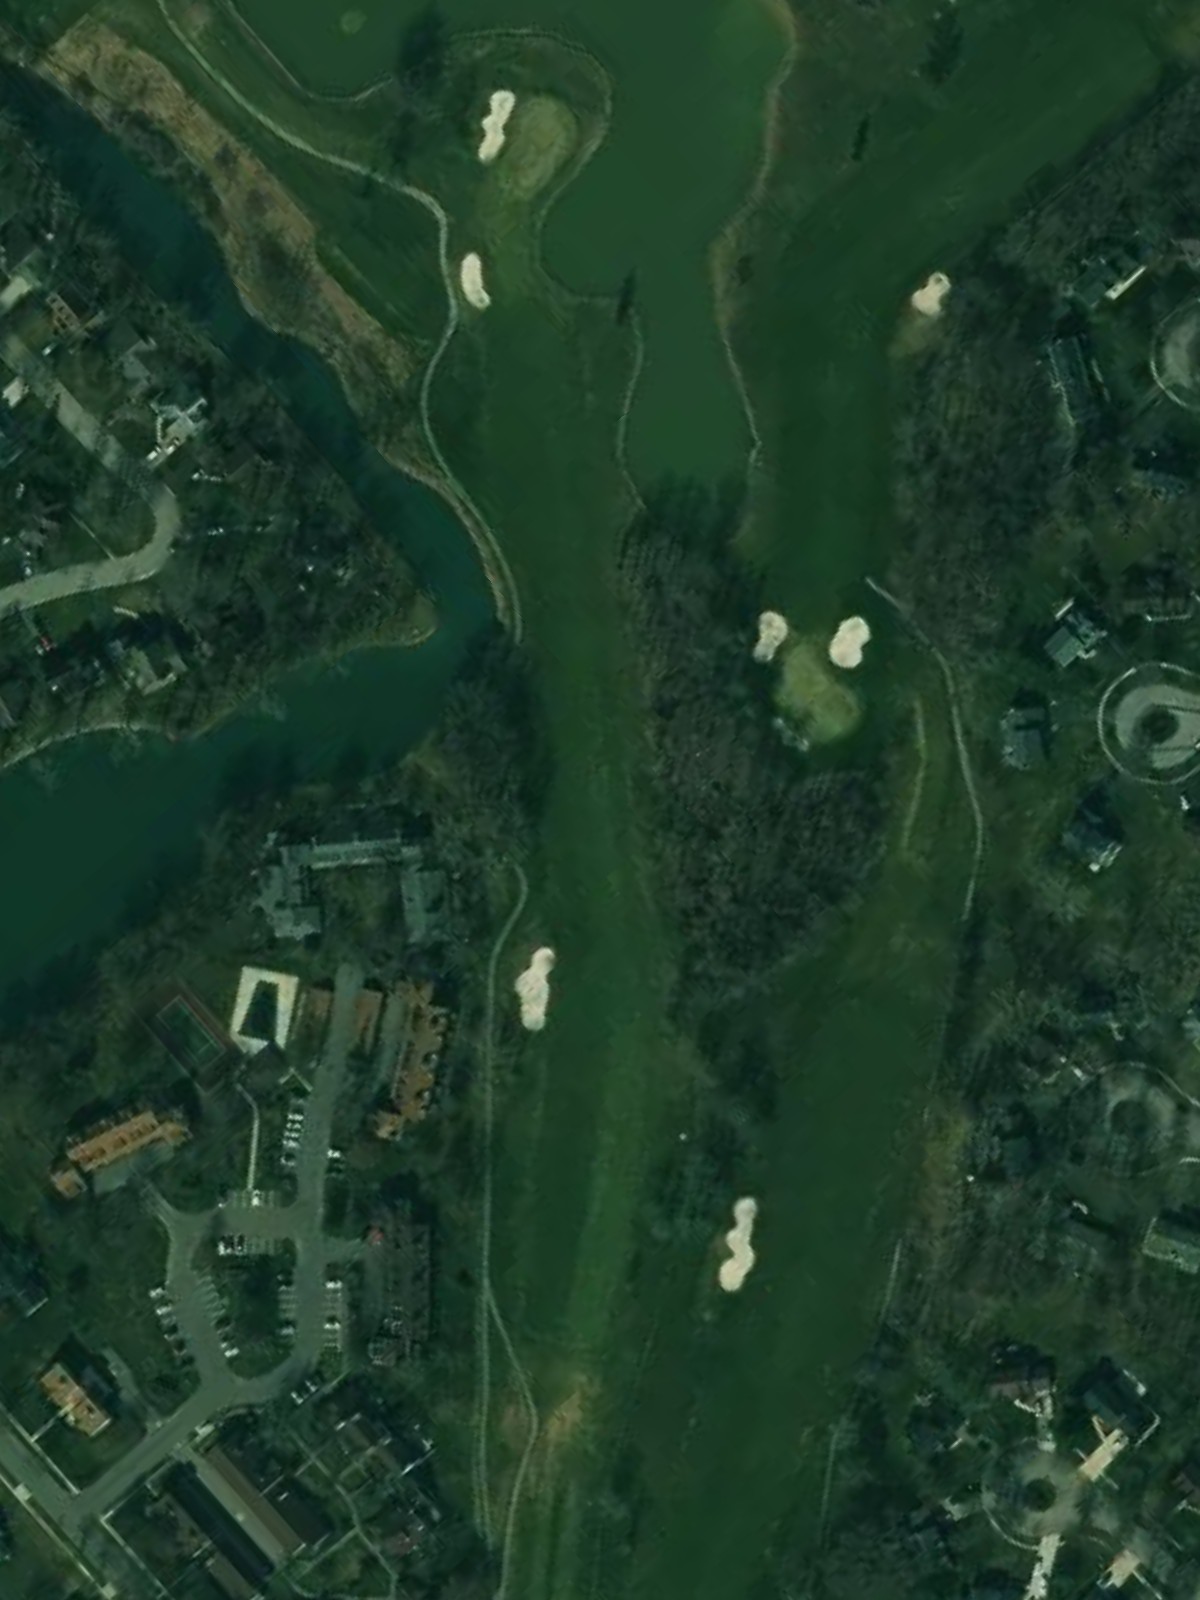
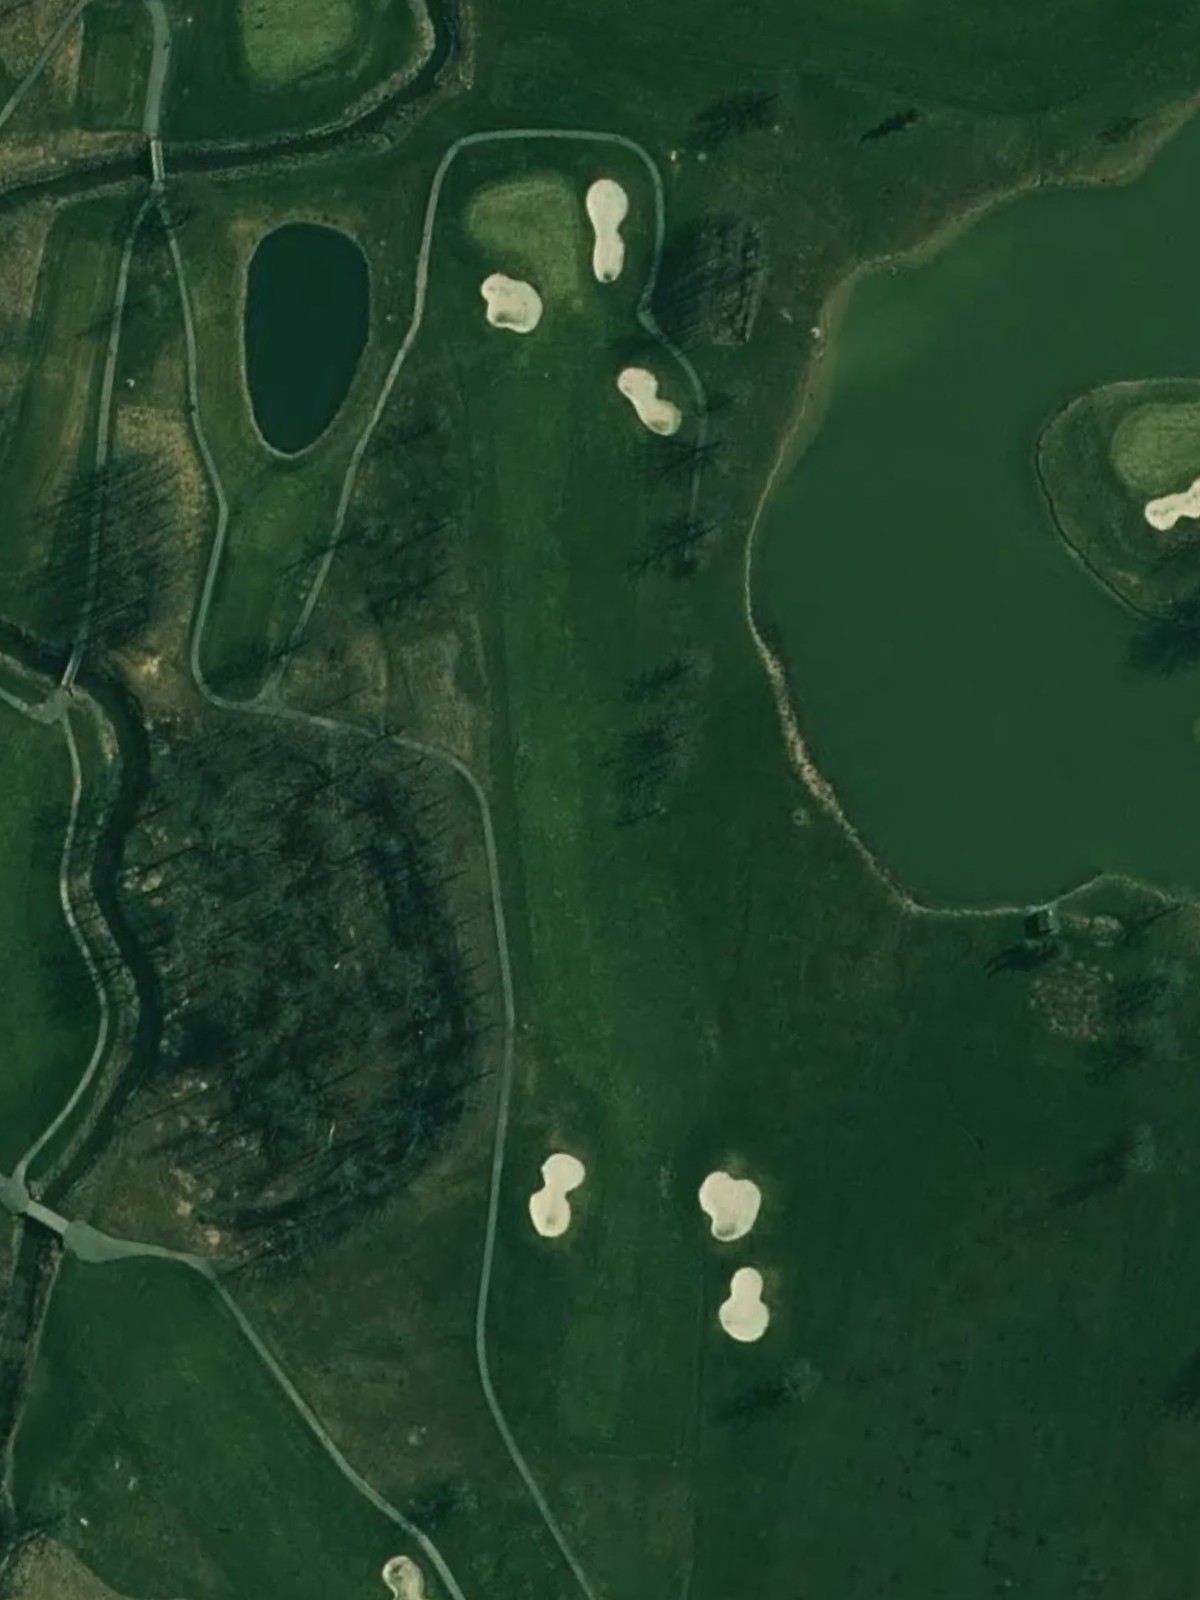
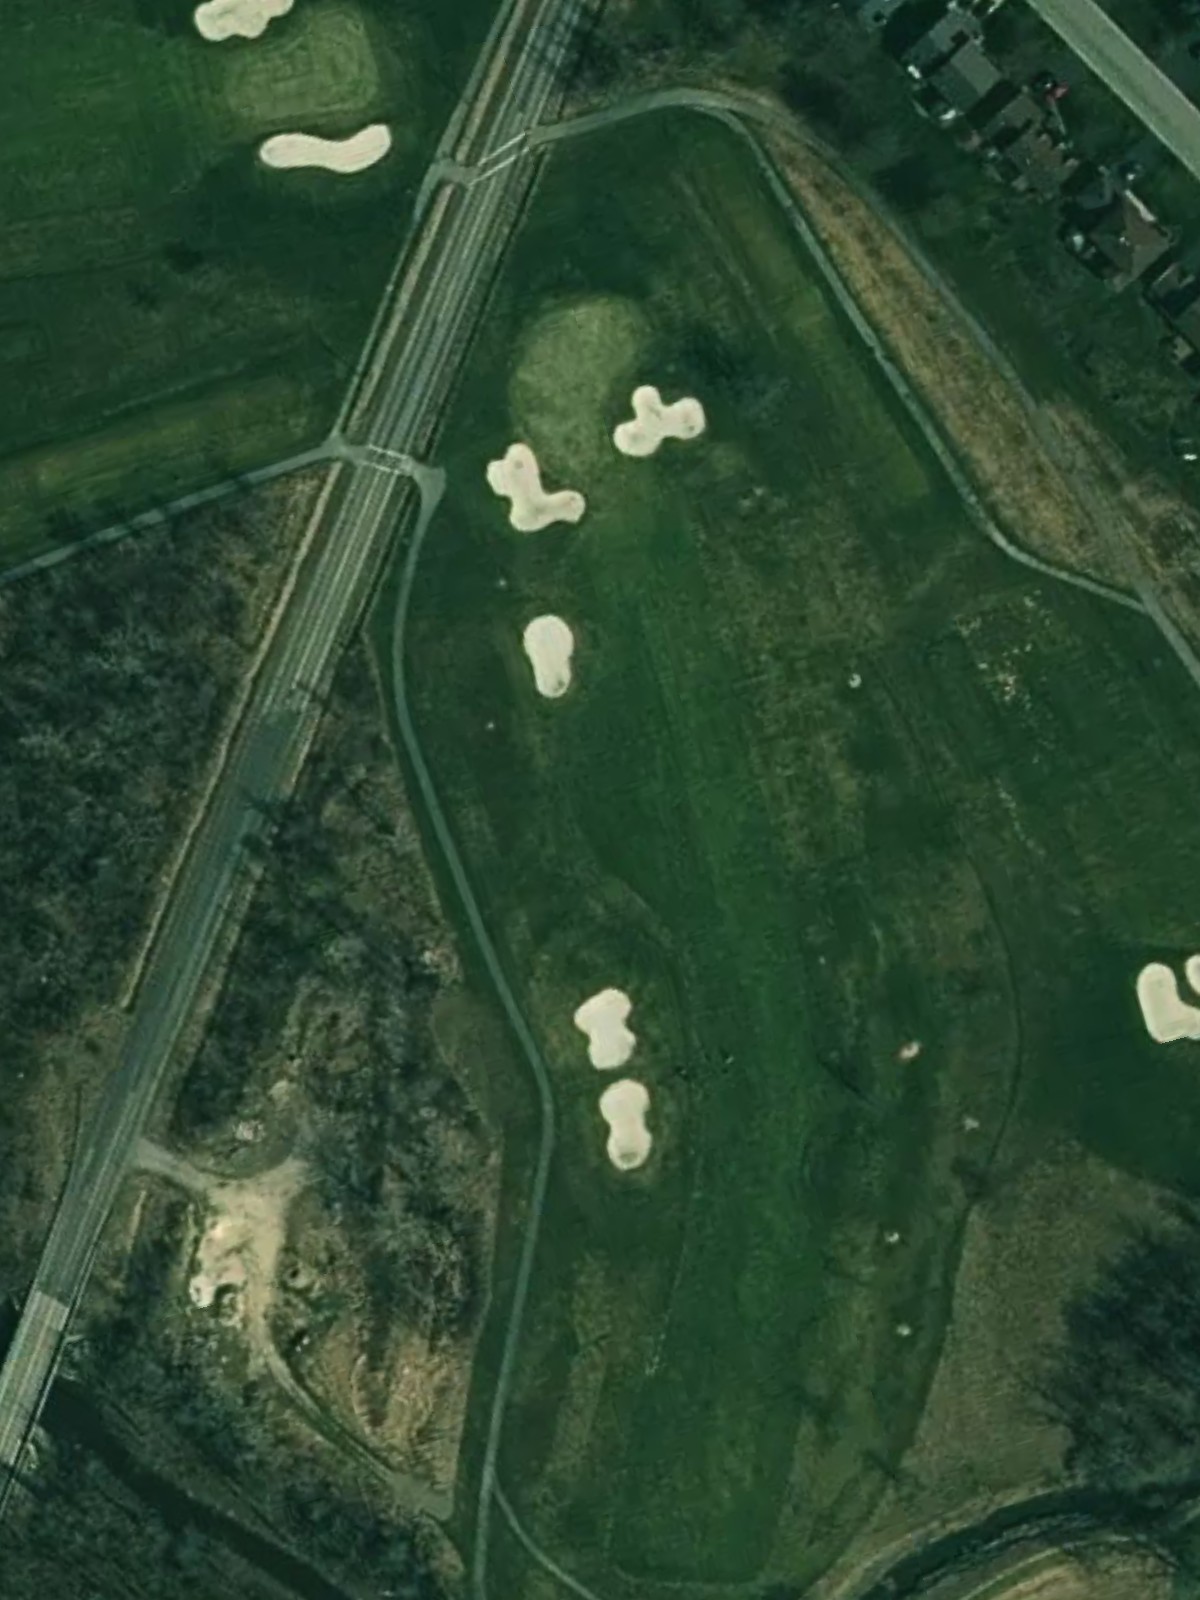
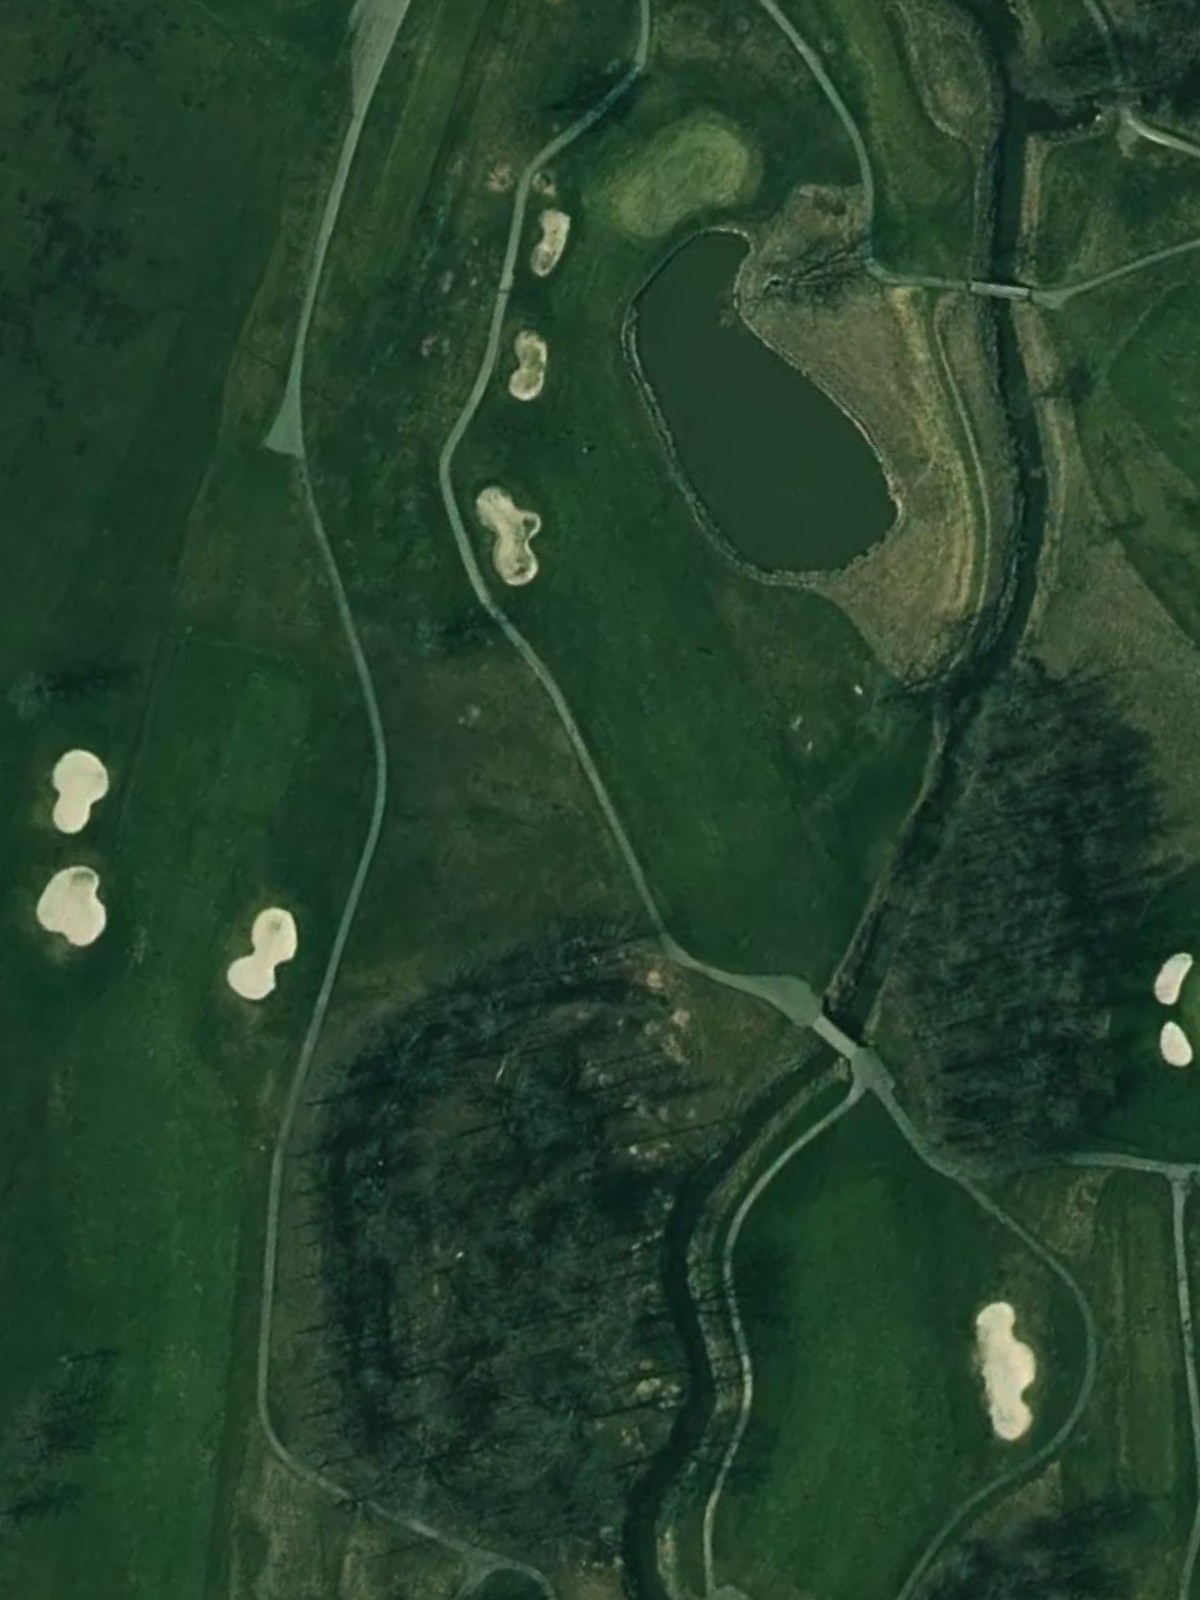
The course's most challenging par 5, stretching nearly 600 yards from the back tees with relentless length as its primary defense. Three shots are the realistic expectation, and positioning is critical to avoid trouble on the approach.
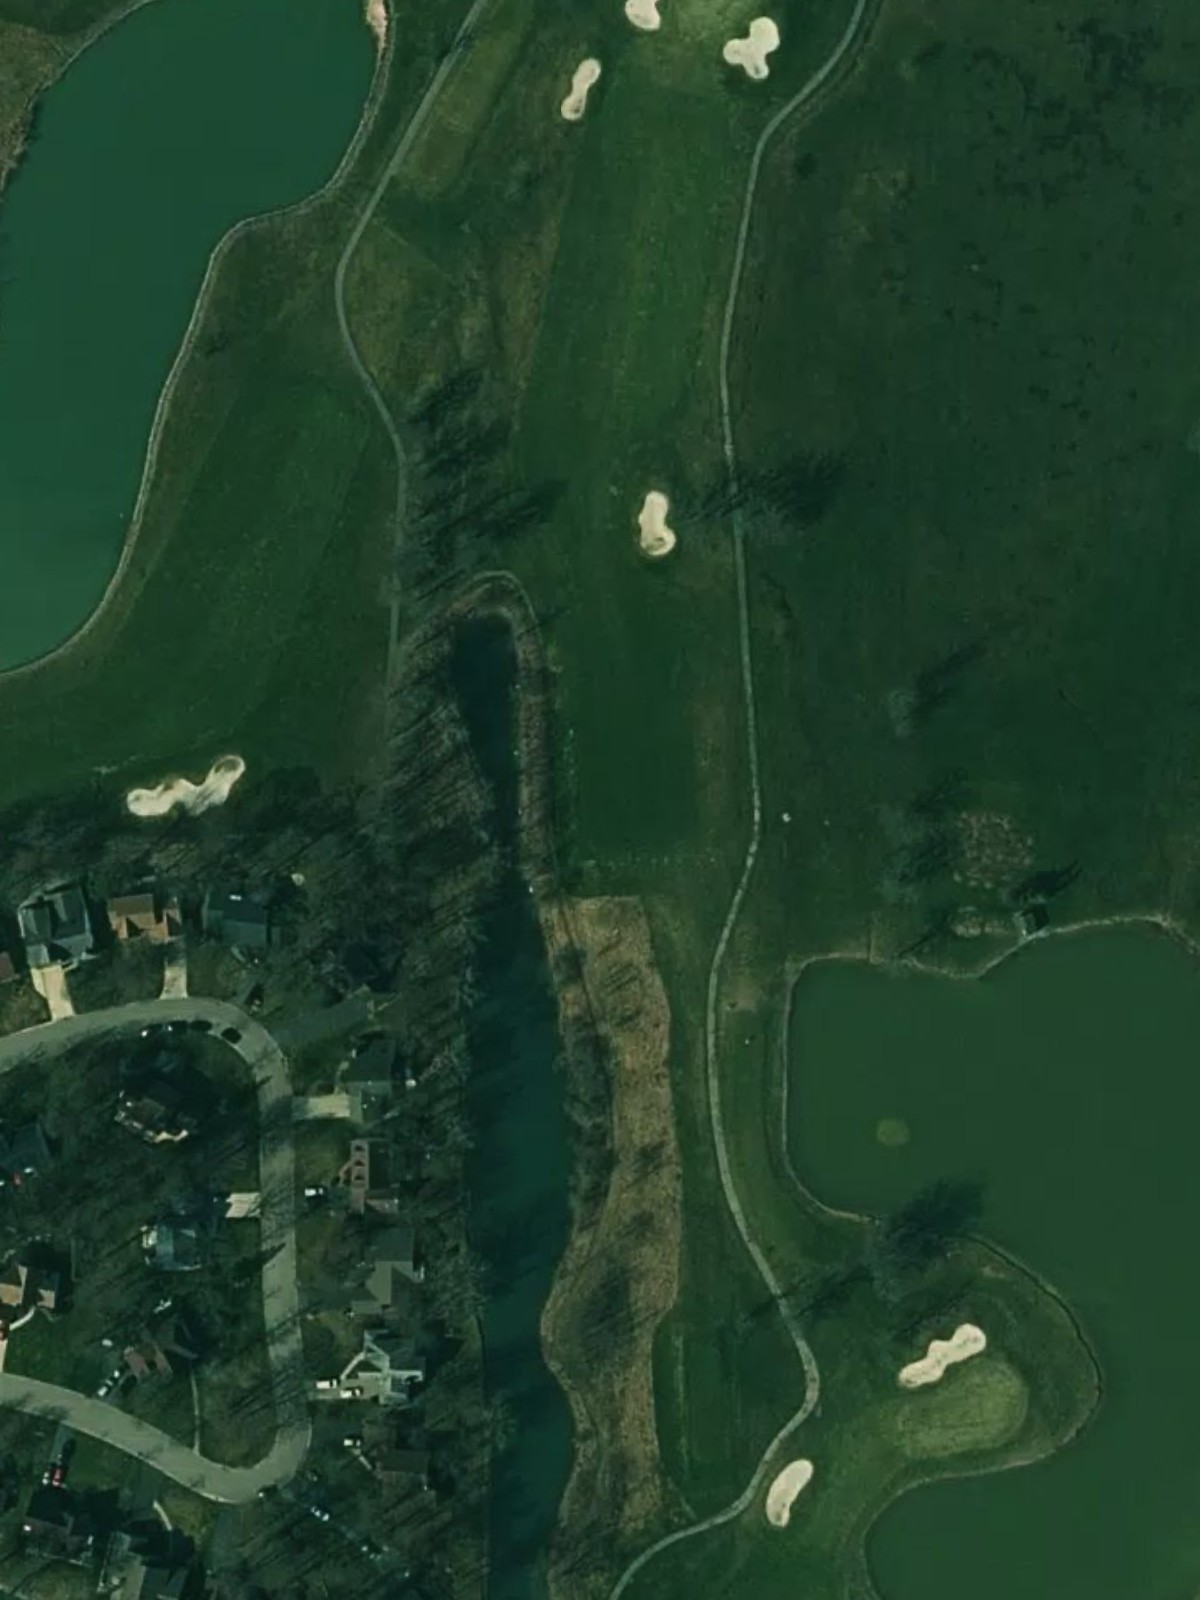
A strong par 4 that demands two solid shots to reach the green in regulation. The combination of distance and green complexity creates a true test of shot-making on the front nine.
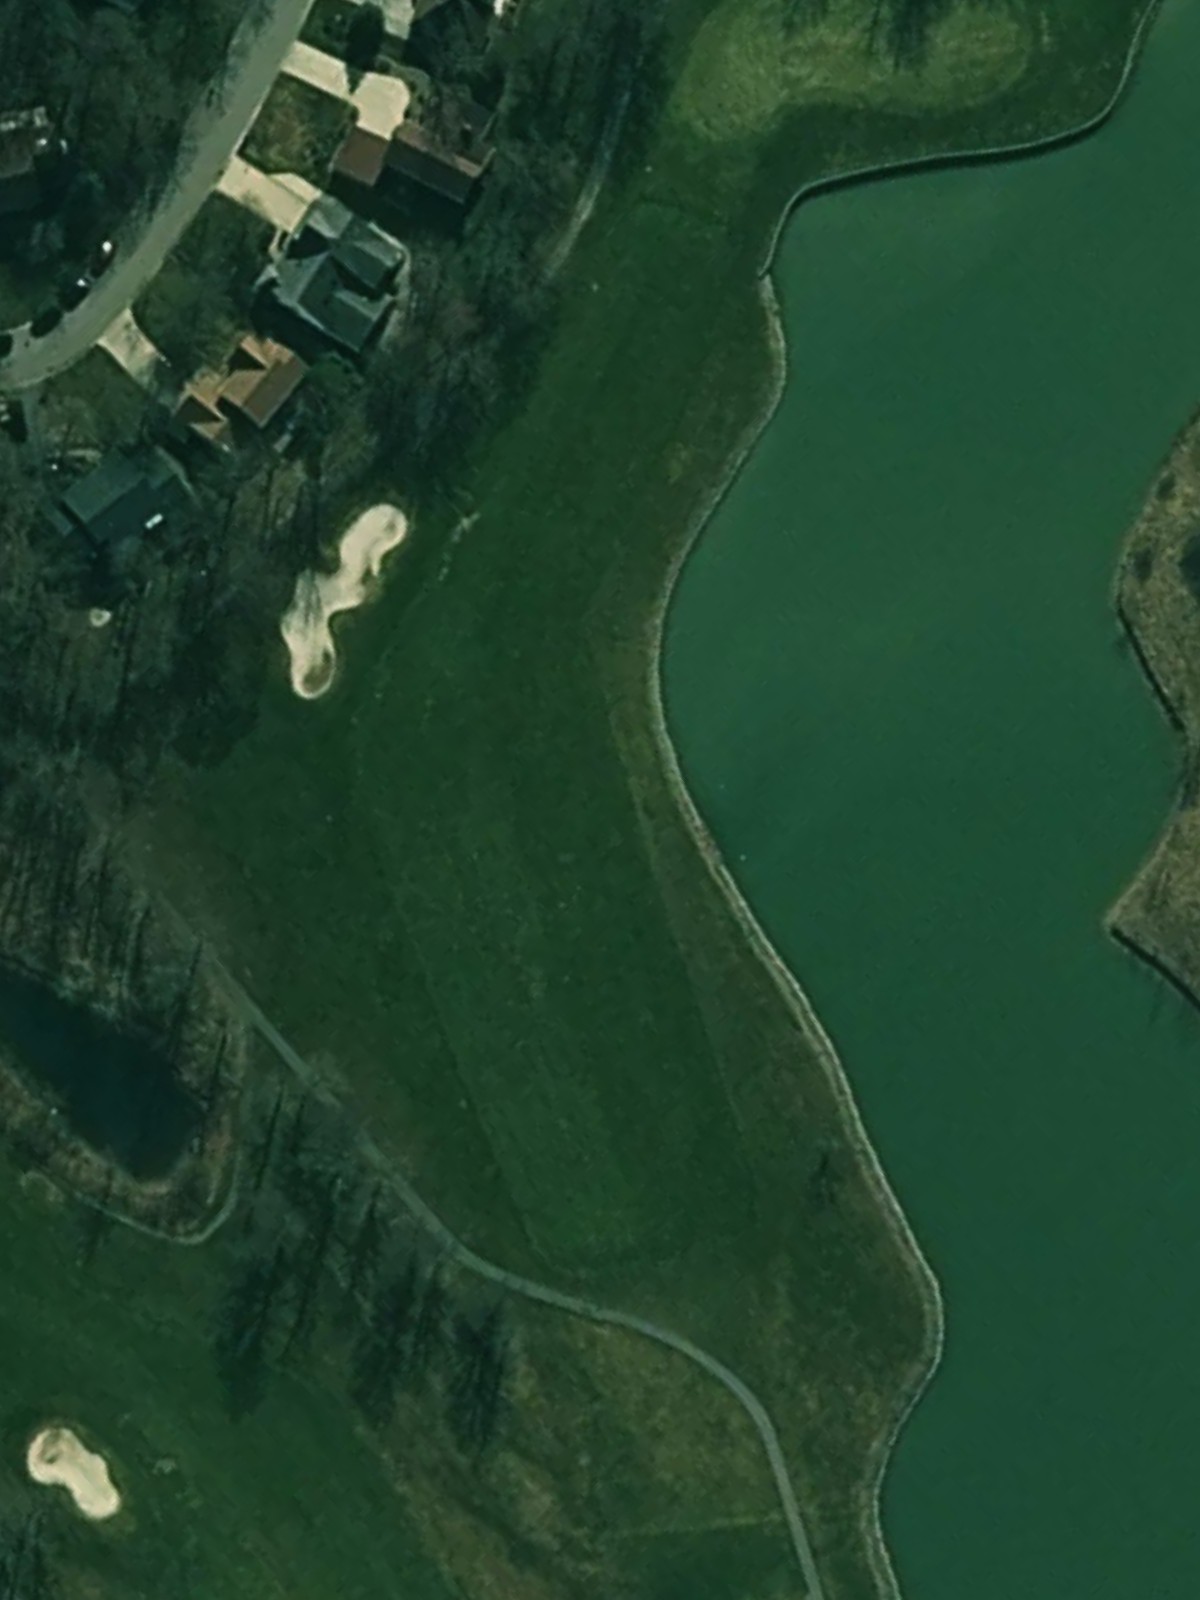
A relatively compact par 4 that emphasizes precision over raw length. The shorter yardage invites aggressive play, but the green's configuration rewards careful placement of both tee and approach shots.
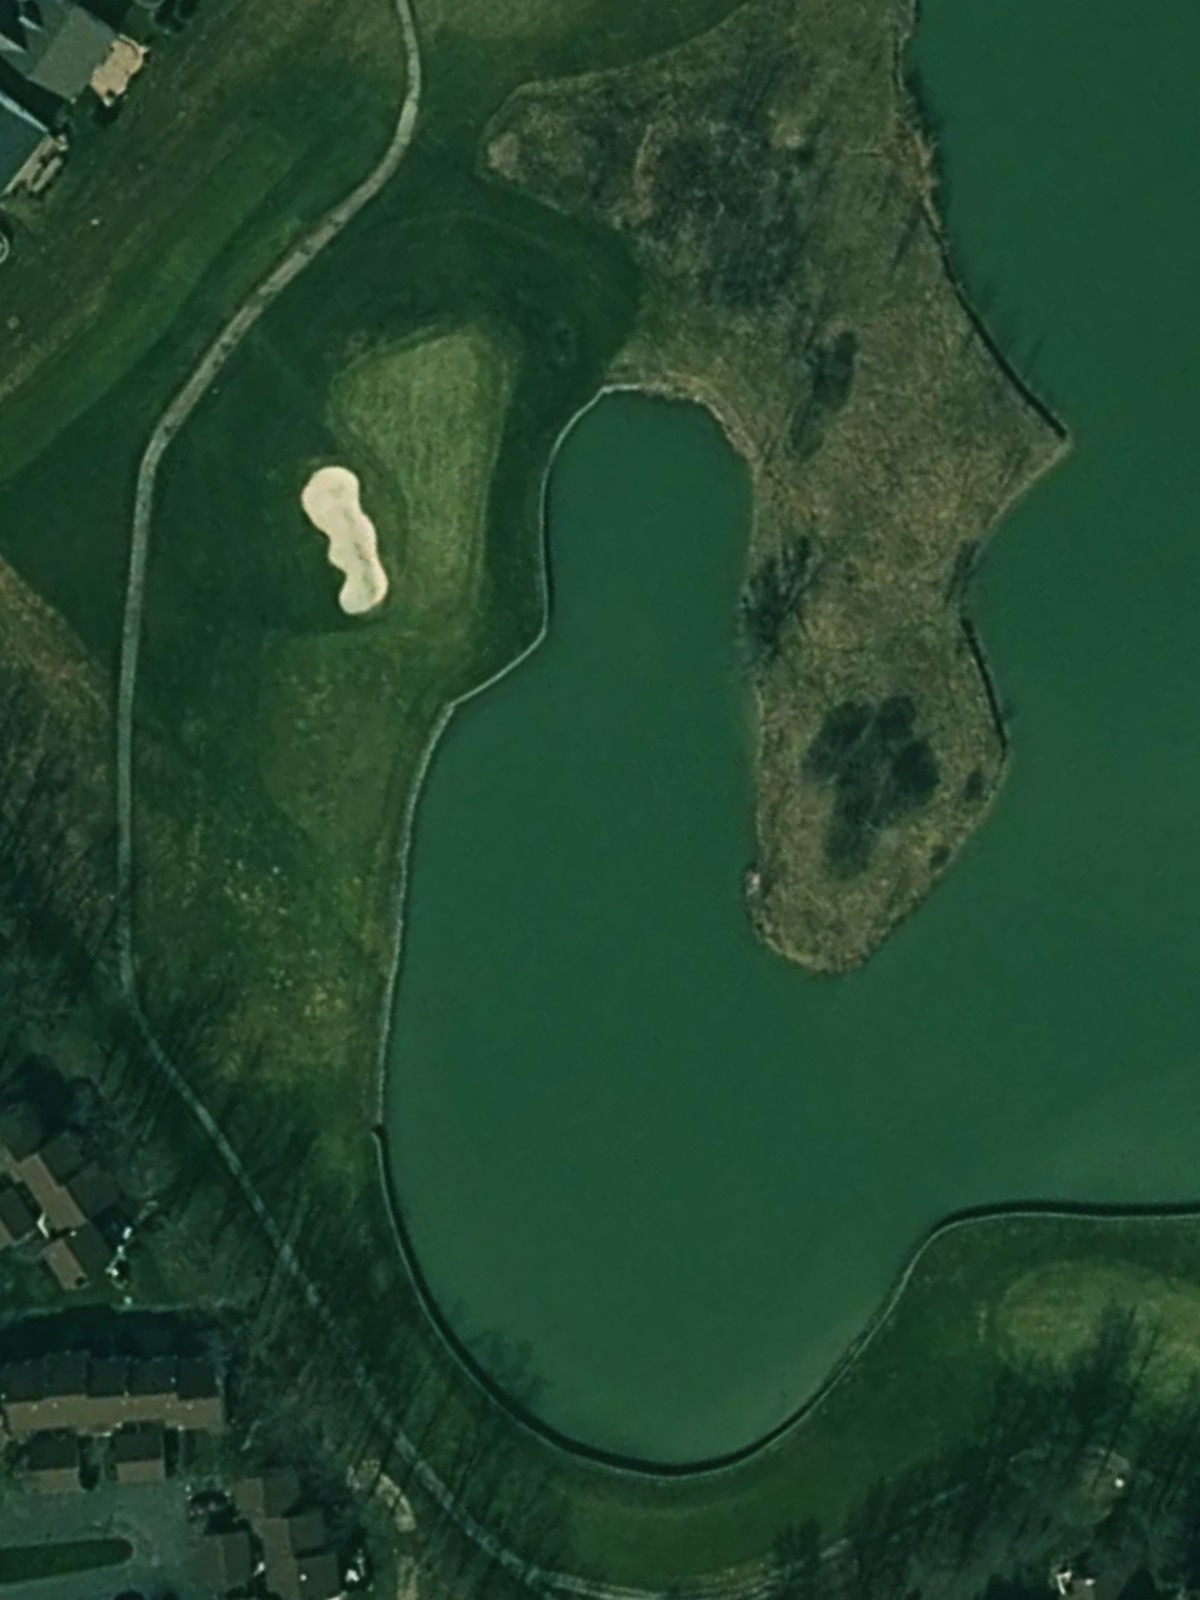
A medium-length par 3 with a straightforward target and minimal surrounding hazard work. The hole's difficulty stems from the distance required and the need to find the center of the green for scoring position.
A solid par 4 closing out the front nine with good length and a fairway that rewards a well-struck drive. The approach must navigate to a green that requires precision to set up a birdie opportunity.
A challenging par 4 opening the back nine with substantial yardage and a demanding approach shot. The green's location and the fairway's shape require thoughtful course management to avoid scrambling.
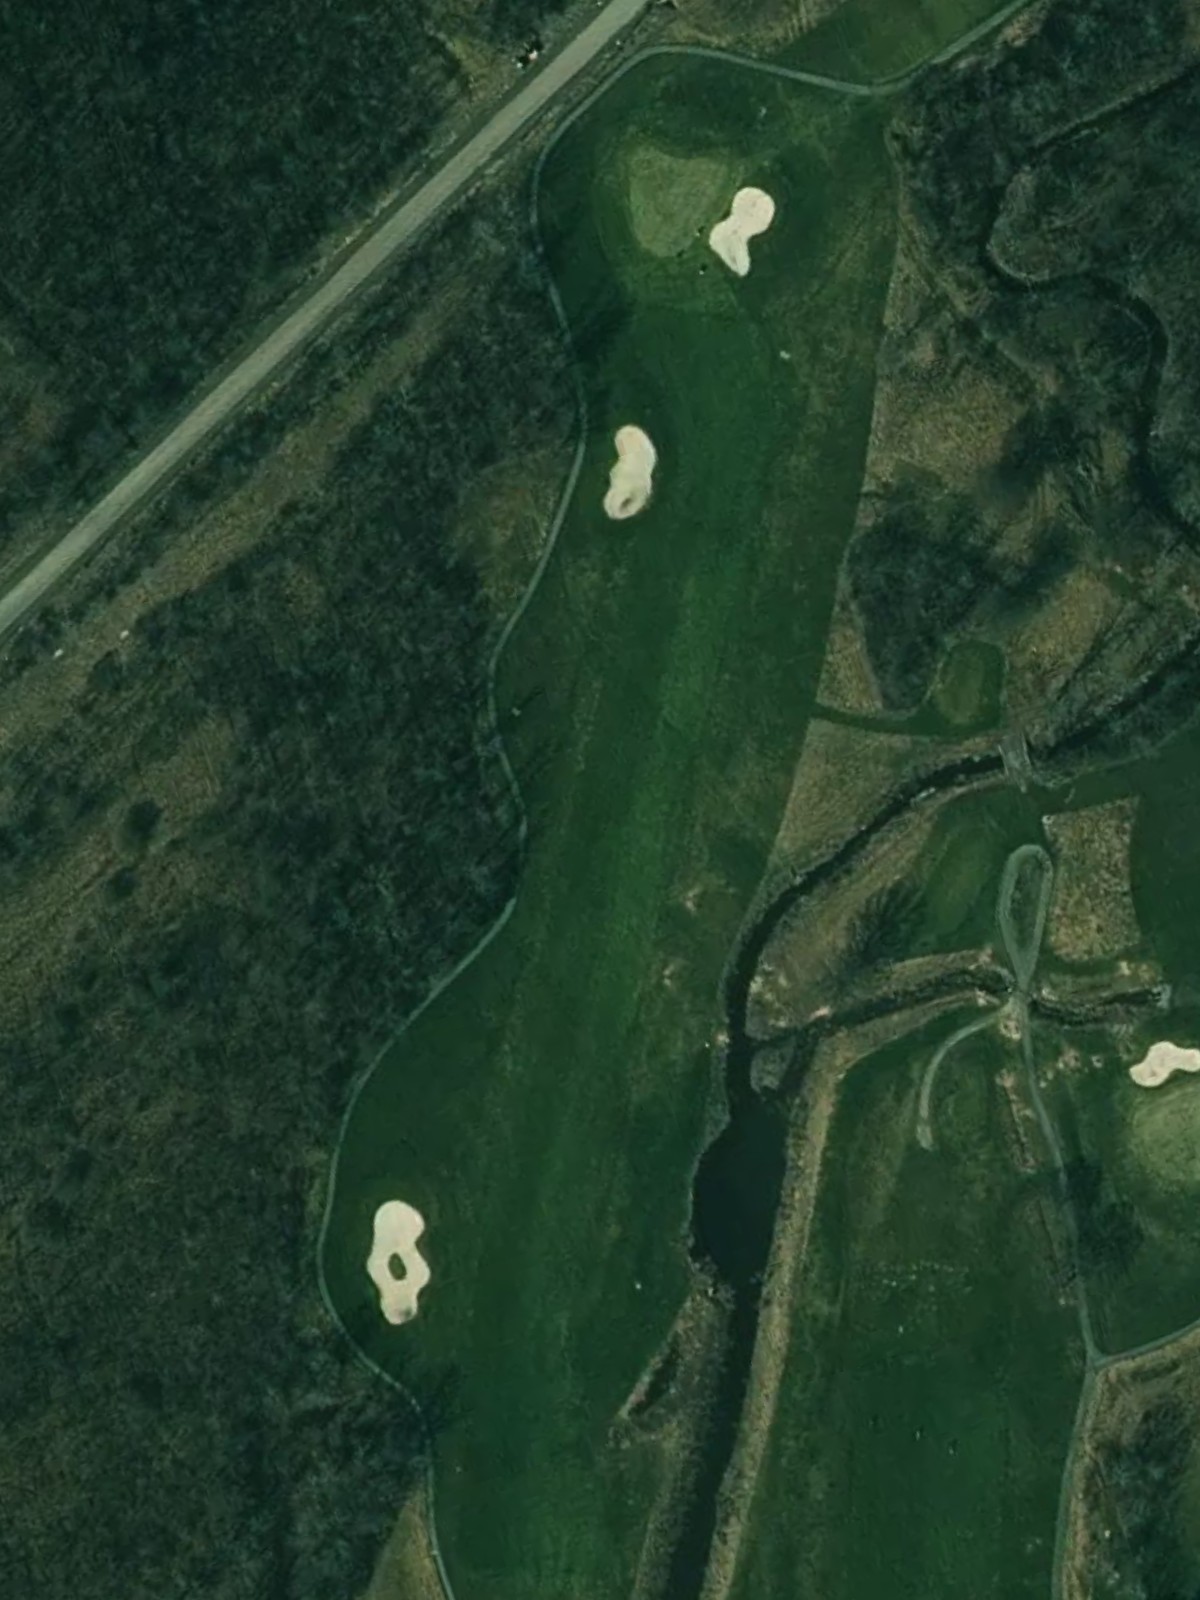
A par 5 that plays as the course's easiest hole in terms of handicap, offering three chances to find the green. The generous layout rewards smart positioning and provides a birdie opportunity for most players.
A lengthy par 3 that demands a full commitment with the driver or long iron for back-tee players. The distance combined with a strategic green makes this one of the course's most difficult short holes.
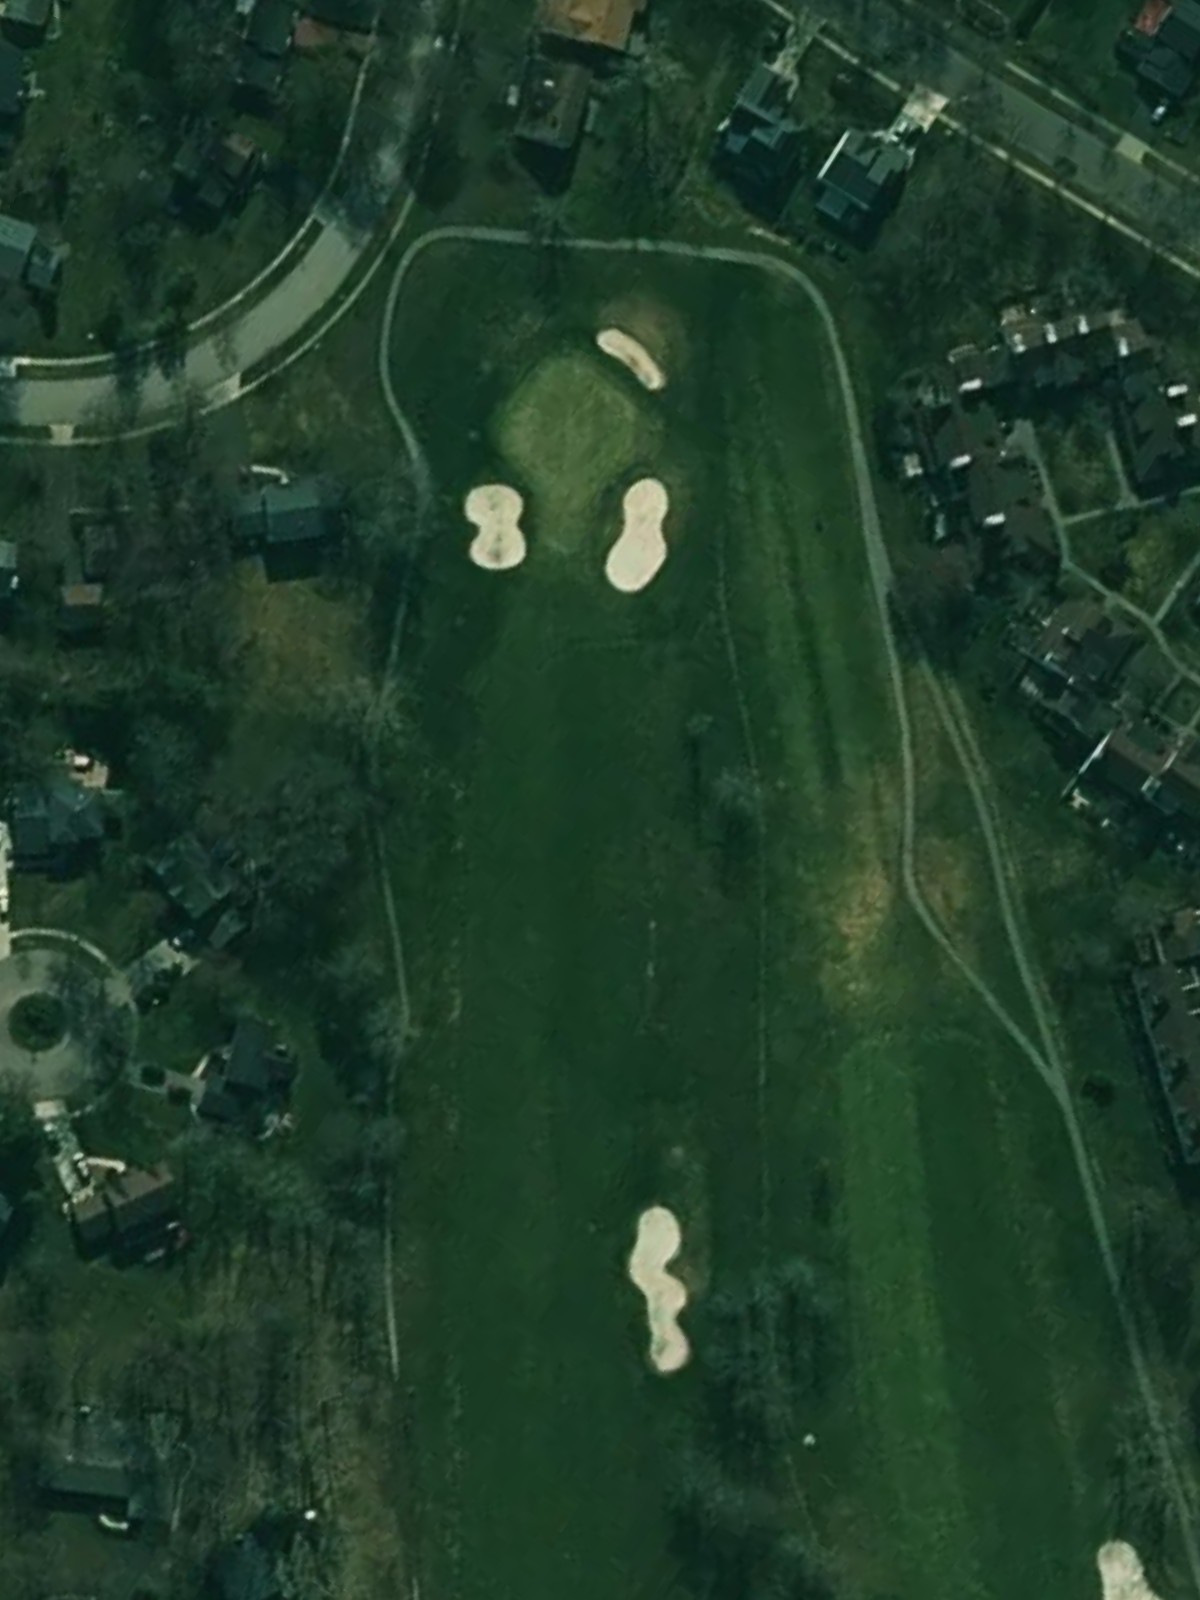
A strong par 4 with good length and a fairway that sets up the approach to a well-bunkered green. Accuracy off the tee is rewarded with a manageable second shot, but errant drives lead to difficult recoveries.

A solid par 4 with a straightforward layout and a fairway that allows for confident driving. The approach into the green is the defining feature, where precision separates good scores from poor ones.
A picturesque par 3 of notable length that plays as a mid-handicap hole despite its shorter distance. The green's design and surrounding terrain create visual challenge beyond what the yardage alone suggests.
A par 4 with good length and a challenging approach to a well-defended green. The combination of distance and greensside complexity makes this a demanding hole late in the round.

A moderate par 4 that offers balance between length and playability as the course nears its conclusion. Strategic positioning off the tee opens options for the approach and sets up birdie potential.
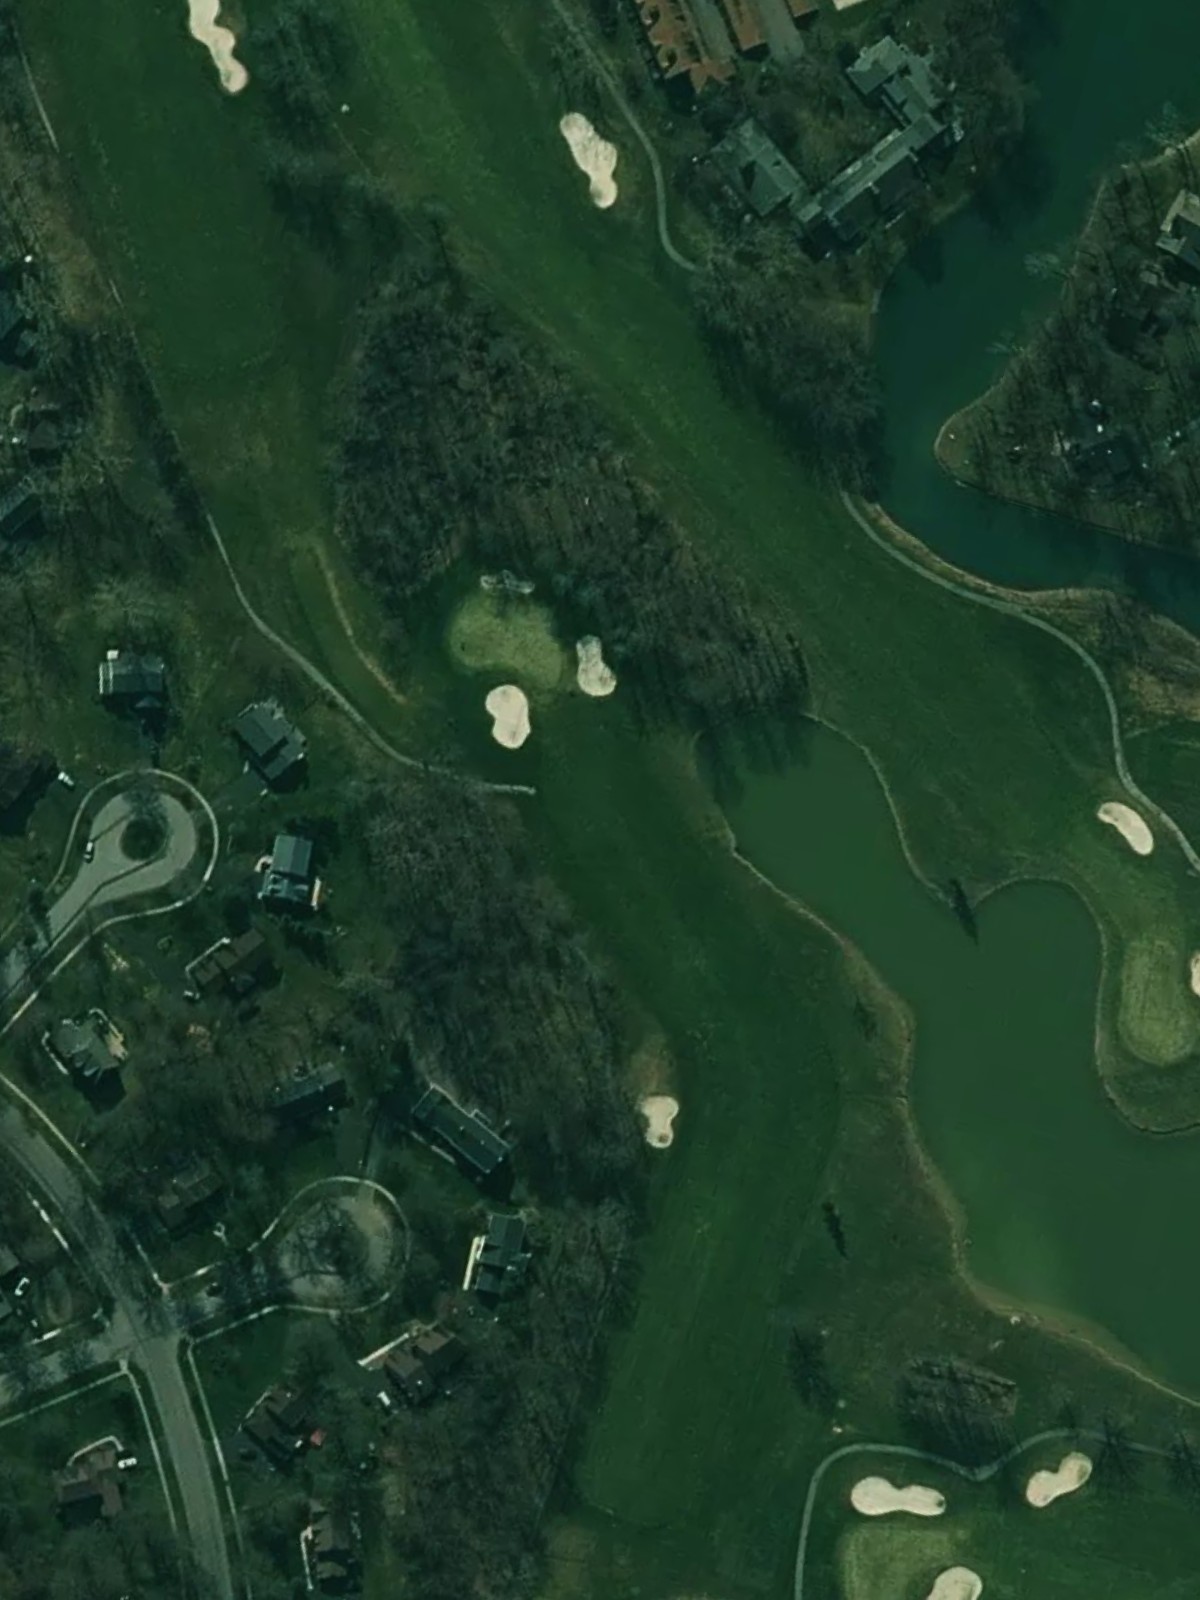
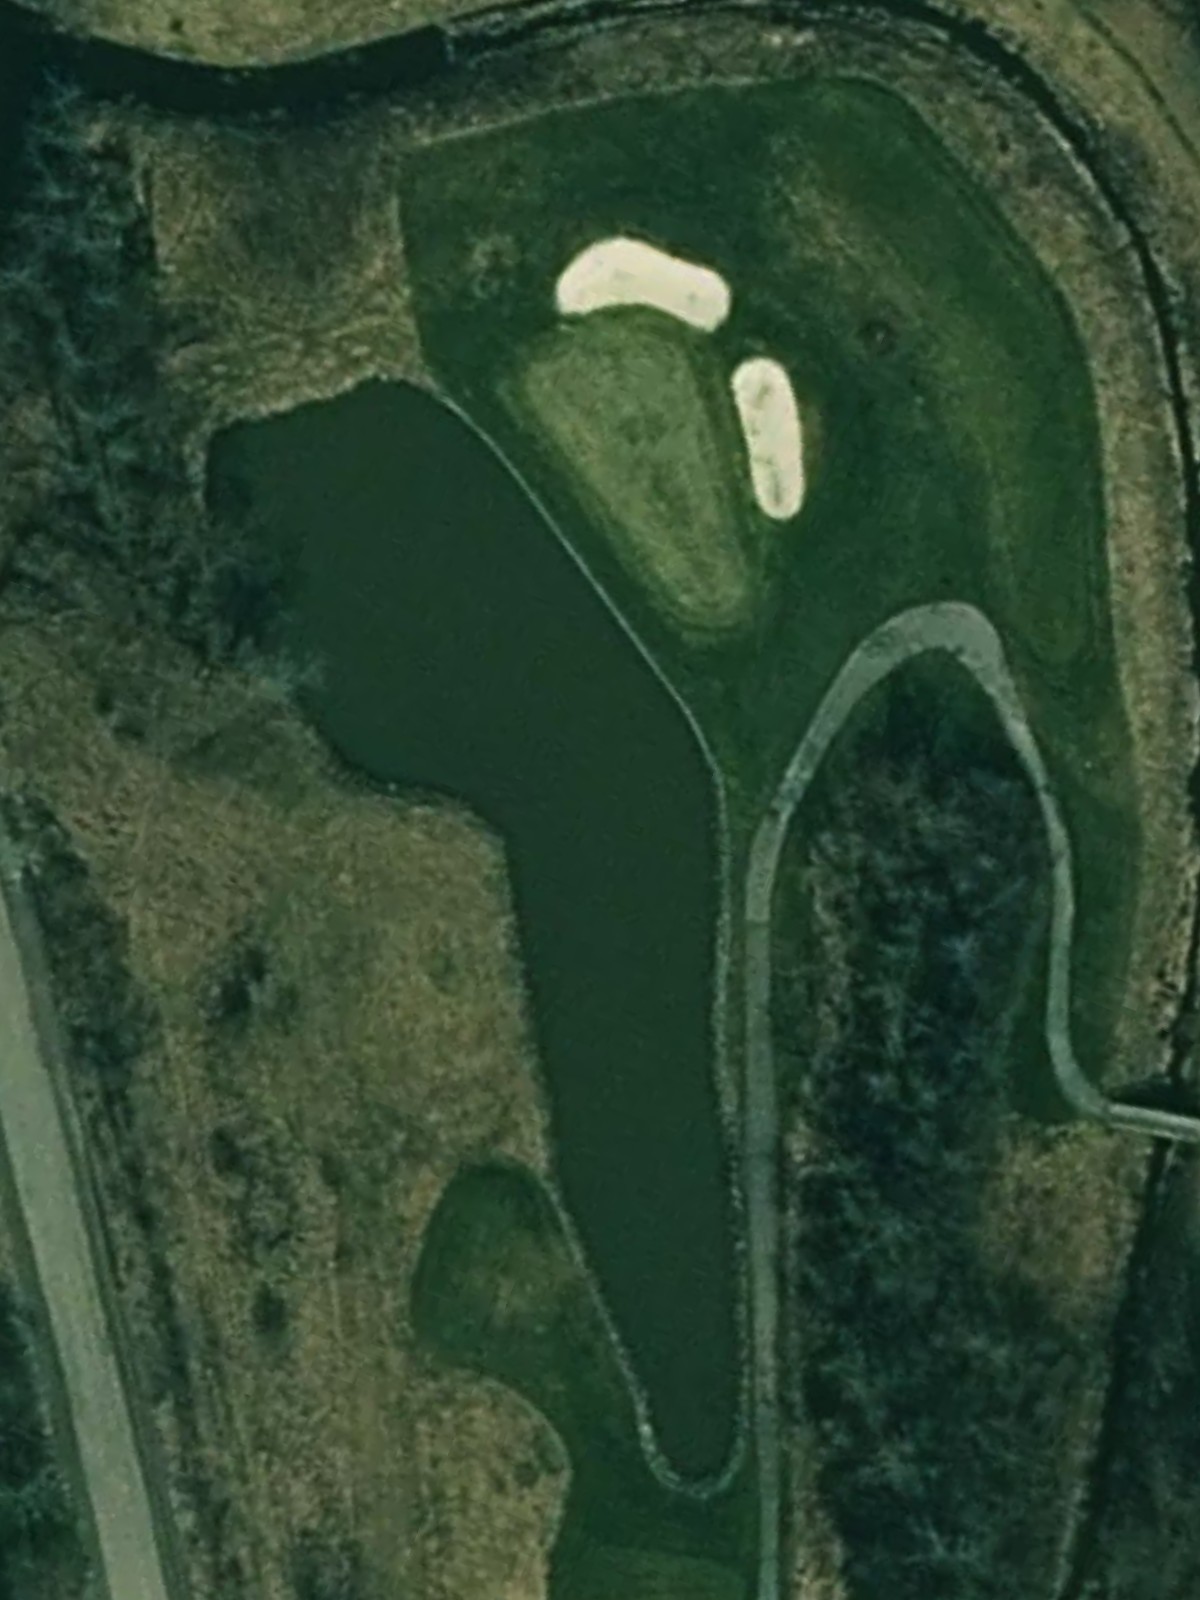
A magnificent closing par 5 that demands two strong shots to reach the green in three strokes. The hole's length and design create a fitting finale that rewards solid execution while punishing poor play.
Scorecard
| Hole | 1 | 2 | 3 | 4 | 5 | 6 | 7 | 8 | 9 | Out | 10 | 11 | 12 | 13 | 14 | 15 | 16 | 17 | 18 | In | Tot |
|---|---|---|---|---|---|---|---|---|---|---|---|---|---|---|---|---|---|---|---|---|---|
| Par | 5 | 3 | 4 | 4 | 5 | 4 | 4 | 3 | 4 | 36 | 4 | 5 | 3 | 4 | 4 | 3 | 4 | 4 | 5 | 36 | 72 |
| HCP | 17 | 13 | 9 | 15 | 1 | 7 | 5 | 3 | 11 | 6 | 18 | 4 | 8 | 14 | 10 | 16 | 12 | 2 | |||
| tee #1 | 540 | 195 | 445 | 390 | 590 | 445 | 365 | 185 | 450 | 3605 | 440 | 540 | 210 | 450 | 445 | 225 | 420 | 400 | 575 | 3705 | 7310 |
| tee #2 | 505 | 180 | 410 | 370 | 540 | 415 | 335 | 175 | 400 | 3330 | 410 | 510 | 170 | 405 | 385 | 205 | 400 | 360 | 545 | 3390 | 6720 |
| tee #3 | 480 | 170 | 375 | 340 | 500 | 390 | 310 | 160 | 360 | 3085 | 375 | 470 | 155 | 370 | 340 | 185 | 370 | 330 | 490 | 3085 | 6170 |
| tee #4 | 450 | 145 | 345 | 290 | 450 | 340 | 290 | 145 | 320 | 2775 | 340 | 440 | 140 | 350 | 320 | 170 | 340 | 295 | 450 | 2845 | 5620 |
| tee #5 | 360 | 135 | 300 | 260 | 390 | 310 | 260 | 125 | 285 | 2425 | 290 | 390 | 120 | 305 | 280 | 150 | 305 | 270 | 405 | 2515 | 4940 |
| tee #6 | 315 | 115 | 265 | 225 | 335 | 260 | 225 | 105 | 250 | 2095 | 260 | 350 | 110 | 270 | 250 | 125 | 270 | 240 | 355 | 2230 | 4325 |
| tee #7 | 280 | 95 | 225 | 195 | 290 | 230 | 200 | 90 | 215 | 1820 | 225 | 300 | 95 | 235 | 220 | 105 | 235 | 210 | 310 | 1935 | 3755 |
| tee #8 | 225 | 80 | 190 | 160 | 250 | 190 | 180 | 75 | 185 | 1535 | 190 | 250 | 75 | 200 | 185 | 85 | 200 | 180 | 260 | 1625 | 3160 |