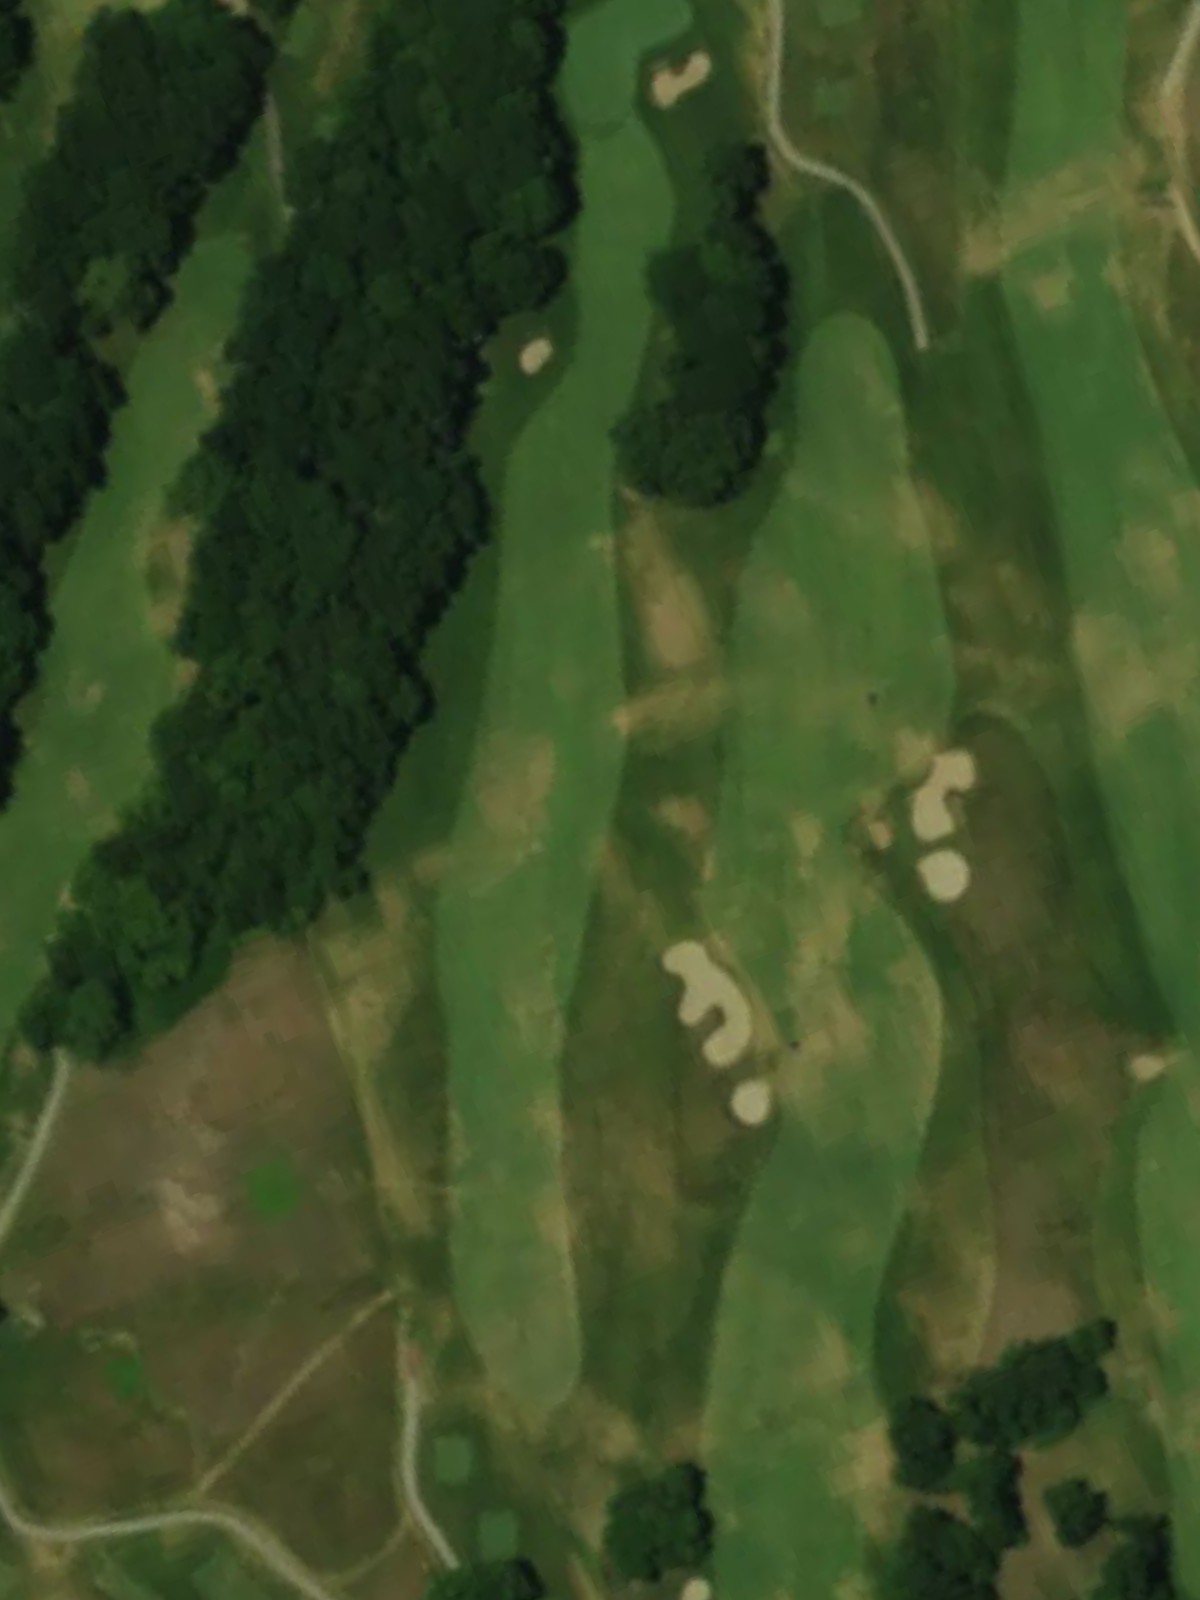
Glen Erin Golf Club is an 18-hole golf course in Janesville, WI with a par of 71. It offers 3 tee sets: orange (6,806 yards, slope 126, rating 72.4), white (6,342 yards, slope 121, rating 70.3), green (5,786 yards, slope 116, rating 67.7). The hardest hole is #10, a par 5 playing 531 yards from the first tee.
Glen Erin Golf Club
Janesville, WI
Get PDF Yardage Book
We'll email you the PDF link. No spam, ever.
Create Your Game Plan
Pick your tees, enter your bag, and get a personalized shot-by-shot strategy for every hole.
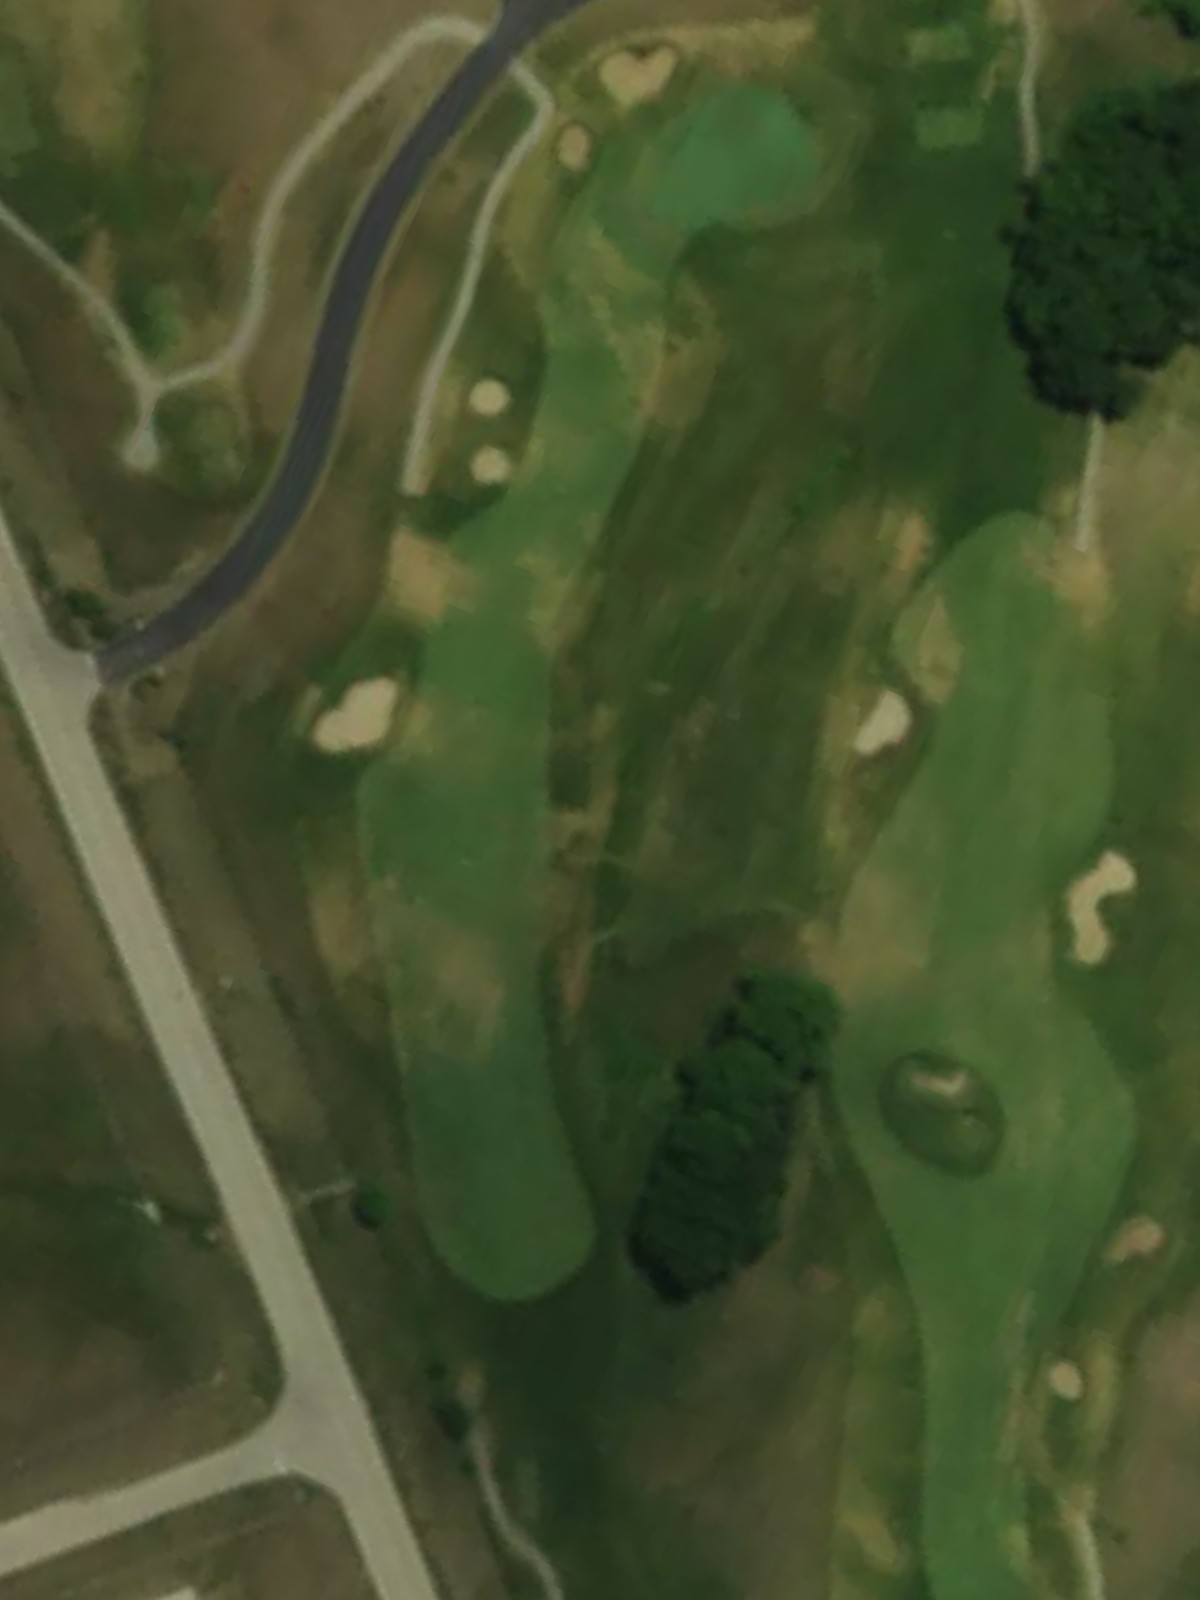
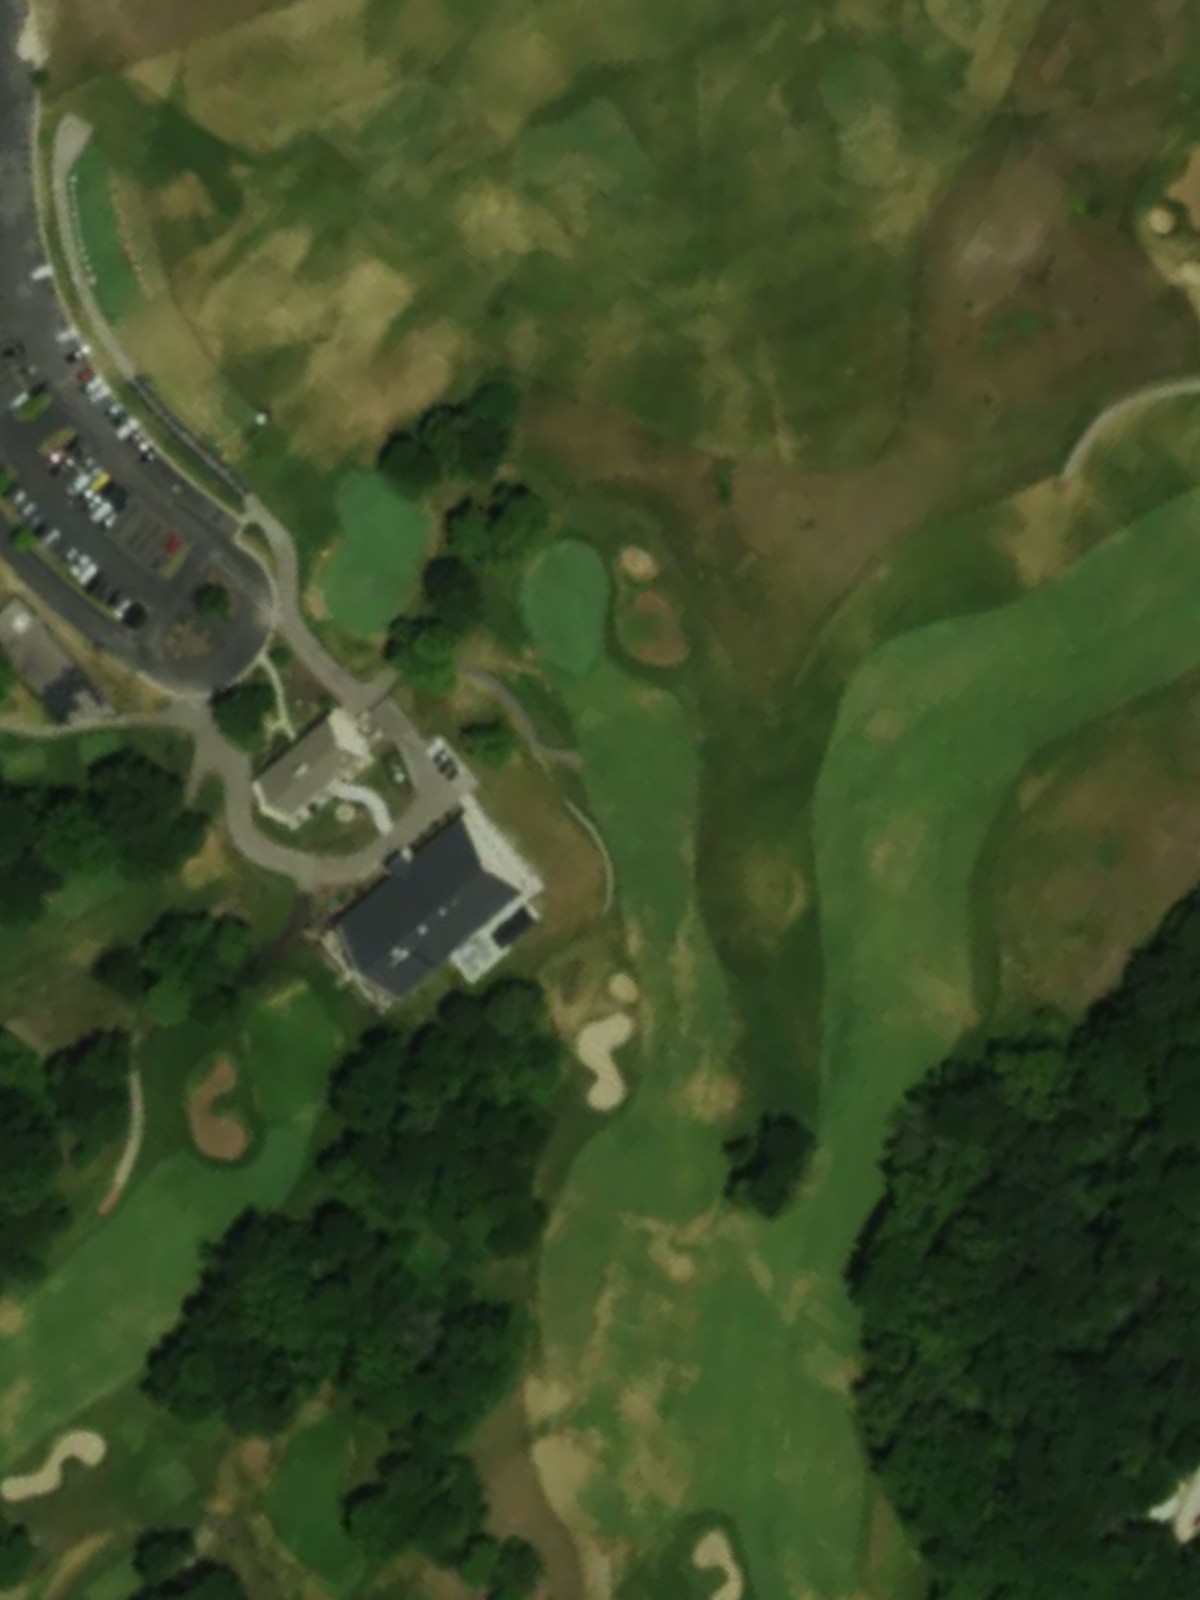
A welcoming opening par 4 that plays relatively short and straightforward off the tee. The fairway is generous but tightens as it approaches the green, where bunkers on the right demand accuracy on the approach shot.
A short par 3 that requires precision over distance to find the putting surface. The green is well-bunkered, making club selection and solid contact critical to avoid sand play.
A strategic par 4 with a moderate length that rewards solid ball-striking off the tee. The approach into the green is the defining challenge, with hazards positioned to penalize wayward shots into the scoring zone.
A mid-length par 4 that presents a strong test of accuracy and control from the tee. Bunkers and rough terrain frame the fairway corridor, requiring placement over pure distance to set up a clean approach.
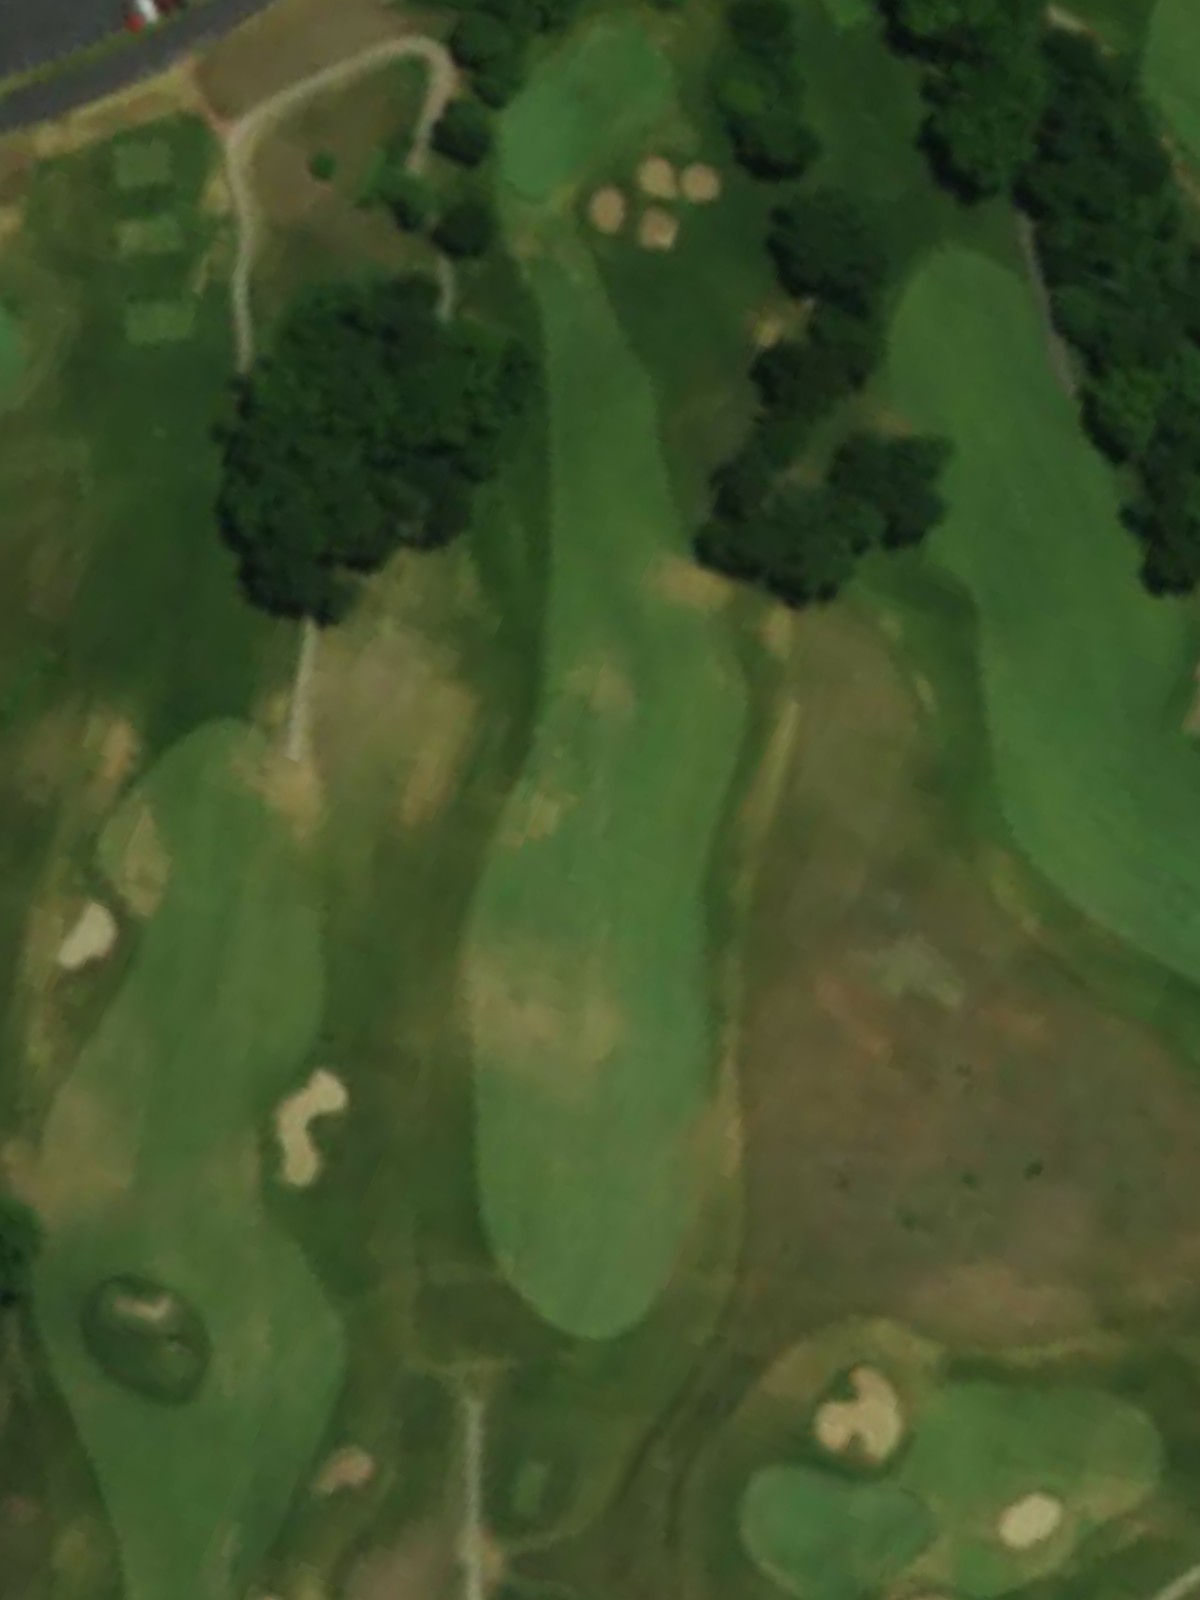
Glen Erin's second-hardest hole, this par 4 demands two quality shots with little margin for error. The length and strategic hazard placement make this a defining test of all-around ball-striking ability.
A deceptive par 4 that plays longer than its yardage suggests due to elevation changes and a narrow fairway corridor. Bunkers and rough frame both sides, making accuracy from the tee essential to position for the approach.
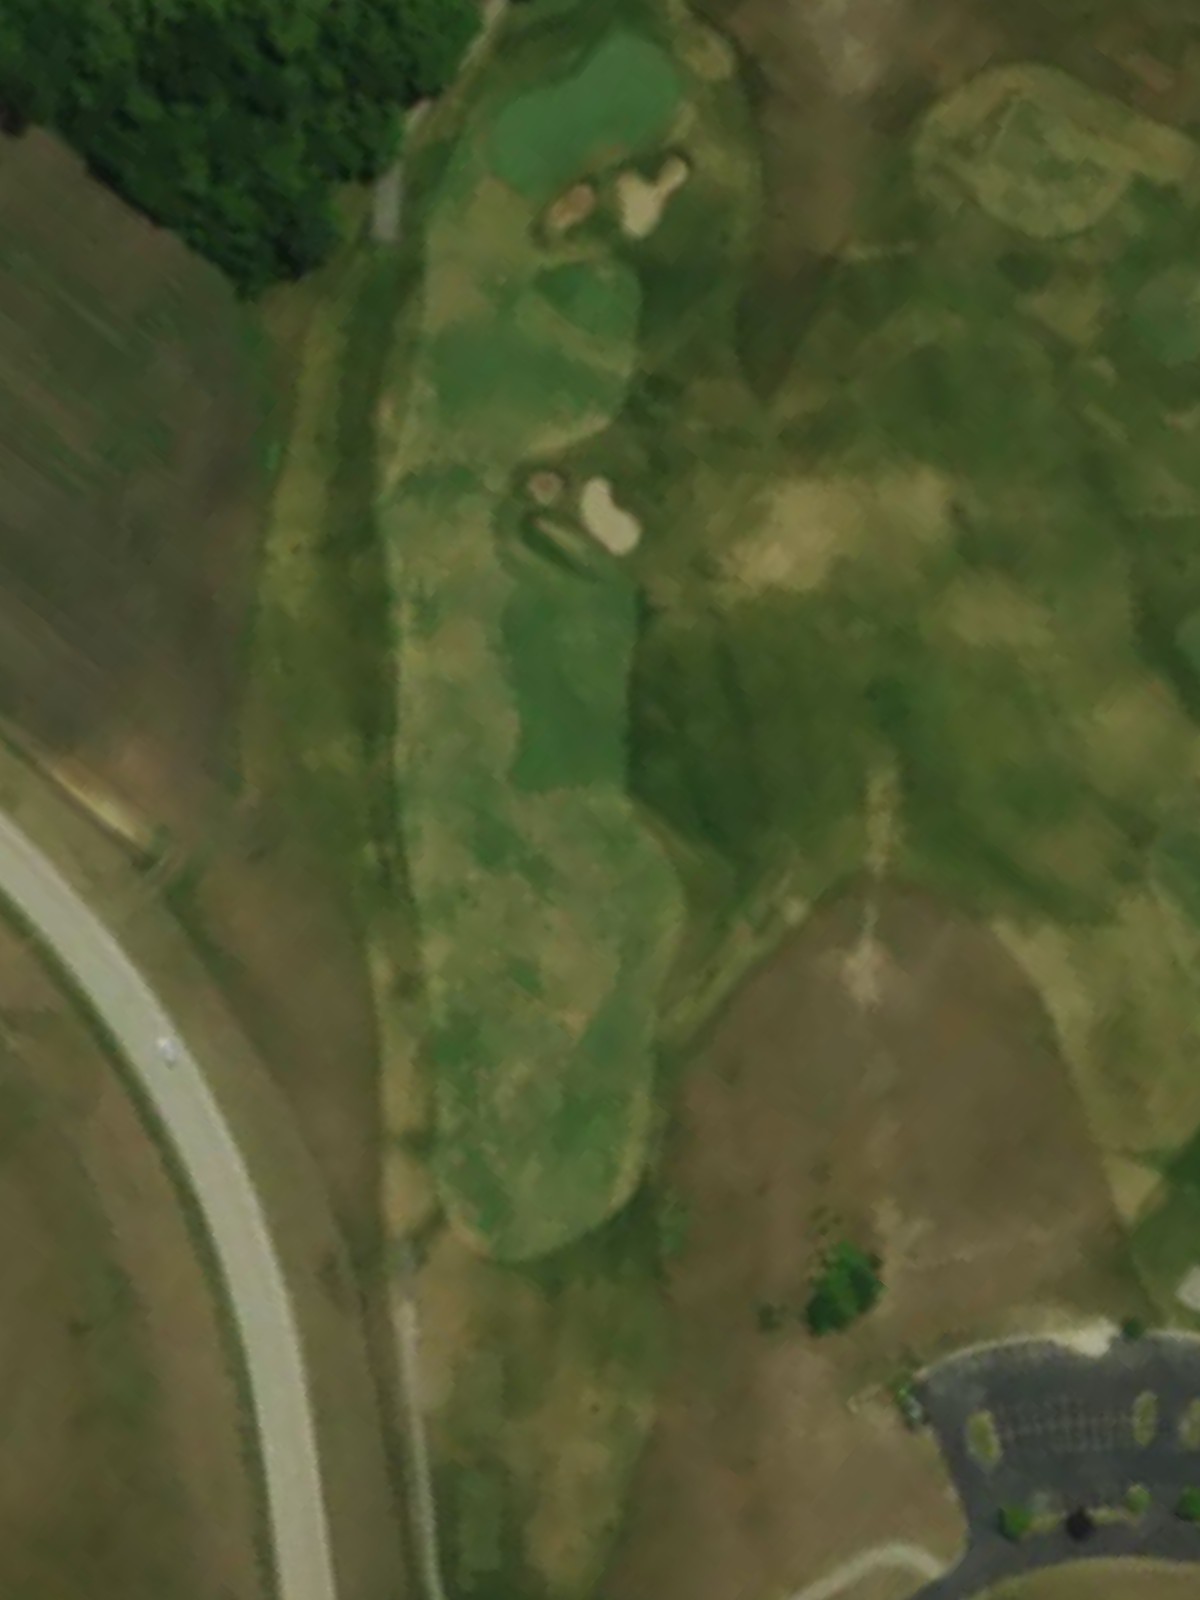
A diminutive par 3 that deceives with its brevity—the small green is tightly guarded and offers little room for error. Wind exposure and bunker placement make this a precision-focused short hole despite its modest length.
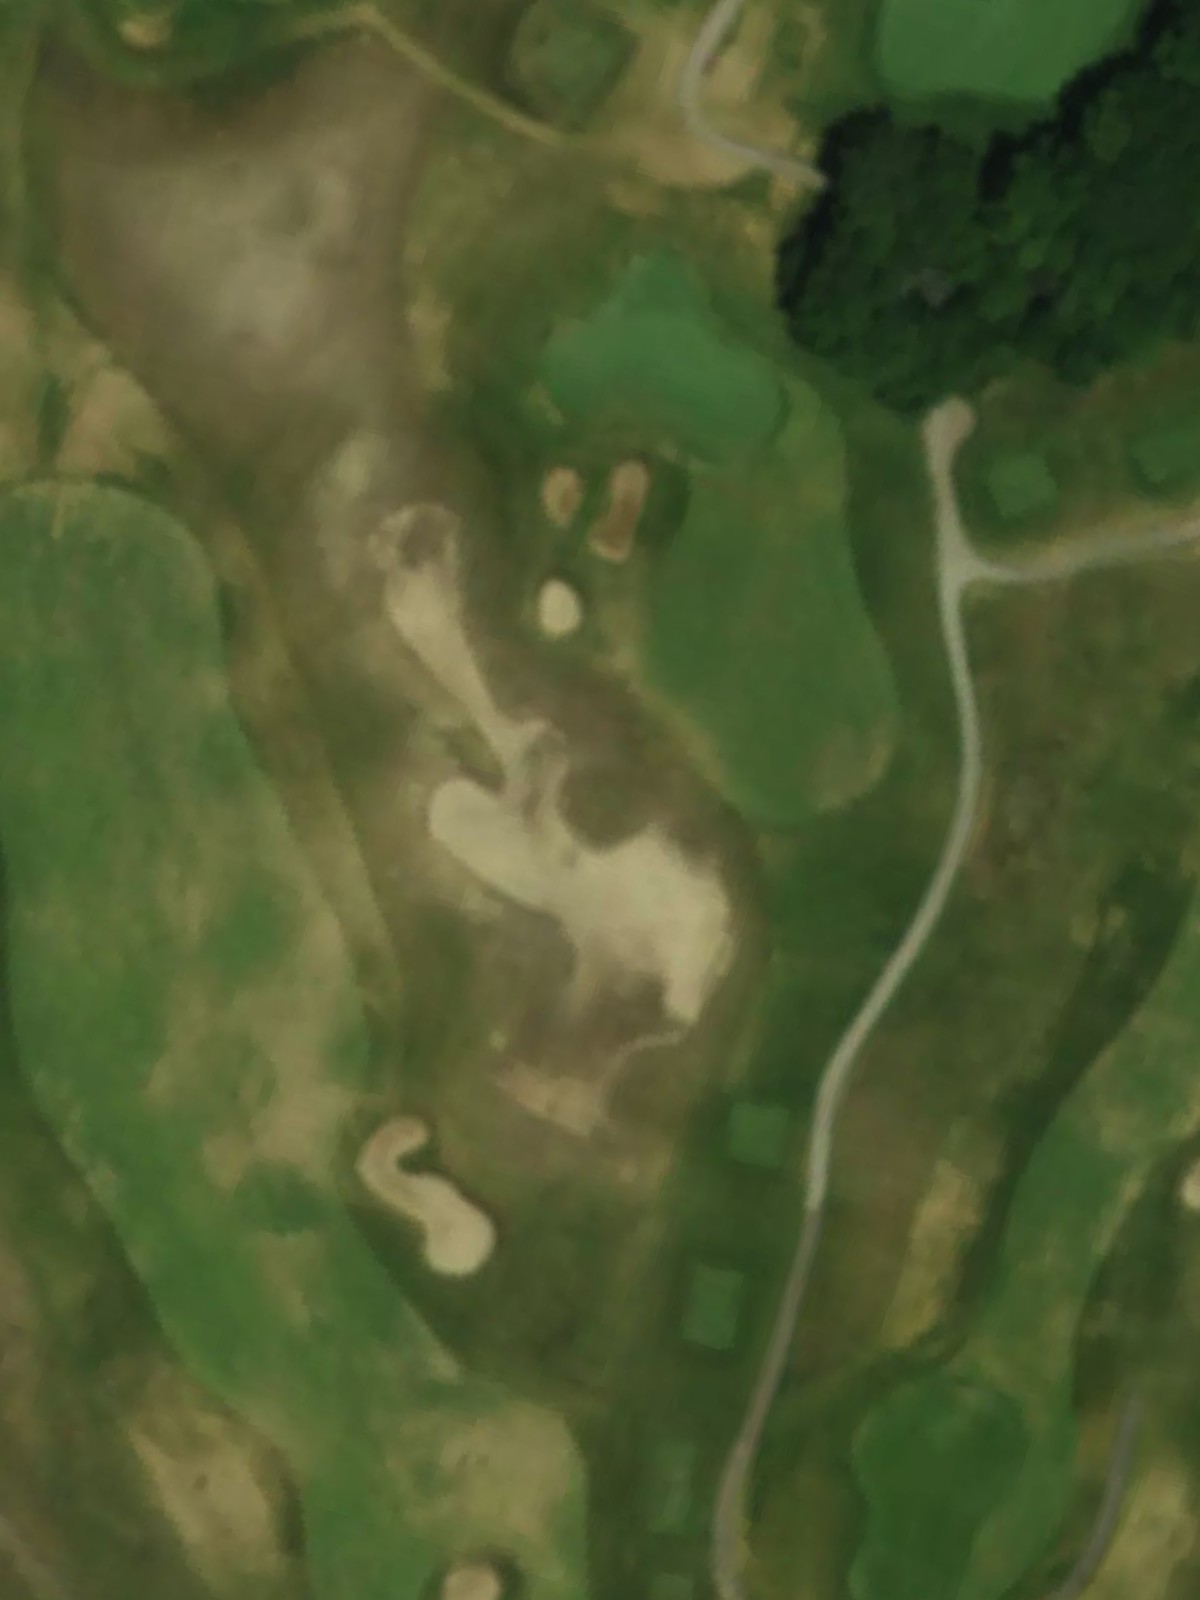
A strong par 5 that offers a legitimate birdie opportunity for long hitters but demands respect and strategic routing. Water hazards and bunkering throughout the hole reward careful course management and thoughtful club selection on all three shots.
A mid-length par 4 with an interesting risk-reward character defined by its hazard positioning and green complex. The fairway narrows into the landing area, requiring control over aggression to set up a manageable approach.
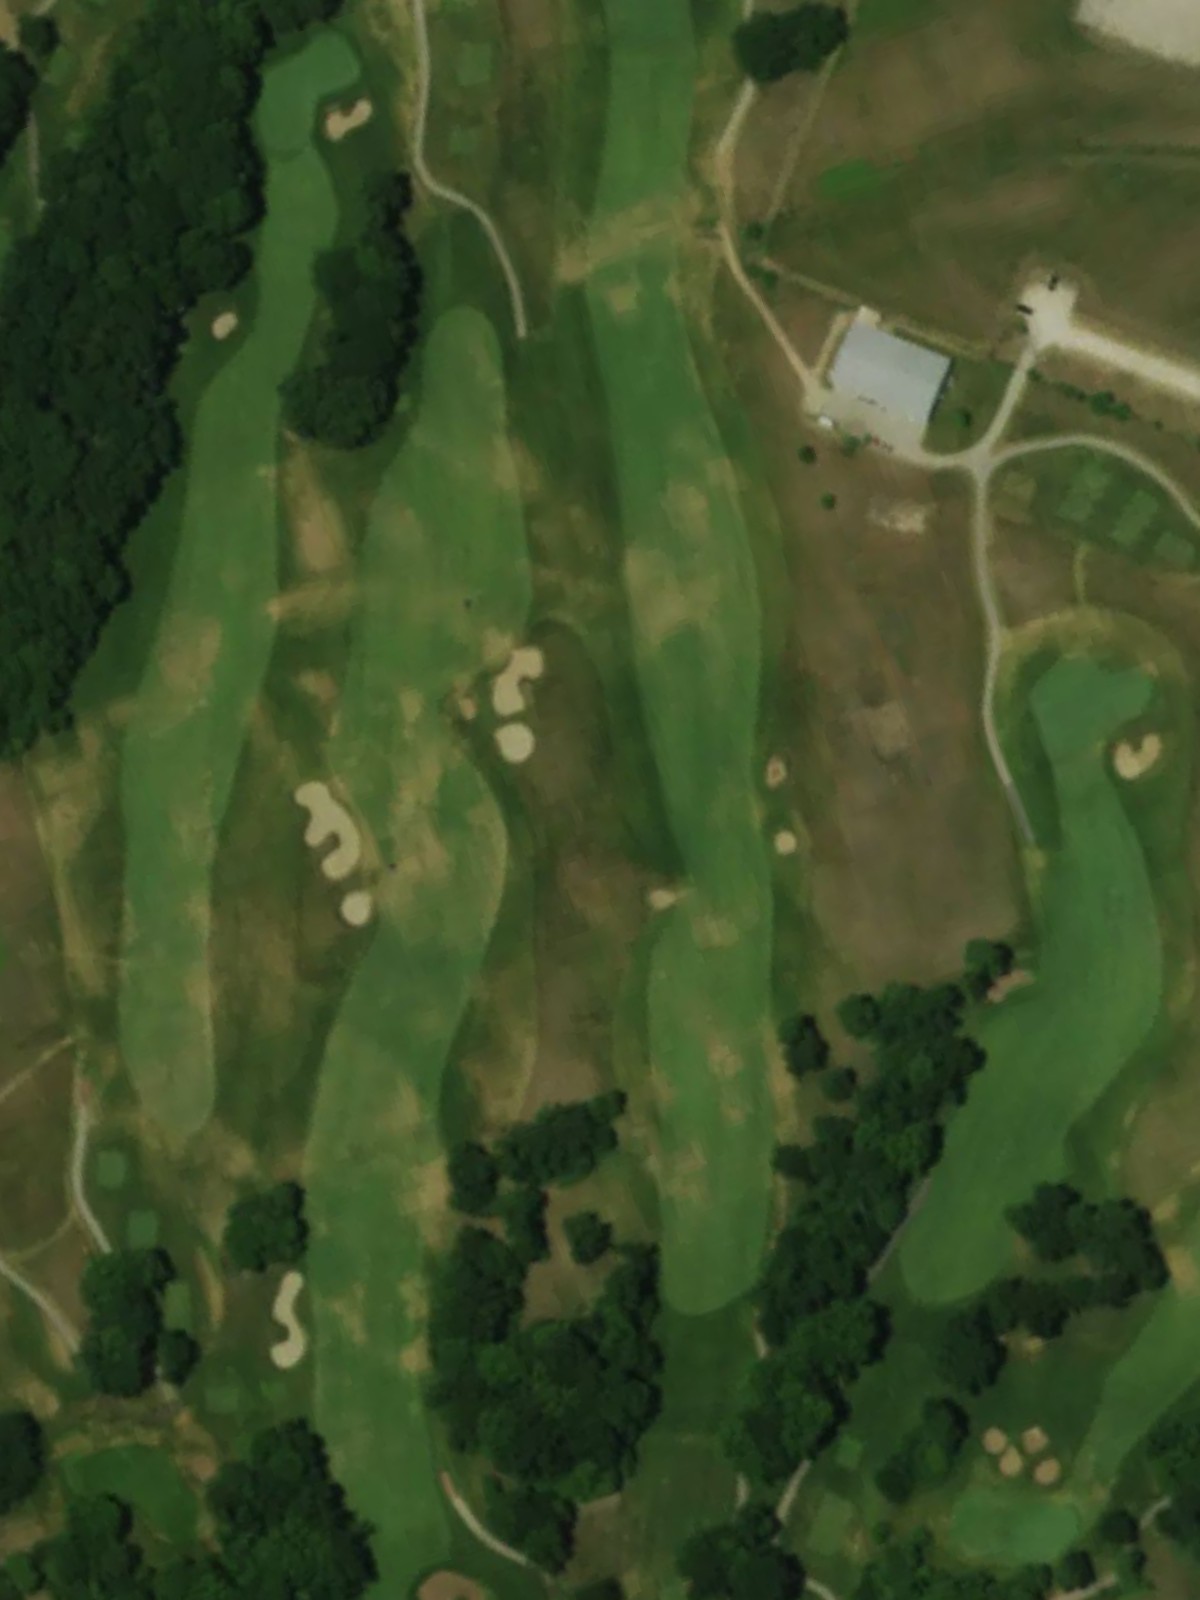
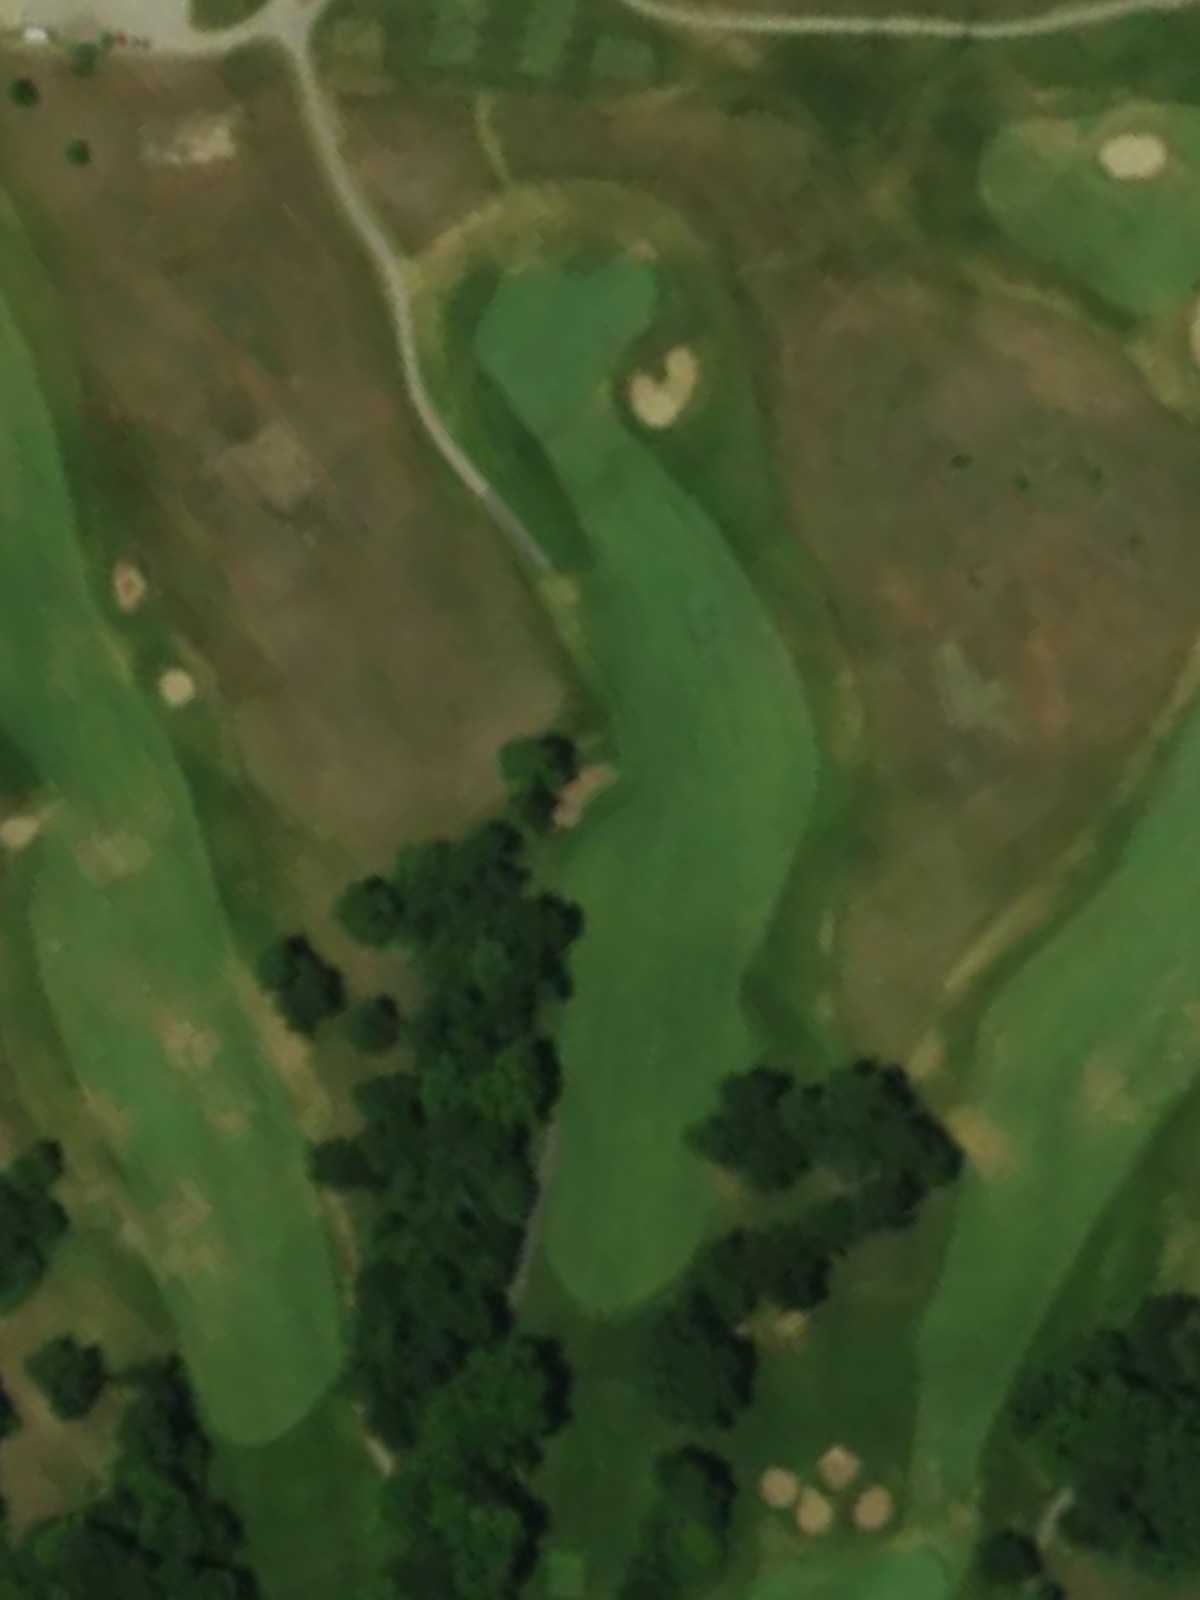
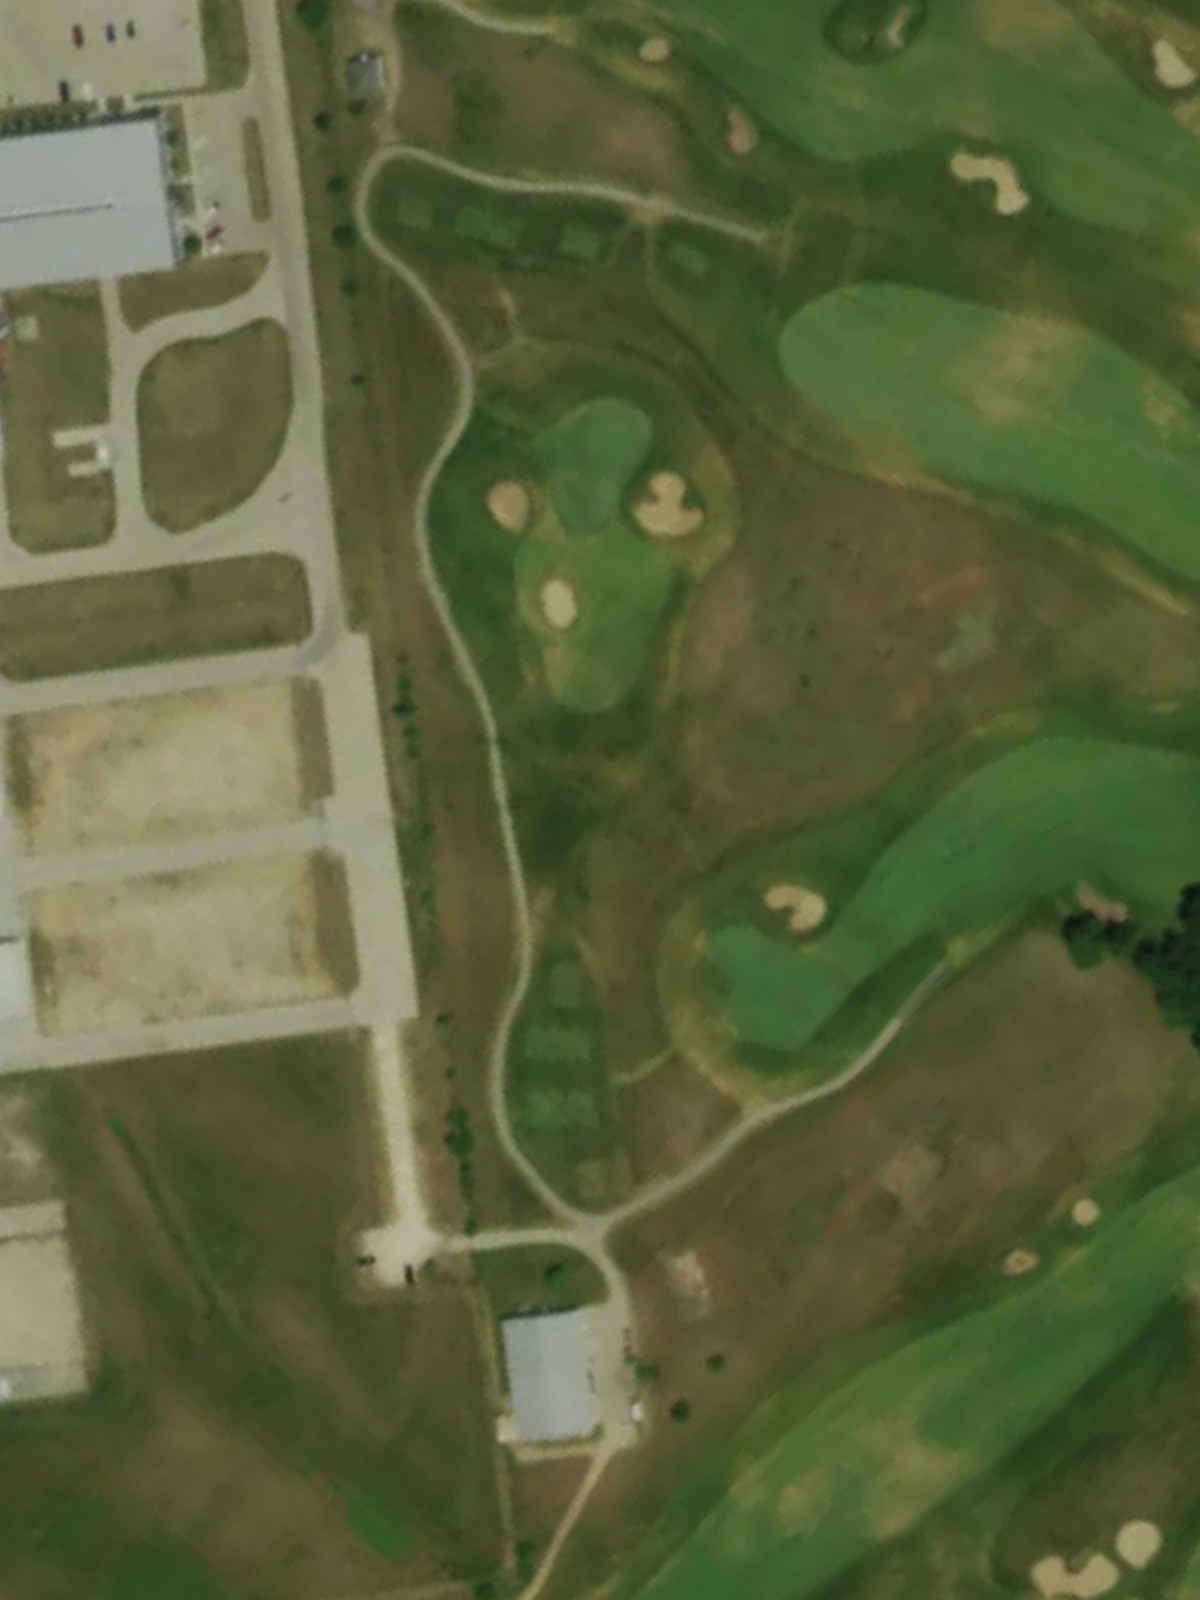
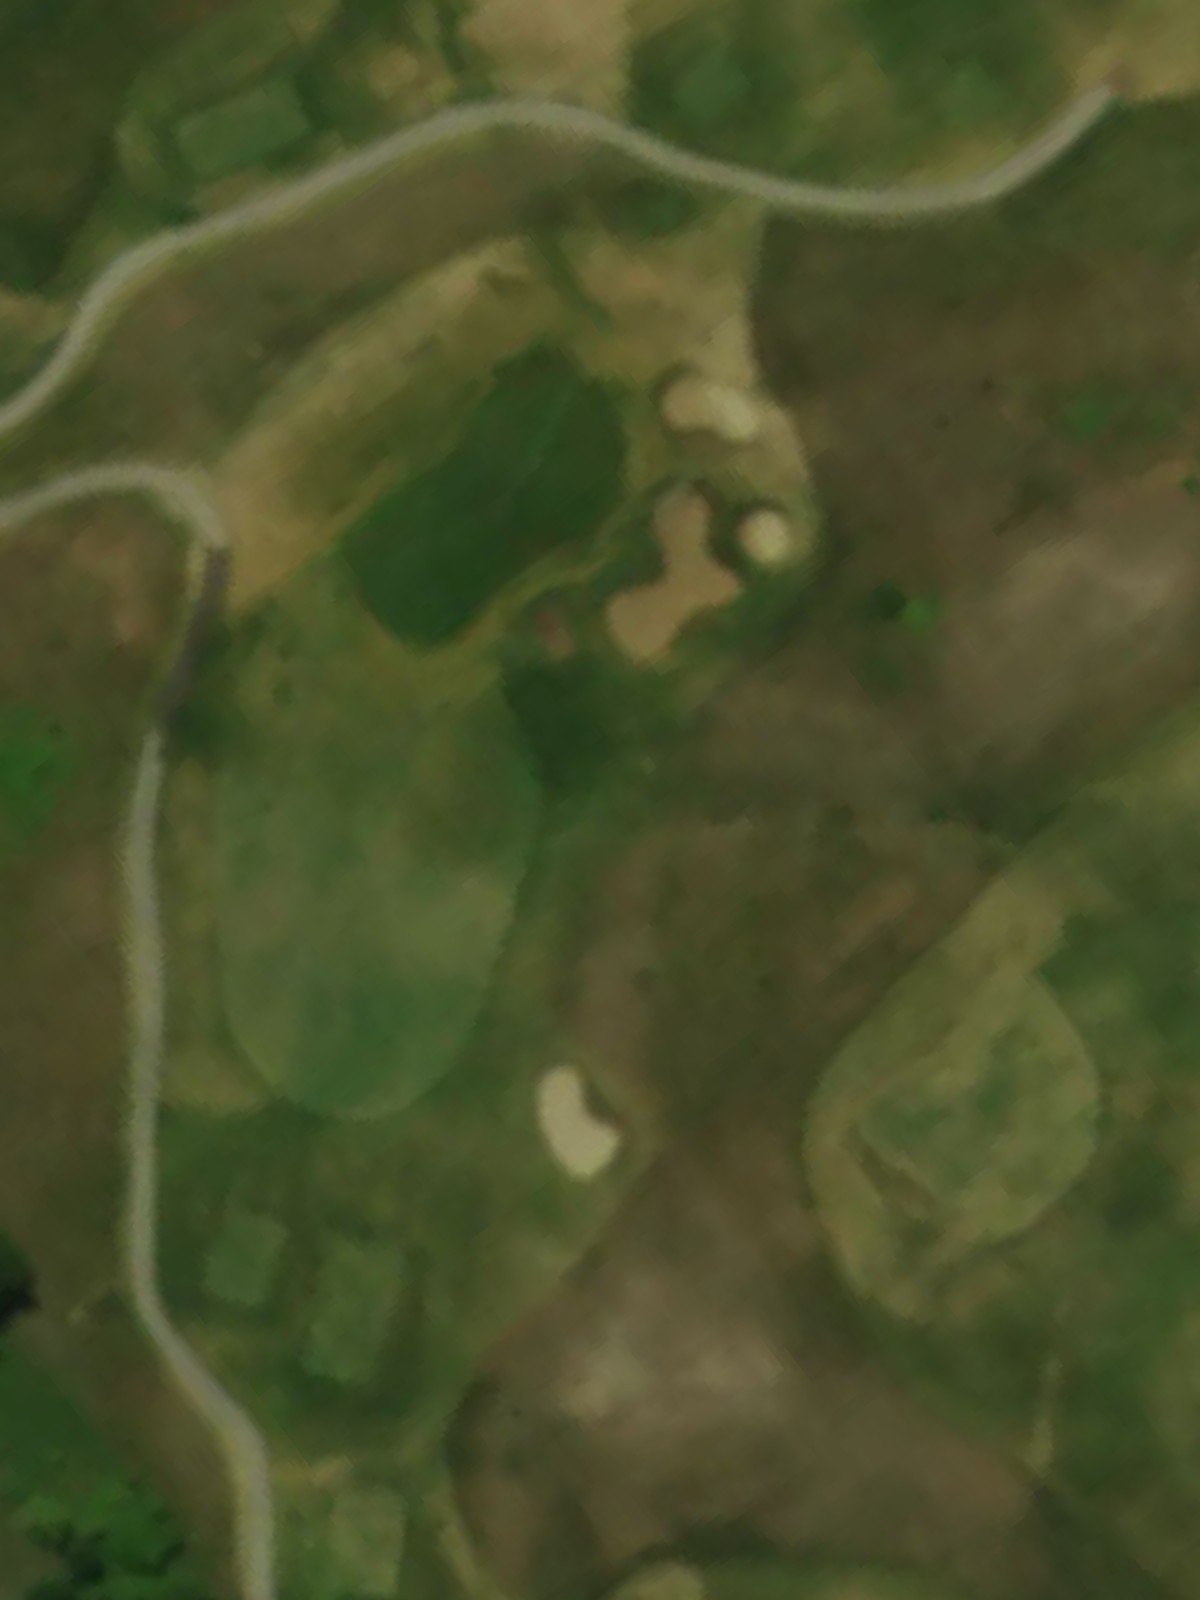
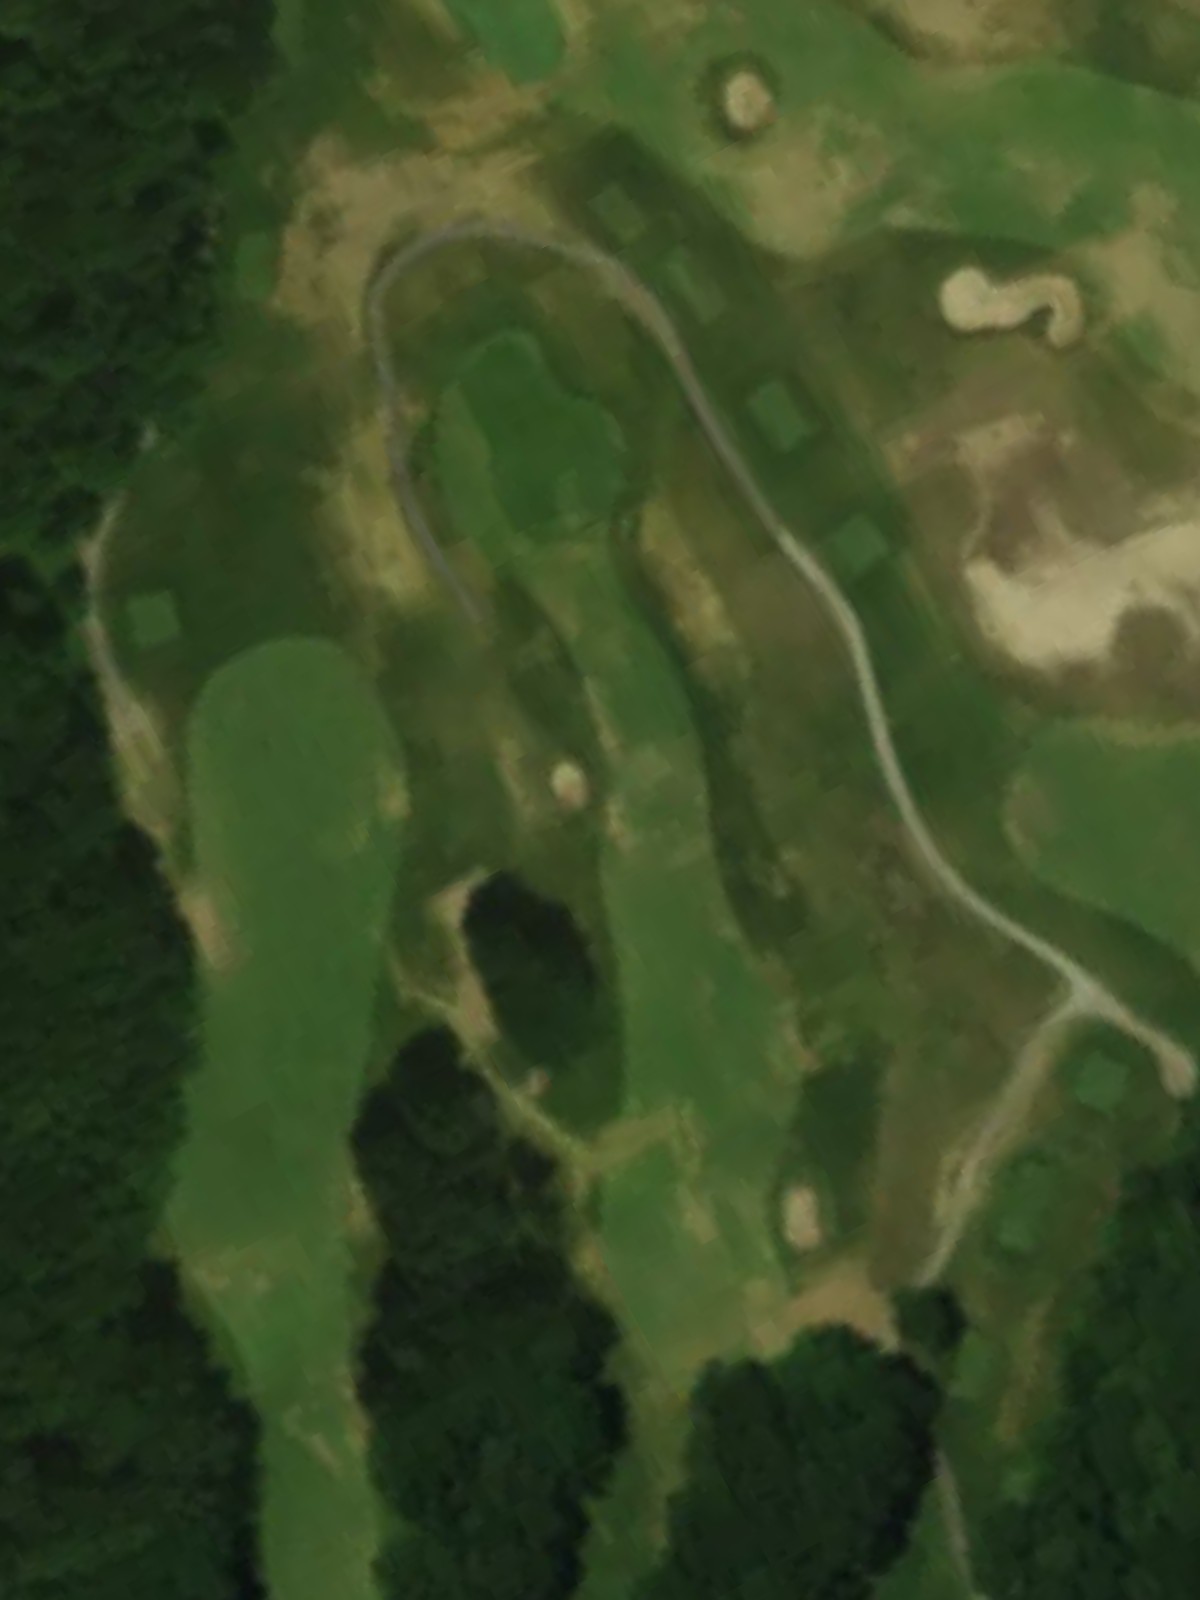
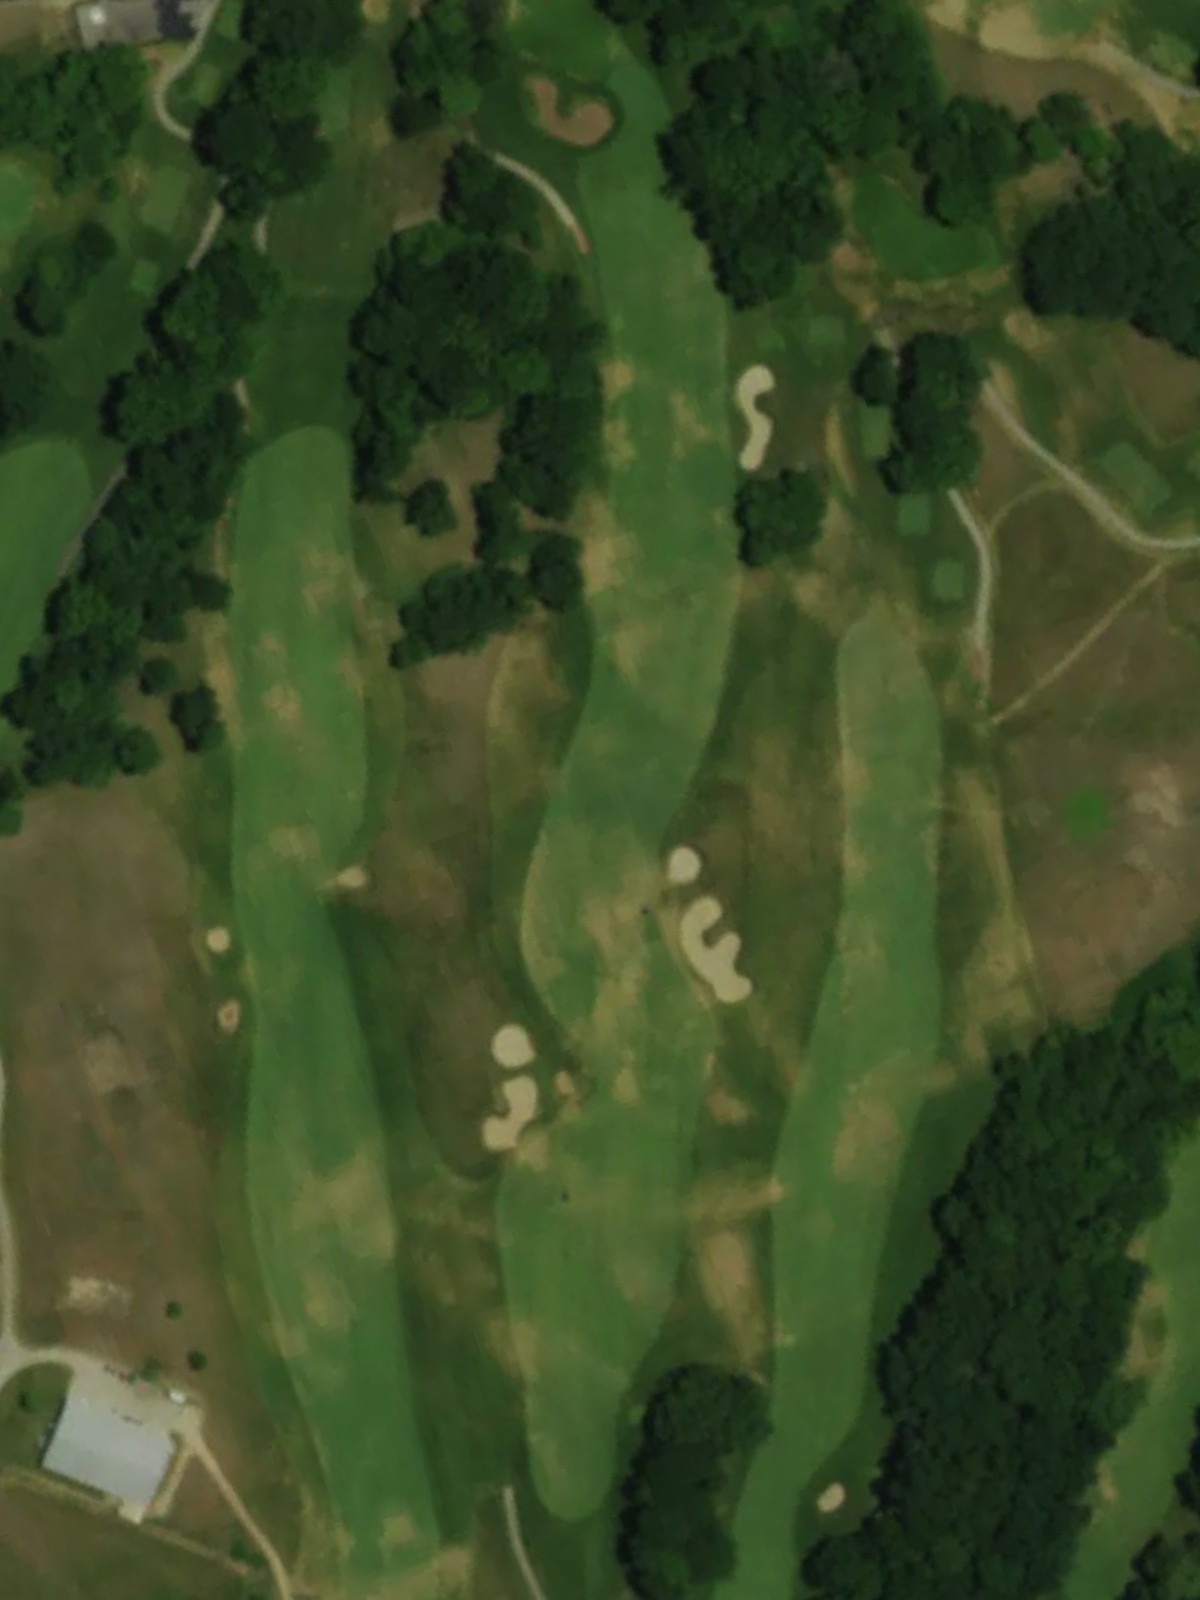
The most difficult hole on the course, this lengthy par 5 is a genuine three-shot test for most players. Strategic water hazards and bunkering throughout the hole demand precise routing and disciplined execution across all distances.
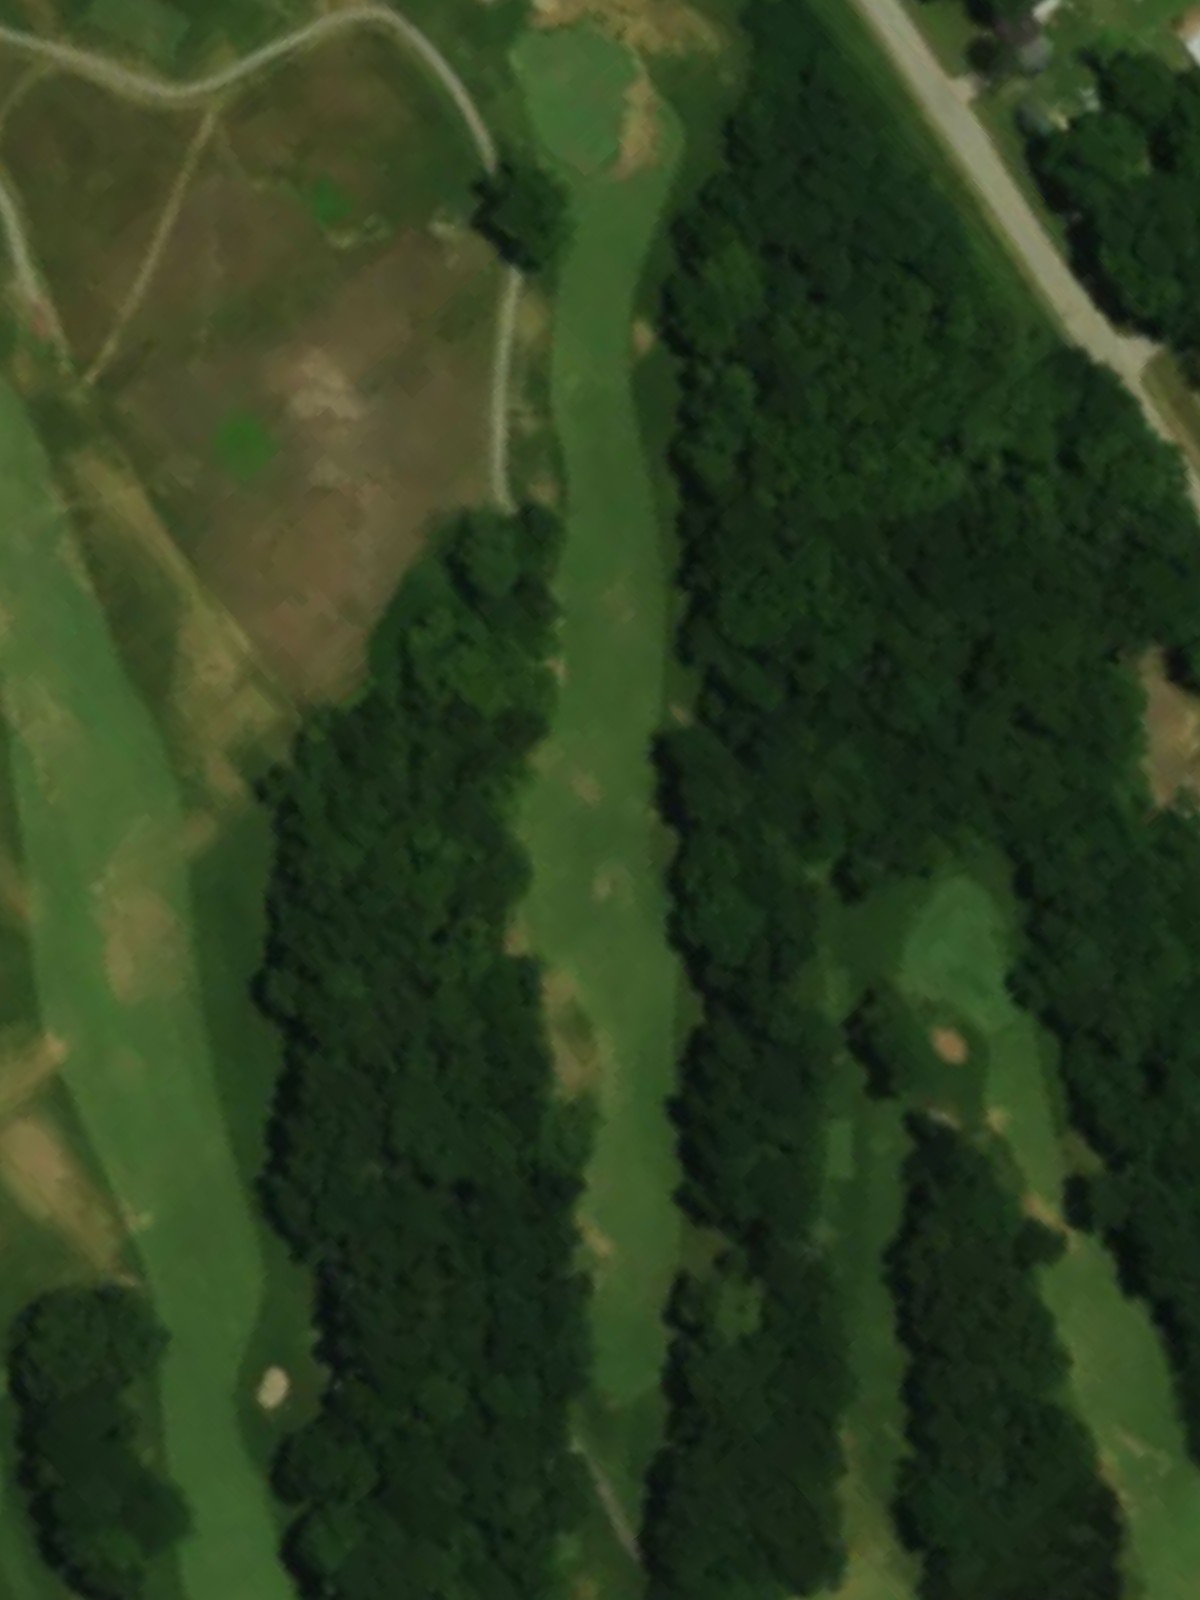
A challenging par 4 with a well-defined playing corridor flanked by trouble on both sides. The green complex is elevated and guarded by bunkers, making the approach shot the critical moment of the hole.
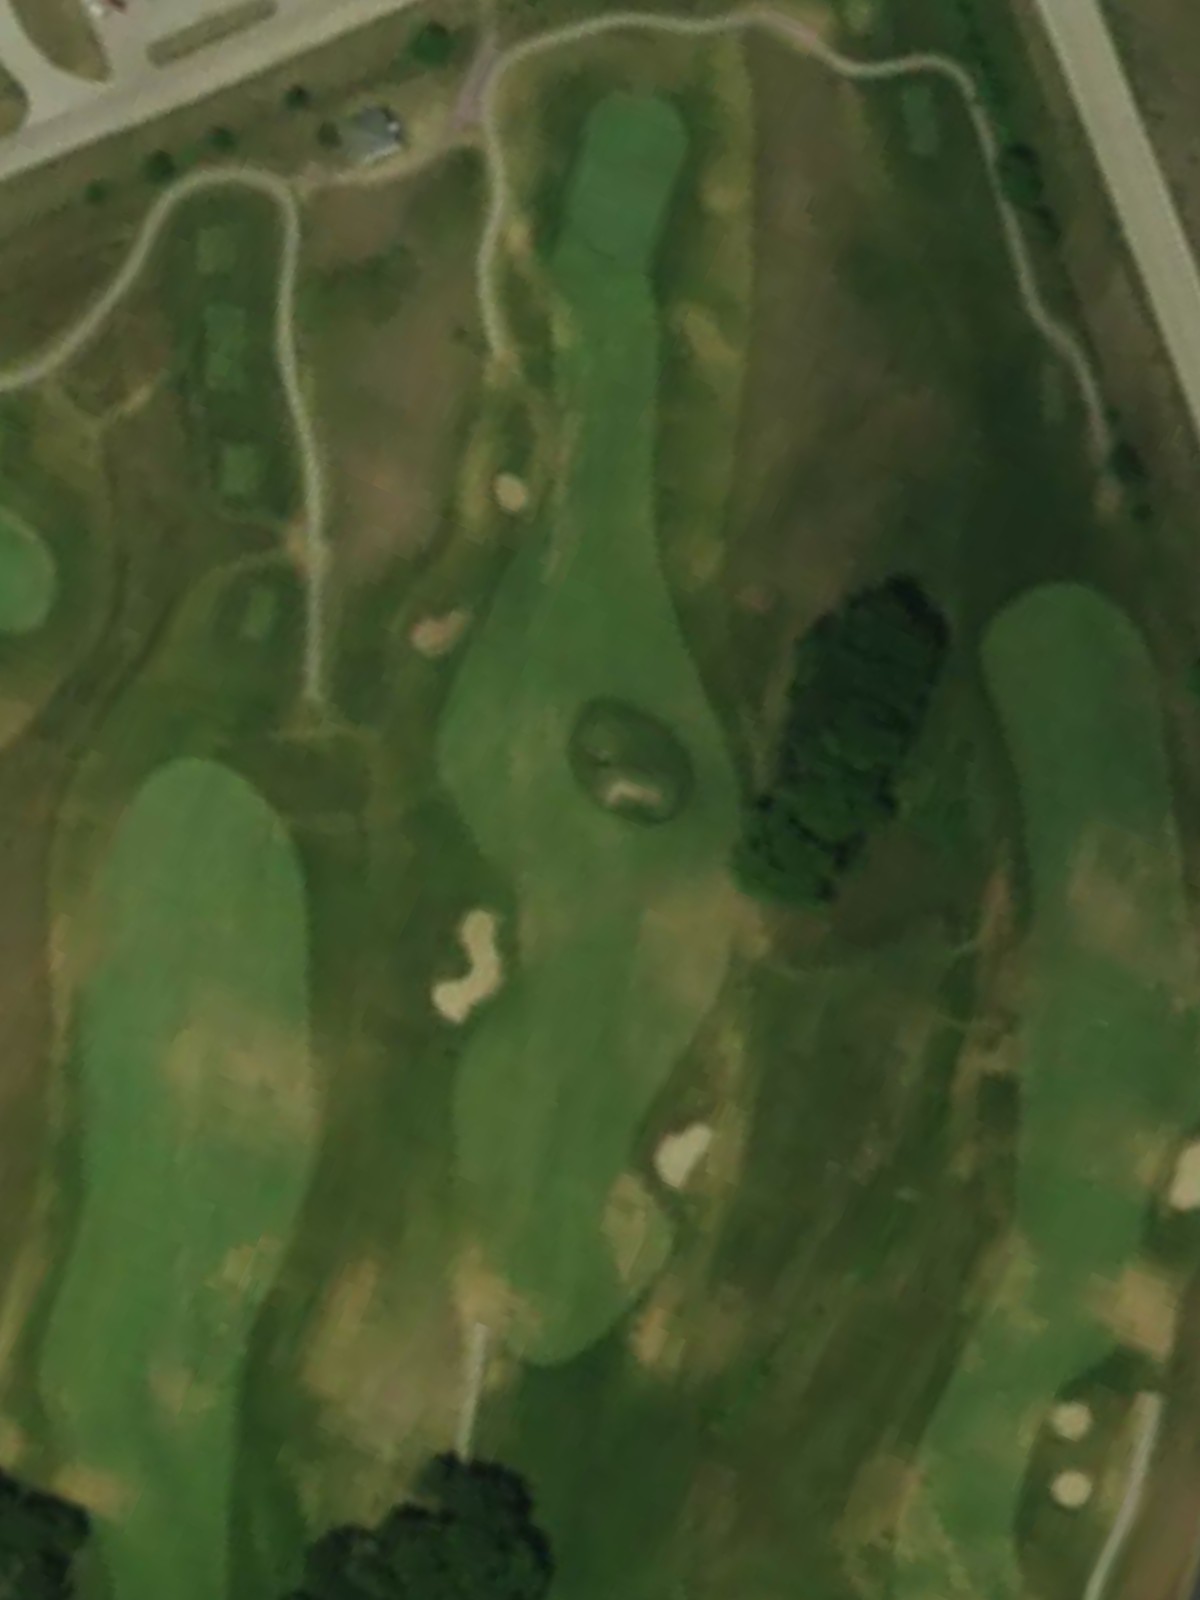
One of Glen Erin's toughest par 4s, this hole demands distance and precision in equal measure with limited forgiveness. Multiple hazards frame the fairway and surround the green, creating a gauntlet for the final approach shot.
A shorter par 4 that offers a reprieve in difficulty but remains tactical in design with strategic bunkering. The tight fairway corridor and well-guarded green reward positioning over raw distance off the tee.
A mid-length par 3 that features a well-bunkered green and demands an accurate, committed swing. The putting surface is the primary focus, with hazards positioned to catch both short and wayward attempts.
A formidable par 4 that combines length with strategic hazard placement throughout the hole. The fairway is framed by trouble, and the approach into a bunker-guarded green requires precision to avoid scrambling from difficult positions.
The easiest hole on the course, this short par 3 is the most generous scoring opportunity available. The green is relatively open compared to other par 3s, allowing aggressive play for a birdie chance.
A substantial par 4 that challenges with its length and a fairway that narrows significantly in the landing area. Strategic bunkering throughout the hole makes this a test of both power and placement, with the approach shot determining success or failure.
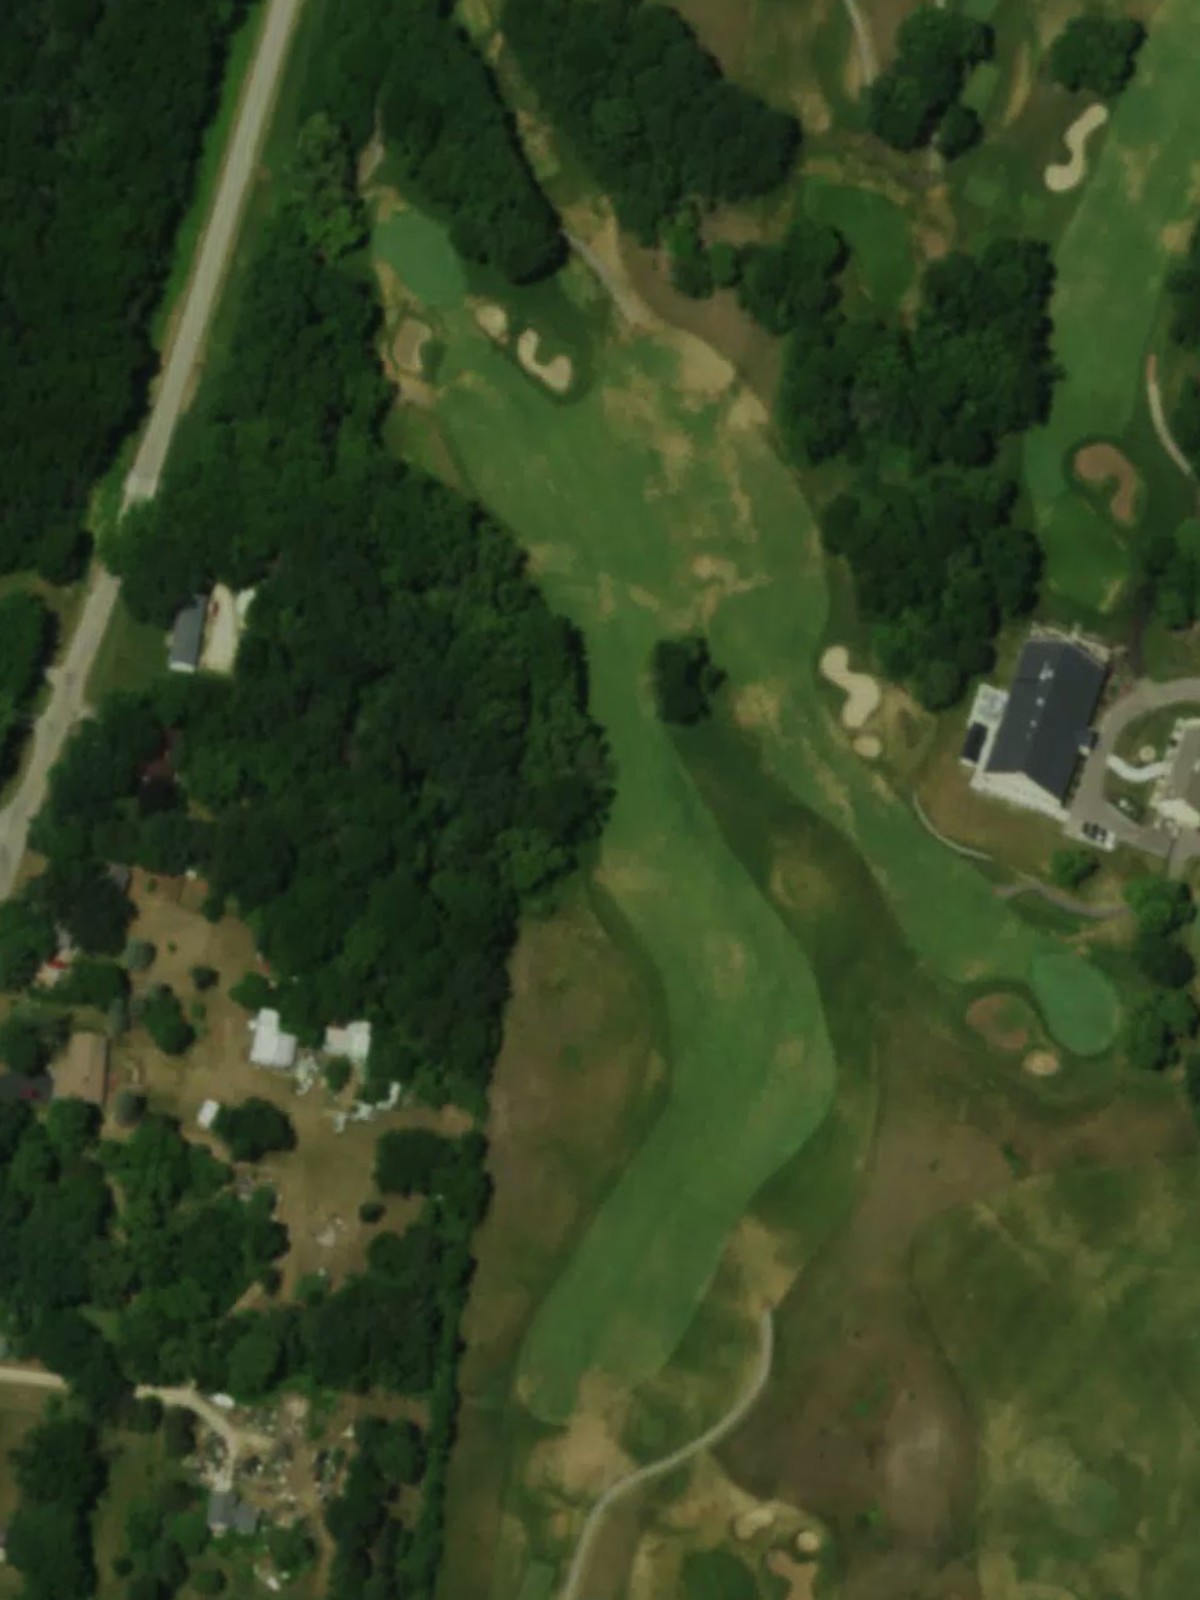
A fitting finishing par 5 that combines length with strategic complexity and provides a dramatic finale to the round. Water and bunkering throughout reward smart positioning, and the multi-tiered green complex requires careful navigation on the final approach.
Scorecard
| Hole | 1 | 2 | 3 | 4 | 5 | 6 | 7 | 8 | 9 | Out | 10 | 11 | 12 | 13 | 14 | 15 | 16 | 17 | 18 | In | Tot |
|---|---|---|---|---|---|---|---|---|---|---|---|---|---|---|---|---|---|---|---|---|---|
| Par | 4 | 3 | 4 | 4 | 4 | 4 | 3 | 5 | 4 | 35 | 5 | 4 | 4 | 4 | 3 | 4 | 3 | 4 | 5 | 36 | 71 |
| HCP | 14 | 18 | 10 | 6 | 2 | 8 | 16 | 4 | 12 | 1 | 11 | 3 | 15 | 13 | 7 | 17 | 9 | 5 | |||
| orange | 349 | 203 | 366 | 378 | 408 | 398 | 183 | 568 | 409 | 3262 | 589 | 377 | 424 | 354 | 207 | 421 | 155 | 438 | 579 | 3544 | 6806 |
| white | 327 | 184 | 345 | 372 | 389 | 369 | 143 | 523 | 385 | 3037 | 559 | 351 | 400 | 325 | 185 | 395 | 122 | 407 | 561 | 3305 | 6342 |
| green | 291 | 165 | 319 | 358 | 363 | 316 | 112 | 471 | 333 | 2728 | 531 | 333 | 352 | 288 | 157 | 363 | 110 | 383 | 541 | 3058 | 5786 |