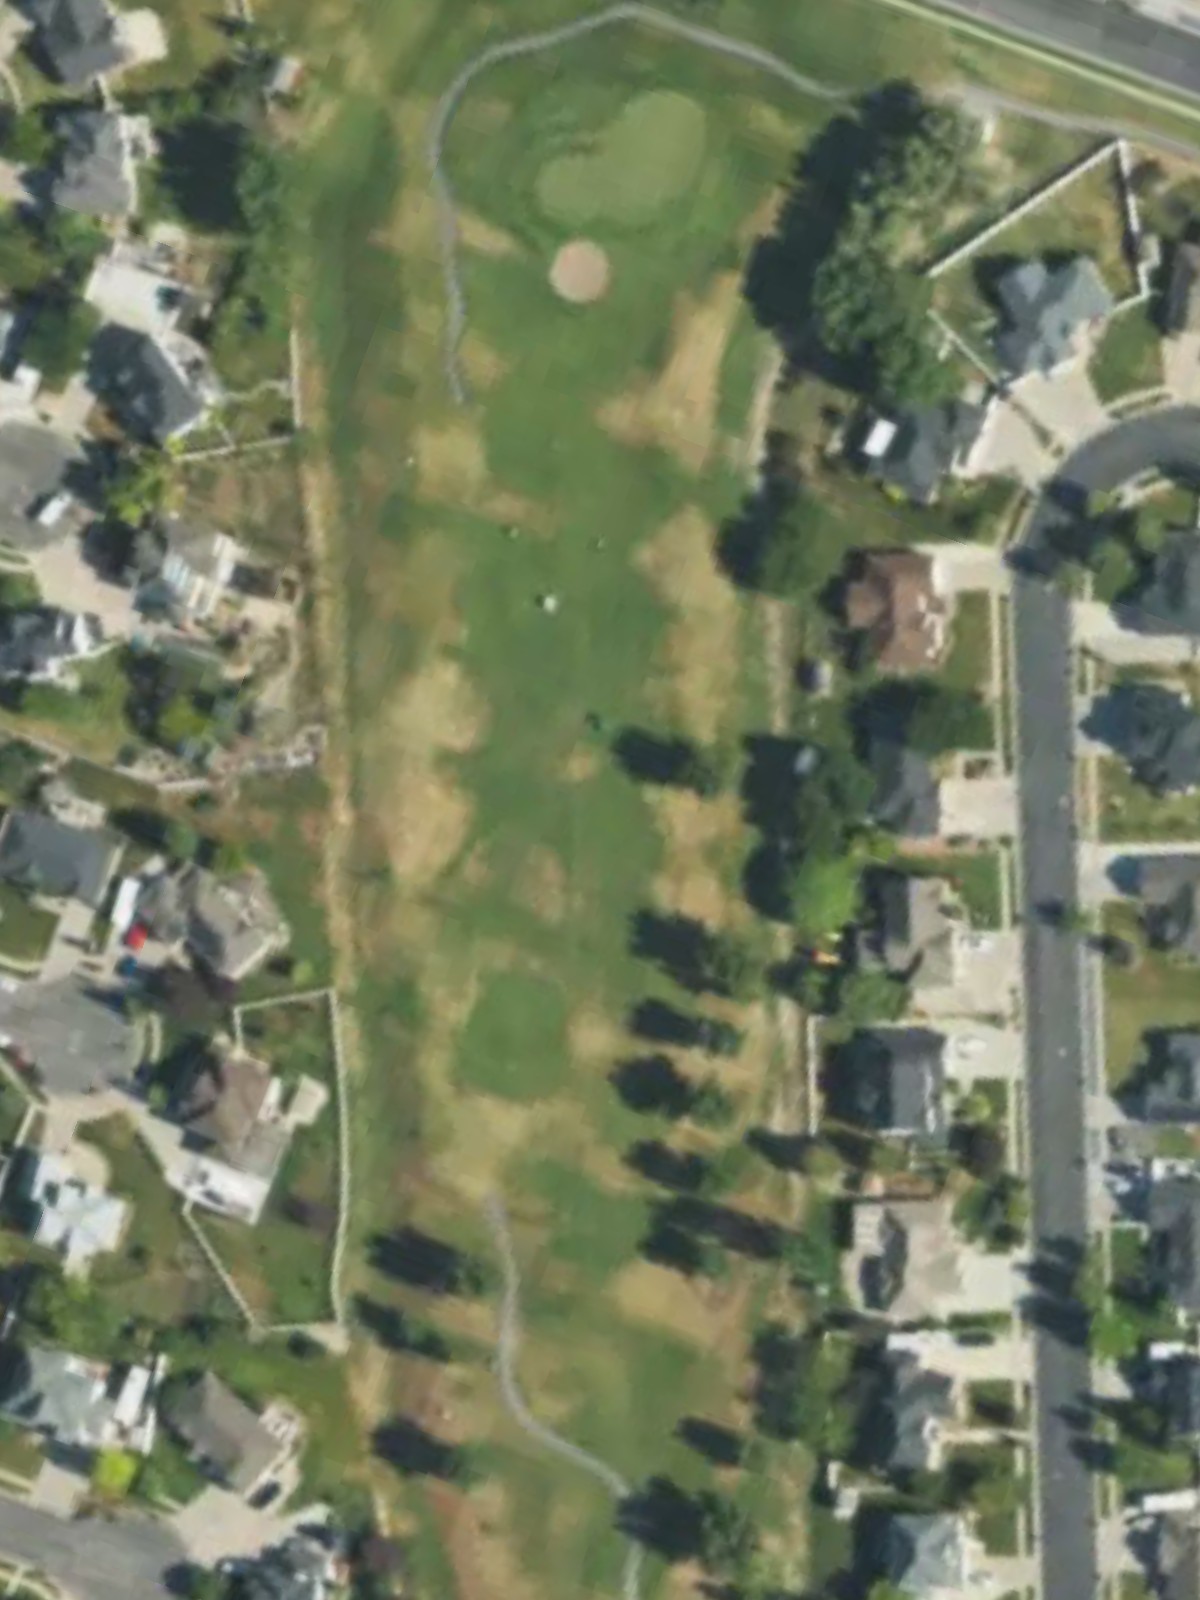
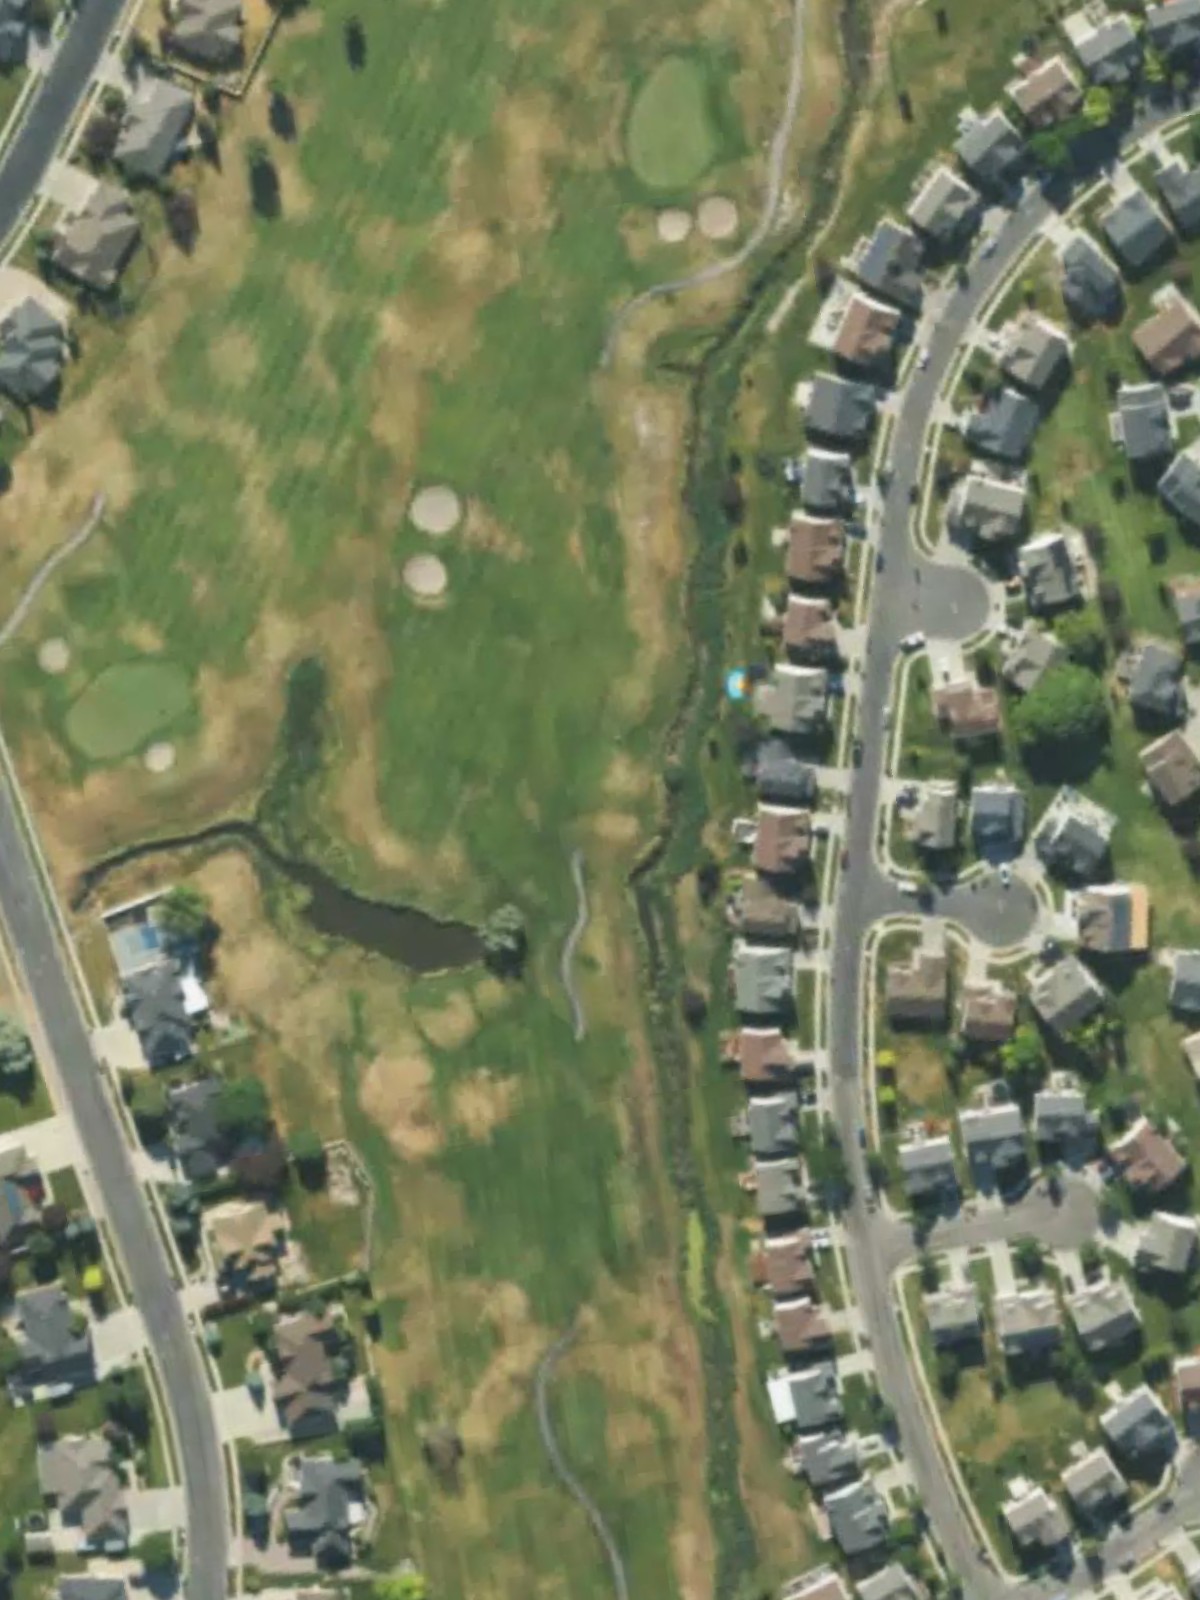
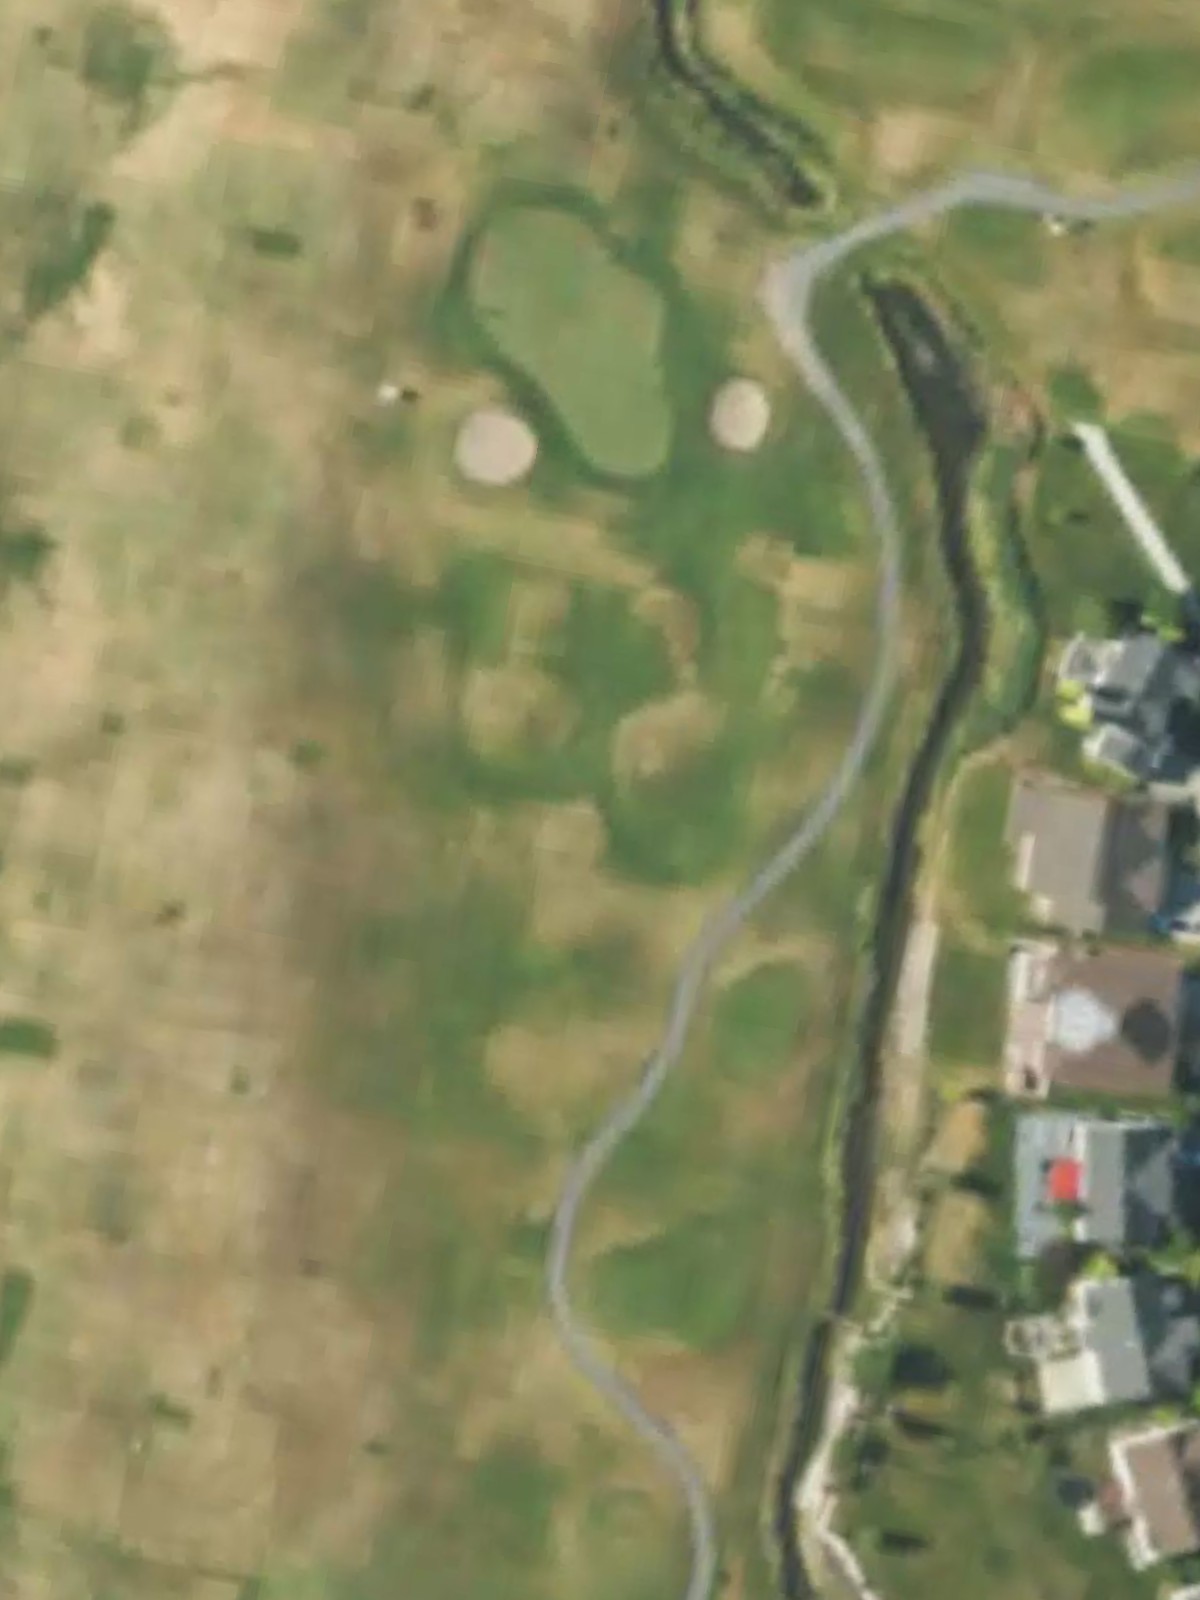
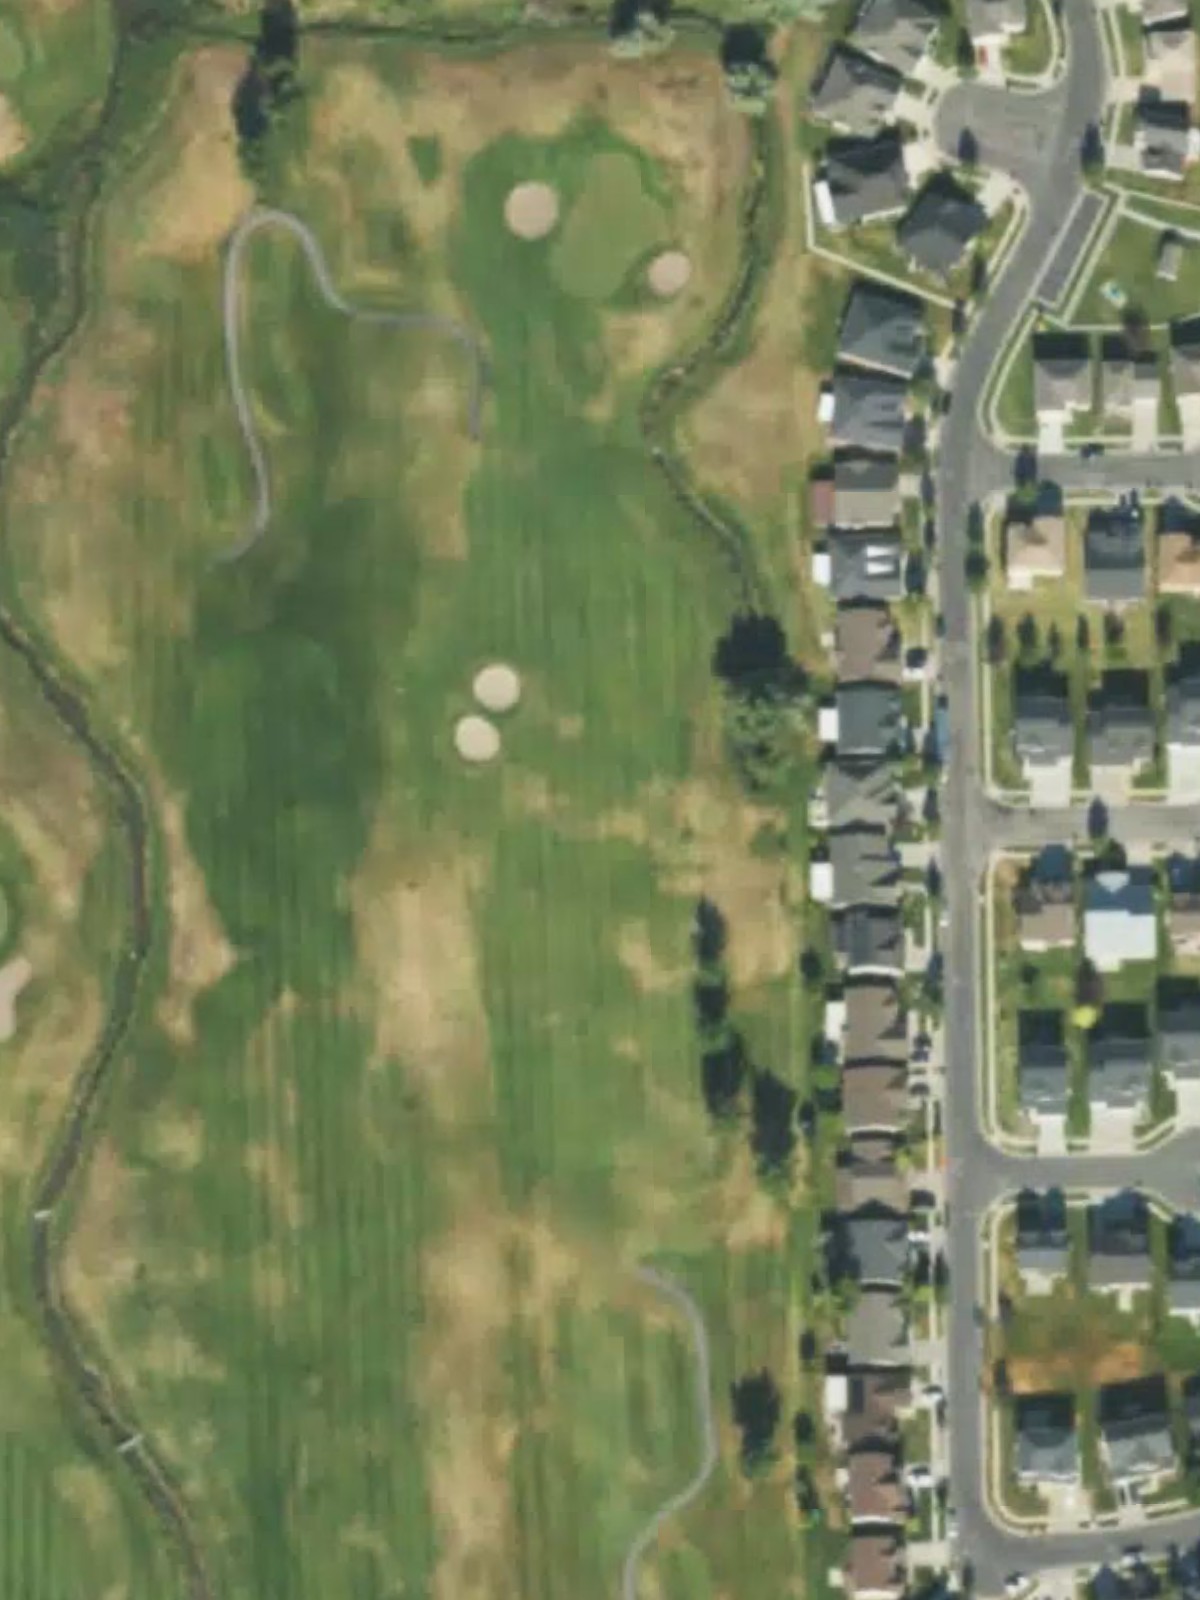
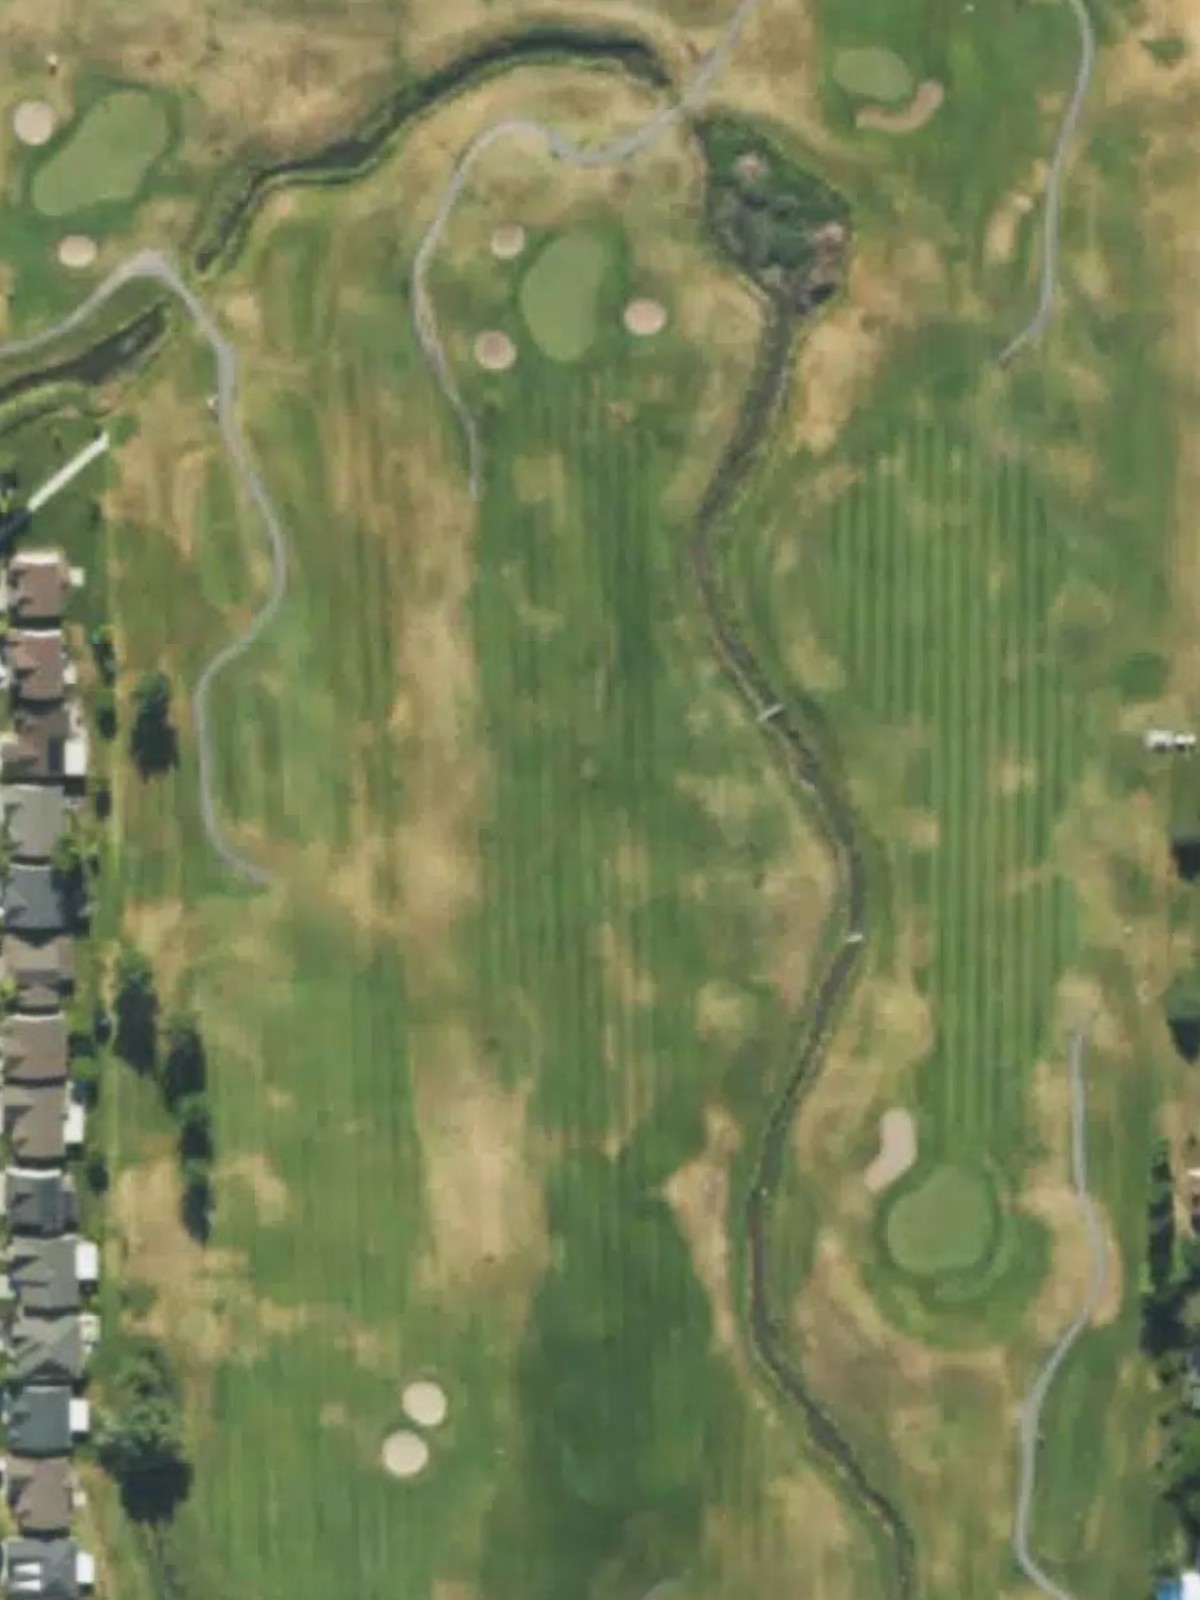
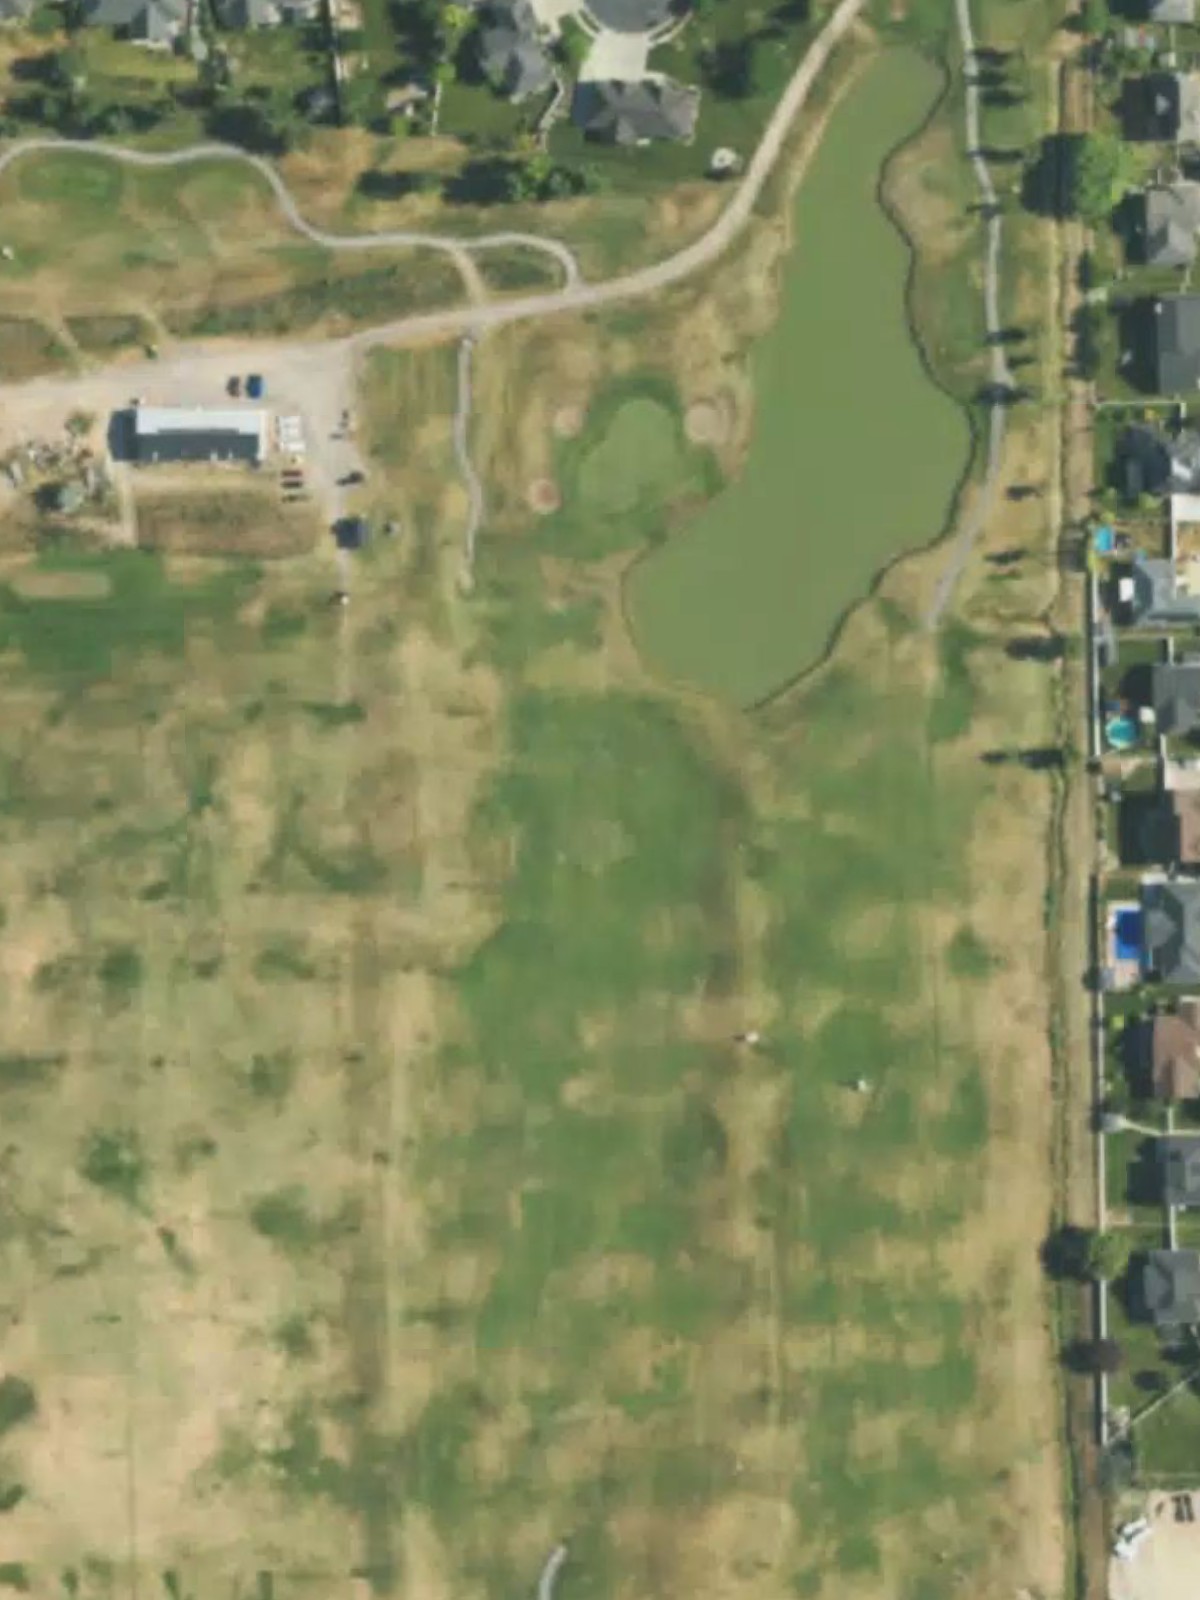
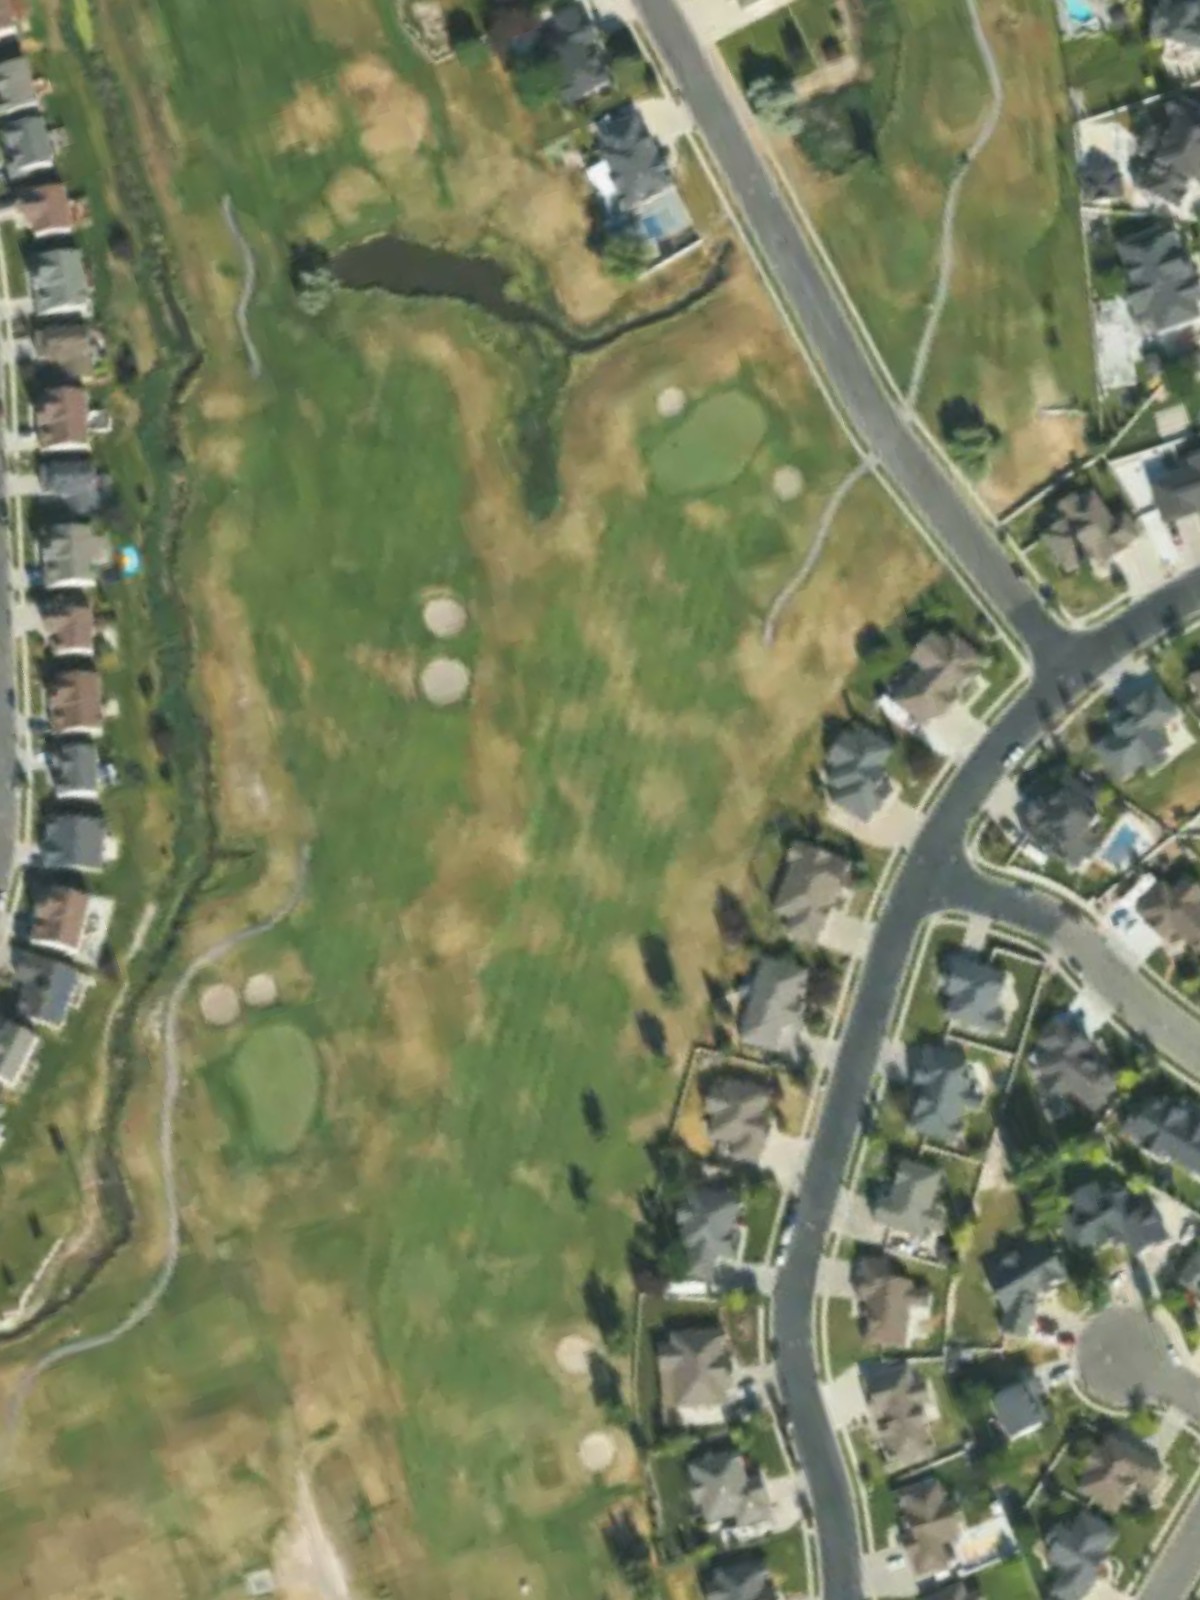
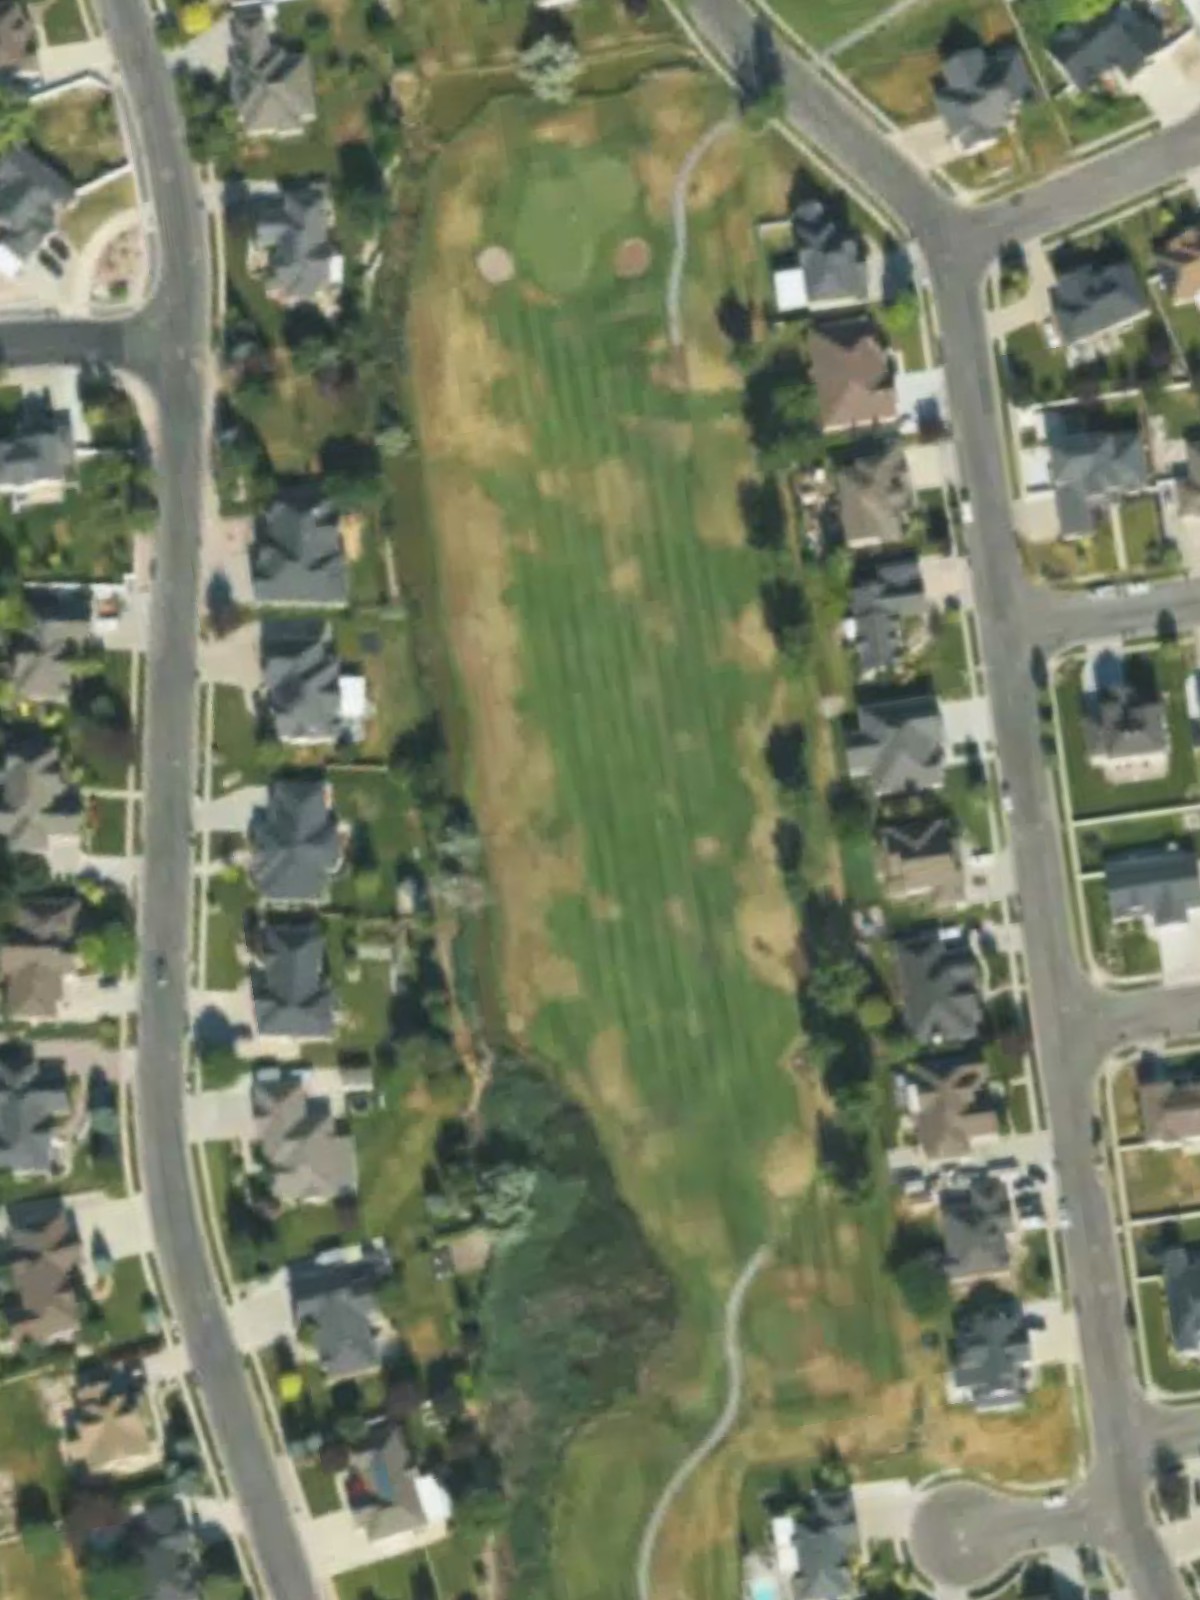
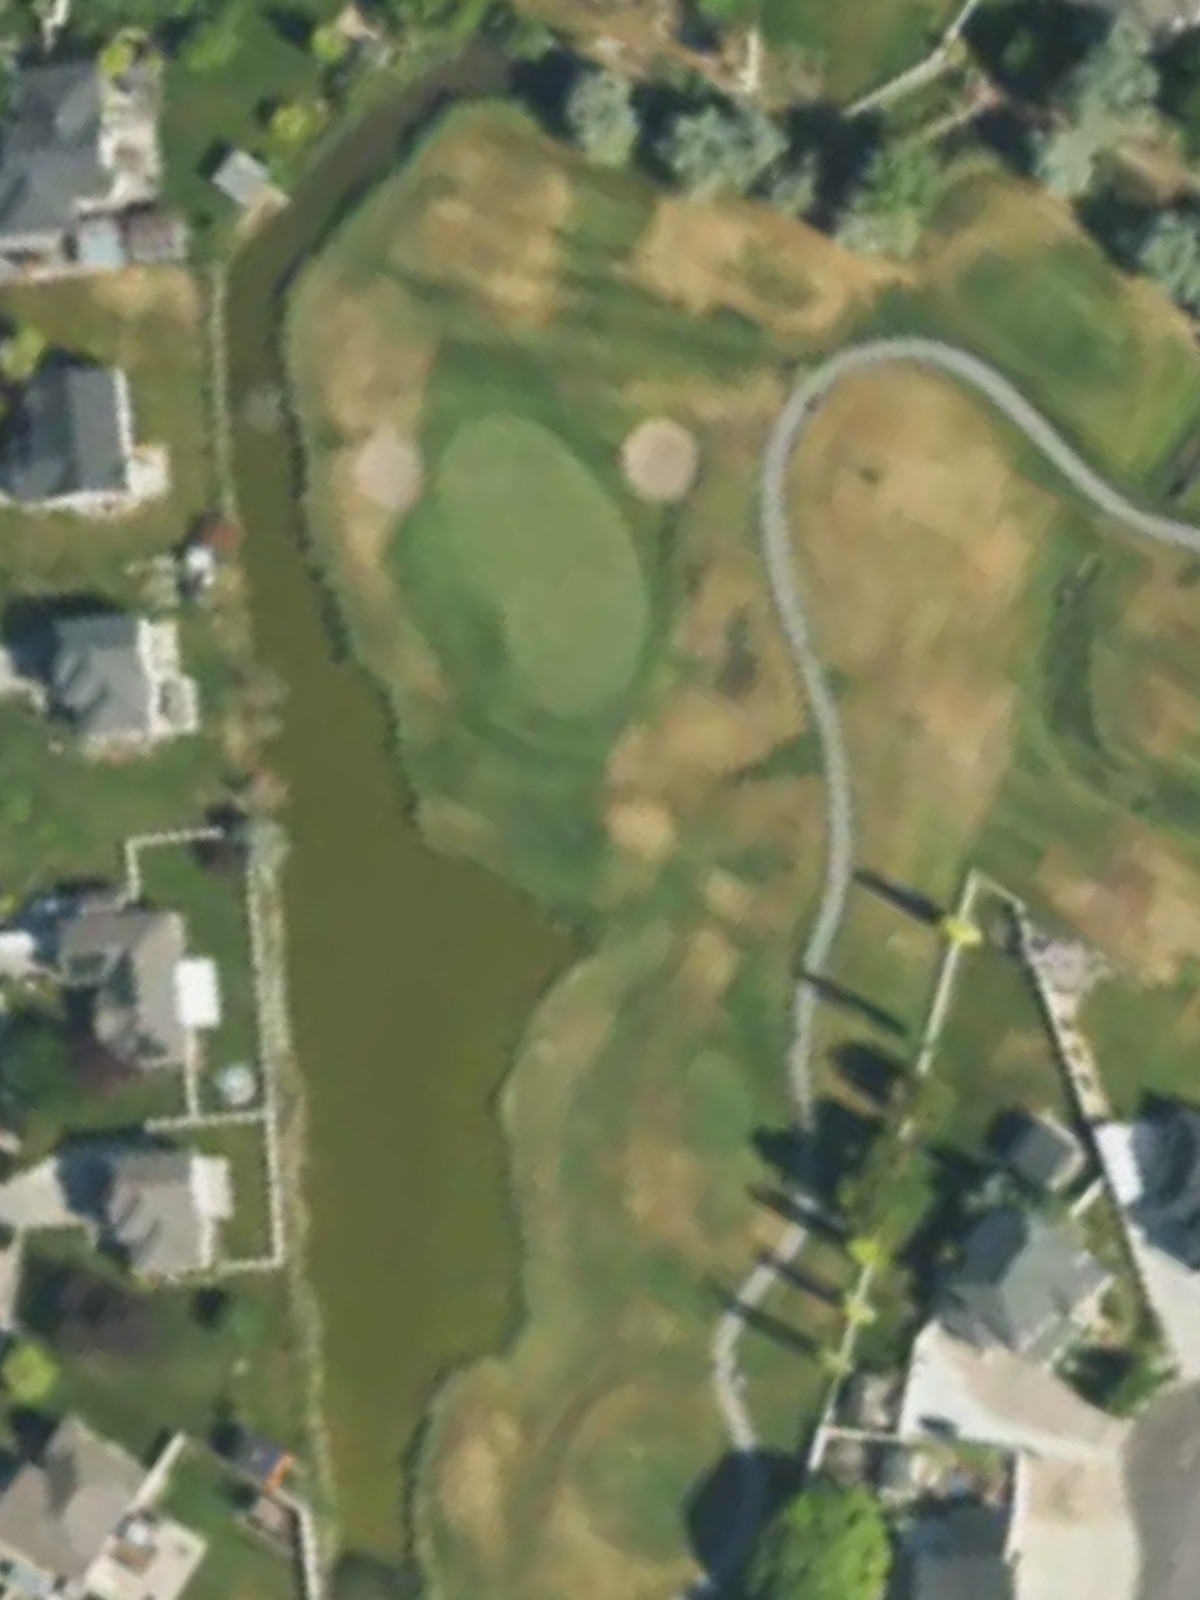
Glen Eagle Gc is an 18-hole golf course in Syracuse, UT with a par of 72. It offers 5 tee sets: black (7,045 yards, slope 128, rating 73), blue (6,629 yards, slope 123, rating 71.1), white (6,035 yards, slope 115, rating 68.1), white/gold combo (5,801 yards, slope 111, rating 67.1), gold (5,484 yards, slope 109, rating 65.5). The hardest hole is #18, a par 5 playing 530 yards from the first tee.
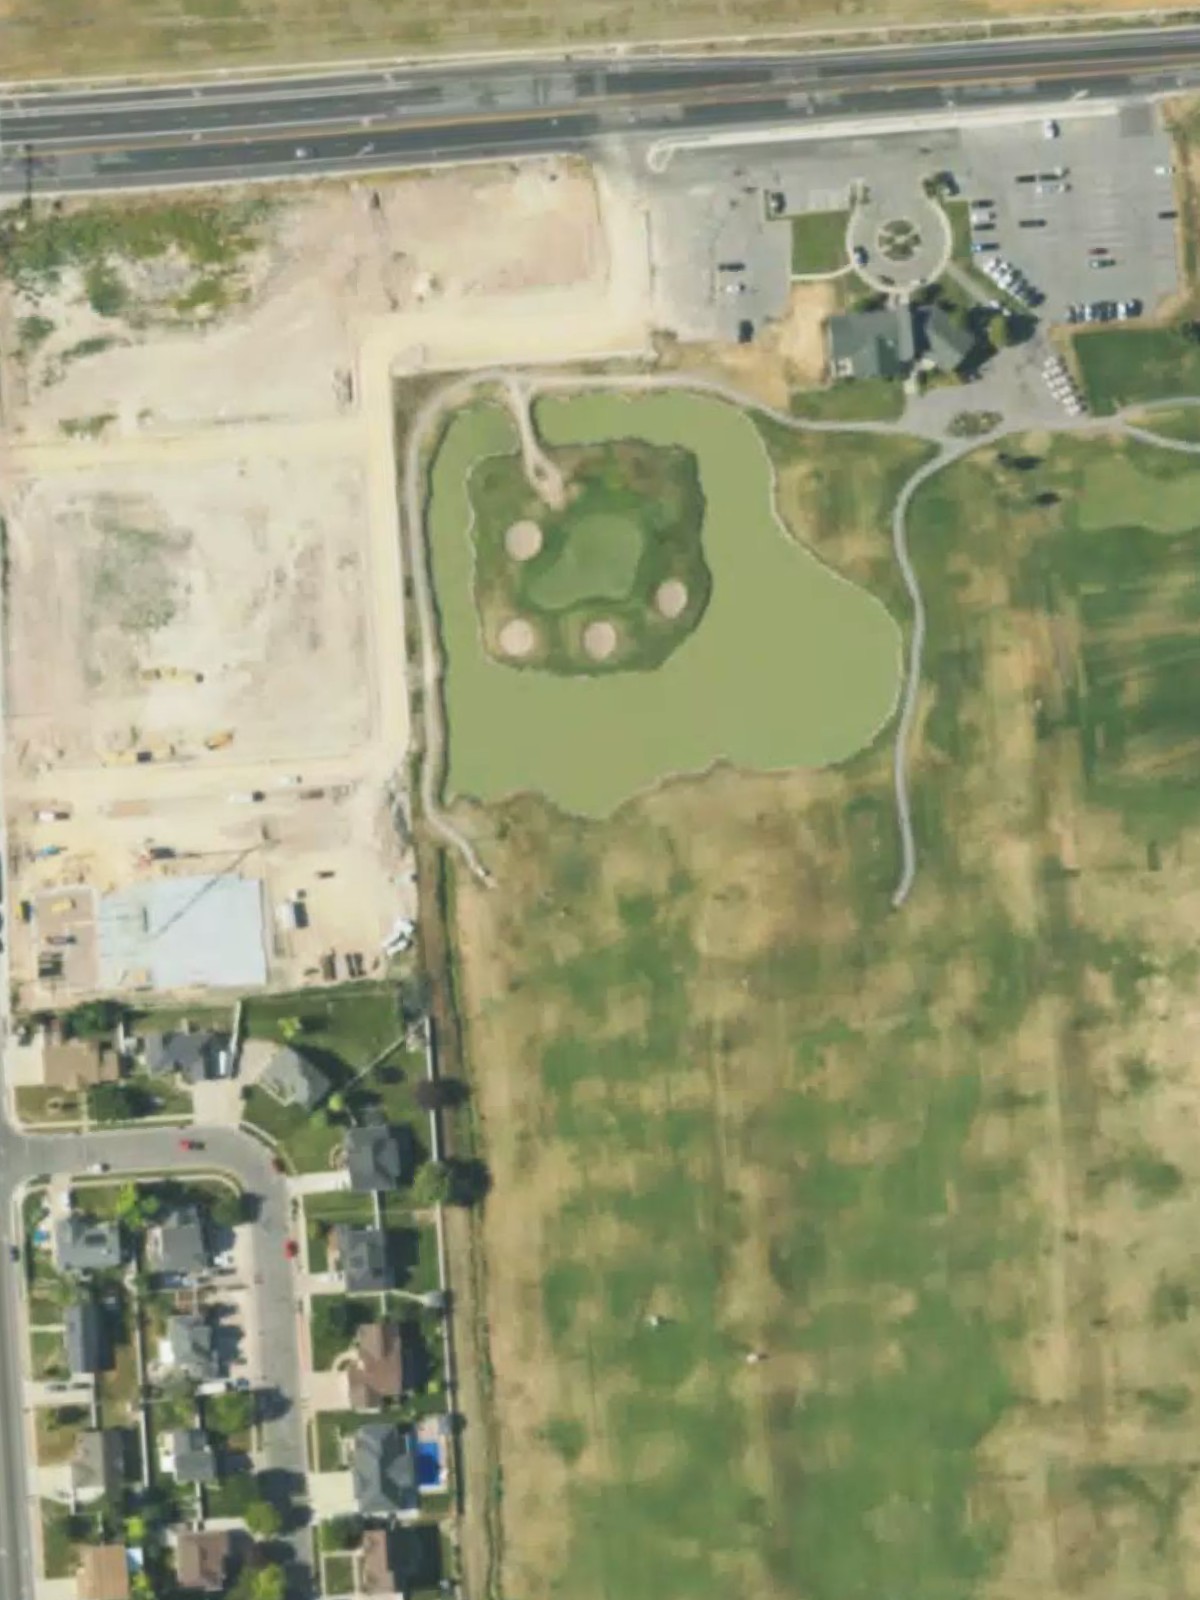
Glen Eagle Gc
Syracuse, UT
Get PDF Yardage Book
We'll email you the PDF link. No spam, ever.
Create Your Game Plan
Pick your tees, enter your bag, and get a personalized shot-by-shot strategy for every hole.
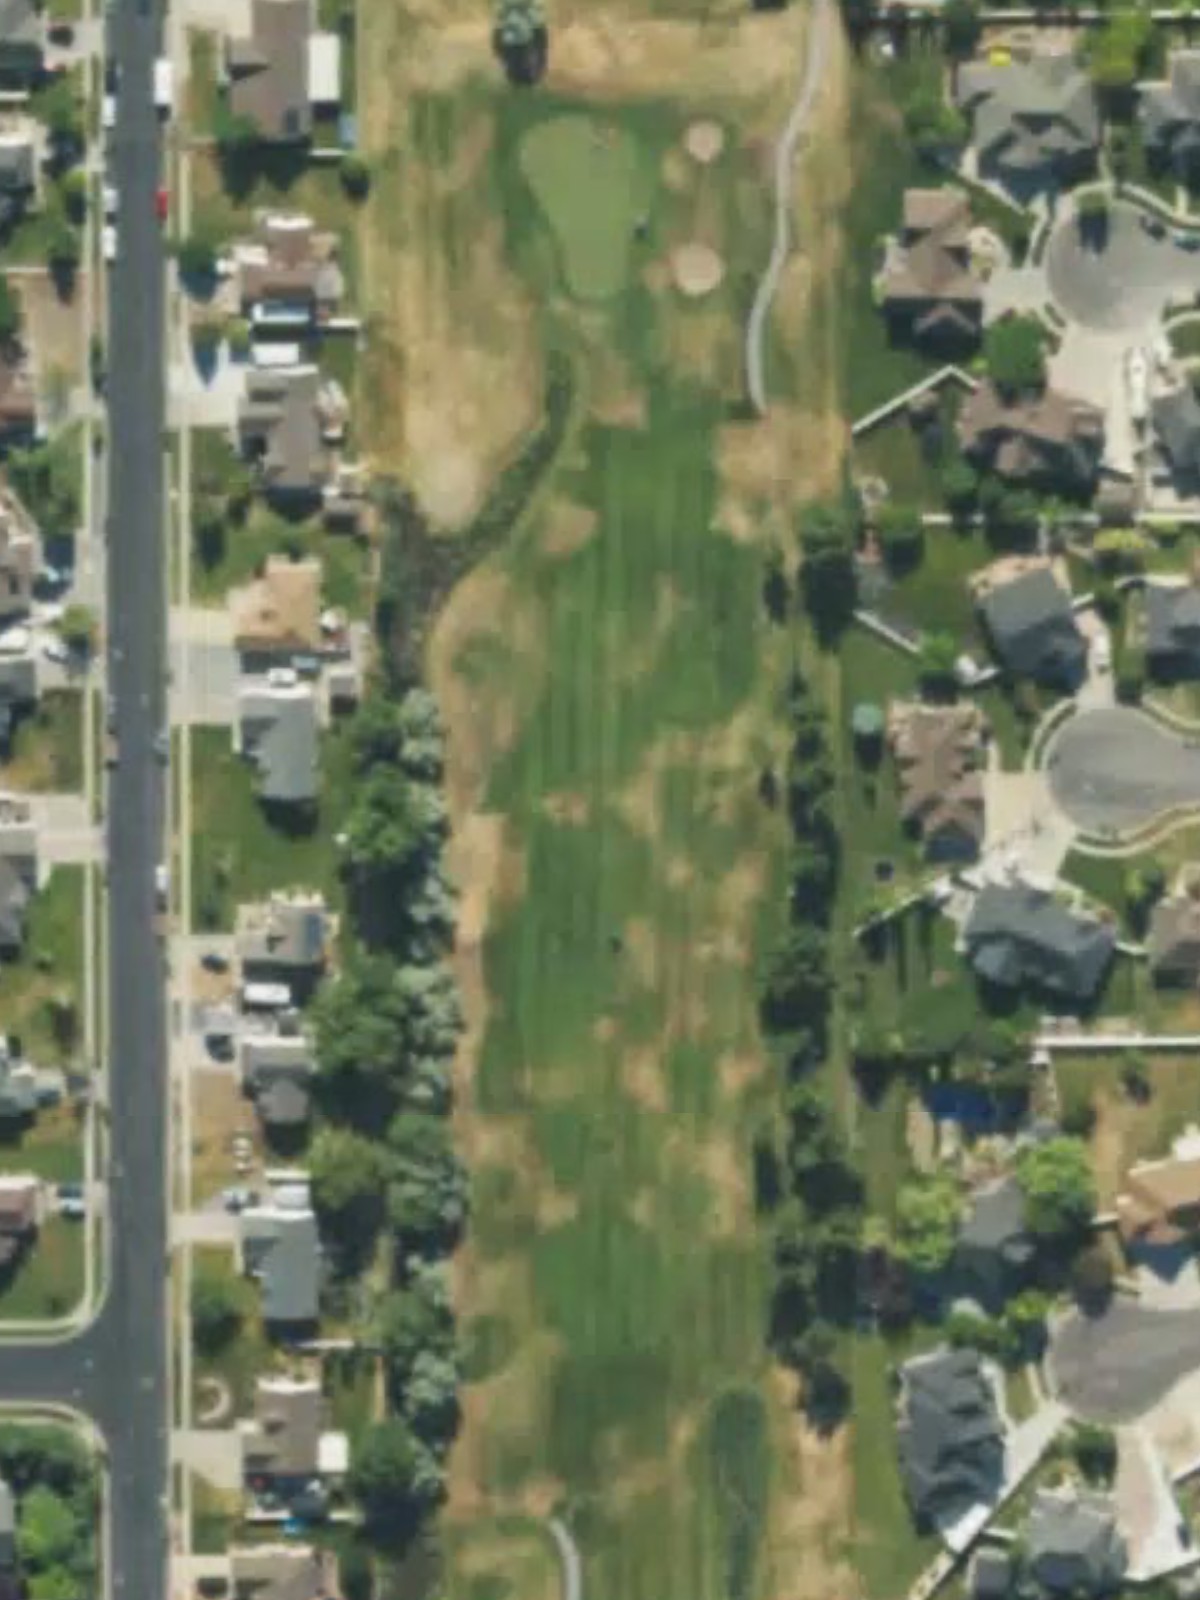
A welcoming opening par 4 with a fairly generous fairway that gradually narrows as it approaches the green. Bunkers guard the right side of the green, rewarding accuracy on the approach shot.
A short par 3 that plays downhill to a well-bunkered green. The hole's brevity belies the precision required to avoid sand on either side of the putting surface.
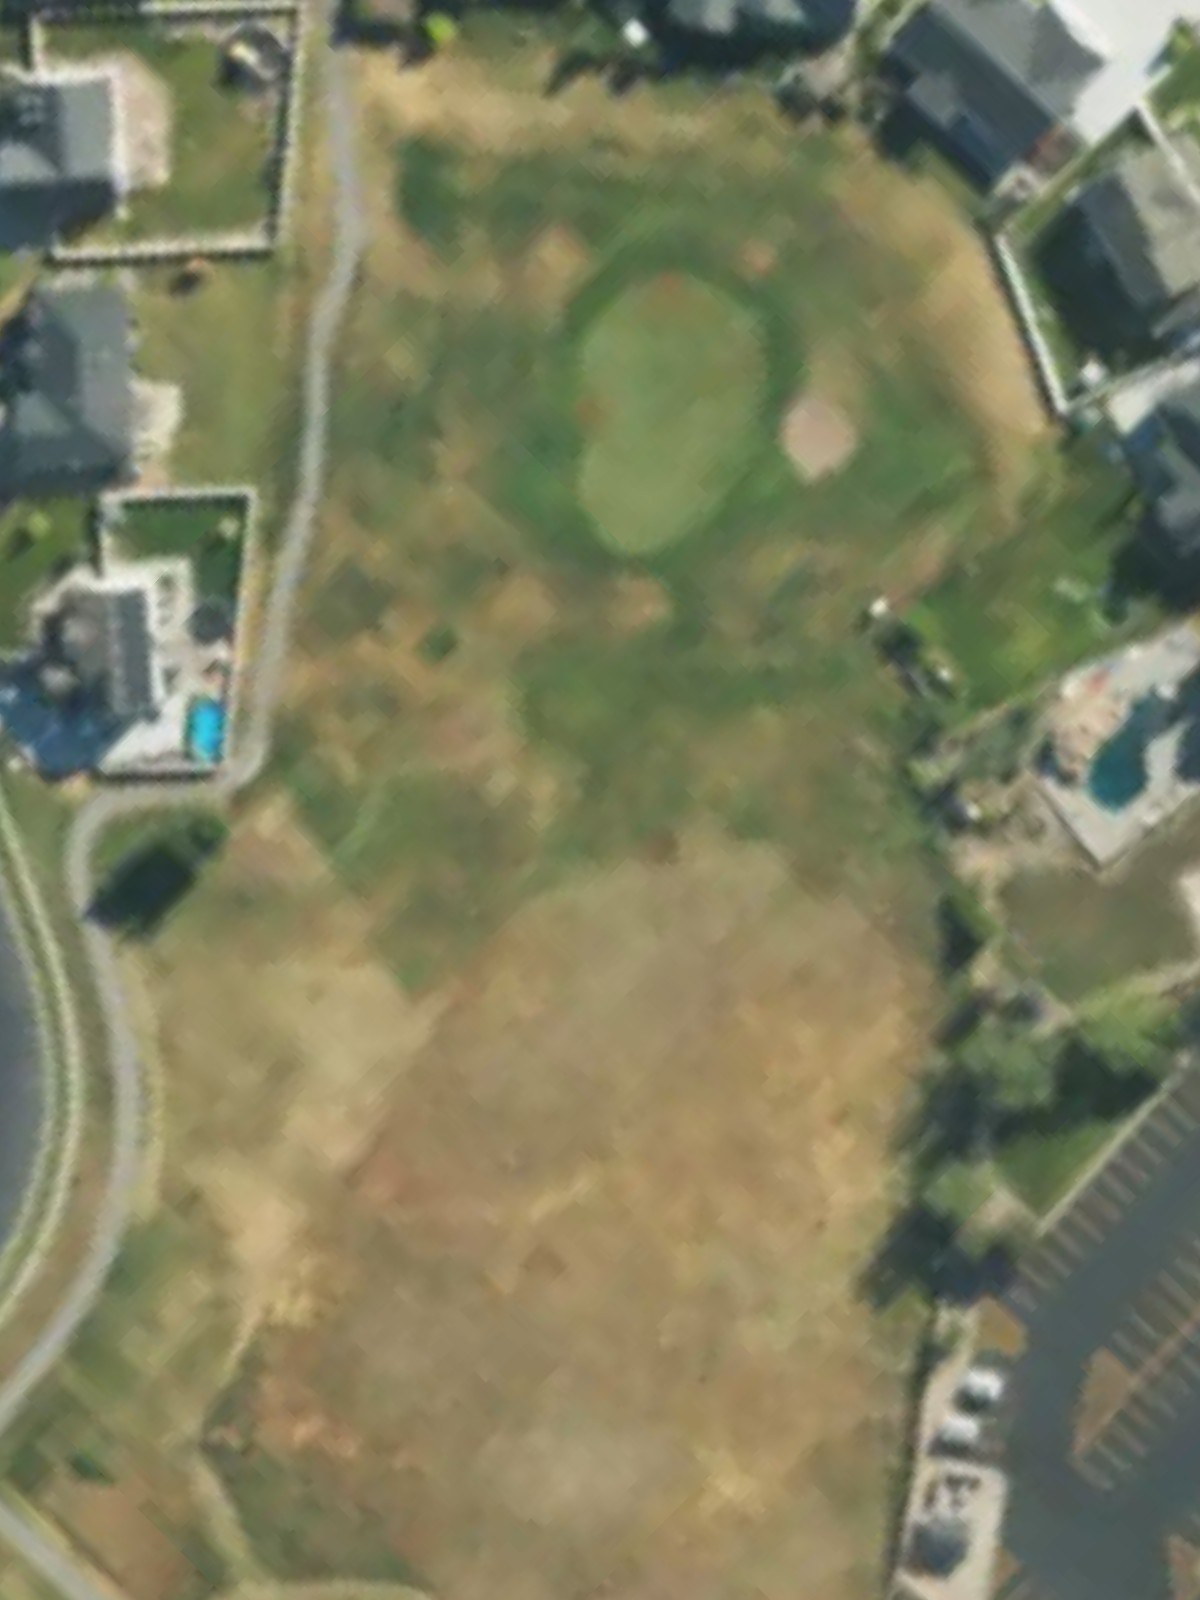
A three-shotter that curves right with fairway bunkers positioned along the dogleg. The expansive green sits protected by bunkers on the left and right, offering a risk-reward opportunity for aggressive play.
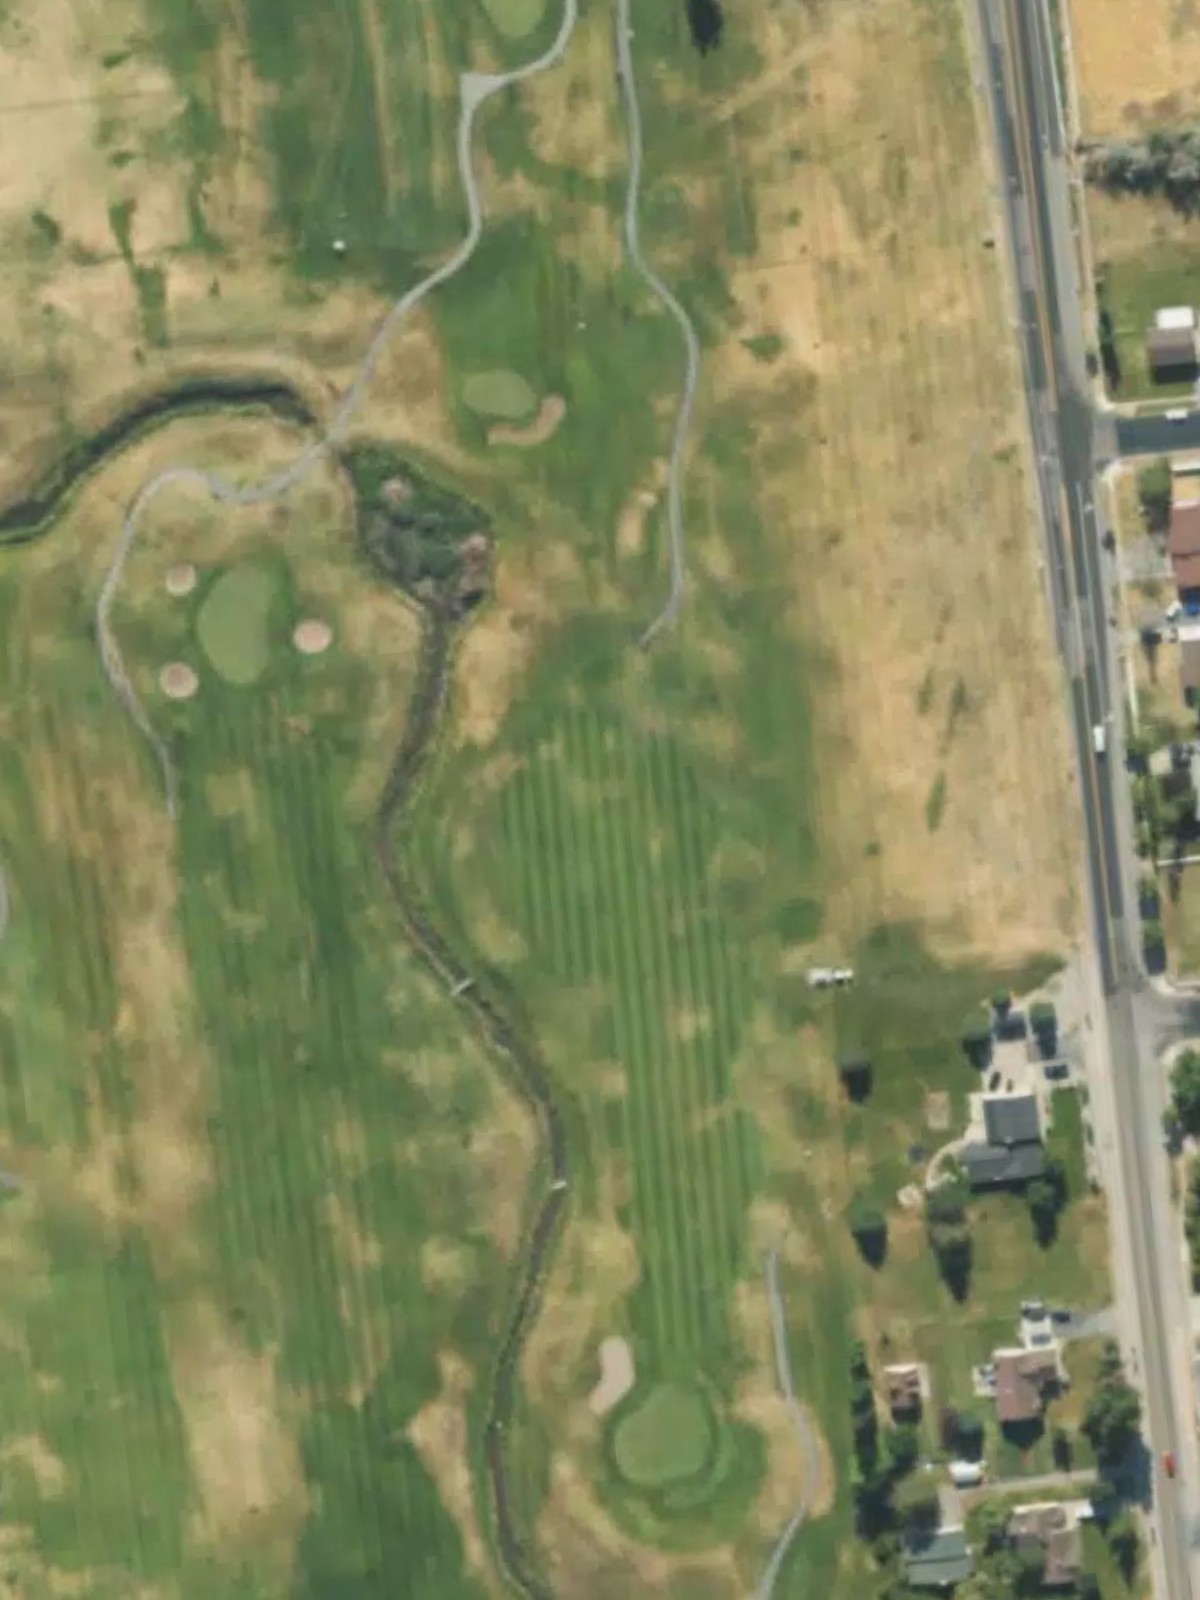
Glen Eagle's signature test, this strong par 4 plays as one of the most difficult holes on the course. Out-of-bounds lurks along the right side, while strategic bunkering demands precise placement to set up a manageable approach.
A short par 4 that offers a respite on the scorecard with a relatively open fairway and modest green. Despite its length, the hole presents a good birdie opportunity for solid play.
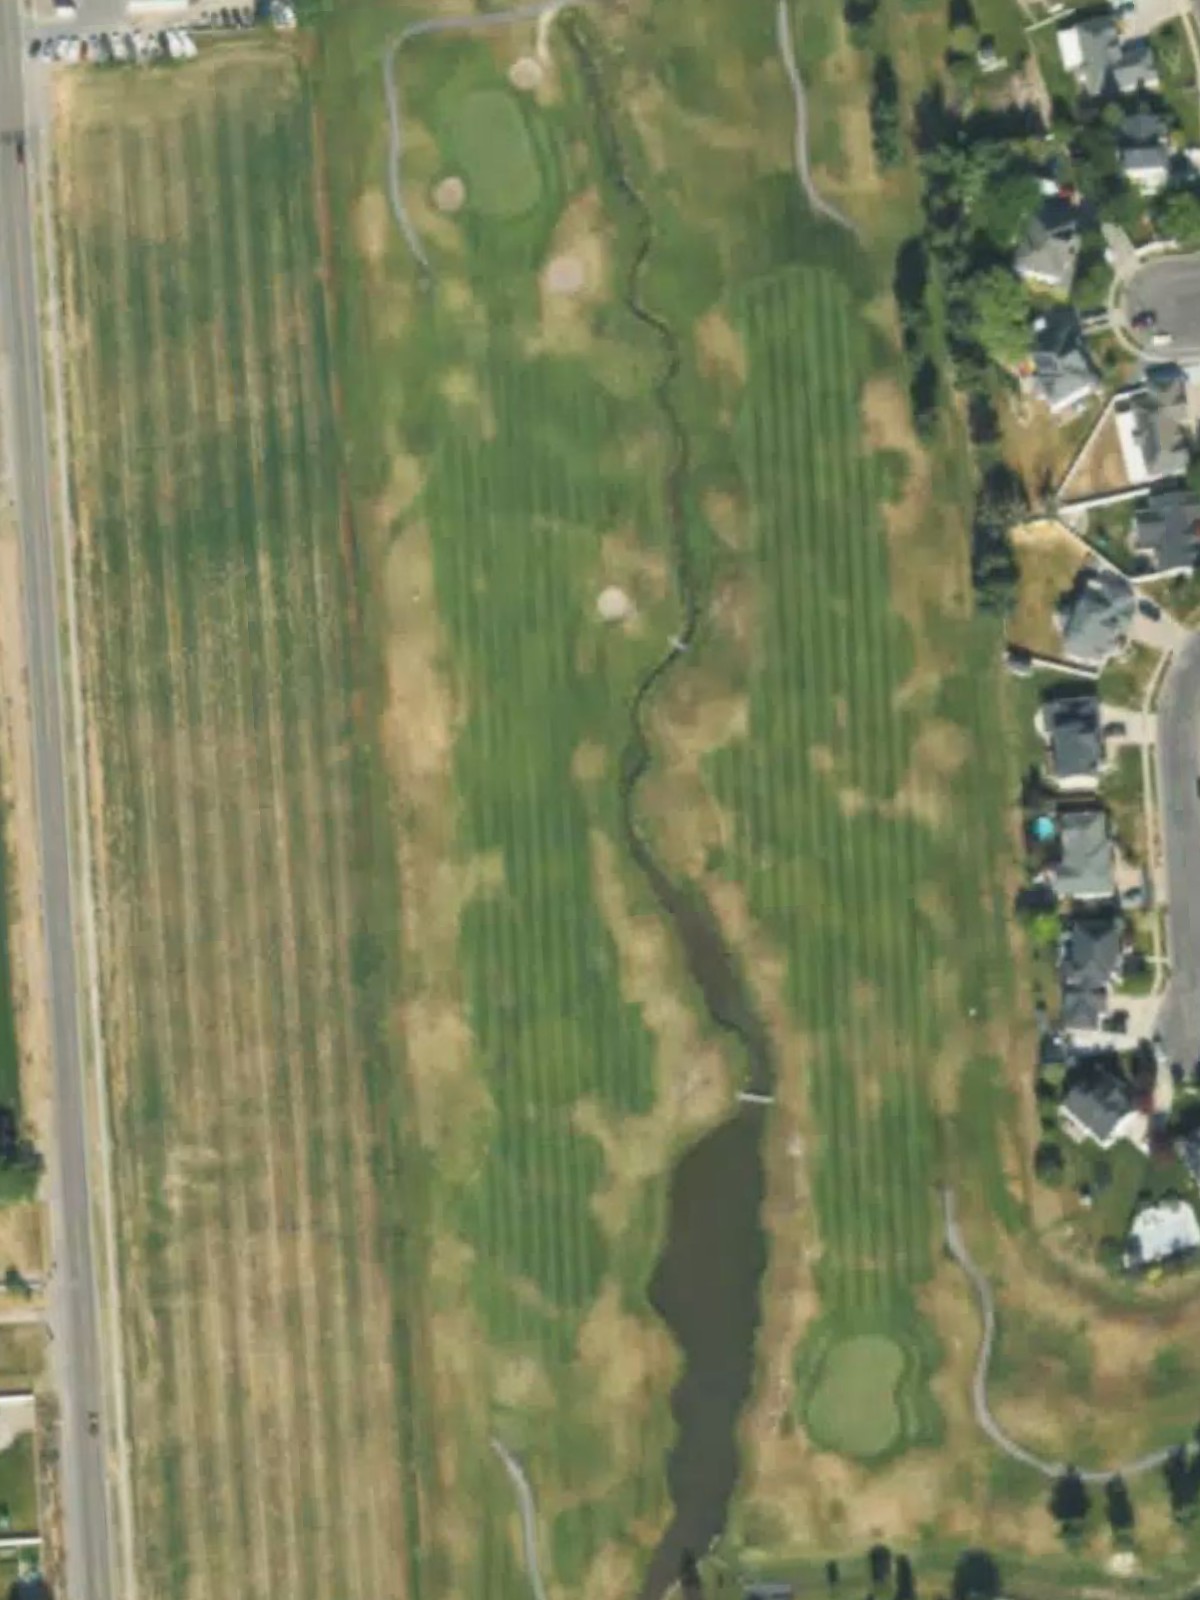
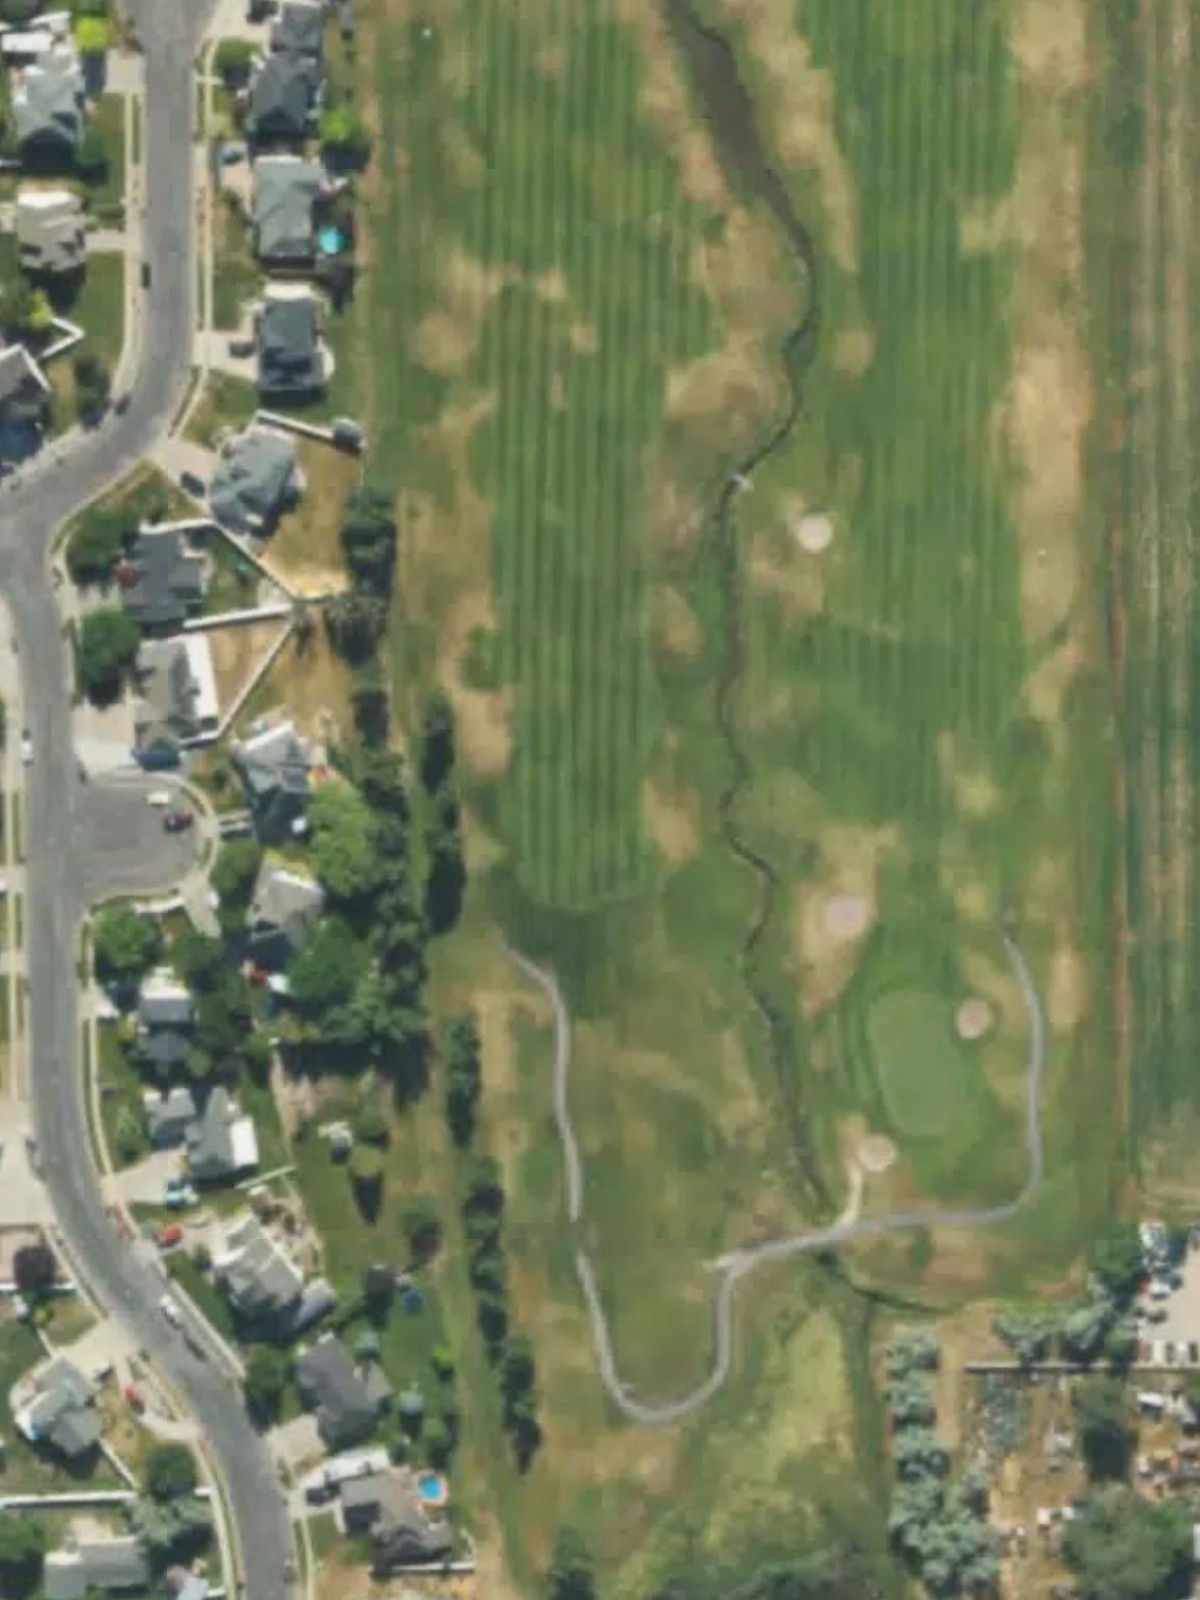
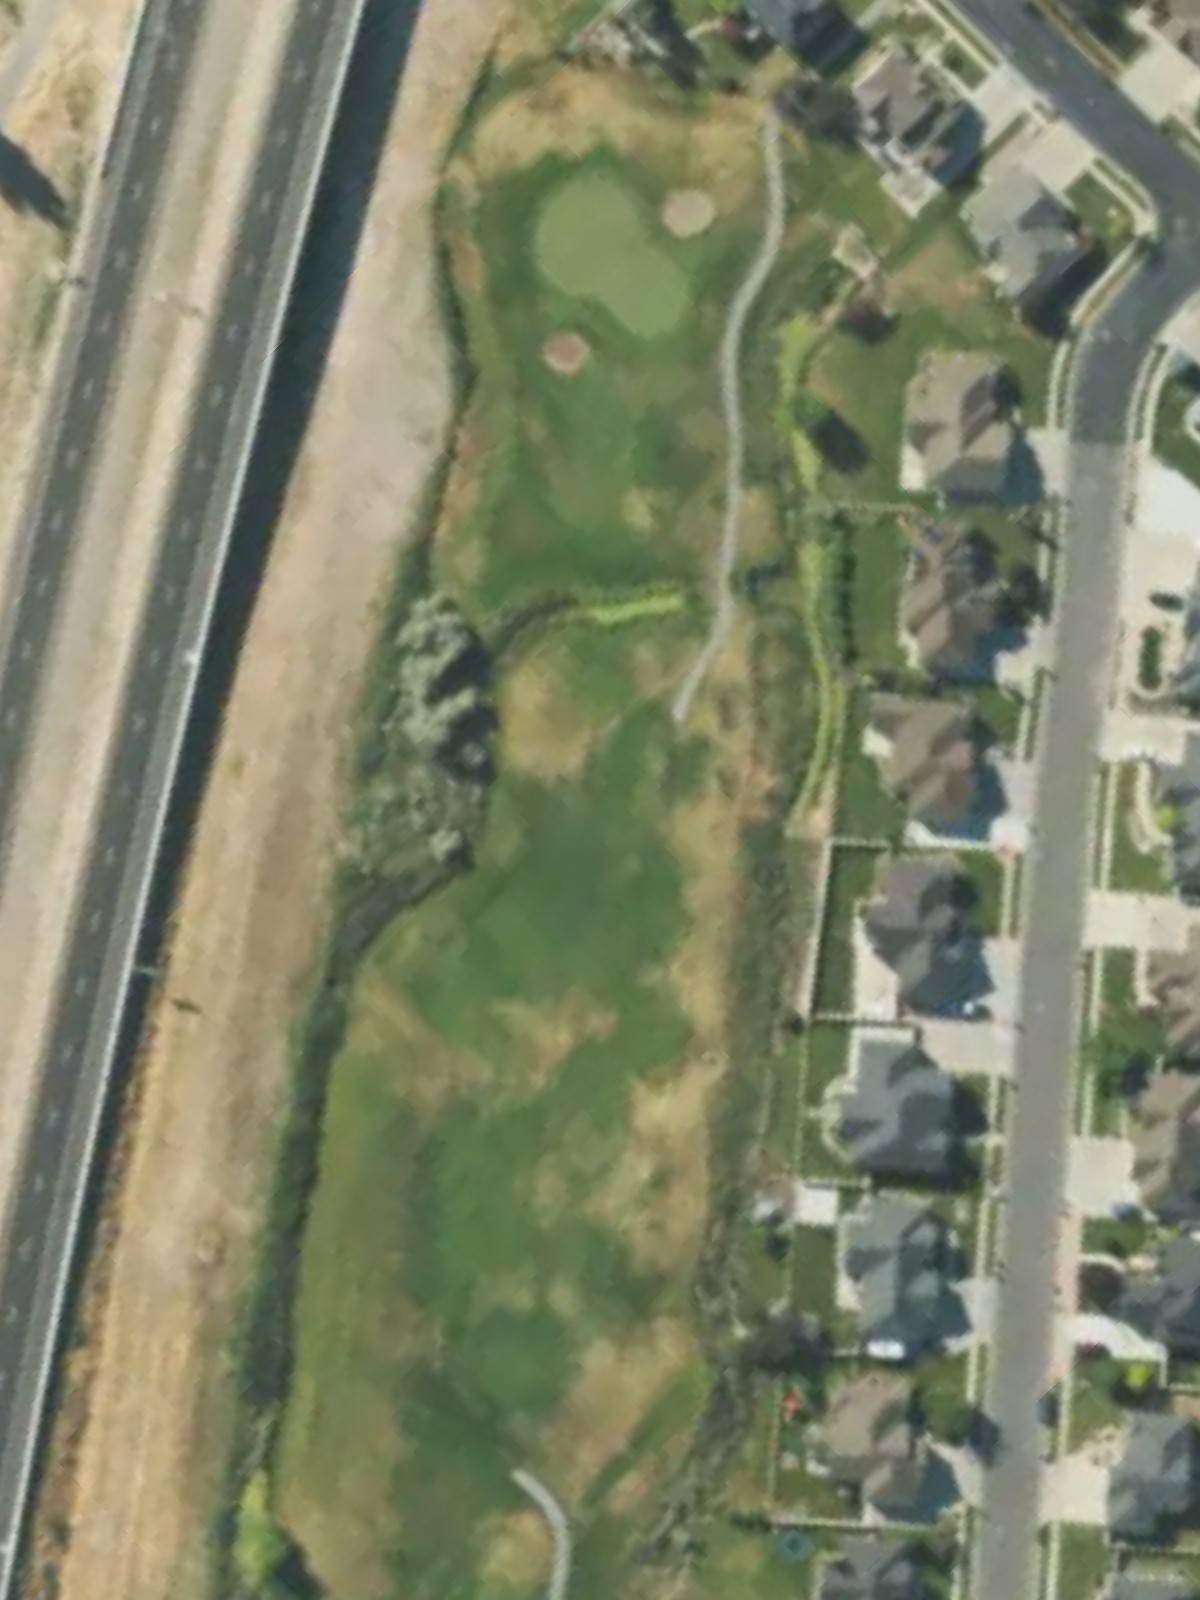
A long par 5 that requires two precise shots to reach the green in regulation. Water hazards and bunkers guard the fairway's edges, while the elevated green demands respect on the final approach.
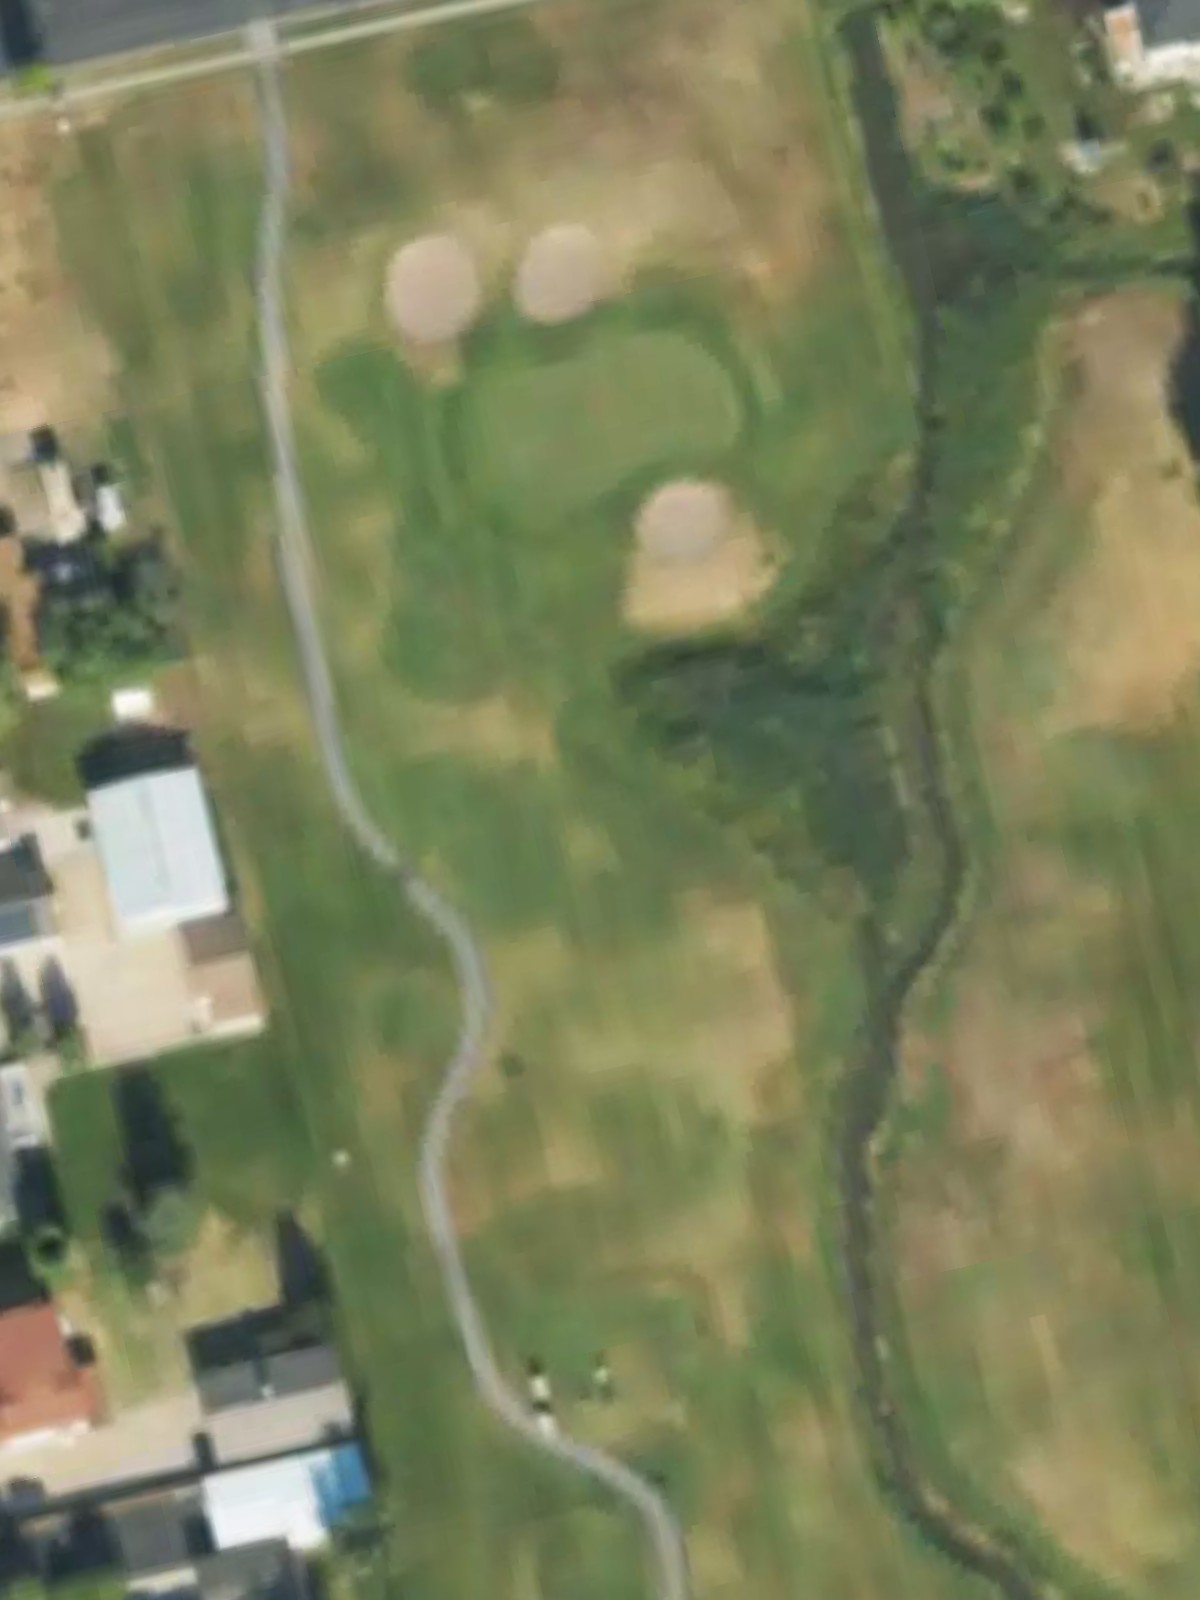
An elevated par 3 with a mid-range carry over rough terrain to a narrow, well-defended green. Bunkers frame both sides of the putting surface, making accuracy from the tee essential.
A straight par 4 with a fairway that tightens near the green, protected by bunkers on both sides. The hole's moderate length is offset by the challenging approach shot to a demanding green complex.
A solid par 4 with slight dogleg characteristics and bunkers strategically placed to catch wayward shots. Water hazards on the left side of the fairway penalize any push or pull off the tee.
An uphill par 4 that plays longer than its yardage suggests, with bunkers guarding the fairway's landing zone. The elevated green is protected on the right, demanding a well-struck second shot.
A generous three-shotter that doglegs left with open fairway space inviting aggressive play. Bunkers and water hazards define the turning point of the dogleg, setting up a strategic decision on the second shot.
One of Glen Eagle's most punishing par 4s, this hole demands precision from tee to green with out-of-bounds and rough terrain penalizing errant shots. The heavily bunkered green requires an accurate approach to avoid trouble.
A short par 3 to a well-protected green surrounded by bunkers and rough framing. Despite modest yardage, the tight target and strategic bunkering create a deceptively challenging one-shotter.
A benign par 4 with a wide fairway and generous green complex offering scoring opportunities. The relatively open design provides a confidence-building hole before the course's final stretch.
A mid-length par 3 to a well-bunkered green with water hazards left and rough terrain right. The hole's moderate yardage is compromised by the need for a precise tee shot to avoid multiple hazards.

A strong par 4 that plays downhill with bunkers guarding the fairway's strategic landing area. The green sits in a natural hollow, protected left and right, requiring a well-controlled approach shot.
A scenic short par 4 with relatively open fairway space and a modest, receptive green. The hole's approachable design provides a welcome break before the demanding finishing hole.
Glen Eagle's signature closer, this imposing par 5 demands two powerful shots to reach the green with water and bunkers defining the entire layout. The dramatic finishing hole with its sloped green rewards bold play while punishing any hesitation.
Scorecard
| Hole | 1 | 2 | 3 | 4 | 5 | 6 | 7 | 8 | 9 | Out | 10 | 11 | 12 | 13 | 14 | 15 | 16 | 17 | 18 | In | Tot |
|---|---|---|---|---|---|---|---|---|---|---|---|---|---|---|---|---|---|---|---|---|---|
| Par | 4 | 3 | 5 | 4 | 4 | 5 | 3 | 4 | 4 | 36 | 4 | 5 | 4 | 3 | 4 | 3 | 4 | 4 | 5 | 36 | 72 |
| HCP | 16 | 12 | 6 | 2 | 18 | 4 | 14 | 8 | 10 | 13 | 9 | 3 | 15 | 17 | 11 | 5 | 7 | 1 | |||
| black | 395 | 180 | 515 | 450 | 375 | 550 | 215 | 415 | 435 | 3530 | 420 | 545 | 445 | 180 | 365 | 200 | 430 | 370 | 560 | 3515 | 7045 |
| blue | 386 | 160 | 500 | 420 | 350 | 500 | 200 | 400 | 405 | 3321 | 415 | 525 | 408 | 160 | 340 | 190 | 380 | 360 | 530 | 3308 | 6629 |
| white | 335 | 150 | 450 | 410 | 340 | 440 | 165 | 370 | 400 | 3060 | 365 | 470 | 360 | 130 | 320 | 180 | 340 | 320 | 490 | 2975 | 6035 |
| white/gold combo | 335 | 150 | 450 | 373 | 340 | 440 | 130 | 348 | 365 | 2931 | 345 | 470 | 315 | 130 | 320 | 170 | 340 | 305 | 475 | 2870 | 5801 |
| gold | 295 | 115 | 430 | 373 | 295 | 388 | 130 | 348 | 365 | 2739 | 345 | 430 | 315 | 120 | 285 | 170 | 300 | 305 | 475 | 2745 | 5484 |