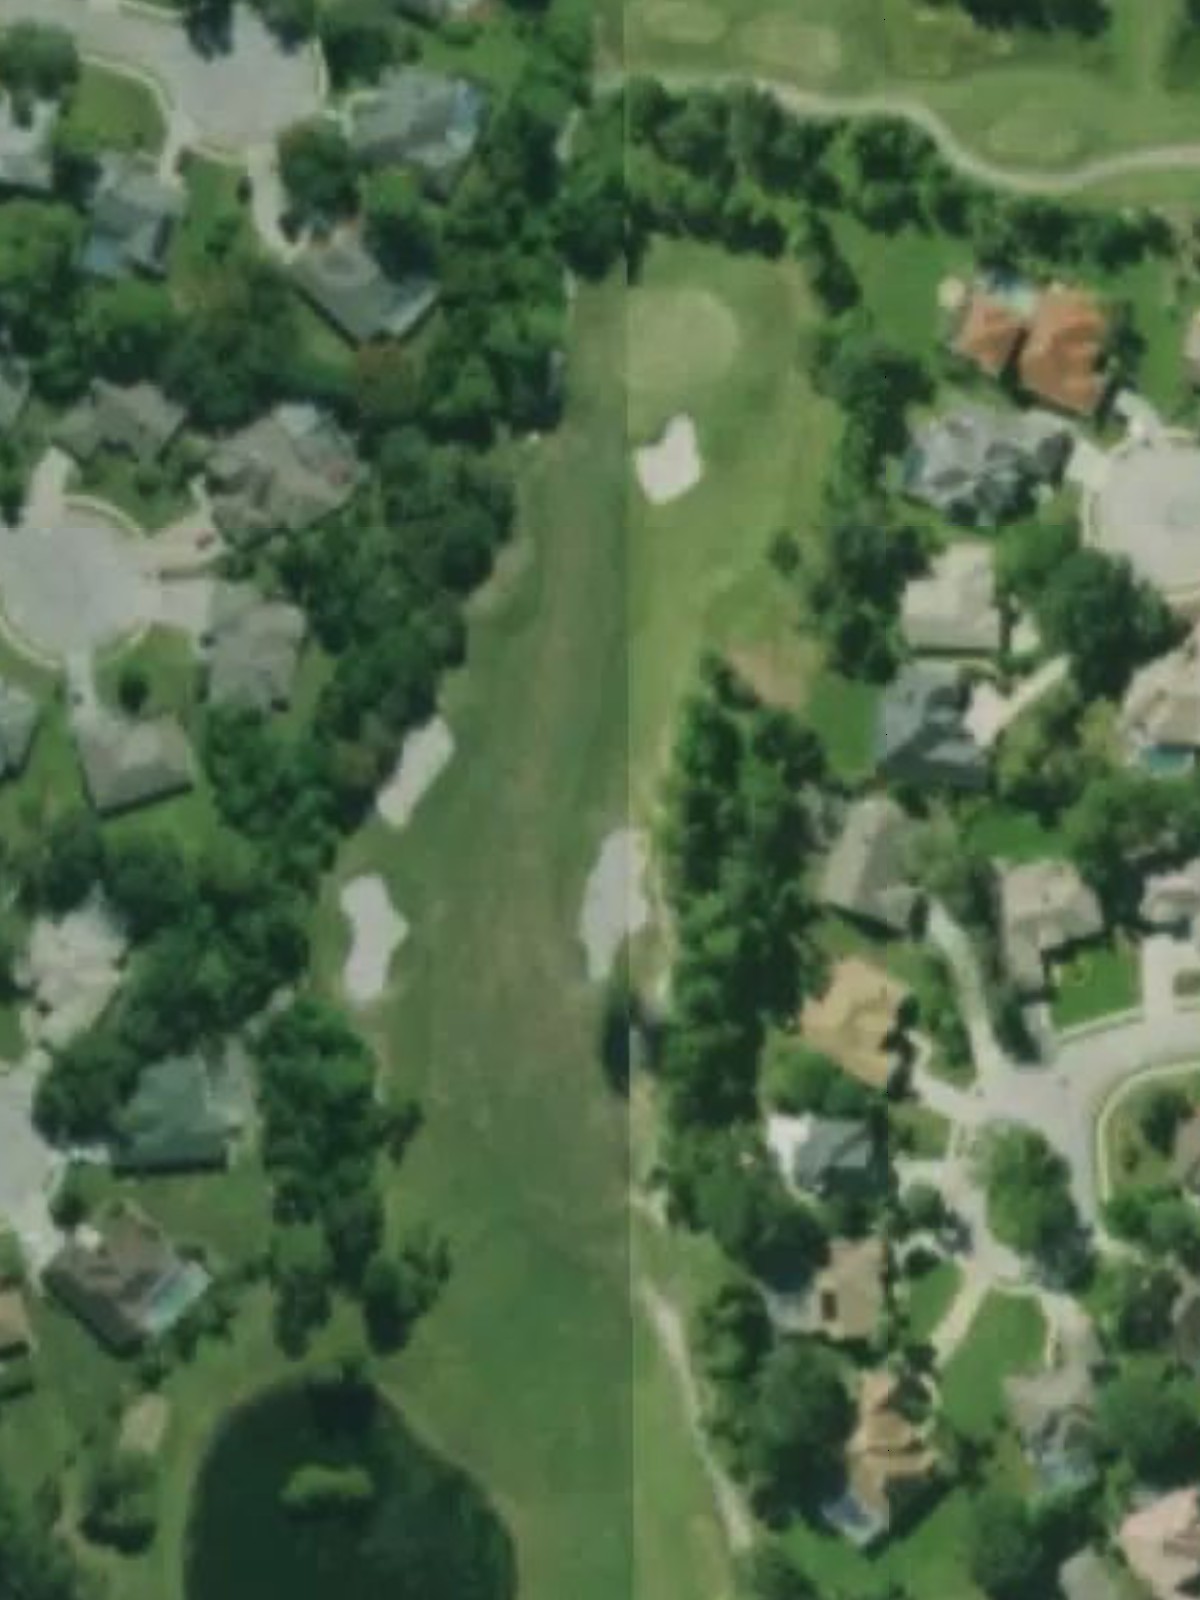
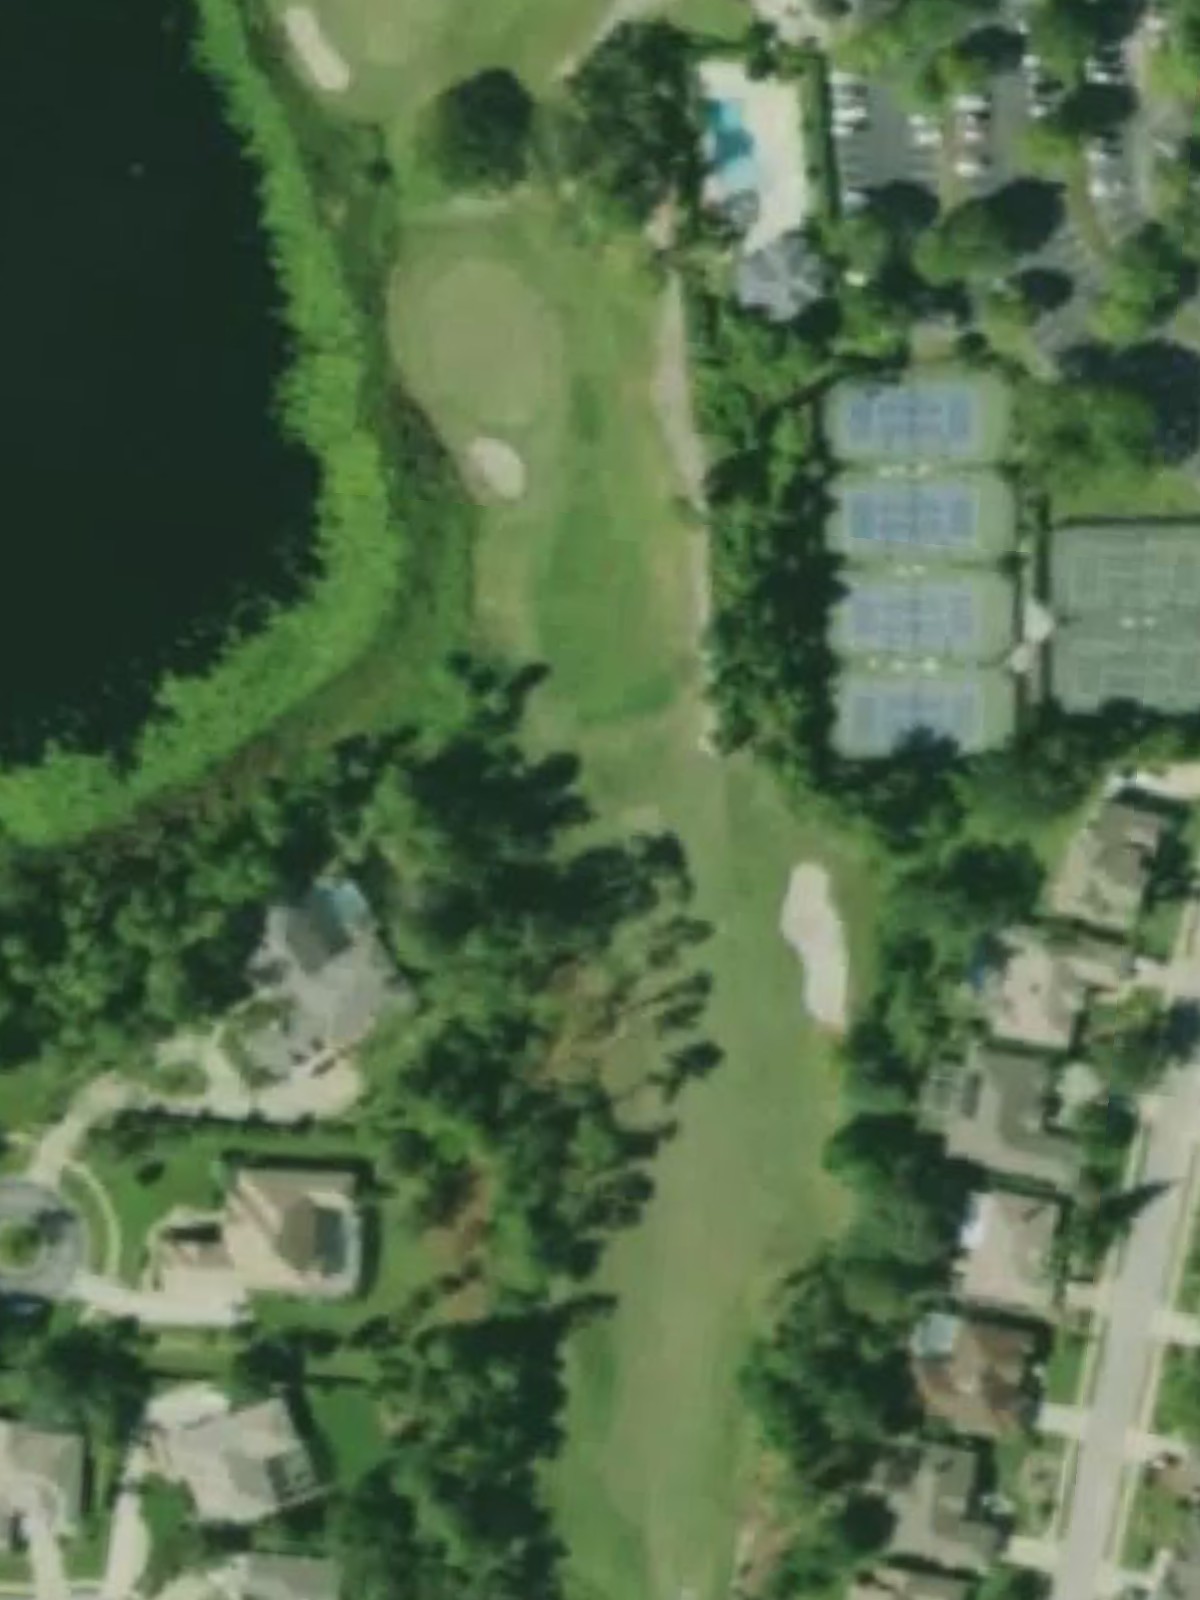
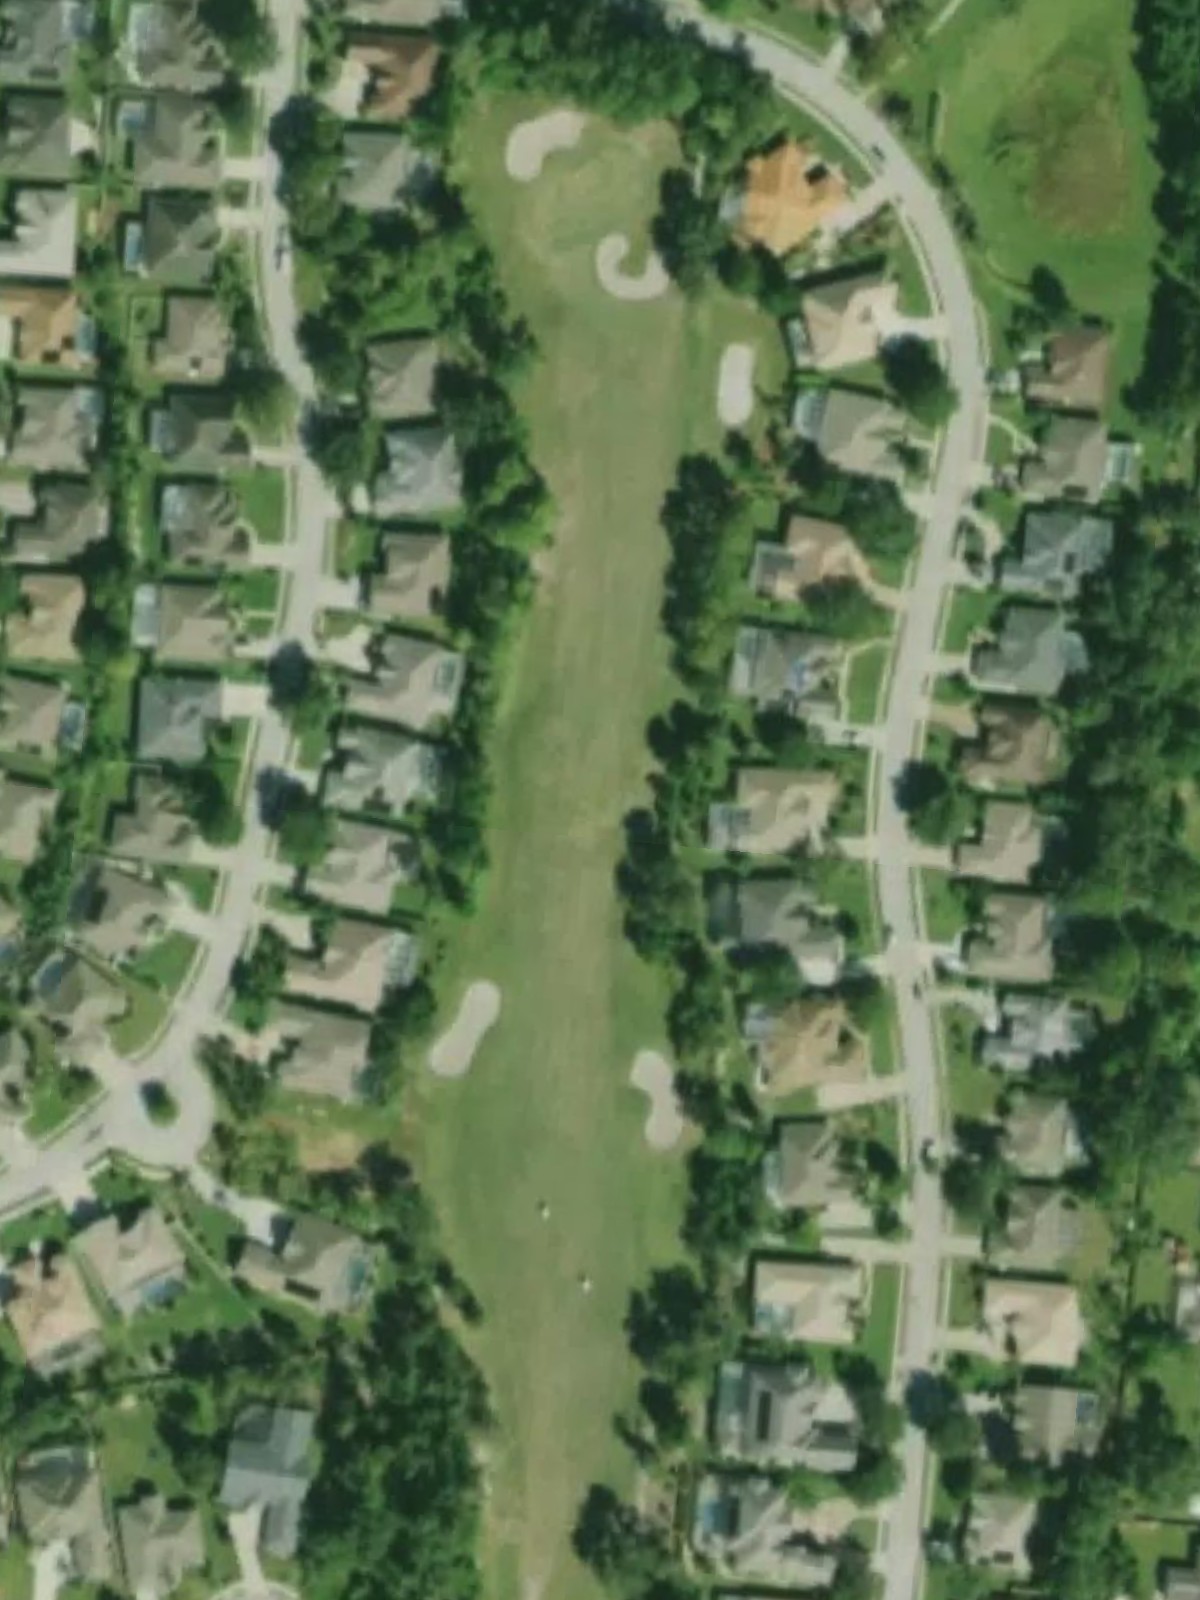
Glen Abbey Golf Club is an 18-hole golf course in Debary, FL with a par of 72. It offers 3 tee sets: blue (6,417 yards, slope 127, rating 71.4), white (5,899 yards, slope 122, rating 68.8), gold (5,398 yards, slope 114, rating 66.4). The hardest hole is #17, a par 4 playing 401 yards from the first tee.
Glen Abbey Golf Club
Debary, FL
Get PDF Yardage Book
We'll email you the PDF link. No spam, ever.
Create Your Game Plan
Pick your tees, enter your bag, and get a personalized shot-by-shot strategy for every hole.
A straightforward par 4 that invites an aggressive tee shot down a relatively open fairway. The approach narrows as it approaches the green, which is flanked by bunkers on the right side, demanding accuracy on the second shot.
A long par 5 that rewards length off the tee with a chance to reach in two. Water hazards frame the left side of the hole, while the fairway opens up for those looking to lay back and approach the well-bunkered green.
A short par 3 with a straightforward approach to a receptive green. Minimal hazards make this an excellent birdie opportunity, though placement is important to avoid the surrounding bunkers.
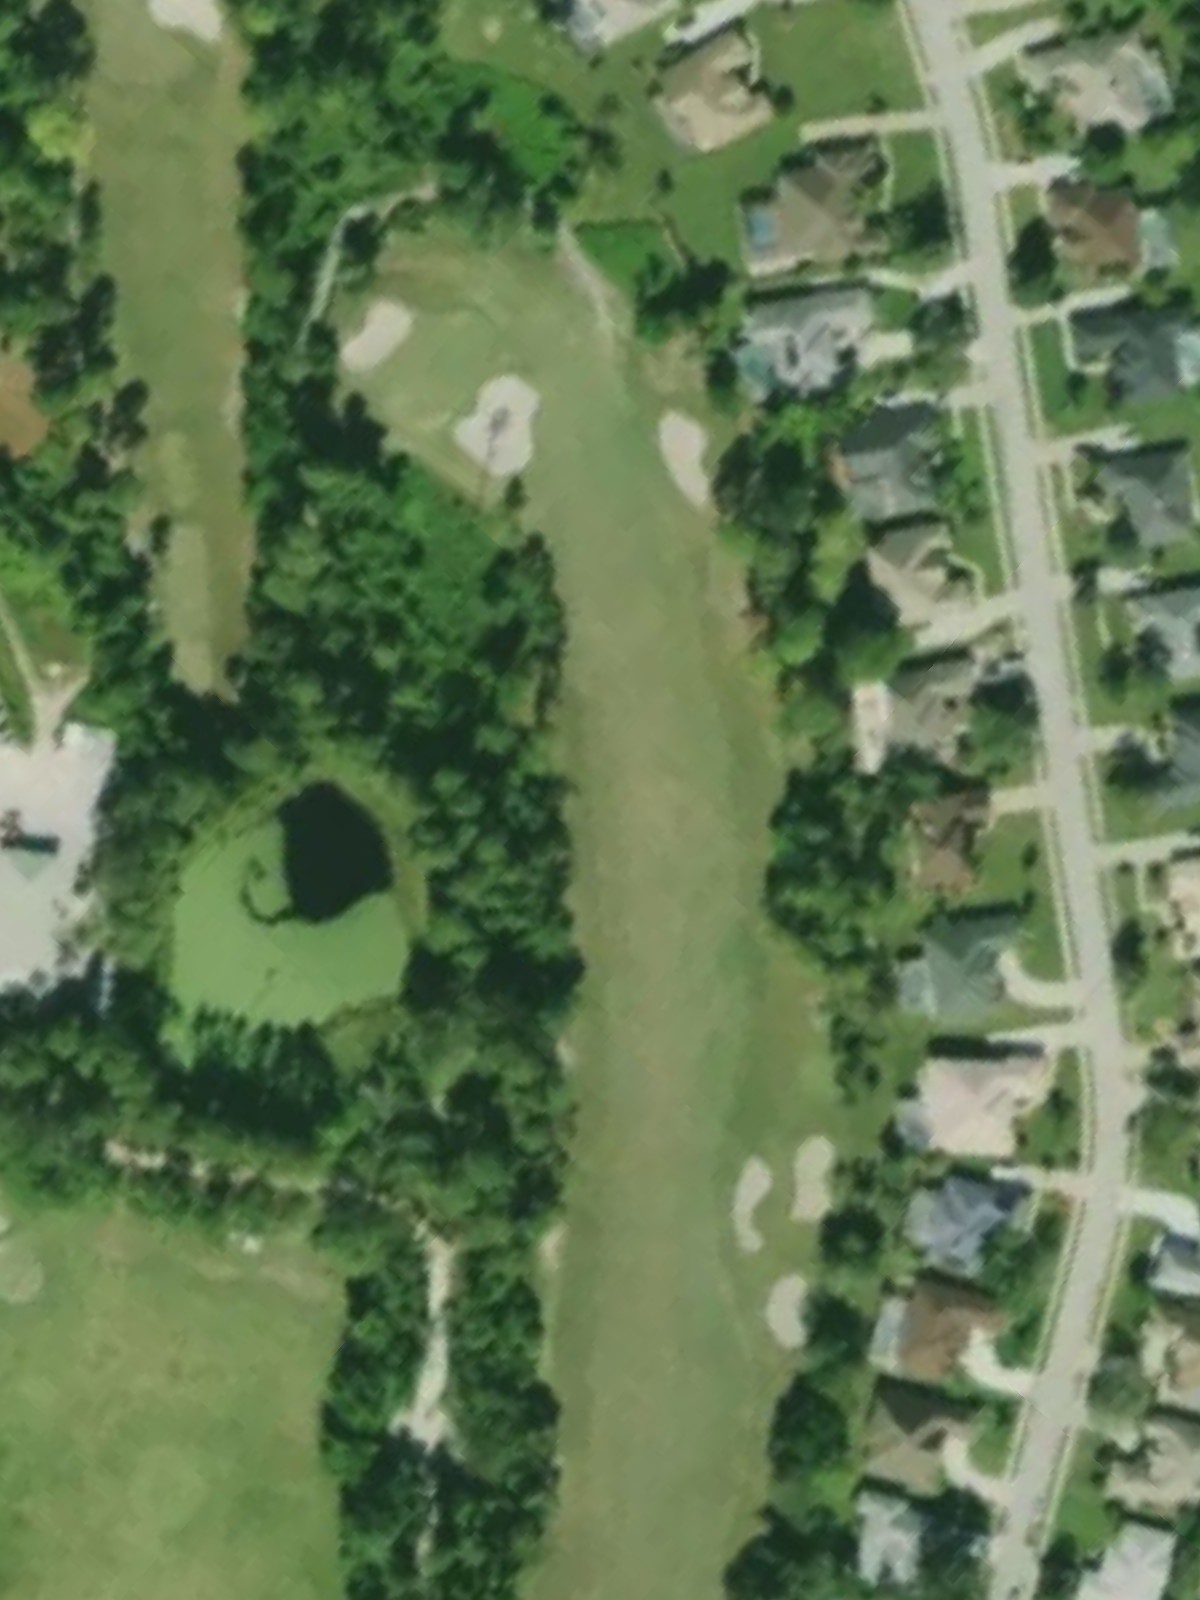
The course's second-hardest hole, this par 4 presents a demanding test from the tee with out of bounds threatening down the right side. The fairway tightens considerably near the green, which sits protected by bunkers and requires a precise approach.
A short par 4 that plays downhill toward the green, offering birdie potential for aggressive players. Water guards the left side of the fairway, while bunkers frame the putting surface on both sides.

A mid-length par 3 with a well-guarded green surrounded by bunkers on all sides. The hole's challenge lies in finding the right elevation and distance to avoid the sand and locate the correct tier of the green.
A lengthy par 5 that doglegs slightly right with fairway bunkers positioned to catch aggressive tee shots. The back nine's opening hole features water down the left side and demands two solid strikes to position for the final approach.
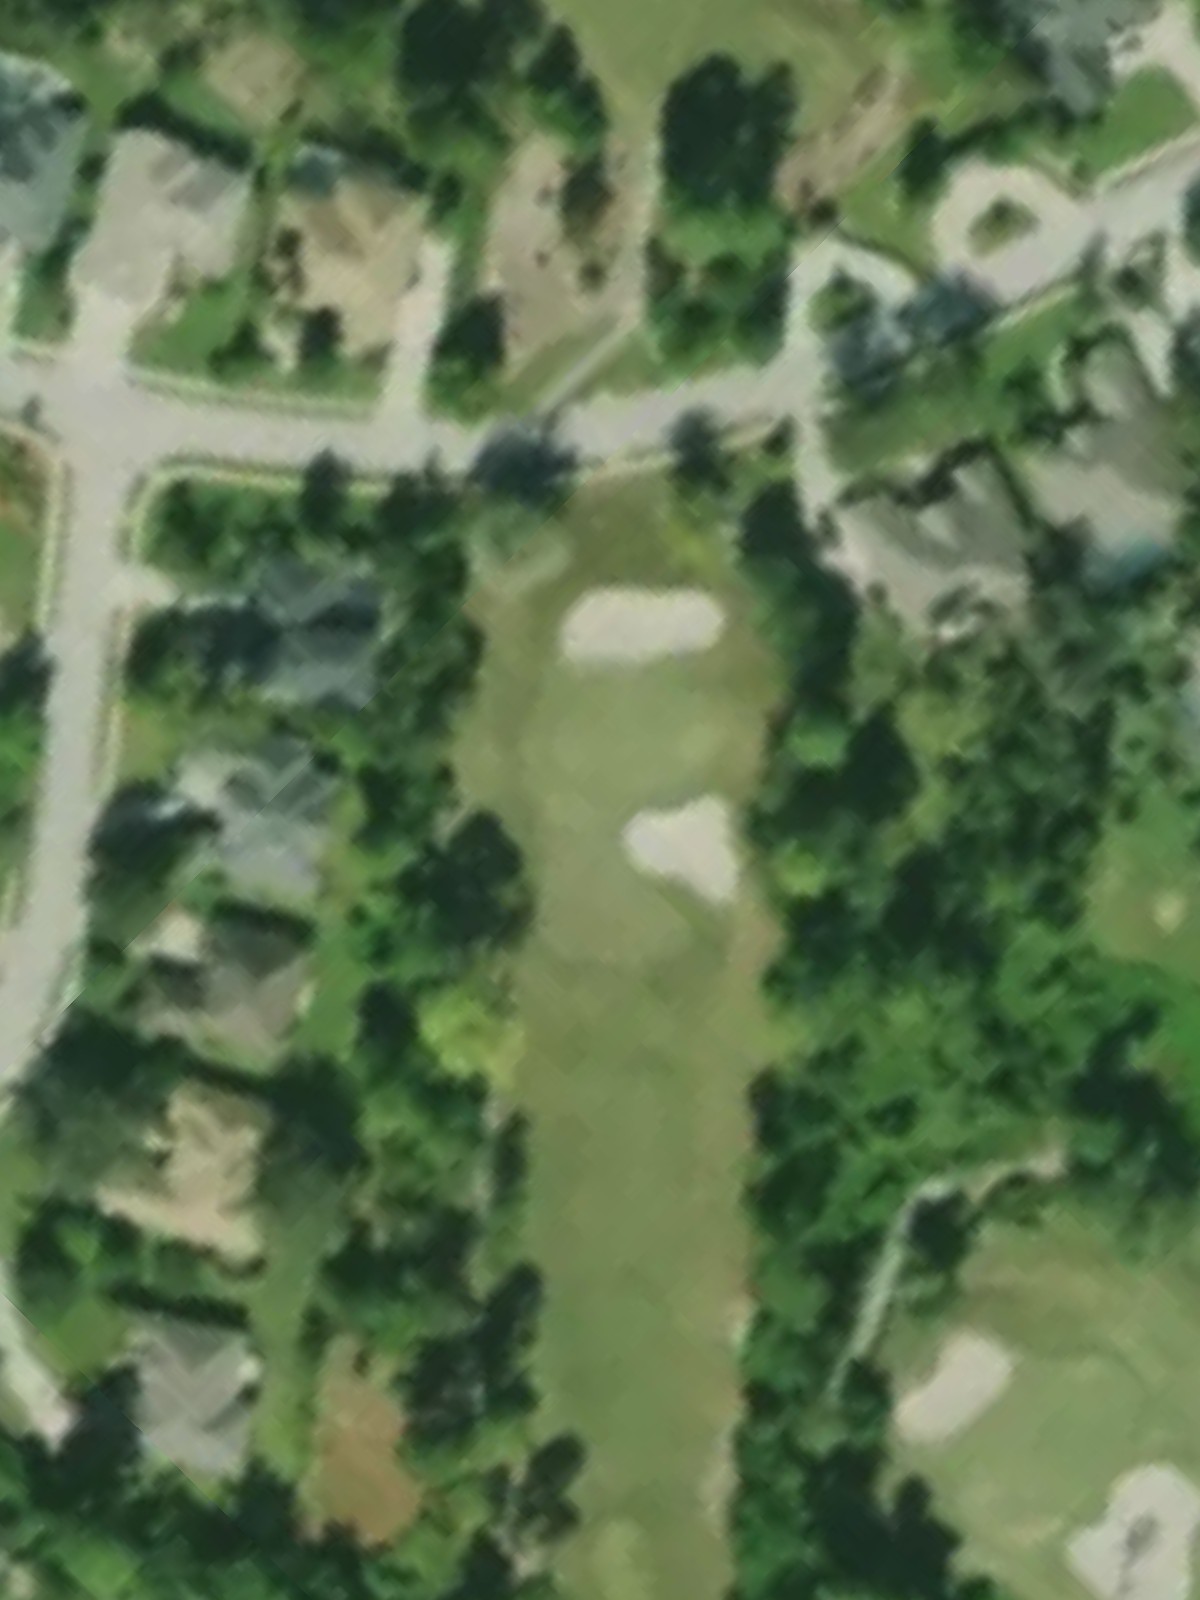
The fourth-hardest hole on the course, this par 4 features a tight driving corridor with hazards squeezing from both sides. A well-placed tee shot is essential to open up the approach to a green guarded by bunkers left and right.
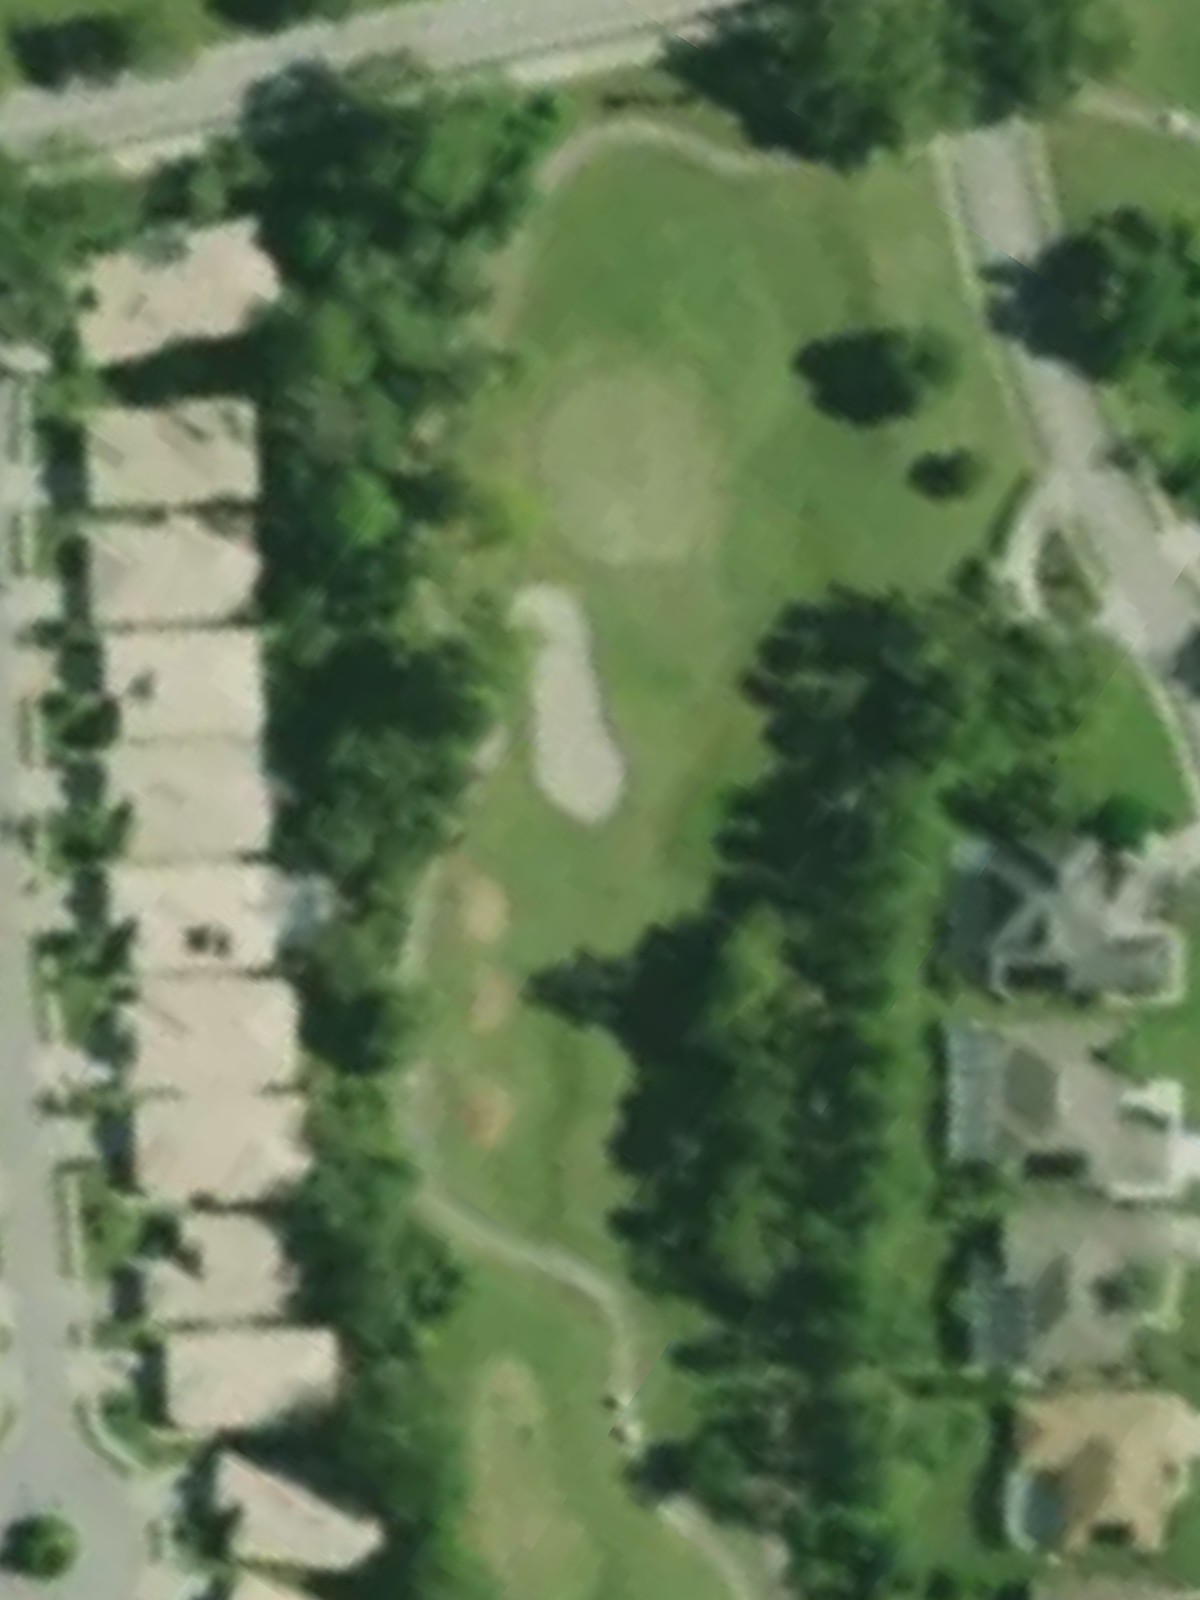
A moderate par 4 that doglegs slightly, with the fairway widening in the driving zone before narrowing near the green. Bunkers protect the right side of the putting surface, and strategic positioning off the tee is key to the approach.
A straightforward par 4 that plays shorter than its yardage suggests, offering a chance to set the tone on the back nine. Fairway bunkers line the right side, while the green sits relatively open, rewarding solid striking.
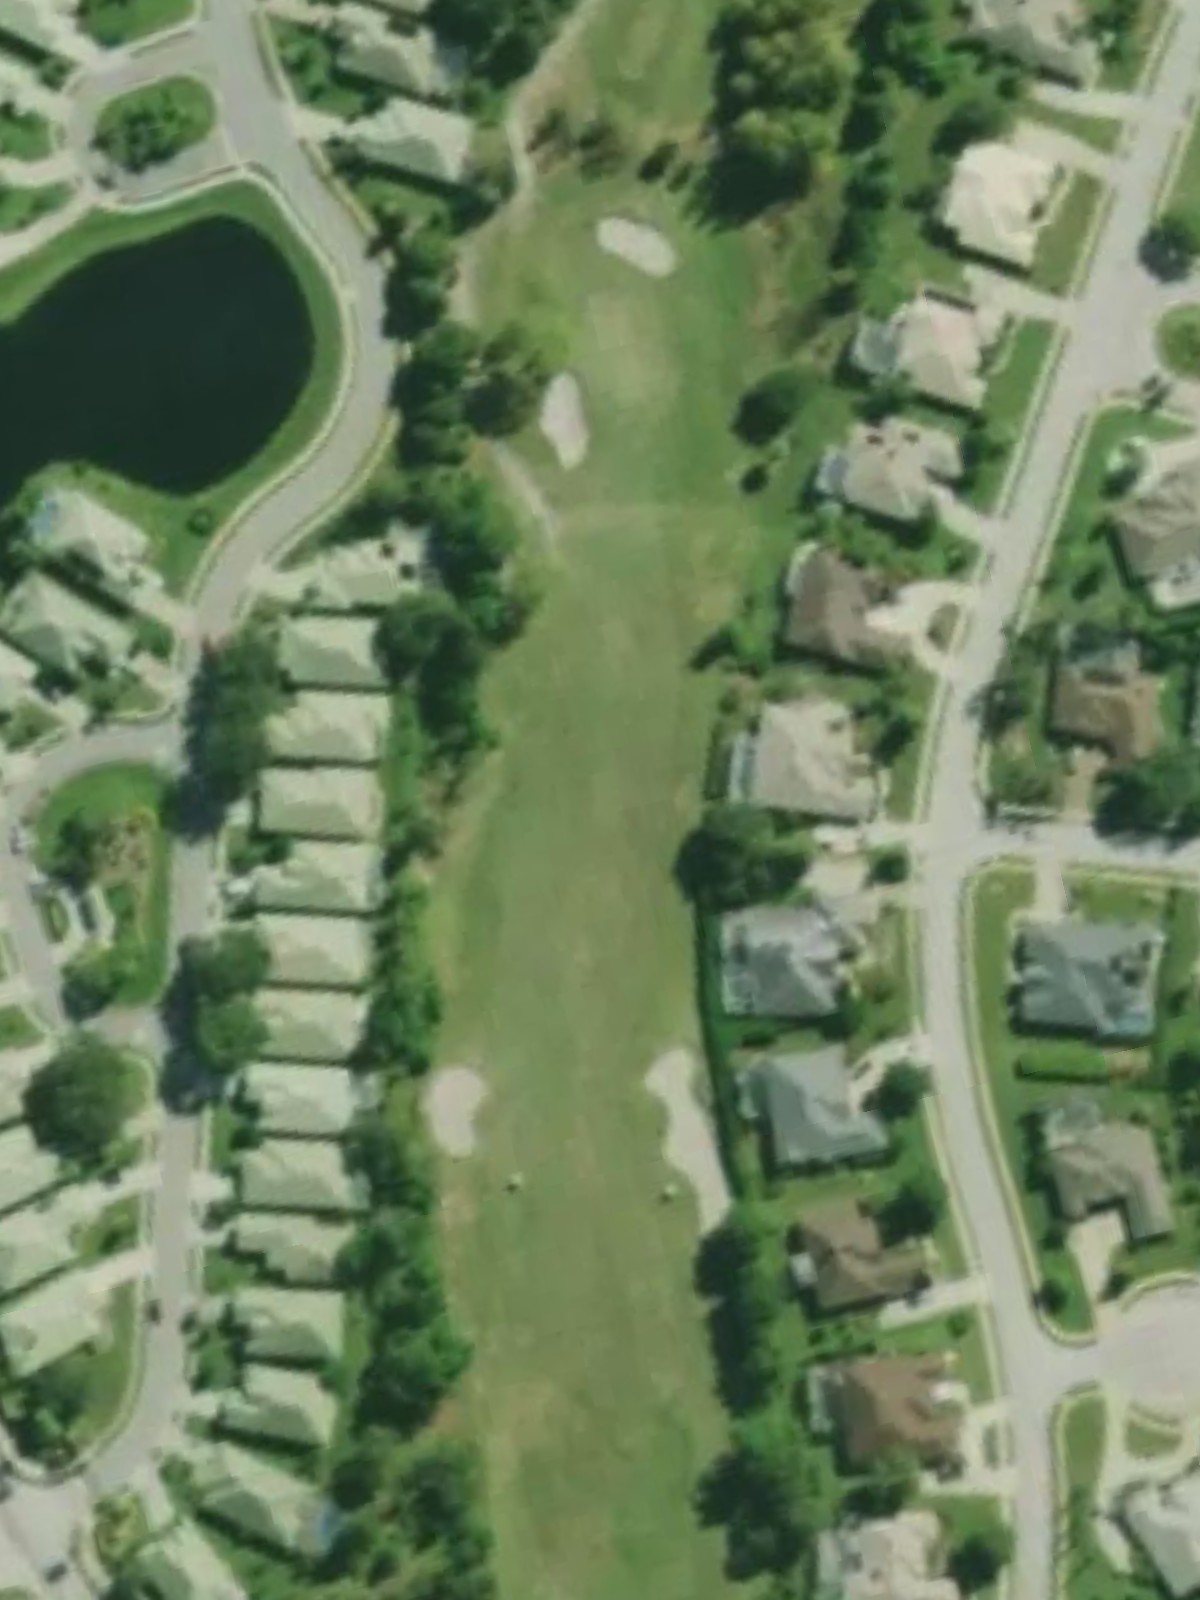
The third-hardest hole and a stern par 4 that demands precision throughout. Water hazards and bunkers frame both sides of a narrowing fairway, with the green protected left and right, allowing little margin for error.
An elevated par 3 that requires careful distance control and accuracy off the tee to a green tucked among bunkers. The hole's length varies considerably from the back tees, making club selection particularly important.
A generous par 5 that offers a genuine birdie opportunity despite its length, with a wide-open fairway for the opening two strokes. The green sits approachable for those who position themselves properly, though bunkers guard the left side.
A short par 3 with a simple green that presents an excellent scoring chance. Minimal hazards make this an ideal birdie hole, though precise placement is rewarded with good position.
A short par 4 that doglegs right with bunkers positioned in the bend and along the right fairway. The green is relatively open, offering a fair approach for those who navigate the dogleg successfully off the tee.
A dramatic par 4 that plays uphill with out of bounds lurking right throughout the hole. Water hazards and bunkers protect the left side, creating a challenging driving corridor and a well-protected green.
The course's signature hole and most difficult par 4, presenting hazards on both sides and demanding two perfectly executed shots. Water, bunkers, and out of bounds frame a very tight driving zone leading to a heavily guarded green.
A fitting finishing par 5 that doglegs left with water guarding the entire left side and bunkers along the right. The fairway opens up for those who navigate the hazards properly, offering a chance at a birdie to close the round.
Scorecard
| Hole | 1 | 2 | 3 | 4 | 5 | 6 | 7 | 8 | 9 | Out | 10 | 11 | 12 | 13 | 14 | 15 | 16 | 17 | 18 | In | Tot |
|---|---|---|---|---|---|---|---|---|---|---|---|---|---|---|---|---|---|---|---|---|---|
| Par | 4 | 5 | 3 | 4 | 4 | 3 | 5 | 4 | 4 | 36 | 4 | 4 | 3 | 5 | 3 | 4 | 4 | 4 | 5 | 36 | 72 |
| HCP | 12 | 6 | 18 | 2 | 14 | 16 | 8 | 4 | 10 | 11 | 3 | 13 | 17 | 15 | 7 | 5 | 1 | 9 | |||
| blue | 382 | 487 | 141 | 402 | 307 | 183 | 486 | 384 | 369 | 3141 | 355 | 406 | 202 | 478 | 164 | 359 | 398 | 401 | 513 | 3276 | 6417 |
| white | 337 | 457 | 127 | 369 | 292 | 147 | 472 | 366 | 343 | 2910 | 341 | 382 | 165 | 454 | 148 | 329 | 309 | 377 | 484 | 2989 | 5899 |
| gold | 316 | 406 | 113 | 345 | 255 | 130 | 457 | 349 | 319 | 2690 | 321 | 343 | 118 | 430 | 128 | 314 | 276 | 322 | 456 | 2708 | 5398 |