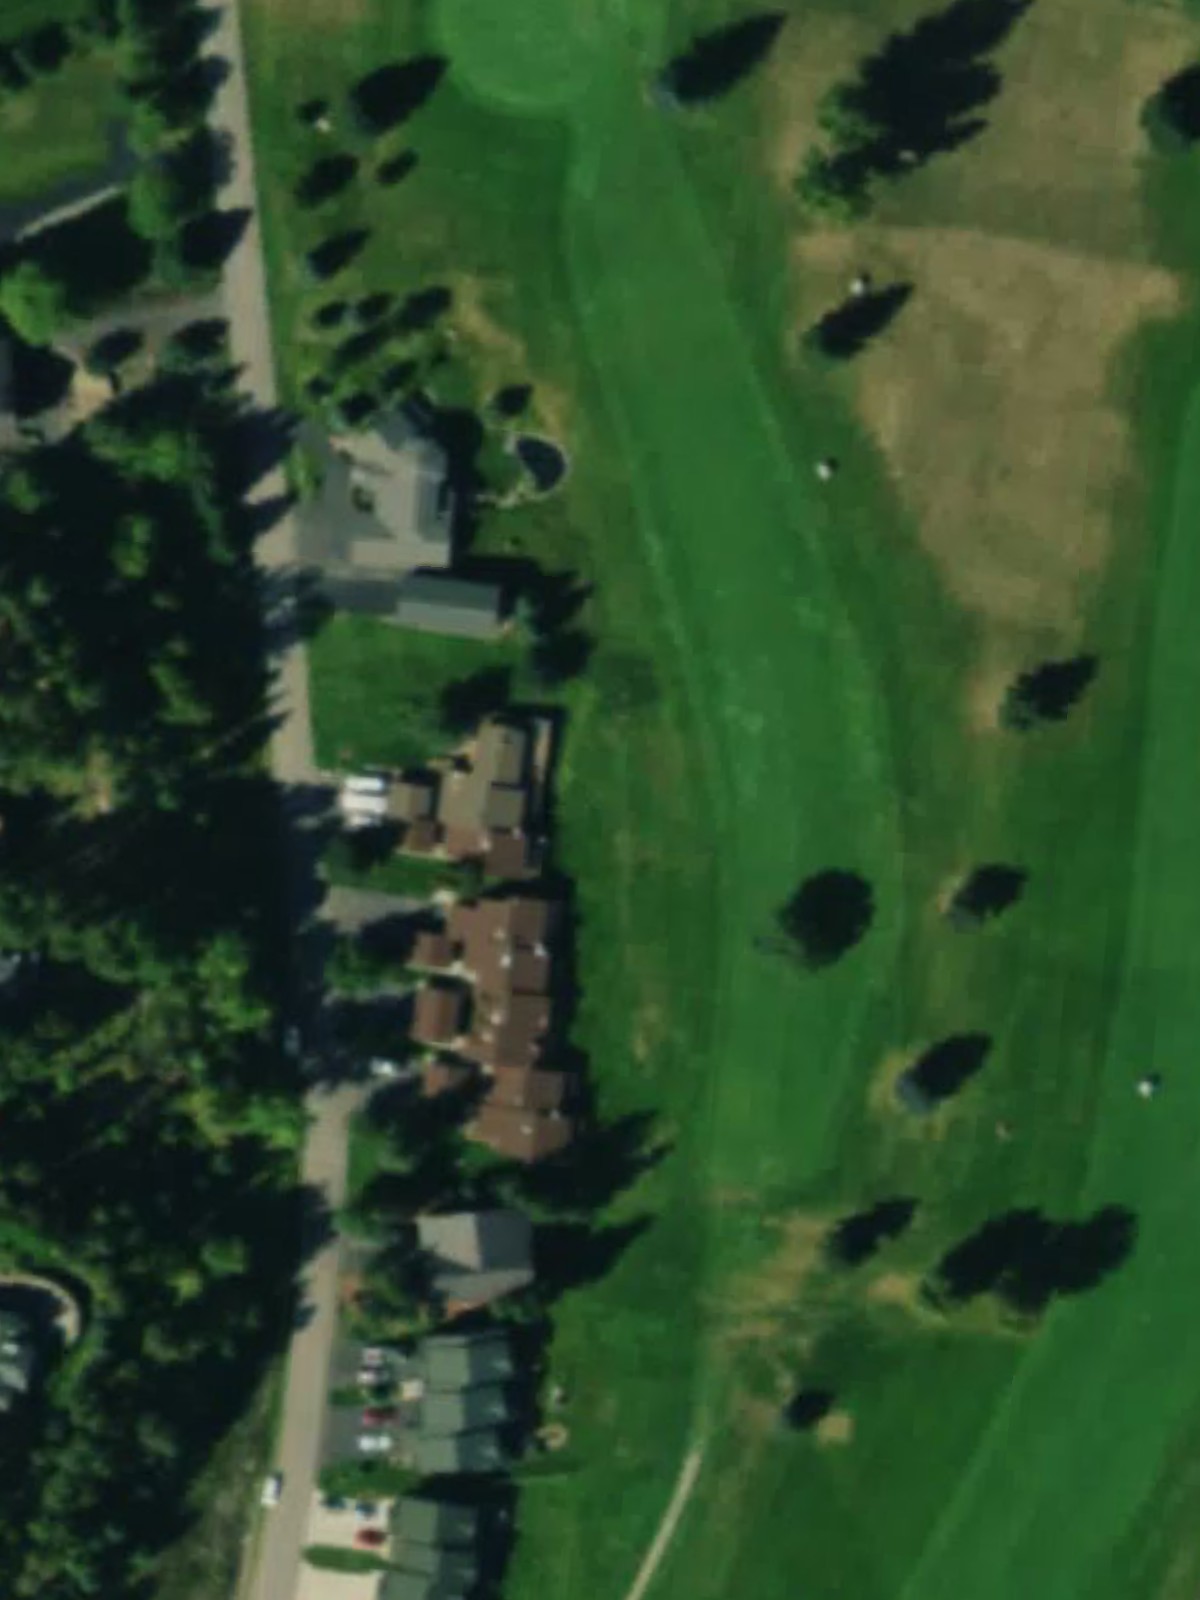
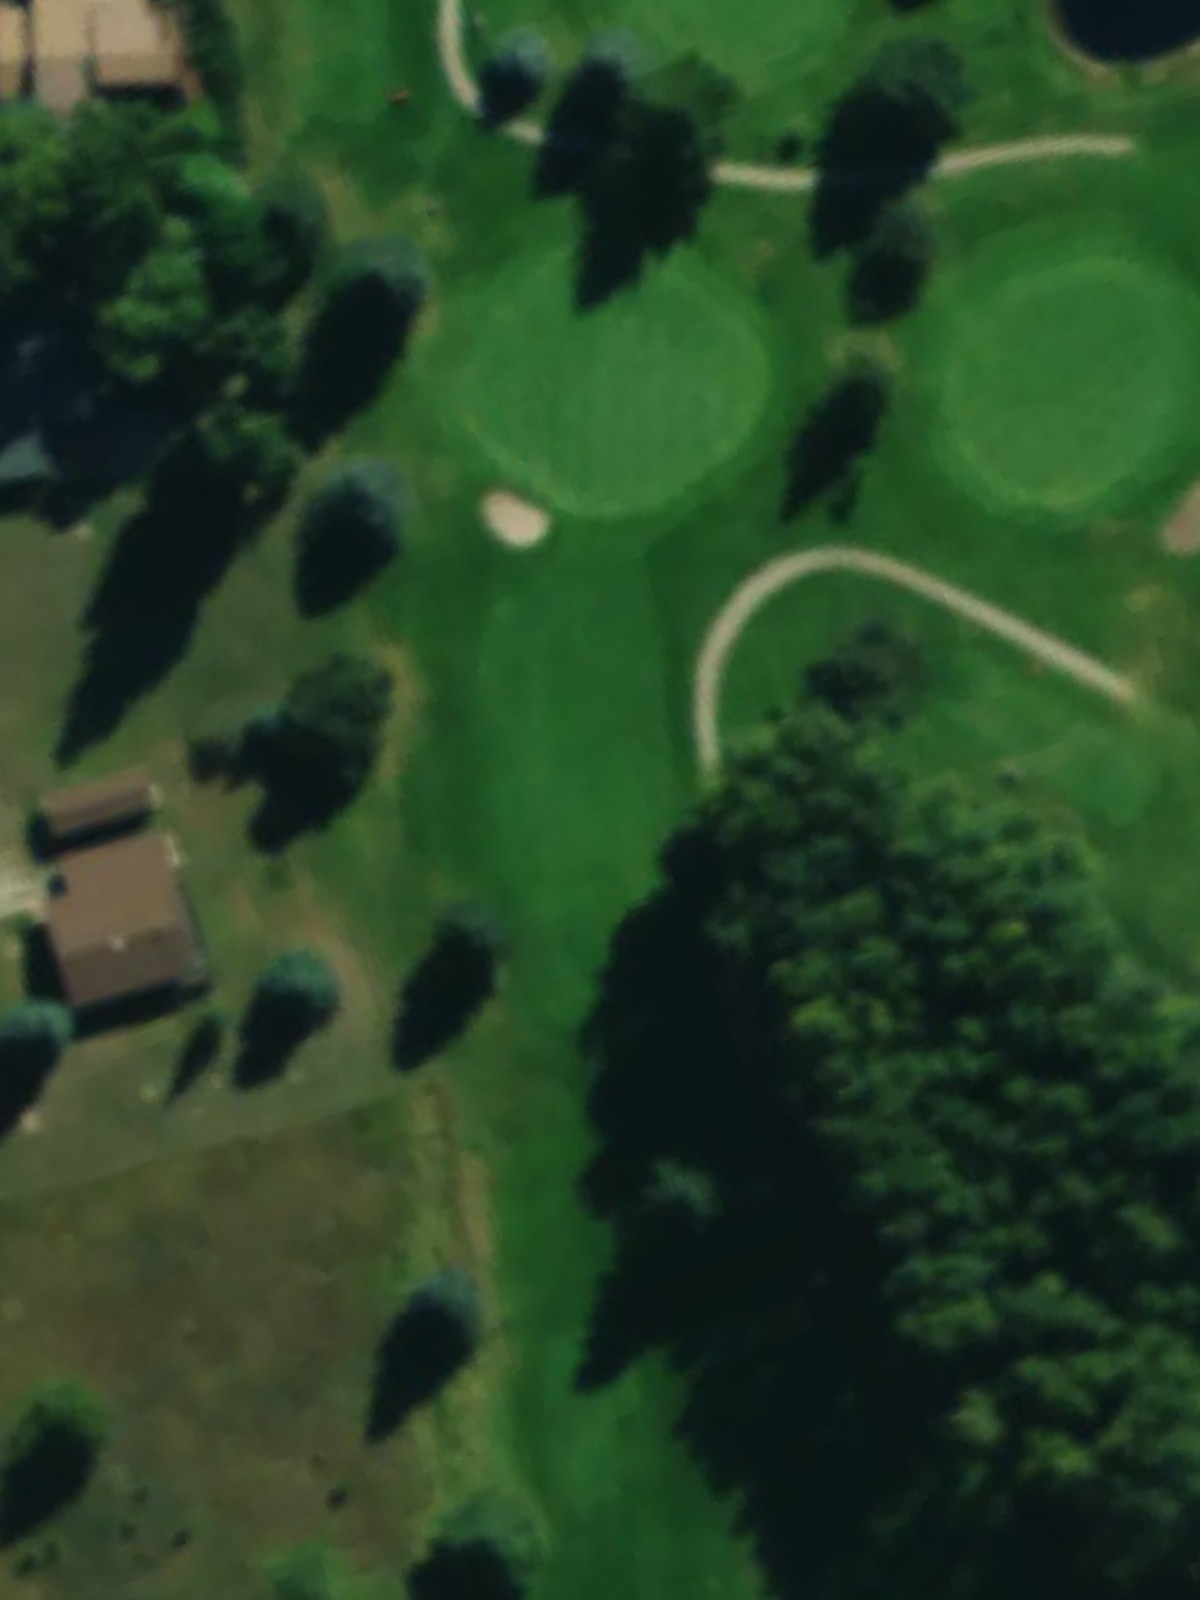
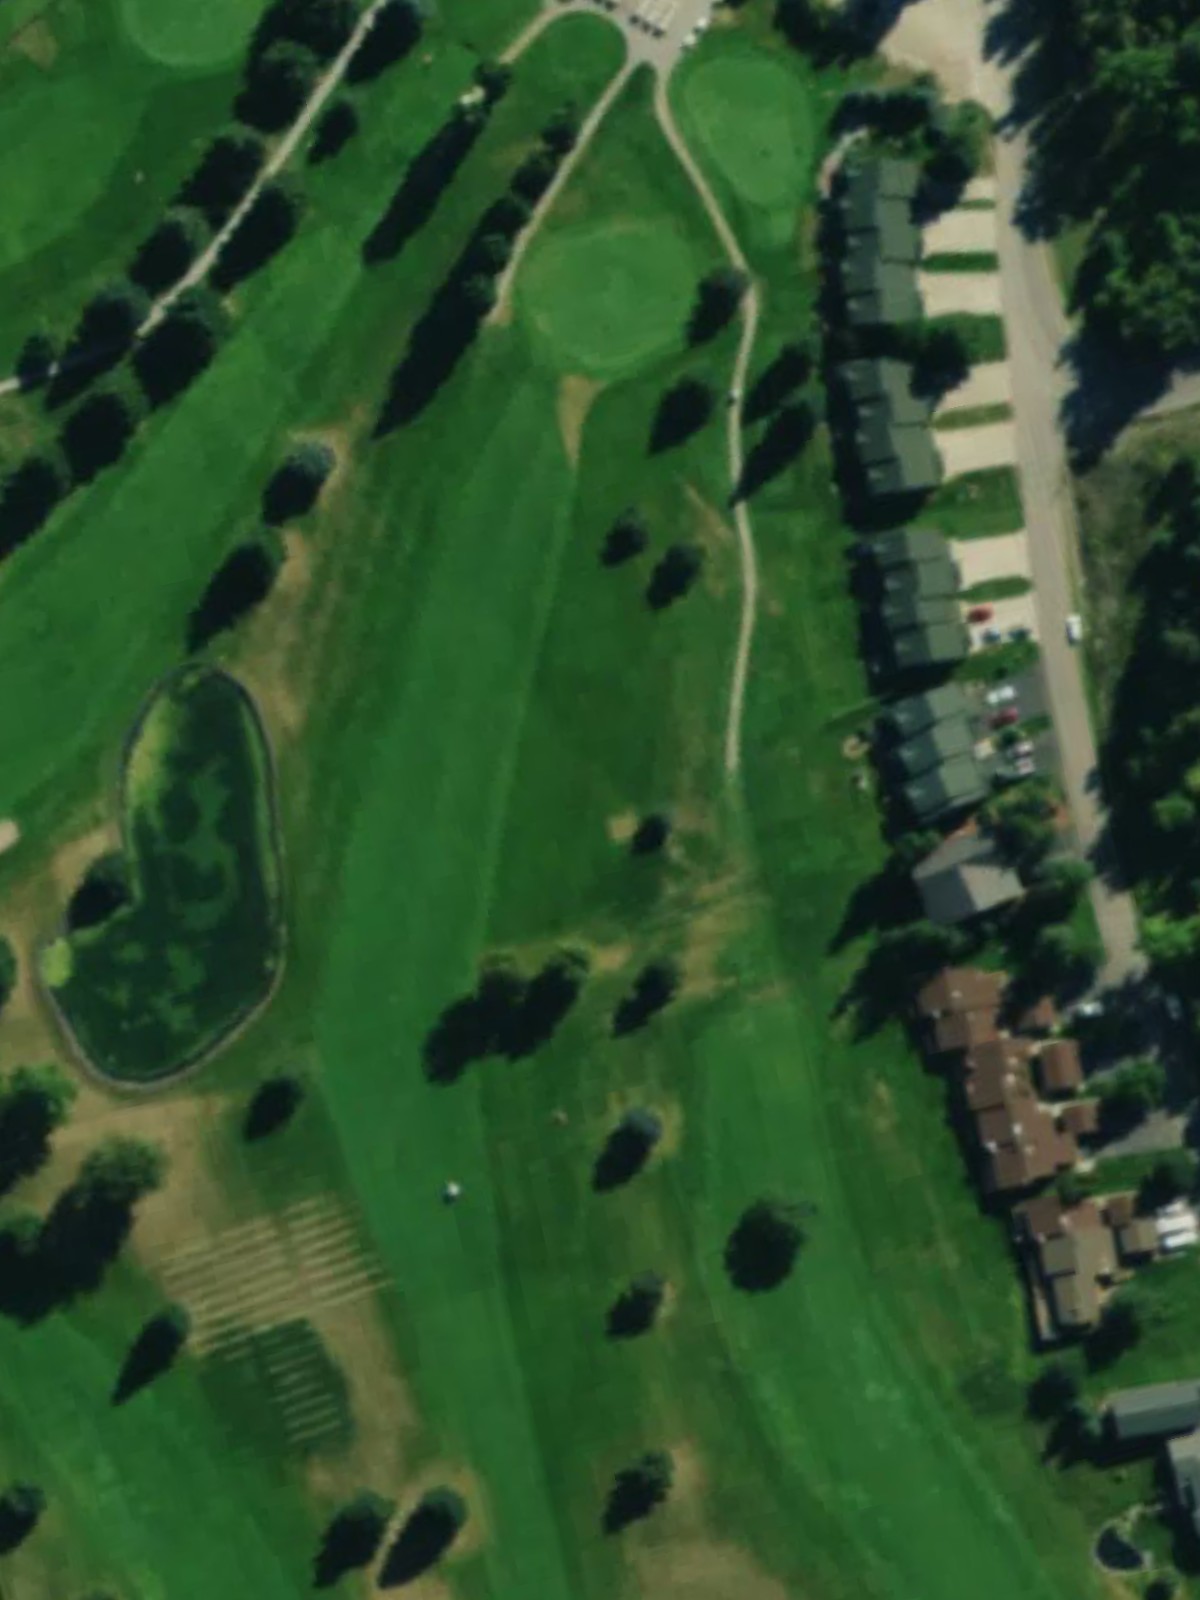
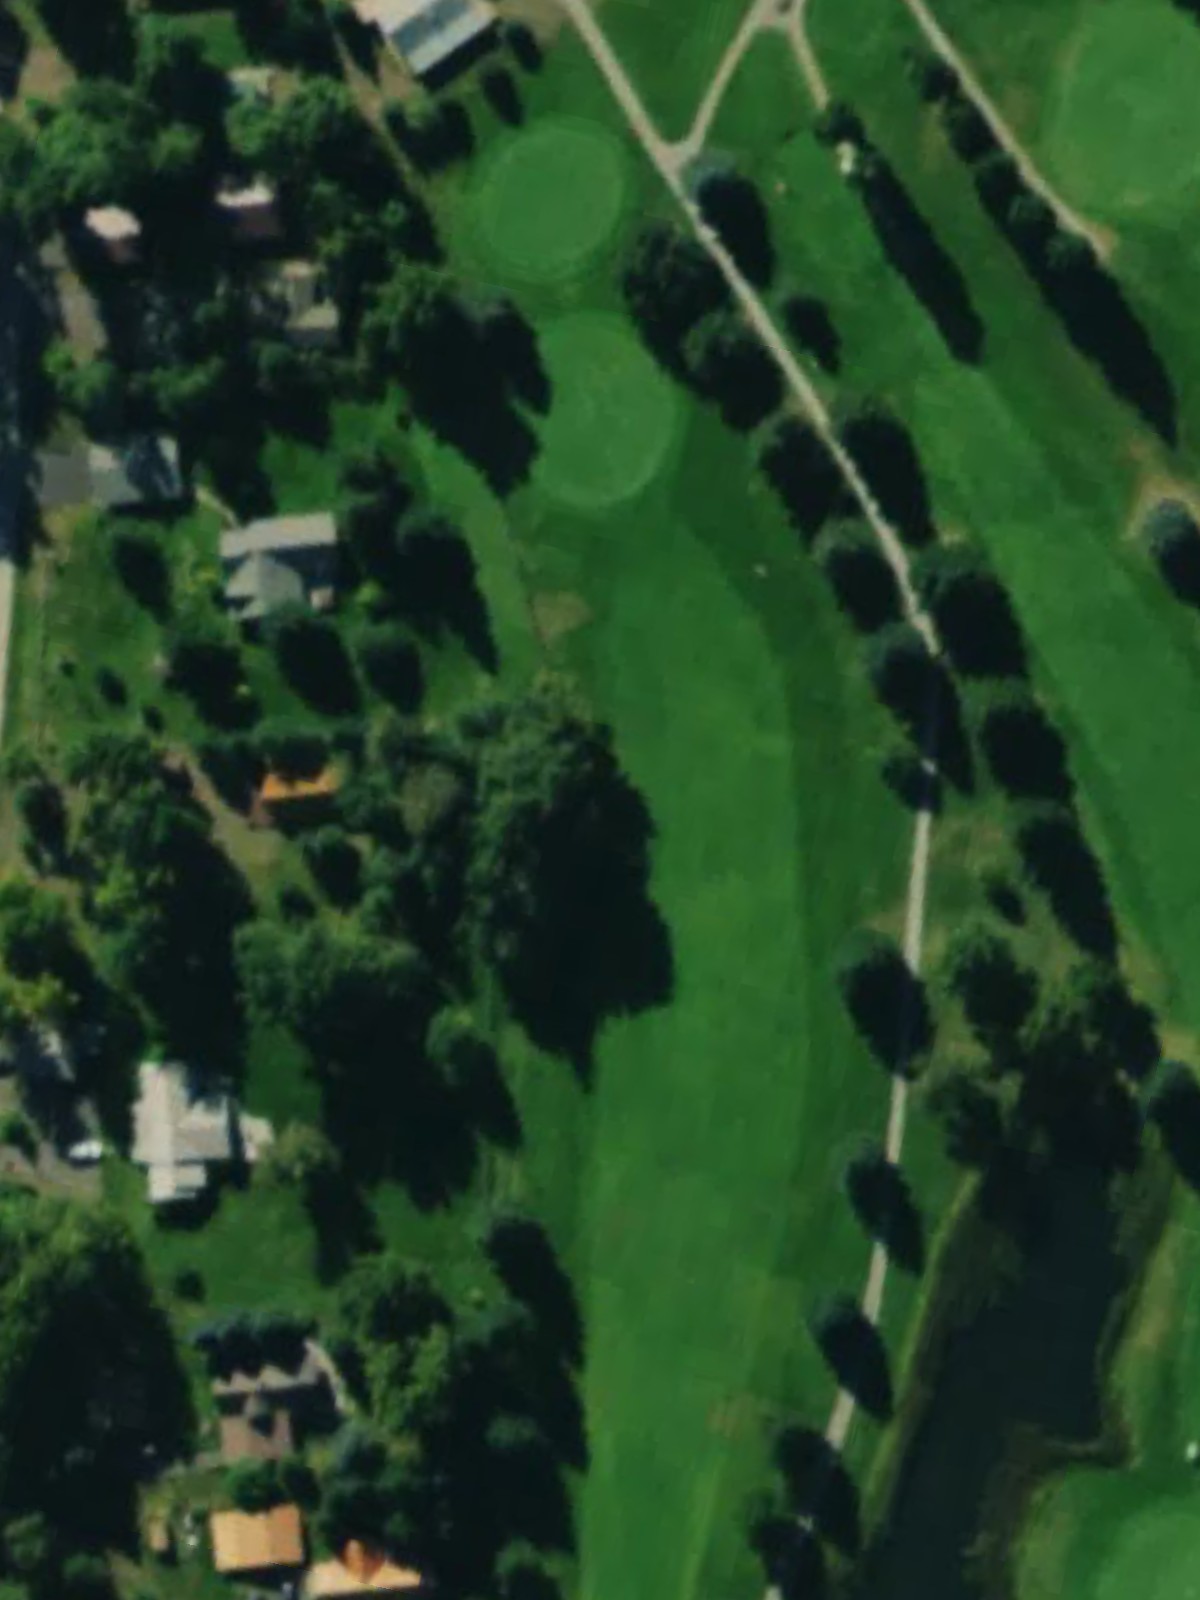
Glacier View Golf Club is an 18-hole golf course in West Glacier, MT with a par of 69. It offers 3 tee sets: blue (5,181 yards, slope 100, rating 64.3), white (4,875 yards, slope 98, rating 62.8), red (4,432 yards, slope 94, rating 61.6). The hardest hole is #14, a par 3 playing 140 yards from the first tee.
Glacier View Golf Club
West Glacier, MT
Get PDF Yardage Book
We'll email you the PDF link. No spam, ever.
Create Your Game Plan
Pick your tees, enter your bag, and get a personalized shot-by-shot strategy for every hole.
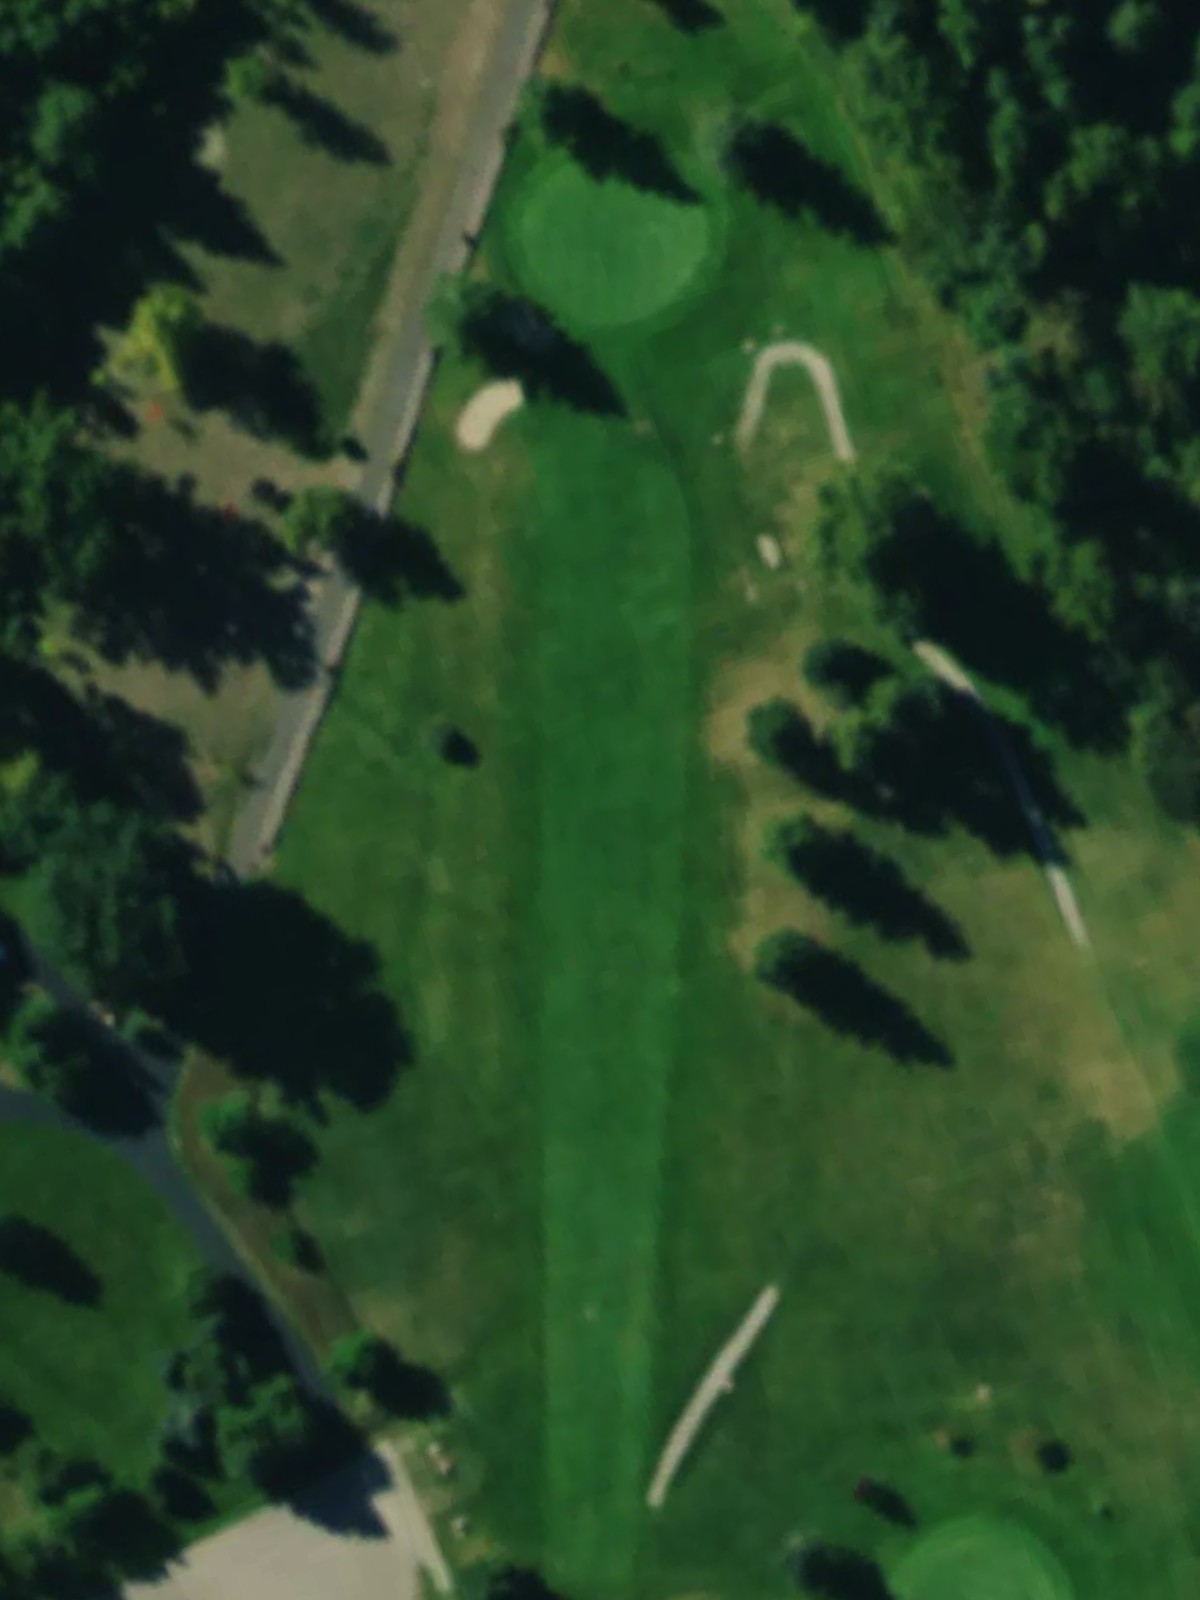
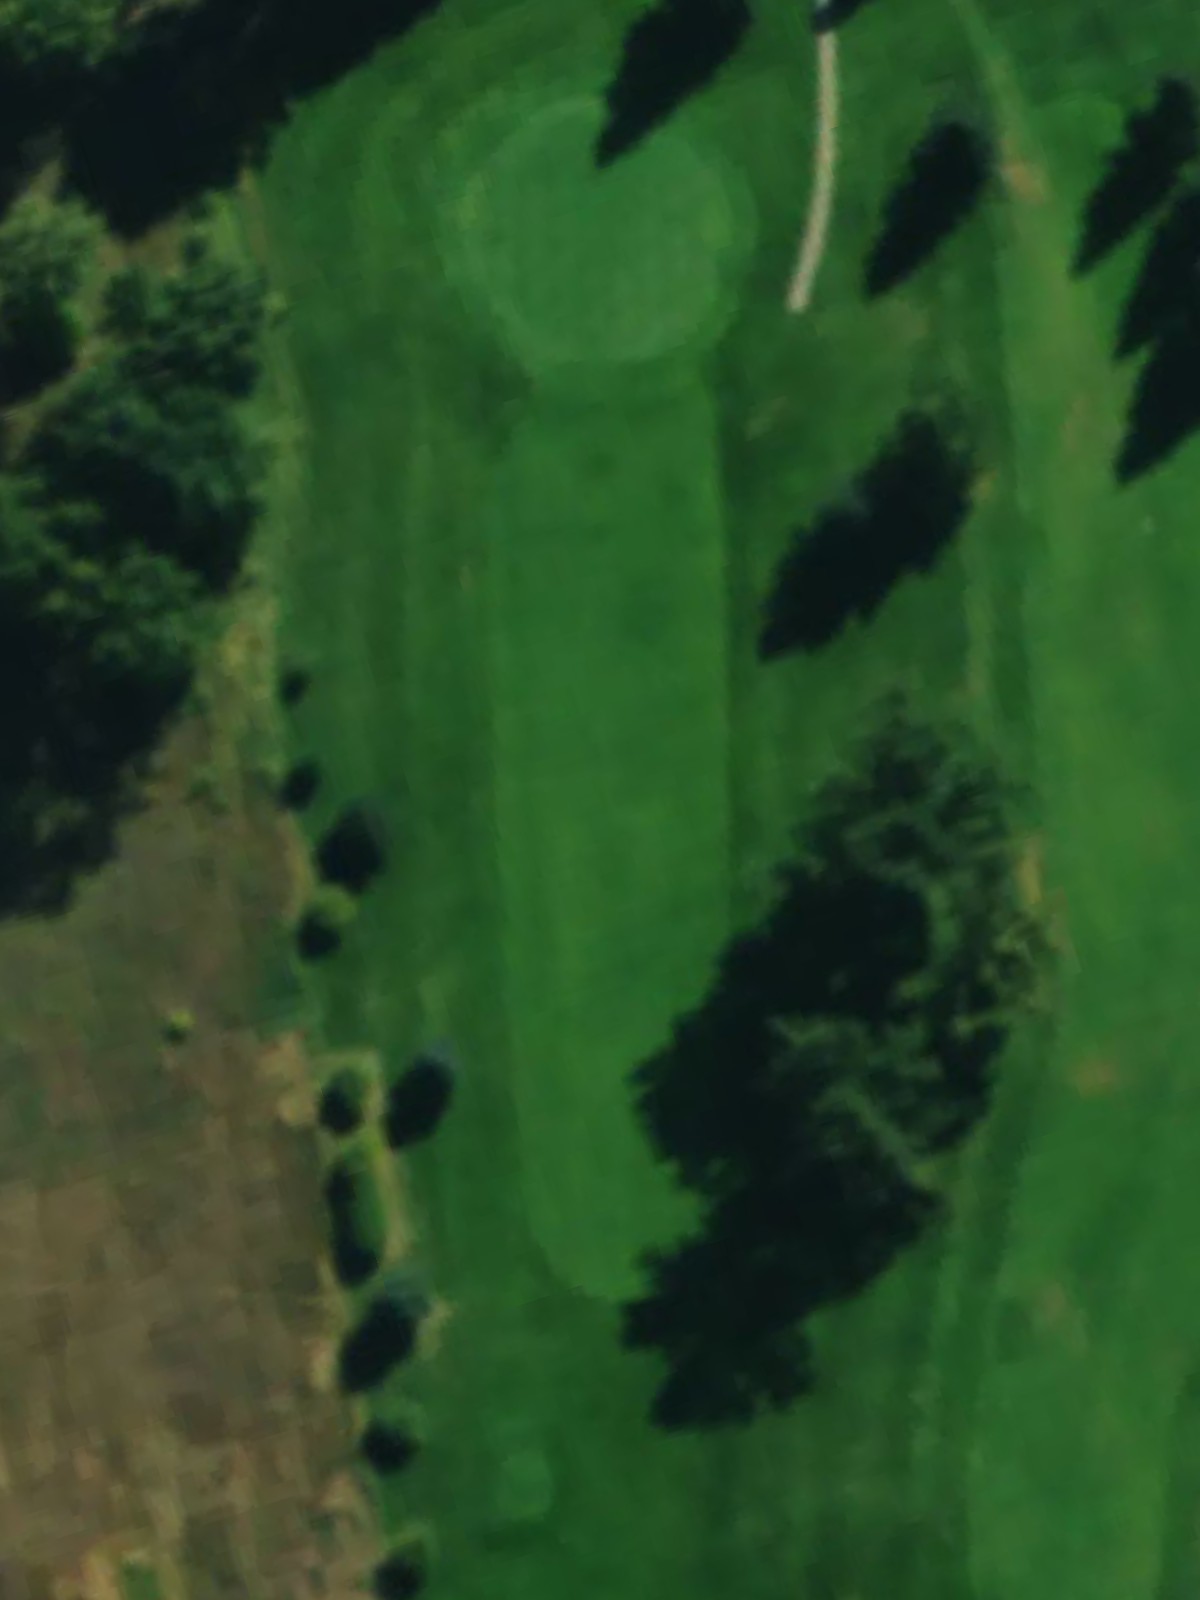
A demanding opening par 4 rated as the second-hardest hole on the course. The fairway is relatively open off the tee, but the approach must avoid bunkers guarding both sides of a well-bunkered green.
A short, straightforward par 4 that plays to the course's easiest handicap. This hole offers a good opportunity to get off to a solid start with minimal hazards in play.
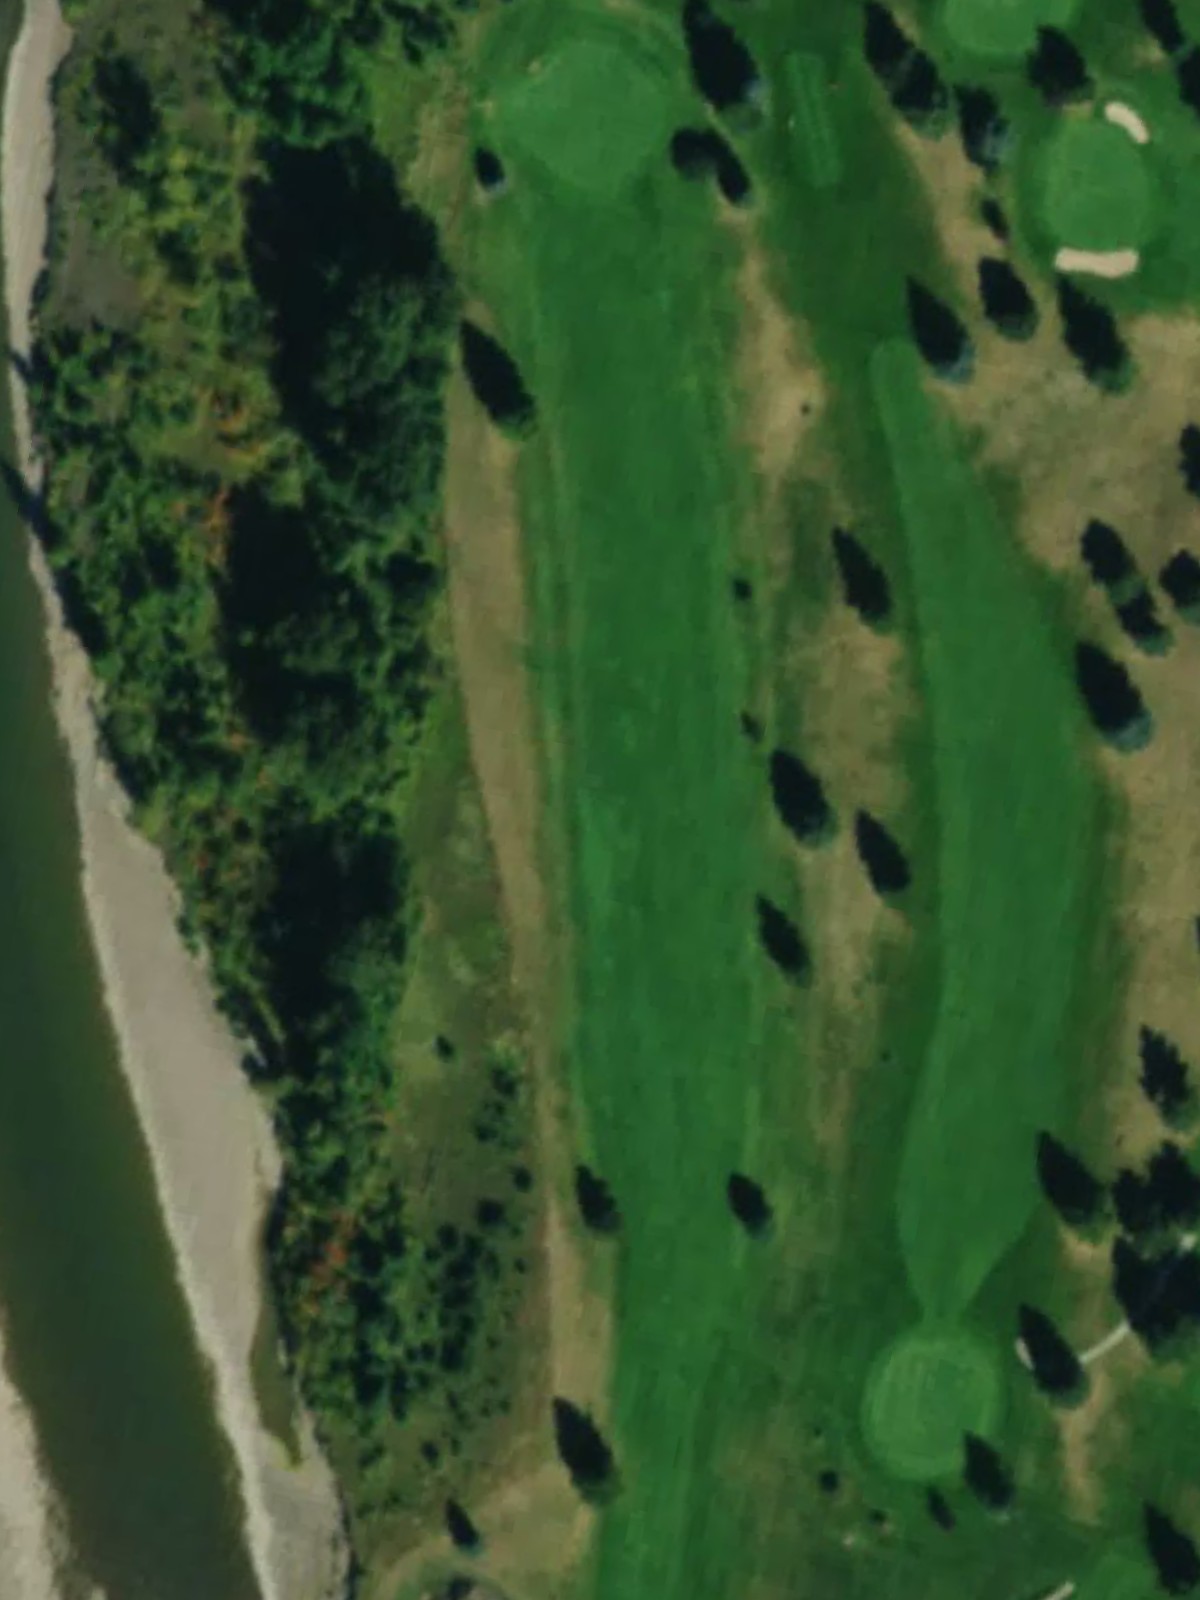
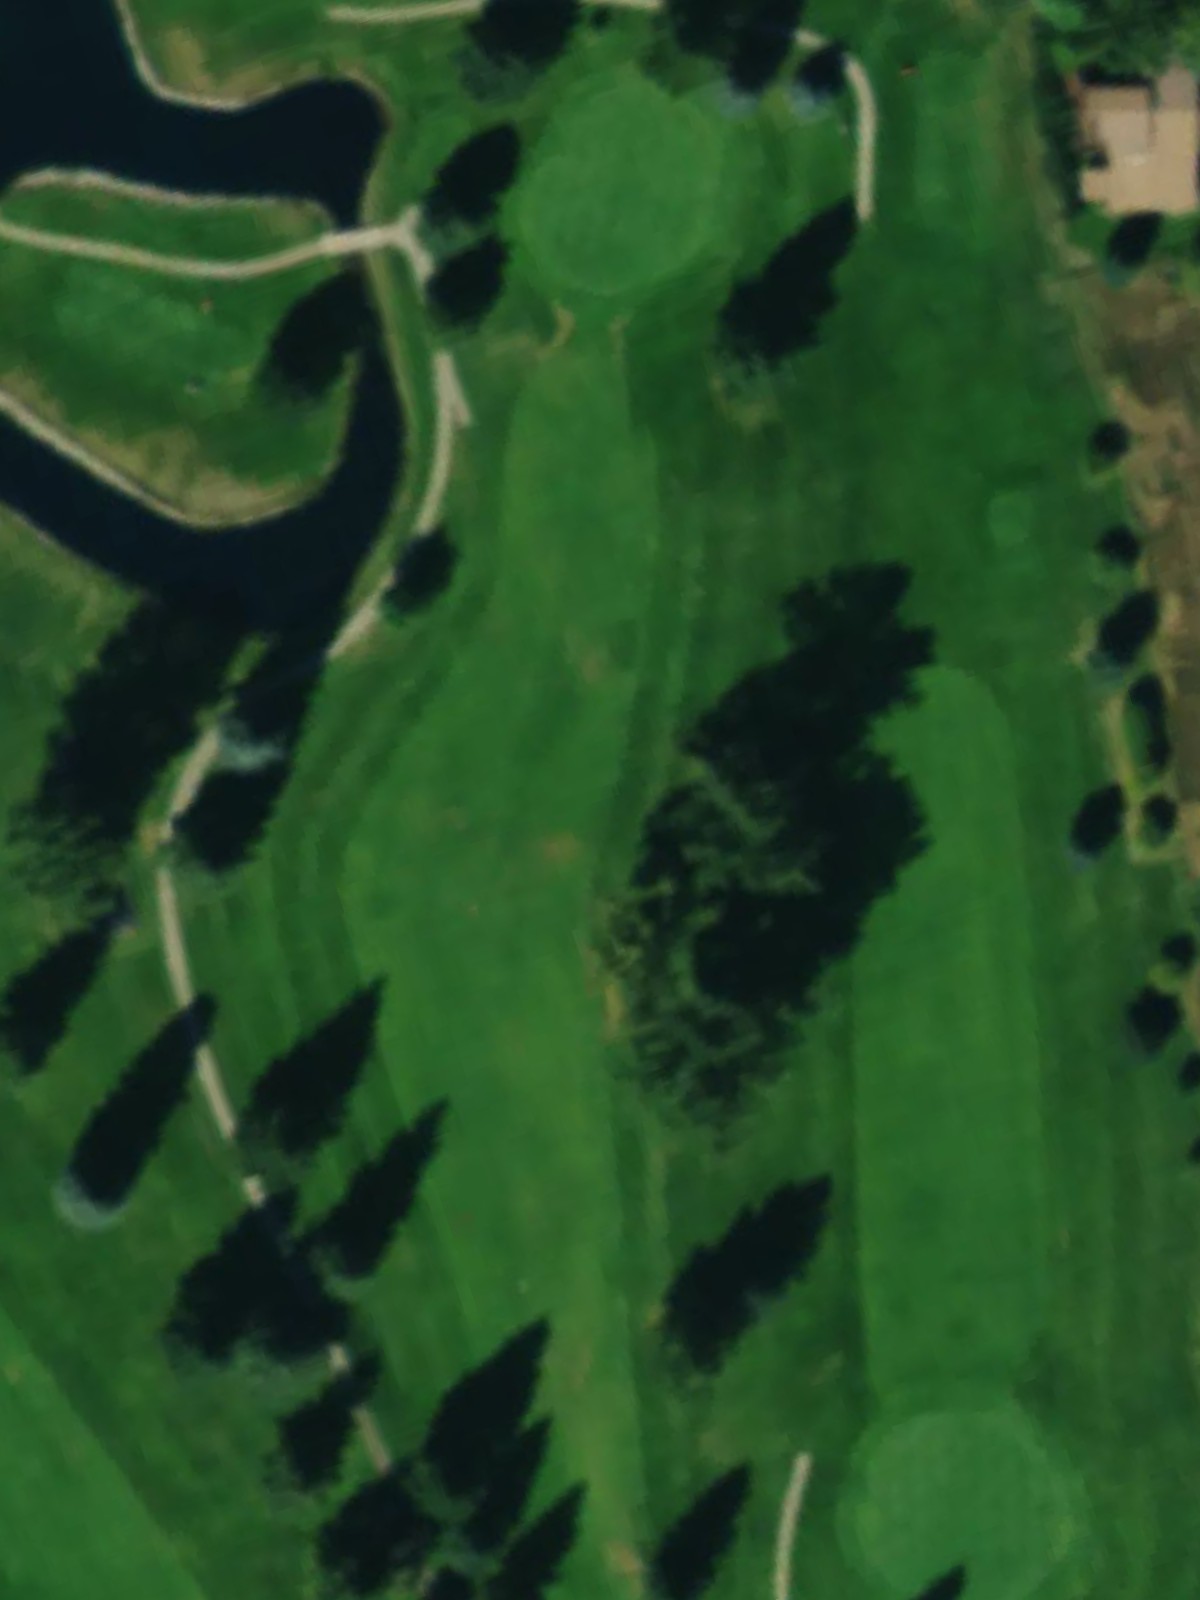
A reachable par 5 with an open fairway that invites aggressive play. The longer layout allows players to set up an approach shot to a green that demands accuracy on the final stroke.
A well-balanced par 4 with a fairway that remains generous through the drive zone. Strategic bunkering near the green requires a thoughtful approach, making this hole moderately challenging.
A short par 3 that offers a birdie opportunity from a relatively modest yardage. The hole's simplicity provides a chance for a momentum-building score before the back nine begins.
A forgiving par 4 with a straightforward design and few hazards in play. This hole is among the course's easiest and provides a scoring chance for golfers of all skill levels.
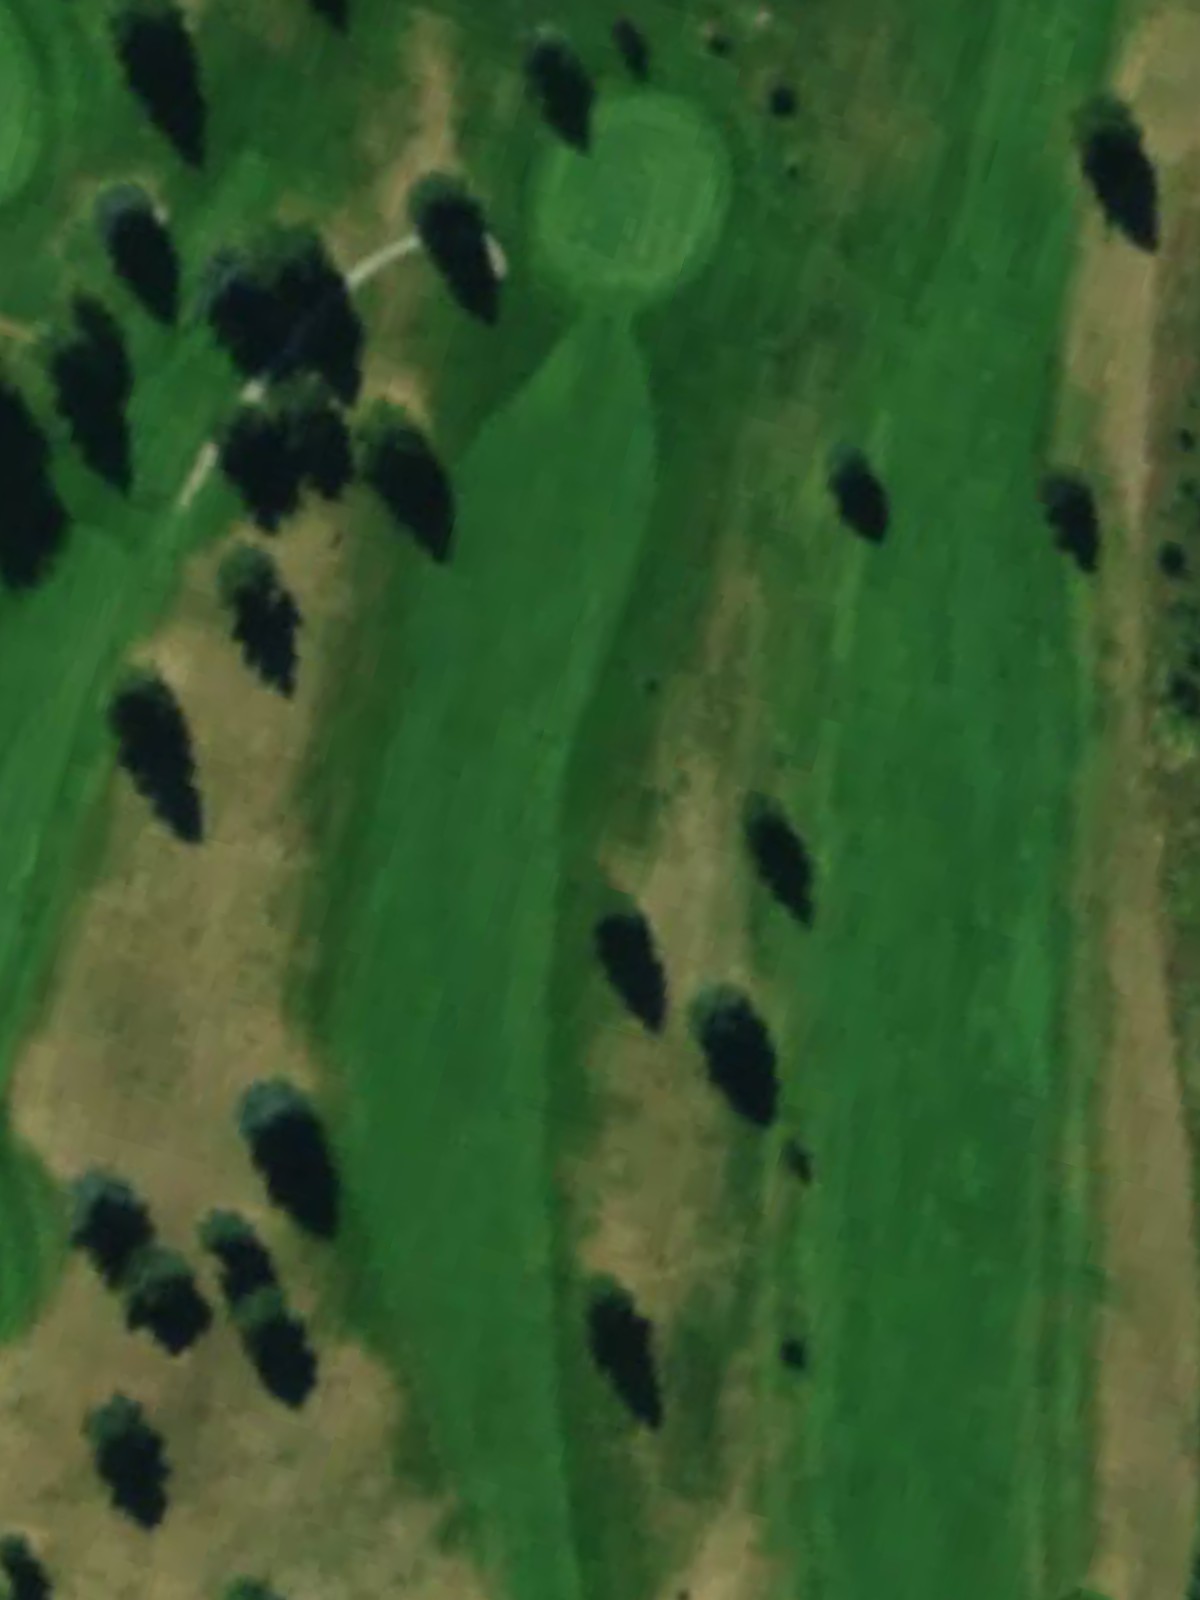
A mid-length par 4 with a fairway that requires precise positioning to set up the best approach angle. Bunkers and other hazards come into play on the second shot, adding strategic interest to the hole.
The easiest par 3 on the course, playing to a short distance with minimal complexity. This hole is a genuine birdie opportunity and offers a mental break before the challenging back nine.
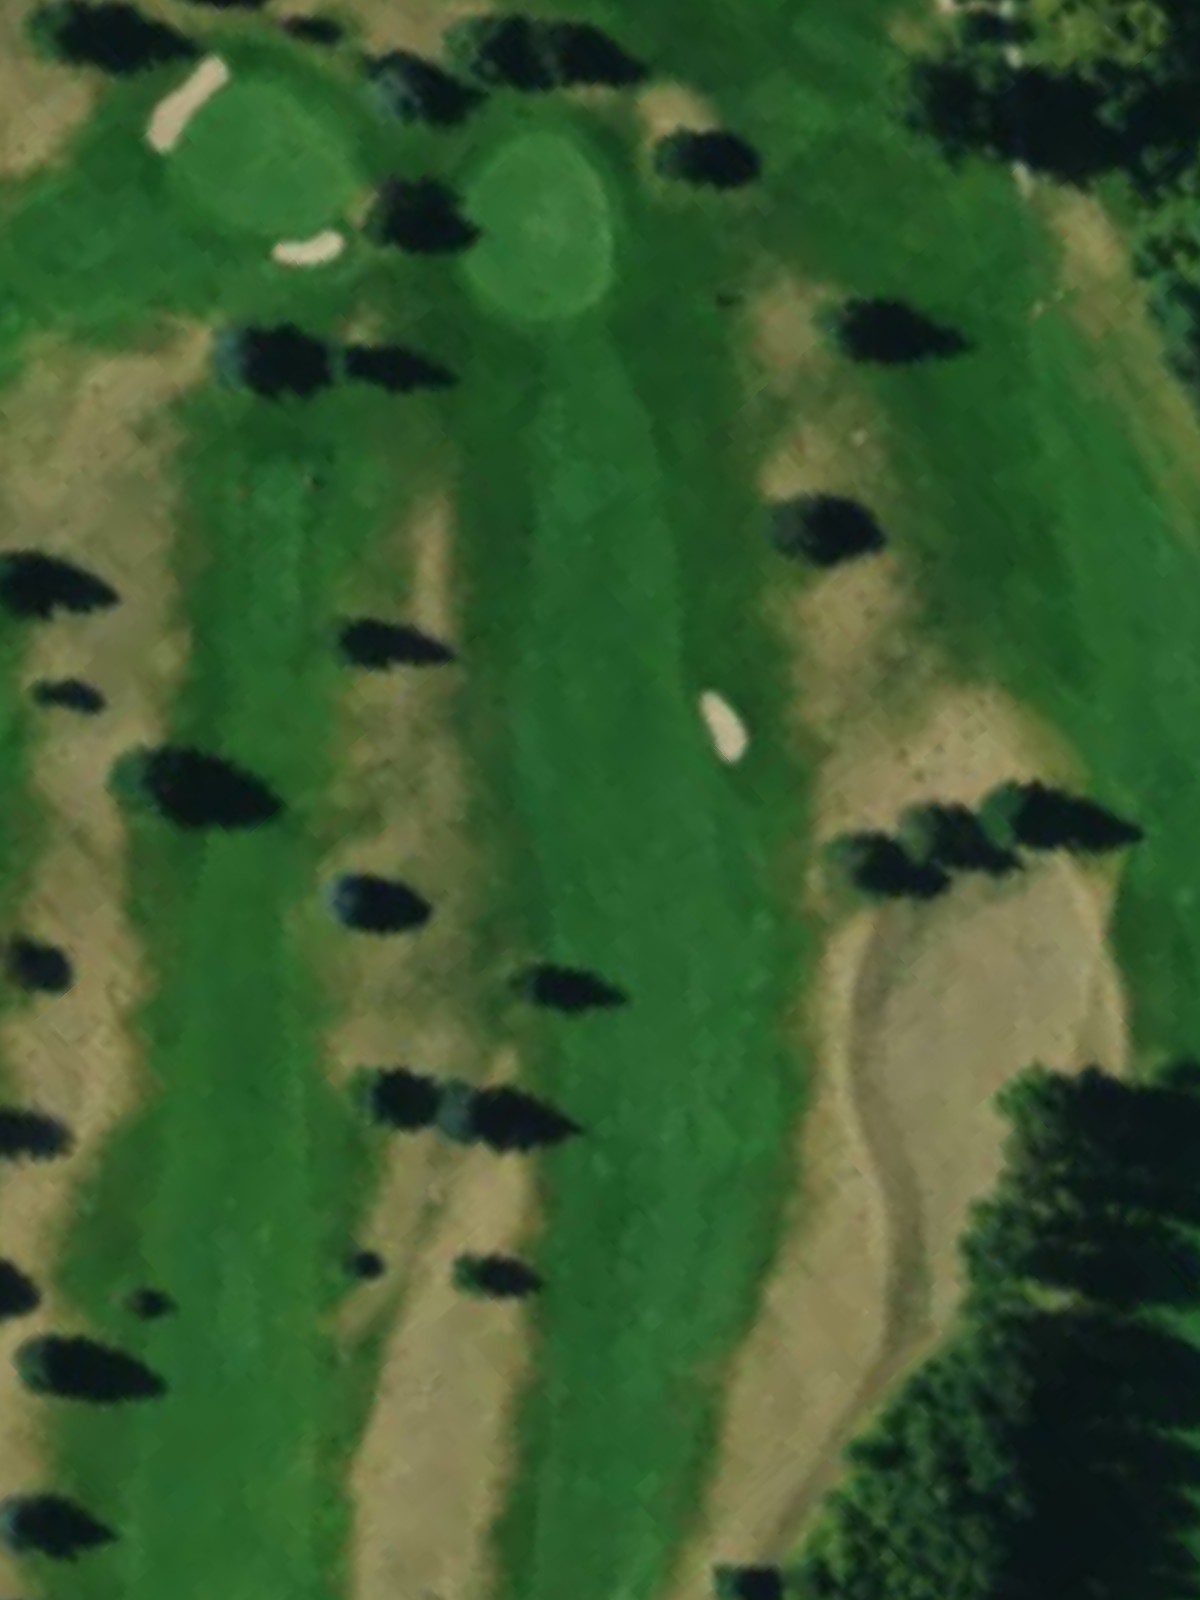
The fourth-hardest hole on the course, this par 4 demands accuracy off the tee and an accurate approach to a well-defended green. Length and strategic hazards make this a stern test closing out the front nine.

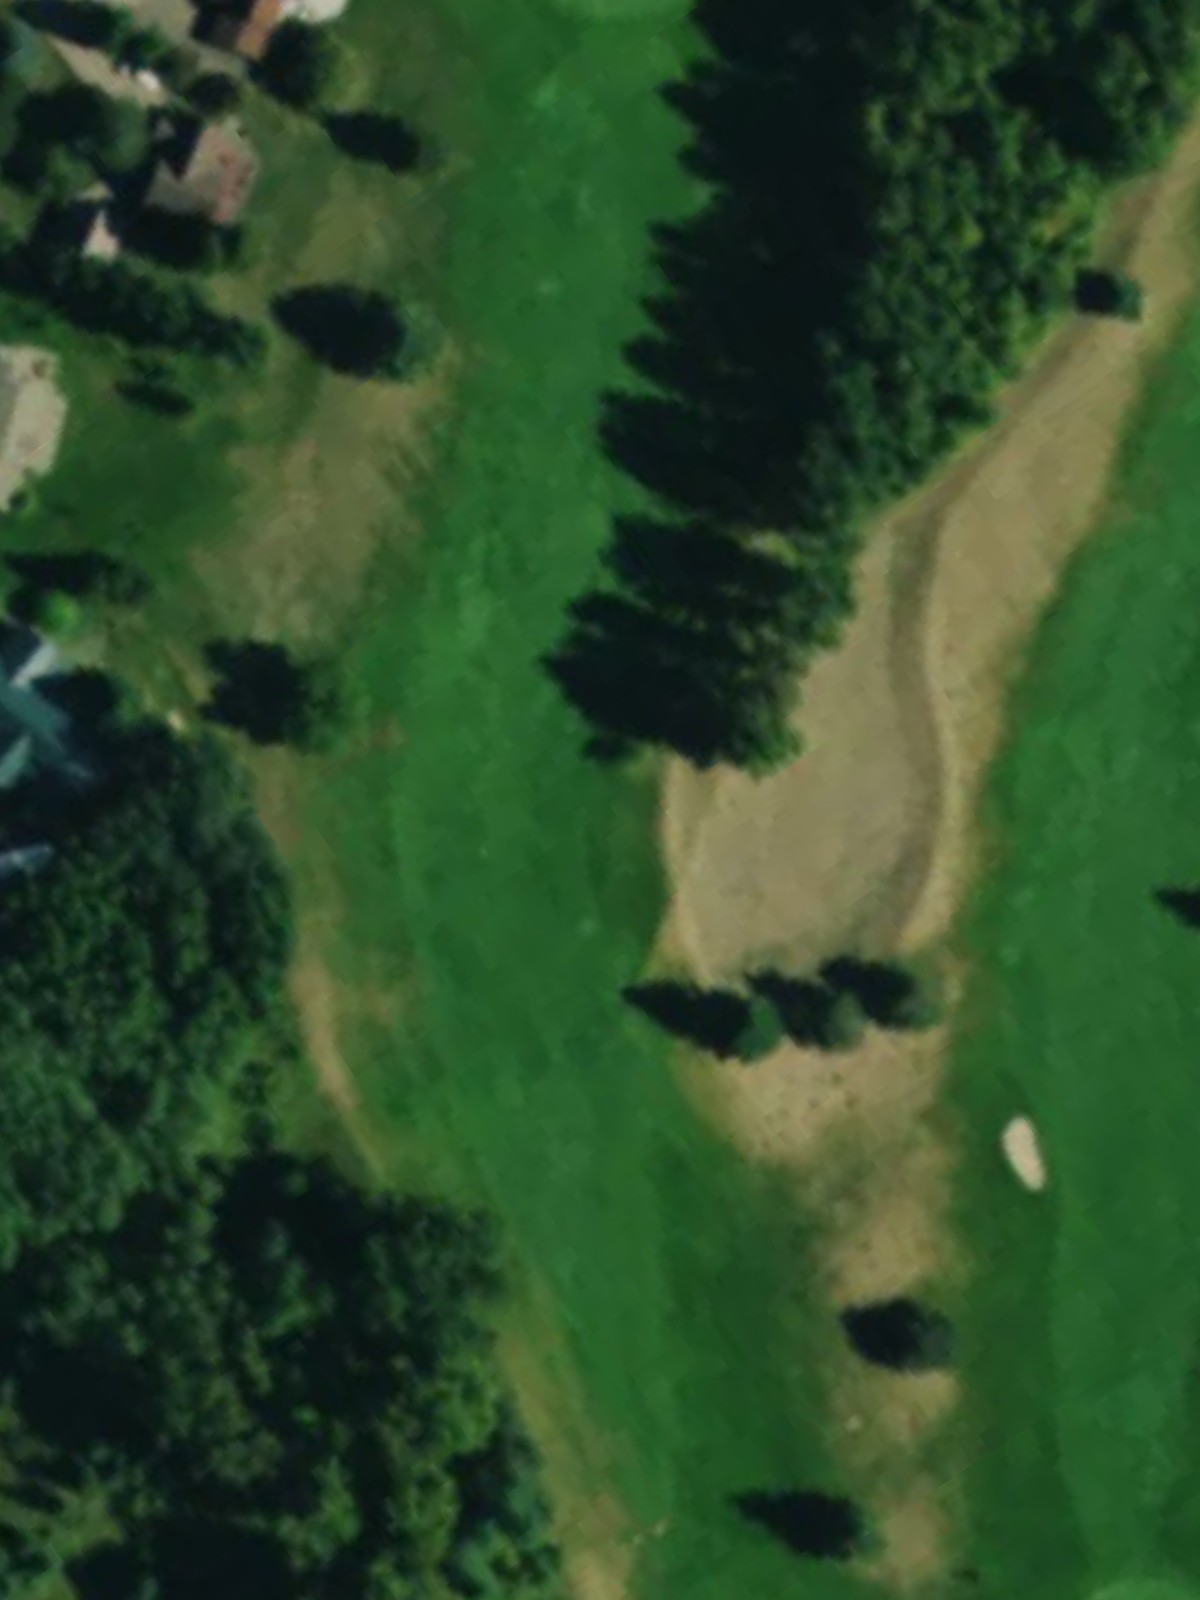
A fifth-hardest hole overall that plays shorter than par from the back tees but with concentrated difficulty. The tight landing areas and guarded green require precise shotmaking to avoid trouble.
A moderately short par 4 with a relatively forgiving layout that allows for some margin for error. This hole provides a good scoring opportunity in the back nine's opening stretch.
The second-easiest par 3 on the course, playing to a modest yardage with straightforward approach. This hole offers a reprieve from the back nine's tougher challenges with a chance at a stress-free par or birdie.
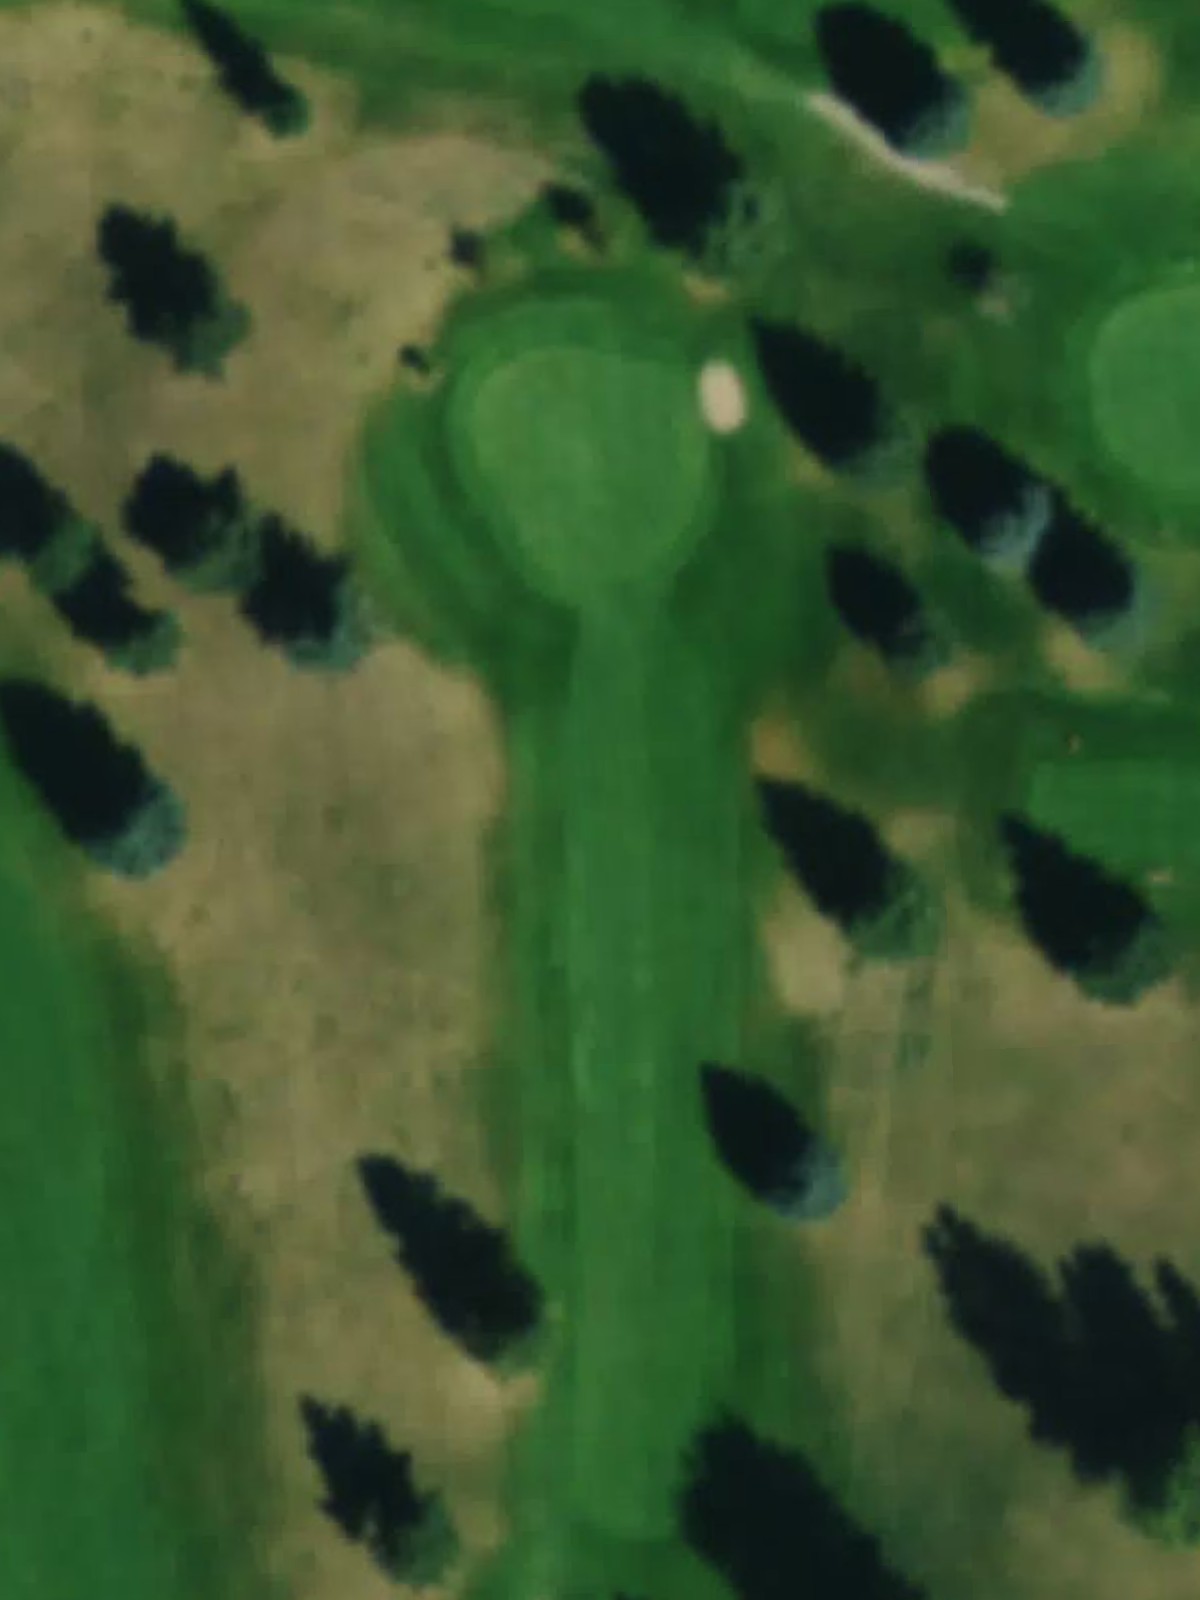
A compact par 4 with a tight driving corridor and a well-protected green that requires accuracy on both shots. The hole's length is deceptive, with strategic hazards making it play tougher than its yardage suggests.
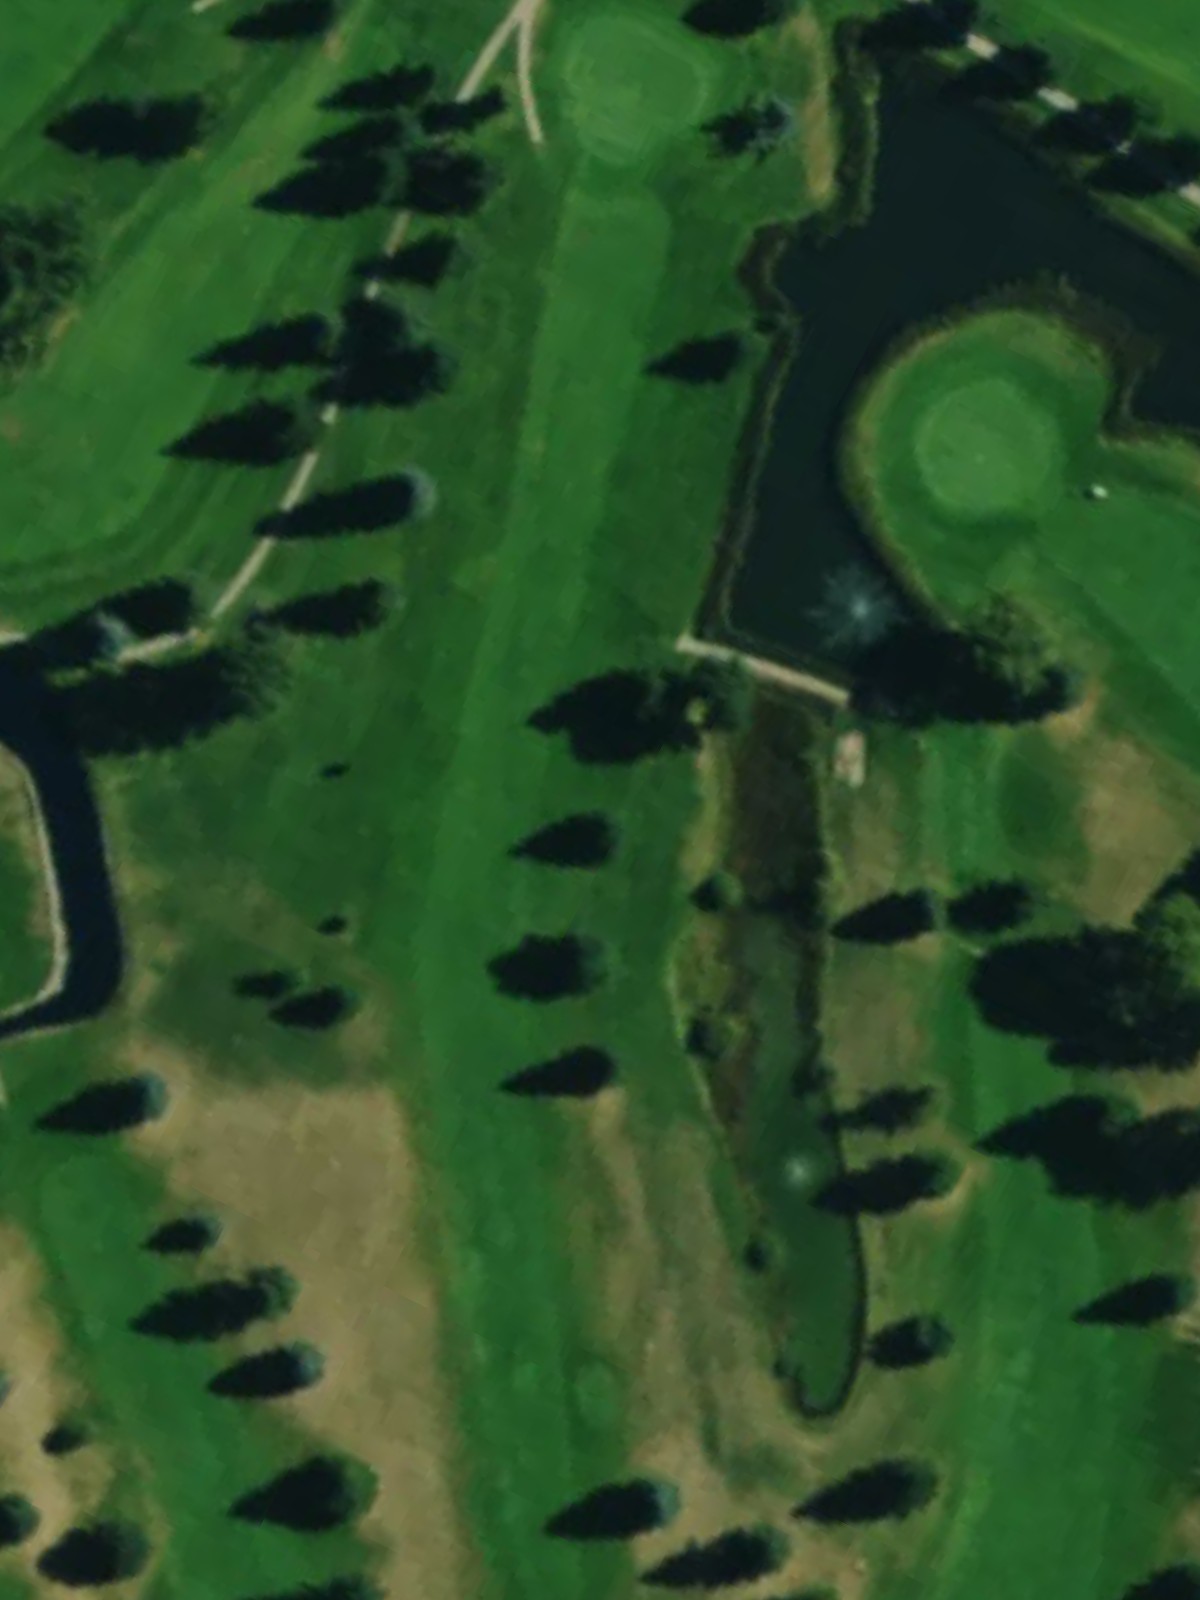
The hardest par 3 on the course, this hole demands precise distance control and shot-making over a significant length. Water or other major hazards guard the green, making this a defining moment in any round.
A short par 4 with a relatively open driving area and an accessible green. This hole provides a birdie opportunity and a mental reset before the challenging closing stretch of holes.
A manageable par 4 with a straightforward design and minimal hazards in play. This hole offers another scoring opportunity in the back nine for solid ball-strikers.
The third-hardest hole on the course, this par 4 features a dramatic increase in length and difficulty from the forward tees. Strategic hazards and a narrow approach corridor make this a defining test of a player's skill and composure.
A solid finishing par 4 that provides a fitting conclusion to the round with a balanced challenge. The hole's design requires both distance and accuracy, allowing for a fair assessment of a golfer's closing execution.
Scorecard
| Hole | 1 | 2 | 3 | 4 | 5 | 6 | 7 | 8 | 9 | Out | 10 | 11 | 12 | 13 | 14 | 15 | 16 | 17 | 18 | In | Tot |
|---|---|---|---|---|---|---|---|---|---|---|---|---|---|---|---|---|---|---|---|---|---|
| Par | 4 | 4 | 5 | 4 | 3 | 4 | 4 | 3 | 4 | 35 | 4 | 4 | 3 | 4 | 3 | 4 | 4 | 4 | 4 | 34 | 69 |
| HCP | 2 | 12 | 8 | 6 | 14 | 16 | 10 | 18 | 4 | 5 | 13 | 17 | 11 | 1 | 7 | 15 | 3 | 9 | |||
| blue | 387 | 275 | 485 | 343 | 172 | 311 | 345 | 153 | 380 | 2851 | 285 | 280 | 122 | 269 | 197 | 259 | 241 | 380 | 297 | 2330 | 5181 |
| white | 367 | 260 | 472 | 335 | 126 | 301 | 290 | 144 | 370 | 2665 | 258 | 256 | 116 | 260 | 185 | 250 | 231 | 365 | 289 | 2210 | 4875 |
| red | 293 | 233 | 425 | 327 | 107 | 292 | 280 | 130 | 358 | 2445 | 240 | 240 | 110 | 251 | 140 | 240 | 222 | 264 | 280 | 1987 | 4432 |