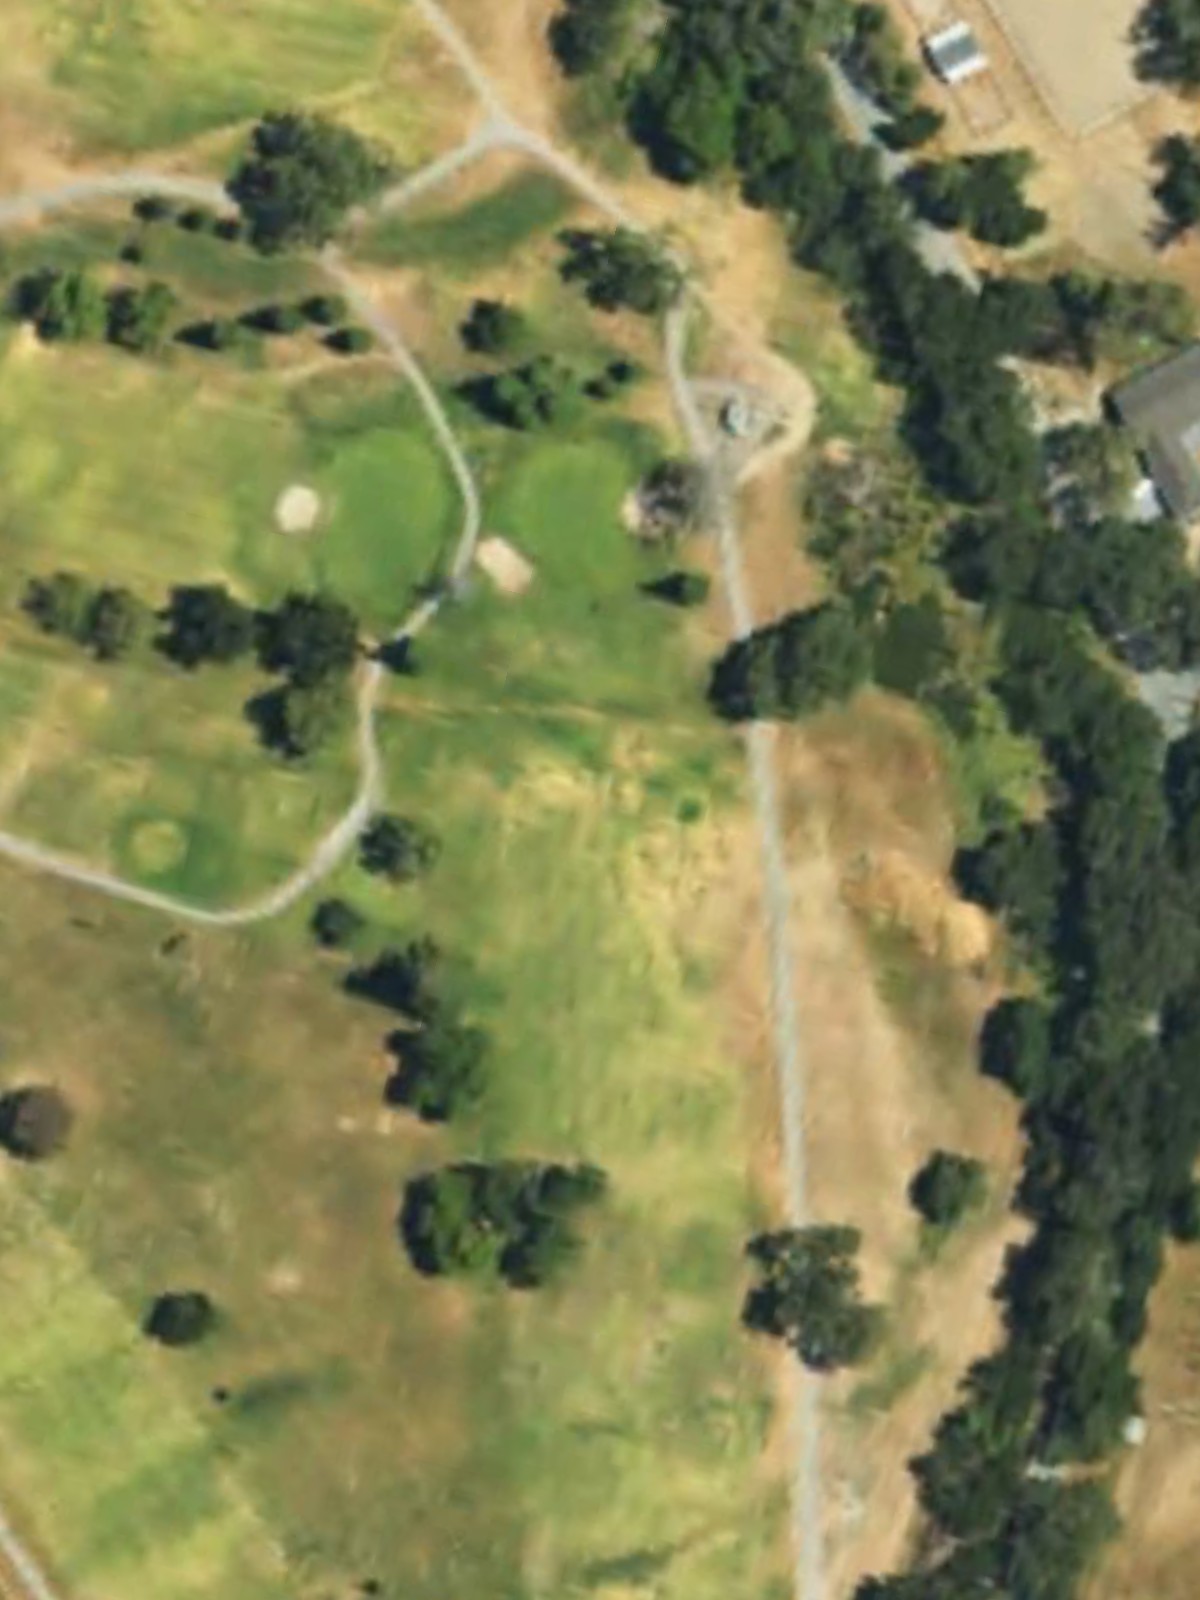
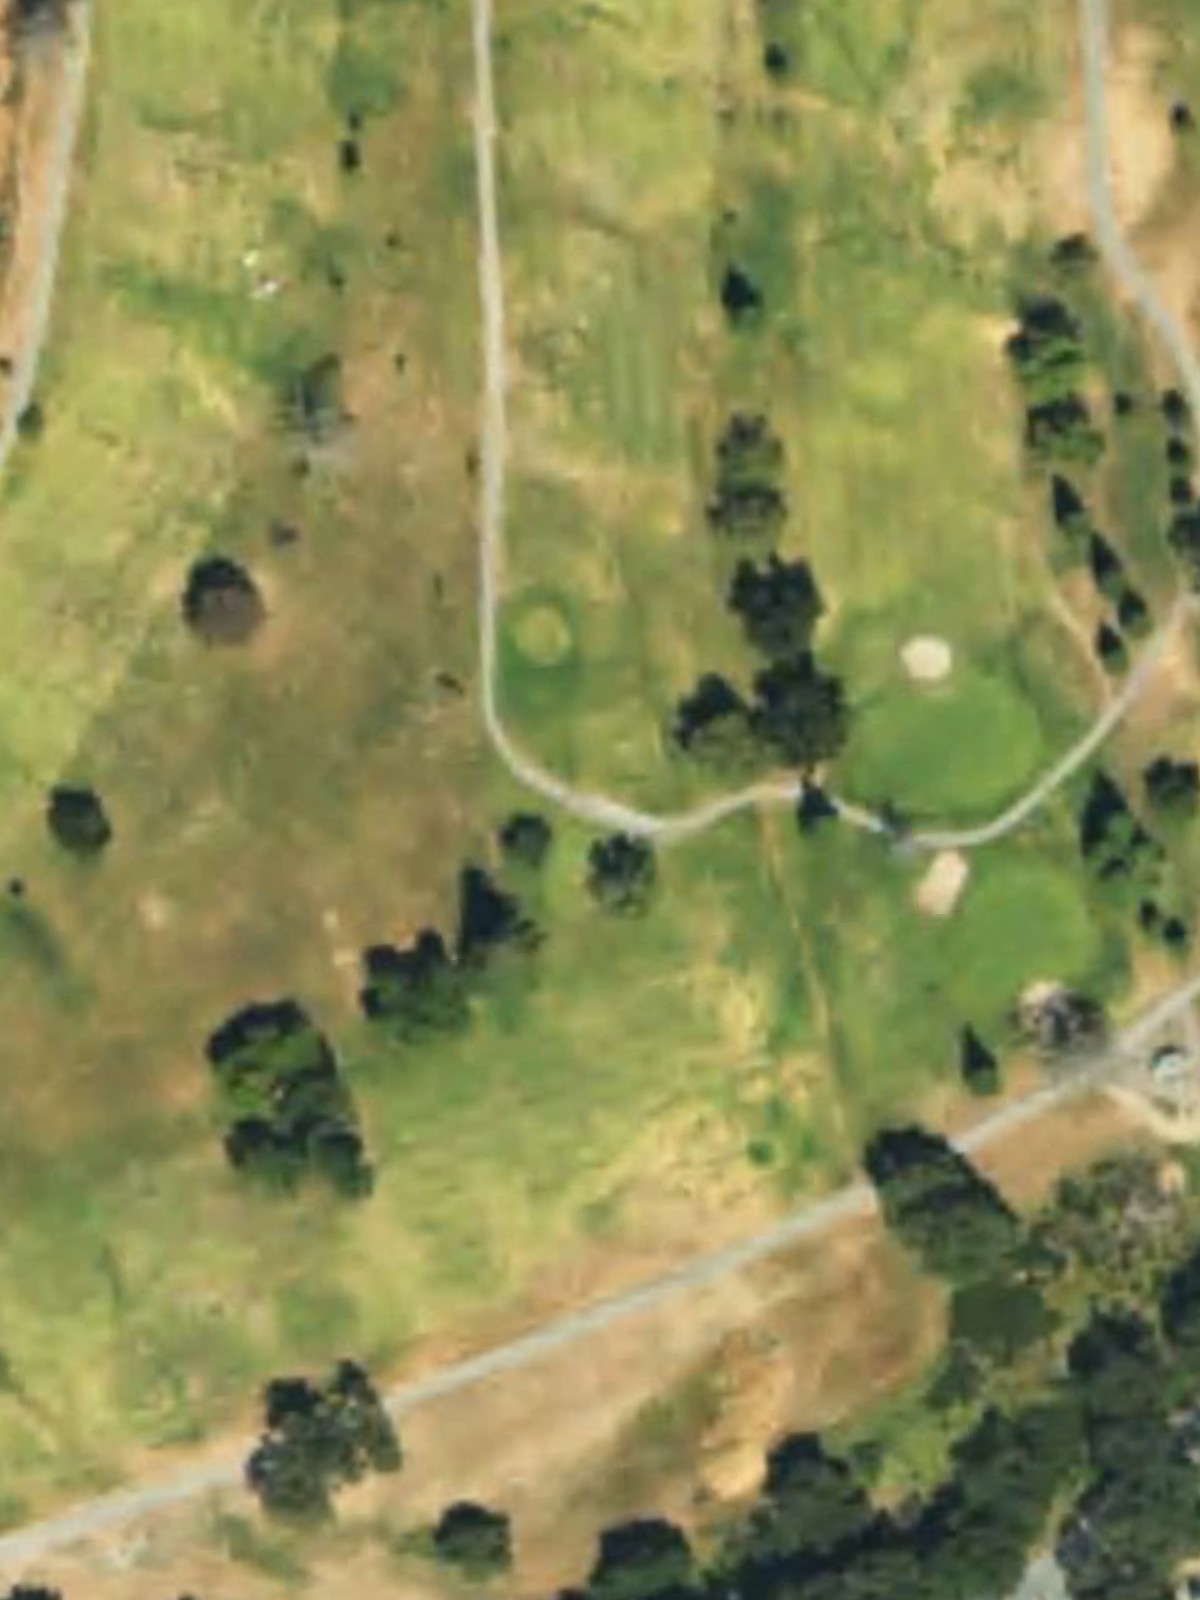
Gilroy Gc is an 18-hole golf course in Gilroy, CA with a par of 70. It offers 2 tee sets: white/black (5,824 yards, slope 114, rating 67.8), green/yellow (5,023 yards, slope 102, rating 64.1). The hardest hole is #10, a par 4 playing 390 yards from the first tee.
Gilroy Gc
Gilroy, CA
Get PDF Yardage Book
We'll email you the PDF link. No spam, ever.
Create Your Game Plan
Pick your tees, enter your bag, and get a personalized shot-by-shot strategy for every hole.
A demanding opening par 4 that plays as the second handicap hole. The fairway is relatively open off the tee but tightens as it approaches a well-bunkered green, with hazards guarding both sides of the approach.

A short par 4 that offers birdie opportunity as one of the course's easier holes. The straightforward layout features minimal hazards, making accurate approach play the key to a good score.
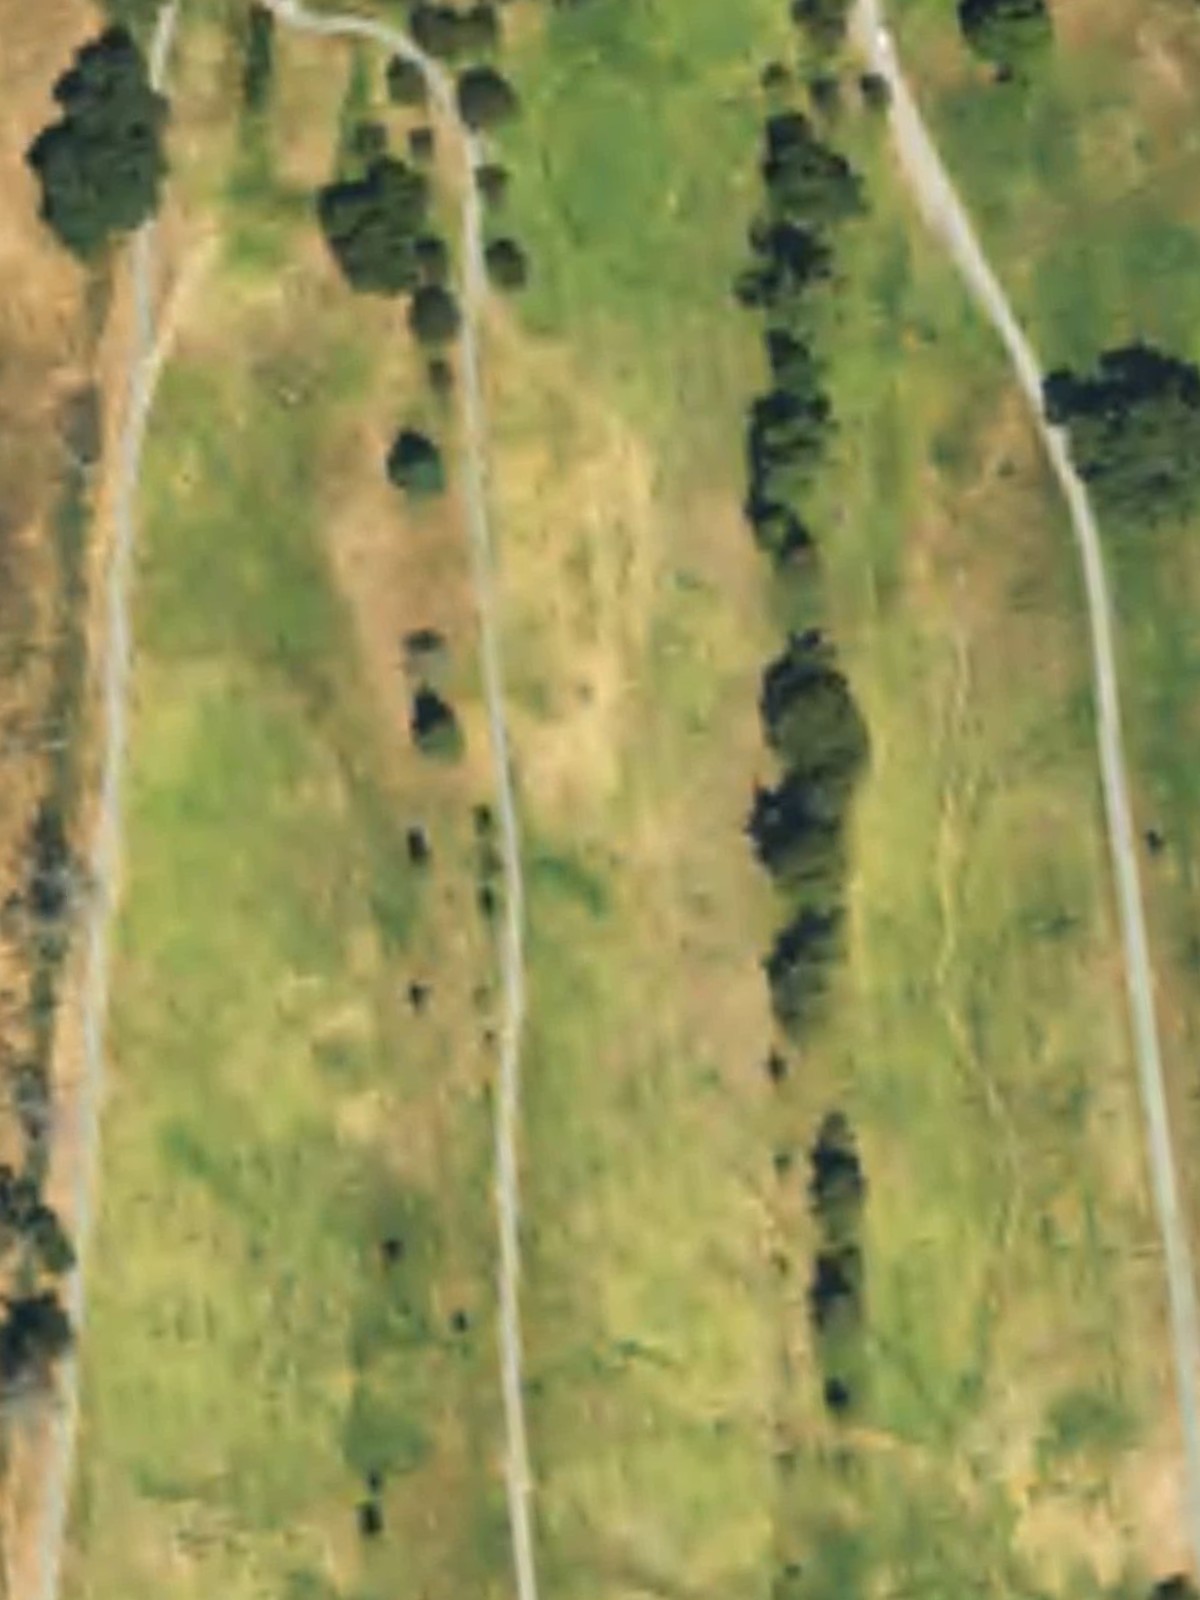
A solid par 4 with a moderate length that demands precision. The fairway corridor narrows toward the green, where strategic bunkering protects the scoring area and rewards accurate positioning off the tee.
A very short par 3 that plays under 100 yards from the back tees. This diminutive hole provides relief but remains dangerous with its compact green surrounded by trouble.
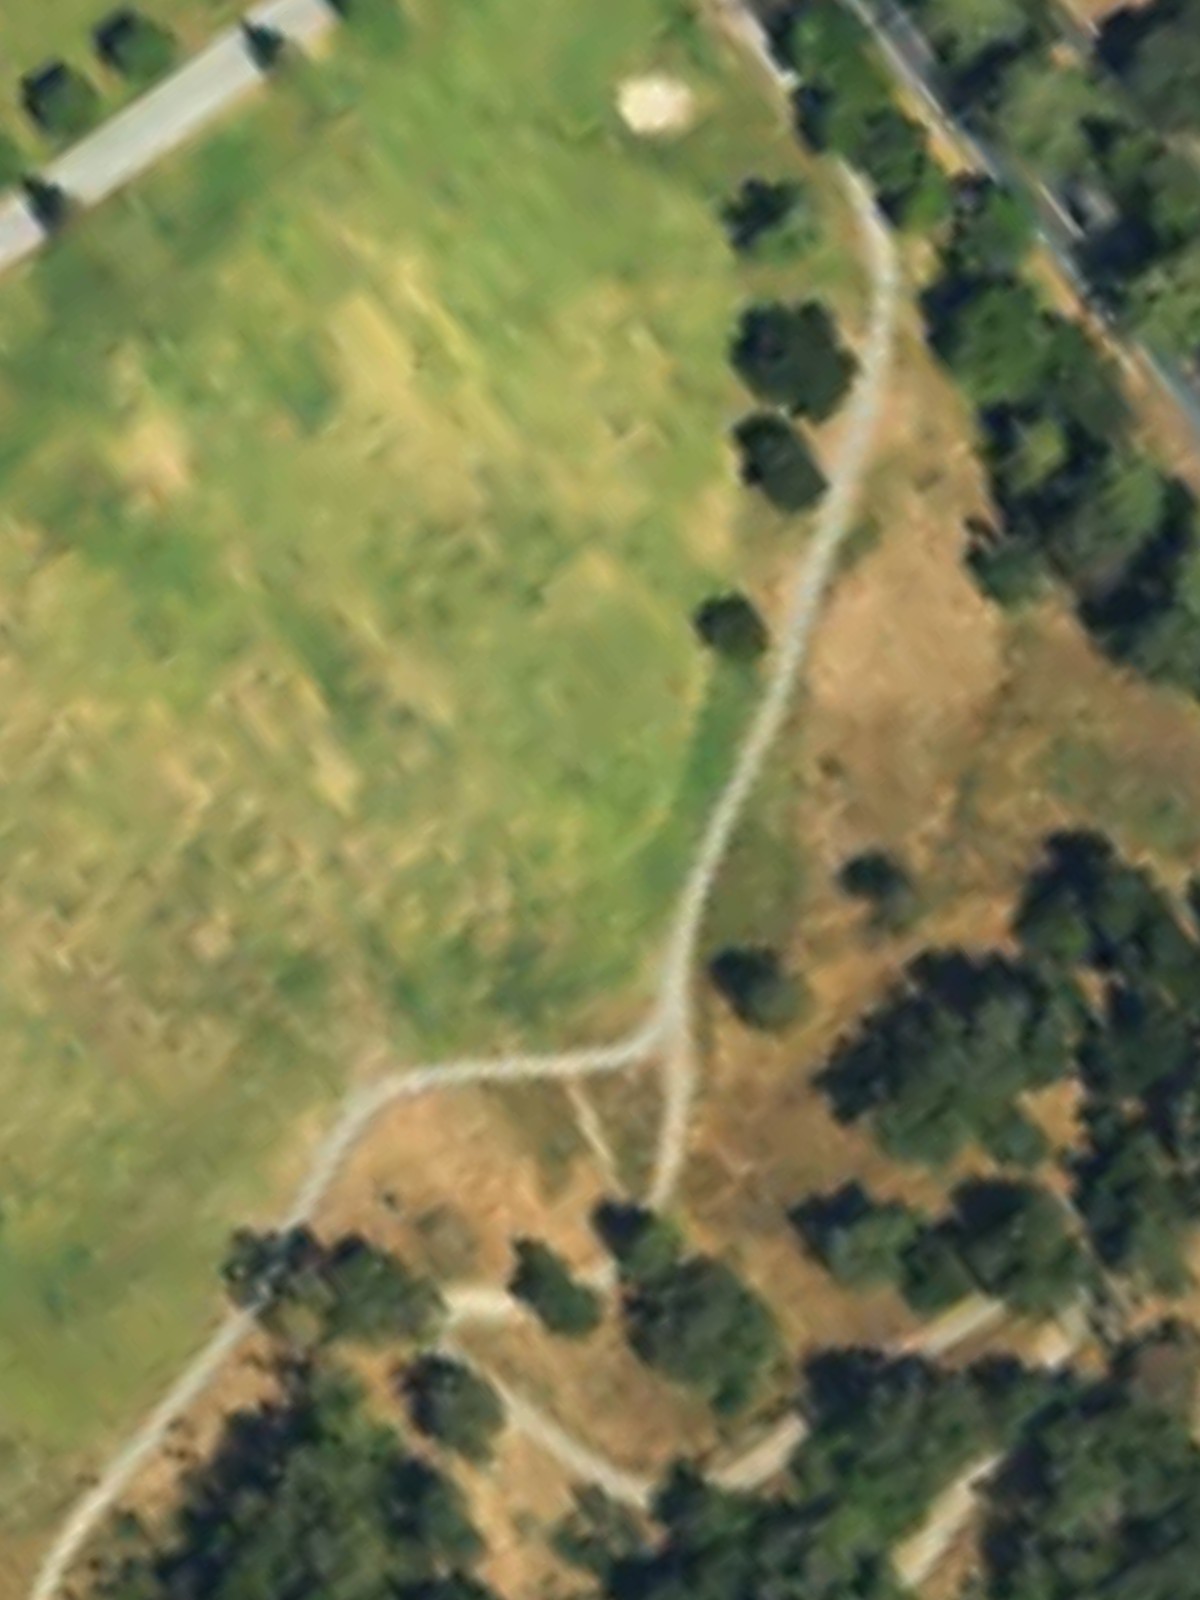
A mid-length par 5 that offers risk-reward opportunities for the aggressive player. The hole's configuration rewards a well-placed drive, with the fairway presenting options for reaching the green in regulation.
A short par 3 playing under 160 yards from the back tees. Despite its modest length, the hole presents a challenging target with strategic bunkering and potentially sloping terrain around the green.
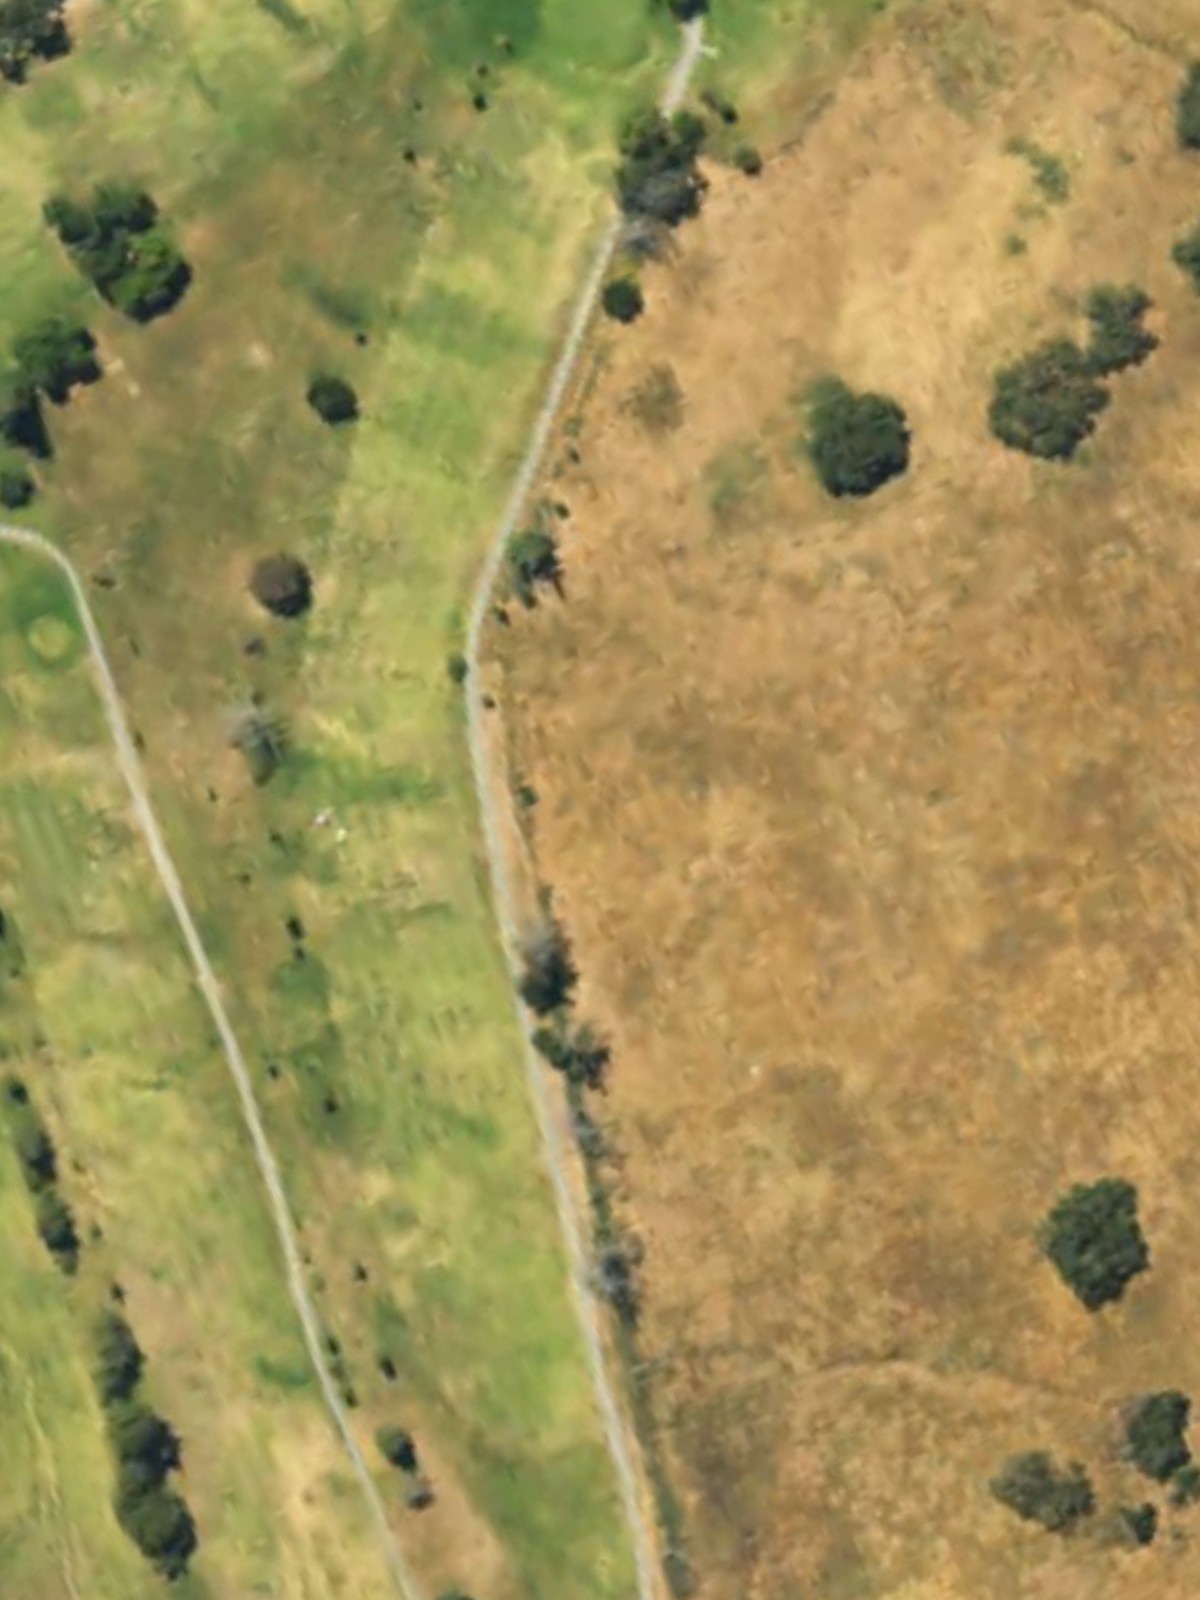
A straightforward par 4 of moderate length with a fairway that provides ample room off the tee. The approach into the green requires accuracy, with hazards tightening the landing area near the putting surface.
The fourth most difficult hole on the course, this par 4 plays shorter than its handicap might suggest but demands precision. Strategic bunkering and green-side hazards penalize wayward shots.
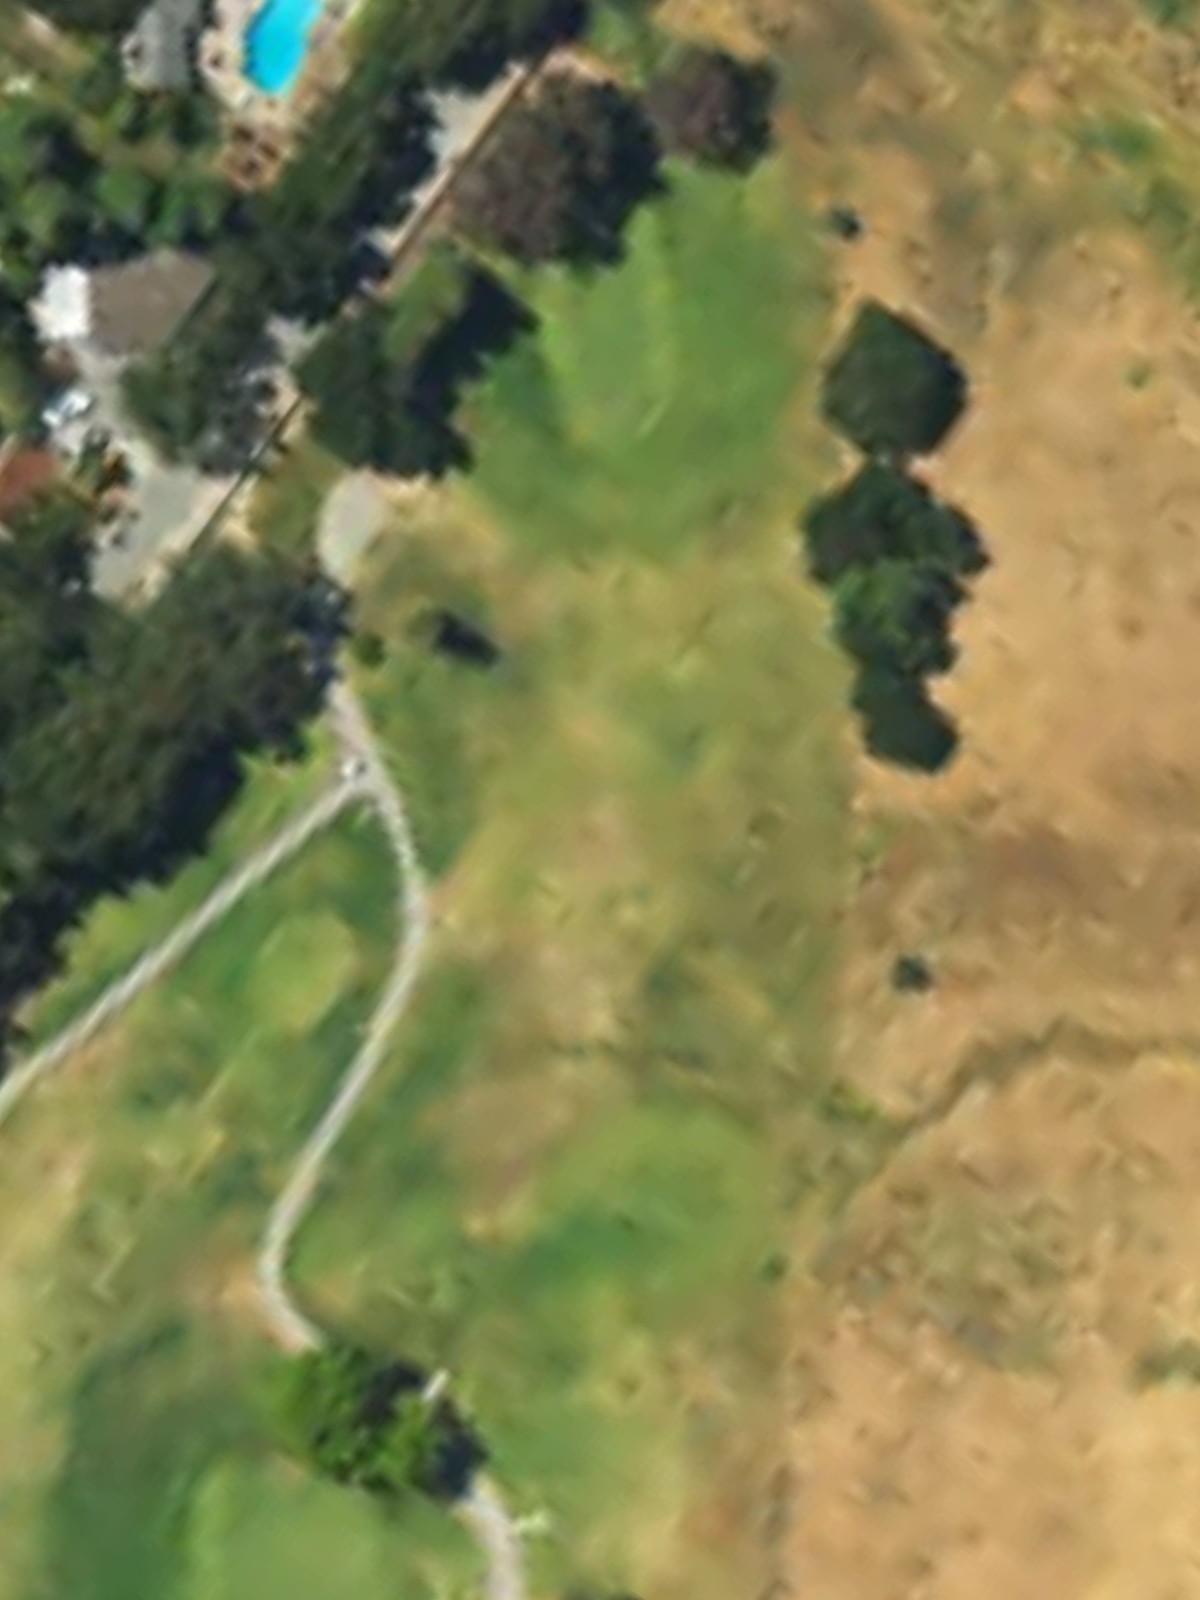
A short par 4 that ranks among the easiest holes at the course. The hole's brevity from the forward tees contrasts with its length from the back, offering different challenges depending on the tee selection.

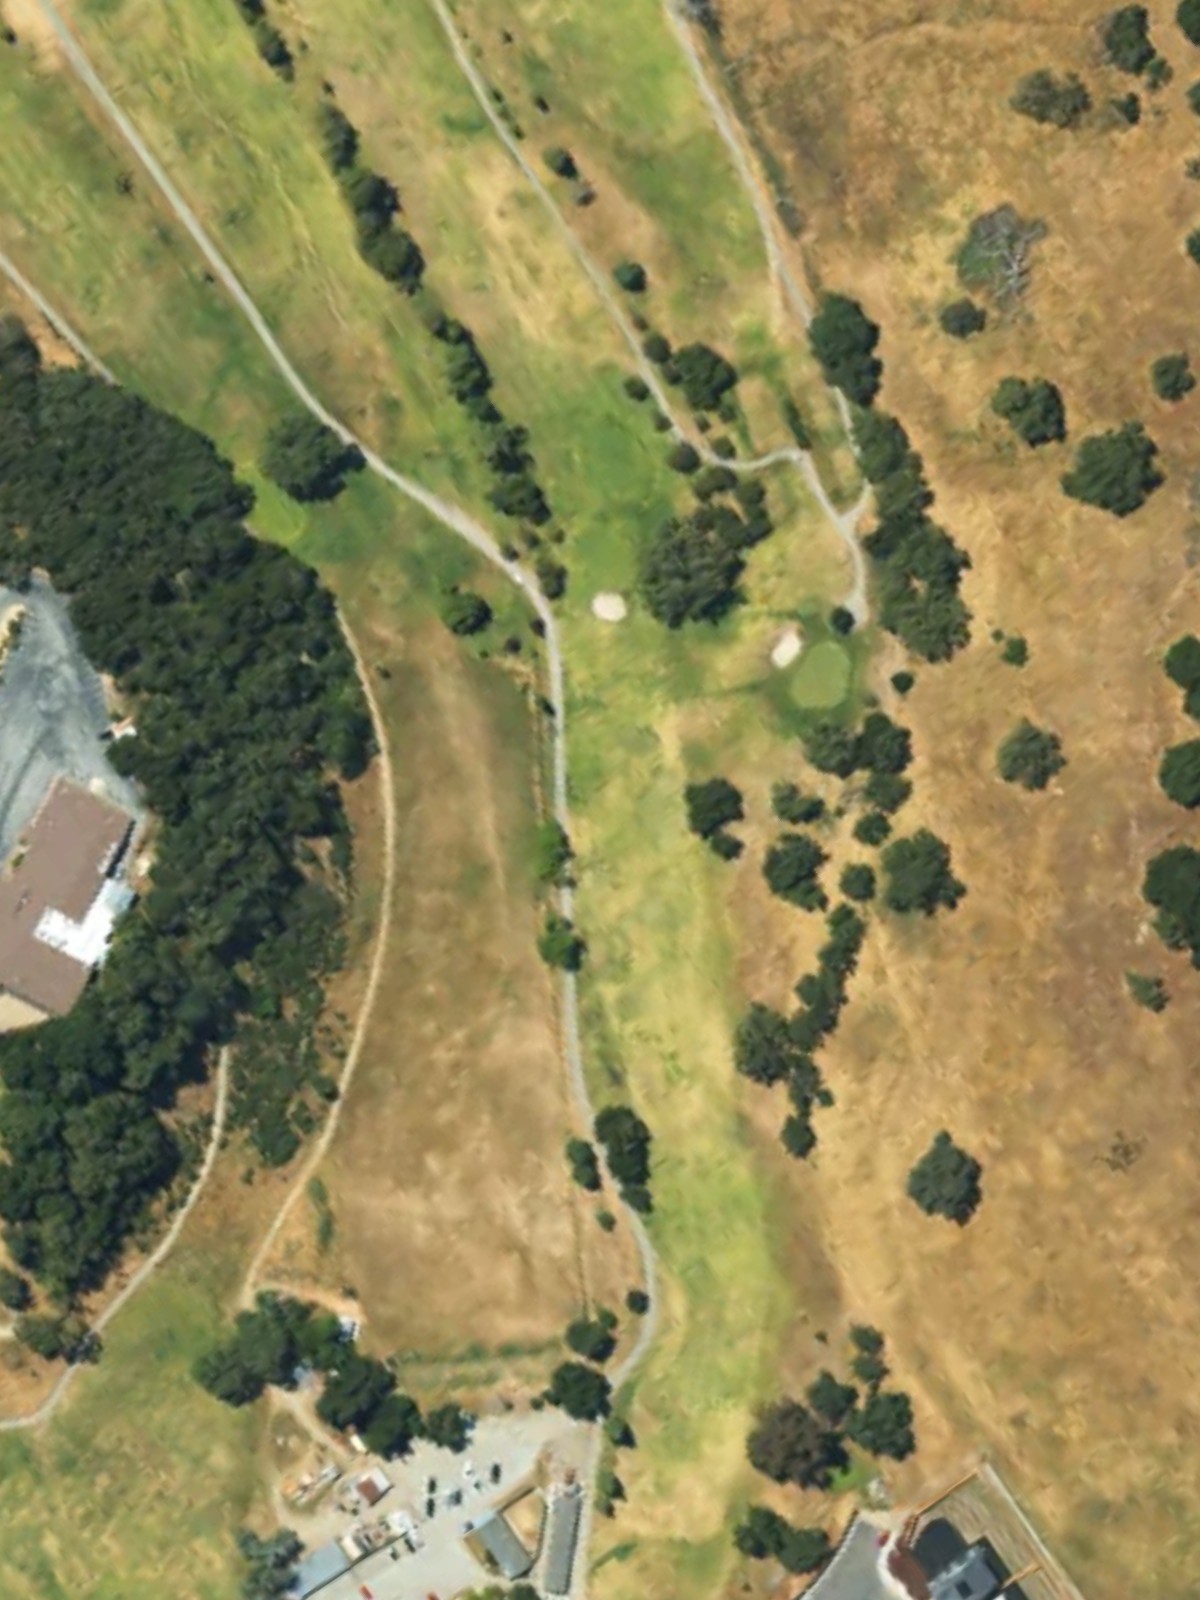
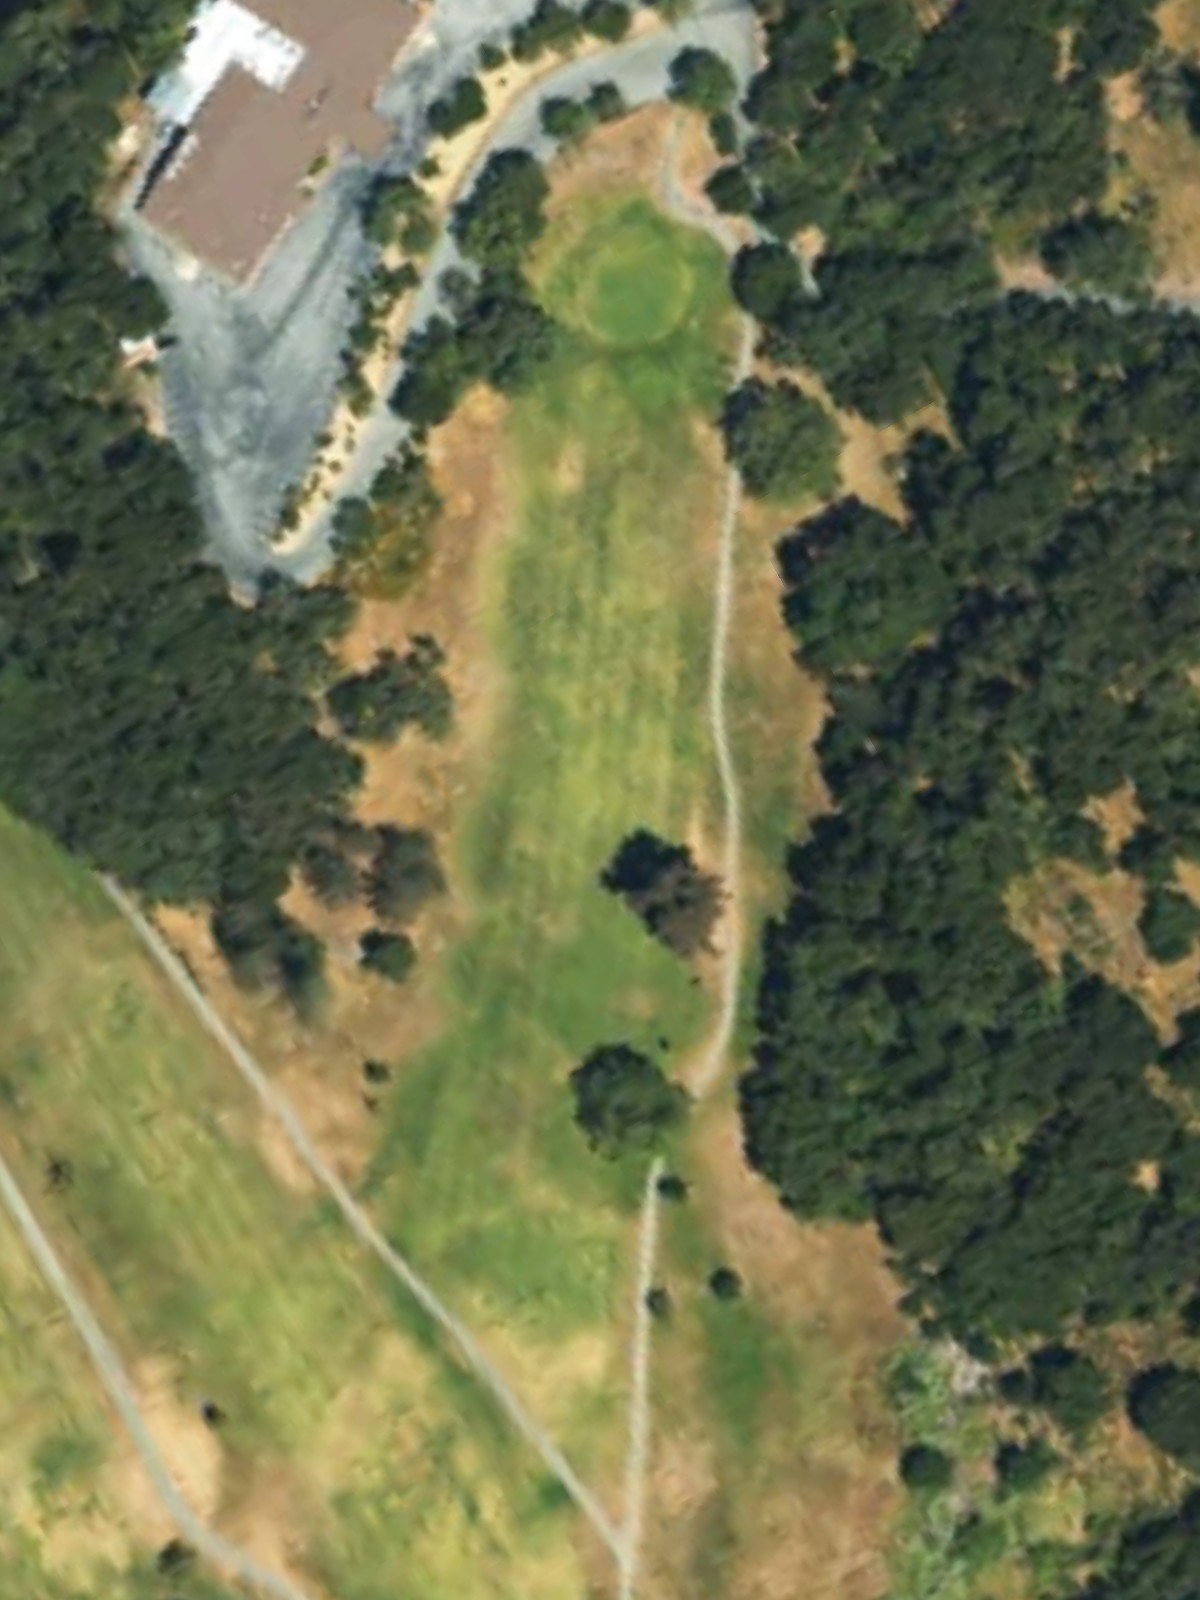
The most difficult hole at Gilroy GC, this par 4 presents a formidable test from the tee. Length, hazard placement, and a well-defended green combine to make this a pivotal hole in the round.

A mid-length par 4 with a fairway that opens invitingly off the tee but demands precision on the approach. The green is protected by strategic bunkering that rewards accuracy on the second shot.
The fifth most difficult par 4 on the course, this hole features a compact layout where both distance and accuracy are essential. Hazards pinch the fairway and guard the green, making club selection critical.
The shortest hole on the course, this tiny par 3 plays well under 100 yards even from the back tees. The diminutive green and surrounding hazards create a risk-reward scenario despite the short distance.
A substantial par 5 that presents multiple options for aggressive players. The fairway structure and length provide opportunities for reaching in two, though strategic bunkering and hazard placement demand thoughtful execution.
A short par 3 under 150 yards from the back tees. The hole's brevity belies its difficulty, with a tightly bunkered green and sloping terrain that punish imprecision.
A mid-length par 4 with a fairway that opens off the tee before narrowing near the green. Strategic hazards guard the approach, making accurate positioning essential for a scoring opportunity.
A short par 5 that ranks among the most difficult holes at the course, offering little room for error despite its length. The hole's configuration and hazard placement demand accuracy throughout the hole.

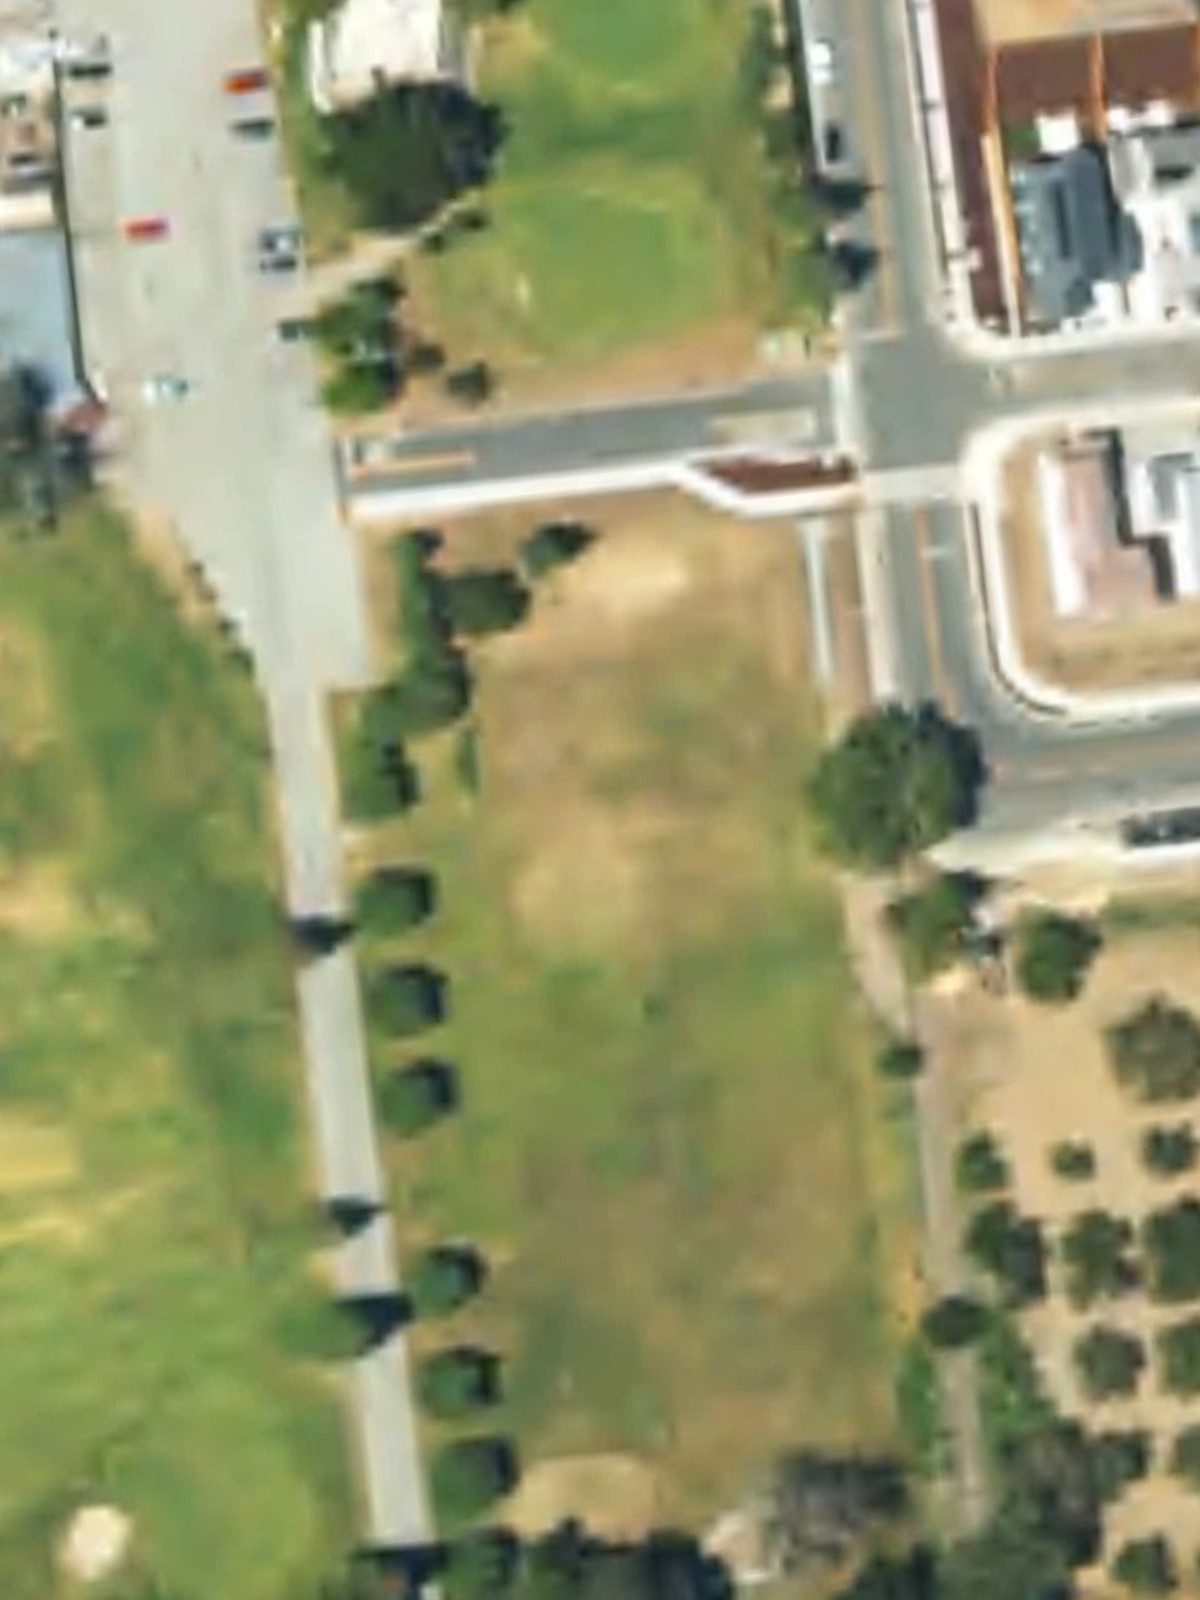
A substantial closing par 3 of over 240 yards from the back tees that presents a dramatic finishing hole. The long green and surrounding hazards create a challenging final test that requires a confident, well-executed tee shot.
Scorecard
| Hole | 1 | 2 | 3 | 4 | 5 | 6 | 7 | 8 | 9 | Out | 10 | 11 | 12 | 13 | 14 | 15 | 16 | 17 | 18 | In | Tot |
|---|---|---|---|---|---|---|---|---|---|---|---|---|---|---|---|---|---|---|---|---|---|
| Par | 4 | 4 | 4 | 3 | 5 | 3 | 4 | 4 | 4 | 35 | 4 | 4 | 4 | 3 | 5 | 3 | 4 | 5 | 3 | 35 | 70 |
| HCP | 2 | 12 | 6 | 18 | 8 | 14 | 10 | 4 | 16 | 1 | 13 | 5 | 17 | 9 | 15 | 11 | 3 | 7 | |||
| white/black | 374 | 337 | 373 | 99 | 519 | 159 | 385 | 348 | 334 | 2928 | 390 | 367 | 353 | 87 | 501 | 145 | 368 | 429 | 256 | 2896 | 5824 |
| green/yellow | 355 | 309 | 331 | 66 | 462 | 97 | 354 | 342 | 184 | 2500 | 362 | 282 | 344 | 60 | 429 | 89 | 327 | 388 | 242 | 2523 | 5023 |