General Electric Athletic Association (Geaa) is an 18-hole golf course in Pittsfield, MA with a par of 72. It offers 4 tee sets: blue/blue (6,394 yards, slope 121, rating 71), white/blue (6,247 yards, slope 119, rating 70.3), white/white (6,100 yards, slope 117, rating 69.6), black/black (5,186 yards, slope 113, rating 65.4). The hardest hole is #9, a par 4 playing 411 yards from the first tee.
General Electric Athletic Association (Geaa)
Pittsfield, MA
Get PDF Yardage Book
We'll email you the PDF link. No spam, ever.
Create Your Game Plan
Pick your tees, enter your bag, and get a personalized shot-by-shot strategy for every hole.
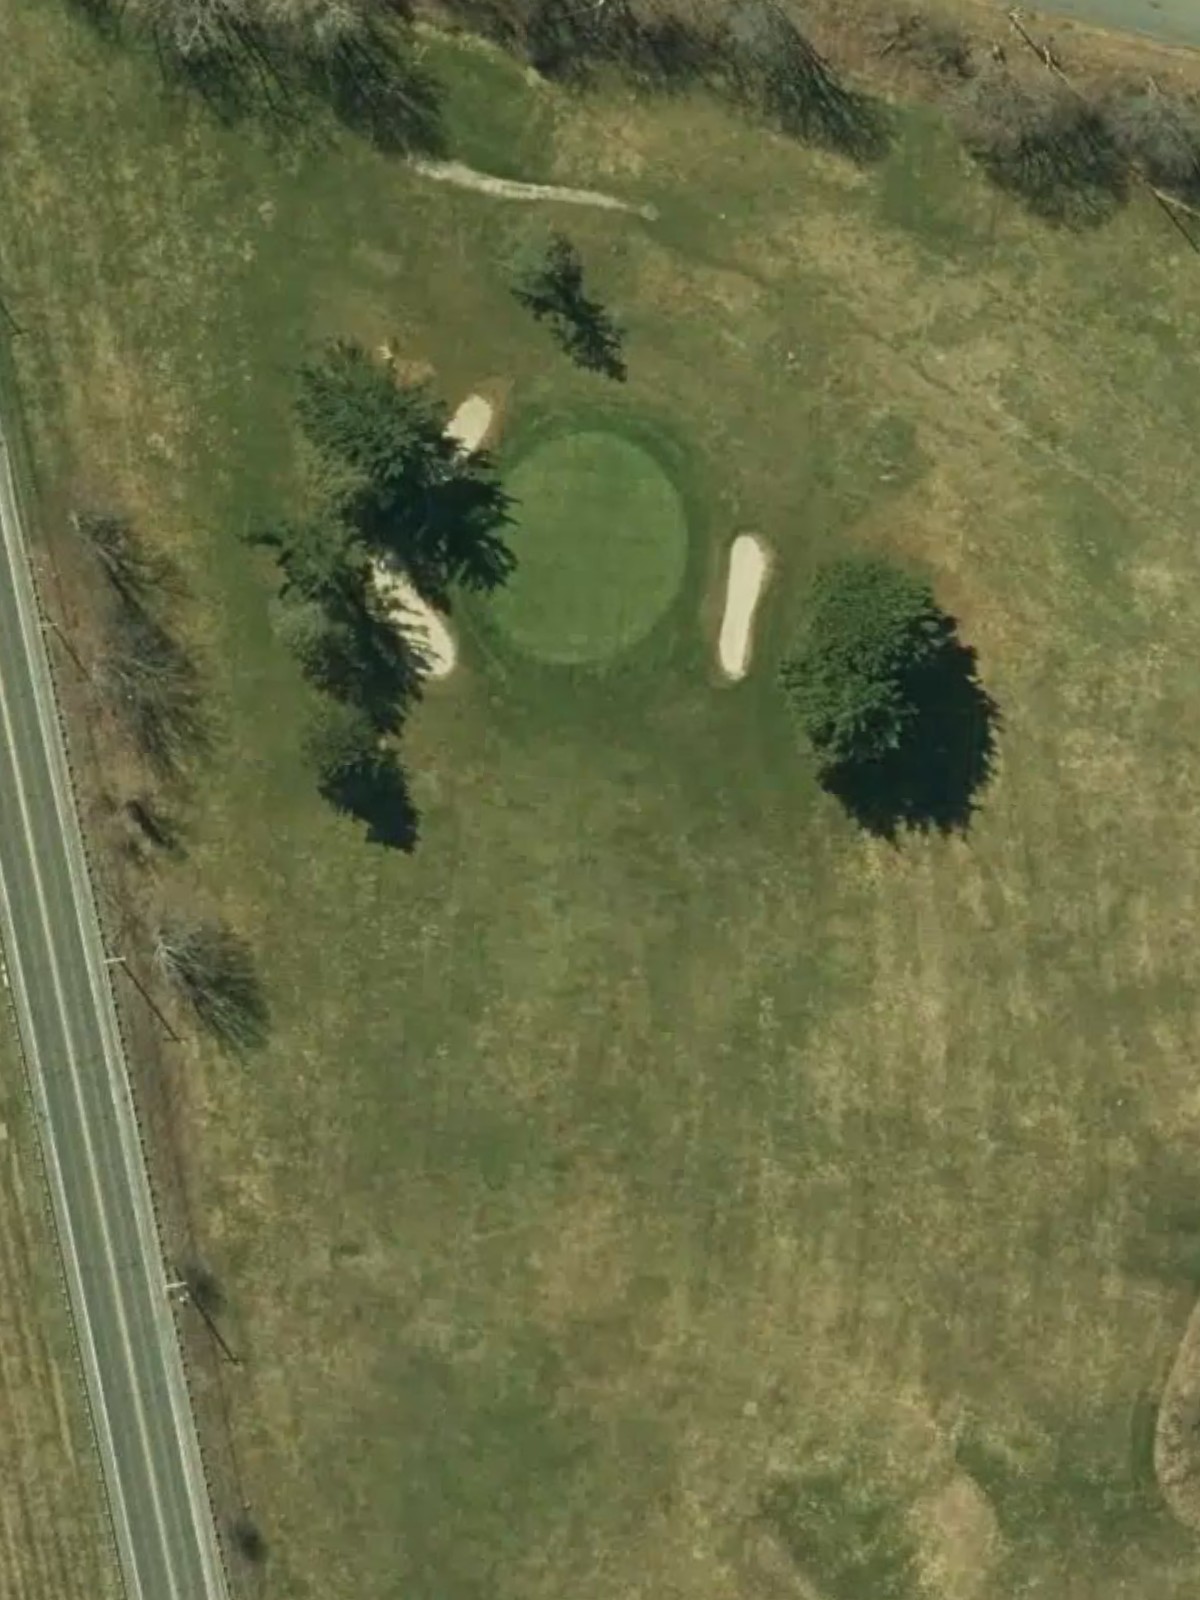
A short par 3 playing to an elevated green with minimal framing. The hole's brevity makes precision off the tee essential, as missing the target area leaves difficult recovery shots from surrounding terrain.
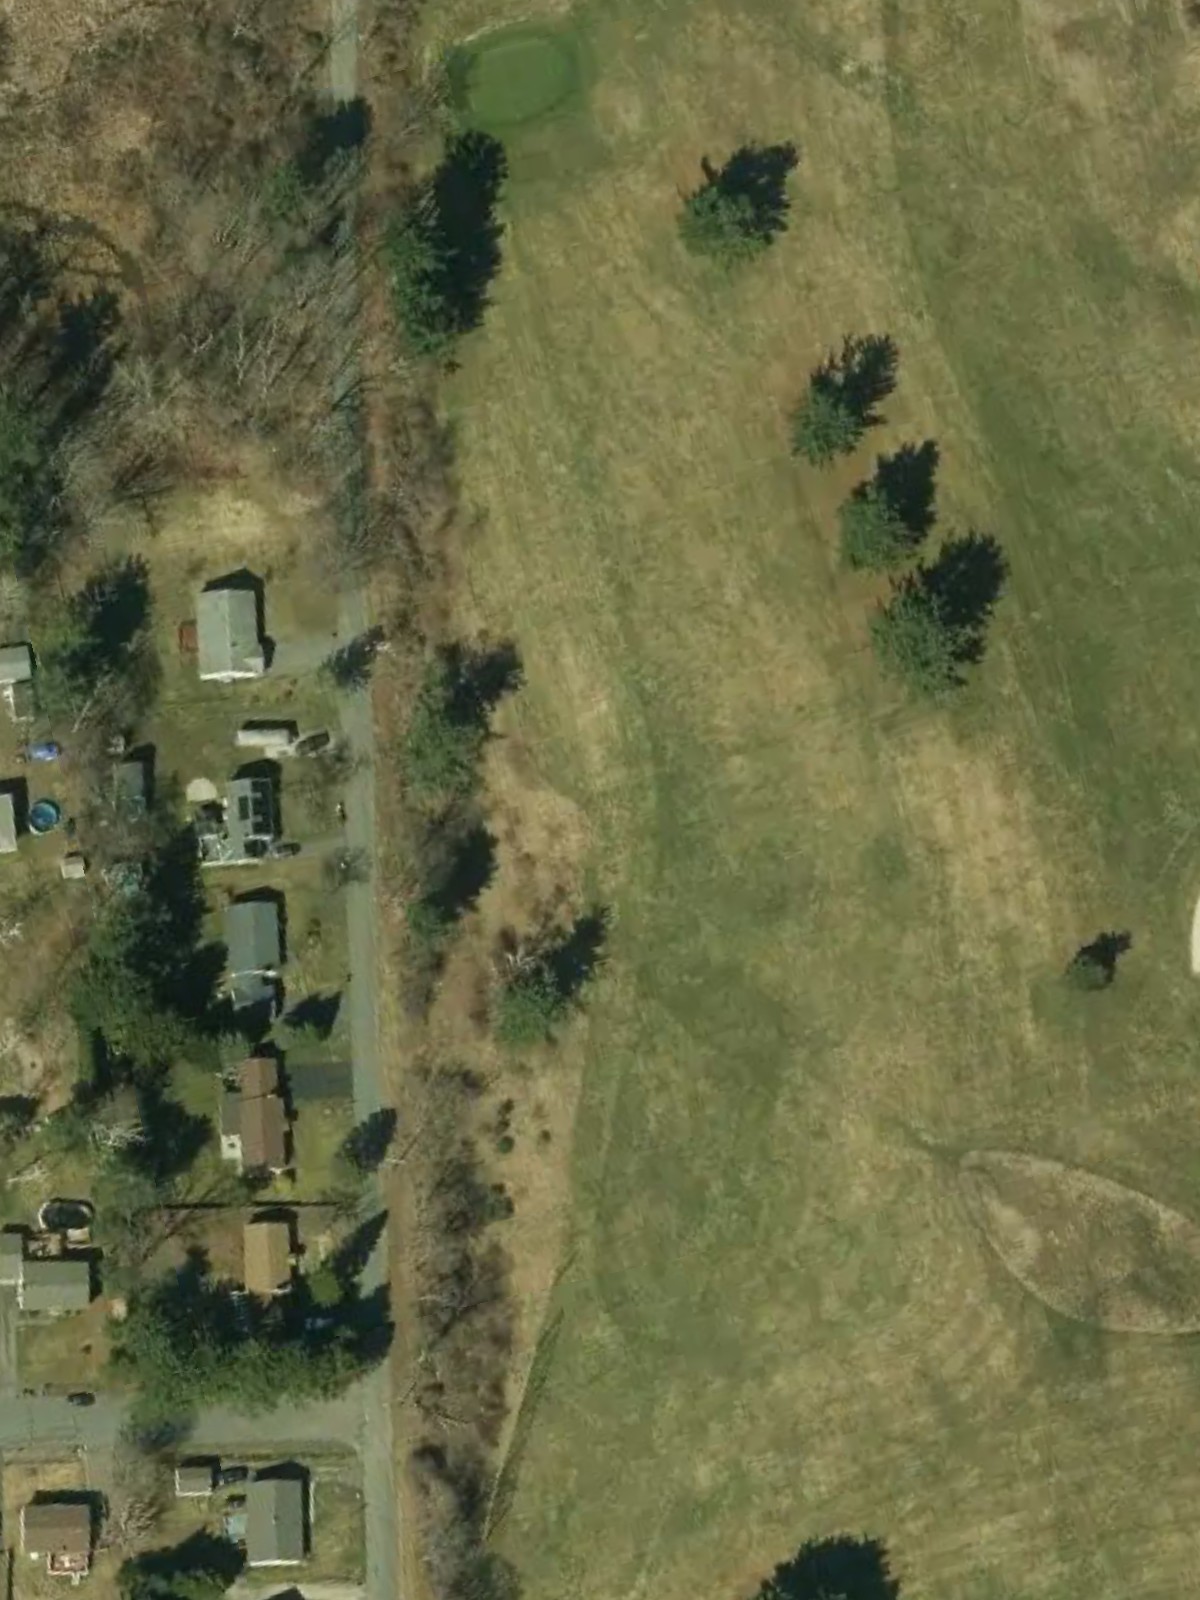
A demanding par 4 that ranks among the course's most difficult. The fairway is tight with hazards closing in on both sides, requiring an accurate approach to reach the green in regulation.
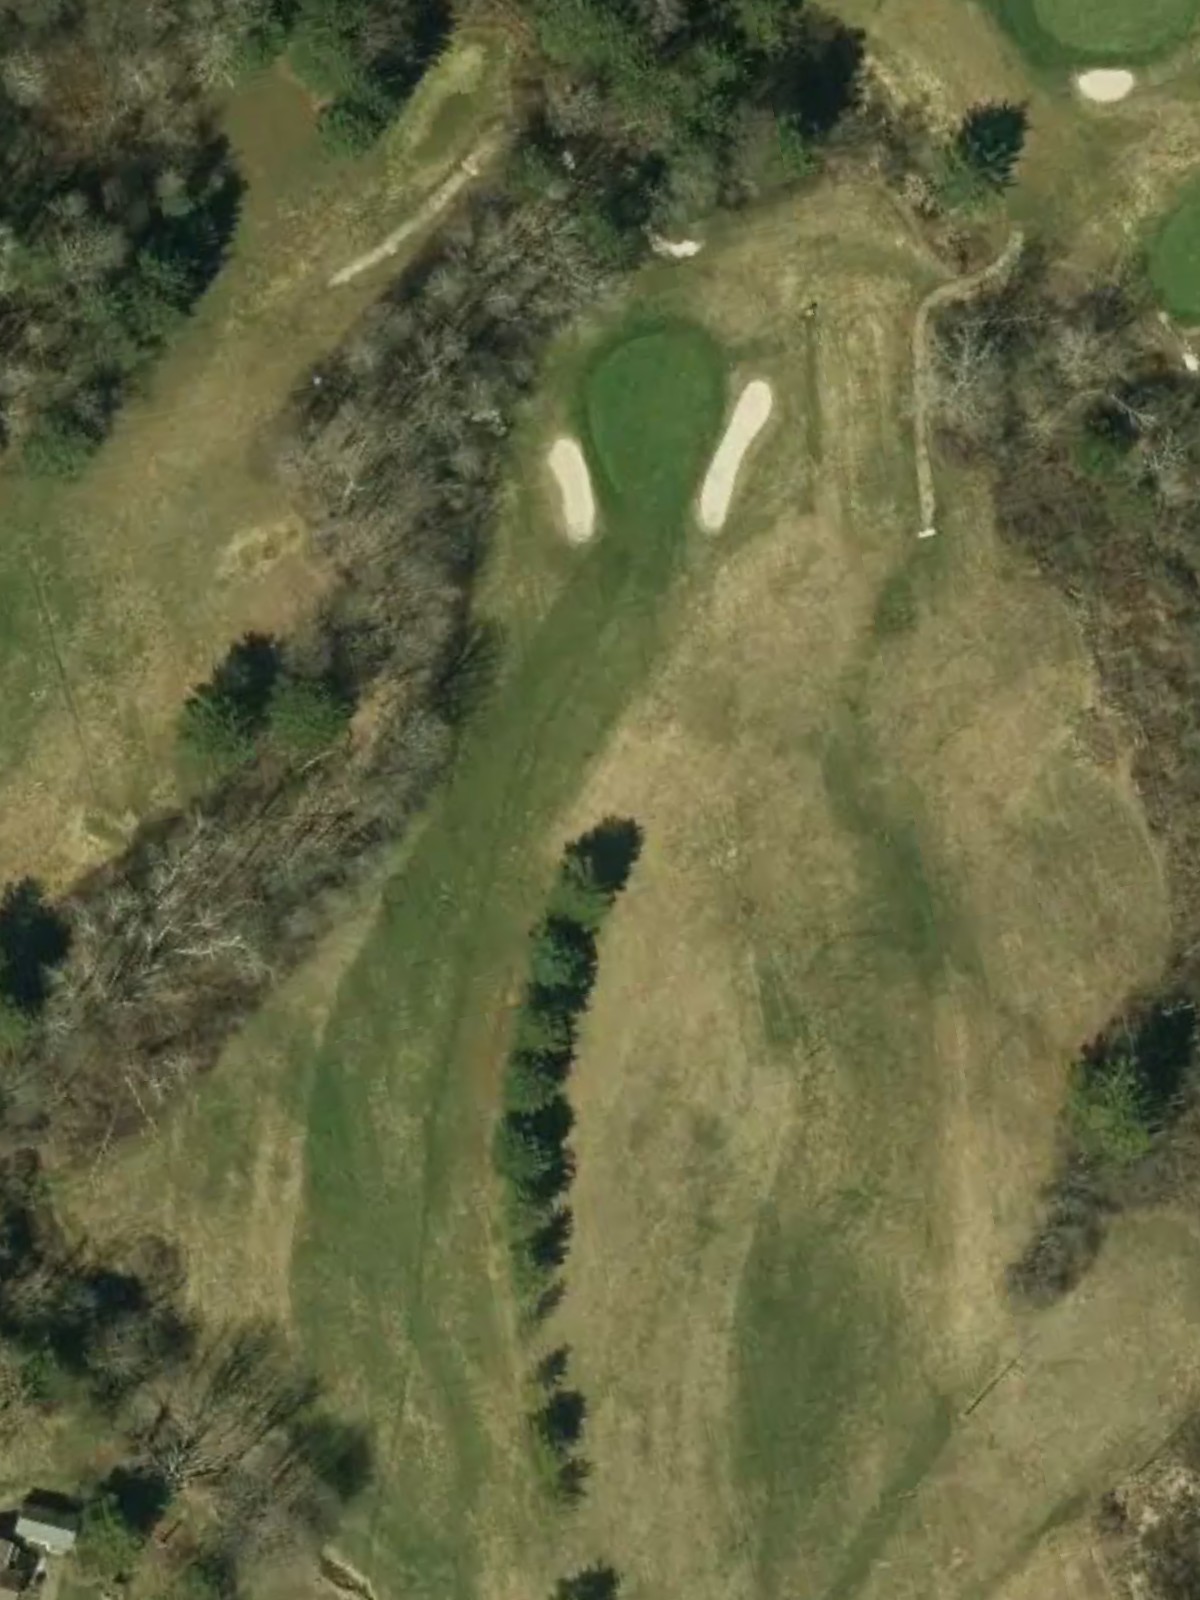
A mid-length par 4 with a relatively straightforward routing but strategic bunkering around the green. Accuracy on the approach is key to avoiding sand and securing a good scoring opportunity.
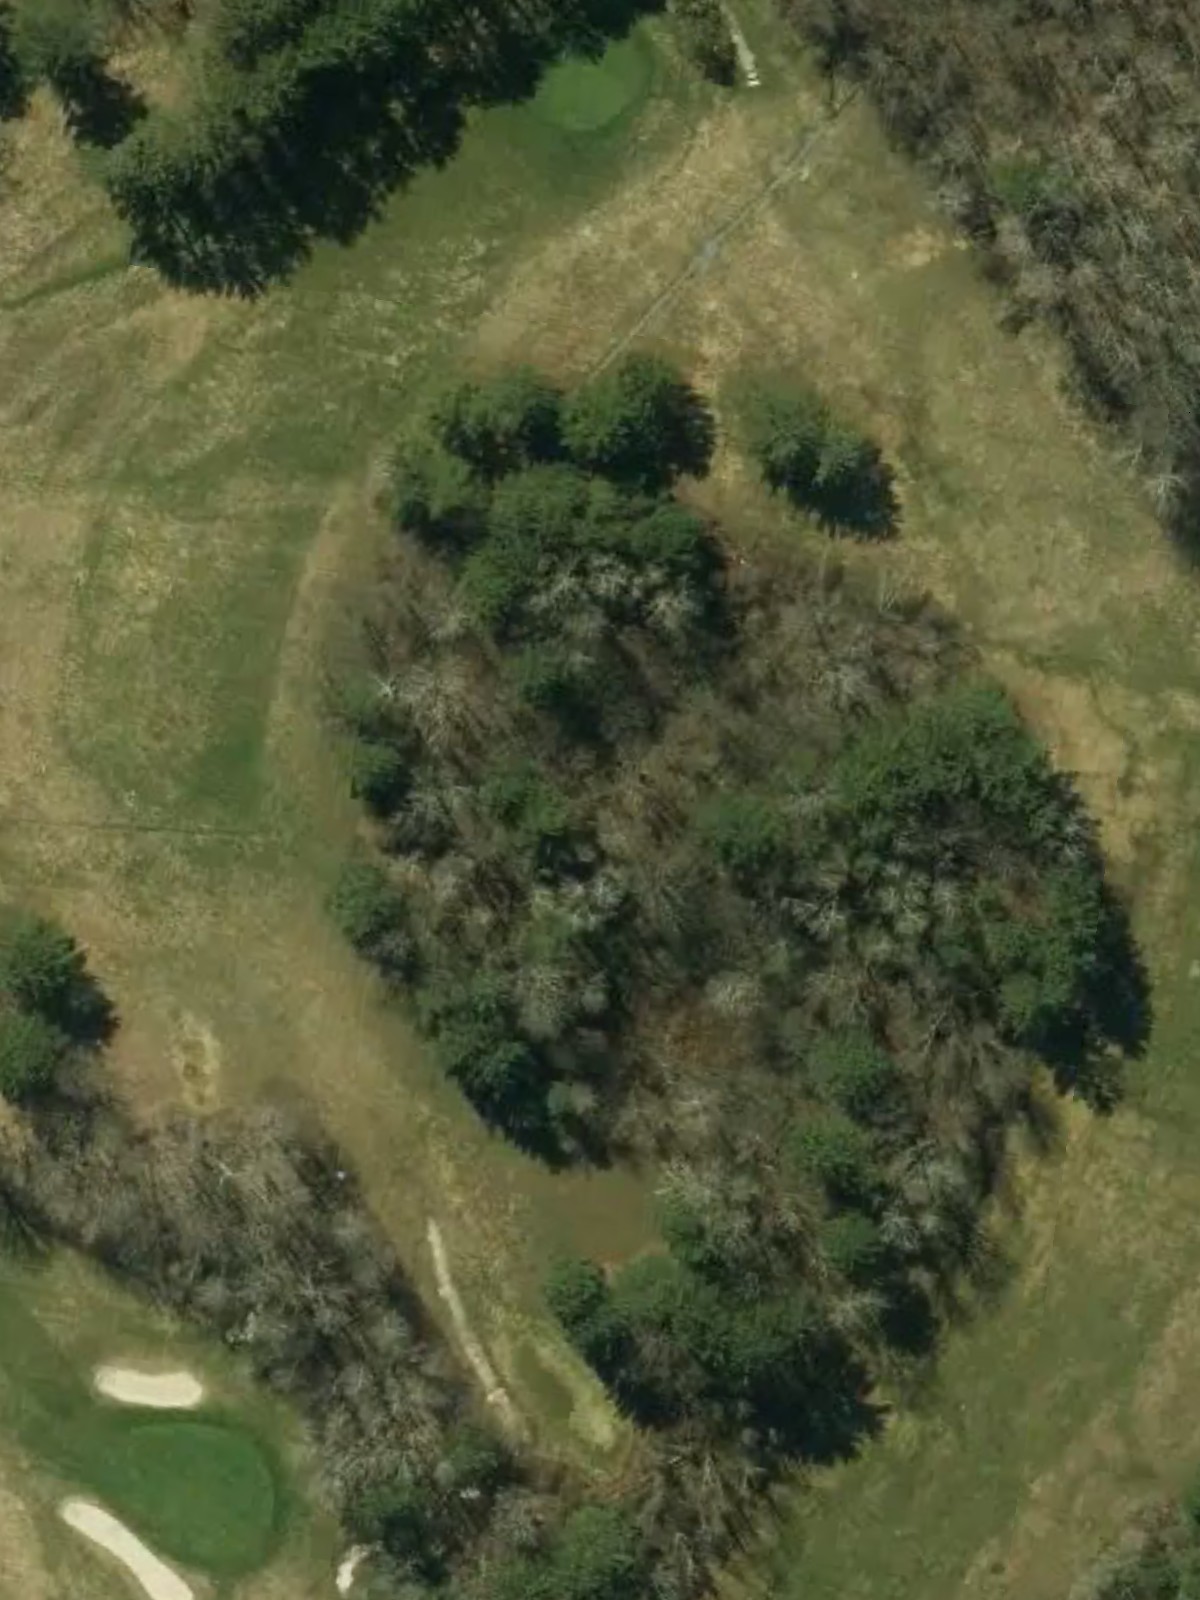
A short par 4 that offers a reprieve in difficulty with a wide fairway and open approach. The lack of major hazards makes this a chance to make par, though the green's contours demand attention on approach shots.
A reachable par 5 with a fairway that allows aggressive play off the tee. Strategic positioning is important to set up the best angle into a well-bunkered green.
The most difficult par 5 on the course, playing long and demanding with significant hazards throughout. Length and accuracy are both required to navigate this challenge and reach the green in three shots.
A mid-length par 4 with ample fairway width but greenside trouble that punishes inaccuracy. The approach shot requires precision to avoid bunkers and rough areas surrounding the putting surface.
The easiest hole on the course, a short par 3 with a straightforward green and minimal hazards. This birdie opportunity features an open approach with little to distract from a clean strike to the green.
The stroke index one hole, playing as a long and challenging par 4 that ranks as the course's signature test. Accurate tee and approach shots are both critical to managing this demanding finishing hole on the front nine.
A par 3 of moderate length with strategic hazard placement around the green. The elevated tee shot requires solid contact to find the putting surface and avoid greenside trouble.
A strong par 4 early on the back nine with a tight fairway and demanding approach. Bunkering and green-side hazards reward accuracy and penalize errant shots into the scoring zone.
A mid-length par 4 featuring a relatively open fairway but well-protected green. Strategic positioning off the tee sets up the best angle for the approach into a bunkered green complex.
A short par 4 with generous fairway width that provides an excellent scoring opportunity. The open approach and minimal hazards make this a chance to make birdie with solid play.
A par 5 of moderate length with a fairway that opens opportunities for aggressive play. Strategic bunkering and green-side hazards demand precision on the final approach to the scoring zone.
One of the course's premier par 5s, playing long and requiring multiple solid shots to reach the green. Strategic bunkering and hazards throughout the hole demand careful planning on each shot.
A mid-length par 4 with a relatively open fairway but challenging green surroundings. Accuracy on the approach is critical to avoid hazards and set up a makeable putt.

The most elevated par 3 on the course with minimal framing around the green. The short length offers a birdie chance, though precision from the tee is essential to capitalize on the opportunity.
The second-hardest hole on the course and a dramatic finishing par 4 requiring accuracy on both tee and approach. Significant hazards throughout demand controlled play to close out the round with a strong finish.
Scorecard
| Hole | 1 | 2 | 3 | 4 | 5 | 6 | 7 | 8 | 9 | Out | 10 | 11 | 12 | 13 | 14 | 15 | 16 | 17 | 18 | In | Tot |
|---|---|---|---|---|---|---|---|---|---|---|---|---|---|---|---|---|---|---|---|---|---|
| Par | 3 | 4 | 4 | 4 | 5 | 5 | 4 | 3 | 4 | 36 | 3 | 4 | 4 | 4 | 5 | 5 | 4 | 3 | 4 | 36 | 72 |
| HCP | 11 | 5 | 7 | 13 | 9 | 3 | 15 | 17 | 1 | 12 | 6 | 8 | 14 | 10 | 4 | 16 | 18 | 2 | |||
| blue/blue | 189 | 403 | 357 | 290 | 449 | 570 | 368 | 160 | 411 | 3197 | 189 | 403 | 357 | 290 | 449 | 570 | 368 | 160 | 411 | 3197 | 6394 |
| white/blue | 179 | 391 | 341 | 278 | 440 | 550 | 334 | 141 | 396 | 3050 | 189 | 403 | 357 | 290 | 449 | 570 | 368 | 160 | 411 | 3197 | 6247 |
| white/white | 179 | 391 | 341 | 278 | 440 | 550 | 334 | 141 | 396 | 3050 | 179 | 391 | 341 | 278 | 440 | 550 | 334 | 141 | 396 | 3050 | 6100 |
| black/black | 169 | 333 | 292 | 210 | 361 | 458 | 271 | 134 | 365 | 2593 | 169 | 333 | 292 | 210 | 361 | 458 | 271 | 134 | 365 | 2593 | 5186 |