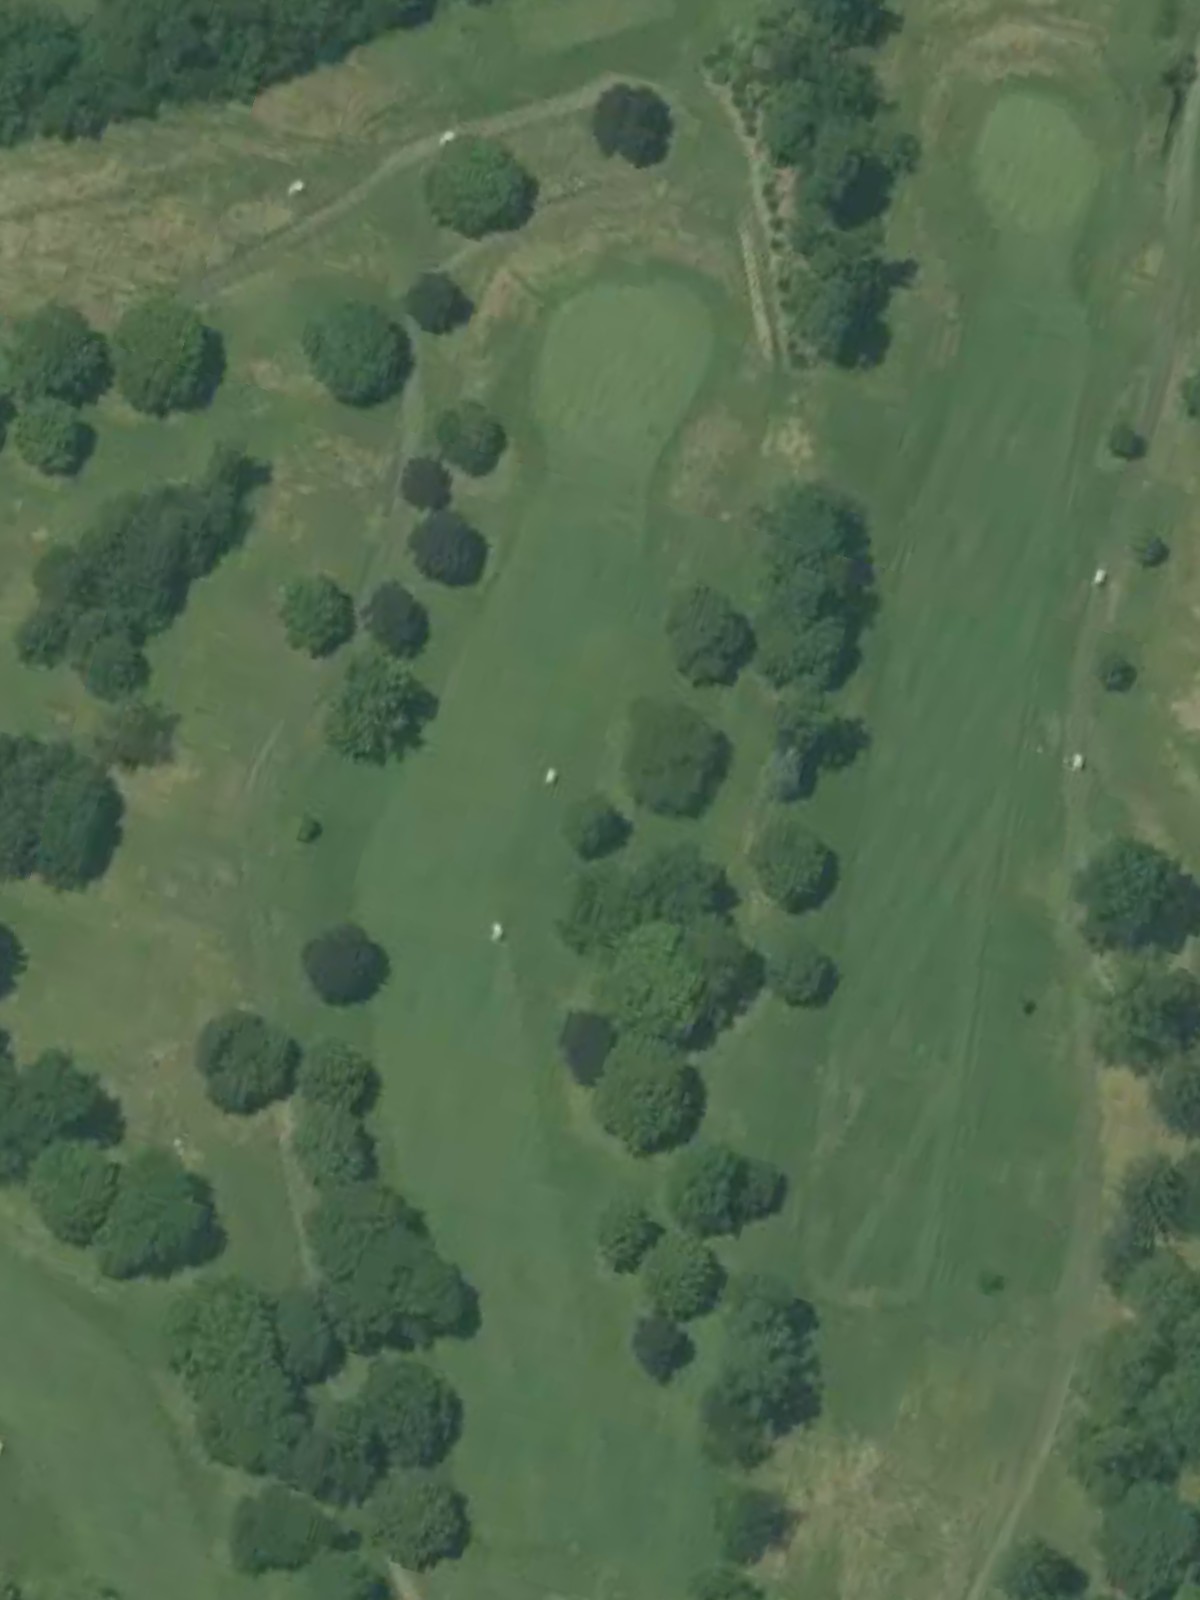
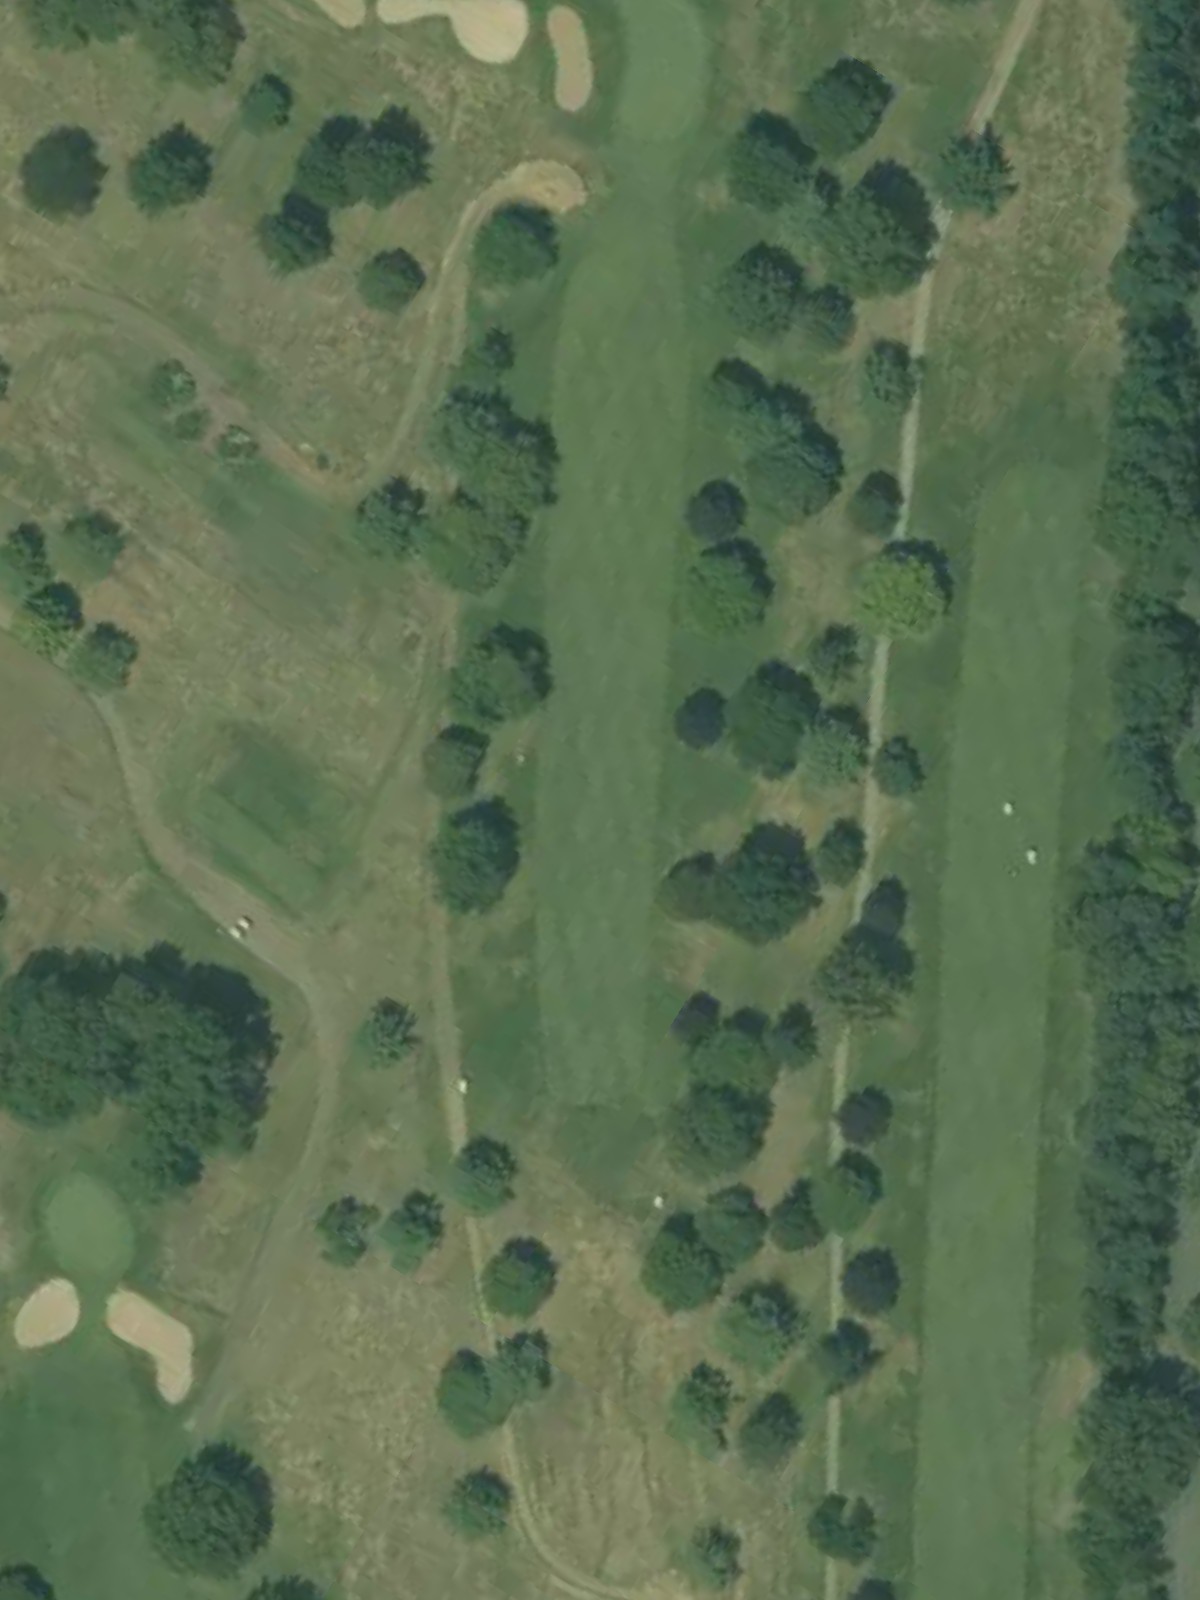
Gambler Ridge Gc is an 18-hole golf course in Cream Ridge, NJ with a par of 71. It offers 3 tee sets: blue (5,939 yards, slope 125, rating 68.6), white (5,493 yards, slope 117, rating 66.7), gold (5,222 yards, slope 114, rating 65.3). The hardest hole is #4, a par 5 playing 502 yards from the first tee.
Gambler Ridge Gc
Cream Ridge, NJ
Get PDF Yardage Book
We'll email you the PDF link. No spam, ever.
Create Your Game Plan
Pick your tees, enter your bag, and get a personalized shot-by-shot strategy for every hole.
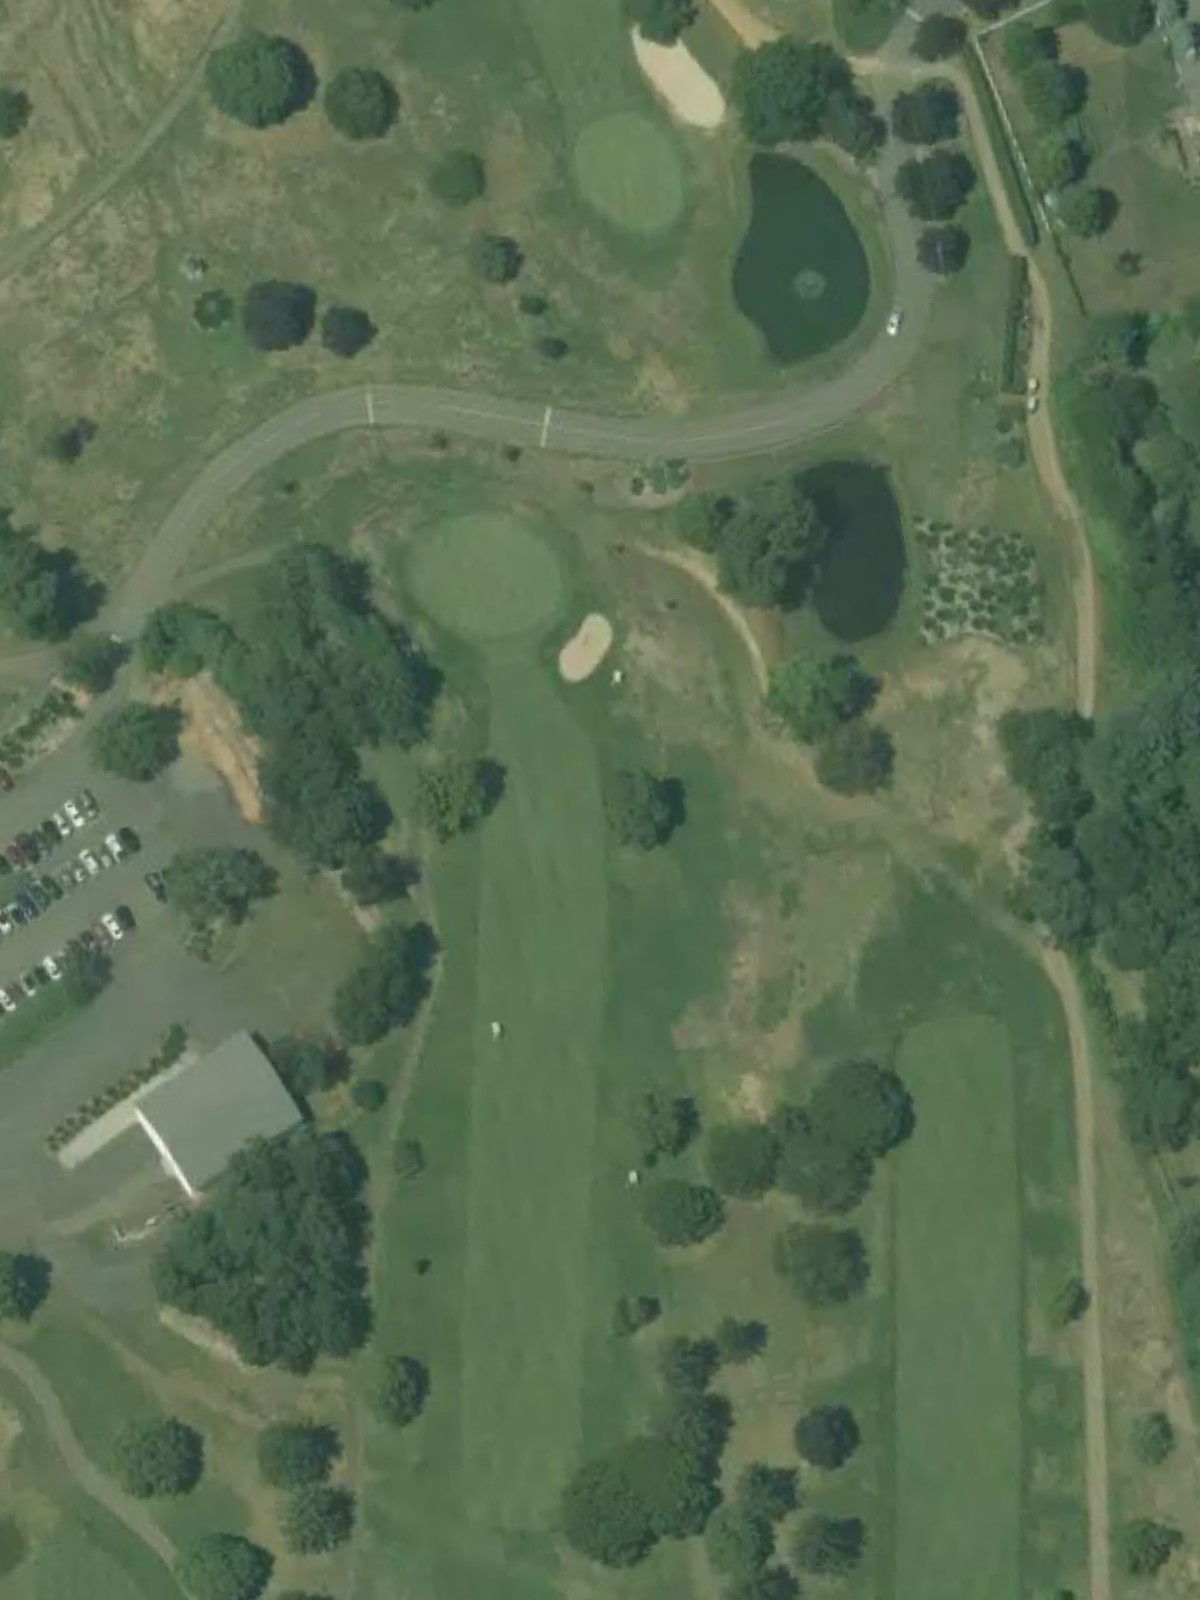
A straightforward par 4 with a welcoming fairway that gradually narrows as it approaches the green. Bunkers guard the right side of the green, while the left offers a safer approach for those willing to accept a longer second shot.
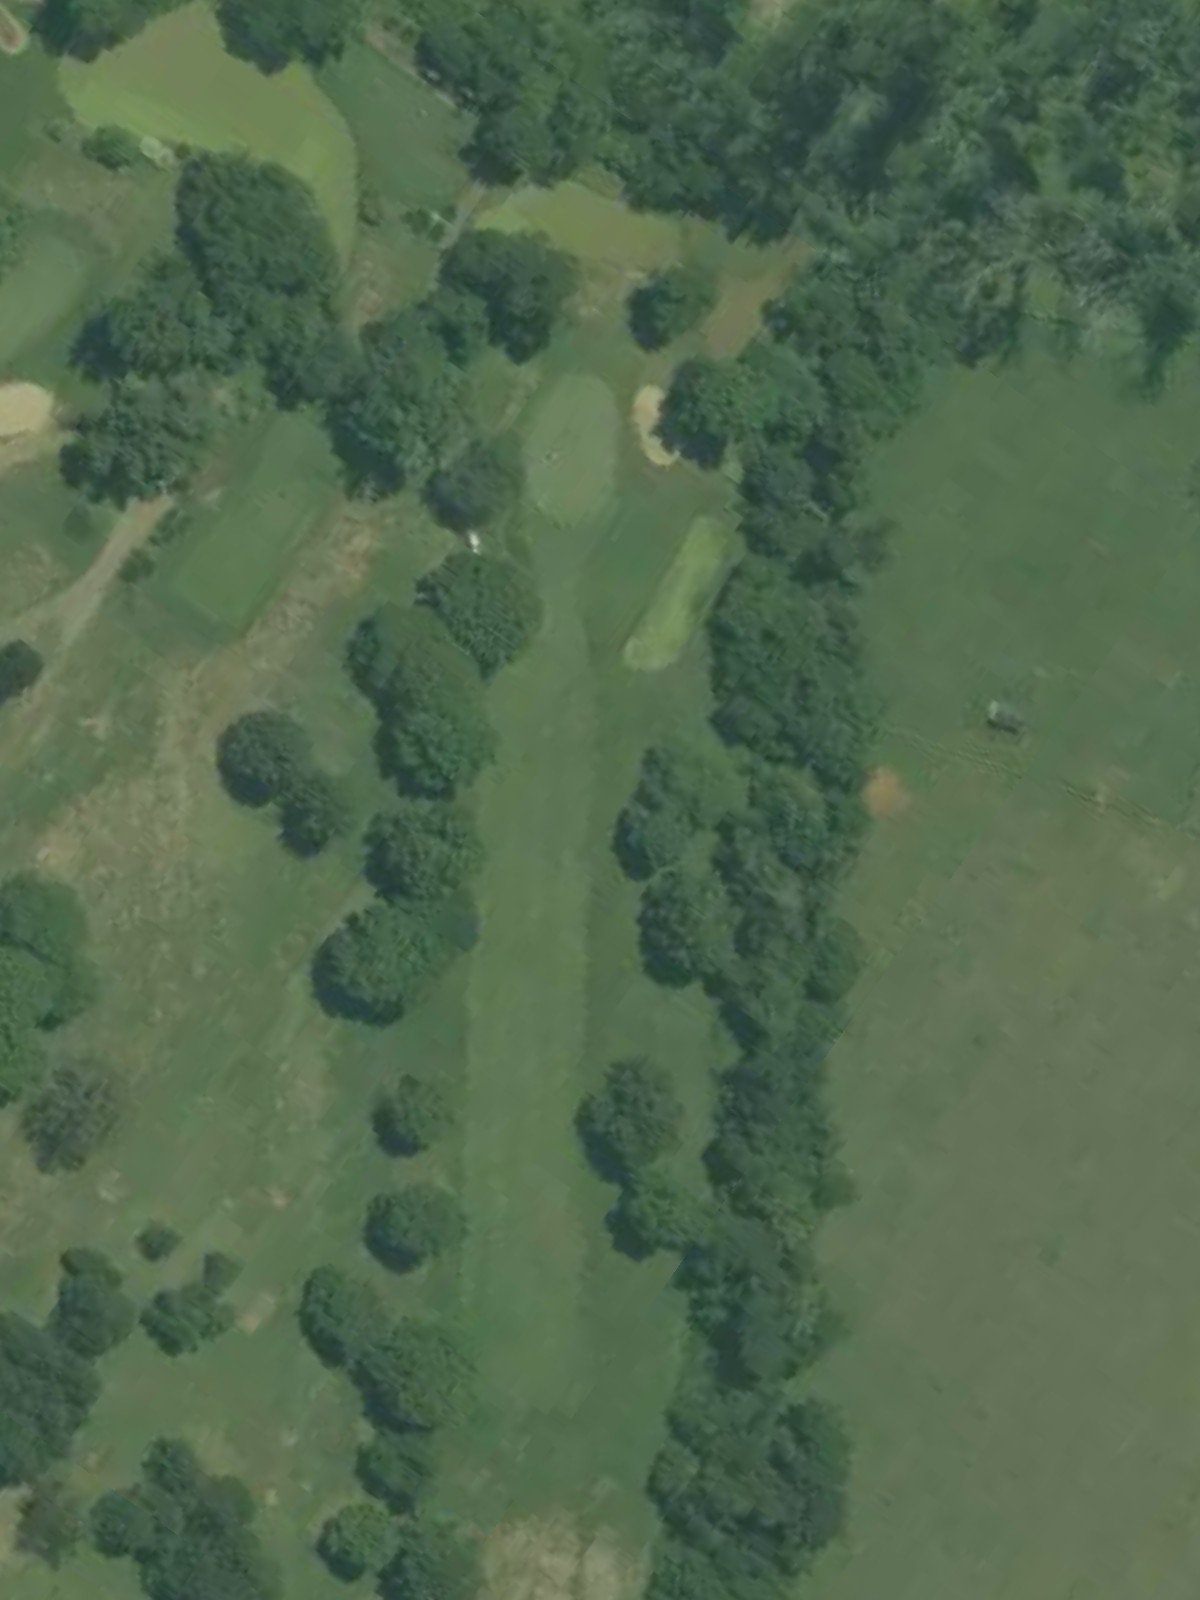
A demanding par 4 that plays as one of the course's most difficult holes. Out-of-bounds threatens along the right side, and the green is well-protected by hazards, making accuracy off the tee essential.
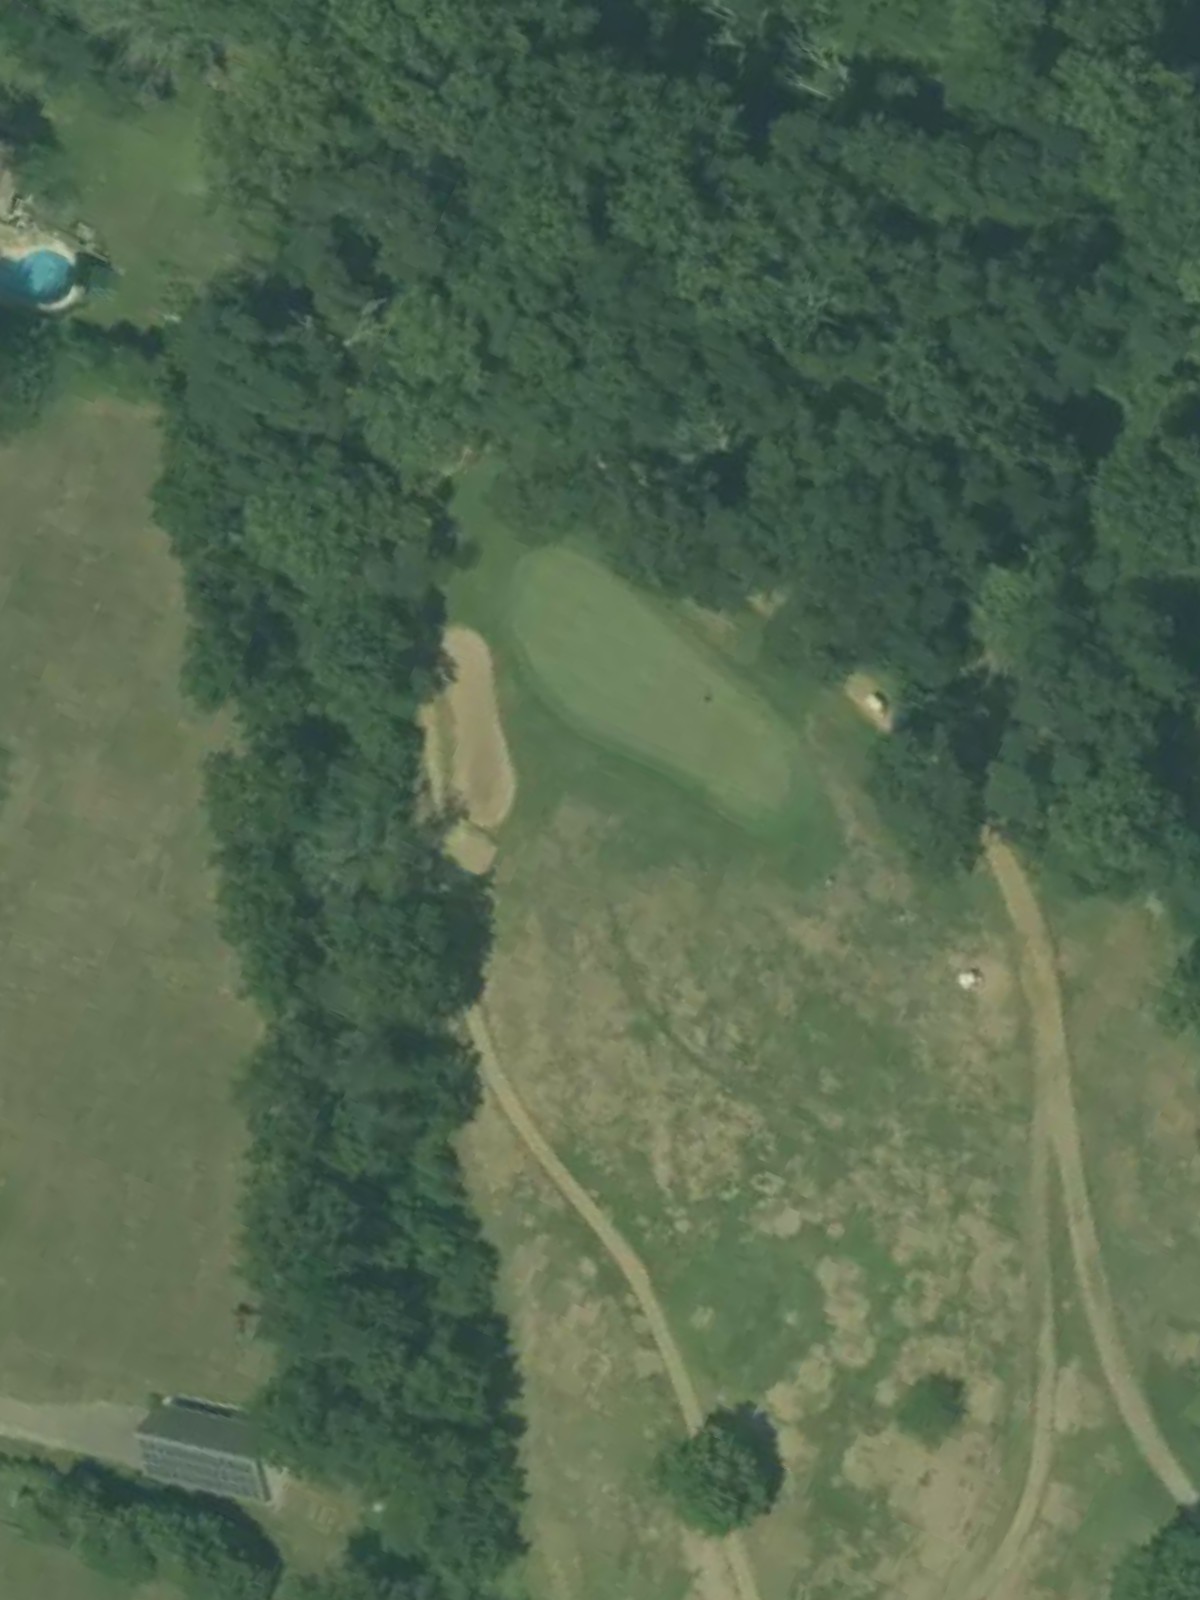
A short par 3 with a forgiving nature compared to other one-shotters on the course. A single bunker or water hazard may guard the green, but the reduced yardage from the forward tees makes this a scoring opportunity.
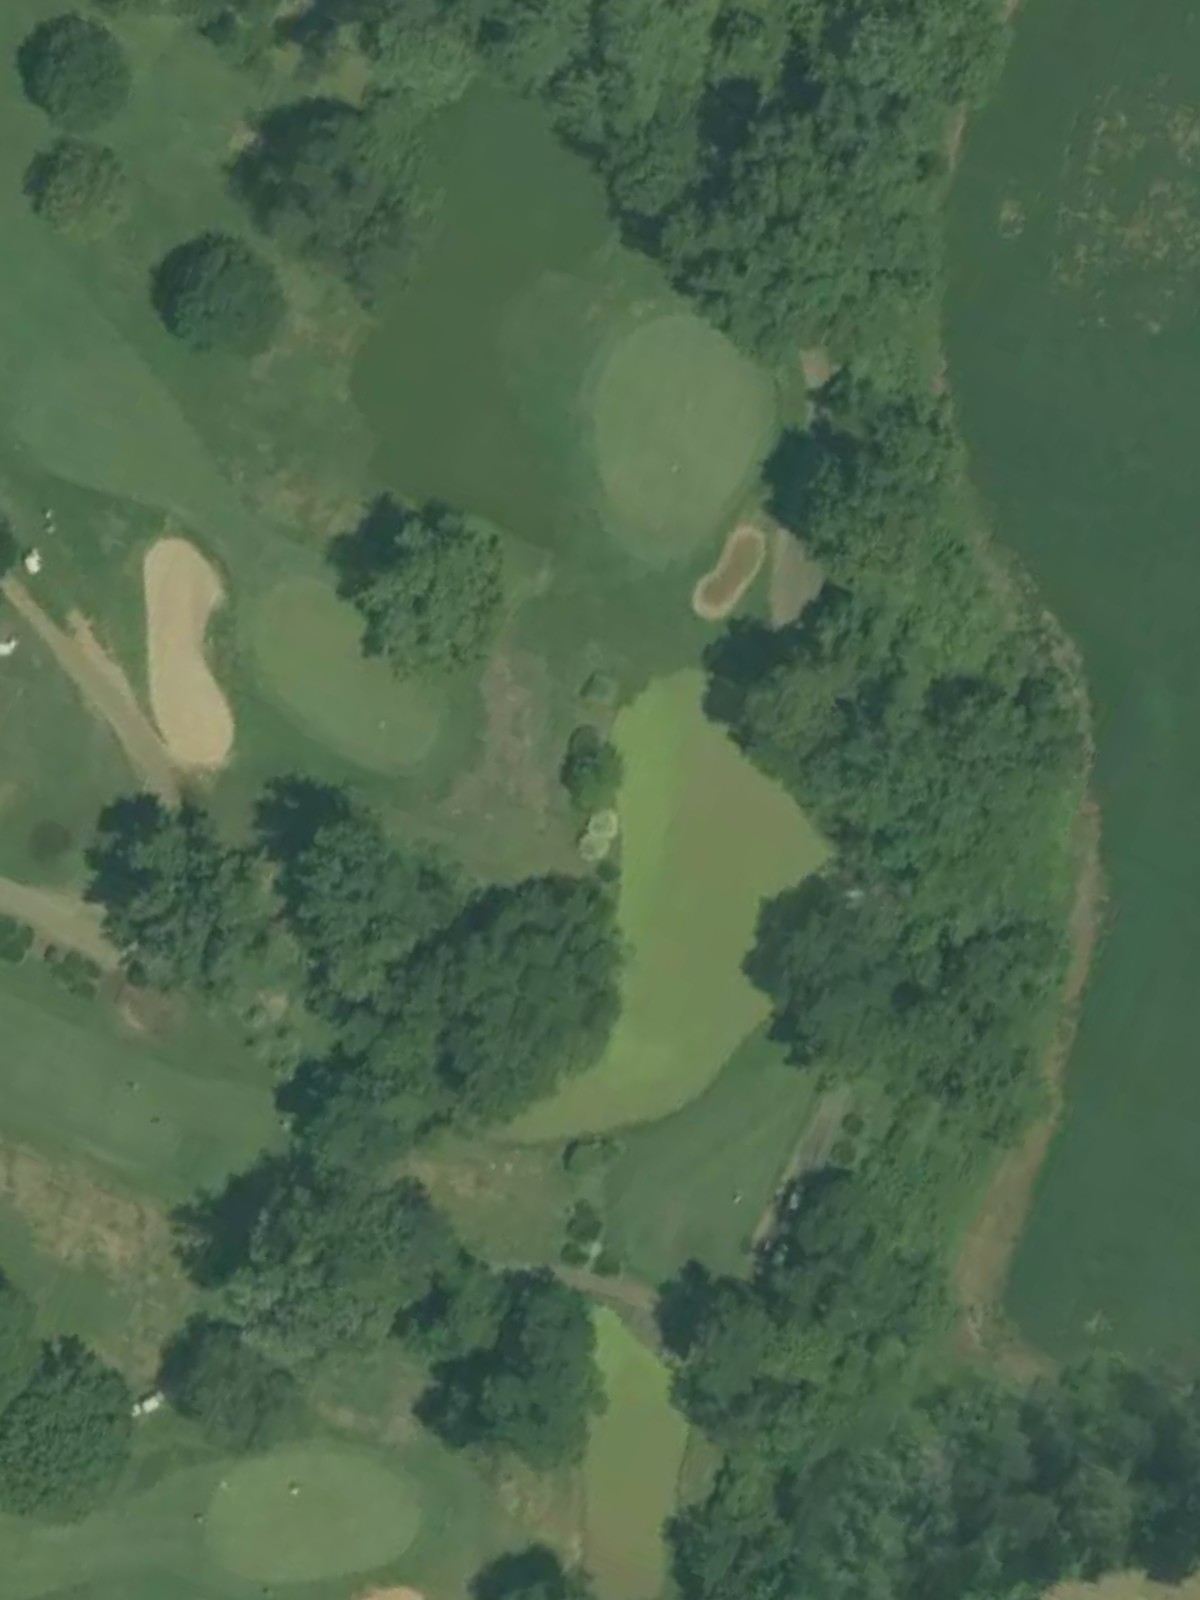
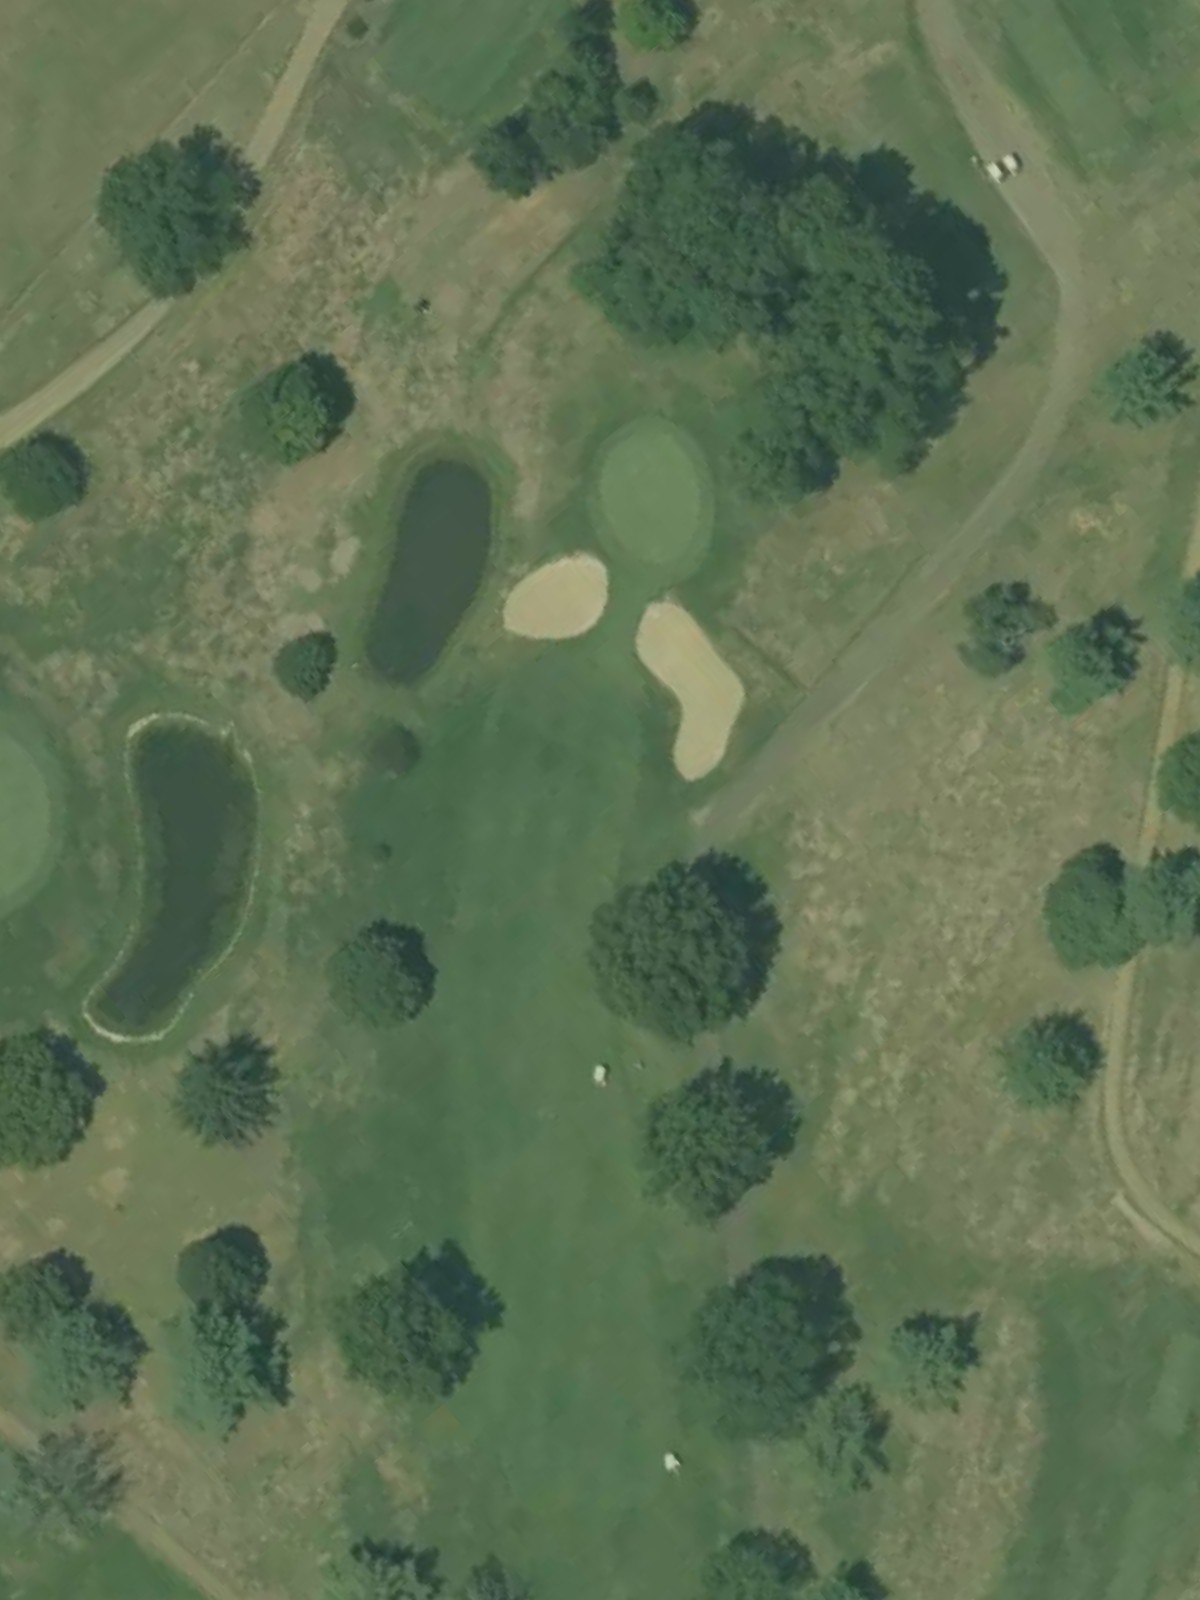
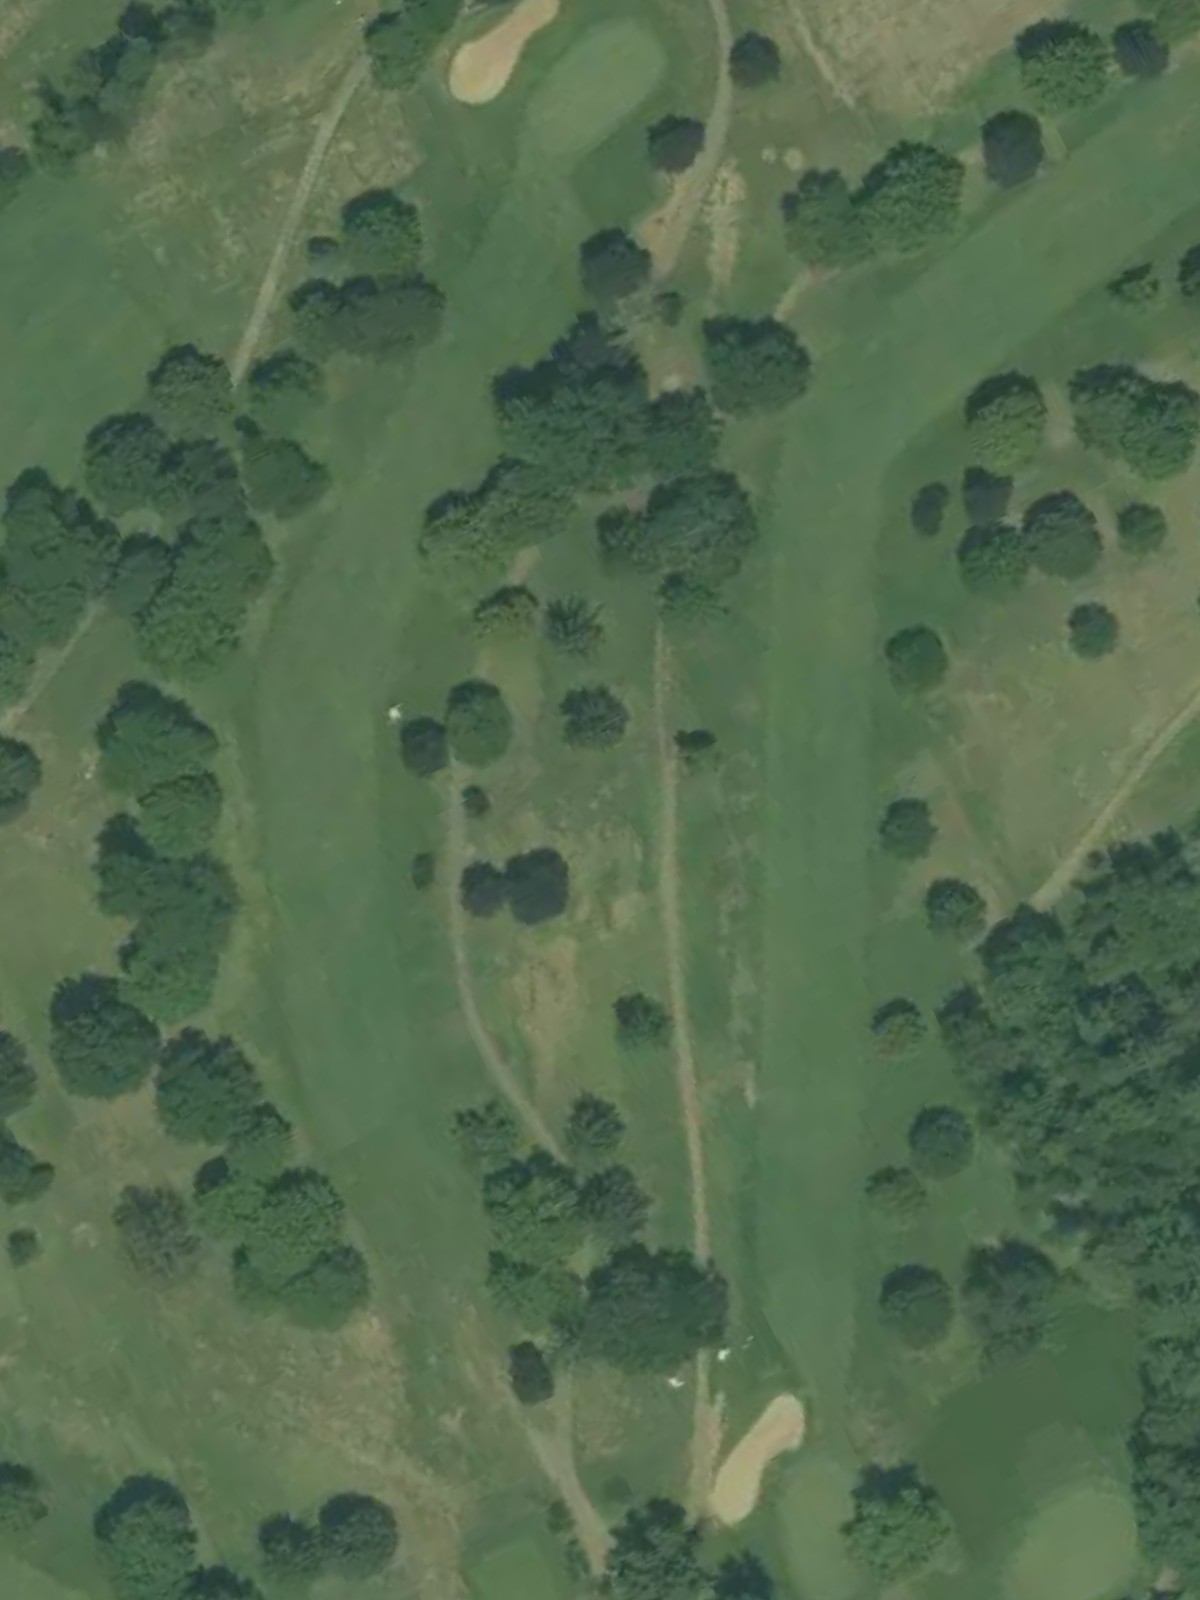
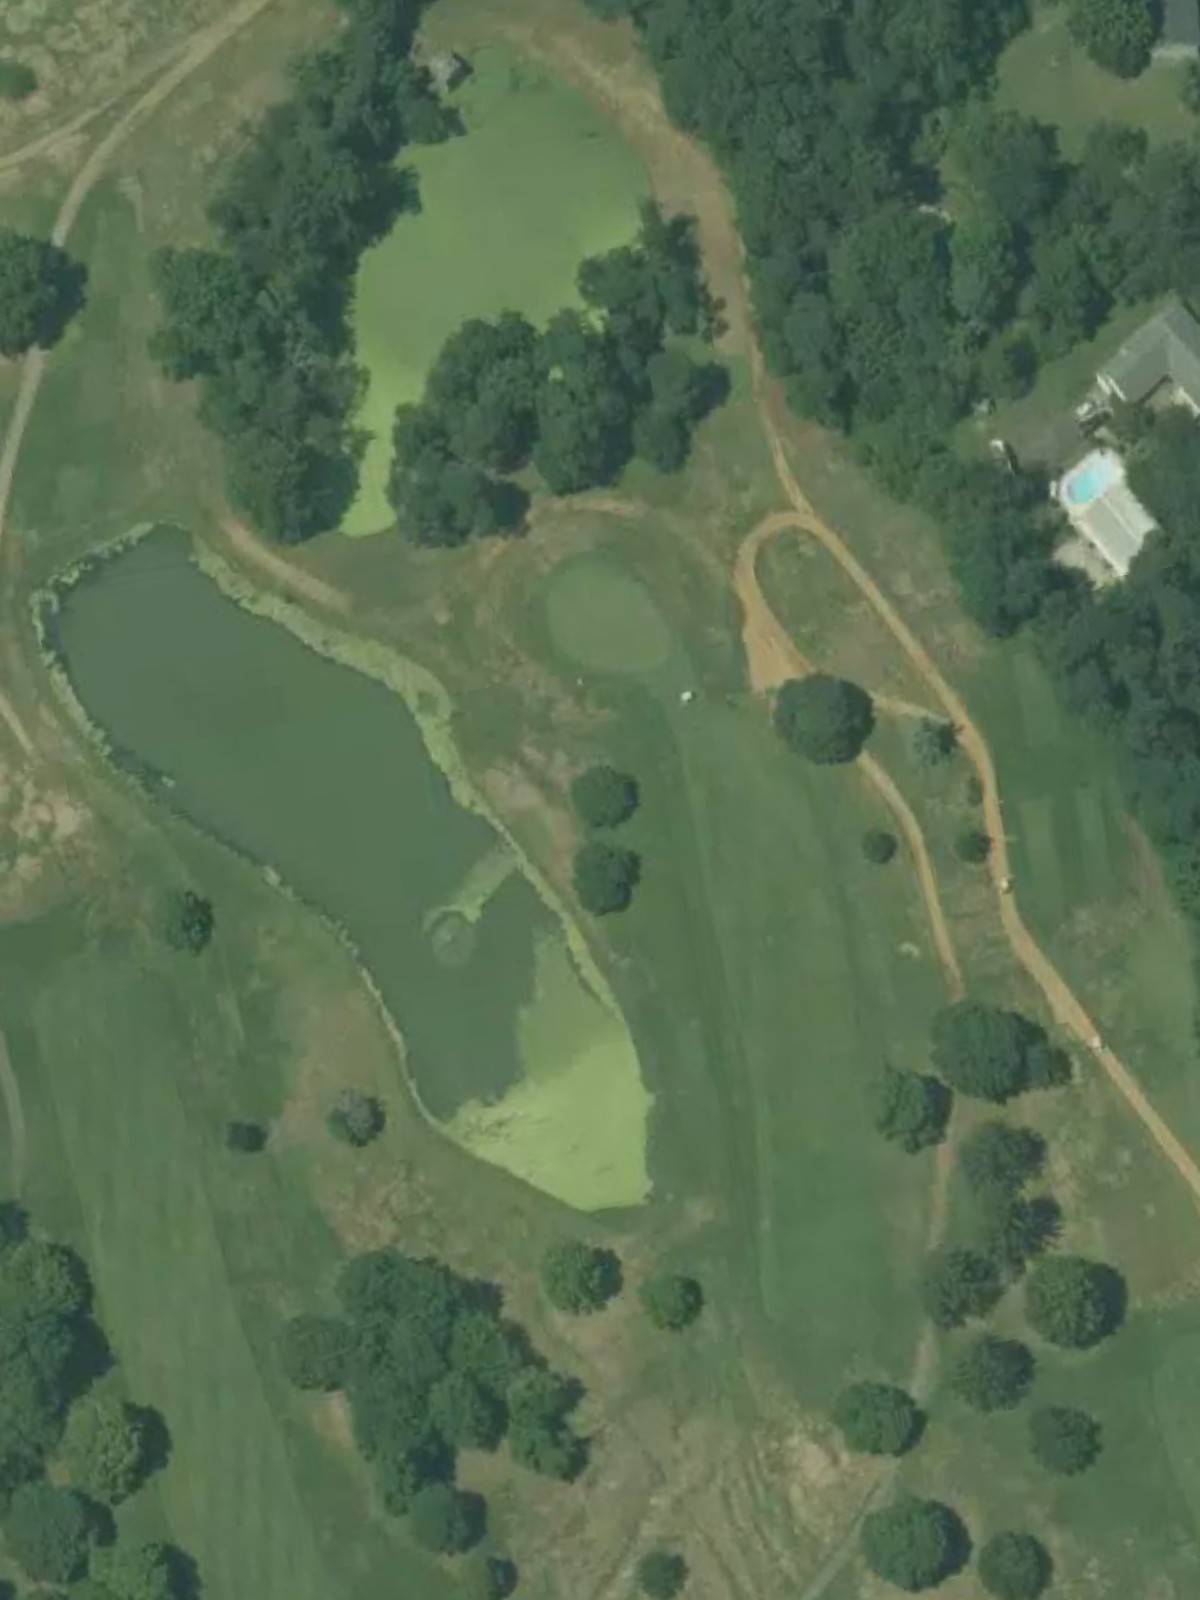
The course's signature par 5 and most difficult hole, offering length and complexity that rewards strategic positioning. Water and bunkers positioned throughout the hole require careful navigation on each shot to reach the green in regulation.
A short par 4 that compensates for its modest length with tight constraints and key hazards. The narrow fairway or strategic bunkering near the green makes precision paramount despite the reduced yardage.
A compact par 4 where accuracy trumps distance in navigating to the green. Hazards frame the fairway and surround the putting surface, making this a hole where placement matters more than raw power.
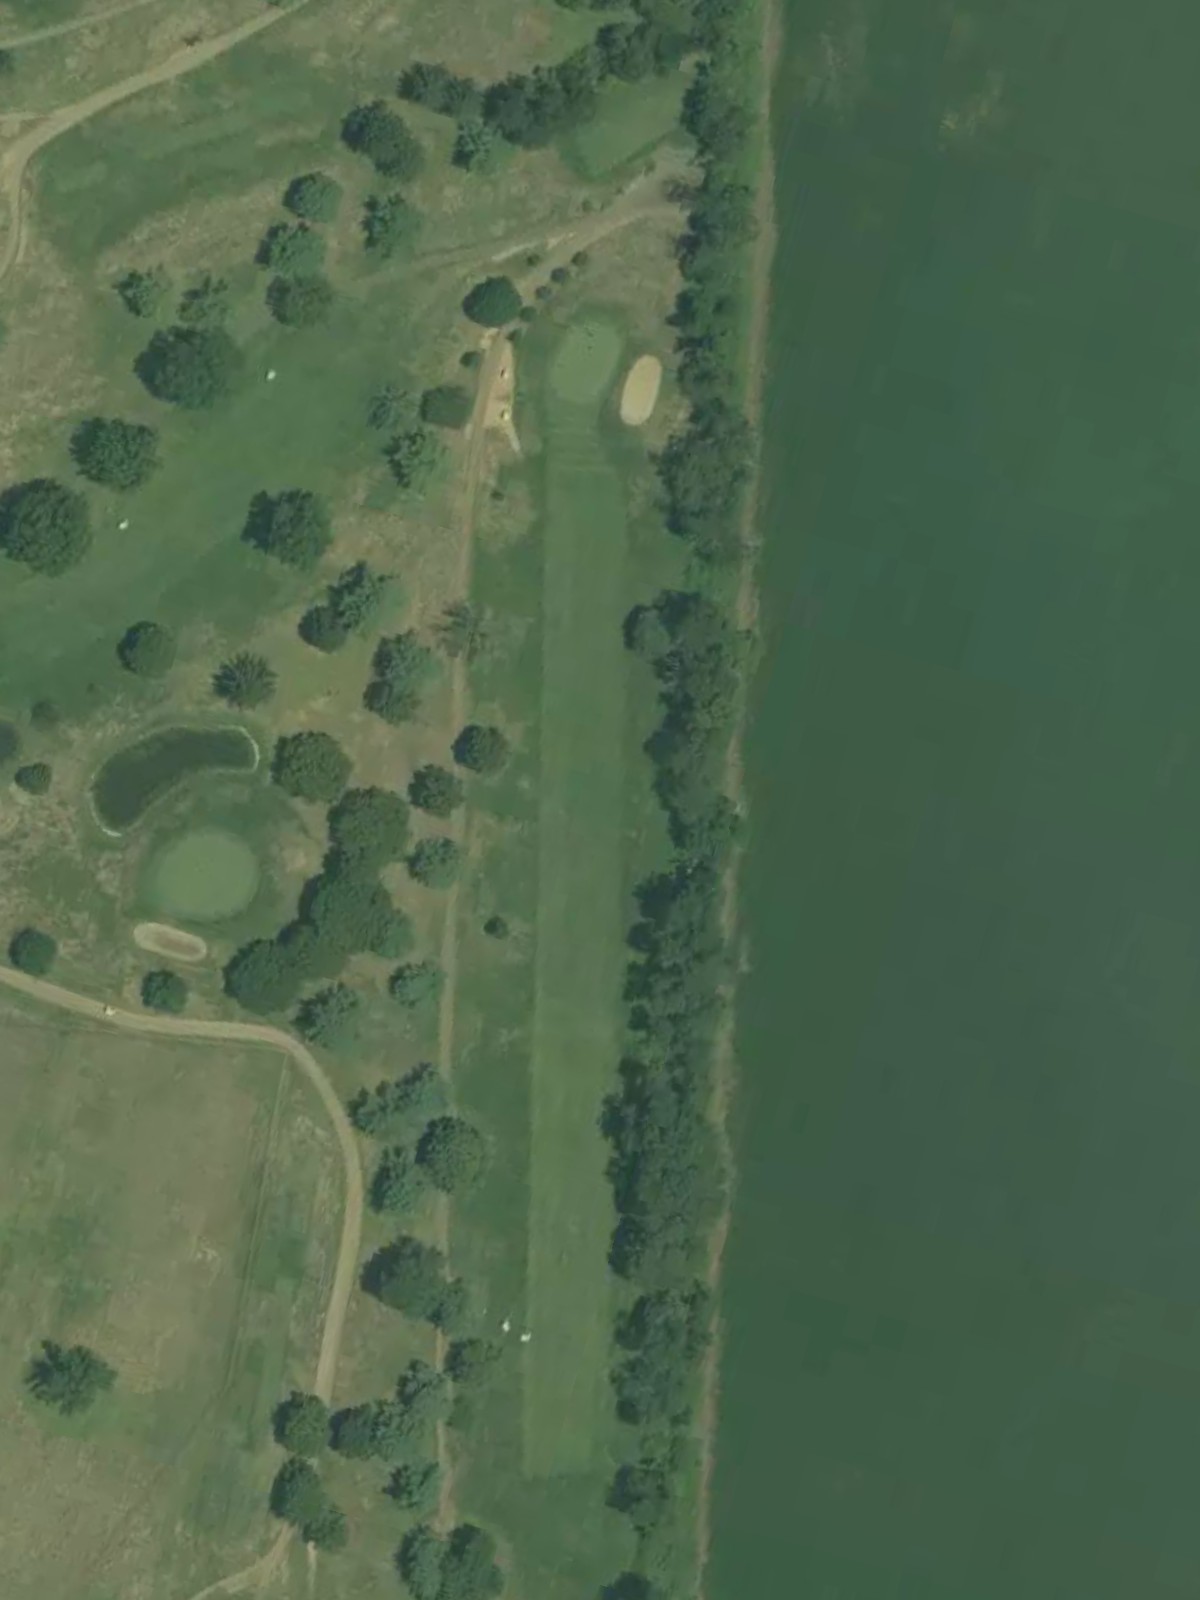
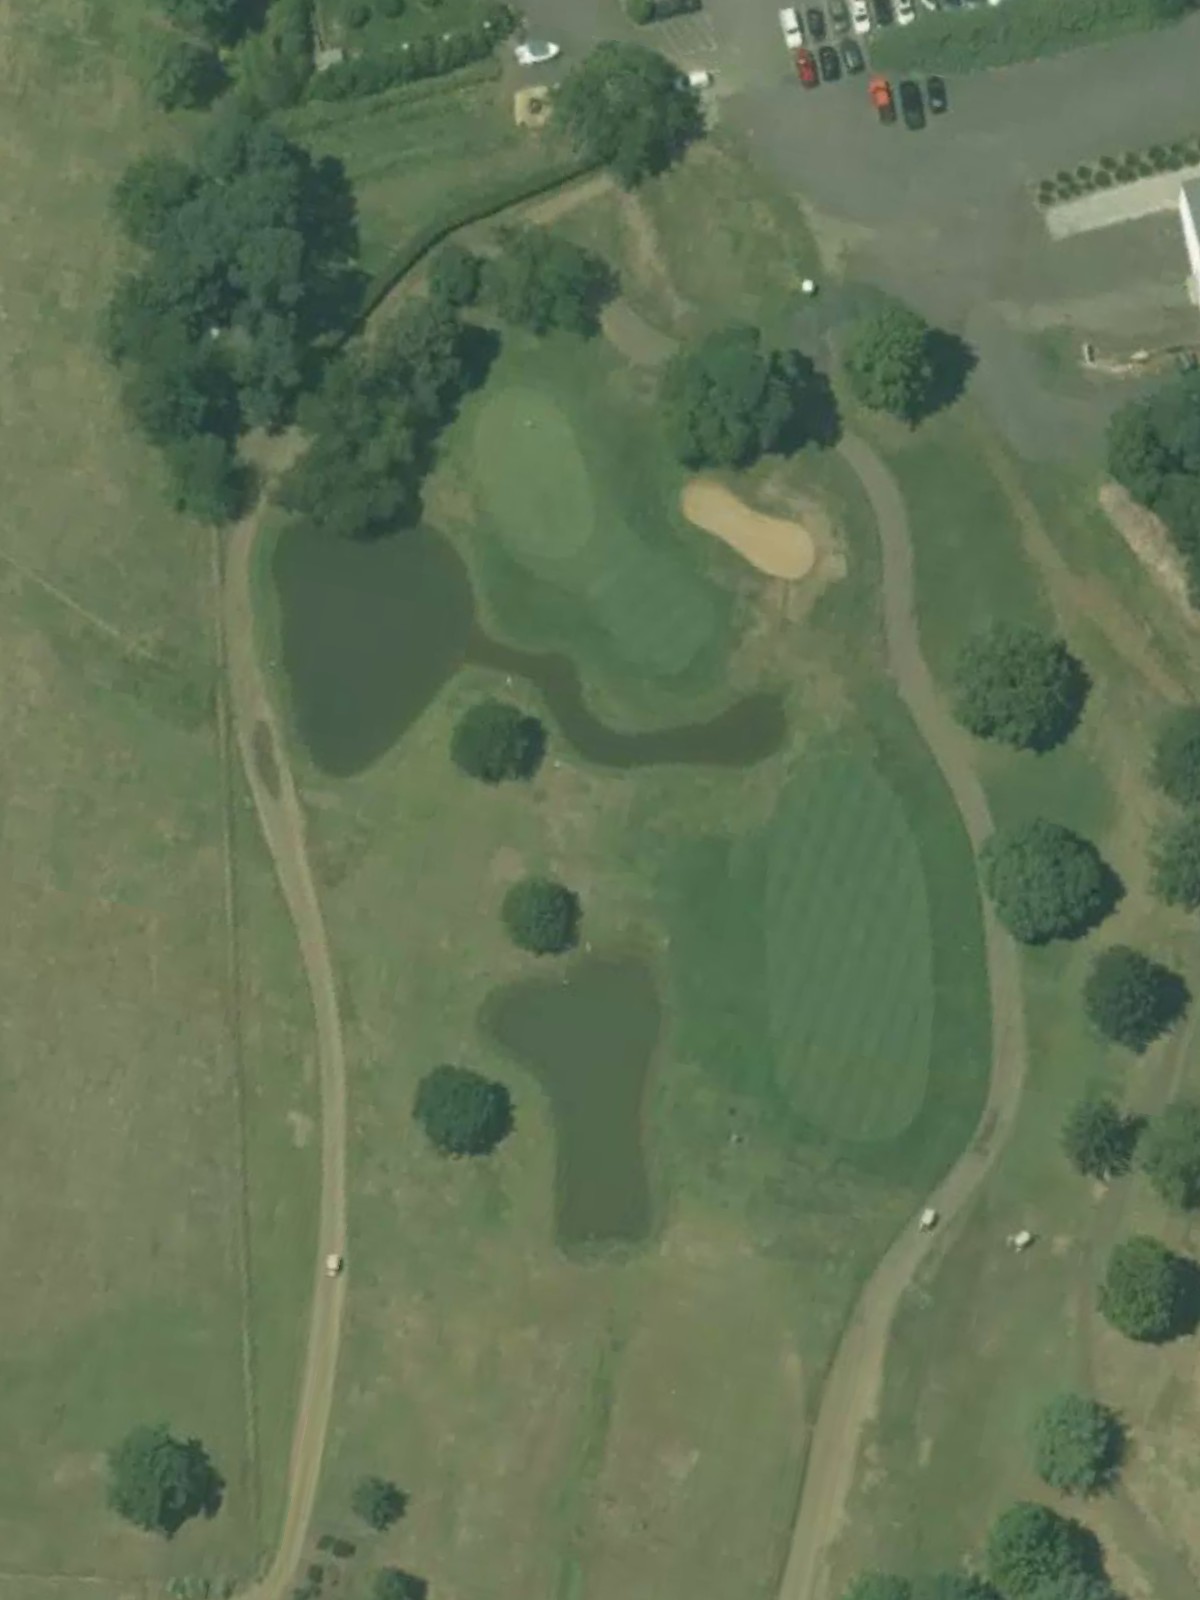
A mid-length par 3 that presents a straightforward but honest test over water or other hazards to a moderately sized green. The hole's charm lies in its simplicity and the need for a solid, honest swing.
A lengthy par 5 that demands three well-executed shots to reach the green safely. Water or out-of-bounds along one or both sides creates a corridor that narrows through the middle and near the green, testing both distance and control.
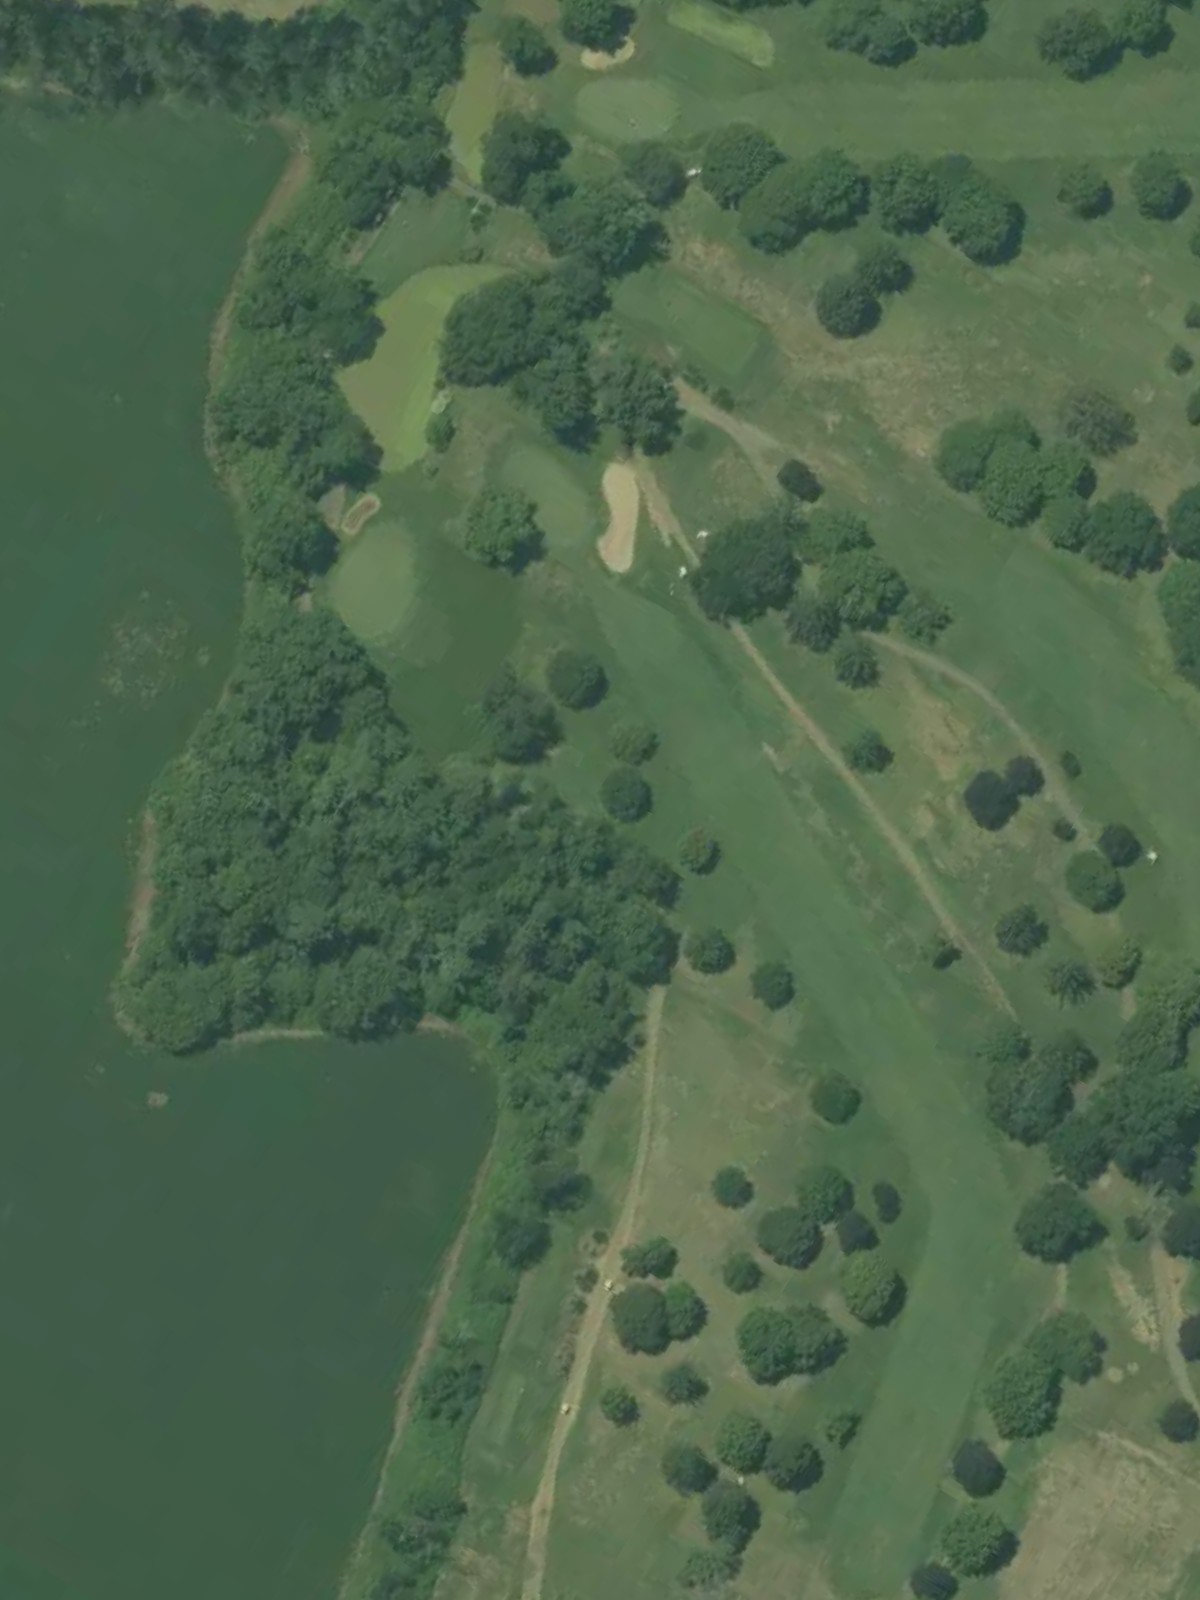
One of the course's most challenging par 4s, playing long and unforgiving with limited margin for error. A dramatic dogleg, water hazard, or severely sloping terrain defines the hole's character and punishes wayward shots.
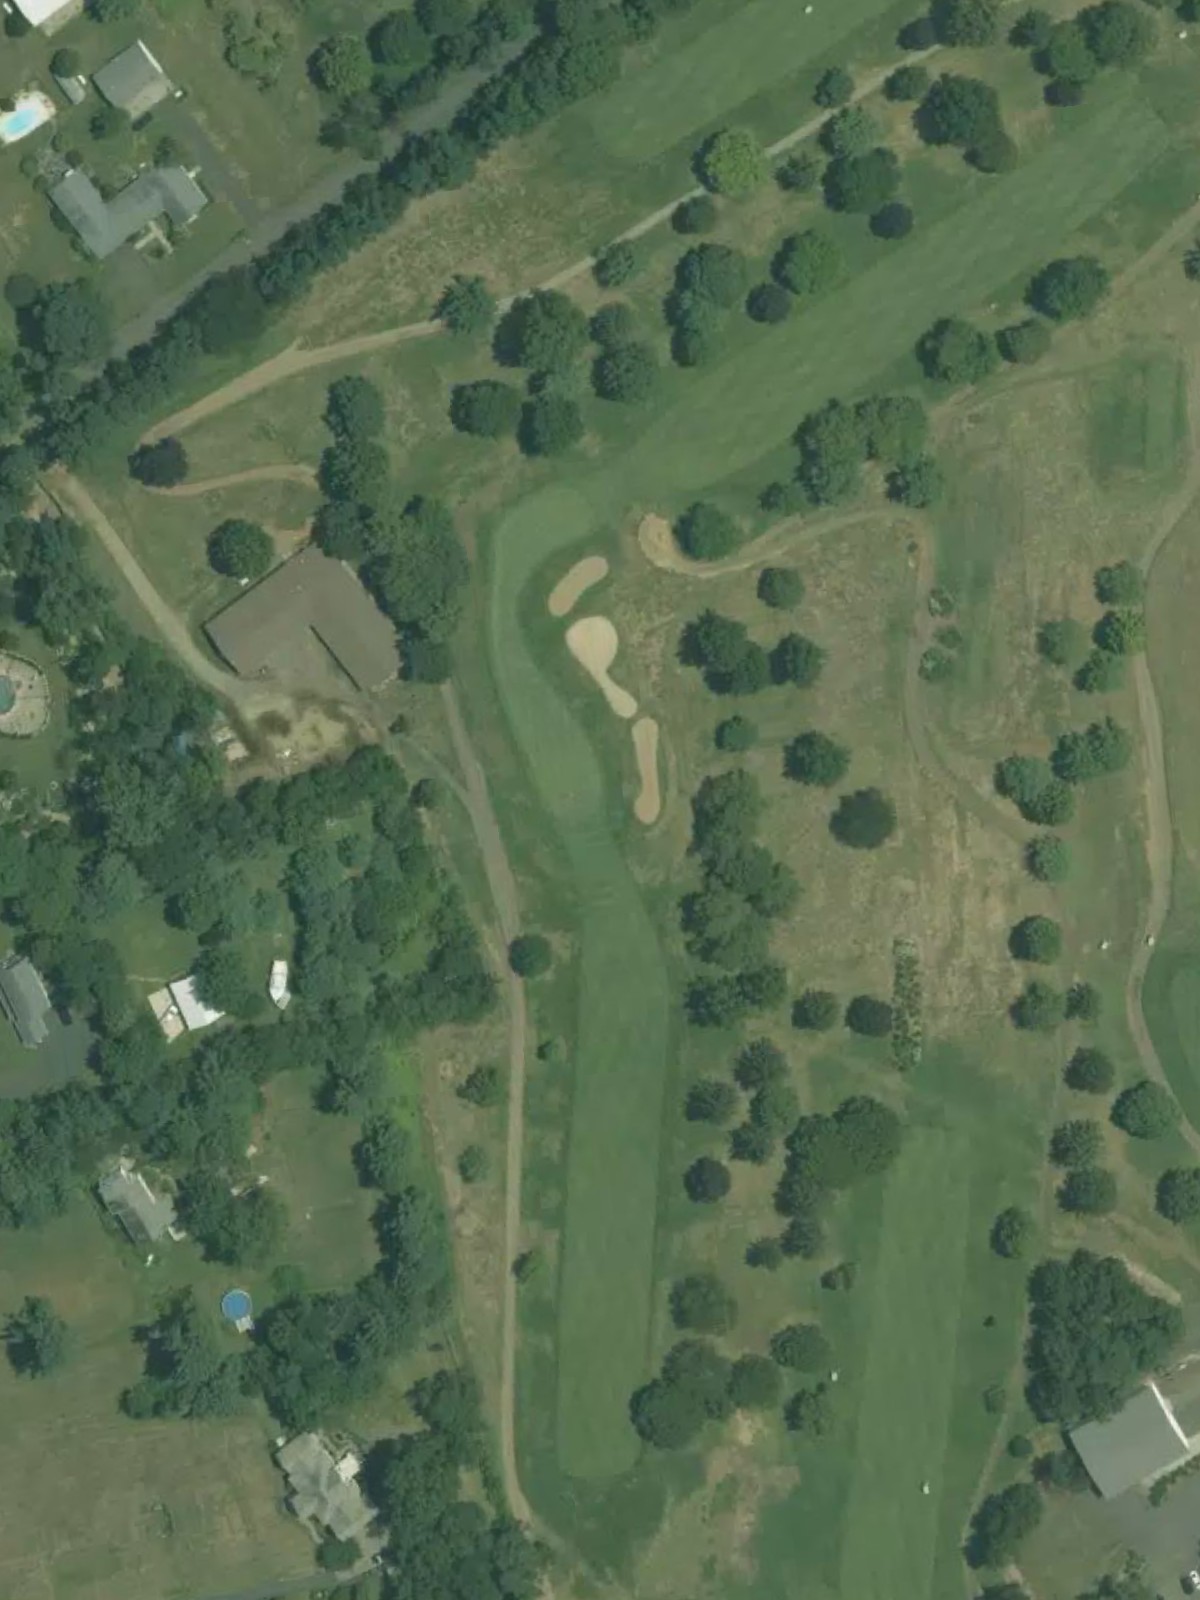
A mid-length par 4 with a deceptive layout where hazards or bunkering tighten the approach to the green. The fairway may open up off the tee but demand precision on the second shot to avoid trouble surrounding the putting surface.
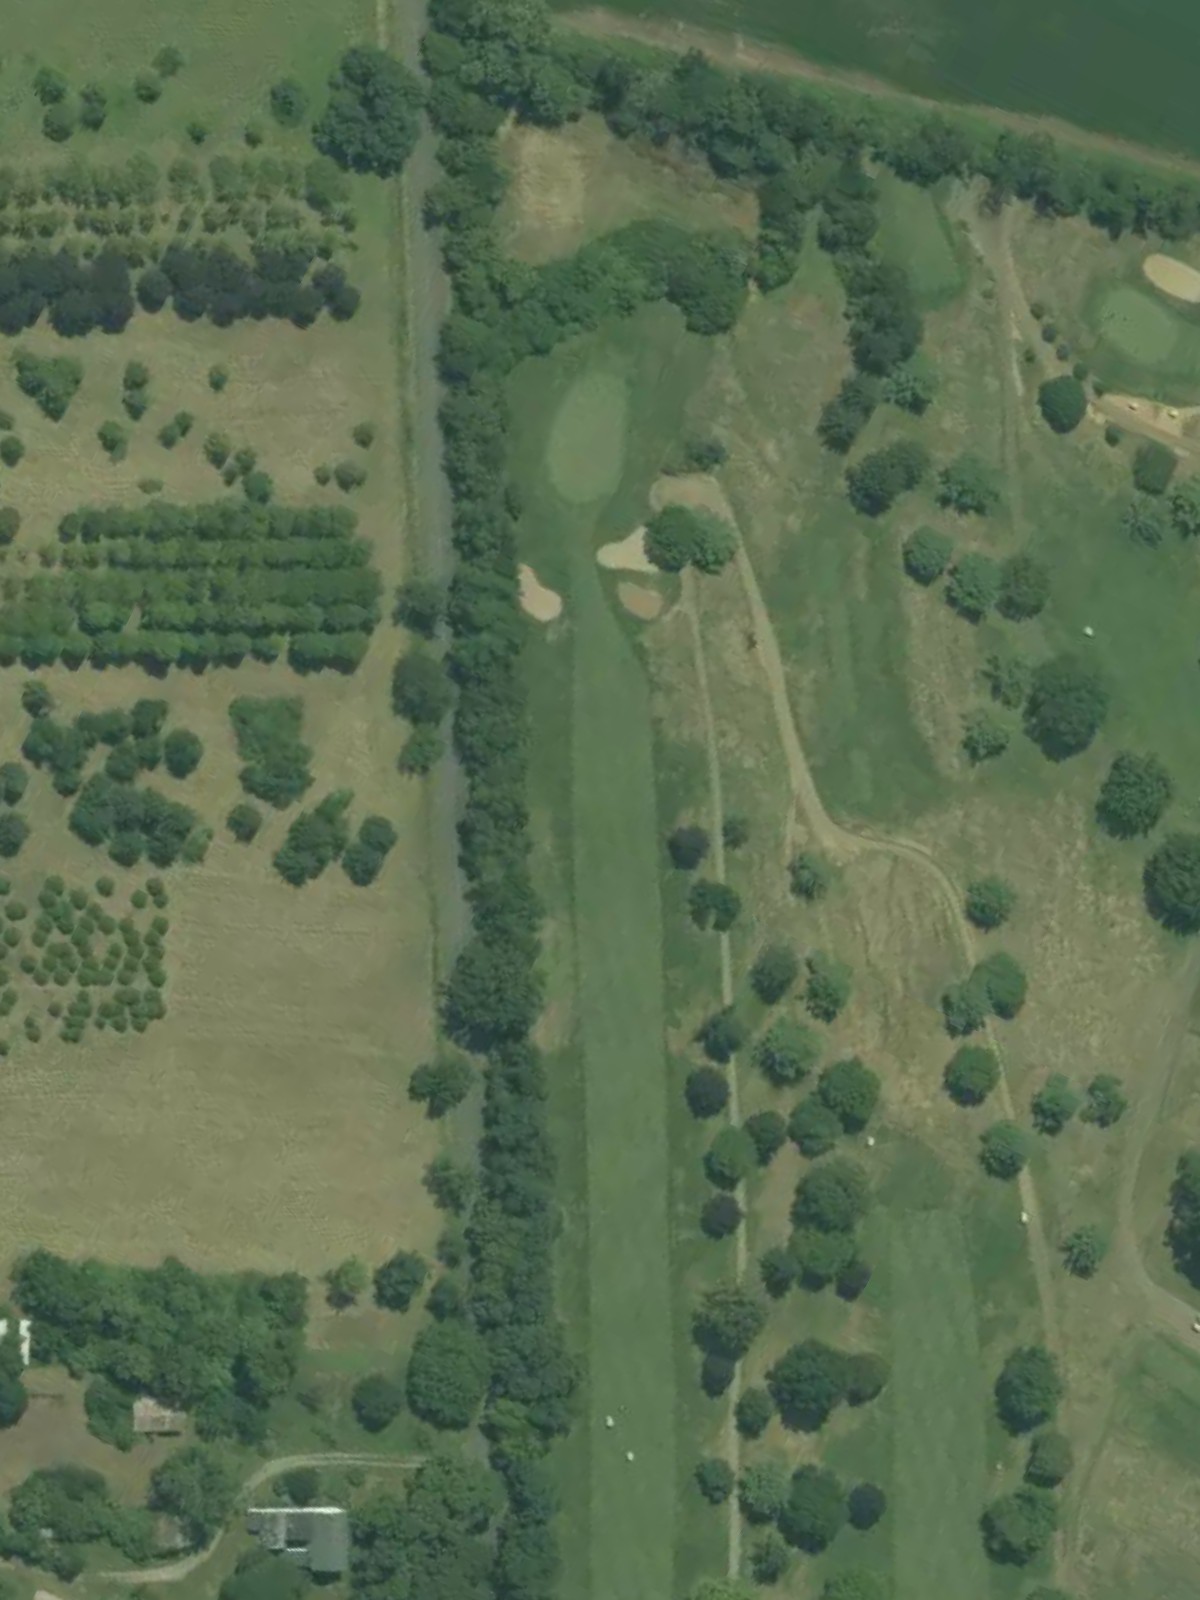
A challenging par 3 with significant length compared to its one-shot peers, requiring a full swing to reach the green. Water, bunkers, or elevated terrain add complexity to what appears a straightforward target.
A mid-length par 4 with moderate difficulty, offering a relatively balanced test off the tee and into the green. Hazards frame the hole without severely constraining the fairway, allowing for varied approaches to the putting surface.
The course's shortest par 4, designed to be the most accessible hole on the scorecard. Despite its reduced length, strategic bunkering or hazard placement still demands solid execution to score well.
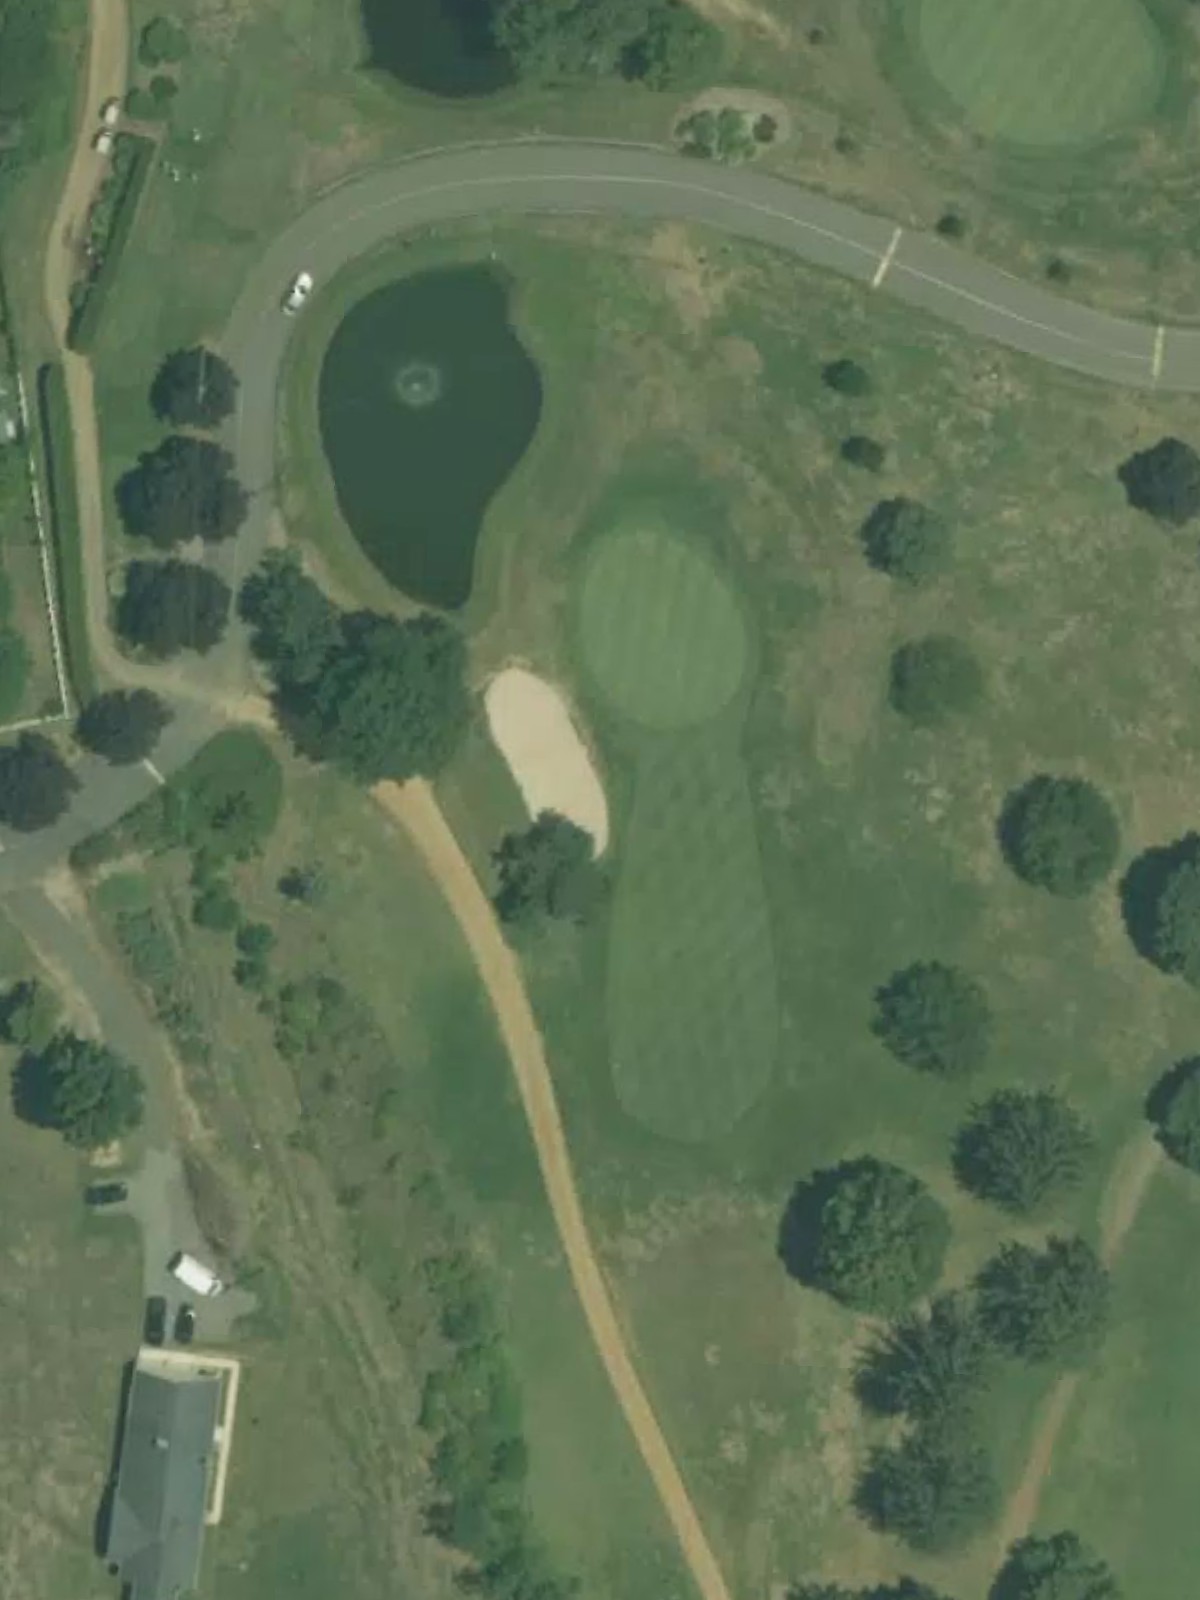
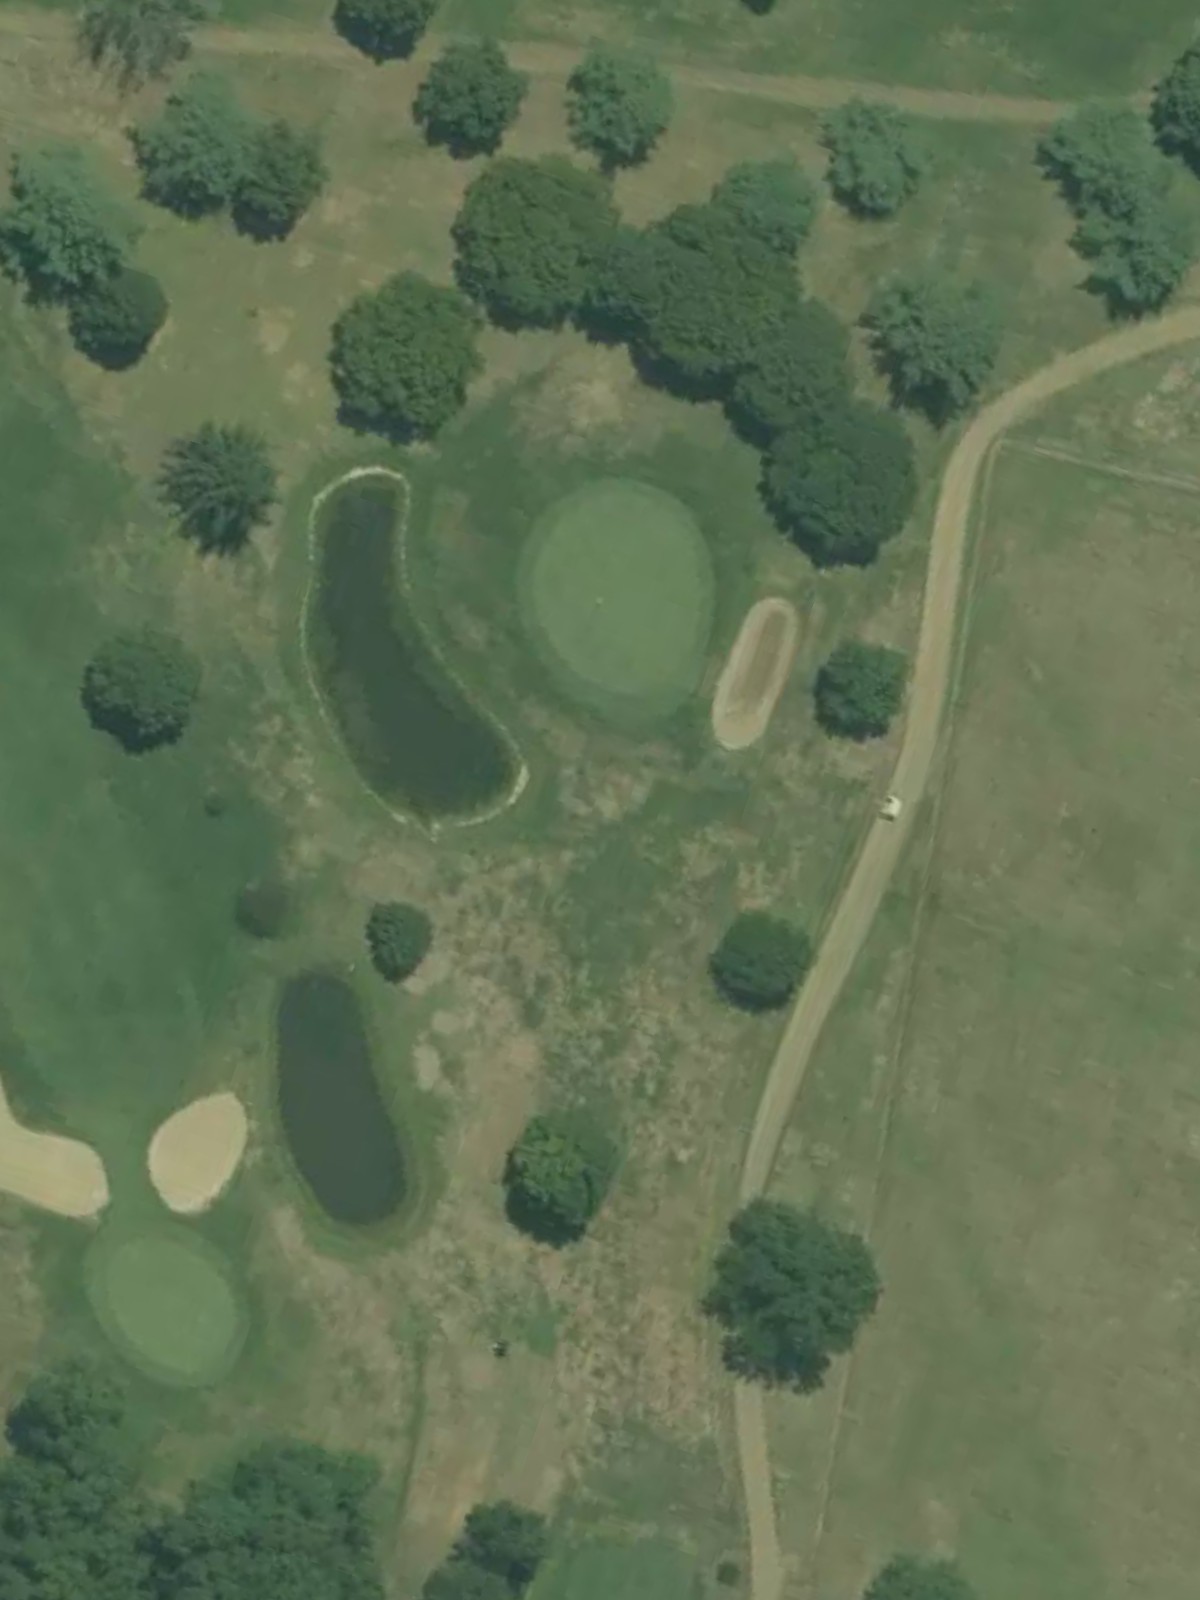
A mid-length par 3 that requires a confident swing to a well-protected green. Bunkers and water combine to create a dramatic but fair one-shot challenge that rewards accurate distance control.
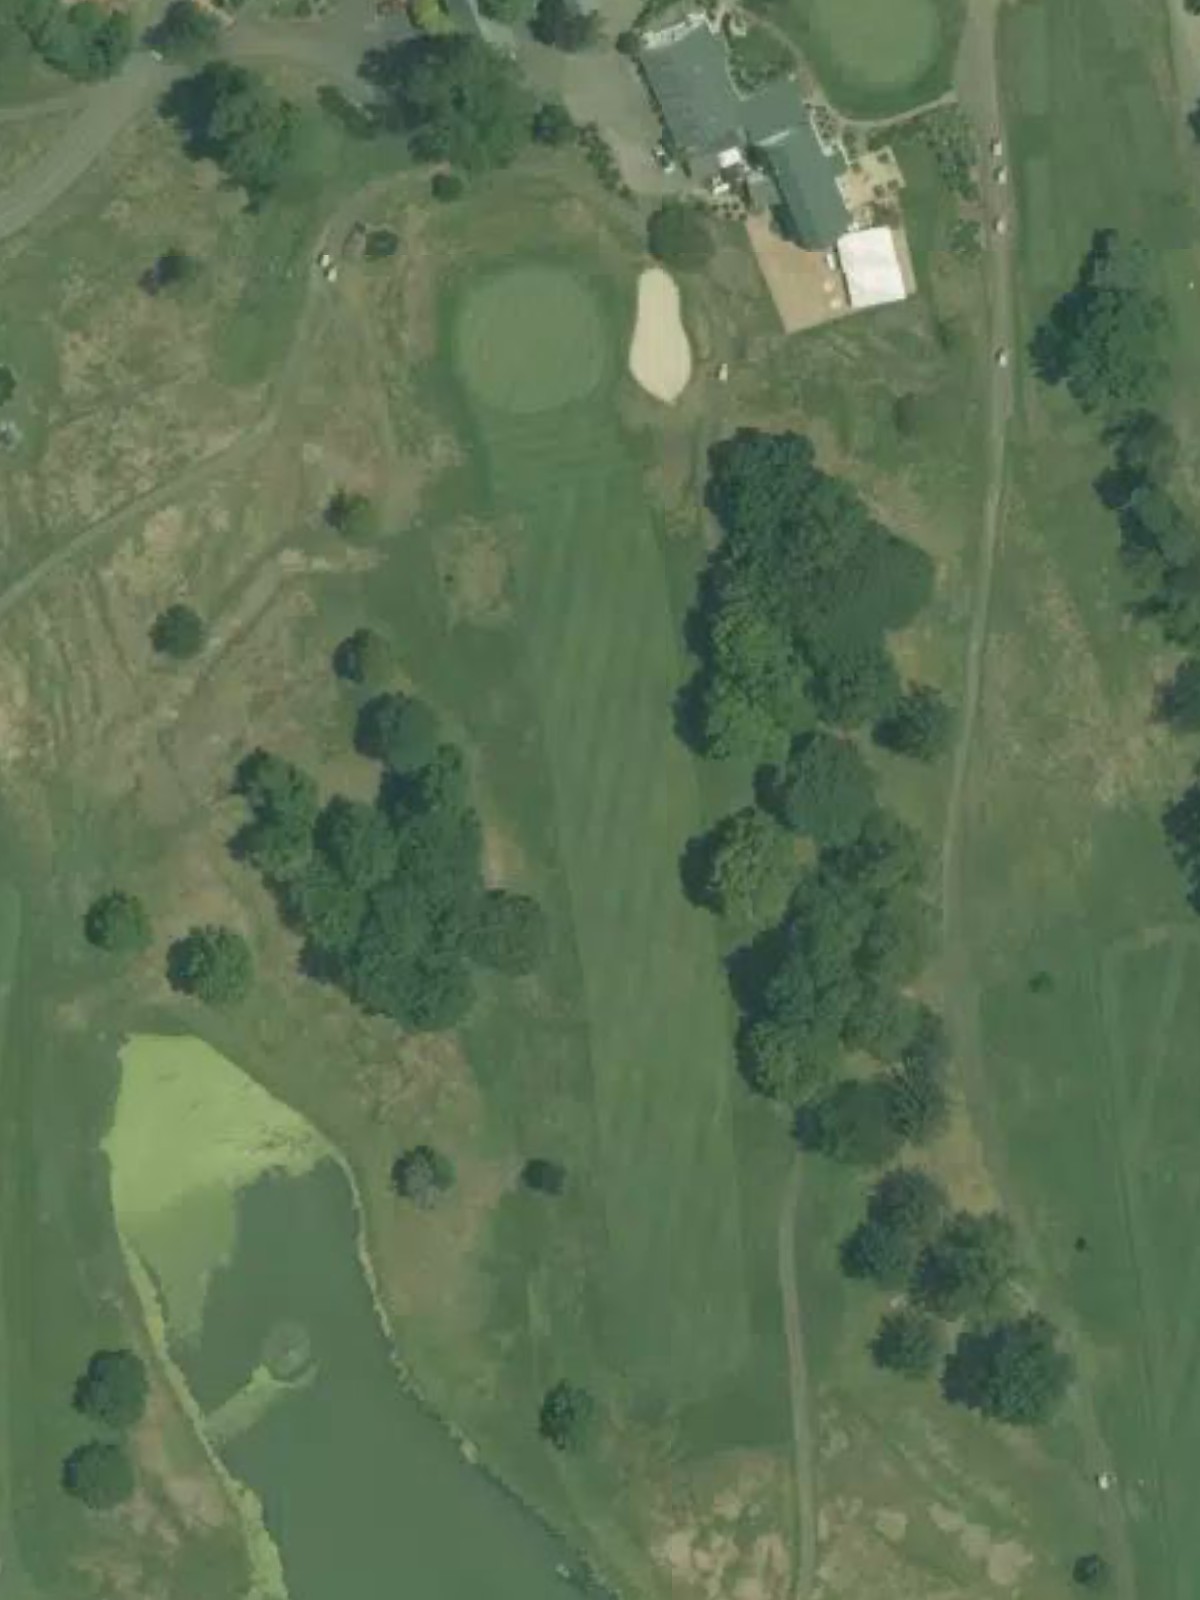
The second-most difficult hole on the course, playing long and treacherous with multiple hazards threatening both fairway and green. A dogleg or severe terrain change compounds the challenge, making this a signature test of skill and nerve.
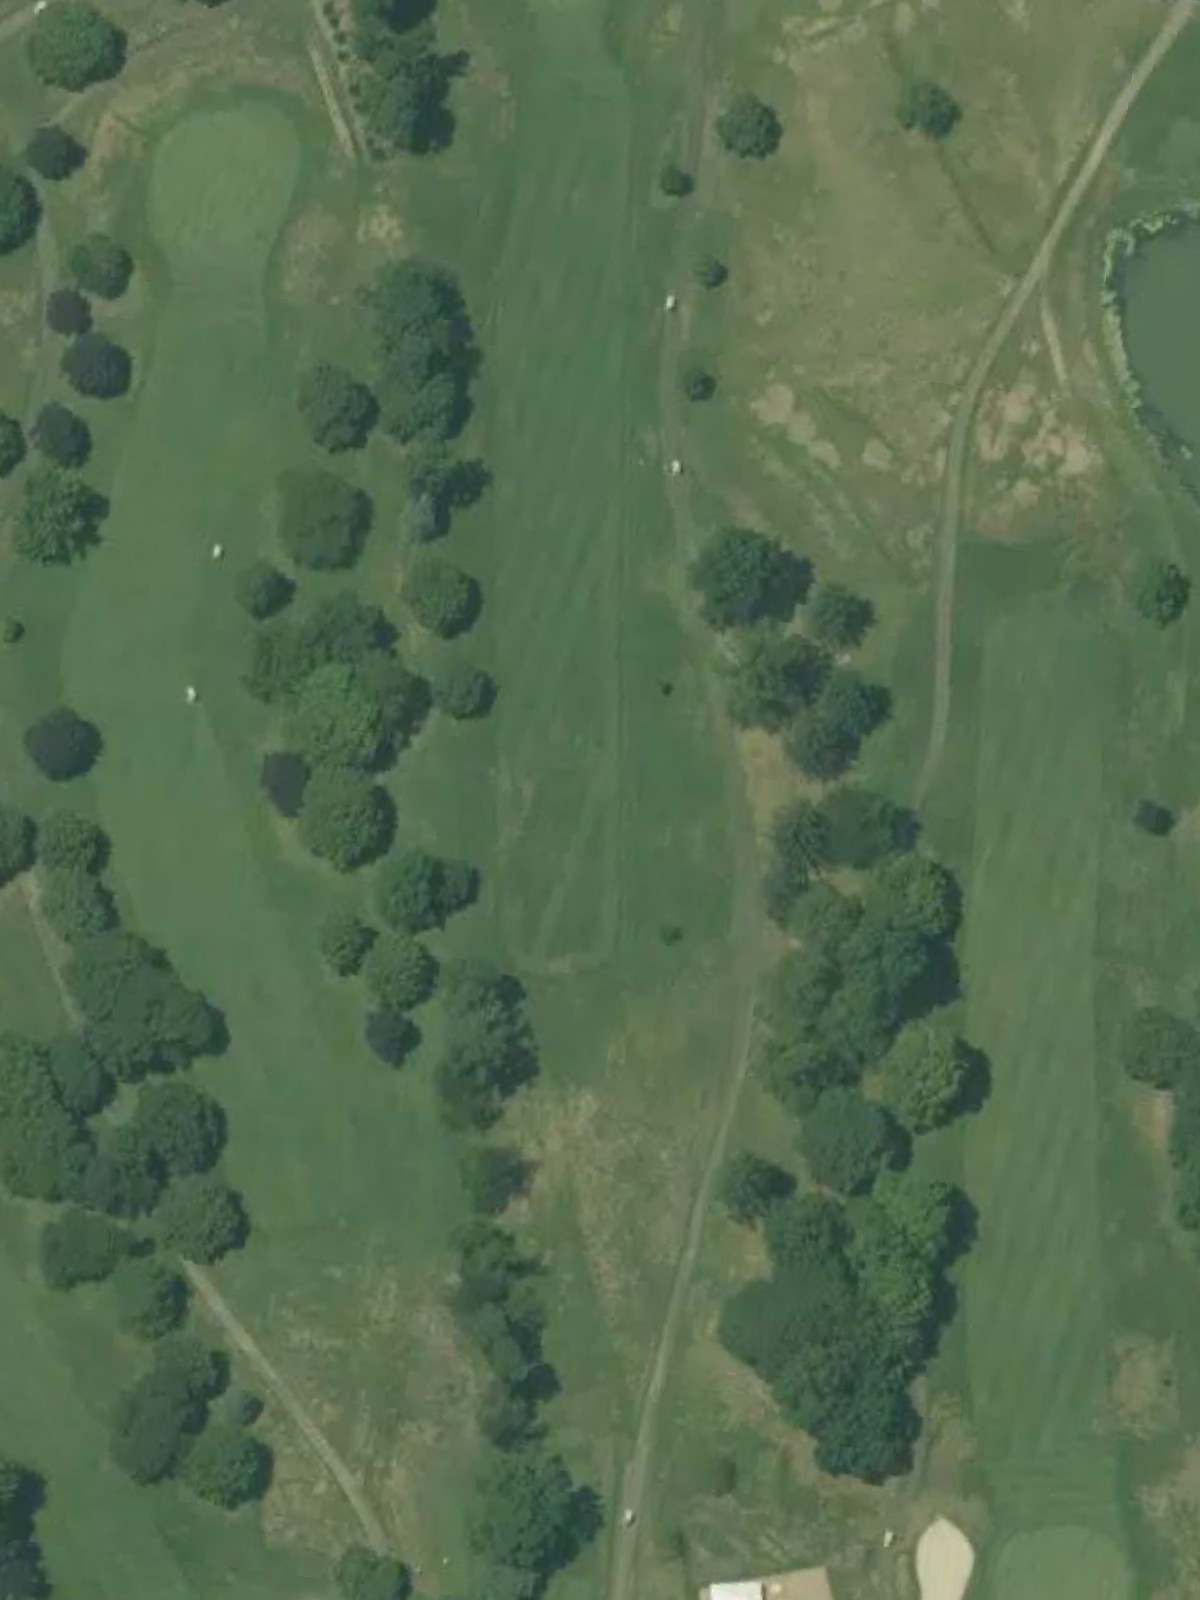
A substantial par 5 where water, out-of-bounds, or dense rough can punish aggressive play throughout the hole. The fairway's width and strategic hazard placement reward patience and precise positioning over distance alone.
A formidable par 4 ranking among the course's most difficult holes, with length and hazards creating a significant challenge. Out-of-bounds or water along the fairway and around the green leaves little room for error on either shot.
A solid finishing par 4 that balances length with playability, serving as a fitting conclusion to the round. Bunkers and hazards frame the hole strategically without overwhelming it, creating a fair but testing final test.
Scorecard
| Hole | 1 | 2 | 3 | 4 | 5 | 6 | 7 | 8 | 9 | Out | 10 | 11 | 12 | 13 | 14 | 15 | 16 | 17 | 18 | In | Tot |
|---|---|---|---|---|---|---|---|---|---|---|---|---|---|---|---|---|---|---|---|---|---|
| Par | 4 | 4 | 3 | 5 | 4 | 4 | 3 | 5 | 4 | 36 | 4 | 3 | 4 | 4 | 3 | 4 | 5 | 4 | 4 | 35 | 71 |
| HCP | 9 | 5 | 13 | 1 | 17 | 15 | 11 | 7 | 3 | 12 | 6 | 16 | 18 | 8 | 2 | 14 | 4 | 10 | |||
| blue | 347 | 349 | 156 | 502 | 263 | 273 | 142 | 513 | 345 | 2890 | 373 | 191 | 345 | 303 | 197 | 376 | 511 | 383 | 370 | 3049 | 5939 |
| white | 324 | 314 | 100 | 464 | 254 | 264 | 138 | 474 | 333 | 2665 | 341 | 161 | 320 | 287 | 174 | 354 | 489 | 361 | 341 | 2828 | 5493 |
| gold | 299 | 308 | 95 | 449 | 248 | 253 | 130 | 441 | 322 | 2545 | 318 | 148 | 300 | 265 | 167 | 338 | 465 | 345 | 331 | 2677 | 5222 |