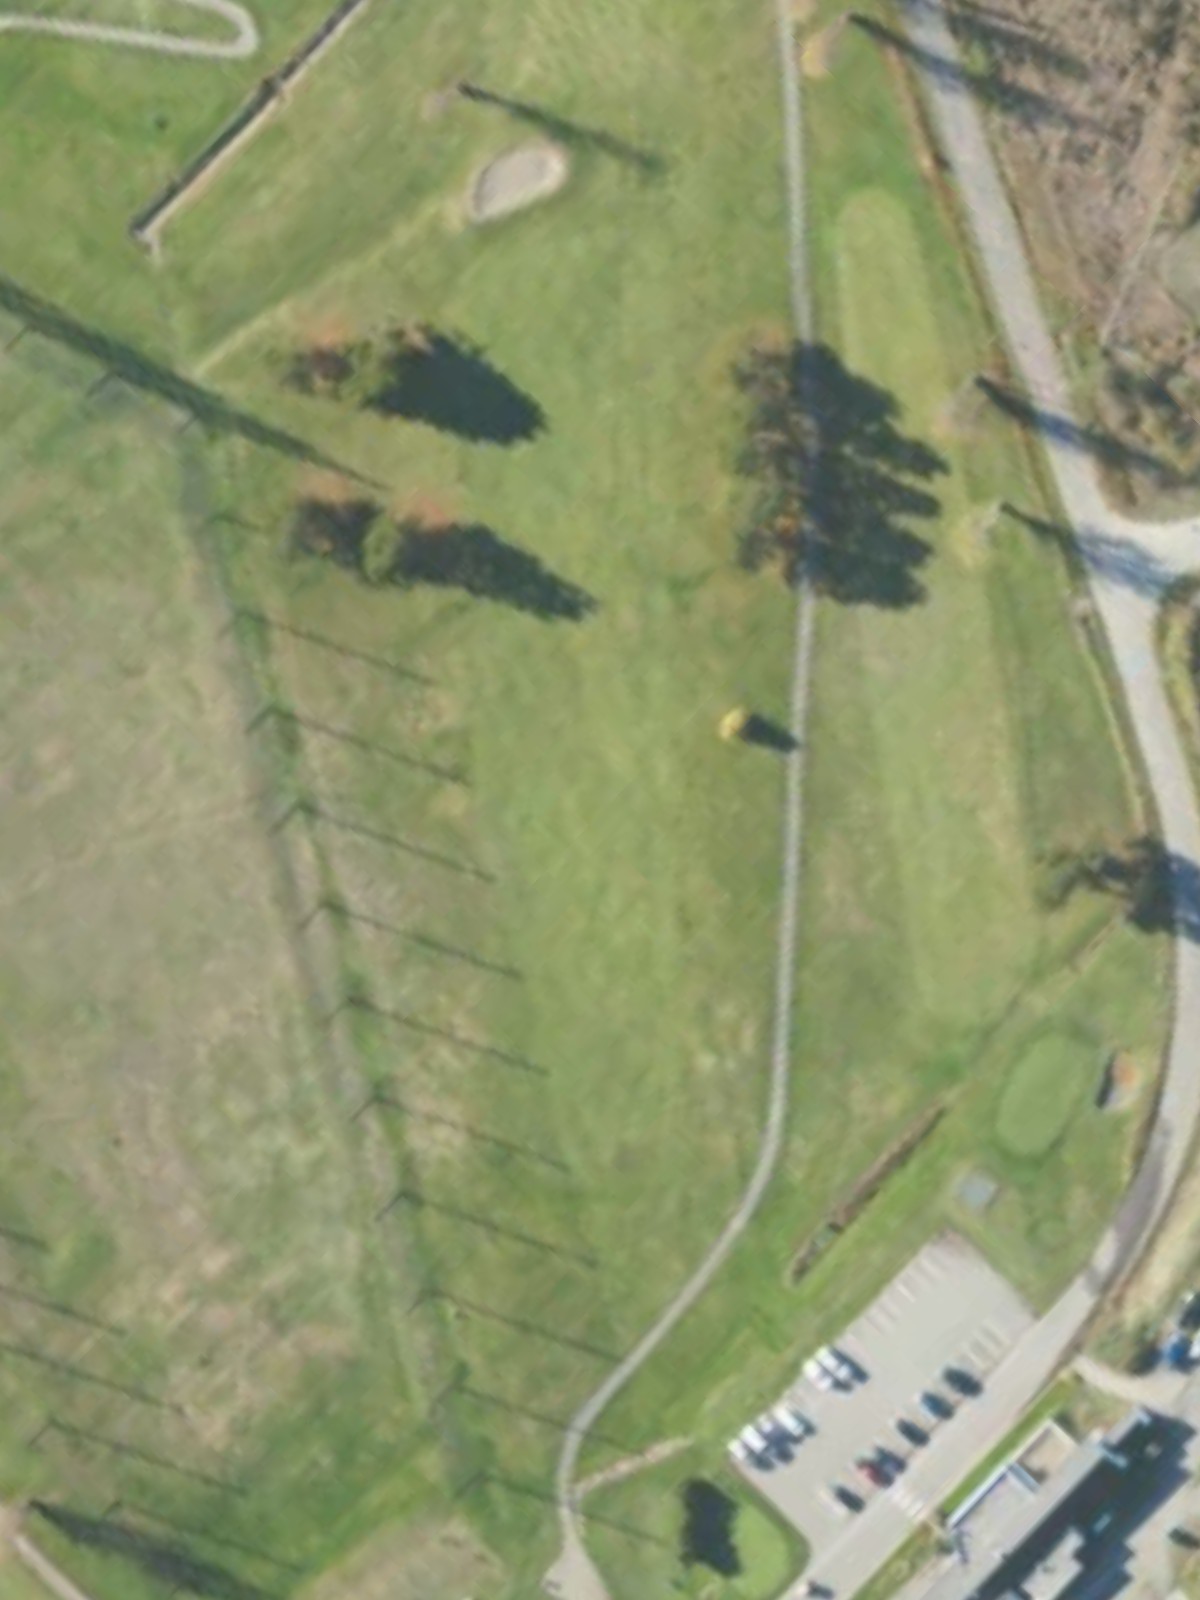
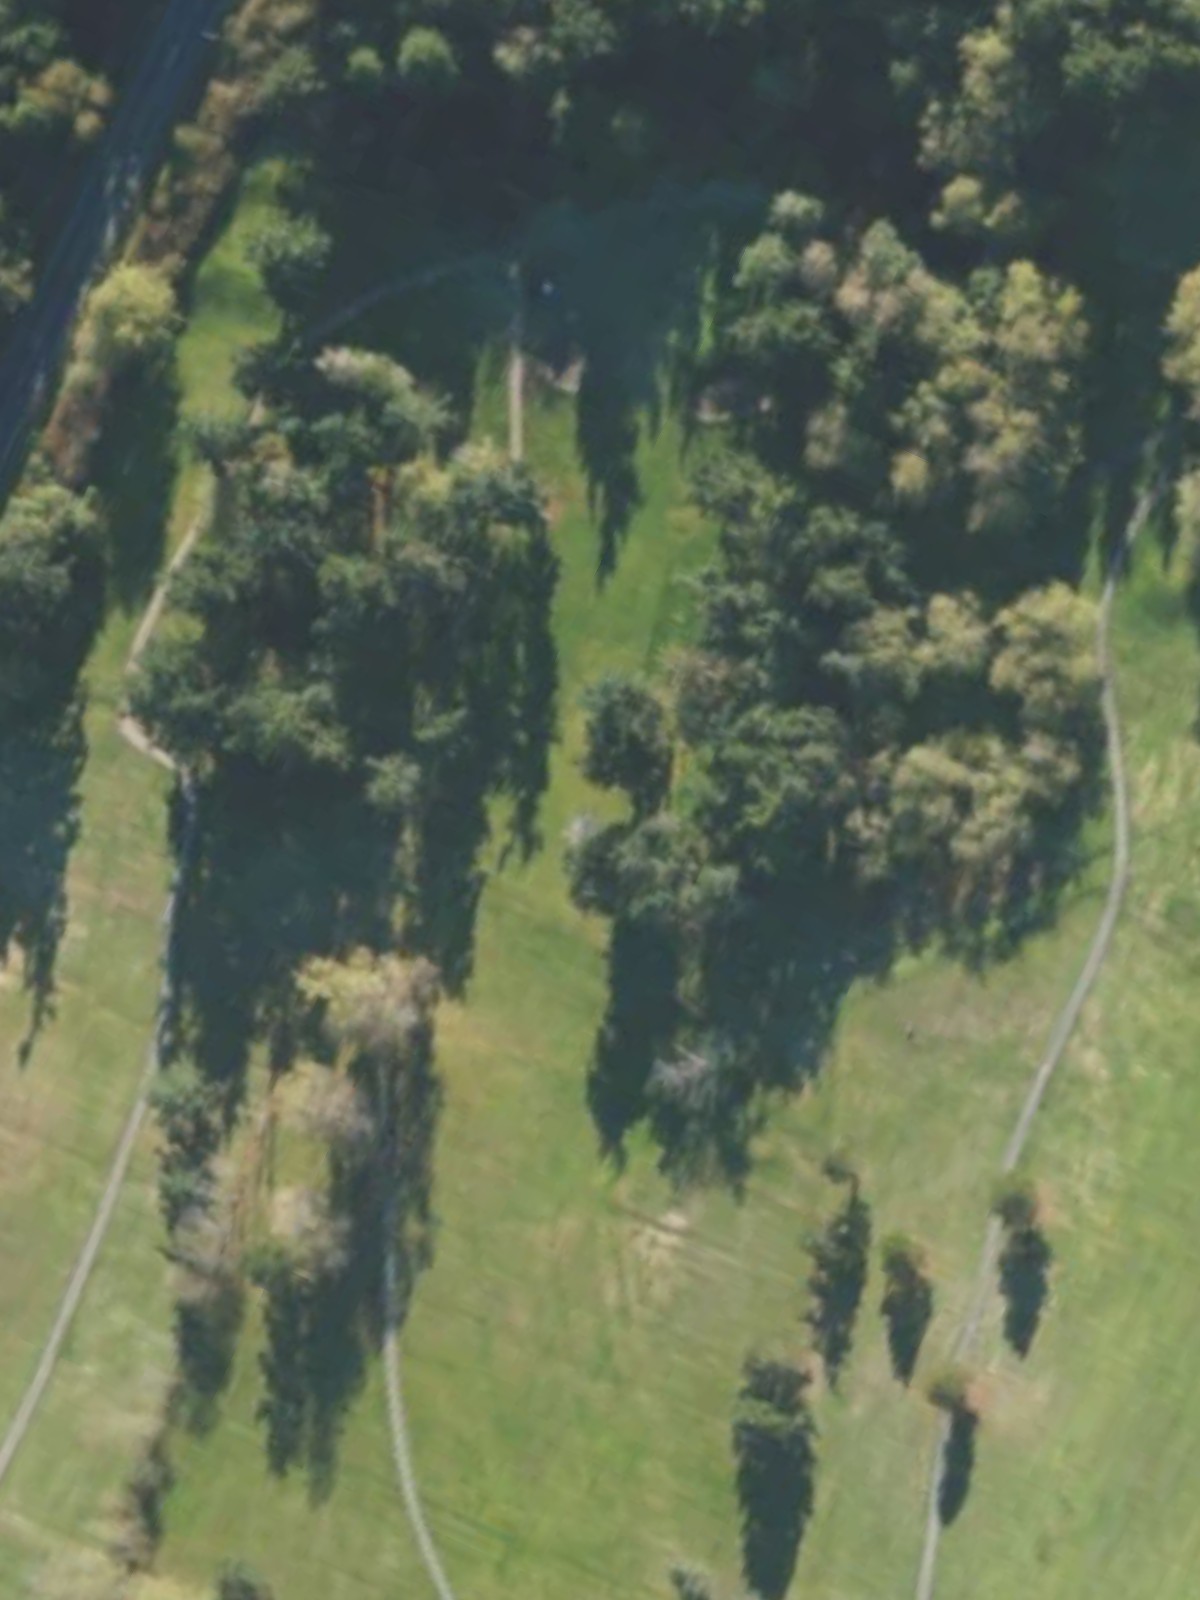
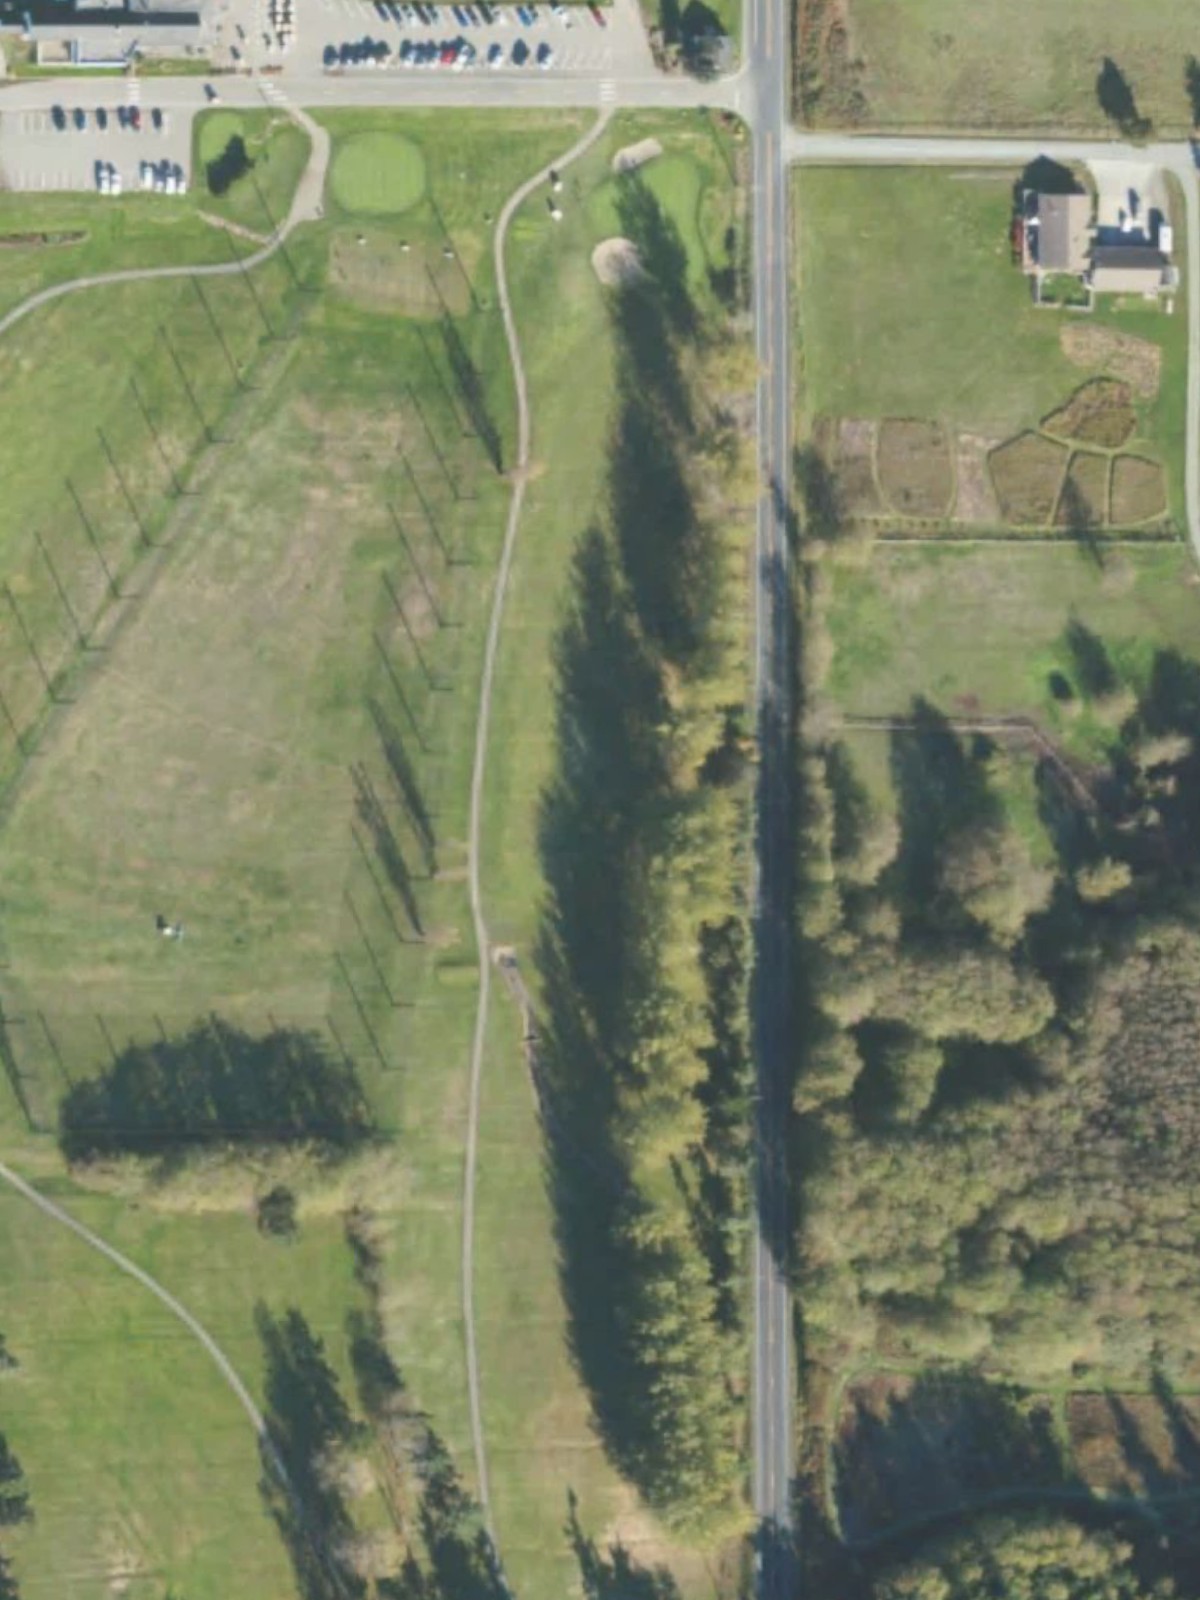
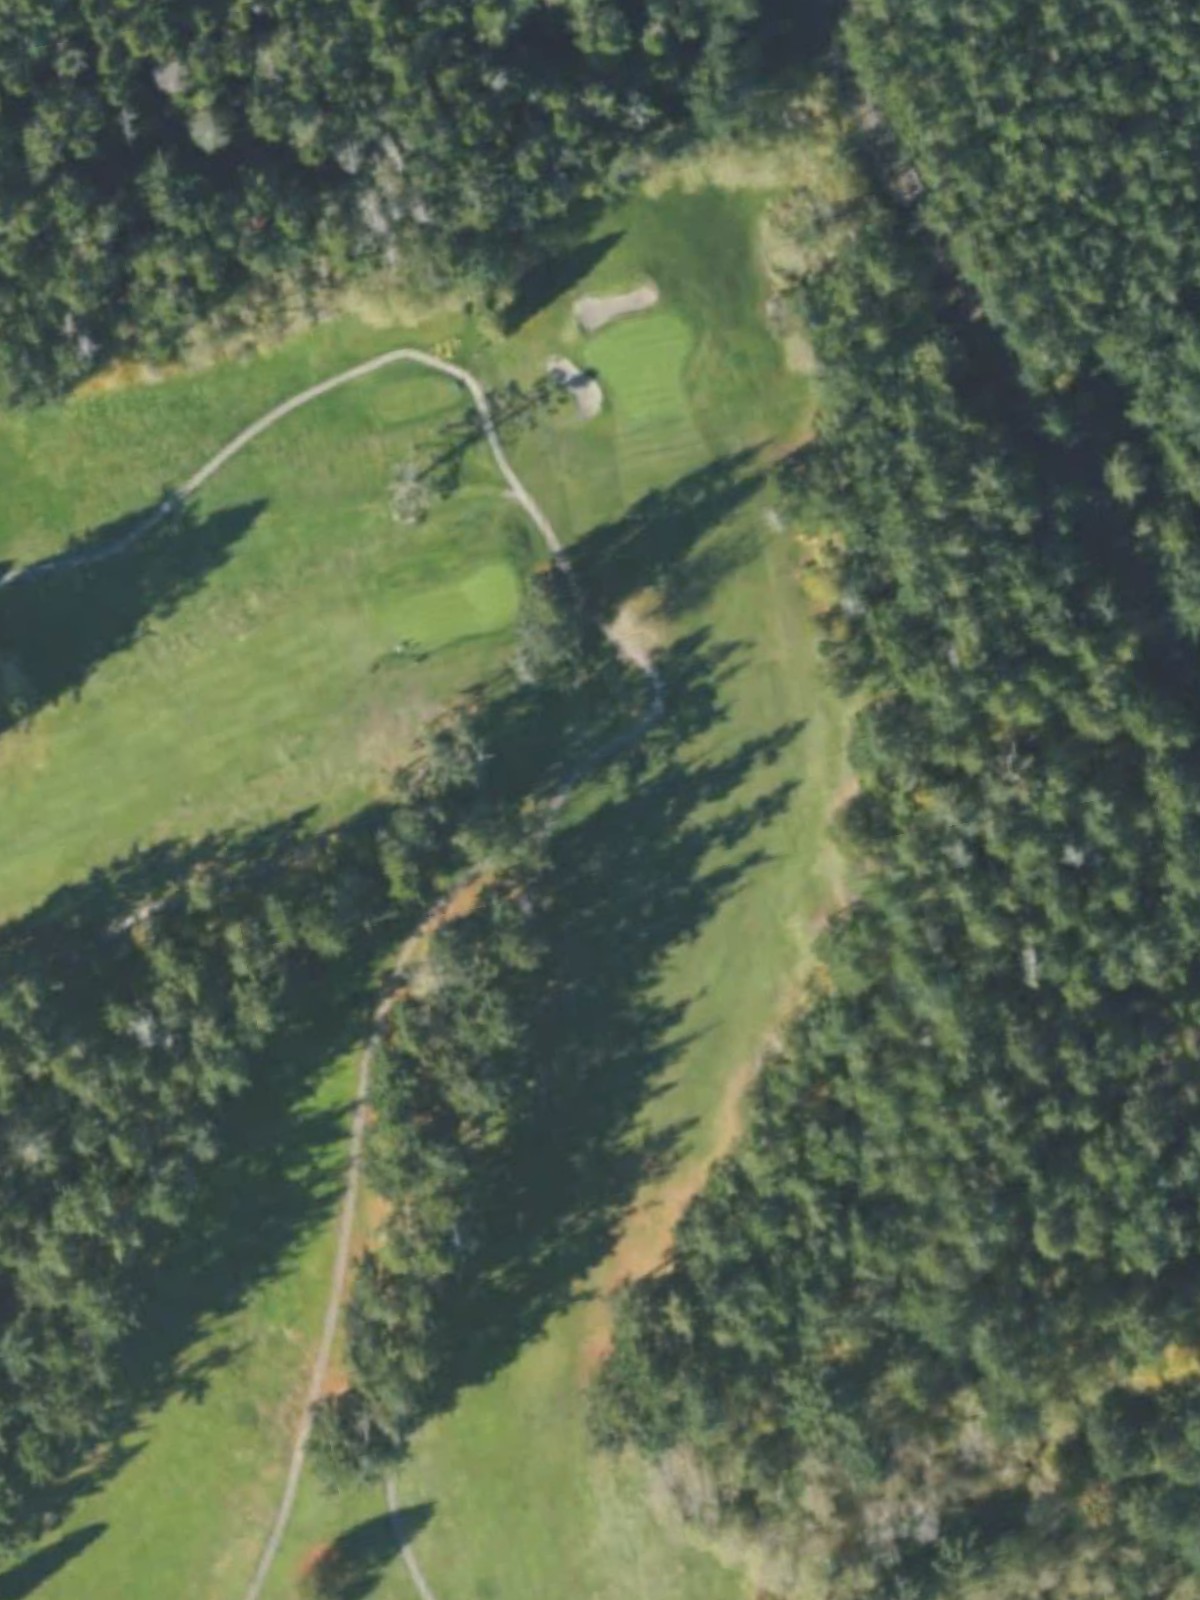
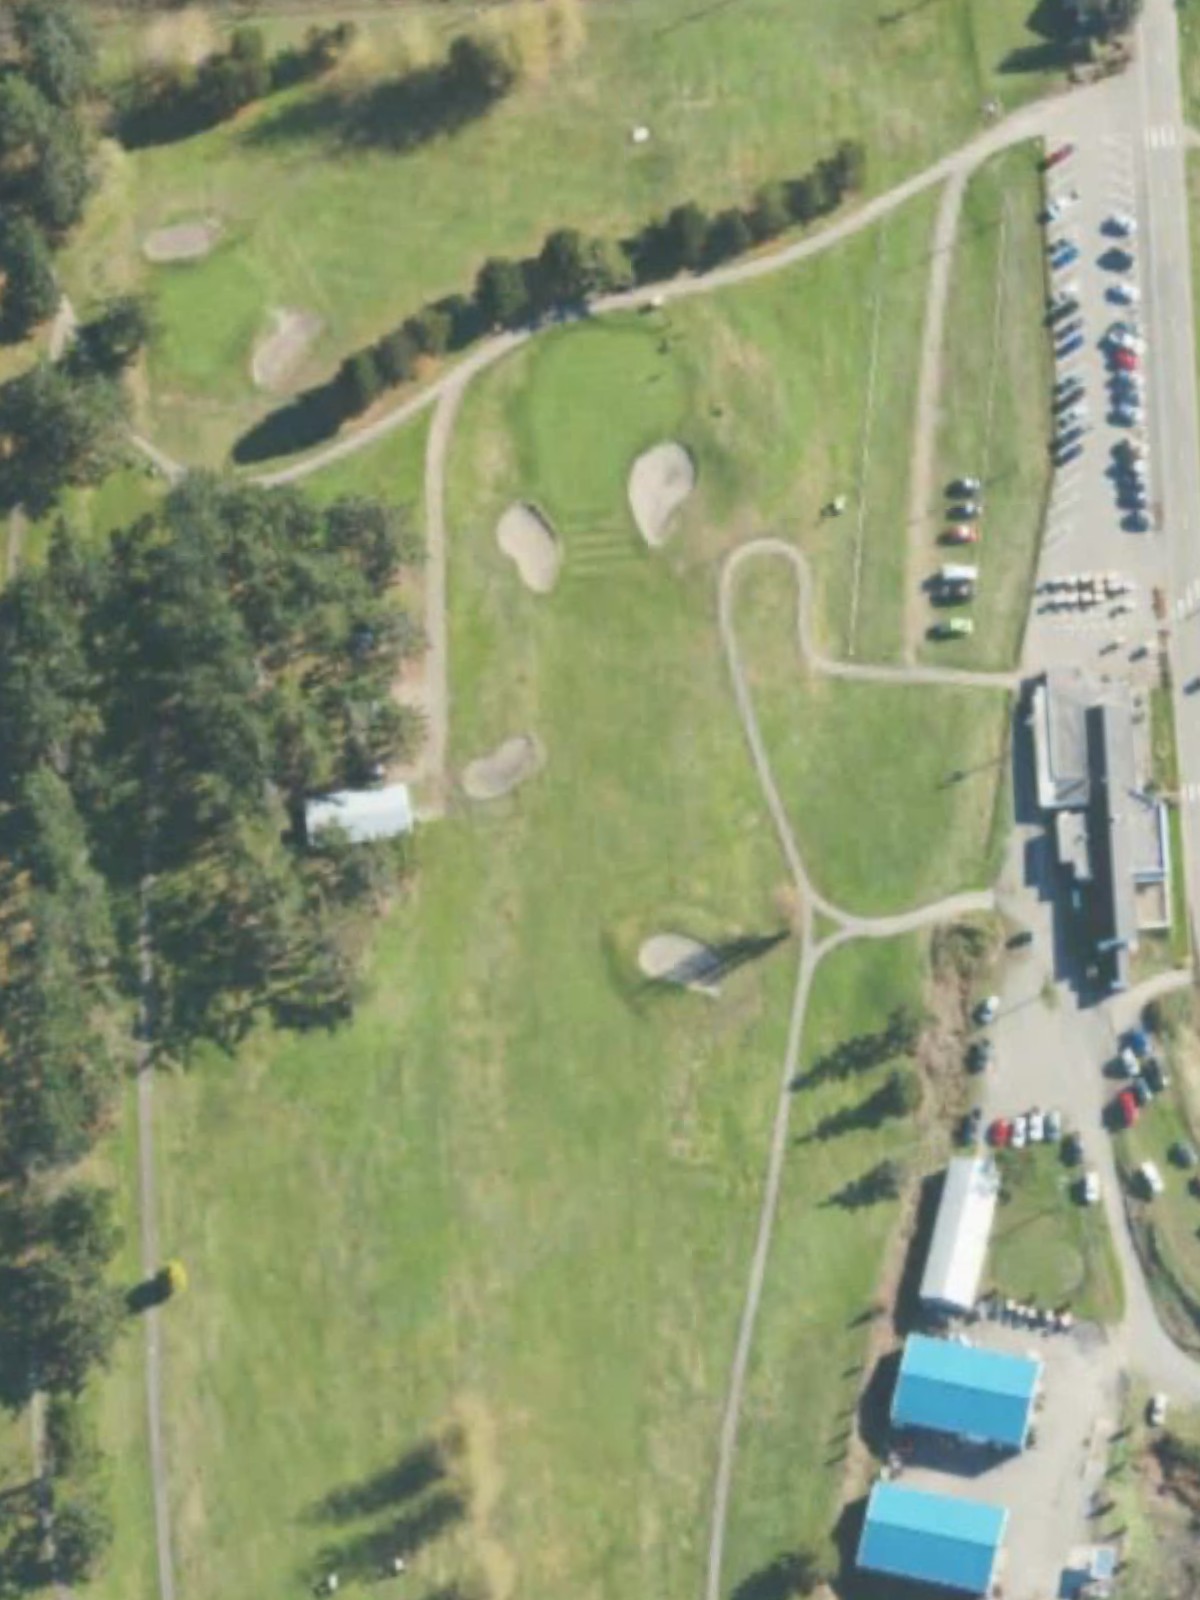
Gallery Golf Course is an 18-hole golf course in Oak Harbor, WA with a par of 72. It offers 4 tee sets: blue (6,332 yards, slope 124, rating 70), white (6,047 yards, slope 122, rating 68.6), gold (5,245 yards, slope 109, rating 65.2), red (4,039 yards, slope 101, rating 60.9). The hardest hole is #8, a par 4 playing 225 yards from the first tee.
Gallery Golf Course
Oak Harbor, WA
Get PDF Yardage Book
We'll email you the PDF link. No spam, ever.
Create Your Game Plan
Pick your tees, enter your bag, and get a personalized shot-by-shot strategy for every hole.
A welcoming opening par 4 with a relatively short length from the back tees. The fairway is generous off the tee, though it narrows as it approaches the green where bunkers guard the right side.
A demanding par 4 that plays as the second-hardest hole on the course. The length and likely positioning of hazards make accuracy off the tee critical to setting up a manageable approach.

A short par 3 that offers a reprieve with its modest yardage from all tees. Despite its length, well-placed bunkers or water hazards around the green demand precision with the approach shot.
A reachable par 5 with a relatively forgiving handicap despite its length. The hole's character allows aggressive players to advance toward birdie opportunities while shorter hitters can work their way forward methodically.

A formidable par 4 playing as one of the five most difficult holes on the course. The length and strategic hazard placement reward accuracy off the tee and demand a precise approach to the green.

A short par 3 with moderate yardage that presents a straightforward challenge. The green's hazards and bunkering require solid execution despite the hole's brevity.
A mid-length par 4 with interesting design elements that place it among the top-ten hardest holes. The fairway's shape or hazard positioning creates strategic decisions from the tee.
The most difficult hole on the course, this par 4 demands flawless execution from start to finish. Significant hazards and/or length make this a defining test of skill and nerve.
A strong par 5 that ranks among the course's toughest holes despite offering three shots to the green. Hazards positioned throughout the hole penalize poor positioning and reward strategic play.

A mid-length par 3 that continues the back nine with a solid test of accuracy. Bunkers or water near the green require a confident, well-executed tee shot.
The most generous par 4 on the course with a notably low handicap rating. The hole offers opportunities for scoring despite its modest length and straightforward layout.
A challenging par 4 that ranks among the top-five hardest holes on the course. The combination of length and strategic hazards make this a pivotal hole in the round.

The second-hardest hole on the course, this par 5 demands respect despite offering three shots to reach the green. Length and hazard placement create a formidable test that separates strong play from weak efforts.

A mid-length par 4 with solid difficulty that challenges golfers' all-around game. Strategic bunker placement and/or water hazards reward thoughtful shot execution.

A mid-length par 3 with a generous handicap rating suggesting a forgiving design. The hole plays longer than it appears, with hazards positioned to catch errant shots.
A reachable par 5 that offers birdie opportunities for solid play. The fairway's shape and hazard positioning encourage strategic aggression for those positioned well off the tee.
A well-designed par 4 that ranks among the top-ten hardest holes despite modest yardage. The hole's character—possibly a dogleg, elevated green, or strategic hazard placement—makes it more demanding than length alone suggests.
A closing par 4 of moderate difficulty that provides a fitting finish to the round. Hazards positioned near the green and/or along the fairway demand accuracy for a solid closing score.
Scorecard
| Hole | 1 | 2 | 3 | 4 | 5 | 6 | 7 | 8 | 9 | Out | 10 | 11 | 12 | 13 | 14 | 15 | 16 | 17 | 18 | In | Tot |
|---|---|---|---|---|---|---|---|---|---|---|---|---|---|---|---|---|---|---|---|---|---|
| Par | 4 | 4 | 3 | 5 | 4 | 3 | 4 | 4 | 5 | 36 | 3 | 4 | 4 | 5 | 4 | 3 | 5 | 4 | 4 | 36 | 72 |
| HCP | 15 | 3 | 13 | 17 | 5 | 11 | 9 | 1 | 7 | 10 | 18 | 4 | 2 | 6 | 14 | 16 | 8 | 12 | |||
| blue | 299 | 404 | 134 | 474 | 402 | 152 | 403 | 367 | 531 | 3166 | 172 | 310 | 367 | 526 | 379 | 221 | 470 | 380 | 341 | 3166 | 6332 |
| white | 294 | 397 | 121 | 463 | 390 | 139 | 368 | 357 | 510 | 3039 | 168 | 295 | 344 | 510 | 370 | 169 | 455 | 365 | 332 | 3008 | 6047 |
| gold | 288 | 351 | 110 | 407 | 320 | 121 | 310 | 268 | 415 | 2590 | 164 | 280 | 325 | 396 | 296 | 126 | 405 | 351 | 312 | 2655 | 5245 |
| red | 226 | 264 | 89 | 334 | 271 | 119 | 236 | 225 | 307 | 2071 | 101 | 182 | 240 | 306 | 227 | 121 | 301 | 254 | 236 | 1968 | 4039 |